Our site is down for scheduled maintenance. We will be back shortly.
', 'Maintenance Mode', array( 'response' => 503 ) ); } } add_action( 'get_header', 'nexter_maintenance_mode' );` While this is active, logged-in admins keep browsing the real site normally, so you can keep working. Everyone else sees the maintenance notice with a proper 503 status. To turn it off, delete or comment out the snippet. Always test snippets on a staging copy first, and keep a way to access files (FTP or your host file manager) in case you need to remove it quickly. ## Method 4: Create the Maintenance File Manually The last method mirrors what WordPress does during updates, done by hand. Connect to your site with FTP or your host's file manager, go to the root folder (the one holding `wp-config.php`), and create a file named `.maintenance` containing a single line: `` Remember that WordPress treats this file as expired after ten minutes, so it is best for genuinely short jobs. For a custom look, add a `maintenance.php` file to your `wp-content` folder; WordPress will use it to replace the default message. To end maintenance, simply delete the `.maintenance` file. This is the most fragile option, which is exactly why a stuck `.maintenance` file is the most common cause of the dreaded stuck screen. 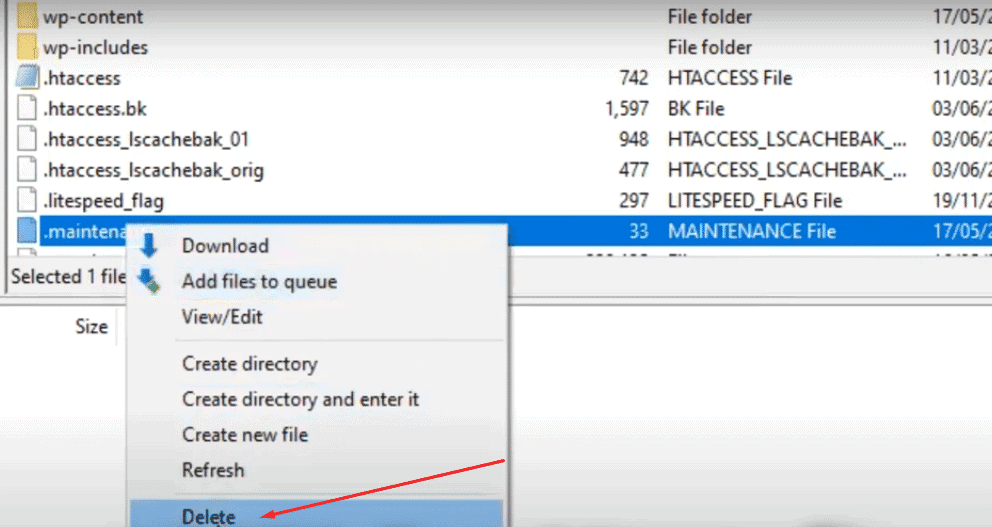WordPress drops a hidden .maintenance file in the site root during updates; you can create or delete it by hand. ## How to Turn Maintenance Mode Back Off Whichever method you used, turning it off is the reverse of turning it on: set the plugin or theme status to inactive, remove the code snippet, or delete the `.maintenance` file. If your site is still showing the maintenance notice after that, clear your caching plugin and your browser cache, since a cached copy of the 503 page can linger. Clearing your site cache is also worth doing after any big change; our roundup of the [best WordPress cache plugins](https://qa.nexterwp.com/blog/best-wordpress-cache-plugins/) can help. ***Also Read:** If the message will not go away even after all of that, follow [how to fix WordPress stuck in maintenance mode](https://qa.nexterwp.com/blog/how-to-fix-wordpress-stuck-in-maintenance-mode/) for the full recovery steps.* ## Does Maintenance Mode Hurt Your SEO? For short, planned windows, no. This is the whole reason maintenance mode returns an HTTP 503 ("Service Unavailable") with a `Retry-After` header rather than a normal 200 or a 404. That combination tells Google the outage is temporary and to come back later, so it will not drop your pages from the index over a brief maintenance period. The risk only appears if you leave a site in maintenance mode for days or weeks. A long-running 503 eventually signals a real problem and can affect crawling and rankings. The safe habit is simple: enable maintenance mode only while you are actively working, use a method that returns a proper 503 (all four above do), and turn it off the moment you finish. Avoid pointing it at a plain 200 page for long stretches, which is a coming soon pattern, not a maintenance one. ## Which Method Should You Use? Pick based on how often you need it and how the page should look. Choose a **plugin** if you want a designed page and a one-click toggle you will reuse often. Use your **theme's built-in mode** if it has one, like the [Nexter Theme](https://qa.nexterwp.com/nexter-theme/), to stay plugin-light. Reach for the **code snippet** if you are a developer who wants zero extra plugins and are comfortable in `functions.php`. Keep the **manual .maintenance file** as an emergency or quick-job option only. If you build with blocks, you can even design your holding page in the editor first with [Nexter Blocks](https://qa.nexterwp.com/nexter-blocks/) and point your chosen method at it. ## Suggested Reading - [5 Best Maintenance & Coming Soon Mode WordPress Plugins](https://qa.nexterwp.com/blog/maintenance-and-coming-soon-plugins-wordpress/)- [How to Fix WordPress Stuck in Maintenance Mode](https://qa.nexterwp.com/blog/how-to-fix-wordpress-stuck-in-maintenance-mode/)- [How to Make a WordPress Site Private](https://qa.nexterwp.com/blog/make-a-wordpress-site-private/)- [5 Best WordPress Cache Plugins](https://qa.nexterwp.com/blog/best-wordpress-cache-plugins/)- [How to Fix the 408 Request Timeout Error](https://qa.nexterwp.com/blog/how-to-fix-408-request-timeout-error/) ## Frequently Asked Questions ### Does WordPress have a built-in maintenance mode? Only automatically. WordPress turns maintenance mode on by itself during core, theme, and plugin updates by creating a hidden `.maintenance` file, then clears it when the update finishes. There is no manual on/off button in the dashboard, so to enable it on demand you need a plugin, a theme feature, or a code snippet. ### Is maintenance mode bad for SEO? Not for short periods. A proper maintenance page returns an HTTP 503 status with a Retry-After header, which tells search engines the downtime is temporary. Your pages stay indexed. Problems only start if you leave the 503 in place for many days. ### How long does WordPress stay in maintenance mode? When WordPress enables it during an update, it clears automatically once the `.maintenance` file's timestamp is older than about ten minutes. When you enable it yourself with a plugin, theme setting, or snippet, it stays on until you turn it off. ### How do I turn off maintenance mode if my site is stuck? Connect via FTP or your host file manager, open the site root, and delete the `.maintenance` file. Then clear your site and browser cache. If it persists, disable your most recent plugin or theme change and see the stuck maintenance mode guide linked above. ### What is the difference between maintenance mode and coming soon mode? Maintenance mode is for a live, indexed site you are temporarily updating, so it returns a 503 "come back later" status. Coming soon mode is for a site that has not launched, usually a normal 200 page with a launch message or email signup. Most plugins offer both. --- # How to Add a Sidebar in WordPress [easy Methods for Beginner] Source: https://qa.nexterwp.com/blog/how-to-add-a-sidebar-in-wordpress/ You find a tutorial that says "go to Appearance > Widgets and drop your sidebar widgets there," you open your WordPress dashboard, and the Widgets menu is nowhere to be found. That missing menu is where most people get stuck when they try to add a sidebar in WordPress. The reason is simple once you know it. WordPress now ships two kinds of themes, and each one handles sidebars in a different place. Classic themes use the Widgets screen you read about. Block themes replaced that screen with the Site Editor. Pick the wrong set of instructions for your theme and nothing seems to work. This guide covers both. You will find out which kind of theme you are running, then add a sidebar the right way for it, whether that means the Widgets screen, the Site Editor, or a dedicated sidebar plugin for full control. ## What Is a Sidebar in WordPress? A sidebar is a vertical column that sits next to your main content, usually on the left or right, and shows information that is not part of the post or page itself. Think of a search box, a category list, recent posts, an email signup, or social links that stay available while a reader moves through your site. In WordPress terms, a sidebar is a type of widget area. As the WordPress documentation puts it, a widget area is "a pre-defined area by the theme, typically located in the sidebar or footer." So the theme decides where sidebars can appear, and you decide what goes inside them. Some themes give you one sidebar, some give you several, and a few full-width or minimalist themes give you none at all. A good sidebar earns its space. It helps visitors navigate to key sections, gives related posts and author bios a home, surfaces a search box or signup form, and can hold ad units if you monetize. The trick is to treat it as guidance for the reader, not a dumping ground. ***Also Read:** want stronger navigation alongside your sidebar? Here is how to [build a mega menu in WordPress](https://theplusaddons.com/blog/build-mega-menu-on-elementor/).* ## First, Figure Out Which Kind of Theme You Have Before you change any settings, find out whether your site runs a classic theme or a block theme. This one check decides every step that follows. Open your WordPress dashboard and look under the **Appearance** menu: - If you see **Appearance > Widgets** (and usually **Appearance > Customize**), you are on a **classic theme**. Sidebars live in the Widgets screen. - If you see **Appearance > Editor** instead, with no Widgets menu, you are on a **block theme**. Sidebars are built in the Site Editor. This is not a quirk of your install. WordPress introduced block themes in version 5.9, and the official documentation is blunt about the difference: classic themes "include features like Widgets, a dedicated Menus section, the Customizer," while block themes rely on blocks instead, so "you can place blocks anywhere you might have previously wanted widgets to appear." The recent default themes, from Twenty Twenty-Two onward, are all block themes, which is why the old Widgets instructions so often lead nowhere. ## How to Add a Sidebar in a Classic Theme If your theme shows the Widgets menu, you are in the classic workflow, and adding a sidebar takes a few minutes. Most classic themes register at least one sidebar area out of the box. ### Step 1: Pick a Theme That Registers a Sidebar Not every theme includes a sidebar area, so this starts at theme choice. When you browse the theme directory or a third-party provider, check the feature list and screenshots for terms like "sidebar," "widget area," or "right/left column." Lightweight starter themes such as [Nexter](https://qa.nexterwp.com/nexter-theme/) include Sidebar Layouts that let you control how sidebars appear, so you are not fighting the theme later. Install and activate your theme from **Appearance > Themes**. If it offers sidebar position or width controls, you will usually find them under **Appearance > Customize**. 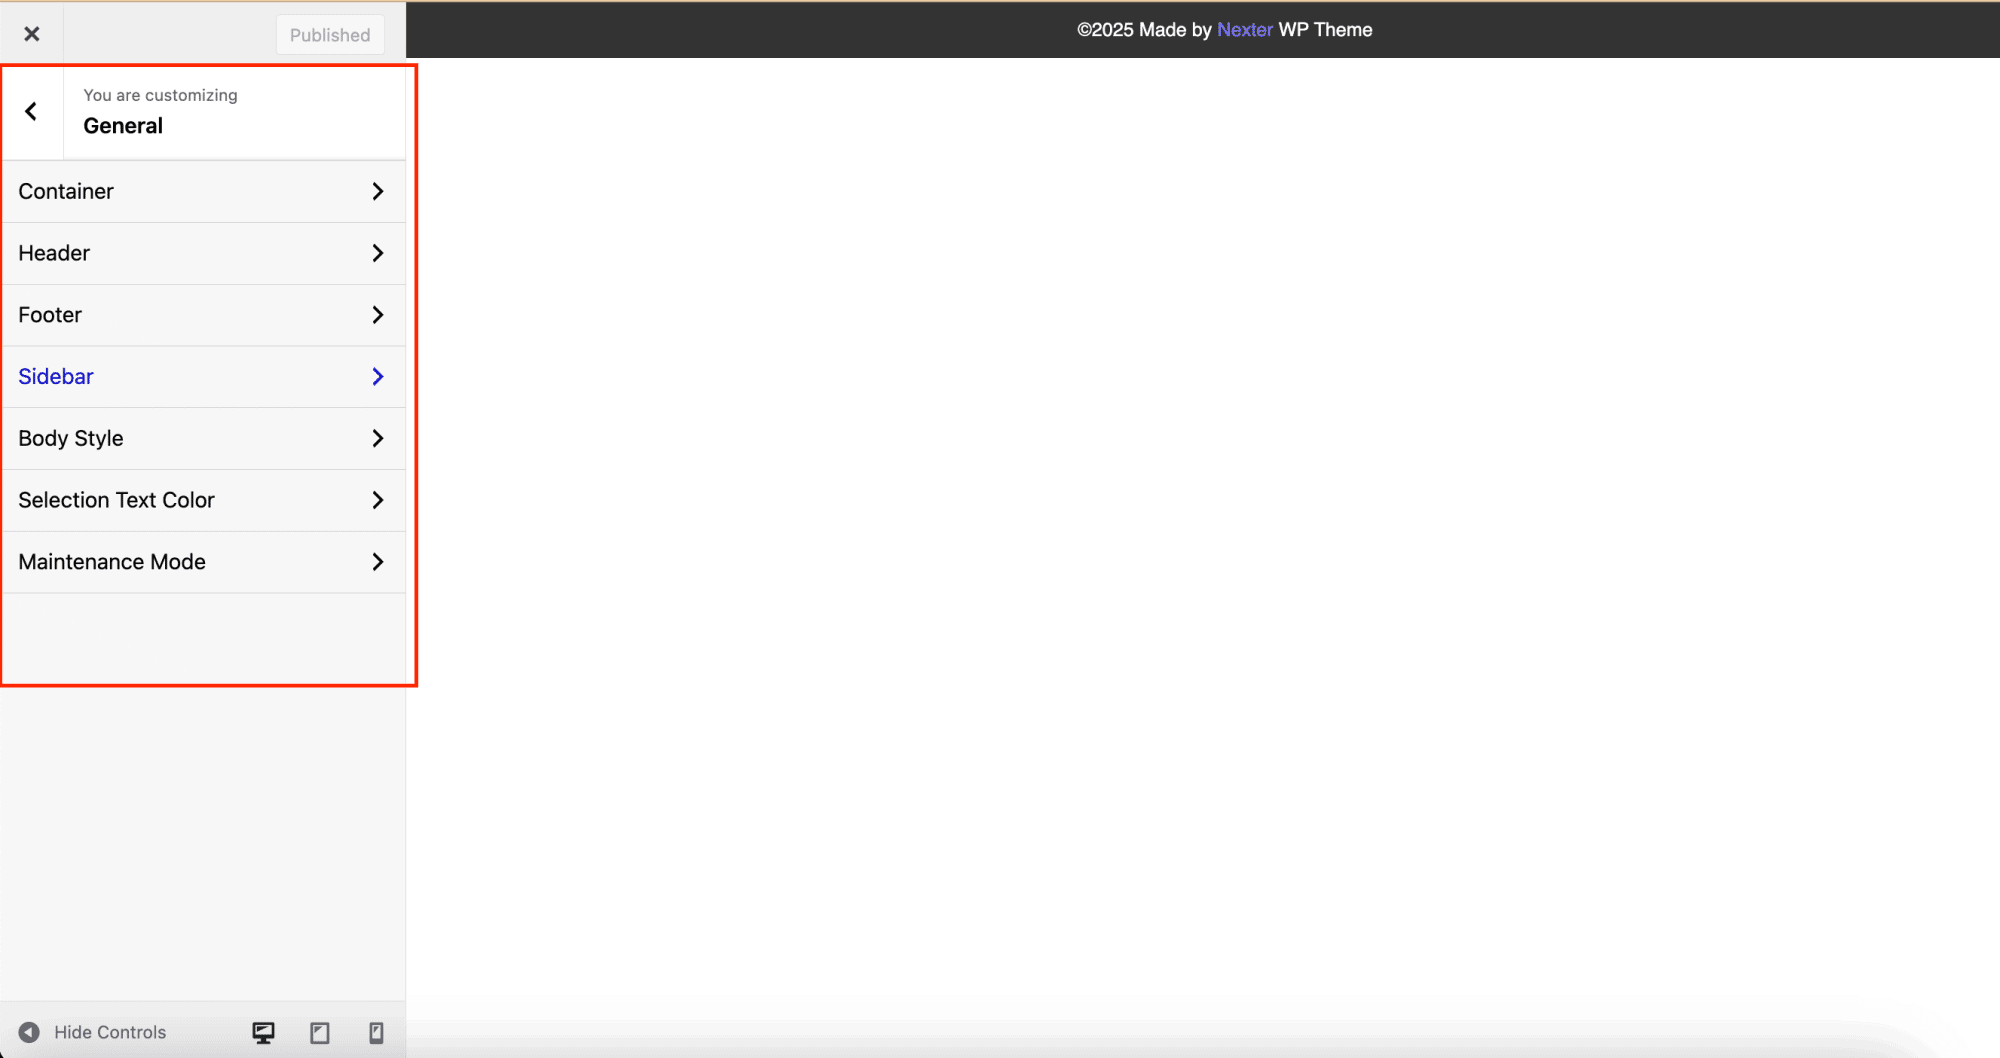The Appearance menu is where classic themes expose theme, Customizer, and Widgets controls. ### Step 2: Check Sidebar Options in the Customizer Some classic themes let you set sidebar position and width visually. Go to **Appearance > Customize** and look for a Sidebar or Layout section. This is where you confirm your theme actually has a sidebar and decide which side it sits on. 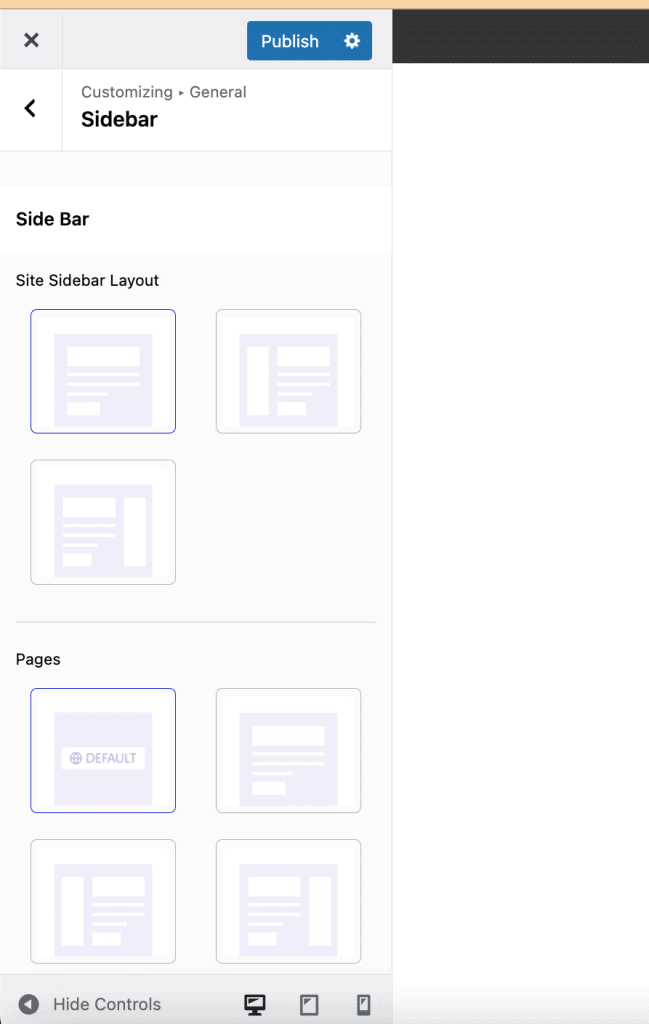Many classic themes expose sidebar position and width inside the Customizer. ### Step 3: Add Widgets to the Sidebar Now go to **Appearance > Widgets**. On the modern block-based Widgets screen you will see available blocks on the left and your theme's widget areas, including the sidebar, on the right. Add the blocks you want, such as Search, Categories, or Recent Posts, into the sidebar area and arrange them in order. 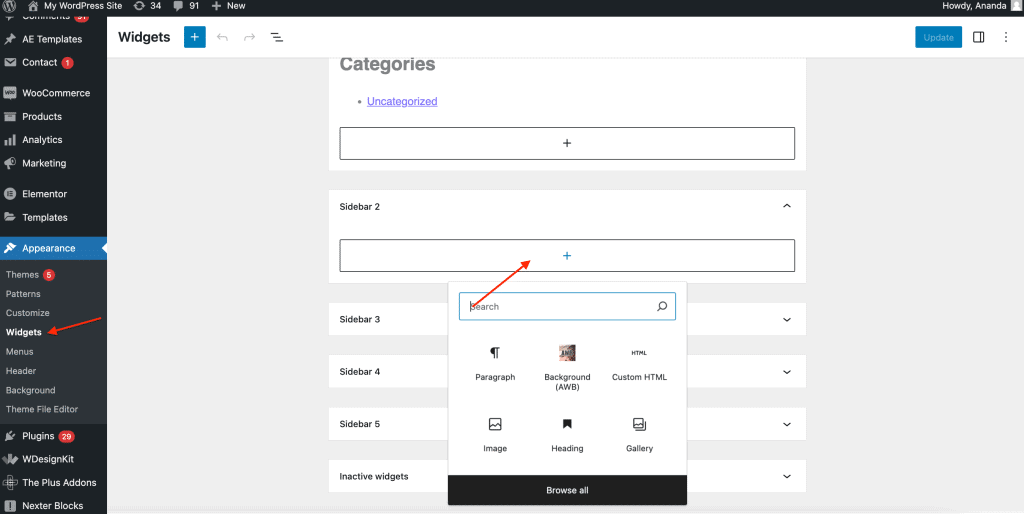The block-based Widgets screen in a classic theme, found at Appearance > Widgets. Each widget or block has its own settings, so you can rename a heading, choose how many recent posts to show, or filter which categories appear. Save, then preview your site to see the sidebar live. 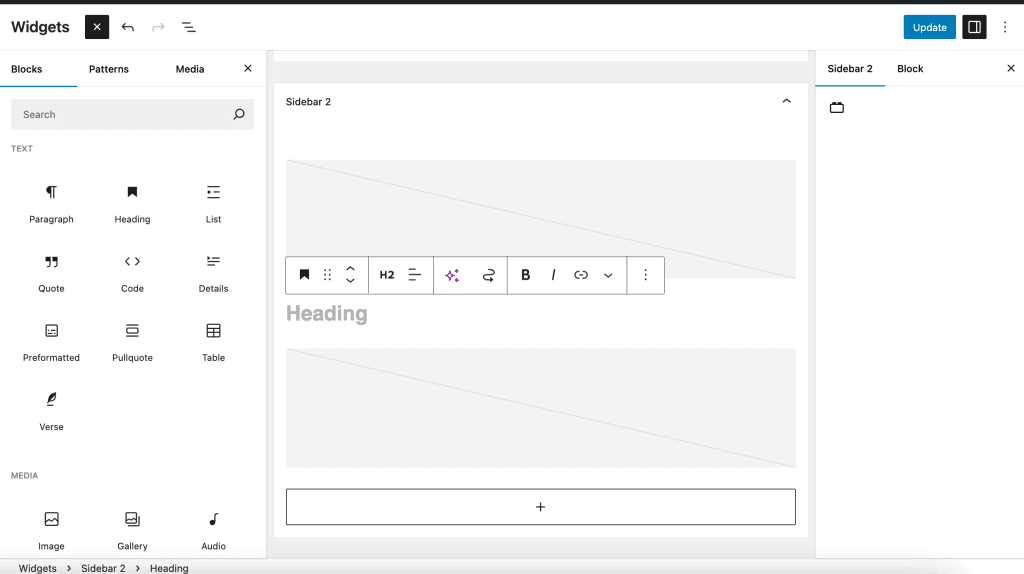Drag blocks into the sidebar widget area, then configure each one. If you want a menu inside the sidebar, the [Vertical Toggle Menu](https://qa.nexterwp.com/nexter-blocks/builder/wordpress-vertical-toggle-mega-menu/) block from Nexter Blocks is a clean way to add collapsible navigation without extra code. ***Also Read:** still choosing a theme? Compare the [7 best WordPress SEO friendly themes](https://qa.nexterwp.com/blog/best-wordpress-seo-friendly-themes/) before you commit.* ## How to Add a Sidebar in a Block Theme Block themes do not have a Widgets screen at all. Instead of widgets, they use blocks, and you build a sidebar by placing blocks next to your content inside the Site Editor. It works differently, but it gives you more control over exactly where the sidebar shows and what it contains. ### Step 1: Open the Site Editor Go to **Appearance > Editor** to open the Site Editor. From here you can edit templates such as your single post or archive layout, which is usually where a sidebar belongs. Open the template you want to add a sidebar to. ### Step 2: Build a Two-Column Layout Add a **Columns** block and choose a split like 70/30. Put your main content block, for example the Post Content block, in the wide column and leave the narrow column for the sidebar. That narrow column becomes your sidebar area. ### Step 3: Fill and Save the Sidebar Column Inside the narrow column, add the blocks you want in the sidebar: Search, Categories, Latest Posts, a Navigation block, or a Group block holding a signup form. To reuse the same sidebar across your site, select the blocks and save them as a **template part** or a synced pattern, then drop that part into other templates. WordPress describes template parts as "a way to organize and display groups of blocks as part of a block template," which is exactly what a reusable sidebar is. Click **Save** and the sidebar appears on every page that uses that template. Because it is built from blocks, you can restyle it with the same colors, spacing, and typography controls you use everywhere else in the Site Editor. ## How to Create a Custom Sidebar With a Plugin Sometimes you need more than your theme offers: a different sidebar on your blog than on your shop, or a unique sidebar for one landing page. A sidebar plugin gives you that control, and it works whether your theme is classic or block based. Go to **Plugins > Add New**, search for a custom sidebar plugin such as Custom Sidebars or a similar tool, then install and activate it. These plugins let you create as many sidebar areas as you need and, more importantly, set display rules for each one. After activating, create a new sidebar from the plugin's screen, fill it with the widgets or blocks you want, then use its replacement or display conditions to decide where it shows: specific pages, posts, categories, or your WooCommerce shop. This is the cleanest way to run several different sidebars on one site without touching code. ***Also Read:** not sure which tool to pick? Here are the [8 best sidebar plugins for WordPress](https://theplusaddons.com/blog/best-wordpress-sidebar-plugins/).* ## Sidebar Best Practices and What to Put in It However you build it, a few habits keep a sidebar useful instead of cluttered: - **Keep it focused:** a handful of well-chosen elements beats a long stack. Highlight what you most want readers to notice. - **Check it on mobile:** on small screens the sidebar usually drops below your content, so test how that reads on a phone. - **Go easy on visuals:** a few icons or one image help, but too many make the column noisy. - **Match your audience:** add the links and offers your specific readers actually want, not everything you could possibly include. As for what to include, these earn their place most often: - **A search box** so visitors can find content fast, which matters most on larger sites. - **Categories or a post list** to help readers explore related content. - **A signup form or call to action** to turn readers into subscribers. - **A secondary navigation menu** pointing to key pages or popular posts. - **Social links** so people can follow you elsewhere. ## Wrapping Up Adding a sidebar in WordPress comes down to one question: classic theme or block theme. Classic themes use the Widgets screen, block themes use the Site Editor, and a sidebar plugin covers you when you need custom sidebars in different places. Match the method to your theme and the whole thing takes minutes. If you want sidebar control built into the theme itself, [Nexter](https://qa.nexterwp.com/nexter-theme/) is a lightweight starter theme with dedicated Sidebar Layouts, and [Nexter Blocks](https://qa.nexterwp.com/nexter-blocks/) adds 90+ Gutenberg blocks, including menu and navigation blocks you can drop straight into a sidebar column. Together they let you build and style a sidebar without extra plugins or custom code. ## Suggested Reading - [5 Best WordPress Block Themes (Gutenberg)](https://qa.nexterwp.com/blog/wordpress-block-themes-gutenberg/) - [What Is Gutenberg? A Beginner's Guide to the Block Editor](https://qa.nexterwp.com/blog/what-is-gutenberg/) - [How to Create a Dropdown Menu in WordPress](https://qa.nexterwp.com/blog/how-to-create-dropdown-menu-in-wordpress/) - [Gutenberg vs Elementor: An Honest Comparison](https://qa.nexterwp.com/blog/gutenberg-vs-elementor/) - [7 Best WordPress SEO Friendly Themes](https://qa.nexterwp.com/blog/best-wordpress-seo-friendly-themes/) ## FAQs on Adding the Sidebar in WordPress ### Can I add multiple sidebars to my WordPress site? Yes, you can add multiple sidebars to your WordPress site. The easiest way is, if your theme supports it, through the WordPress customizer tool. It allows you to visually configure your website, including adding and managing sidebars. If your theme doesn't offer this, use a plugin or custom code to add a sidebar. ### Do all WordPress themes support sidebars? No, not all WordPress themes support sidebars. While many themes include sidebars as a standard feature, some, especially those with minimalist or full-width designs, may omit them. Themes like Nexter do offer the sidebar functionality. Always check the theme's features before you install it to ensure it meets your needs. ### Are sidebars responsive on mobile devices? Whether sidebars are responsive on mobile devices depends on the theme you're using. A well-coded, responsive theme will ensure your sidebar adapts to different screen sizes, providing a good experience for your mobile visitors. Typically, on smaller screens, the sidebar will move below the main area to maintain a clearer layout. ### Can I add sidebars to WooCommerce pages? Yes, you can add sidebars to WooCommerce pages. Many themes offer specific settings for WooCommerce pages, allowing you to control the presence and appearance of sidebars on product pages, category pages, and shop pages. You can also use a plugin or custom code to add sidebars to your WooCommerce pages. ### Is it possible to create a sidebar without plugins? Yes, creating a sidebar without plugins is possible through your theme and the widget system, accessible via the Appearance menu in your WordPress dashboard. Your theme defines the theme sidebars, designated areas where you can place content, and WordPress provides a range of widgets that you can manage within the Appearance > Widgets section. --- # How to Create a Dropdown Menu in WordPress (Beginner-Friendly) Source: https://qa.nexterwp.com/blog/how-to-create-dropdown-menu-in-wordpress/ The first WordPress site I built had eleven links crammed into one flat top bar. Visitors rarely clicked past the third one, and the pages buried at the end may as well have not existed. The fix was not a redesign. It was a dropdown menu that tucked the extra pages under a few clean parent items. That is the quiet power of a good WordPress dropdown menu. It groups related pages under a single heading, cuts the clutter in your header, and guides people to what they came for without making them think. When navigation is confusing, visitors bounce. When it is organized, they stay and explore. This guide covers two ways to build one: the built-in WordPress menu tools that ship with every install, and the Nexter Blocks Navigation Menu block for a more flexible, no-code dropdown right inside the Gutenberg editor. Pick the path that fits your theme and your comfort with settings. https://youtu.be/Z4Va_tbYHdU Video walkthrough: creating a navigation menu in WordPress, from The POSIMYTH Nexus. ## What Is a Dropdown Menu in WordPress? A dropdown menu is a navigation pattern where a set of submenu links appears when a visitor hovers over or taps a main menu item. Instead of showing every page as a top-level link, you nest related pages under a parent, so "About" can reveal Team, Careers, and Contact without cluttering the bar. [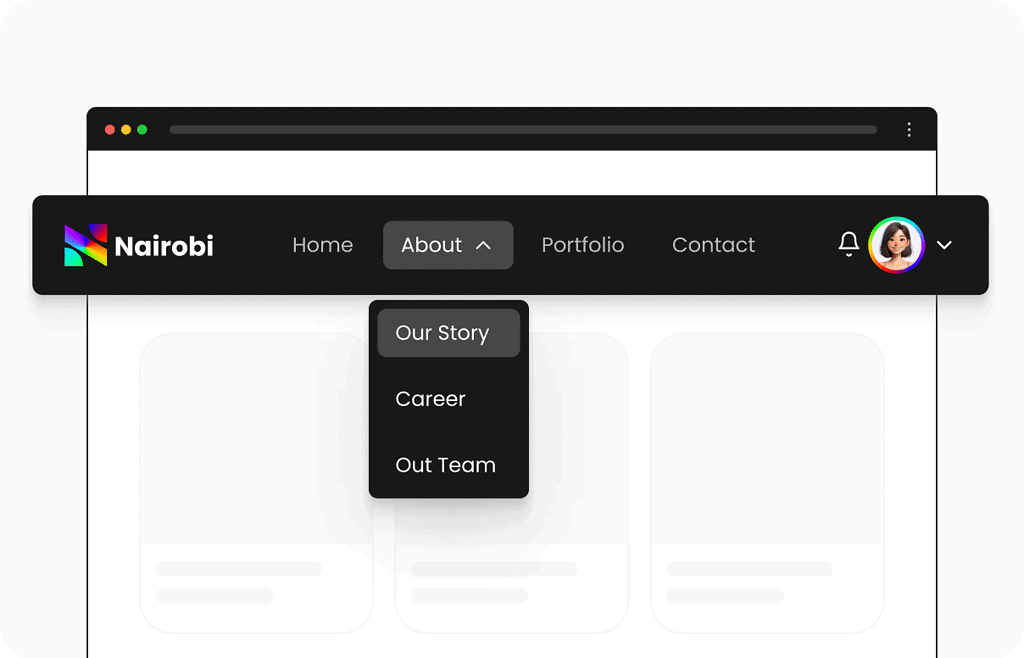](https://qa.nexterwp.com/nexter-blocks/builder/wordpress-navigation-menu/#Horizontal-menu)A horizontal dropdown menu keeps a wide site tidy by nesting pages under parent items. Dropdowns usually live in one of two places: the header, which is the most common spot for organizing pages, or a sidebar, which suits category lists, product sections, or archives on content-heavy sites. Either way, the goal is the same, fewer visible links up front and a clear path to the rest. ***Also Read:** want big menus with images, icons, and columns instead of a simple list? See [how to add a mega menu in WordPress using Gutenberg](https://qa.nexterwp.com/blog/add-mega-menu-in-wordpress-using-gutenberg/) for the richer layout.* [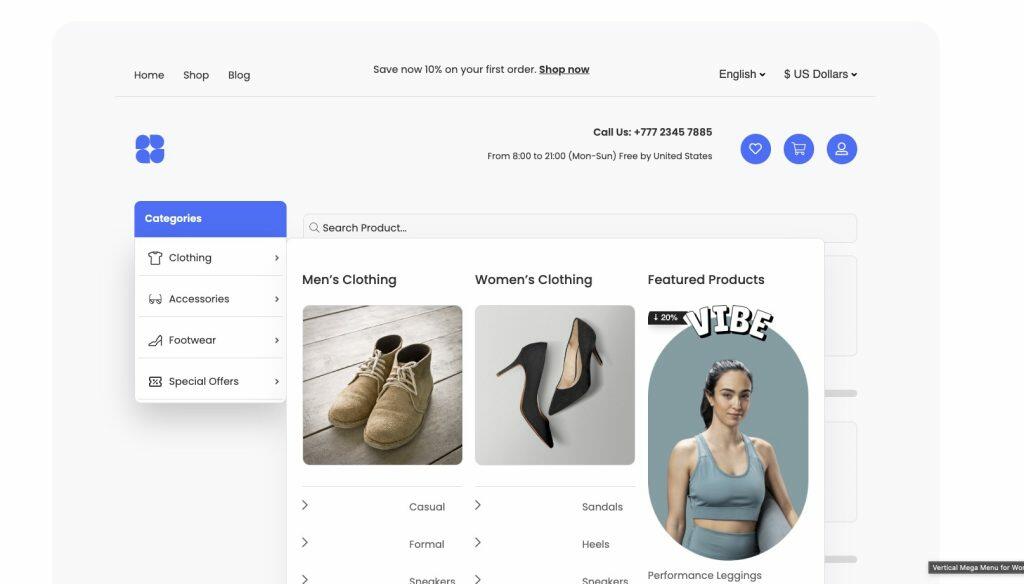](https://qa.nexterwp.com/nexter-blocks/builder/wordpress-vertical-mega-menu/)A mega menu is a dropdown scaled up for large sites, with columns, icons, and media. ## How to Create a Dropdown Menu in WordPress (2 Methods) There are two reliable ways to do this. Method 1 uses the menu tools built into WordPress, which is best for a simple dropdown on any site. Method 2 uses the Nexter Blocks Navigation Menu block, which is best when you want design control, click or hover behavior, and multi-level dropdowns without touching code. ### Method 1: Use the Built-In WordPress Menu Tools (No Plugin) Where you build a menu in WordPress depends on your theme, and this is the step most older guides get wrong. Classic themes use the familiar **Appearance > Menus** screen. Block themes, which is what you get with the default themes since Twenty Twenty-Two, do not show that screen by default. They build navigation in the Site Editor instead. Check which one you have first, then follow the matching path. #### If You Use a Classic Theme (Appearance > Menus) - Go to **Appearance > Menus** in your WordPress dashboard. - Click **Create a new menu**, give it a name, and click Create Menu. - From the left panel, select the pages, posts, or custom links you want, then click **Add to Menu**. - To turn a flat list into a dropdown, drag a menu item slightly to the right so it sits under a parent item. The indented item becomes a submenu link. Repeat to nest more items. - Pick a display location under Menu Settings, then click **Save Menu**. 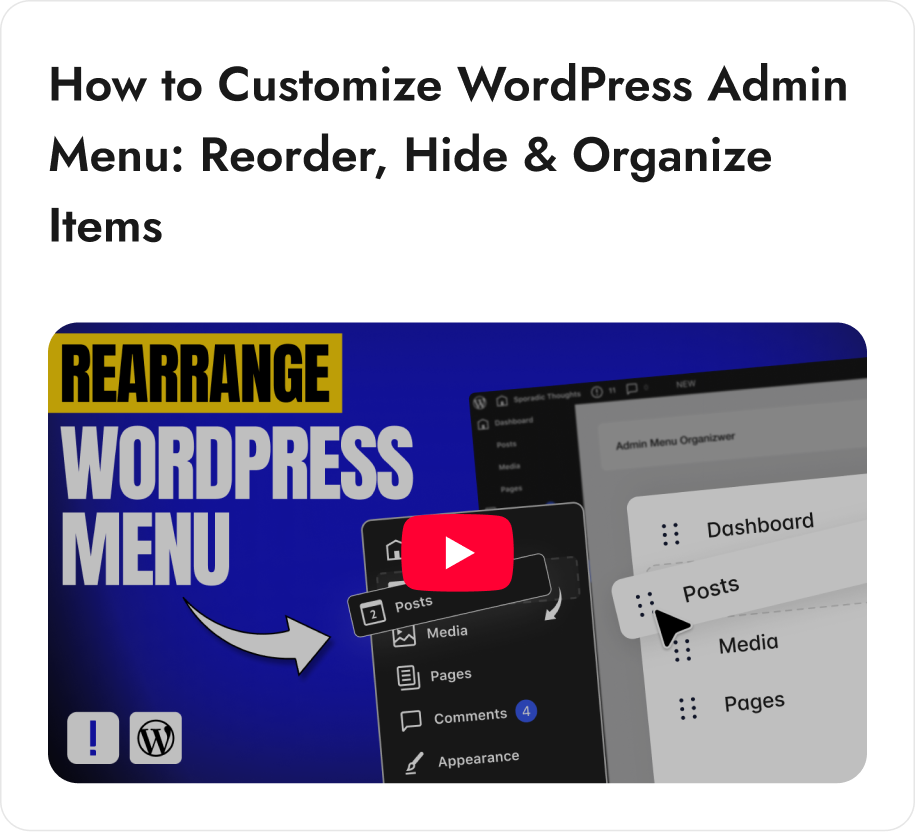Indenting a menu item under a parent is what turns a flat list into a dropdown. #### If You Use a Block Theme (Site Editor) Block themes handle navigation through the Navigation block. Go to **Appearance > Editor** to open the Site Editor, edit your header, and select the Navigation block. Use the list view to add pages, then drag an item onto another to nest it as a submenu. The result is the same dropdown behavior, just built in a different place. If your theme has no Appearance > Menus link, this is why, and this is where you work instead. ***Also Read:** already have a menu and just need to edit it? Here is [how to change a menu in WordPress](https://qa.nexterwp.com/blog/how-to-change-menu-in-wordpress/), and [how to fix it when you cannot add a page to a WordPress menu](https://qa.nexterwp.com/blog/fix-wordpress-cant-add-page-to-menu-issue/).* ### Method 2: Use the Nexter Blocks Navigation Menu Block (No Code) The built-in tools work, but they lean on your theme for styling and behavior, which is where dropdowns often break on mobile. If you build in the Gutenberg editor, the Nexter Blocks Navigation Menu block gives you a dropdown you control directly: horizontal or vertical layouts, multi-level submenus, hover or click triggers, and responsive settings, all without code. #### Step 1: Install and Activate Nexter Blocks Install Nexter Blocks from the WordPress plugin directory and activate it. Once active, it appears in your dashboard so you can turn individual blocks on and off. The Navigation Menu block sits in the Header & Mega Menu builder, which is a PRO feature, so make sure it is enabled. 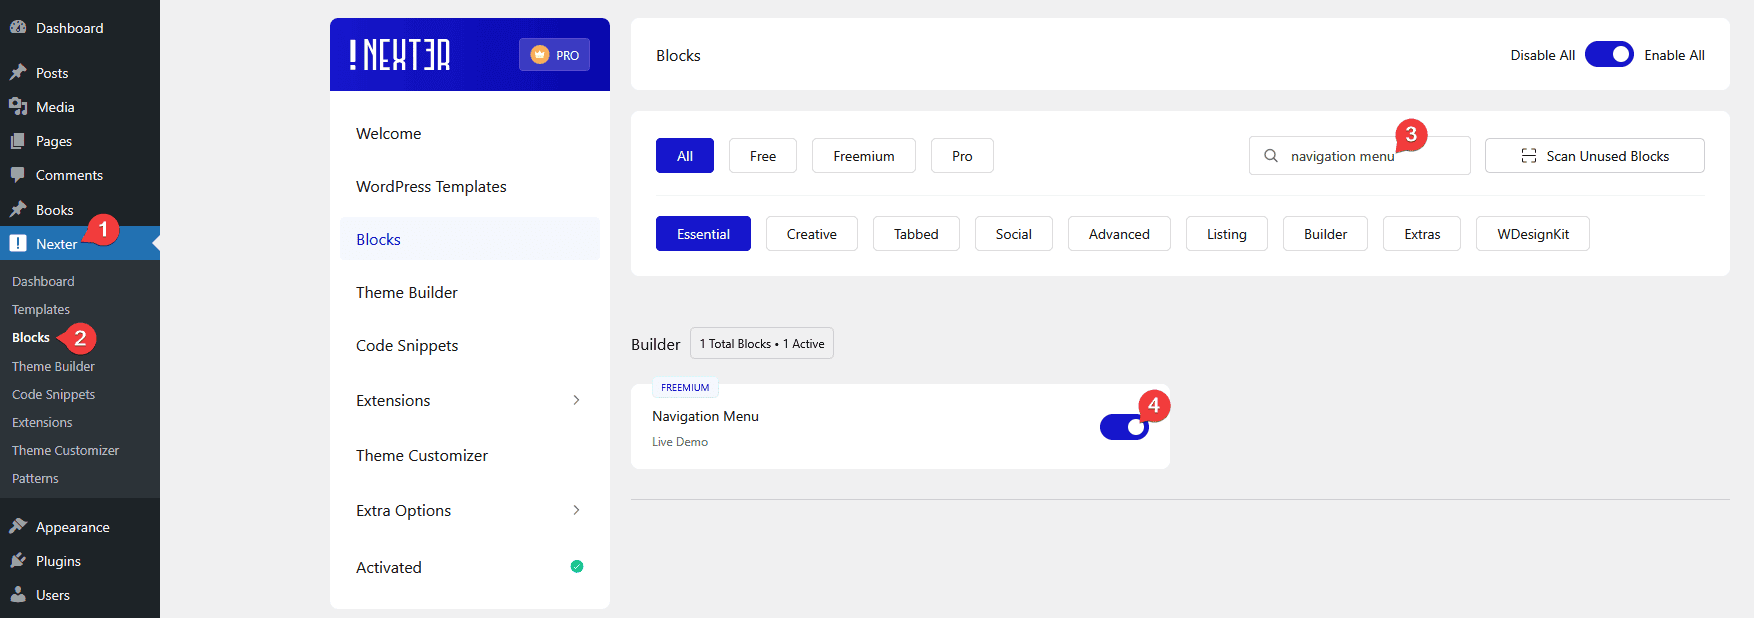Turn on the Navigation Menu block from the Nexter Blocks dashboard before you use it. #### Step 2: Add the Navigation Menu Block Open the page or template where the menu should live, click the block inserter (the plus icon), and search for "Navigation Menu." Add the block to your layout. A settings panel opens on the right where you shape everything about the menu. 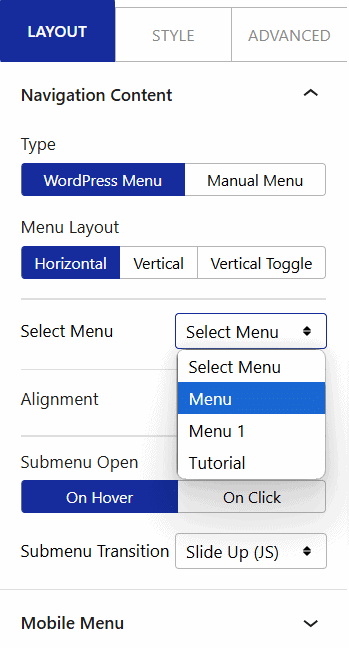Search for Navigation Menu in the block inserter and drop it into your page or header. #### Step 3: Add Items and Build the Dropdown In the Layout tab, set the menu type, alignment, and submenu behavior. Add your items, then attach child items to a parent to create the dropdown. This is where you choose whether submenus open on hover or on click, which matters for touch devices where hover does not exist. #### Step 4: Style It in the Block Panel Switch to the Style tab to set typography, colors, borders, spacing, and backgrounds for the menu, the submenus, and the item descriptions. Because the styling lives in the block and not the theme, your dropdown looks the same no matter which theme you run. 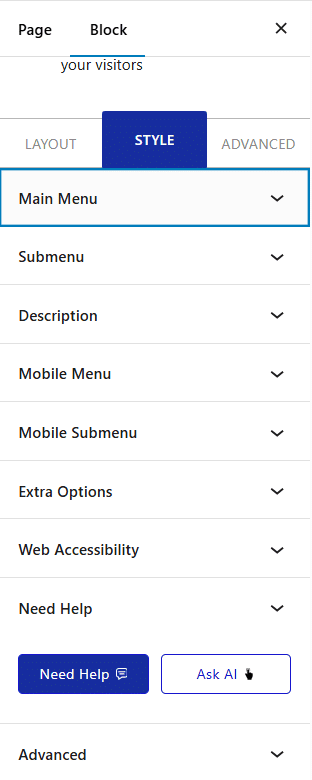The Style tab controls colors, type, and spacing for the menu and its submenus. *Try the [Navigation Menu block for Nexter Blocks](https://qa.nexterwp.com/nexter-blocks/builder/wordpress-navigation-menu/) to build a fully responsive dropdown right inside the Gutenberg editor.* ## Which Method Should You Use? If you need a plain dropdown and your theme already styles menus well, the built-in tools are enough and cost nothing. If you want dropdowns that look and behave the same across themes, reliable mobile behavior, and design control without CSS, the Nexter Blocks Navigation Menu block is the faster path. Many sites use both: the built-in menu for a small blog, the block for a header they actually want to design. ## Wrapping Up A dropdown menu is one of the simplest upgrades you can make to a WordPress site, and it pays off every time a visitor finds a page they would have missed. Start with the built-in tools if your needs are basic. Reach for a block-based builder when you want control. With 90+ Gutenberg blocks, Nexter Blocks helps you build more than dropdown lists. It covers header menus, footer menus, mega menus, and full custom layouts, right inside WordPress. For your next menu, consider the [**Nexter Blocks Navigation Menu Builder**](https://qa.nexterwp.com/nexter-blocks/builder/wordpress-navigation-menu/) to create dropdowns easily in the Gutenberg editor. ## Suggested Reading - [How to Create a Mega Menu in WordPress Using Gutenberg](https://qa.nexterwp.com/blog/create-a-mega-menu-in-wordpress-using-gutenberg/) - [How to Create an Off-Canvas Menu in WordPress](https://qa.nexterwp.com/blog/how-to-create-an-off-canvas-menu-in-wordpress/) - [5 Best WordPress Mega Menu Plugins](https://qa.nexterwp.com/blog/best-wordpress-mega-menu-plugins/) - [How to Add a Page to a WordPress Menu (and Fix It When You Cannot)](https://qa.nexterwp.com/blog/fix-wordpress-cant-add-page-to-menu-issue/) - [Best WordPress Accessibility Plugins for 2026](https://qa.nexterwp.com/blog/best-wordpress-accessibility-plugins/) ## FAQs on Creating Dropdown Menus in WordPress ### Can I customize the dropdown menu design without writing code? Yes, you can customize dropdown menus using your WordPress theme’s built-in options or a visual builder plugin like Elementor, WPBakery, or Customizer. Many themes offer custom styling settings (colors, fonts, hover effects) for creating beautiful menus in the WordPress Customizer under Appearance > Customize > Menus or Header Options. ### How do I add icons to my dropdown menu? You can add icons using a theme that supports menu icons (e.g., Astra, OceanWP), a plugin like Menu Icons by ThemeIsle, which integrates with the WordPress menu editor, or a page builder like Elementor Pro, which allows icon placement next to menu locations. ### How do I create a multi-level dropdown menu? Multi-level drop-down menus are perfect for websites with extensive content and dynamic content structure. To create it, navigate to Appearance > Menus, drag sub-items slightly to the right under a parent menu item to nest them. Repeat the process for additional levels. WordPress supports multi-level (tiered) menus as long as your theme’s CSS handles them. ### Why are my submenu items not showing under the main menu? If submenu items are not visible under the main menu, this can be because of a few common reasons. A possibility is that your theme, such as a classic theme, doesn’t support multi-level menus properly. Alternatively, custom CSS could be hiding the menu link, or there could be conflicts or errors on the JavaScript level. ### Which is better for dropdown menus: built-in WordPress menus or plugins? Built-in menus are ideal for simple dropdowns and are easier to manage. Plugins (like Max Mega Menu, Menu Image, or WP Mega Menu) are better for extended functionality, complex layouts, icons, images, or enhanced mobile responsiveness. Choose based on your design and functionality needs. ### Are dropdown menus mobile responsive? Most themes automatically make dropdowns mobile-friendly. However, if your theme doesn’t support this, you may need to use an additional plugin or write custom CSS/JS for better responsiveness, or use Nexter Blocks for no-code mobile integration. ### How do I fix a dropdown menu that works on desktop but not on mobile? If your dropdown menu is not working on mobile sites, try these things to fix it. Test with a default theme to isolate the issue. Ensure your theme or additional plugin supports mobile menus. Use a mobile menu plugin if needed (e.g., WP Mobile Menu). --- # Best Internal Linking Plugins for WordPress (6 Tools Compared) Source: https://qa.nexterwp.com/blog/best-internal-linking-plugins-for-wordpress/ #### Key Takeaways - Internal linking plugins come in two types: dedicated tools (Link Whisper, Internal Link Juicer, LinkBoss, Interlinks Manager) and SEO suites with a built-in link-suggestion feature (Rank Math, Yoast SEO).- Link Whisper suggests links as you write, while Internal Link Juicer builds them automatically from the keywords you configure.- Rank Math's Link Suggestions feature is free; Yoast's internal linking tool requires Yoast SEO Premium.- Choose by how much control you want: approve every link (Link Whisper or an SEO suite) or set-and-forget automation (Internal Link Juicer).- Internal links build topical authority and help AI engines map your site; pair a linking tool with a plugin like RankReady to track whether AI answers actually cite you. Picture a WordPress site with 150 published posts. A handful of them are genuinely good, and almost none of them link to each other. That is one of the most common SEO problems on content-heavy sites, and it is the exact problem an internal linking plugin is built to fix. Done by hand, connecting all those posts is slow and easy to forget. A good plugin either suggests the links for you or adds them automatically. The tricky part is that "internal linking plugin" covers two very different kinds of tool, and people often install the wrong one. This guide splits them clearly, gives you six options with honest pros and cons, and helps you match a tool to how much control you actually want. ## What an Internal Linking Plugin Actually Does An internal link is any link from one page on your site to another page on the same site. Internal linking plugins help you create and manage those links at scale, so related posts point to each other instead of sitting as dead ends. That matters for two reasons: readers find more of your content, and search engines and AI systems get a clearer map of how your pages relate. 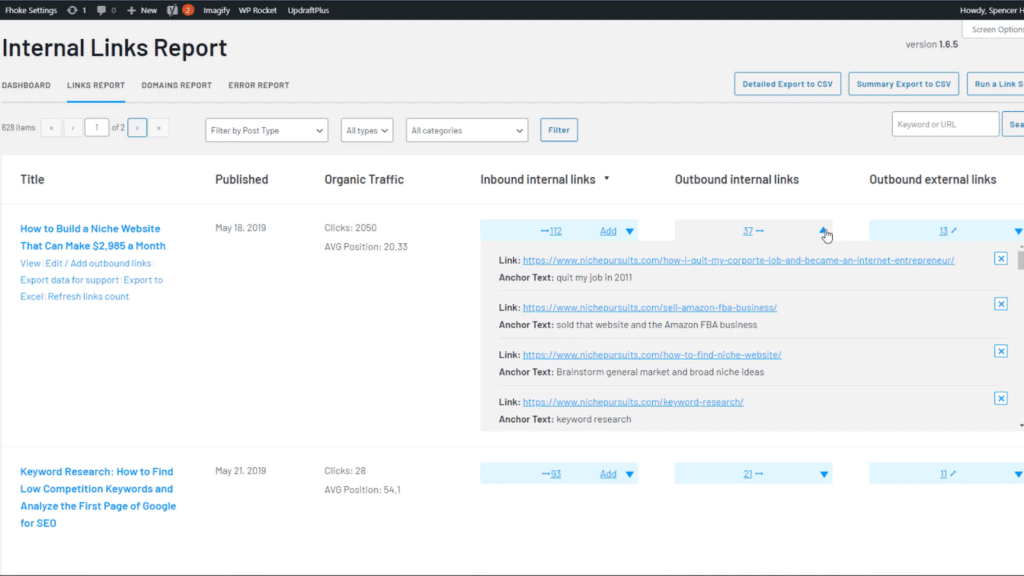Most internal linking plugins include a report like this, showing how many links point to and from each post so you can find orphaned content. Here is the split that decides which tool you need: - **Dedicated internal-linking tools.** Their whole job is finding, suggesting, or automatically inserting internal links. Think Link Whisper, Internal Link Juicer, LinkBoss, and Interlinks Manager.- **SEO suites with a link-suggestion feature.** Plugins like Rank Math and Yoast SEO do meta titles, sitemaps, and schema, and they include internal link suggestions as one feature among many. If you already run an SEO suite, you may not need a separate plugin at all. If linking is your main pain point, a dedicated tool usually goes deeper. Internal links are also one of the main ways you build [topical authority](https://qa.nexterwp.com/blog/topical-authority-wordpress/), so it helps to plan them around a [topical map](https://qa.nexterwp.com/blog/how-to-build-a-topical-map/) rather than linking at random. ## Dedicated Internal-Linking Tools ### 1. Link Whisper (Free) Link Whisper Free is the best-known dedicated option, with around 30,000 active installs and a 82 out of 100 rating from 145 reviews (version 0.9.5, last updated June 2026, tested up to WordPress 7.0). It scans your posts and suggests relevant internal links as you write, then lets you add them with a checkbox. It also flags orphaned posts and broken links. **Best for:** writers who want fast, editor-side suggestions without leaving the post. **Worth knowing:** the deeper reporting, automatic linking, and bulk tools live in the paid Link Whisper plan, which is sold separately from the WordPress.org version. ### 2. Internal Link Juicer Internal Link Juicer takes the automatic route. It has roughly 90,000 active installs and a strong 94 out of 100 rating from 531 reviews (version 2.26.0, updated March 2026). You configure target keywords per post, and it automatically turns those keywords into links to that post wherever they appear across your site. It describes itself as a solution for "building internal links within post content" through "intelligent per-post configuration of your desired keywords." **Best for:** sites that want set-and-forget automatic linking based on keywords rather than approving each link. **Worth knowing:** taxonomy linking, custom fields, and keyword import are Pro features, and automatic linking needs careful keyword rules or it can over-link. ***Also Read:** [Semantic SEO for WordPress](https://qa.nexterwp.com/blog/semantic-seo-wordpress/) explains why the words around your links, not just the links themselves, shape how search engines read your content.* ### 3. LinkBoss LinkBoss is the newer, AI-first option (around 2,000 active installs, 96 out of 100 from 17 reviews, version 2.8.3, updated May 2026). Instead of matching exact keywords, it uses natural language processing to suggest contextually relevant links, and it can fix anchor text issues and map your site structure. The free tier includes Google Search Console integration. **Best for:** larger content libraries that want meaning-based suggestions rather than keyword matches. **Worth knowing:** it has fewer reviews than the established tools, and the heavier automation runs on a credit or subscription model. ### 4. Interlinks Manager Interlinks Manager is less about adding links and more about measuring the ones you have (about 8,000 active installs, 92 out of 100 from 5 reviews, version 1.18, updated March 2026). It gives you link equity analysis, an optimization score, and broken-link and redirect detection based on HTTP status codes. **Best for:** people who want data on their existing internal link structure, not just more links. **Worth knowing:** automatic link creation, link suggestions, and visit tracking are in the Pro version, so the free core is mostly an auditing tool. ## SEO Suites With Built-In Link Suggestions If you already run a full SEO plugin, check what you own before buying anything new. Two of the biggest include internal linking help. 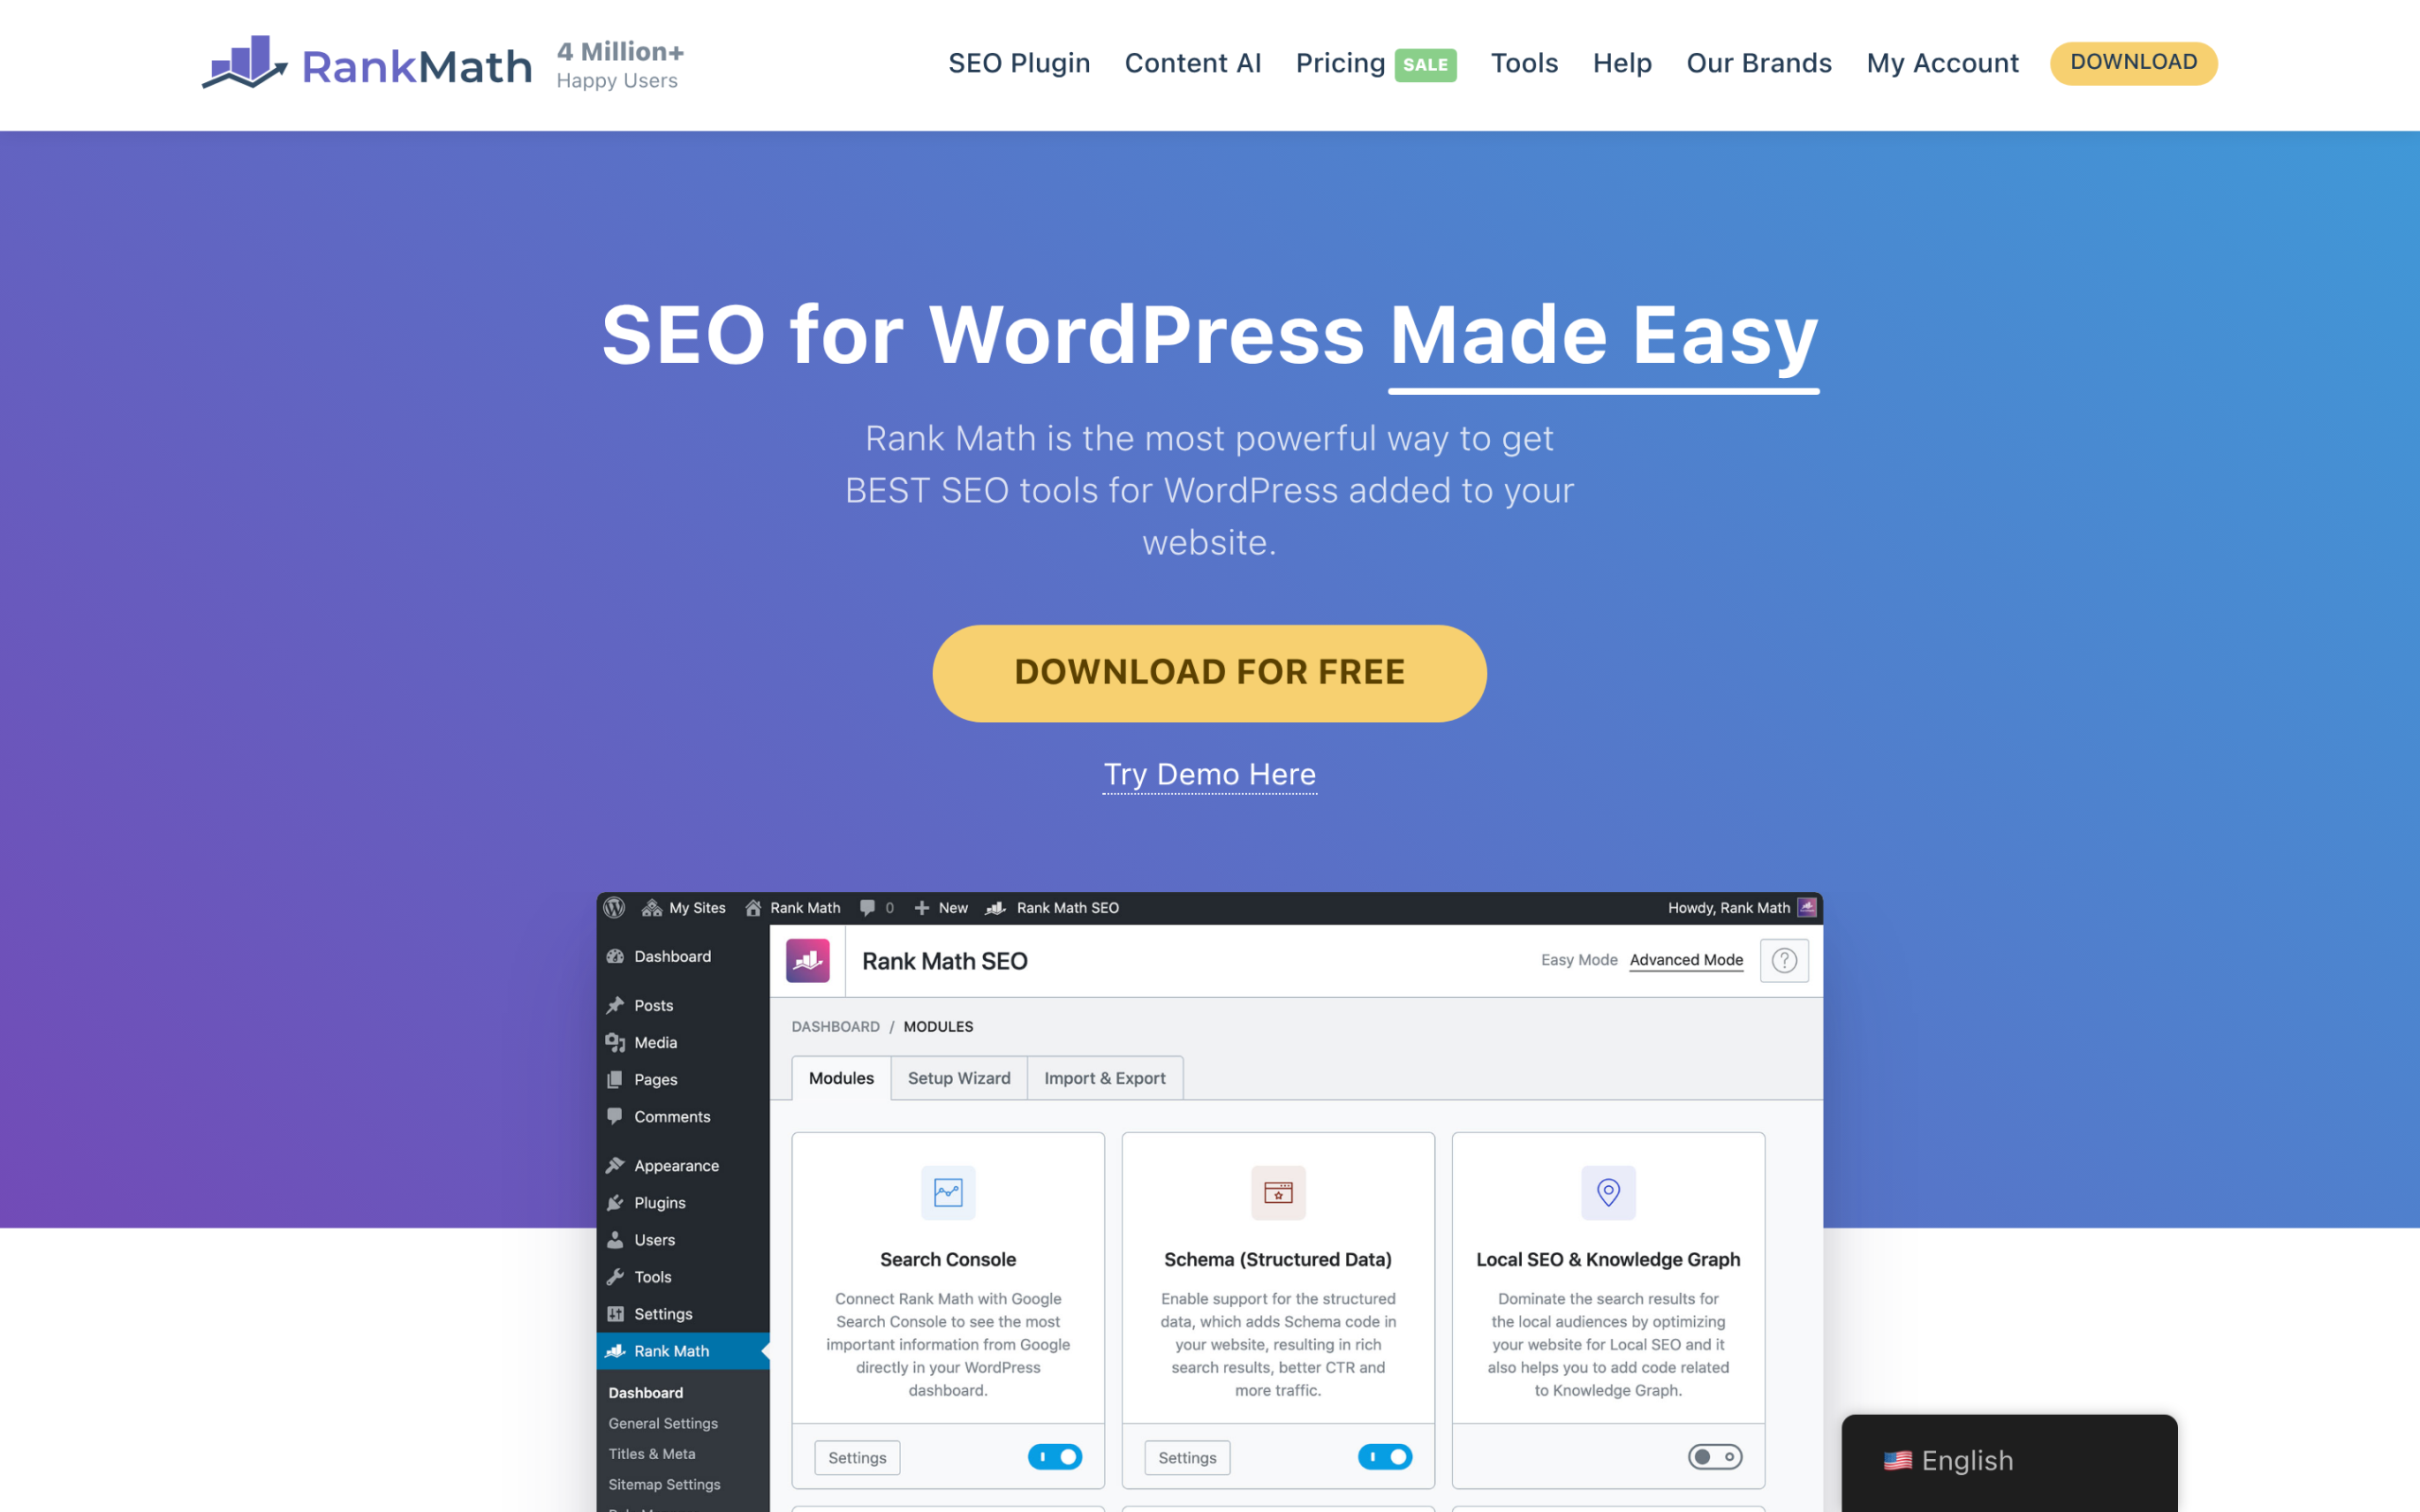Rank Math includes a free Link Suggestions feature, so many sites already have internal linking help without a separate plugin. ### 5. Rank Math SEO Rank Math has around 4,000,000 active installs (version 1.0.273, 96 out of 100 from 7,453 reviews, updated June 2026). Its Link Suggestions feature is free: you mark important posts as Pillar Content, and Rank Math suggests those posts by category inside the editor, with one-click insert. Its newer AI Link Genius adds AI-driven internal linking in the PRO version. **Best for:** sites already on Rank Math that want built-in suggestions without adding another plugin. **Worth knowing:** the free suggestions depend on having pillar content and clean categories; the AI automation is a Pro upgrade. ### 6. Yoast SEO Yoast SEO is the most installed SEO plugin at around 10,000,000 active installs (version 27.9, 96 out of 100 from 27,811 reviews, updated June 2026). Its internal linking suggestions are a Premium feature. Yoast scans your content, compares the most prominent words across your posts, and shows five related pages to link to inside the editor as you write. **Best for:** existing Yoast users who upgrade to Premium and want suggestions built into their writing flow. **Worth knowing:** the internal linking tool is not in free Yoast. It needs Yoast SEO Premium and an initial content scan before suggestions appear. ***Also Read:** [Rank Math vs Yoast SEO](https://qa.nexterwp.com/blog/rank-math-vs-yoast/) compares the two suites in full if you are deciding which one to build your SEO on.* ## Internal Linking Plugins Compared | Plugin | Type | How it links | Free version | Last updated | | ------ | ---- | ------------ | ------------ | ------------ | | Link Whisper | Dedicated | Suggests as you write | Yes, plus paid plan | Jun 2026 | | Internal Link Juicer | Dedicated | Automatic, keyword-based | Yes, plus Pro | Mar 2026 | | LinkBoss | Dedicated | Semantic AI suggestions | Free tier, plus paid | May 2026 | | Interlinks Manager | Dedicated | Audits links, Pro adds auto-links | Yes, plus Pro | Mar 2026 | | Rank Math SEO | SEO suite | Pillar and category suggestions | Yes, Pro adds AI Link Genius | Jun 2026 | | Yoast SEO | SEO suite | Prominent-words suggestions | Premium only | Jun 2026 | Install counts, versions, and ratings verified on WordPress.org in July 2026. Check each plugin's site for current pricing. ## How to Choose the Right One - **You want to approve every link yourself:** Link Whisper, or the built-in suggestions in Rank Math or Yoast.- **You want fully automatic linking:** Internal Link Juicer.- **You have a large library and want meaning-based links:** LinkBoss.- **You want to audit and score the links you already have:** Interlinks Manager.- **You already run Rank Math or Yoast:** start with their built-in tools before paying for a separate plugin. Whichever you pick, the plugin is only half the job. Use descriptive anchor text that tells readers and search engines what the target page is about, and link to your most important pages more often than your throwaway ones. ## Internal Linking and AI Search A clear internal link structure helps AI engines understand your site; tools like RankReady then track whether those engines actually find and cite you. Internal links do more than pass ranking signals. They show search engines and AI systems how your pages relate, which is a big part of how you earn [answer engine optimization](https://qa.nexterwp.com/blog/answer-engine-optimization-wordpress/) results. When an AI engine like ChatGPT or Perplexity reads your site, a clean internal link structure makes it easier to understand which page answers which question, and which pages are your authoritative ones. That is a different job from measuring whether AI engines actually find and cite you. [RankReady](https://store.posimyth.com/plugins/rankready/), POSIMYTH's free AI SEO plugin, handles that side. It logs AI crawler visits, shows citation-bot activity and real AI referrals from tools like ChatGPT and Perplexity, and generates llms.txt and schema. It does not build internal links for you, so treat it as a companion to one of the tools above, not a replacement. If you want to see the full landscape, our roundup of [AI visibility tools](https://qa.nexterwp.com/blog/ai-visibility-tools-wordpress/) and the guide to [entity SEO](https://qa.nexterwp.com/blog/entity-seo-wordpress/) cover how AI systems decide who to cite. ## The Bottom Line Internal linking is one of the highest-return, lowest-cost things you can do for an existing WordPress site. Match the tool to how much control you want: suggestions you approve, or automation you configure once. Link with intent, keep your anchor text descriptive, and point the most links at the pages you most want to rank. Do that consistently and both readers and AI engines will have a much easier time finding your best work. ## Suggested Reading - [What Is Topical Authority? How WordPress Sites Build It](https://qa.nexterwp.com/blog/topical-authority-wordpress/)- [How to Build a Topical Map for WordPress](https://qa.nexterwp.com/blog/how-to-build-a-topical-map/)- [Semantic SEO for WordPress](https://qa.nexterwp.com/blog/semantic-seo-wordpress/)- [Rank Math vs Yoast SEO: Which Wins in 2026?](https://qa.nexterwp.com/blog/rank-math-vs-yoast/)- [What Is AI SEO? The Complete 2026 Guide](https://qa.nexterwp.com/blog/ai-seo-wordpress/) --- # WordPress Staging Sites: How to Test Changes Safely (2026) Source: https://qa.nexterwp.com/blog/wordpress-staging-site/ #### Key Takeaways - A WordPress staging site is a private clone of your live site where you can test updates, redesigns, and new plugins without a single visitor ever seeing a broken page.- You do not always need staging. For one low-risk plugin update, a fresh backup is often enough. Staging earns its keep for theme switches, major version updates, and anything that touches checkout or forms.- Three ways to get one: one-click staging from your host, a staging plugin like WP Staging, or a local environment on your own computer.- The hard part is not creating staging, it is pushing it back to live. While you work on staging, your live database keeps changing with new orders, comments, and sign-ups, so a full overwrite can erase real data.- Sync files and database deliberately, pause new orders during a WooCommerce push, and take a backup in the minute before you deploy. The first time I pushed a "quick" plugin update straight to a live client site, I did it at 4 p.m. on a Friday. The update changed how the checkout page loaded, and for about forty minutes the store took no orders while I rolled it back and figured out what happened. Nothing in the changelog looked risky. That is the whole problem with testing on production: you find out what breaks after your visitors already have. A WordPress staging site fixes that. It gives you a private copy of your site to break things on, so the live site stays boring and stable. This guide covers what staging actually is, when you genuinely need it, the three ways to set one up, and the step almost every tutorial skips: how to push your changes back to live without losing data. ## What a WordPress Staging Site Is (and What It Does Not Protect You From) A staging site is a working copy of your live (production) site that runs somewhere the public cannot see: a hidden subdomain, a subdirectory, or your own computer. It has the same theme, the same plugins, the same content, and a copy of the same database. You test your changes there first, confirm nothing broke, and only then apply them to the real site. Here is the part that catches people out. A staging site is a snapshot taken at one moment in time. The second you create it, the clone and the live site start drifting apart. Your live site keeps collecting new comments, orders, form entries, and user sign-ups while you work on staging in peace. So staging protects you from shipping broken code to visitors. It does not, on its own, protect the new data your live site gathers while you are busy testing. That gap is why the "push to live" step later in this guide needs real care. Staging is also not a backup. A backup is a saved copy you restore after something goes wrong. Staging is where you prevent things from going wrong in the first place. You want both, and they do different jobs. ## When You Actually Need Staging vs. When a Backup Is Enough Not every change deserves a full staging cycle. Spinning up a clone for a one-line text edit is wasted effort. The honest rule is to match the safety net to the size of the risk. A fresh backup is usually enough when you are making a small, reversible change: updating a single well-known plugin, editing a blog post, or swapping an image. If it breaks, you restore and move on. Keep a recent backup with a trusted [WordPress backup plugin](https://qa.nexterwp.com/blog/best-wordpress-backup-plugin/) before you touch anything, every time. Keep a fresh backup before every change. A backup restores you after a problem; staging helps you avoid one. Staging earns its place when a change is hard to undo or touches something that makes you money: - Switching or heavily customizing your theme- Major version updates (a big plugin release, a PHP bump, or a WordPress core upgrade)- Updating several plugins at once, where one conflict is hard to trace- Anything touching checkout, payments, booking, or forms- A redesign, a new page builder, or structural layout work- Editing custom code in `functions.php` or a child theme If a mistake in the change would cost you sales or take hours to unpick, test it on staging first. ## Method 1: One-Click Staging From Your Host (The Easiest Path) If you are on managed WordPress hosting, this is almost always the best option, and you may already be paying for it. Hosts such as Kinsta, WP Engine, SiteGround, Cloudways, and WordPress.com build staging into the dashboard. You click a button, the host clones your site to a private environment, and you get a separate login to work in. On WordPress.com, for example, you open the Hosting Dashboard, click the "Production" dropdown, and choose "+ Add staging site." Its documentation notes you can "create one staging site per production site" and that the feature requires a Business or Commerce plan. The exact steps differ by host, so check your host's own staging docs, but the pattern is the same everywhere: create, work, then sync back. **Best for:** anyone on managed hosting who wants staging without touching a plugin or a local setup. **Worth knowing:** host staging usually pushes changes back by syncing the environments, and that sync is exactly where data-loss risk lives (more on that below). Many hosts limit you to one staging copy per site. ## Method 2: A Staging Plugin (When Your Host Has No Staging) On shared or budget hosting without a built-in staging feature, a plugin does the same job. WP Staging is the most widely used option, with more than 100,000 active installations, a 4.8-star rating across 2,462 reviews, and support tested up to WordPress 7.0 (version 4.9.1 at the time of writing). The free version clones your entire production site into a subdirectory, something like `example.com/staging-site`, with one click, and locks it behind a login so search engines and visitors never see it. That covers the create-and-test half of the job at no cost. Pushing your changes back to production with one click, along with migrating to another host or domain, is a WP STAGING Pro feature. So the free plugin is excellent for testing, and you either upgrade for the automated push or apply your verified changes to live by hand. **Best for:** sites on hosting without one-click staging, or anyone who wants staging that travels with the site rather than the host. **Worth knowing:** a plugin clone lives on the same server as your live site, so it uses the same disk space and resources. It is a testing environment, not an isolated one. 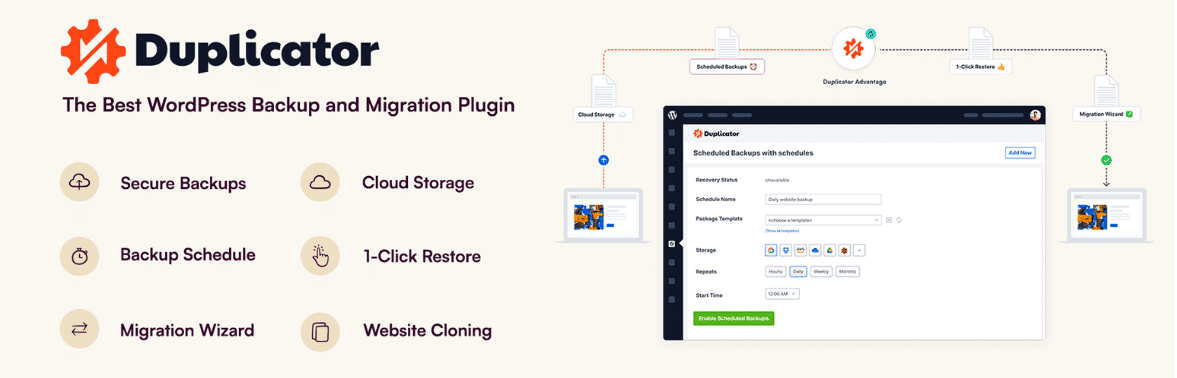Tools like Duplicator can clone and move a WordPress site, which is one way to build and deploy a staging copy. ## Method 3: A Local Environment (For Code and Theme Development) The third option is to run a copy of your site directly on your own computer using a local development tool. This is the developer's choice for heavier work: building a theme, writing custom code, or testing changes with no internet and no server bill. Tools like Local, DevKinsta, Studio, and DDEV set up a full WordPress install on your machine in a few minutes. ***Also Read:** [5 Best Local WordPress Development Environments](https://qa.nexterwp.com/blog/best-local-wordpress-development-environments/) if you want a full comparison of the tools that run WordPress on your own computer.* **Best for:** developers and anyone doing serious code or theme work who wants a private, fast, offline copy. **Worth knowing:** local is furthest from your real hosting, so "works on my machine" is a genuine risk. A change that runs fine locally can behave differently on live because of server settings, PHP versions, or caching. Many teams use local for building and a host or plugin staging site for the final check before deploy. ## The Three Methods at a Glance | Method | Best for | Cost | Push to live | | ------ | -------- | ---- | ------------ | | Host one-click staging | Managed hosting users | Included in the plan | Built-in sync | | Staging plugin (e.g. WP Staging) | Shared or budget hosting | Free to clone; Pro for one-click push | Free: manual; Pro: one click | | Local environment | Developers, code and theme work | Free | Manual migration | ## The Part Everyone Gets Wrong: Pushing Staging to Live Without Losing Data Creating a staging site is the easy 20 percent. Getting your changes back to production safely is the 80 percent almost no tutorial explains, and it is where real sites get hurt. Remember that your staging clone froze in time the moment you made it. If you spent a day rebuilding a page on staging, your live site spent that same day collecting new orders, comments, and sign-ups. A WordPress site stores both your content and that live activity in the same database. So when a tool offers to "push staging to production," you have to know what it is replacing. Overwrite the whole live database with your staging copy and you can wipe every order and comment that came in while you worked. This is not a hypothetical. WordPress.com's own staging documentation warns, for stores in particular: "There is a risk that you may permanently lose this data (such as orders and customer details) when you replace the production site with the staging version." Every staging system has some version of this trade-off. How to deploy without the damage: - **Separate files from the database in your head.** Theme files, plugin files, and code are safe to push. The database is where new live data lives, so treat any database overwrite as the dangerous move.- **For a design or code change,** push the files and be conservative about the database. If your change did not add new settings or content structures, you often do not need to replace the live database at all.- **For a WooCommerce or membership site,** pause new orders during the push, or deploy in a low-traffic window, then confirm the data lines up before and after. WordPress.com specifically recommends pausing orders and verifying data alignment first.- **Take a backup in the final minute before you deploy,** not this morning's backup. If the push goes wrong, you restore to the exact moment before it.- **If your host or plugin only does a full overwrite,** apply small changes to live by hand instead. Re-doing a settings tweak manually is safer than replacing your whole database. ***Also Read:** [5 Best WordPress Migration Plugins](https://qa.nexterwp.com/blog/best-wordpress-migration-plugins/) for moving a full site between environments without data loss when a simple sync will not do.* ## A Safe Staging Workflow (Copy This Checklist) Put the pieces together and a safe change looks the same every time, whichever method you use: - Take a full backup of the live site first.- Create or refresh your staging copy so it matches live.- Make one set of changes on staging, not ten unrelated ones at once.- Test the things that matter: checkout, contact forms, key landing pages, and the site on mobile.- Clear caches on staging before you judge the result, so you are not looking at old output.- Take a fresh backup of live in the minute before you deploy.- Push files, and handle the database deliberately per the rules above.- Recheck the same critical pages on the live site right after deploy. Keeping changes small and isolated is the quiet secret here. When you push one change at a time, and something does break, you know exactly what caused it. If you are moving a site up from your computer, the same care applies when you take a [local build](https://qa.nexterwp.com/blog/best-local-wordpress-development-environments/) live. And because a broken deploy is also a security-adjacent event, keep your recovery habits sharp: knowing [how to clean up a compromised WordPress site](https://qa.nexterwp.com/blog/remove-malware-from-wordpress/) comes from the same discipline of backing up before you act. ## Test Theme and Block Changes Before They Go Live The changes most worth staging are often the visual ones, because a layout that looks perfect in the editor can shift on real content and real screen sizes. Theme switches, template edits, and new blocks all deserve a dry run. This is easier when your theme is light and predictable to begin with. The [Nexter WP Theme](https://qa.nexterwp.com/nexter-theme/) is built at under 20KB and ships jQuery-free as pure JavaScript, in both a Classic and an [FSE block theme](https://qa.nexterwp.com/blog/what-is-a-wordpress-block-theme/) version, so what you test on staging behaves the same when it reaches production. It works with both the Gutenberg block editor and Elementor, which means you can trial template and block changes on staging and push them across with fewer surprises. If you are planning changes around the newest core release, our breakdown of [what WordPress 7 changes for block builders](https://qa.nexterwp.com/blog/wordpress-7-block-builders/) is a good companion read before you upgrade. Staging is not a chore you add to your workflow. It is the thing that lets you make bold changes without the Friday-afternoon panic. Create a clone, test the risky part, mind the database on the way back, and your live site stays boring while you do the interesting work behind the curtain. ## Suggested Reading - [5 Best Local WordPress Development Environments](https://qa.nexterwp.com/blog/best-local-wordpress-development-environments/)- [5 Best WordPress Migration Plugins](https://qa.nexterwp.com/blog/best-wordpress-migration-plugins/)- [5 Best WordPress Backup Plugins](https://qa.nexterwp.com/blog/best-wordpress-backup-plugin/)- [What Is a WordPress Block Theme?](https://qa.nexterwp.com/blog/what-is-a-wordpress-block-theme/)- [WordPress 7.0: What Is Changing for Block Builders](https://qa.nexterwp.com/blog/wordpress-7-block-builders/) --- # How to Find and Remove Malware From WordPress (Step-by-Step) Source: https://qa.nexterwp.com/blog/remove-malware-from-wordpress/ #### Key Takeaways - Malware usually shows up as spam redirects, a Google warning, unknown admin users, or your host suspending the account. Confirm the infection with a scan before you start deleting things.- Before cleaning, put the site in maintenance mode, back up the infected files, and change every password: WordPress, database, FTP, hosting, and email.- A free scanner such as Wordfence, Sucuri, MalCare, or Jetpack Protect will find most infections. Removal is either manual (reinstall core, refresh plugins and themes, inspect wp-config, .htaccess, and the database) or a paid one-click clean.- If you have a recent clean backup from before the hack, restoring it is often faster and safer than hand-cleaning file by file.- The cleanup only sticks if you harden afterward: updates, limited login attempts, two-factor login, and a smaller attack surface. Nexter Extension bundles several of these controls. There is a specific kind of stomach-drop that comes with opening your own website and watching it redirect to a sketchy online-pharmacy page. Or getting the email from Google that calls your site "deceptive." Or a host quietly suspending the account with a one-line note about "malicious activity." A hacked WordPress site feels like an emergency, and it is one. But the cleanup follows a predictable order, and most infections are fixable in an afternoon if you work through the steps calmly instead of deleting files at random. This guide walks through how to find and remove malware from WordPress: how to confirm you are actually infected, how to contain the damage, how to scan and clean, and how to make sure it does not come back. ## How to Tell if Your WordPress Site Actually Has Malware Before you touch a single file, confirm that malware is really the problem. A few symptoms are almost always a real infection: - **Unexpected redirects.** Visitors (or you) land on spam, gambling, or pharmacy pages instead of your content.- **A Google warning.** Search Console shows a "Security Issues" report, or browsers display a red "Deceptive site ahead" screen from Google Safe Browsing.- **Your host suspended the site.** Many hosts scan automatically and take a site offline the moment they detect malicious files.- **Unknown admin users.** A user you never created appears in *Users*, often with a random name and admin role.- **Strange files or spam pages.** New PHP files you did not add, or hundreds of spammy pages showing up in Google when you search `site:yourdomain.com`. Not every problem is a hack. A white screen or a broken layout is often just a plugin conflict. That is why the first real step is a scan, not a panic-delete. If your issue turns out to be a plugin clash instead, our roundup of [common WordPress mistakes to avoid](https://qa.nexterwp.com/blog/common-wordpress-mistakes-to-avoid/) covers the usual suspects. ## First 15 Minutes: Contain the Damage Malware can spread and can also be used to steal data while you work. Lock things down first: - **Put the site in maintenance mode** or take it offline so visitors are not served malicious code while you clean.- **Back up the infected site anyway.** Yes, it contains malware, but you need a copy of the evidence, and you can extract clean uploads from it later. A dedicated plugin makes this quick; see our picks for the [best WordPress backup plugins](https://qa.nexterwp.com/blog/best-wordpress-backup-plugin/).- **Change every password.** WordPress admin, the database user in `wp-config.php`, FTP/SFTP, your hosting panel, and the email tied to the admin account.- **Regenerate your security keys.** Replacing the secret keys and salts in `wp-config.php` logs out every session, which kills any stolen login cookies an attacker is still using. ***Also Read:** [5 Best WordPress Security Plugins to Protect Your Site](https://qa.nexterwp.com/blog/best-wordpress-security-plugins-to-protect-your-site/) for the tools that scan and monitor continuously.* ## Step 1: Scan and Find the Malware Start with a free remote scan that needs no install: Sucuri's SiteCheck or Google's Safe Browsing status page will tell you quickly whether your site is flagged and where the obvious problems are. Remote scanners only see public pages, though, so follow up with a server-side scanner plugin that can read your actual files. Here is how the four most common free scanners compare (install counts and versions verified on WordPress.org, July 2026): | Scanner | Active installs | Free scan | Removal | | ------- | --------------- | --------- | ------- | | Wordfence | 5M+ | Yes: core, themes, plugins for malware, backdoors, redirects, SEO spam | Manual (you act on the findings) | | MalCare | 200,000+ | Yes: cloud-based deep scan | One-click removal is paid | | Sucuri Security | 600,000+ | Yes: remote scan, file integrity, activity audit | Removal is a paid service | | Jetpack Protect | 100,000+ | Vulnerability scan via WPScan (53,500+ known issues) | Malware scan and removal are paid (Jetpack Scan) | A good scan report tells you which core files were modified, where injected PHP or backdoors are hiding, and which redirects or spam links were added. Save that report. It is your cleanup checklist. ## Step 2: Remove the Malware One warning before you edit anything: you already backed up in the last section, so if a step goes wrong you can restore. If you are not comfortable editing PHP or running SQL, use a one-click removal tool or hire a cleanup service instead of guessing. With that said, here is the manual path: - **Reinstall WordPress core.** In the dashboard go to *Updates* and click "Re-install Now." This overwrites every core file with a fresh copy without touching your database or `wp-content`. If the dashboard is locked, upload fresh core files over FTP (keep your own `wp-config.php` and `wp-content`).- **Refresh plugins and themes.** Delete every plugin and theme, then reinstall clean copies from WordPress.org or the developer. Remove anything you do not actively use, and delete any plugin or theme you do not recognize.- **Check the common injection points.** Inspect `wp-config.php`, `.htaccess`, and `index.php` for code you did not add, and look inside `wp-content/uploads`: there should be no `.php` files in there at all.- **Clean the database.** In phpMyAdmin, review `wp_users` for rogue admins, `wp_options` for suspicious autoloaded scripts, and `wp_posts` for injected spam links. Remove any scheduled tasks (cron events) you do not recognize.- **Compare against a clean copy.** Download a fresh WordPress ZIP of the same version and diff it against your files to spot anything that was modified.- **Re-scan until clean.** Run the scanner again and repeat until it reports nothing. ## Step 3: Get Your Site off Google's Blocklist A clean site can still be flagged for days until you ask for a re-check. Once your scans come back empty: - Open Google Search Console, go to *Security Issues*, and click *Request Review* after confirming the site is clean.- Check your status on Google Safe Browsing so browsers stop showing the red warning.- If your host suspended the account, reply to their ticket and ask them to re-scan and restore the site. How long recovery takes comes down to one thing: a clean, recent backup. Sites that have one are usually back within an hour. Sites cleaning file by file without one can spend 24 to 72 hours on it. ## Should You Clean It Yourself, Restore a Backup, or Pay a Service? There is no single right answer. Match the route to your situation: | Route | Best when | Cost and speed | | ----- | --------- | -------------- | | Clean it manually | You are comfortable with FTP and the database, and you have no clean backup | Free, but slow and detail-heavy | | Restore a backup | You have a recent backup from *before* the infection | Free and fastest, if the backup predates the hack | | Pay a removal service | The site is business-critical, keeps getting reinfected, or you are not technical | Roughly $50 to $300, usually same-day | ***Also Read:** [5 Best WordPress Backup Plugins](https://qa.nexterwp.com/blog/best-wordpress-backup-plugin/) so next time "restore a clean backup" is actually an option.* ## Harden WordPress So It Does Not Happen Again Removing the malware fixes the symptom. Hardening closes the door it came through. If you skip this part, reinfection is common within weeks. - **Update everything.** Outdated core, plugins, and themes are the number one entry point. Update on a schedule and remove abandoned plugins entirely.- **Lock down logins.** Limit login attempts, add two-factor authentication, put a CAPTCHA on the login form, and change the default login URL.- **Disable file editing.** Add `define('DISALLOW_FILE_EDIT', true);` to `wp-config.php` so a stolen login cannot edit theme or plugin code from the dashboard.- **Set correct permissions.** Files at 644 and folders at 755, with `wp-config.php` locked down tighter.- **Keep a firewall and scanner running,** and keep automated off-site backups.- **Shrink your attack surface.** Fewer plugins and a lightweight theme mean fewer things that can be exploited. 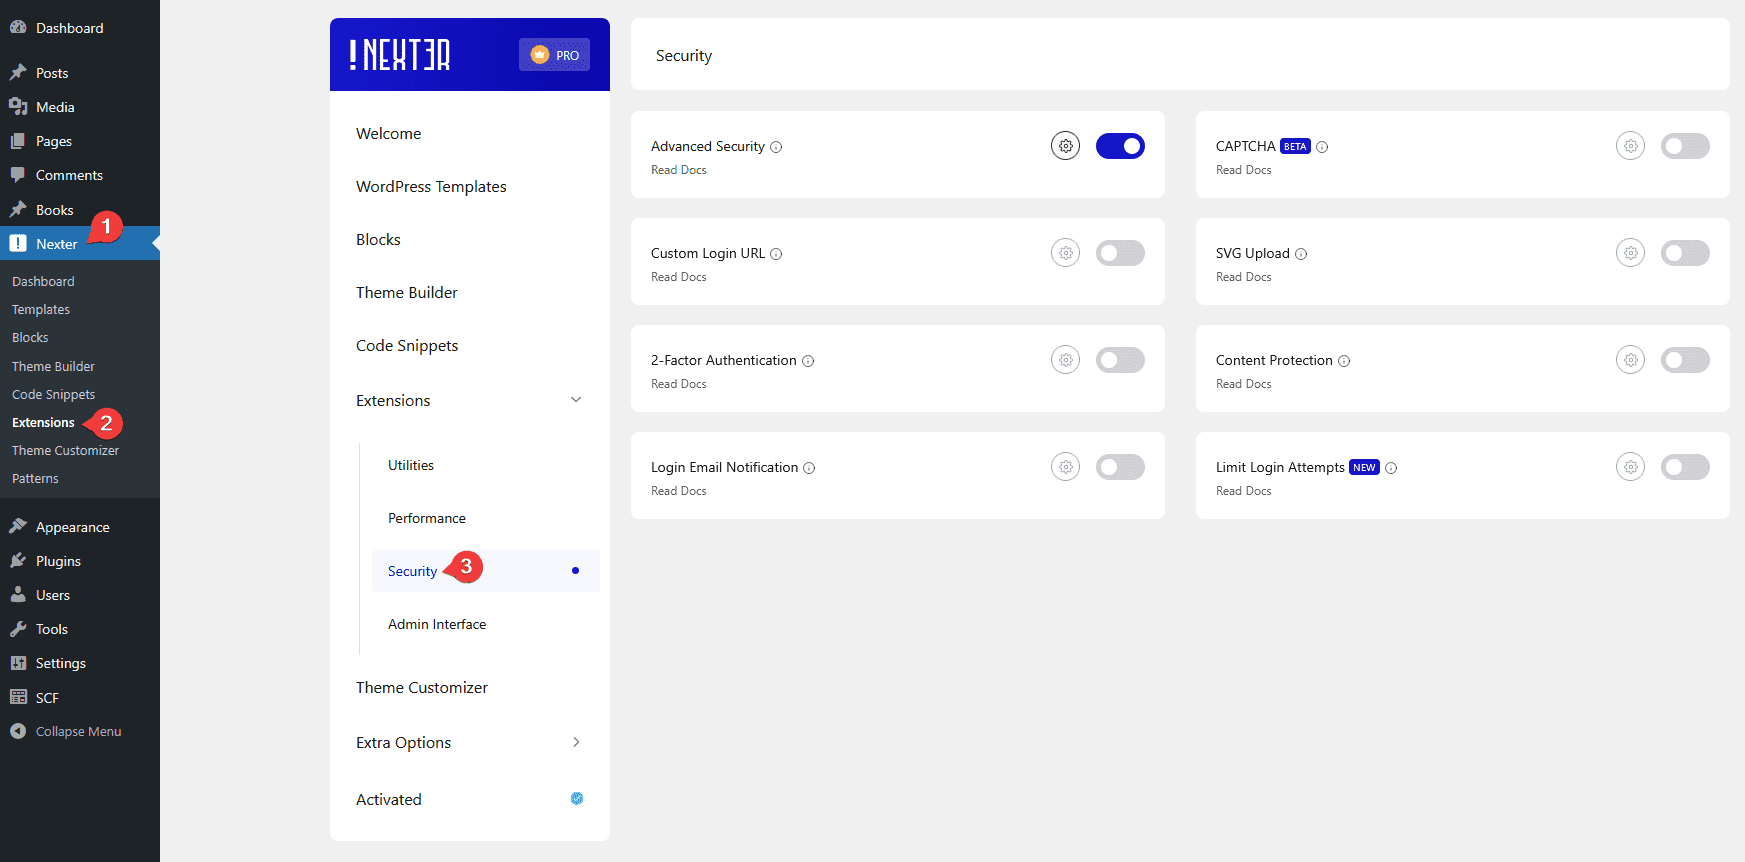Nexter Extension gathers common WordPress hardening controls into one settings panel. This is where a hardening tool earns its keep. **Nexter Extension** bundles several of these controls in one place, so you are not stacking five single-purpose plugins: Limit Login Attempts, 2 Factor Authentication, Captcha Spam Protection, a Custom Login URL, Login Email Notification, and Content Protections. To be clear, Nexter Extension is not a malware scanner and will not clean an infected site, that is what the scanners above are for. What it does is close the login and access holes that let malware in, which is exactly where most WordPress hacks start. 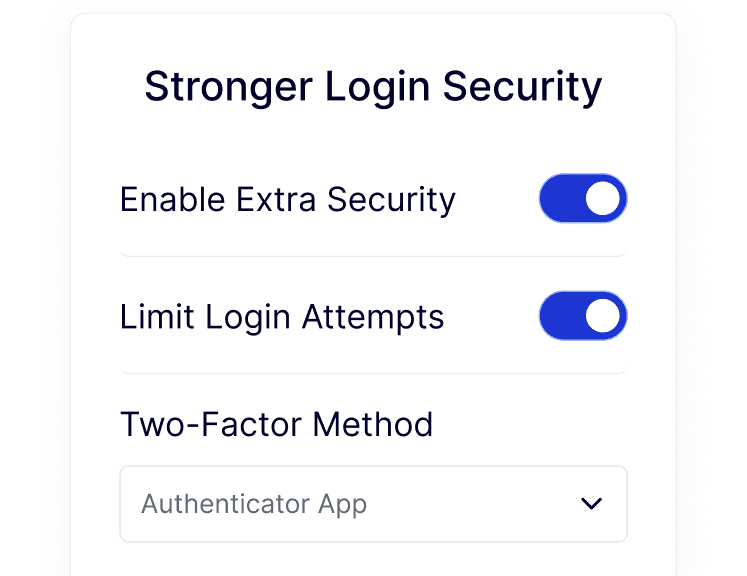Limiting login attempts and enabling two-factor login shuts down brute-force attacks. Pair that with the lightweight [Nexter Theme](https://qa.nexterwp.com/nexter-theme/) to keep your footprint small, and lean on a proper security plugin for continuous scanning. For more ways to keep content and access under control, see our guide on [ways to protect content in WordPress](https://qa.nexterwp.com/blog/ways-to-protect-content-in-wordpress/). ## Suggested Reading - [5 Best WordPress Security Plugins to Protect Your Site](https://qa.nexterwp.com/blog/best-wordpress-security-plugins-to-protect-your-site/)- [5 Best WordPress Backup Plugins](https://qa.nexterwp.com/blog/best-wordpress-backup-plugin/)- [9 Ways to Protect Content in WordPress](https://qa.nexterwp.com/blog/ways-to-protect-content-in-wordpress/)- [7 Best WordPress Hosting Providers](https://qa.nexterwp.com/blog/best-wordpress-hosting-providers/)- [How to Make a WordPress Site Private](https://qa.nexterwp.com/blog/make-a-wordpress-site-private/) --- # Blocksy Review [With Pros & Cons] Source: https://qa.nexterwp.com/blog/blocksy-review/ I have built client sites on half a dozen WordPress themes, and Blocksy is one of the few I keep coming back to when someone wants a free theme that does not feel like a free theme. It is fast, it works natively with the block editor, and the free version alone covers more ground than most premium themes did a few years ago. This is an honest Blocksy review: what the theme actually is, what it does genuinely well, where it holds you back, how the free and Pro versions split up, and who should pick it. I will also be straight about where a lighter, more performance-first theme like Nexter makes more sense, so you can decide with real information instead of marketing copy. ## What Blocksy Is (and Who Makes It) 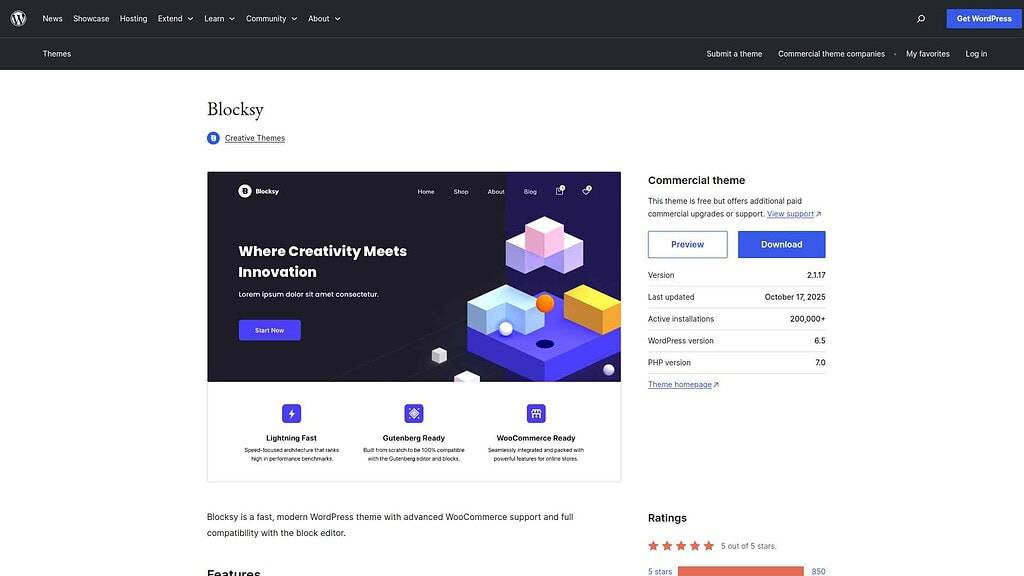Blocksy is a free, block-editor-native WordPress theme built by Creative Themes. Blocksy is a lightweight, block-editor-native WordPress theme from Creative Themes. It is built for people who want a modern, flexible site without writing code, and it leans hard into the native WordPress block editor rather than forcing a separate page builder on you. The numbers back up its reputation. On WordPress.org, Blocksy has 300,000+ active installations, a 5 out of 5 star rating from 869 reviews, and it is actively maintained (version 2.1.47, last updated June 25, 2026). It requires PHP 7.0 or higher. That level of adoption and upkeep matters when you are choosing a theme you will live with for years. ***Also Read:** [Astra vs Blocksy](https://qa.nexterwp.com/blog/astra-vs-blocksy/) if you are weighing Blocksy against the most popular multipurpose theme.* ## What Blocksy Does Well Blocksy earns its 5-star average for a few concrete reasons, not just polish. - **Genuinely generous free version.** Full compatibility with the block editor, advanced WooCommerce support, footer widgets, and block editor patterns are all available without paying. Most themes gate this behind a license. - **Block editor first.** Blocksy is designed around Gutenberg and works with the block editor rather than fighting it, so your content and your theme speak the same language. - **Real WooCommerce support.** It is a solid base for a store, with e-commerce handling built into the theme rather than bolted on afterward. - **Strong performance reputation.** Blocksy is one of the themes people reach for when they want speed, and its lean footprint is a big part of why it has grown to 300,000+ installs. - **Deep customization.** The customizer exposes a lot of control over layout, colors, fonts, and structure, which is exactly what power users want. ## Where Blocksy Falls Short No theme is perfect, and it is worth knowing the trade-offs before you commit. - **The best features sit in Blocksy Pro.** The free theme is strong, but the advanced conditions, extra WooCommerce controls, and pro extensions live behind the paid upgrade. - **You need the Blocksy Companion plugin.** A chunk of the theme's functionality, including starter sites and several extensions, depends on installing the companion plugin alongside the theme. - **The learning curve is real.** There are so many customizer options that new users can feel lost, and getting a design exactly right takes time. - **Starter sites are more limited.** The demo library is smaller than some competitors, and a few starter designs assume specific page builders, which narrows your choices. - **Occasional plugin friction.** As with any deeply customizable theme, some plugins and custom code can conflict and need testing. ## Blocksy Free vs Pro Here is the honest split. The free Blocksy theme is enough to launch a real, good-looking site: block editor support, WooCommerce, footer widgets, and core customization all ship for free. That is why it is such a popular first pick. Blocksy Pro is the paid upgrade that unlocks the advanced layer: pro extensions, deeper conditional logic, extra WooCommerce features, and white-label style controls. It is sold in annual and lifetime tiers. Pricing changes with seasonal promotions, so check the current rates on creativethemes.com before you buy rather than trusting any number you read in a review. The practical takeaway: start with free Blocksy, build your site, and only upgrade to Pro once you hit a specific feature you actually need. There is no reason to pay upfront. ***Also Read:** [Blocksy Alternatives](https://qa.nexterwp.com/blog/blocksy-alternatives/) for a side-by-side look at other lightweight themes worth testing.* ## Nexter WP Theme vs Blocksy Compared ## Why Consider Nexter WP Theme (Honest Take) Nexter is a lightweight, jQuery-free WordPress theme from POSIMYTH. Source: nexterwp.com/nexter-theme Blocksy is a great pick if you want a feature-rich free theme and do not mind the companion plugin and the learning curve. If your top priority is raw performance and a small footprint, Nexter is worth a look. Nexter is built by POSIMYTH, the team behind The Plus Addons for Elementor and Nexter Blocks. Its core files are kept under 20KB, and the theme is coded in pure JavaScript with no jQuery dependency, which removes a common source of render-blocking. It ships with a Performance Booster to strip unnecessary code, works with the Elementor page builder and the Gutenberg block editor, and gives you access to 1000+ pre-designed website and section templates. On the security side, Nexter adds content protection, Google reCAPTCHA integration, and options to disable XML-RPC or hide your WordPress version. It has a free version on WordPress.org plus a premium plan with both yearly and lifetime options. If you are choosing between the two, think of Blocksy as the flexible free all-rounder and Nexter as the lightweight, performance-first option. ***Also Read:** [How to Speed Up a Block-Theme WordPress Site](https://qa.nexterwp.com/blog/gutenberg-core-web-vitals-block-theme/) if Core Web Vitals are your deciding factor.* ## Suggested Reading - [Astra vs Blocksy: Which WordPress Theme Should You Choose?](https://qa.nexterwp.com/blog/astra-vs-blocksy/) - [Best Blocksy Alternatives](https://qa.nexterwp.com/blog/blocksy-alternatives/) - [Kadence Theme Review](https://qa.nexterwp.com/blog/kadence-theme-review/) - [GeneratePress Theme Review](https://qa.nexterwp.com/blog/generatepress-theme-review/) - [How to Choose a WordPress Theme](https://qa.nexterwp.com/blog/how-to-choose-a-wordpress-theme/) --- # What Is Lottie Animation? A Beginner’s Guide to Using It in WordPress Source: https://qa.nexterwp.com/blog/what-is-lottie-animation/ If you have ever dropped a GIF onto a WordPress page and watched it turn blurry the moment someone opened it on a high-resolution phone, you already know the problem Lottie was built to solve. It gives you animation that stays sharp at any size, loads fast, and does not need a developer to wire it up. Lottie is a JSON-based animation format you can add and customize right inside the Gutenberg editor, with no code required. This beginner guide explains what a Lottie animation actually is, how it compares to a GIF, where to find free files, and how to add one to your WordPress site step by step. ## What Is a Lottie Animation? A Lottie animation is a JSON-based animation file format that lets designers ship animations on any platform as easily as shipping a static image. Because the file describes the animation as vector data rather than a grid of pixels, it stays small and can scale up or down without pixelation. Lottie started as an open-source library from Airbnb. It parses animations built in Adobe After Effects and exported as JSON with the Bodymovin plugin, then renders them natively on the web, Android, and iOS. That is why the same file plays smoothly across a website, a mobile app, and a landing page without extra conversion work. *Example of a Lottie animation added with the [Nexter Blocks LottieFiles Animation](https://qa.nexterwp.com/nexter-blocks/blocks/wordpress-lottiefiles-animations/) block.* What sets Lottie apart from a GIF or an MP4 is that vector structure. You can scale the animation to fill a hero section or shrink it to a tiny icon and it keeps the same crisp quality on every device. The format is also interactive, so an animation can respond to a scroll, a hover, or a click. ## Why Use Lottie Animations on a WordPress Website? Lottie gives you a way to add motion without the usual trade-offs of heavy media. Here is what makes it a good fit for a WordPress site. - **Lightweight, vector-based files:** Because Lottie files are vector data, they are usually lighter than a comparable raster GIF and take up little disk space, so they are unlikely to drag down your load time. - **Scalable without quality loss:** Vector data means you can scale a Lottie animation up or down without losing quality or resolution. - **Better engagement:** Motion draws the eye. Use Lottie as animated icons, buttons, headers, and stickers to make a page feel more alive without overwhelming it. - **Fully customizable:** You control how a Lottie animation behaves. Adjust its size, speed, and loop settings, and set it to respond to hover, click, or scroll. - **Cross-platform:** The same Lottie file works across web, iOS, and Android, so you can reuse one animation everywhere without reworking it. ## Lottie vs GIF: What Is the Difference? GIFs are everywhere, so they are the natural comparison. The catch is how a GIF stores its animation. A GIF is a fixed grid of pixels using an old 8-bit compression method, so it cannot scale cleanly and cannot be recolored or edited after export. Stretch it and it turns blurry; add more frames and the file balloons. A Lottie file stores the animation as vector instructions instead of pixels. That is why it scales without losing quality and generally stays lighter than the same animation saved as a GIF. Here is how the two formats line up. | Feature | GIF | Lottie | | ------- | --- | ------ | | Stored as | Pixels (raster, 8-bit) | Vector data (JSON) | | Scaling | Blurs when enlarged | Stays sharp at any size | | File size | Grows with frames and resolution | Usually lighter for the same animation | | Editable after export | No | Yes (color, speed, loop, triggers) | | Interactivity | Plays on a loop only | Responds to hover, click, and scroll | | Best for | Quick memes and simple loops | UI, icons, hero and scroll animations | How a GIF and a Lottie animation compare on the things that matter for a website. A size comparison of PNG, GIF, and Lottie, shared by [LottieFiles](https://lottiefiles.com/). The practical takeaway is simple. For a static meme a GIF is fine, but for animations you want to scale, restyle, or make interactive on a website, Lottie is the more flexible and lighter choice. ***Also Read:** [Top 20 Scroll Image Sequence Animation Inspirations](https://qa.nexterwp.com/blog/top-scroll-image-sequence-animation-inspirations-with-gifs/) for ideas on where motion adds the most impact.* ## Lottie Animation Examples and Use Cases Now that you know what Lottie animations are, how can you actually use them? Here are some of the most effective ways to put Lottie to work on a WordPress site. ### 1. Web Interactions Lottie animations can bring a page to life in seconds. Use them on call-to-action buttons, subscribe forms, and social icons, or trigger an animation when a visitor scrolls to a section, so headers, footers, and menus feel interactive rather than static. ### 2. Hero Animations A large animation at the top of a home page usually means a slower load. A Lottie hero animation lets you keep that visual impact while staying light on page weight. ### 3. Emojis and Stickers If you enjoy working in Adobe After Effects, you can build your own stickers and emojis, export them as Lottie files, and drop them into your site or social posts as crisp, high-quality animations. ### 4. Basic UI Elements Lottie is well suited to simple UI elements and logos. Its small size and clean resolution let you enhance an interface without hurting performance. ### 5. Element Animations You can add motion to almost any element: hover effects on images, animated social icons, or scroll-triggered movement, all handled through a single Lottie file. 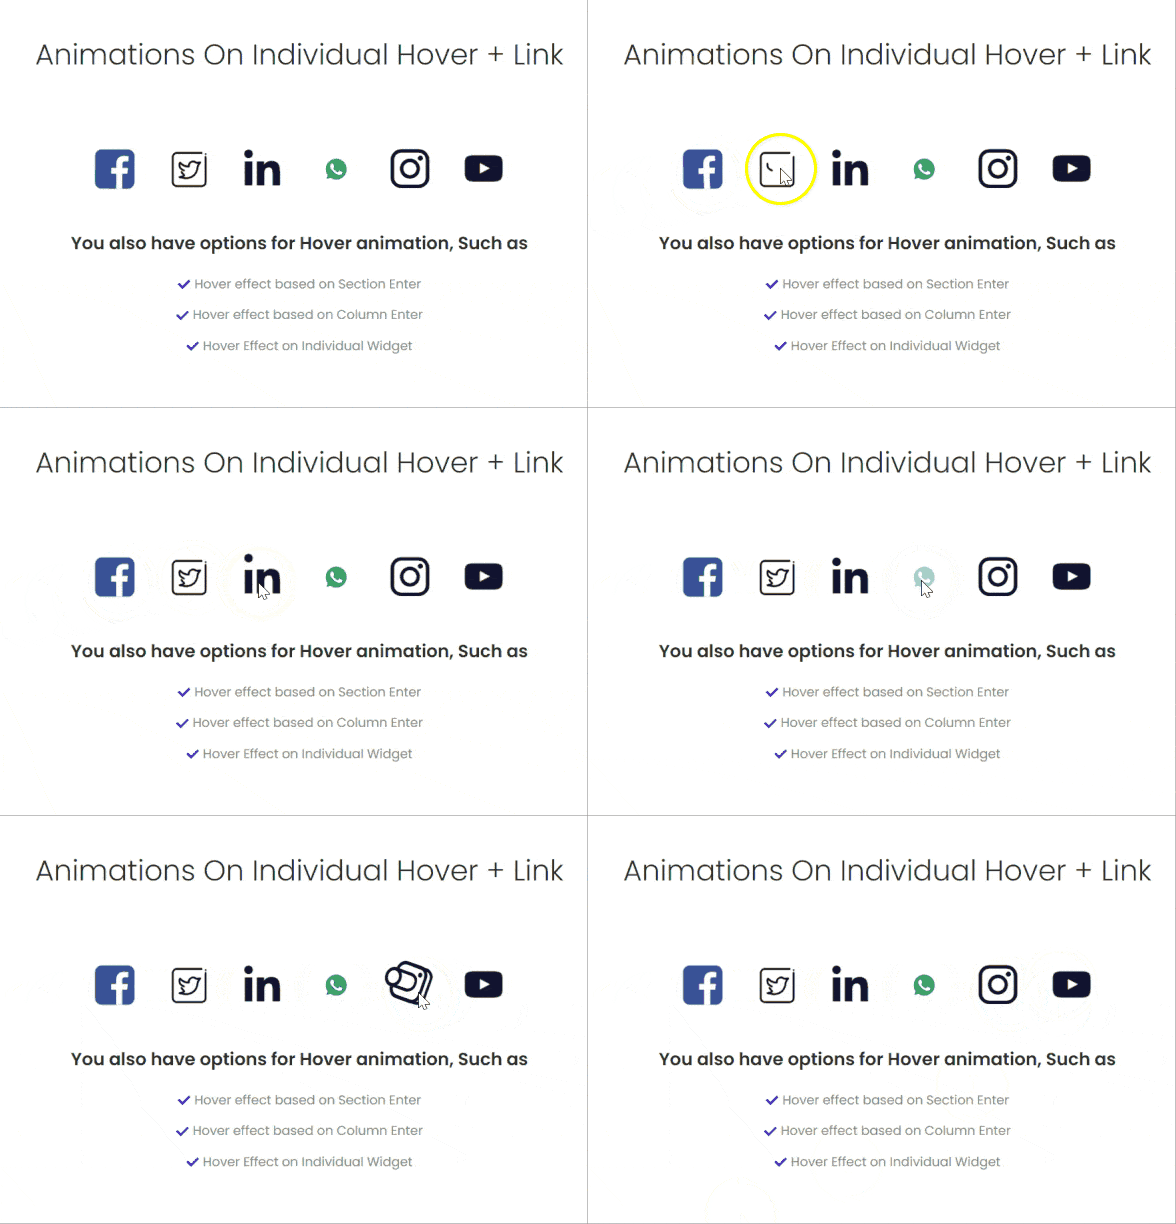Social icons animated with the [Nexter Blocks LottieFiles Animation](https://qa.nexterwp.com/nexter-blocks/blocks/wordpress-lottiefiles-animations/) block. ## Where to Find Lottie Animations You do not have to create Lottie animations from scratch. Plenty of libraries offer free and paid files you can use right away, and you can always build your own. Here is where to look. ### 1. LottieFiles The LottieFiles library, home to over 50,000 free Lottie animations. [LottieFiles](https://lottiefiles.com/) is the best-known source, with over 50,000 free Lottie animations plus a large paid catalog. You can preview a file, tweak its colors in the built-in editor to match your brand, and download it. Deeper design changes still need Adobe After Effects, where you can edit the animation and re-export it as a Lottie file. ### 2. Creattie Creattie, a curated library of designer-made Lottie animations. [Creattie](https://creattie.com/) is a curated library aimed at businesses, with animations and illustrations made by professional designers. It is a good option when you want a consistent, polished style across your site. ### 3. IconScout IconScout offers Lottie animations alongside icons, illustrations, and 3D assets. [IconScout](https://iconscout.com/) offers a large collection of icons, illustrations, 3D assets, and Lottie animations, along with strong search tools and an API for pulling assets into a website or app. It also runs a marketplace where creators sell their work. ***Also Read:** [the best LottieFiles plugins for WordPress](https://qa.nexterwp.com/blog/best-lottiefiles-plugins-for-wordpress/), compared side by side.* ### 4. Create Your Own With Adobe After Effects If you know your way around Adobe After Effects, you can build interactive animations from scratch. Design the artwork in Adobe Illustrator, animate it in After Effects, and customize it however you like. Here is a video that walks through the process: https://youtu.be/72qbebvwxnY Video tutorial: creating a Lottie animation in Adobe After Effects. Once the animation is ready, export it as a Lottie file with a compatible plugin and add it to your site. ## How to Add Lottie Animations in WordPress Ready to add a Lottie animation to your site? Several WordPress plugins and blocks make it straightforward. One of the easiest is the [LottieFiles Animations Block by Nexter Blocks](https://qa.nexterwp.com/nexter-blocks/blocks/wordpress-lottiefiles-animations/), an all-in-one block that adds and customizes Lottie animations without any code. The LottieFiles Animation block from Nexter Blocks. If you build with the Gutenberg editor, Nexter Blocks is one of the simplest ways to add Lottie animations. You get a range of design controls plus a direct connection to the LottieFiles library, so you can pick an animation and use it without leaving the editor. With the LottieFiles Animation block you can set which action plays the animation, create loops, adjust play speed, add a description, and more. For example, you can play an animation on hover, trigger it on click with a delay, or use a mouse-in and mouse-out effect to encourage clicks. Here is the step-by-step process to add a Lottie animation with Nexter Blocks: ### Step 1: Install and Activate Nexter Blocks From your WordPress dashboard, go to Plugins > Add New, search for Nexter Blocks, then install and activate it. Open the Blocks section and turn on the LottieFiles Animation block. 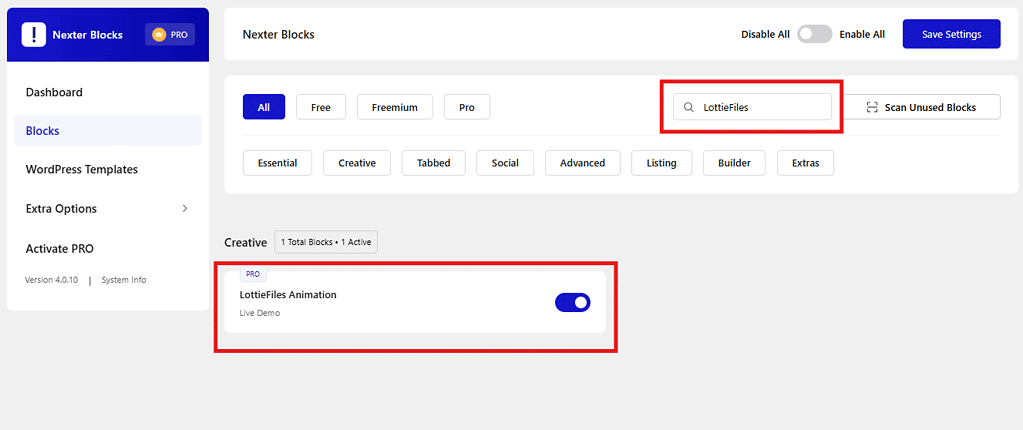Enabling the LottieFiles Animation block in the Nexter Blocks settings. ### Step 2: Pick an Animation From the LottieFiles Library With the LottieFiles Animation block enabled, add it to your Gutenberg editor. 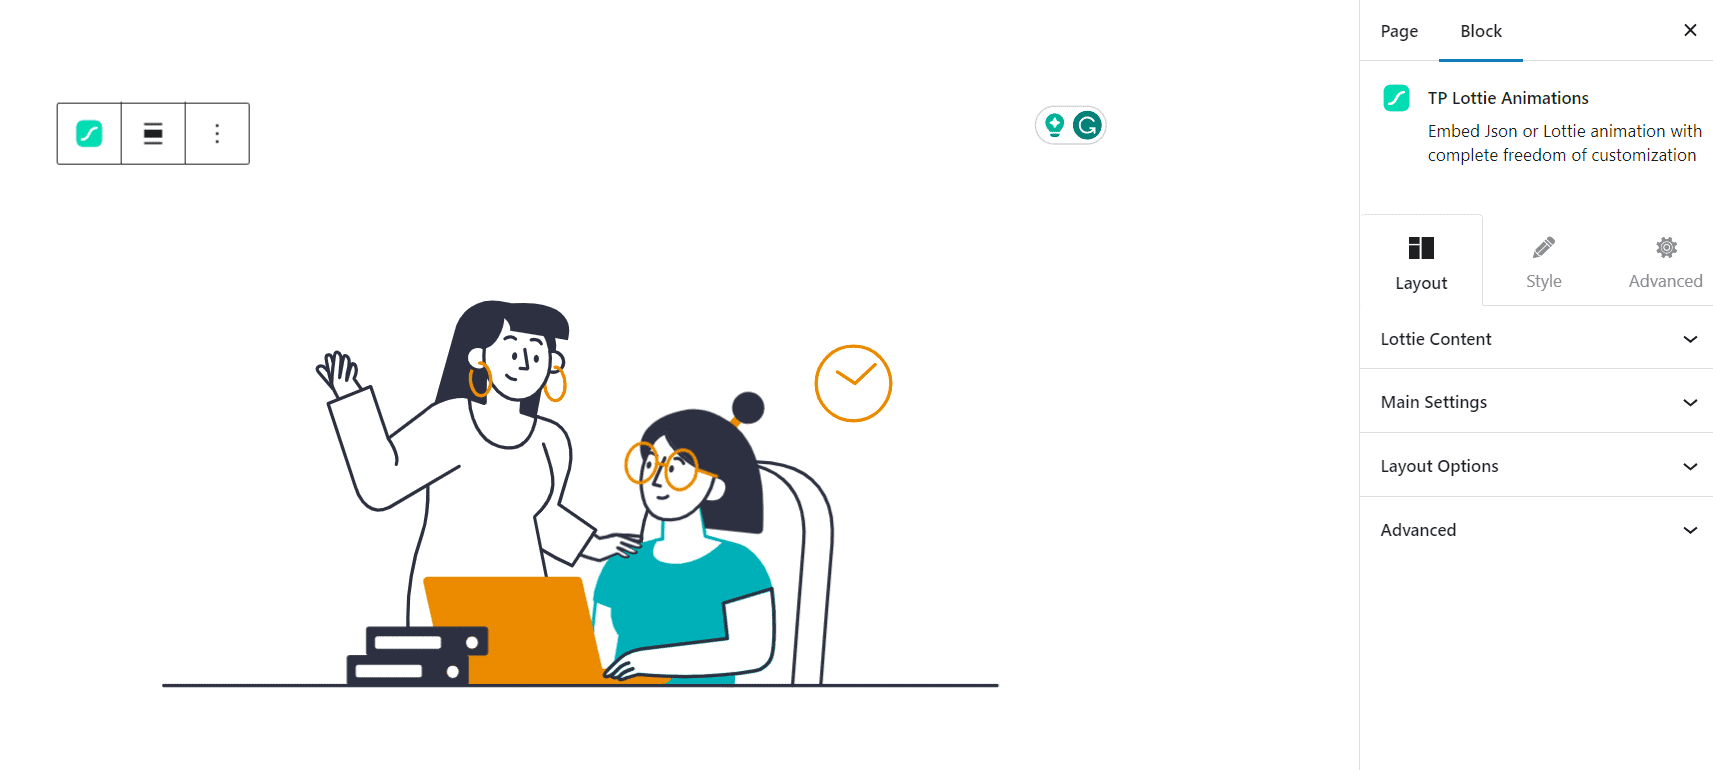Adding the LottieFiles Animation block in Gutenberg. Next, head to the [LottieFiles](https://lottiefiles.com/featured) library and choose an animation. A pop-up lets you customize details like background color, color palette, and animation speed. 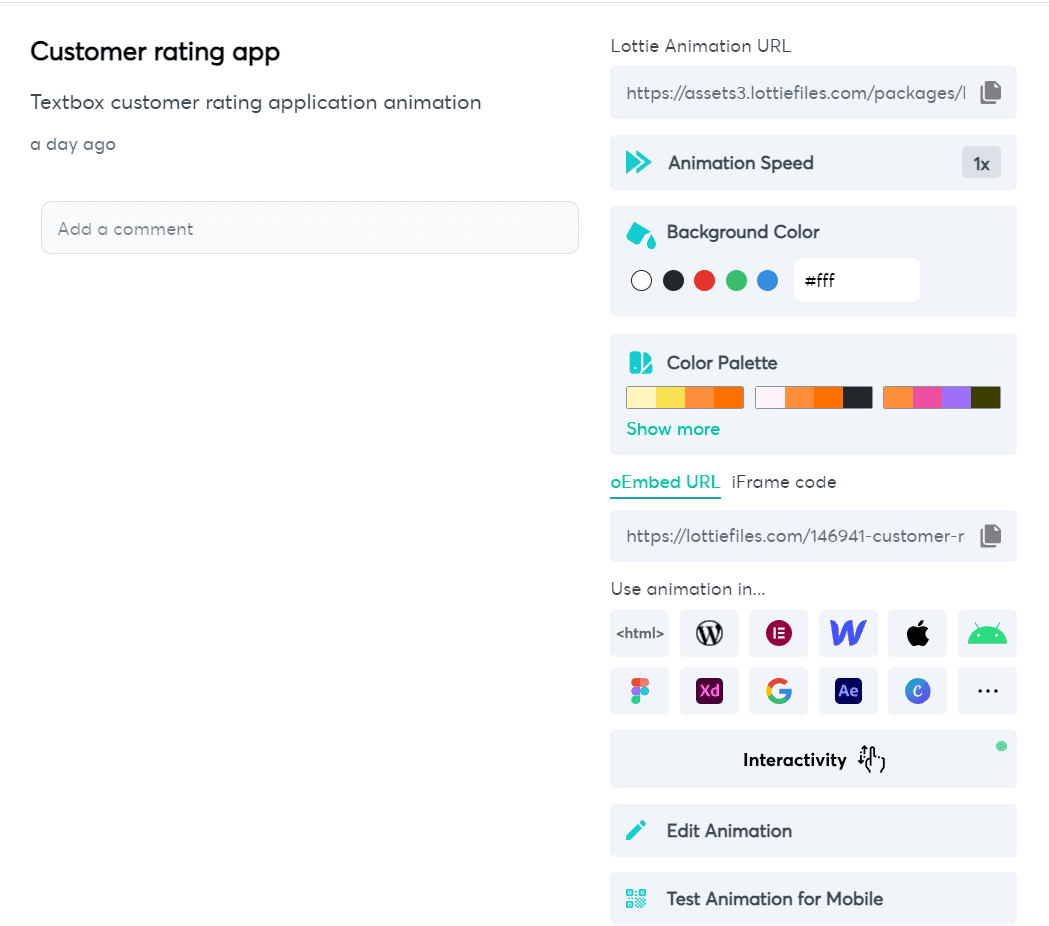Customizing a Lottie animation before adding it to your site. ### Step 3: Add the Lottie Animation to Your Nexter Blocks Block Once you are happy with the animation, copy its **Lottie Animation URL**. 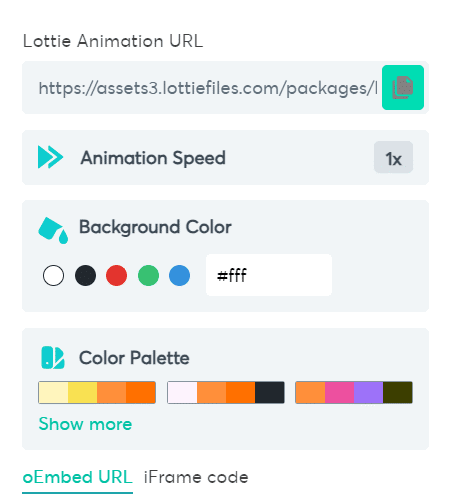Copy the Lottie Animation URL for the animation you picked. In the Gutenberg editor, open Lottie Content in the block settings, set the JSON input to URL, and paste the Lottie Animation URL into the JSON URL field. 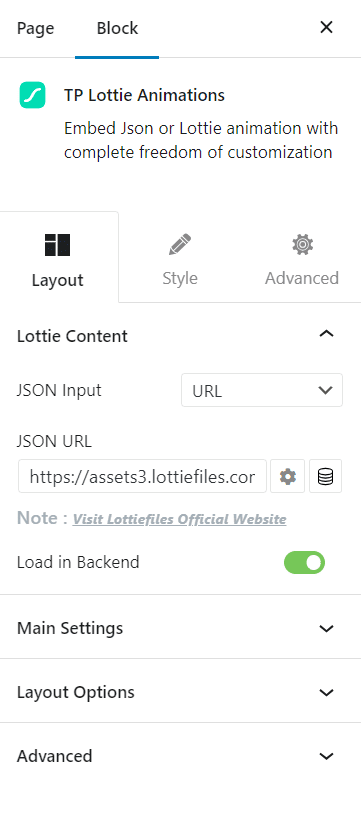Paste the animation URL into the JSON URL field. ### Step 4: Customize the Animation Under Main Settings you get full control over how the animation looks and behaves. Set the speed, turn on looping, and choose a play mode: default, autoplay, on click, scroll parallax, hover, and more. You can also set the loop count and the start and end times. 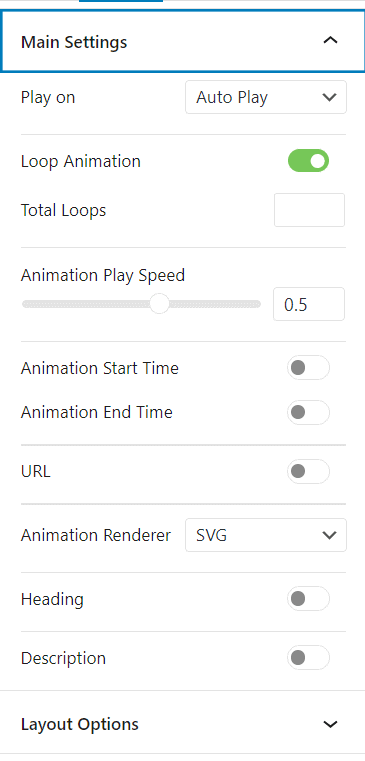Main settings control speed, looping, and the play-on mode. In the Style section you can adjust the opacity and the transition duration. 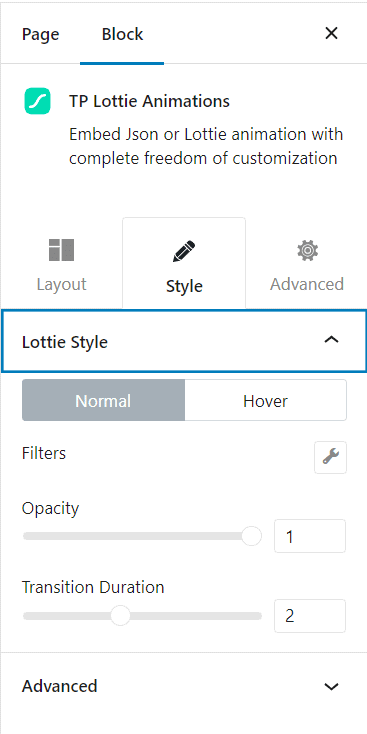Style settings for opacity and transition duration. With the LottieFiles block from Nexter Blocks, you can design a polished, interactive experience for your visitors. Prefer to watch? Here is a quick video tutorial of the steps above: https://youtu.be/22zP2onHwxk Video tutorial: adding a Lottie animation with Nexter Blocks. ## Wrapping Up Lottie animations are one of the easiest ways to make a WordPress site feel more engaging. From social icons and logos to stickers and scroll effects, they add personality without the weight and blur of a GIF. The simplest way to use them is a block like the [LottieFiles Animations by Nexter Blocks](https://qa.nexterwp.com/nexter-blocks/blocks/wordpress-lottiefiles-animations/), which lets you add and fully customize any Lottie animation right in the Gutenberg editor. If you want motion that stays sharp and loads fast, that is all you need to get started. ## Suggested Reading - [How to add scroll animation in WordPress](https://qa.nexterwp.com/blog/how-to-add-scroll-animation-in-wordpress-site/) - [How to add a parallax effect in WordPress](https://qa.nexterwp.com/blog/how-to-add-parallax-effect-in-wordpress-easily/) - [Gutenberg vs Elementor: which builder to choose](https://qa.nexterwp.com/blog/gutenberg-vs-elementor/) - [What is Gutenberg, the WordPress block editor](https://qa.nexterwp.com/blog/what-is-gutenberg/) ## Frequently Asked Questions ### 1. What are the benefits of using Lottie animations in WordPress? Lottie animations are perfect for your WordPress website with their faster download speed and quality rendering that lets you integrate animations into your website without affecting the loading speed. Another benefit is the vector-based structure, which makes it highly scalable. Besides, you can use Lottie animations on multiple platforms – web, Android, iOS, smartwatches, and more. ### 2. Are there any WordPress plugins available for integrating Lottie animations? Yes, adding a Lottie animation becomes super convenient with a responsive plugin like Nexter Blocks. The plugin is easy to use and lets you access many customizations to add fun and interesting animations to your website. ### 3. Will Lottie animations slow down my WordPress website? No, thanks to its small size, Lottie animations take up less disk space and have a super-fast downloading speed. Since they are vector-based, they are smaller in file size than GIFs or other animations, so they can be loaded quickly without affecting your website speed. ### 4. Are Lottie animations compatible with all web browsers? Lottie animations are compatible with most modern web browsers, including Chrome, Firefox, Safari, and Edge. However, some older browsers may not support Lottie animations, so it's important to test your website on multiple browsers to ensure compatibility. --- # Spectra vs Stackable: 20+ Feature Comparisons Source: https://qa.nexterwp.com/blog/spectra-vs-stackable/ Picking a Gutenberg block plugin used to be simple, because there were only a few. Now the block editor has a crowded shelf, and two names come up constantly when someone in our Facebook community asks what to install: Spectra and Stackable. They look almost identical on a feature list. Both add design blocks to the native WordPress editor, both have a free version, and both are well reviewed. The real difference shows up once you start building, and that is what this comparison is about. We pulled the current numbers straight from WordPress.org and each plugin's own site, so you are comparing the 2026 versions and not last year's. Here is how Spectra and Stackable compare across setup, blocks, pricing, and the jobs each one is genuinely good at. ## What is Spectra? 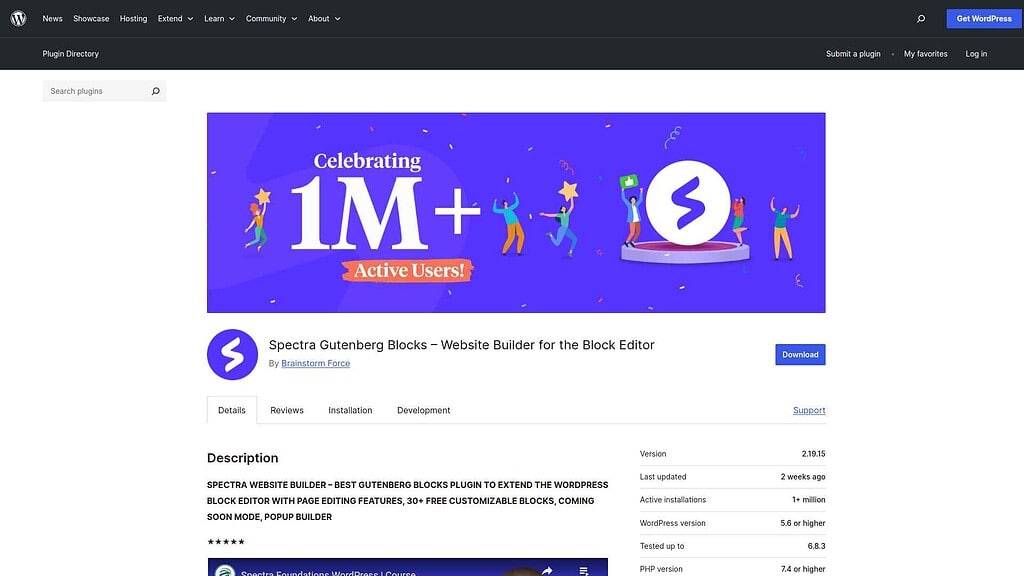Spectra is a free block plugin from Brainstorm Force, the team behind the Astra theme. Spectra is a free WordPress plugin that adds a library of design blocks to the Gutenberg editor. It comes from Brainstorm Force, the same team behind the popular Astra theme, so it is built to pair with a lightweight block setup rather than a heavy page builder. On WordPress.org, Spectra has over 1 million active installations and a 4.7 star rating from 1,867 reviews, which makes it one of the most widely used block plugins available. The current version is 2.19.29, and it is tested up to WordPress 7.0. The free plugin ships with 30+ blocks covering layout containers, buttons, forms, post grids, and content elements, plus site-wide controls for spacing and typography. Spectra core is free, and Spectra Pro starts at $69 per year for three sites, with higher tiers and a lifetime option for advanced blocks and effects. Spectra is a good fit if you want a free, low-fuss block set that feels native to the editor and works neatly alongside Astra. ***Also Read:** our full [Spectra review](https://qa.nexterwp.com/blog/spectra-review/) breaks down the pros and cons in detail.* ## What is Stackable? 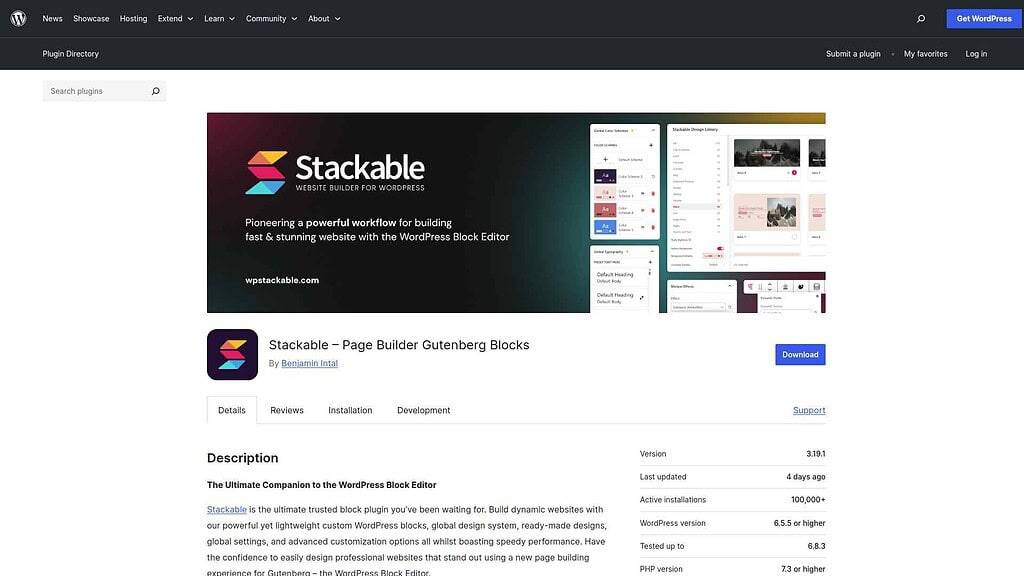Stackable leans toward full-page design with a global design system and a large pattern library. Stackable is a free Gutenberg block plugin built by Gambit Technologies, with a stronger focus on full-page design. It leans toward giving you complete section and page layouts you can drop in and edit, rather than only individual blocks. On WordPress.org, Stackable has 100,000+ active installations and a 4.9 star rating from 518 reviews, the higher rating of the two plugins. The current version is 3.19.9, and it is tested up to WordPress 7.0. The free version includes 42 blocks, a global design system, dynamic content, conditional display, and a large pattern library. Stackable Premium adds advanced copy-paste styles, more design library patterns, and one-on-one support, starting at $49 per year. Unlike most block plugins, Stackable's free tier can be used on unlimited sites. Stackable is a good fit if you care about design consistency across a whole site and want a generous free tier without a per-site limit. ***Also Read:** see our hands-on [Stackable review](https://qa.nexterwp.com/blog/stackable-review/) for the full feature walkthrough.* ## Spectra vs Stackable: Head-to-Head Here are the two plugins side by side, using numbers verified on WordPress.org and each plugin's site in July 2026. | Feature | Spectra | Stackable | | ------- | ------- | --------- | | Active installs (WordPress.org) | 1 million+ | 100,000+ | | Rating | 4.7 stars (1,867 reviews) | 4.9 stars (518 reviews) | | Free blocks | 30+ | 42 | | Latest version | 2.19.29 | 3.19.9 | | Tested up to | WordPress 7.0 | WordPress 7.0 | | Made by | Brainstorm Force (Astra) | Gambit Technologies | | Free tier site limit | Unlimited | Unlimited | | Paid plan | Spectra Pro from $69/yr (3 sites) | Premium from $49/yr (1 site) | | Best for | Astra users, native editor feel | Whole-site design systems | Spectra vs Stackable at a glance, verified July 2026. ## Which Should You Choose? There is no single winner here, because the two plugins solve slightly different problems. **Choose Spectra** if you already use Astra, or if you want the largest and most battle-tested block plugin with the biggest install base. Its free set is broad, and the native editor feel is hard to beat for straightforward sites. **Choose Stackable** if design consistency matters more than raw block count. Its global design system, generous free tier on unlimited sites, and higher review score make it a strong pick for agencies and multi-site builders on a budget. If you find yourself needing features from both, such as a header builder, a popup builder, dynamic listings, and social feeds in one plugin, that is usually the point where a single all-in-one block suite makes more sense than stitching two together. If you are weighing wider options first, our roundup of the [best Gutenberg plugins for WordPress](https://qa.nexterwp.com/blog/best-gutenberg-plugins/) is a good next stop. ## Spectra vs Stackable Compared ## Why We Recommend Using Nexter Blocks? ## Suggested Reading - [Nexter Blocks vs Spectra: 20+ Feature Comparisons](https://qa.nexterwp.com/blog/nexter-blocks-vs-spectra/)- [Spectra vs Essential Blocks for Gutenberg](https://qa.nexterwp.com/blog/spectra-vs-essential-blocks-for-gutenberg/)- [Stackable vs Essential Blocks for Gutenberg](https://qa.nexterwp.com/blog/stackable-vs-essential-blocks-for-gutenberg/)- [12 Best Gutenberg Plugins for WordPress](https://qa.nexterwp.com/blog/best-gutenberg-plugins/)- [Gutenberg vs Elementor: An Honest Block-Builder Comparison](https://qa.nexterwp.com/blog/gutenberg-vs-elementor/) ### Extra Resources --- # Best WordPress AI Chatbot Plugins: 7 Tools Compared for Support, Sales & AI Answers (2026) Source: https://qa.nexterwp.com/blog/best-wordpress-ai-chatbot-plugins/ #### Key Takeaways - A WordPress chatbot plugin comes in two forms: native plugins you install (AI Engine, Tidio, WPBot, AI Puffer, Kognetiks) and hosted services you embed (Chatbase, Botsonic).- AI Engine is the best pick for control and low cost, since you bring your own OpenAI, Claude, or Gemini key and keep conversation data on your own site.- Tidio with Lyro AI is the easiest support and WooCommerce option and has a genuinely usable free tier.- Bring-your-own-key tools bill you at provider rates; hosted, credit-based tools are simpler but cost more per message as you scale.- A chatbot answers visitors already on your site; getting cited by ChatGPT or Perplexity is a separate job called AI search visibility. Say a visitor lands on your WordPress site at 11pm with one question: do you ship to Canada? Nobody is at the support desk. A chatbot is the difference between answering that question in two seconds and losing the sale to the next tab. Here is the catch. Search for a "WordPress chatbot plugin" and you get two very different kinds of tool wearing the same label. Some are real plugins you install inside wp-admin. Others are hosted services you sign up for elsewhere and drop onto your site with a snippet of code. They price differently, they store your data differently, and they fail in different ways. Picking the wrong type is the most common mistake I see site owners make. This guide sorts the seven tools worth your time into those two camps, with honest pros, cons, and current pricing, so you can match one to what you actually need: support, lead capture, sales, or an AI assistant trained on your own content. ## What a WordPress AI Chatbot Plugin Actually Does A chatbot is a widget, usually anchored to the bottom corner of your pages, that holds a conversation with a visitor. The older generation followed fixed decision trees ("Press 1 for billing"). The current generation is powered by large language models like GPT, Claude, and Gemini, so it can read a free-form question and answer in plain language, pulling from your pages, docs, and products. On WordPress, "chatbot" splits into two categories that are easy to confuse: - **Native plugins.** You install them from the plugin directory, and the bot runs on your site. Many let you bring your own AI provider key (OpenAI, Anthropic, Google), so you pay the model provider directly and your conversation data stays under your control. Best when you want ownership and no per-message middleman.- **Hosted services.** You build the bot on the vendor's dashboard, train it on your content, then embed it with a script or widget. The vendor runs the model and the infrastructure. Best when you want the fastest setup and multichannel reach (website plus WhatsApp, Messenger, Slack) and you are comfortable with usage-based pricing. WordPress AI chatbot plugins fall into two camps: native plugins you install, and hosted services you embed. ## How to Choose a WordPress Chatbot Before you look at any tool, answer four questions. They will cut the list down fast. - **What job is it doing?** Support deflection, lead capture, WooCommerce sales, and internal knowledge search are different problems. A tool that is great at one can be mediocre at another.- **Native plugin or hosted widget?** If data ownership and predictable cost matter, favor a native plugin with your own API key. If speed and multichannel reach matter more, a hosted service wins.- **Own key or bundled credits?** Bring-your-own-key tools bill you at provider rates (often cents per conversation). Bundled-credit tools are simpler but cost more per message once you scale.- **Where does the conversation data live?** If you handle regulated or sensitive data, check whether transcripts sit on your server or the vendor's, and whether the plan you need is covered by a data-processing agreement. ## Best WordPress-Native AI Chatbot Plugins These install straight into WordPress. All figures below are from each plugin's WordPress.org listing, checked while writing this. ### 1. AI Engine (best for full control) AI Engine by Jordy Meow is the power user's pick, with 100,000+ active installations and a 4.8-out-of-5 rating across 845 reviews. It connects WordPress to OpenAI, Anthropic (Claude), Google (Gemini), Mistral, and more, then lets you build a chatbot on top. You bring your own provider key, so you pay the model directly and keep the conversation data on your side. What sets it apart is depth: it can build a knowledge base from your content using embeddings, so the bot answers from your actual pages, and it supports the Model Context Protocol, which lets AI agents work directly with your WordPress data. The trade-off is that it assumes you are comfortable getting an API key and tuning settings. It is free on WordPress.org with a paid Pro tier for the advanced features. ***Also Read:** [What Is the Model Context Protocol (MCP)?](https://qa.nexterwp.com/blog/model-context-protocol-wordpress/) for the standard behind AI Engine's agent features.* ### 2. Tidio with Lyro AI (best for support and WooCommerce) Tidio is the mainstream support pick, with 80,000+ active installations and a 94% rating over 396 reviews. It pairs a full live-chat inbox with Lyro, its AI agent, which Tidio says can resolve up to 70% of common customer inquiries on its own. For a store, the draw is deep WooCommerce integration: the bot can see products and orders and handle repetitive "where is my order" questions. Tidio has a genuinely usable free tier, which makes it easy to test before you commit. The honest caveat is that Lyro conversations are metered, so once your volume climbs you will move onto a paid plan. If your main goal is deflecting support tickets rather than owning the AI stack, that is a fair deal. ### 3. AI Puffer, formerly AI Power (best all-in-one) AI Puffer (recently renamed from AI Power) by senols has 10,000+ active installations and a 4.6-out-of-5 rating. It is a broad AI toolkit: content generation, images, and an AI chatbot you can embed on WordPress or an external site with a shortcode or HTML. It supports an unusually wide set of providers, including OpenAI, Anthropic Claude, Google Gemini, DeepSeek, xAI, Azure, OpenRouter, and self-hosted Ollama. Pick it if you want one plugin that does more than chat and you like the idea of switching models without switching tools. The flip side of doing many things is that its chatbot is one feature among many, rather than the whole product. ### 4. WPBot (best WordPress-first bot) WPBot by QuantumCloud is built for WordPress first. Its useful trick is that it can run on built-in features without any external AI, then step up to ChatGPT, Gemini, or OpenRouter when you want language-model answers. That makes it a safe starting point if you are not ready to commit to a paid AI provider. It covers FAQ answering, on-site search, and lead capture, with omnichannel add-ons in the Pro version. Its active-install base on WordPress.org is smaller today (5,000+), though the plugin has a long history and frequent updates. ### 5. Kognetiks Chatbot (best free, privacy-first option) Kognetiks Chatbot is the small, honest option. It is free, and it runs on your own OpenAI API key, so nothing is bundled and nothing routes through a third party's servers. It is a newer, lighter plugin (600+ active installations, a 90% rating from 22 reviews), so it does not have the polish or the WooCommerce depth of the bigger names. But if you want a no-frills, privacy-friendly bot and you already have an OpenAI key, it does the job without asking for a subscription. A native chatbot runs on your own WordPress site and can answer from your own content. ## Best Hosted AI Chatbot Services You Embed on WordPress These are not WordPress plugins. You build the bot on the vendor's dashboard, train it on your content, then paste an embed snippet into WordPress. You trade some data ownership for faster setup and reach beyond your website. ### 6. Chatbase (best for training on your own data) Chatbase lets you build an AI agent trained on your own material: point it at your site URLs, PDFs, or docs, choose a model, and you have a working bot in minutes. It supports a wide model roster, including OpenAI, Anthropic Claude, Google Gemini, DeepSeek, Meta, and Mistral, and it can push the same bot to WhatsApp, Messenger, Instagram, and Slack from one place. There is a free tier (50 message credits a month, one agent), with paid plans starting at $32 per month billed annually at the time of writing. Pricing is credit-based, so estimate your monthly message volume before you commit. ### 7. Botsonic (best for quick multichannel setup) Botsonic, from the Writesonic team, is another train-on-your-data agent that embeds on WordPress with a widget or iframe and reaches out to Slack, Messenger, WhatsApp, and Telegram. It runs on GPT-4o class models and leans toward support automation and conversational commerce. Paid plans start at $16 per month on annual billing, and every plan includes a seven-day free trial, so you can test it against your own content before paying. As with any credit-based tool, watch the monthly message allowance on the entry plan. ***Also Read:** [12 Best AI WordPress Plugins](https://qa.nexterwp.com/blog/best-artificial-intelligence-wordpress-plugins/) if you want AI help beyond chat, from writing to image generation.* ## WordPress AI Chatbot Plugins Compared | Tool | Type | Best for | AI models | Free tier | Paid from | | ---- | ---- | -------- | --------- | --------- | --------- | | AI Engine | Native plugin | Full control, own key | OpenAI, Claude, Gemini, Mistral | Yes (Pro paid) | Pro upgrade | | Tidio + Lyro | Native plugin | Support, WooCommerce | Lyro AI | Yes | Paid plans | | AI Puffer | Native plugin | All-in-one AI toolkit | OpenAI, Claude, Gemini, DeepSeek, xAI, Ollama | Yes (Pro paid) | Pro upgrade | | WPBot | Native plugin | WordPress-first, no-AI start | ChatGPT, Gemini, OpenRouter | Yes | Pro plans | | Kognetiks | Native plugin | Free, privacy-first | OpenAI (own key) | Yes (free) | Free | | Chatbase | Hosted service | Training on your data | OpenAI, Claude, Gemini, DeepSeek, Meta | Yes (50 credits) | $32/mo (annual) | | Botsonic | Hosted service | Quick multichannel setup | GPT-4o class | 7-day trial | $16/mo (annual) | Pricing and models were checked at the time of writing. Confirm current details on each vendor's site. ## Which WordPress Chatbot Should You Pick? - **You want ownership and lowest per-message cost:** AI Engine with your own OpenAI or Claude key.- **You run a store and want support deflection:** Tidio with Lyro, for the WooCommerce integration and free tier.- **You want one plugin for chat plus content and images:** AI Puffer.- **You are not ready to pay for an AI provider yet:** WPBot, which works without external AI to start.- **You want free and privacy-friendly:** Kognetiks with your own key.- **You want a bot trained on your docs and live on WhatsApp too:** Chatbase or Botsonic. ## Chatbots Answer People. AI Search Answers Machines. One thing worth keeping straight: a chatbot answers visitors who are already on your site. It does nothing to help you show up when someone asks ChatGPT or Perplexity a question about your topic before they ever reach you. That is a separate job, called [AI search visibility](https://qa.nexterwp.com/blog/ai-seo-wordpress/), and it depends on structured content, schema, and machine-readable signals rather than a chat widget. If getting cited in AI answers is on your list, that is where a tool like [RankReady](https://store.posimyth.com/plugins/rankready/) fits, since it measures and improves how ready your WordPress content is for AI crawlers and citations. It is not a chatbot, and it does not pretend to be one. Think of the two as different ends of the same funnel: AI search helps people find you, and a chatbot helps them once they arrive. If you are building out the page or landing area around your bot, [Nexter Blocks](https://qa.nexterwp.com/nexter-blocks/) gives you the layout and section blocks to do it in Gutenberg without extra bloat. A chatbot answers visitors on your site; AI search readiness is what helps AI engines find and cite you in the first place. ## Final Word The best WordPress AI chatbot plugin is the one that matches the job. For control and cost, install a native plugin like AI Engine and bring your own key. For fast, hands-off support on a store, Tidio earns its keep. For a bot trained on your own knowledge base and live across channels, a hosted service like Chatbase or Botsonic gets you there quickest. Start on a free tier, test it against real visitor questions for a week, and only then pay for scale. ## Suggested Reading - [12 Best AI WordPress Plugins + Free Tools](https://qa.nexterwp.com/blog/best-artificial-intelligence-wordpress-plugins/)- [AI Content Generators for WordPress: What They Actually Do](https://qa.nexterwp.com/blog/ai-content-generator-wordpress/)- [What Is AI SEO? The Complete 2026 Guide for WordPress](https://qa.nexterwp.com/blog/ai-seo-wordpress/)- [How to Use the Gemini API in WordPress](https://qa.nexterwp.com/blog/gemini-api-wordpress/)- [What Is the Model Context Protocol (MCP)?](https://qa.nexterwp.com/blog/model-context-protocol-wordpress/) --- # Best WordPress Accessibility Plugins for 2026 (EAA Compliance Guide) Source: https://qa.nexterwp.com/blog/best-wordpress-accessibility-plugins/ #### Key Takeaways - The European Accessibility Act (Directive 2019/882) has applied to newly marketed products and services since 28 June 2025, and its web requirements line up with WCAG 2.1 level AA.- No plugin makes a site compliant on its own. Accessibility is a mix of accessible design, code, and content, and a plugin can only help with part of that.- WordPress accessibility plugins fall into three groups: checkers that audit and fix, enhancers that clean up theme markup, and overlay widgets that add a visitor toolbar.- For real remediation, Equalize Digital Accessibility Checker and WP Accessibility do the heavy lifting. Overlay widgets like UserWay and accessiBe are a supplement, not a shortcut.- The strongest foundation is a lightweight theme that outputs clean, semantic markup, because that is the layer a widget can never fix for you. Say a European customer opens your checkout with a screen reader and cannot tell which button submits the order. That is not just a bad experience anymore. Since 28 June 2025, it can be a compliance problem. The European Accessibility Act now applies to a wide range of digital products and services sold in the EU, and a lot of site owners are searching for a plugin that will make the whole issue go away. Here is the honest version. No plugin makes your site compliant by itself. What the right plugin does is help you find real problems, fix the ones it can, and give visitors extra control. This guide sorts the best WordPress accessibility plugins into the three jobs they actually do, so you pick the tool that matches your goal instead of installing a widget and hoping. Real accessibility lives in your markup, like proper ARIA labels, not in a widget bolted on top. ## What the European Accessibility Act Requires in 2026 The European Accessibility Act, or EAA, is EU Directive 2019/882. Member States have had to apply its measures since 28 June 2025, which means companies must make the newly marketed products and services covered by the Act accessible from that date. It is the private-sector counterpart to the public-sector rules many teams already knew about. The scope is broader than most people expect. It covers e-commerce, banking services, e-books, ticketing and check-in machines, smartphones, computers and operating systems, and elements of transport services such as websites, mobile apps, and electronic tickets. If you sell to EU customers through a WordPress store, the e-commerce piece is the one to watch. Two exceptions matter in practice. Microenterprises, meaning businesses with fewer than 10 employees that provide services, are exempted from the service obligations. Service providers can also keep using systems that were lawfully in place by 28 June 2025 for a transition period that runs to 28 June 2030. On the technical side, the Act does not invent a new checklist out of thin air. Its web requirements map to the same standard the rest of the industry uses, WCAG 2.1 level AA, through the EN 301 549 harmonised standard. So when a plugin advertises WCAG 2.1 AA support, that is the bar it is aiming at. ***Also Read:** [What Is a WordPress Block Theme?](https://qa.nexterwp.com/blog/what-is-a-wordpress-block-theme/) Your theme decides how clean your markup is before any plugin touches it.* ## The Three Types of WordPress Accessibility Plugin Before you install anything, it helps to know that these plugins are not all doing the same job. They fall into three groups, and mixing them up is how people end up disappointed. - **Checkers** scan your pages against WCAG rules and tell you what is broken, so you can fix it at the source. This is the route that actually moves you toward compliance.- **Enhancers** work behind the scenes to patch common theme problems, like adding skip links or cleaning up markup that screen readers rely on.- **Overlay widgets** add a floating toolbar that lets visitors adjust font size, contrast, and spacing. Useful for some users, but they sit on top of your site rather than fixing the code underneath. A serious accessibility effort usually combines a checker with an enhancer, and treats an overlay as an optional extra. Keep that order in mind as we go through the picks. ## Best Accessibility Checker: Equalize Digital Accessibility Checker If your main goal is to find and fix real issues, this is the one to start with. Equalize Digital Accessibility Checker scans your posts and pages against WCAG-based rules while you edit, so problems show up before you publish instead of after a complaint. It has 10,000 or more active installations, sits at version 1.45.0, is tested up to WordPress 7.0, and holds a 4.9 out of 5 star rating. The free version is unusually capable. You get real-time scanning, more than 40 automated checks, 12 one-click fixes for common barriers, a readability analysis, a front-end highlighter that shows exactly where an issue sits, and an accessibility statement generator to support your documentation. In its own words, it helps you "find and fix accessibility issues in WordPress" and "generate an accessibility statement to support your compliance efforts." The Pro tier adds bulk scanning across the whole site, custom post type support, full-site reports, a dismissed-issues log, CSV export, and multisite handling. That is the version teams reach for when they need to track accessibility across hundreds of pages rather than one at a time. For most site owners, the free plugin is enough to get a clear, honest picture of where you stand. ***Also Read:** [Gutenberg Core Web Vitals](https://qa.nexterwp.com/blog/gutenberg-core-web-vitals-block-theme/). Performance and accessibility both start with lean, well-structured pages.* ## Best Accessibility Enhancers: WP Accessibility and Ally **WP Accessibility**, by longtime accessibility developer Joe Dolson, is the quiet workhorse of this category. It has 60,000 or more active installations, runs at version 2.3.3, is tested up to WordPress 6.9.4, and carries a 4.8 out of 5 star rating. The plugin describes itself plainly: it "helps with a variety of common accessibility problems in WordPress themes" and "adds a number of helpful accessibility features with a minimum amount of setup or expert knowledge." It is honest about its own limits, too. The description notes that most accessibility issues cannot be addressed without directly changing your theme. What it can do is add skip links, patch some core problems, and give you diagnostic tools to spot issues, which makes it a strong companion to a checker rather than a replacement for good theme code. **Ally, formerly One Click Accessibility**, is now maintained by Elementor. It is easily the most installed option here at 500,000 or more active installations, sits at version 4.1.2, and is tested up to WordPress 7.0. It bundles three tools: an Ally Assistant that scans pages and flags violations with guided, AI-assisted fixes, a customizable usability widget for visitors, and an accessibility statement generator. One caveat worth stating openly. Despite the huge install base, Ally currently holds a 2.9 out of 5 star rating on WordPress.org, largely tied to the transition from the old One Click Accessibility plugin. It is worth a look for the scanner and the free usability widget, but read recent reviews and test it on a staging copy before you commit. ## Accessibility Widgets and Overlays: UserWay and accessiBe Overlay widgets are the most visible type of accessibility plugin and the most misunderstood. They add a floating button that opens a menu where visitors can change contrast, resize text, adjust spacing, and toggle animations. That genuinely helps some people, so there is a place for them. **UserWay** is one of the best known. Its WordPress widget has 80,000 or more active installations and describes itself as creating "a simpler and more accessible browsing experience for your users." **accessiBe**, through its Web Accessibility plugin, takes an AI-driven approach with its accessWidget, has 10,000 or more active installations, runs at version 2.13, and holds a 4.1 out of 5 star rating. Both scan and apply changes at page load without editing your source code. Here is the part most roundups skip. An overlay widget does not make you EAA compliant on its own, and accessibility experts widely caution against treating one as a substitute for fixing the underlying site. Because overlays adjust the markup that reaches the browser rather than your actual code, screen reader users can still hit the real barriers that live in your theme and content. Use an overlay as a convenience layer for visitors, then do the actual work with a checker and an enhancer. ## Quick Comparison | Plugin | Type | Best for | Active installs | Rating | | ------ | ---- | -------- | --------------- | ------ | | Equalize Digital Accessibility Checker | Checker | Finding and fixing real WCAG issues | 10,000+ | 4.9 | | WP Accessibility | Enhancer | Patching common theme problems | 60,000+ | 4.8 | | Ally (formerly One Click Accessibility) | Enhancer + widget | Scanner plus a free usability toolbar | 500,000+ | 2.9 | | UserWay | Overlay widget | Visitor-facing accessibility toolbar | 80,000+ | Mixed | | accessiBe (accessWidget) | Overlay widget | AI-assisted widget with visitor controls | 10,000+ | 4.1 | Active installs, versions, and ratings verified on WordPress.org, July 2026. ## How to Actually Get EAA-Ready in WordPress Plugins are tools, not a plan. Here is a simple order of operations that keeps the work honest. - **Audit first.** Run a checker like Equalize Digital across your key templates and top pages so you know the real state of things.- **Fix at the source.** Correct headings, alt text, link labels, form fields, and color contrast in your content and theme. This is where compliance is actually won.- **Enhance the gaps.** Add an enhancer like WP Accessibility for the theme-level fixes you cannot easily make by hand.- **Publish a statement.** Generate an accessibility statement so visitors know your commitment and how to report issues.- **Re-test and repeat.** Accessibility is not a one-time task. Re-scan after every major content or design change. One thing every step above depends on is the quality of your markup, and that starts with your theme. A lightweight, cleanly coded theme gives screen readers and keyboards a solid structure to work with, which is the one thing no overlay can fake. [Nexter](https://qa.nexterwp.com/nexter-theme/) is built for exactly that kind of foundation. It is a vanilla JavaScript theme with no jQuery dependency, weighs under 20Kb, and loads only the features you actually enable, so you ship lean, predictable markup instead of bloat that gets in the way. Pair a clean base like that with a checker and an enhancer, and you are doing accessibility the way the EAA actually expects. ## Suggested Reading - [What Is a WordPress Block Theme? The 2026 Build-and-Choose Guide](https://qa.nexterwp.com/blog/what-is-a-wordpress-block-theme/)- [Gutenberg Core Web Vitals: How to Speed Up a Block-Theme WordPress Site in 2026](https://qa.nexterwp.com/blog/gutenberg-core-web-vitals-block-theme/)- [Gutenberg vs Elementor in 2026: An Honest Block-Builder Comparison](https://qa.nexterwp.com/blog/gutenberg-vs-elementor/)- [7 Best WordPress SEO Friendly Themes to Boost Organic Traffic](https://qa.nexterwp.com/blog/best-wordpress-seo-friendly-themes/)- [Semantic SEO for WordPress: Optimize for Meaning, Entities and AI Answers](https://qa.nexterwp.com/blog/semantic-seo-wordpress/) --- # The 6 Best WordPress Image Map & Hotspot Plugins (2026) Source: https://qa.nexterwp.com/blog/best-wordpress-image-map-plugins/ #### Key Takeaways - An image map turns one image into several clickable areas, while a hotspot drops pins or markers on an image that reveal a tooltip or a link. Most plugins now do both.- Draw Attention is the most-installed free option, with over 1 million active installs, and the best all-round place to start.- Image Map Pro is the premium pick, a one-time $49 purchase for polished SVG maps with pins, shapes, and tooltips.- PicPoints is the newest builder and renders in an isolated Shadow DOM, so its styles never clash with your theme.- If you already build with blocks, the free Nexter Blocks Hotspot block adds pins, tooltips, and links without a separate plugin. Ask two WordPress users what an image map is and you often get two different answers. One pictures a clickable floor plan or a product diagram, where different regions of a single image link to different pages. The other pictures pins dropped on a photo, each one opening a small tooltip with a name, a price, or a short note. Both are right, and both are far easier to build than most people expect. This guide compares the six best WordPress image map and hotspot plugins, from the million-install veteran to a builder that shipped an update the same day this article went out. Every number here was pulled live from WordPress.org and CodeCanyon on July 1, 2026, so you can see what is actively maintained and what is not. Six image map and hotspot tools for WordPress, from free plugins to a premium builder and a native block. ## What Is an Image Map vs a Hotspot in WordPress? An **image map** takes a single image and splits it into multiple clickable areas. Each area can link to a different page or trigger a different action, so one graphic behaves like several buttons. The idea goes back to the old HTML image map, but modern plugins let you draw the clickable regions visually and keep them responsive on phones. A **hotspot** is an interactive marker, usually a pin or a dot, placed at a specific point on an image. Hover over it or tap it and a tooltip appears, often with text, an image, or a link. In practice the two ideas overlap, and most of the tools below handle both clickable regions and pin-style hotspots. There are two plugin styles to keep in mind. **Standalone builders** give you a canvas where you draw pins or shapes on any image, then output a shortcode or a block you place in your content. **Block-native tools** live directly inside the WordPress editor, so you add hotspots the same way you add a paragraph or a button. ***Also Read:** [Gutenberg vs Elementor](https://qa.nexterwp.com/blog/gutenberg-vs-elementor/) if you are still deciding which editor to build these images in.* ## How We Picked These Plugins We looked at active installs, ratings, the last update date, and whether each tool has been tested with the current WordPress release. We also checked whether it still plays nicely with the block editor and whether there is a free version. The lineup mixes free plugins, one premium builder, and a native block, so there is a fit for most budgets and setups. ## 1. Draw Attention: Best Overall Free Image Map Plugin Draw Attention, officially the Interactive Image Map Plugin by NSquared, is the most popular option in this category by a wide margin. It has over 1,007,277 active installs and a 98% rating across 114 reviews, sits at version 2.1.6, was last updated on May 19, 2026, and is tested up to WordPress 7.0. You upload an image, draw clickable areas over the parts you care about, and each area can reveal extra content or send visitors to a URL. That makes it a natural fit for floor plans, infographics, and product feature diagrams. Draw Attention on WordPress.org, the most-installed image map plugin with over a million active installs. **Best for:** your first image map, especially on a budget. **Worth knowing:** the free plugin centers on one interactive image with clickable areas. A paid Pro version on the developer's site adds more advanced options, so map your needs before you buy. ## 2. Image Map Pro: Best Premium SVG Builder Image Map Pro for WordPress is a premium builder sold on CodeCanyon for a one-time $49 regular license. It has 21,583 sales and a 4.48-star rating from 599 reviews, and it was last updated on June 10, 2026. It is built around SVG, so you add pins, vector shapes, and tooltips to any image without touching code, and the result stays crisp at any size. Image Map Pro is an SVG-based builder for pins, shapes, and tooltips, sold as a one-time purchase. **Best for:** polished, resolution-independent maps where visual detail matters. **Worth knowing:** there is no free version, and it is an Envato purchase, so support and updates follow CodeCanyon's terms rather than the WordPress.org model. ## 3. PicPoints: Best Modern, Developer-Friendly Builder PicPoints, by Yalogica, is the newest name here and the one generating fresh interest in the WordPress community. It is free on WordPress.org, sits at version 1.9.3, was last updated on July 1, 2026, and is tested up to WordPress 7.0. Its standout trait is that it renders inside an isolated Shadow DOM, which keeps its CSS and JavaScript from clashing with your theme or other plugins. It also leans into floor plans and larger interactive maps. PicPoints renders in an isolated Shadow DOM to avoid theme and plugin style conflicts. **Best for:** developers, floor plans, and sites where a plugin has fought with your theme's styles before. **Worth knowing:** because it is new, it has very few public ratings so far, so test it on staging before you roll it out on a live site. ## 4. Image Hotspot by DevVN: Best Simple Free Hotspots Image Hotspot by DevVN is a straightforward way to add tooltip pins to a photo. It has 392,482 active installs and an 86% rating from 29 reviews, and it sits at version 1.3.0. You place hotspots on an image and each one shows a tooltip, powered by jQuery PowerTip. 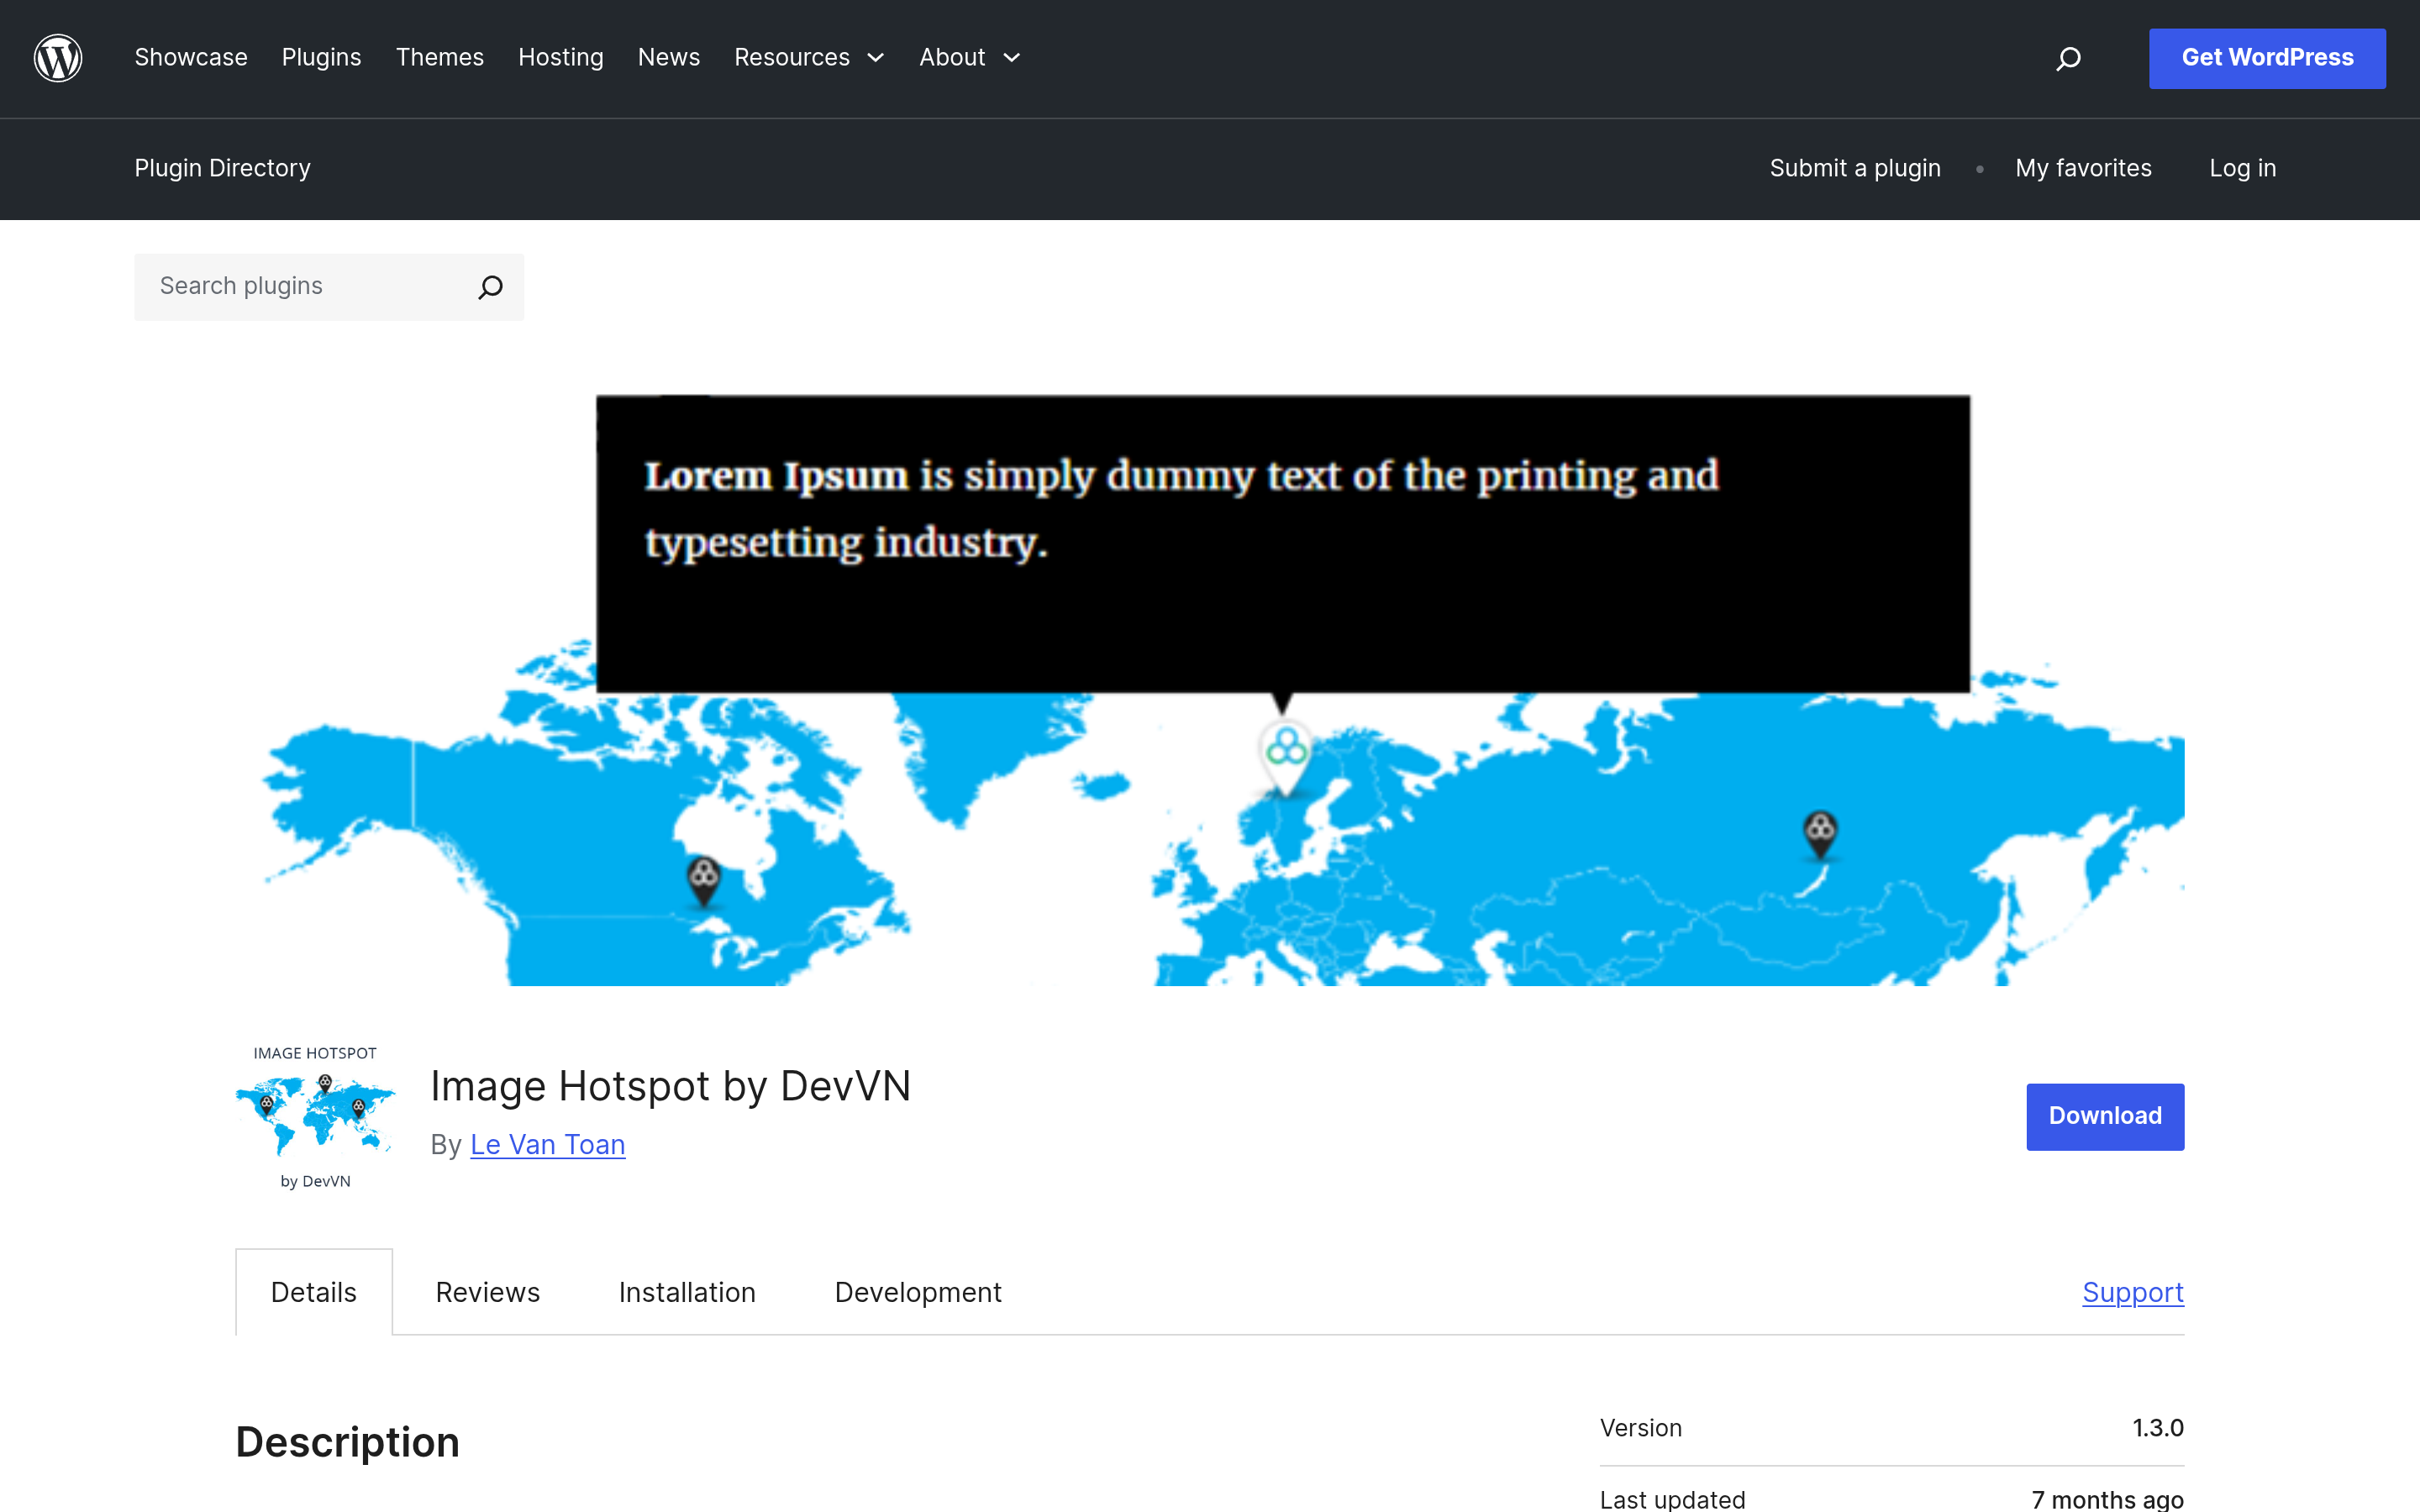Image Hotspot by DevVN adds tooltip pins to images and has nearly 400,000 active installs. **Best for:** quick tooltip pins on a single photo. **Worth knowing:** it was last updated in December 2025 and tested up to WordPress 6.9.4, and it relies on jQuery, so confirm it works on your current setup before you depend on it. ## 5. Image Hotspot - Map Image Annotation: Best for Annotations This plugin, listed as Image Hotspot with Map Image Annotation, is built for adding custom tooltips and clickable hotspots to explain parts of an image. It has 56,164 active installs and a 98% rating from 22 reviews, sits at version 3.5, was last updated on June 7, 2026, and is tested up to WordPress 7.0. 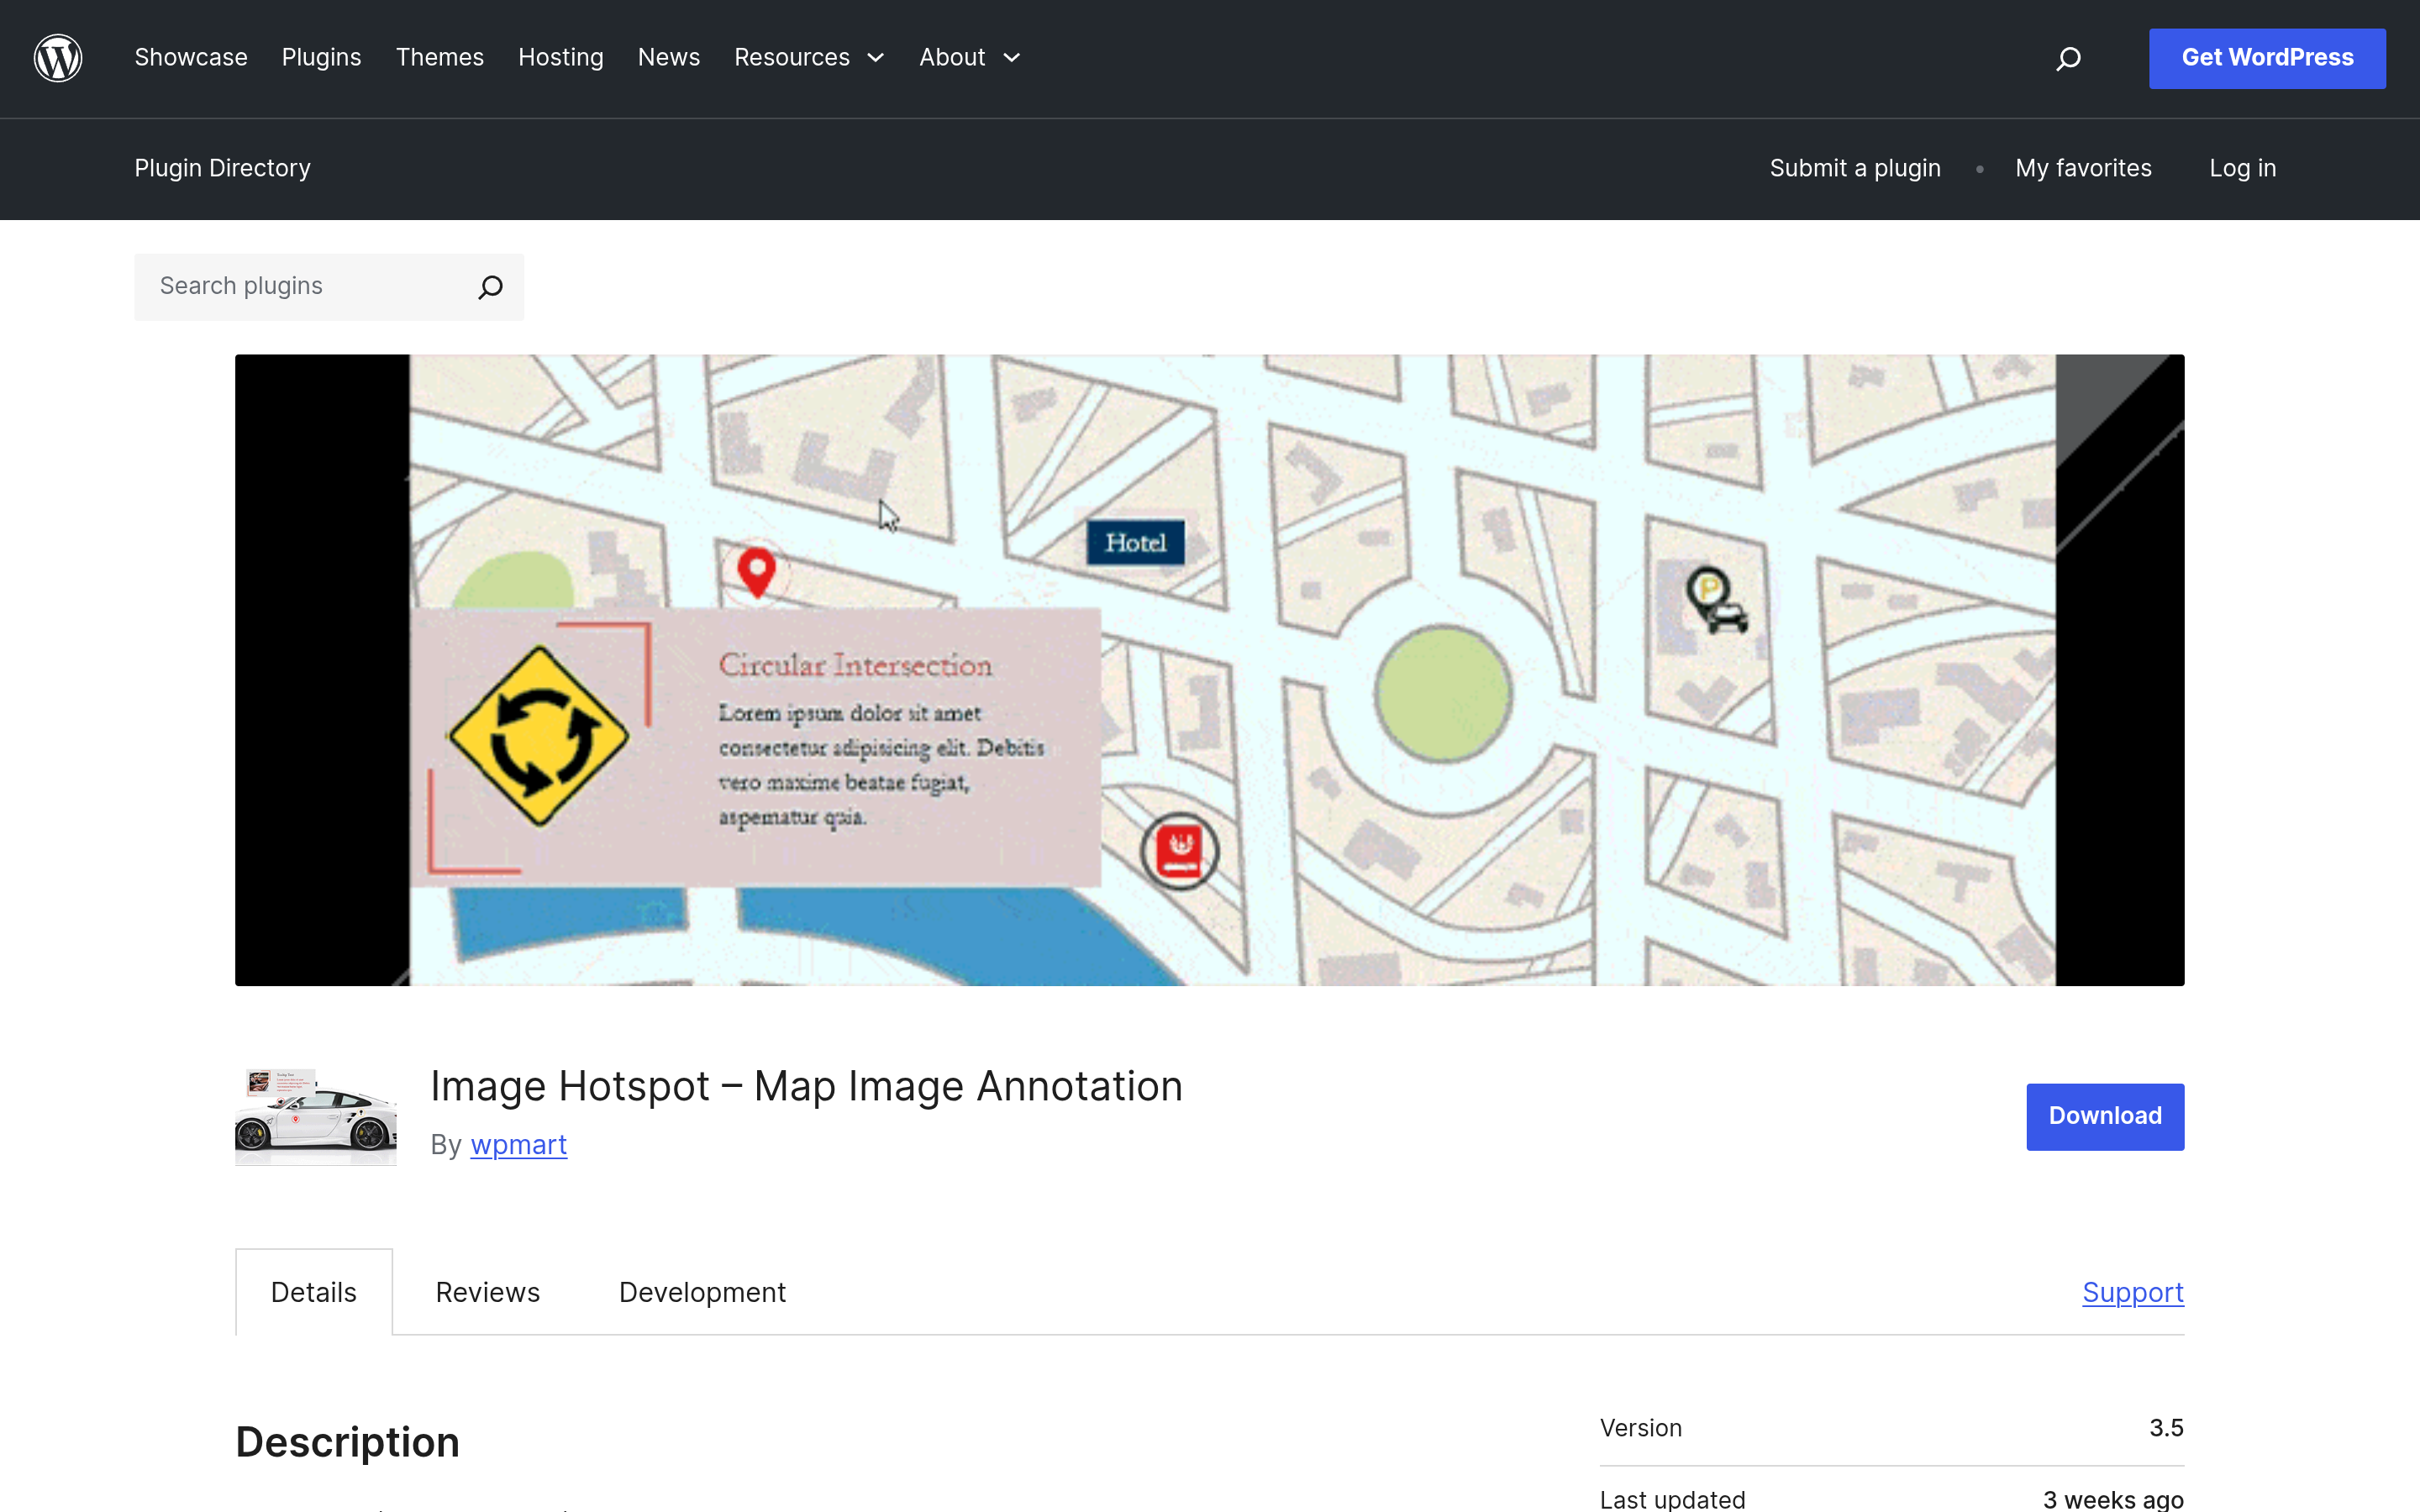Image Hotspot with Map Image Annotation focuses on tooltips for explaining parts of an image. **Best for:** annotating diagrams, screenshots, and educational images. **Worth knowing:** the free version covers the essentials well, and it is actively maintained, which is reassuring for a niche tool. ***Also Read:** if you actually need a location map rather than an image map, see the [best WordPress Google Maps plugins](https://qa.nexterwp.com/blog/best-wordpress-google-map-plugins/).* ## 6. Nexter Blocks Hotspot Block: Best for the Block Editor If you already build with the block editor, you may not need a standalone plugin at all. [Nexter Blocks](https://qa.nexterwp.com/nexter-blocks/) is a free collection of 90+ Gutenberg blocks, and its Hotspot block adds interactive pins to any image right inside the editor. You drop pins on your image, choose a text or image pin, attach a tooltip and a link to each one, decide whether pins open on hover or on click, and style the pin and its hover state. Because it is a native block, there is no shortcode to manage and nothing extra to load beyond the blocks you use. 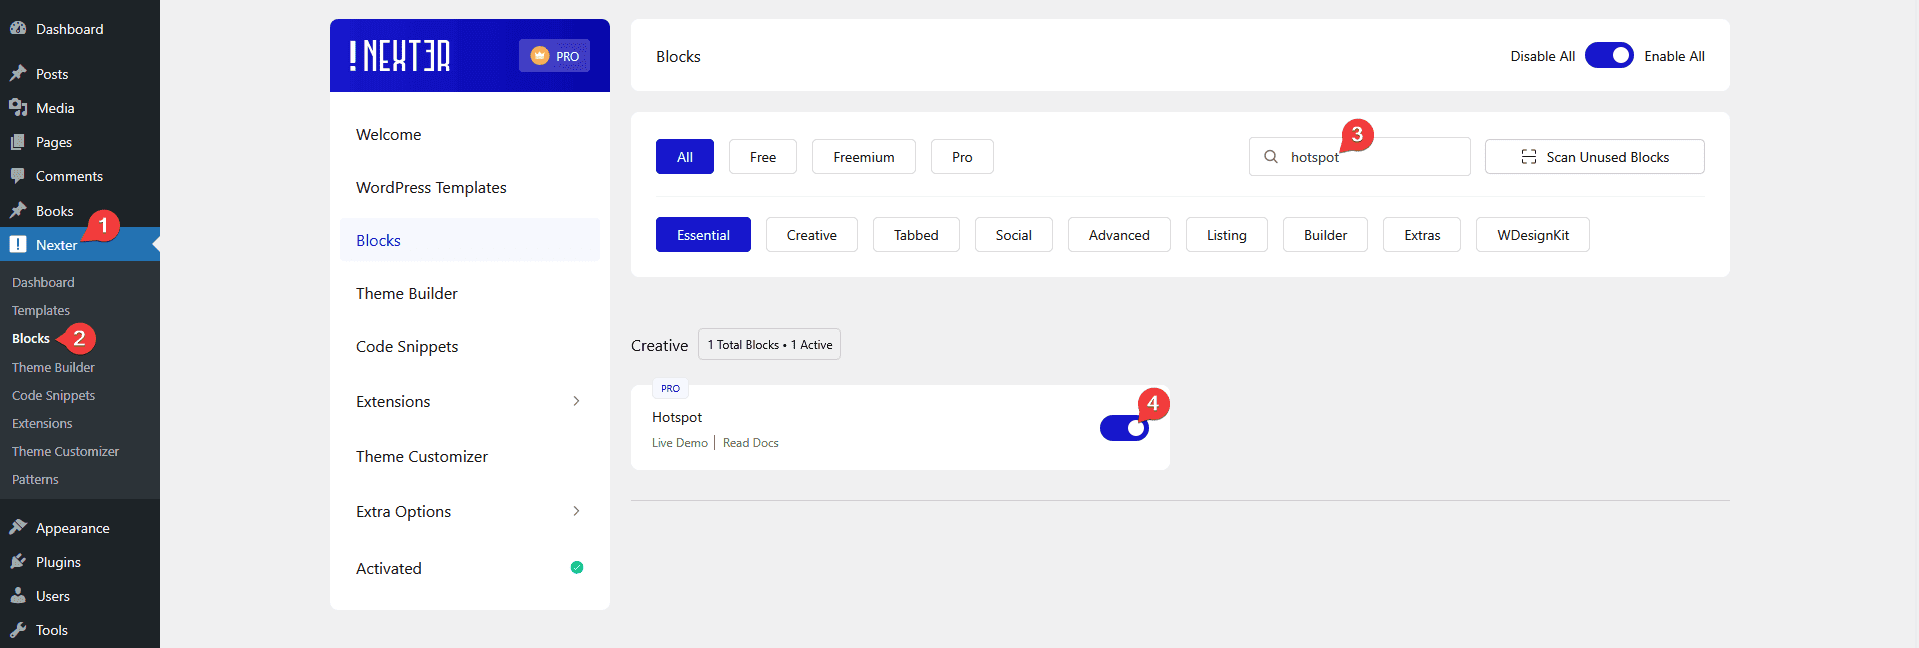The Nexter Blocks Hotspot block lets you set hover or click activation for each pin. **Best for:** anyone building with Gutenberg or a block theme who wants hotspots without adding another standalone plugin. 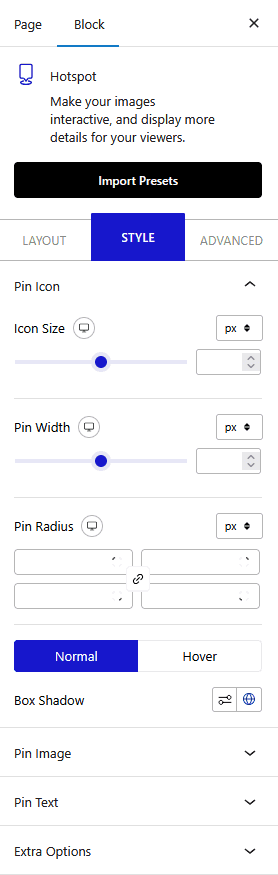Pin and tooltip styling controls in the Nexter Blocks Hotspot block. ## Image Map and Hotspot Plugins Compared | Plugin | Type | Price | Best for | Last updated | | ------ | ---- | ----- | -------- | ------------ | | Draw Attention | Standalone builder | Free + Pro | Best overall free | May 19, 2026 | | Image Map Pro | Standalone (SVG) | $49 one-time | Premium polish | Jun 10, 2026 | | PicPoints | Standalone builder | Free | Modern, dev-friendly | Jul 1, 2026 | | Image Hotspot by DevVN | Hotspot | Free + Pro | Simple tooltips | Dec 11, 2025 | | Image Hotspot (Map Annotation) | Hotspot | Free | Annotations | Jun 7, 2026 | | Nexter Blocks Hotspot | Block-native | Free | Block editor users | Actively maintained | ## How to Choose the Right Image Map Plugin If you build with the block editor, start with the Nexter Blocks Hotspot block and skip the extra plugin. If you want the safest, most widely supported standalone tool, Draw Attention is the default choice. If you need premium SVG polish and do not mind a one-time cost, Image Map Pro is worth it. If you have been burned by theme conflicts or you are a developer, PicPoints and its isolated rendering will feel safer. And if you only need quick tooltips on a photo, Image Hotspot by DevVN or the Map Image Annotation plugin will get you there fast. ## How to Add an Image Hotspot in WordPress Here is the quickest path using the free Nexter Blocks Hotspot block: - Install and activate Nexter Blocks from the WordPress plugin directory.- Edit a page or post, add the Hotspot block, and upload your base image.- Click on the image to drop a pin, then set its tooltip text or image and an optional link.- Choose whether pins open on hover or on click, and style the pin and hover colors.- Publish, then open the page on a phone to confirm the pins sit where you expect. New to the block editor? Our guide on [what Gutenberg is](https://qa.nexterwp.com/blog/what-is-gutenberg/) walks through the basics before you add your first hotspot. ## Suggested Reading - [Best WordPress Google Maps Plugins](https://qa.nexterwp.com/blog/best-wordpress-google-map-plugins/)- [Gutenberg vs Elementor: Which Builder to Use](https://qa.nexterwp.com/blog/gutenberg-vs-elementor/)- [What Is Gutenberg? A Beginner's Guide](https://qa.nexterwp.com/blog/what-is-gutenberg/)- [Best WordPress Button Plugins](https://qa.nexterwp.com/blog/wordpress-button-plugins/)- [Best Counter Plugins for WordPress](https://qa.nexterwp.com/blog/best-counter-plugins-for-wordpress/) ## Frequently Asked Questions ### What is the best free WordPress image map plugin? Draw Attention is the most popular free image map plugin, with over a million active installs and a 98% rating. It is the safest starting point for most sites. ### What is the difference between an image map and a hotspot? An image map divides one image into several clickable areas, each with its own link. A hotspot is a single pin or marker placed on an image that shows a tooltip or link when hovered or tapped. Many plugins offer both. ### Do image map plugins work with the WordPress block editor? Yes. Some are block-native, like the Nexter Blocks Hotspot block, so you add them like any other block. Others output a shortcode you paste into a Shortcode block, which also works fine in the editor. ### Are image maps responsive on mobile? Modern tools like Draw Attention, Image Map Pro, and PicPoints scale their maps for small screens. Always test on a real phone, and be more careful with older jQuery-based plugins. ### Do image maps slow down a WordPress site? A few pins add very little weight. The bigger factor is the base image, so compress it and serve an appropriately sized file. Avoid loading a huge unoptimized image just to place hotspots on it. --- # Web Crawlers List: 22 Most Common Bots & Spiders (2026) Source: https://qa.nexterwp.com/blog/web-crawlers-list/ Last month I pulled the access logs on one of my client sites and counted nine separate AI crawlers hitting it in a single 24-hour window. Three I had never heard of. Two were ignoring robots.txt. One was hammering the same product page 400 times. If you run a WordPress site in 2026, this is the new normal, and most "15 bots to know" guides are not keeping up. Search engines, AI platforms, and social networks all rely on automated bots to discover and index your website's content. According to [Imperva's 2024 Bad Bot Report](https://www.imperva.com/resources/resource-library/reports/2024-bad-bot-report/), bots now account for nearly 50% of all internet traffic, with both helpful crawlers and malicious scrapers visiting your pages daily. In 2026 the share has shifted: AI training and answer-engine crawlers are now the fastest-growing slice, and most WordPress site owners have never seen them in their server logs. This crawler list covers the 22 most common bots and spiders you will actually encounter in 2026, organized by category, with verbatim user-agent strings pulled from each vendor's own documentation, an allow or block recommendation per bot, and copy-paste `robots.txt` rules. We added seven net-new entries for the 2026 wave: OAI-SearchBot, Claude-Web, PerplexityBot, Perplexity-User, Meta-ExternalAgent, DuckAssistBot, and Bytespider. Bookmark this as your quick reference for identifying bot traffic in `access.log`. ## What Are Web Crawlers? A web crawler (also called a web spider, bot, or robot) is an automated program that systematically browses the internet to discover, read, and index web pages. Crawlers follow links from one page to another, building a map of the web that search engines and other services use to organize information. ***Also Read:** wondering whether to allow [ClaudeBot](https://qa.nexterwp.com/blog/claudebot-wordpress/) on your site? We break down what Anthropic's crawler does.* Googlebot is the most well-known web crawler, responsible for indexing billions of pages for Google Search. But dozens of other crawlers operate across the web, each serving a different purpose. ### How Do Web Crawlers Work? A web crawler starts with a seed list of URLs. It visits each URL, reads the page content and HTML structure, extracts all the links it finds, and adds those new URLs to its queue. The crawler then repeats this process continuously. As it works, the crawler stores the page data in an index, a structured database that allows the parent service (such as Google Search) to quickly retrieve relevant results. Crawlers follow rules set in your site's robots.txt file and respect meta directives like `noindex` and `nofollow` to determine which pages to skip. Most crawlers also implement a crawl rate limit to avoid overloading your server with too many requests at once. ## Types of Web Crawlers Understanding the different types of web crawlers helps you decide which ones to allow or block on your site. **General-purpose crawlers** index the entire web for search engines. Googlebot, Bingbot, and Yandex Bot fall into this category. They aim to discover and catalog as much content as possible. **AI training crawlers** visit websites to collect data used for training large language models (LLMs). GPTBot, ClaudeBot, and Google-Extended are examples. These are newer and more controversial because they use content for AI model training rather than search indexing. **Social media crawlers** fetch page metadata (title, description, image) when someone shares a link on platforms like Facebook, Twitter, or LinkedIn. They generate the link preview cards you see in social feeds. **SEO and analytics crawlers** scan websites to collect data for marketing and SEO tools. SEMrushBot and AhrefsBot gather backlink data, keyword rankings, and site health metrics that digital marketers rely on. **Focused crawlers** target specific types of content, such as academic papers, news articles, or e-commerce product data, rather than indexing the entire web. *Looking for ways to protect your website from hackers? Check out the [**5 Best WordPress Security Plugins to Protect Your Site**](https://qa.nexterwp.com/blog/best-wordpress-security-plugins-to-protect-your-site/)* ## 22 Most Common Web Crawlers in 2026 Here is the complete bot crawler list for 2026, organized by category. For each crawler, you will find its purpose, user-agent string, and key details. ### Search Engine Crawlers ### 1. Googlebot  Googlebot is Google's primary web crawler and the most active bot on the internet. It discovers and indexes web pages for Google Search, Google Images, Google News, and other Google services. - **User-Agent:** `Googlebot/2.1` and `Googlebot-Image/1.0`- **Owner:** Google- **Purpose:** Indexing pages for Google Search- **Crawl frequency:** Continuously, with a crawl budget assigned per site based on site authority and server capacity- **Key detail:** Googlebot renders JavaScript, meaning it processes dynamically loaded content the same way a browser does. Google Search Console lets you monitor Googlebot's crawl activity and fix indexing issues. ### 2. Bingbot  Bingbot is Microsoft's web crawler that indexes pages for Bing Search, Yahoo Search (which is powered by Bing), and Microsoft's AI-powered Copilot search. - **User-Agent:** `bingbot/2.0`- **Owner:** Microsoft- **Purpose:** Indexing pages for Bing and Yahoo Search- **Crawl frequency:** Continuous, with configurable crawl rate via Bing Webmaster Tools- **Key detail:** Bingbot prioritizes mobile-friendly pages and supports IndexNow, a protocol that lets you notify Bing instantly when content changes instead of waiting for the next crawl. ### 3. Yandex Bot  Yandex Bot is the web crawler for Yandex, the largest search engine in Russia and the fourth-largest search engine globally by market share. - **User-Agent:** `YandexBot/3.0`- **Owner:** Yandex- **Purpose:** Indexing pages for Yandex Search- **Crawl frequency:** Continuous- **Key detail:** Yandex Bot supports multiple languages and prioritizes geographically relevant content. If your site targets Russian, Turkish, or CIS-region audiences, optimizing for Yandex Bot is important. Yandex provides its own Webmaster Tools for monitoring crawl activity. ### 4. DuckDuckBot  DuckDuckBot is the web crawler used by DuckDuckGo, the privacy-focused search engine that does not track users or personalize search results. - **User-Agent:** `DuckDuckBot/1.1`- **Owner:** DuckDuckGo- **Purpose:** Indexing pages for DuckDuckGo Search- **Crawl frequency:** Less frequent than Googlebot or Bingbot- **Key detail:** DuckDuckGo also sources results from over 400 other sources including Bing, Wikipedia, and its own crawler. DuckDuckBot respects robots.txt and is privacy-focused by design. ### 5. Applebot  Applebot is Apple's web crawler, introduced in 2015. It powers search results in Siri, Spotlight Suggestions, and Safari's search features. - **User-Agent:** `Applebot/0.1`- **Owner:** Apple- **Purpose:** Powering Siri, Spotlight, and Safari search suggestions- **Crawl frequency:** Moderate- **Key detail:** Applebot renders JavaScript and CSS, so it sees your pages as users do. If no specific Applebot rules exist in robots.txt, it follows Googlebot's directives as a fallback. Ranking factors include user engagement, content relevance, link quality, and web design characteristics. ### 6. Baidu Spider  Baidu Spider is the web crawler for Baidu, the dominant search engine in China with over 70% market share in mainland China. - **User-Agent:** `Baiduspider/2.0`- **Owner:** Baidu- **Purpose:** Indexing pages for Baidu Search- **Crawl frequency:** Continuous, configurable via Baidu Webmaster Tools (Baidu Ziyuan)- **Key detail:** If you target Chinese-speaking audiences, Baidu Spider is essential. It handles Chinese character sets natively and offers image-specific (`Baiduspider-image`) and video-specific (`Baiduspider-video`) variants. Baidu Webmaster Tools lets you submit sitemaps and monitor crawl issues. ### AI Training Crawlers ### 7. GPTBot (OpenAI) GPTBot is OpenAI's training crawler. It collects publicly available web content to train future GPT models. The verbatim user-agent string from [OpenAI's official bot documentation](https://platform.openai.com/docs/bots) in 2026 is: Mozilla/5.0 AppleWebKit/537.36 (KHTML, like Gecko; compatible; GPTBot/1.3; +https://openai.com/gptbot) - **Owner:** OpenAI- **Purpose:** Training data collection for GPT models- **Allow or block?** Block if you do not want your content used to train future models. Allow if you want potential surfacing in OpenAI products and accept training use.- **Key detail:** GPTBot is distinct from `OAI-SearchBot` (the SearchGPT indexer, entry #16 below) and `ChatGPT-User` (real-time browsing when a person asks ChatGPT a question). Blocking GPTBot does not block the other two. For a deeper WordPress breakdown, see [the AI crawler robots.txt guide on The Plus Addons](https://theplusaddons.com/blog/wordpress-robots-txt-ai-crawlers/). **robots.txt rule:** User-agent: GPTBot Disallow: / ### 8. ClaudeBot (Anthropic) ClaudeBot is Anthropic's training crawler for the Claude family of models. Verbatim user-agent from Anthropic's bot documentation: Mozilla/5.0 AppleWebKit/537.36 (KHTML, like Gecko; compatible; ClaudeBot/1.0; +claudebot@anthropic.com) - **Owner:** Anthropic- **Purpose:** Training data for Claude models- **Allow or block?** Most WordPress sites should allow it. Anthropic respects robots.txt and ClaudeBot traffic is currently low compared to GPTBot. Block if you have a competitive content concern. For an allow-vs-block decision framework with real access-log numbers, read [ClaudeBot: should you allow or block on WordPress](https://theplusaddons.com/blog/claudebot-wordpress-allow-block/).- **Key detail:** Separate from `Claude-Web`, the on-demand fetcher (entry #17 below). Blocking ClaudeBot does not block Claude-Web. **robots.txt rule:** User-agent: ClaudeBot Disallow: / ### 9. Google-Extended Google-Extended is a robots.txt control token, not a separate crawler. Per [Google's official common crawlers documentation](https://developers.google.com/search/docs/crawling-indexing/google-common-crawlers): "Crawling is done with existing Google user agent strings; the robots.txt user-agent token is used in a control capacity." It lets you opt out of having your content train Gemini and ground Gemini Apps and Vertex AI, without affecting Googlebot or your Search rankings. - **robots.txt token:** `Google-Extended` (no version, no dedicated UA string)- **Owner:** Google- **Purpose:** Opt-out signal for Gemini training and Vertex AI grounding- **Allow or block?** Block if you do not want your content training Gemini or grounding Gemini Apps. Blocking has zero impact on Google Search ranking, confirmed by Google. If you also want to manage how Google AI Overviews surfaces your content, see [the WordPress AI Overview optimization playbook](https://theplusaddons.com/blog/google-ai-overview-wordpress/).- **Key detail:** This is a control token only. Real fetches still arrive with the Googlebot UA. You cannot grep your logs for "Google-Extended" hits because the token never appears in the UA header. **robots.txt rule:** User-agent: Google-Extended Disallow: / ### Social Media Crawlers ### 10. Facebook Crawler  Facebook Crawler (also known as Facebot) accesses your site when someone shares a link on Facebook, Instagram, WhatsApp, or Messenger. It fetches Open Graph metadata to build the link preview card. - **User-Agent:** `facebookexternalhit/1.1` and `facebookcatalog/1.0`- **Owner:** Meta- **Purpose:** Generating link preview cards on Meta platforms- **Crawl frequency:** On-demand (triggered when a link is shared)- **Key detail:** Facebook Crawler reads Open Graph tags (`og:title`, `og:description`, `og:image`) from your page's HTML. If these tags are missing, the preview card will be incomplete. Use Meta's Sharing Debugger tool to test and refresh your link previews. ### 11. Twitterbot Twitterbot (now X Bot) fetches page metadata when a link is shared on X (formerly Twitter) to generate Twitter Card previews. - **User-Agent:** `Twitterbot/1.0`- **Owner:** X Corp (formerly Twitter)- **Purpose:** Generating Twitter Card previews- **Crawl frequency:** On-demand (triggered when a link is shared)- **Key detail:** Twitterbot reads Twitter Card meta tags (`twitter:card`, `twitter:title`, `twitter:description`, `twitter:image`) from your page. If Twitter-specific tags are missing, it falls back to Open Graph tags. Use X's Card Validator to preview how your links will appear. ### 12. LinkedInBot LinkedInBot fetches page metadata when a link is shared on LinkedIn to generate the link preview that appears in posts and messages. - **User-Agent:** `LinkedInBot/1.0`- **Owner:** LinkedIn (Microsoft)- **Purpose:** Generating link previews on LinkedIn- **Crawl frequency:** On-demand (triggered when a link is shared)- **Key detail:** LinkedInBot reads Open Graph tags, similar to Facebook Crawler. Use LinkedIn's Post Inspector tool to test and refresh your link previews. For B2B websites, optimizing for LinkedInBot is especially important since LinkedIn is a primary traffic source. ### SEO and Analytics Crawlers ### 13. SEMrushBot  SEMrushBot is the web crawler used by Semrush, one of the largest SEO and digital marketing platforms. It collects data on backlinks, keyword rankings, and website performance. - **User-Agent:** `SemrushBot/7`- **Owner:** Semrush- **Purpose:** Collecting SEO and marketing data- **Crawl frequency:** Continuous- **Key detail:** SEMrushBot does not affect your search engine rankings. It collects data that Semrush users access for competitor research, backlink analysis, and site audits. You can safely block it if you do not want your site's data appearing in Semrush's database. ### 14. AhrefsBot AhrefsBot is the web crawler for Ahrefs, a popular SEO toolset known for its backlink database. It operates one of the most active crawlers on the web. - **User-Agent:** `AhrefsBot/7.0`- **Owner:** Ahrefs- **Purpose:** Building Ahrefs' backlink index and SEO database- **Crawl frequency:** Very frequent (Ahrefs crawls approximately 8 billion pages daily)- **Key detail:** AhrefsBot is one of the most aggressive crawlers on the web. According to Ahrefs, it processes around 8 billion pages every 24 hours. If it causes performance issues on smaller servers, you can reduce its crawl rate or block it via robots.txt. ### 15. Slurp Bot (Yahoo)  Slurp Bot was Yahoo's web crawler. While Yahoo Search is now powered by Bing's index, Slurp Bot historically played a major role in web indexing and still appears in some server logs. - **User-Agent:** `Slurp`- **Owner:** Yahoo (now Oath/Verizon Media)- **Purpose:** Historically indexed pages for Yahoo Search- **Crawl frequency:** Rare (Yahoo Search now uses Bingbot)- **Key detail:** Slurp Bot is largely retired since Yahoo transitioned to Bing's search index. You may still see it in legacy server logs, but it no longer significantly impacts your search visibility. ### AI Search and Answer-Engine Crawlers (the 2026 wave) This is the new category most "list of crawlers" articles still skip. These bots are different from the AI training crawlers above. They power answer engines, citation results, and on-demand AI browsing. Vendor docs were updated through April and May 2026, and the user-agent strings below are pulled verbatim from each vendor's own bot page. ### 16. OAI-SearchBot (OpenAI) OAI-SearchBot is OpenAI's SearchGPT indexer, a separate bot from GPTBot and ChatGPT-User. It powers the search index inside ChatGPT search results and is the one you want crawling your site if you care about appearing in OpenAI's search surface. Verbatim user-agent: Mozilla/5.0 (Macintosh; Intel Mac OS X 10_15_7) AppleWebKit/537.36 (KHTML, like Gecko) Chrome/131.0.0.0 Safari/537.36; compatible; OAI-SearchBot/1.3; +https://openai.com/searchbot - **Owner:** OpenAI- **Purpose:** Indexes content for SearchGPT / ChatGPT search results (citation surface, not training)- **Allow or block?** Allow. This is the search index, not the training crawler. Blocking it removes your site from ChatGPT search citations.- **Key detail:** You can block GPTBot (training) while allowing OAI-SearchBot (search). They are separately controllable in robots.txt. **robots.txt rule to allow:** User-agent: OAI-SearchBot Allow: / ### 17. Claude-Web (Anthropic on-demand fetcher) Claude-Web is the on-demand fetcher Anthropic uses when a Claude user pastes a URL or asks Claude to read a specific page. It is distinct from ClaudeBot (entry #8, the training crawler). It is the Anthropic equivalent of ChatGPT-User. Note that Anthropic's documentation currently surfaces the canonical ClaudeBot UA only; Claude-Web requests are user-initiated and may not honor robots.txt the same way training crawlers do. - **Robots.txt token:** `Claude-Web` and `anthropic-ai` are both documented opt-out tokens- **Owner:** Anthropic- **Purpose:** Real-time fetch when a Claude user asks Claude to read a URL- **Allow or block?** Allow on most public content. Blocking it stops Claude from reading your pages when users ask, which removes you from Claude's answers entirely.- **Key detail:** Separate from `ClaudeBot`. Block one, allow the other. **robots.txt rule to allow Claude-Web while blocking the training bot:** User-agent: ClaudeBot Disallow: / User-agent: Claude-Web Allow: / ### 18. PerplexityBot (Perplexity) PerplexityBot is Perplexity AI's web indexer. It surfaces and links websites in Perplexity's answer engine results. Perplexity explicitly states it is not used to crawl content for AI foundation models. Verbatim user-agent from the [Perplexity bots documentation](https://docs.perplexity.ai/guides/bots): Mozilla/5.0 AppleWebKit/537.36 (KHTML, like Gecko; compatible; PerplexityBot/1.0; +https://perplexity.ai/perplexitybot) - **Owner:** Perplexity AI- **Purpose:** Continuous web indexing for Perplexity answer engine (not training)- **Allow or block?** Allow. Perplexity citations drive real referral clicks. For a breakdown of how Perplexity decides which WordPress sites to cite, see [how Perplexity AI cites WordPress sites](https://theplusaddons.com/blog/how-perplexity-ai-cites-wordpress/).- **Key detail:** Distinct from Perplexity-User (entry #19), the on-demand fetcher. **robots.txt rule to allow:** User-agent: PerplexityBot Allow: / ### 19. Perplexity-User (Perplexity on-demand) Perplexity-User activates when a Perplexity user submits a query that requires fetching a specific page. Verbatim user-agent: Mozilla/5.0 AppleWebKit/537.36 (KHTML, like Gecko; compatible; Perplexity-User/1.0; +https://perplexity.ai/perplexity-user) - **Owner:** Perplexity AI- **Purpose:** Real-time fetch triggered by a user query- **Allow or block?** Allow. Per Perplexity's own docs, this fetcher "generally ignores robots.txt rules" since a human initiated the request. Blocking it does little, and the request still arrives.- **Key detail:** If you see Perplexity-User in your logs, that is a real user asking Perplexity to read your page. That is a citation opportunity, not a bot to block. ### 20. Meta-ExternalAgent (Meta AI) Meta-ExternalAgent is Meta's general-purpose AI crawler, used for training foundational AI models and for direct content indexing across Meta's surfaces. Verbatim user-agent strings from [Meta's web crawlers documentation](https://developers.facebook.com/docs/sharing/webmasters/web-crawlers/): meta-externalagent/1.1 (+https://developers.facebook.com/docs/sharing/webmasters/crawler) - **Owner:** Meta (Facebook, Instagram, WhatsApp parent)- **Purpose:** Training data for Meta AI plus direct content indexing- **Allow or block?** Block if you do not want Meta training on your content. Blocking Meta-ExternalAgent does not affect the original Facebook Crawler (entry #10, link previews).- **Key detail:** Meta also operates `meta-externalfetcher/1.1`, an AI-agent-task crawler that "may disregard robots.txt rules" per Meta's own documentation. Plan accordingly. **robots.txt rule:** User-agent: Meta-ExternalAgent Disallow: / ### 21. DuckAssistBot (DuckDuckGo) DuckAssistBot powers DuckDuckGo's AI-assisted answers in search results. Verbatim user-agent from [DuckDuckGo's help page](https://duckduckgo.com/duckduckgo-help-pages/results/duckassistbot/): DuckAssistBot/1.2; (+http://duckduckgo.com/duckassistbot.html) - **Owner:** DuckDuckGo- **Purpose:** Real-time crawl to power DuckDuckGo's AI-assisted answers with attributed source citations- **Allow or block?** Allow. Per DuckDuckGo's docs, the data is not used for training. It is only used for citation. Blocking removes your site from DuckAssist's source attribution.- **Key detail:** Blocking takes 72 hours to take effect per DuckDuckGo. Blocking does not affect your regular DuckDuckGo organic search rankings. **robots.txt rule to allow:** User-agent: DuckAssistBot Allow: / ### 22. Bytespider (ByteDance / TikTok) Bytespider is ByteDance's training crawler. It downloads website content for datasets used to train ByteDance AI systems including the Doubao chatbot. Verbatim user-agent: Mozilla/5.0 (compatible; Bytespider; spider-feedback@bytedance.com) AppleWebKit/537.36 (KHTML, like Gecko) Chrome/70.0.0.0 Safari/537.36 - **Owner:** ByteDance (TikTok parent)- **Purpose:** Training data for ByteDance AI models including the Doubao chatbot- **Allow or block?** Most Western sites block. Bytespider has a history of aggressive crawl rates and limited reciprocal value, since Doubao primarily serves Chinese-language users. Allow if you want to be indexed for Chinese-language AI search.- **Key detail:** The UA mimics a Chrome 70 desktop browser. If you only filter by "compatible" plus "Bytespider", you will catch it. Do not rely on Chrome-version filtering. **robots.txt rule:** User-agent: Bytespider Disallow: / ## How to Control Web Crawler Access on WordPress WordPress gives you several ways to manage which crawlers can access your site and which pages they can index. **robots.txt:** Your site's robots.txt file (located at `yourdomain.com/robots.txt`) is the primary way to control crawler access. You can block specific user-agents, disallow specific directories, or set a crawl delay. `# Block AI training crawlers User-agent: GPTBot Disallow: / User-agent: ClaudeBot Disallow: / User-agent: Google-Extended Disallow: / # Allow search engine crawlers User-agent: Googlebot Allow: / User-agent: Bingbot Allow: /` **Meta robots tags:** Add `` to specific pages you want to exclude from indexing entirely. **WordPress SEO plugins:** Plugins like Rank Math and Yoast SEO let you set noindex/nofollow rules per page, per post type, or per taxonomy from the WordPress dashboard without editing code. [Nexter Extension](https://qa.nexterwp.com/nexter-extension/features/) includes built-in security features that help protect your WordPress site from malicious bots and unwanted crawler traffic. With features like XML-RPC disabling, login protection, and IP-based access controls, you can manage bot access alongside your 50+ other site management tools from one unified dashboard. *Further Read: How about highly securing your website content from malicious attacks and cyber threats? Here's the blog about the [**5 Best WordPress Content Protection Plugins**](https://qa.nexterwp.com/blog/top-wordpress-content-protection-plugins/).* Beyond `robots.txt`, two newer controls matter in 2026. The first is [llms.txt for WordPress](https://theplusaddons.com/blog/llms-txt-wordpress/), a separate file that gives large language models a curated, machine-friendly view of your most important pages. It does not replace `robots.txt`, it complements it. The second is firewall-level blocking. If you need a hard block against bots that ignore `robots.txt`, write a [Cloudflare Firewall Rule](https://developers.cloudflare.com/firewall/cf-firewall-rules/) matching the user-agent string and return a 403. That stops the request at Cloudflare's edge before your WordPress server burns CPU on it. [Our Cloudflare Turnstile guide](https://qa.nexterwp.com/blog/cloudflare-turnstile-vs-google-recaptcha/) covers the broader Cloudflare-as-WordPress-shield setup if you have not configured the edge yet. One pattern I keep seeing on the sites I audit: people add the AI bots to `robots.txt` but never check if their theme is shipping a bloated DOM that those bots cannot easily parse. If you want crawlers to actually understand and cite your content, the markup matters too. [Block themes vs classic themes](https://qa.nexterwp.com/blog/wordpress-fse-block-themes-vs-classic-themes/) covers why a clean FSE-based theme is now the easier path for crawler-friendly WordPress in 2026. ## Complete Web Crawlers List: Summary Table | # | Crawler | Owner | Category | User-Agent token | Allow / Block recommendation | | --- | ------- | ----- | -------- | ---------------- | ---------------------------- | | 1 | Googlebot | Google | Search Engine | `Googlebot/2.1` | Allow | | 2 | Bingbot | Microsoft | Search Engine | `bingbot/2.0` | Allow | | 3 | Yandex Bot | Yandex | Search Engine | `YandexBot/3.0` | Allow | | 4 | DuckDuckBot | DuckDuckGo | Search Engine | `DuckDuckBot/1.1` | Allow | | 5 | Applebot | Apple | Search Engine | `Applebot/0.1` | Allow | | 6 | Baidu Spider | Baidu | Search Engine | `Baiduspider/2.0` | Allow (if China audience) | | 7 | GPTBot | OpenAI | AI Training | `GPTBot/1.3` | Block (or allow if OK with training) | | 8 | ClaudeBot | Anthropic | AI Training | `ClaudeBot/1.0` | Allow | | 9 | Google-Extended | Google | AI Training token | `Google-Extended` | Block (zero Search impact) | | 10 | Facebook Crawler | Meta | Social Media | `facebookexternalhit/1.1` | Allow | | 11 | Twitterbot | X Corp | Social Media | `Twitterbot/1.0` | Allow | | 12 | LinkedInBot | LinkedIn | Social Media | `LinkedInBot/1.0` | Allow | | 13 | SEMrushBot | Semrush | SEO Tool | `SemrushBot/7` | Allow (or block to save bandwidth) | | 14 | AhrefsBot | Ahrefs | SEO Tool | `AhrefsBot/7.0` | Allow (or rate-limit) | | 15 | Slurp Bot | Yahoo | Search Engine (retired) | `Slurp` | Allow (legacy) | | 16 | OAI-SearchBot | OpenAI | AI Search | `OAI-SearchBot/1.3` | Allow (citation surface) | | 17 | Claude-Web | Anthropic | AI On-demand | `Claude-Web` | Allow (user-initiated) | | 18 | PerplexityBot | Perplexity | AI Search | `PerplexityBot/1.0` | Allow (citation surface) | | 19 | Perplexity-User | Perplexity | AI On-demand | `Perplexity-User/1.0` | Allow (ignores robots.txt anyway) | | 20 | Meta-ExternalAgent | Meta | AI Training | `meta-externalagent/1.1` | Block (training) | | 21 | DuckAssistBot | DuckDuckGo | AI Search | `DuckAssistBot/1.2` | Allow (citation, not training) | | 22 | Bytespider | ByteDance | AI Training | `Bytespider` | Block (Western sites) | ## Suggested Reading - [WordPress robots.txt for AI Crawlers: What's Actually Working in 2026](https://theplusaddons.com/blog/wordpress-robots-txt-ai-crawlers/) , the deep-dive on configuring `robots.txt` for every AI bot on this page, with real server-log examples.- [llms.txt for WordPress](https://theplusaddons.com/blog/llms-txt-wordpress/) , the newer machine-friendly file format LLMs increasingly check first, complementary to `robots.txt`.- [ClaudeBot: should you allow or block on WordPress](https://theplusaddons.com/blog/claudebot-wordpress-allow-block/) , allow-vs-block decision framework with real access-log numbers.- [How Perplexity AI cites WordPress sites](https://theplusaddons.com/blog/how-perplexity-ai-cites-wordpress/) , what gets you cited in Perplexity answers vs ignored.- [Google AI Overview WordPress playbook](https://theplusaddons.com/blog/google-ai-overview-wordpress/) , how Google-Extended, AI Overviews, and Gemini interact with your site content.- [Cloudflare Turnstile vs Google reCAPTCHA](https://qa.nexterwp.com/blog/cloudflare-turnstile-vs-google-recaptcha/) , the edge-level bot defense layer that sits above `robots.txt` for bots that ignore it.- [WordPress FSE block themes vs classic themes](https://qa.nexterwp.com/blog/wordpress-fse-block-themes-vs-classic-themes/) , why a clean, crawler-friendly DOM matters as much as `robots.txt` in 2026. ## Wrapping Up Web crawlers are the backbone of how search engines, AI platforms, and social networks discover and organize content across the internet. This list represents the 22 bots and spiders you are most likely to encounter in your WordPress access logs in 2026, from the classic Googlebot all the way to the 2026 wave of AI search and answer-engine crawlers. For WordPress site owners, the key takeaway is to welcome crawlers that help your SEO (Googlebot, Bingbot) while controlling access for AI training bots (GPTBot, ClaudeBot, Google-Extended) based on your preferences. Use robots.txt and SEO plugins to set clear rules for each crawler type. ### Build on a crawler-friendly WordPress stack If you want a WordPress theme that outputs clean, semantic HTML that crawlers (search, AI, social) can index efficiently, [Nexter Theme](https://qa.nexterwp.com/nexter-theme/) loads in under 0.5 seconds with zero jQuery and smart asset management (1 CSS file plus 1 JS file per page). Combined with [90+ Gutenberg blocks](https://qa.nexterwp.com/nexter-blocks/) and [50+ site extensions](https://qa.nexterwp.com/nexter-extension/), you get a crawler-friendly WordPress stack without plugin bloat. [See Nexter pricing](https://qa.nexterwp.com/pricing/) to get started. #### Get Exclusive WordPress Tips, Tricks and Resources Delivered Straight to Your Inbox! Subscribe to stay updated with everything happening on WordPress. ## FAQs on Web Crawlers ### What are the most common web crawlers? The best-known web crawlers are Googlebot (Google Search), Bingbot (Bing Search), GPTBot (OpenAI), Facebook Crawler (Meta), AhrefsBot (Ahrefs), and SEMrushBot (Semrush). Googlebot is the most active bot web crawler, indexing billions of pages for Google Search. AI training crawlers like GPTBot and ClaudeBot have become increasingly common since 2023. See the full crawlers list above for all 22 bots and spiders. ### Is ChatGPT a web crawler? ChatGPT itself is not a web crawler. However, OpenAI operates two related bots. GPTBot crawls websites to collect training data for AI models. ChatGPT-User browses the web in real time when a ChatGPT user asks a question that requires current information. You can block GPTBot via robots.txt while still allowing ChatGPT-User. ### How do I block AI crawlers from my WordPress site? Add disallow rules to your robots.txt file for each AI crawler you want to block. The most common AI crawler user-agents are `GPTBot` (OpenAI), `ClaudeBot` (Anthropic), `Google-Extended` (Google Gemini), and `CCBot` (Common Crawl). WordPress SEO plugins like Rank Math also let you manage robots.txt rules from the dashboard. ### How do I check which crawlers are visiting my site? Check your server access logs for bot user-agent strings. Most WordPress hosting dashboards (cPanel, Plesk, RunCloud) provide log viewers. You can also use tools like Google Search Console (for Googlebot activity), Bing Webmaster Tools (for Bingbot), or third-party services like Cloudflare Analytics to monitor bot traffic. ### Do web crawlers affect website performance? Yes, aggressive crawling can increase server load and slow down your site for real visitors. High-frequency crawlers like AhrefsBot (8 billion pages/day) can strain smaller servers. Use crawl rate settings in your robots.txt or webmaster tools to limit how fast bots can crawl your site. [Nexter Extension's 50+ site management tools](https://qa.nexterwp.com/nexter-extension/) include performance optimization features that help keep your site fast even under heavy bot traffic. ### What is the difference between a web crawler and a web scraper? A web crawler systematically discovers and indexes pages by following links across the web. A web scraper extracts specific data from web pages for a targeted purpose, such as collecting product prices or contact information. Crawlers are typically operated by search engines and follow robots.txt rules. Scrapers are often custom-built and may not respect access controls. ### Does WebCrawler still exist? Yes, WebCrawler (webcrawler.com) still exists as a metasearch engine. It was one of the first web search engines, launched in 1994. Today it aggregates results from Google and Yahoo rather than operating its own web crawler. It is not related to the general concept of web crawlers (automated bots) discussed in this article. --- # How to Use the Gemini API in WordPress (and Get Cited by Gemini) in 2026 Source: https://qa.nexterwp.com/blog/gemini-api-wordpress/ #### Key Takeaways - "Gemini API" and WordPress connect in two directions: you can feed Gemini into your site to generate content, and you can shape your site so Gemini cites it in answers.- You get a free Gemini API key from Google AI Studio. The free tier costs nothing in tokens; paid Gemini 2.5 Flash starts at $0.30 per million input tokens.- Three ways to connect Gemini to WordPress: a no-code plugin like RankReady, an automation platform, or a custom plugin built on Google's PHP client.- Google tells you plainly: never expose an API key in client-side code. Store it server-side, in the WordPress database, never in a template.- Getting cited by Gemini is a separate job from calling its API. It rewards clean extractable answers, schema, author trust, freshness, and crawler access. The first time I wired the Gemini API into a WordPress site, I did the lazy thing and pasted the key straight into a theme template. By the next morning the project's free quota was gone, burned through by a bot that found the key sitting in the page source. That afternoon cost me nothing in real money, because billing was off, but it taught me how easy it is to wire AI into WordPress the wrong way. Here is the part most tutorials miss. "Gemini API" and WordPress meet in two completely different directions, and people usually only think about one of them. The first direction is pushing Gemini into your site, so it writes summaries, drafts FAQs, or powers a chatbot. The second is the reverse: shaping your WordPress content so that Gemini, and the Google AI Overviews it powers, pick your pages as the answer. This guide covers both, with the exact steps, the real pricing, and the security mistakes to skip. ## What "Gemini API" Actually Means for a WordPress Site The Gemini API is the programmatic door to Google's Gemini models. Instead of typing into the Gemini chat window, your code sends a request and gets back generated text, structured data, or analysis. On a WordPress site that opens two separate jobs. ***Also Read:** prefer ChatGPT models? See how to use the [OpenAI API](https://qa.nexterwp.com/blog/openai-api-wordpress/) in WordPress and get cited by ChatGPT.* The inbound job is using Gemini as a writing and automation engine inside wp-admin: generating post summaries, building FAQ blocks, answering reader questions, or tagging content. The outbound job is answer engine optimization, where the goal is to get your existing pages cited inside Gemini and Google AI Overviews. The two jobs share a name and almost nothing else. The inbound job needs an API key and a place to store it. The outbound job needs structure, schema, and trust signals that Gemini can read. Treat them as one task and you will do both badly, so the rest of this guide keeps them apart. ## How to Get a Gemini API Key (Free Tier and Pricing) Everything inbound starts with a key, and you create it in Google AI Studio. Google's own documentation says it plainly: "You can create and manage all your Gemini API Keys from the Google AI Studio API Keys page." Sign in with a Google account, open the API Keys page, and generate a key tied to a project. That key is the credential your WordPress site will send with every request. Google AI Studio is where you generate and manage your Gemini API keys. The good news for anyone testing this on a WordPress site: there is a free tier. Google offers free input and output tokens with limited access to certain models, which is enough to wire up summaries or an FAQ generator and see it working before you spend anything. When you move to the paid standard tier, the current rates are straightforward. Gemini 2.5 Flash costs $0.30 per million input tokens and $2.50 per million output tokens. Gemini 2.5 Pro costs $1.25 per million input tokens for prompts up to 200k tokens and $10.00 per million output tokens at that size. For typical blog tasks, Flash is the model you want, because a single post summary runs a few thousand tokens, not millions. 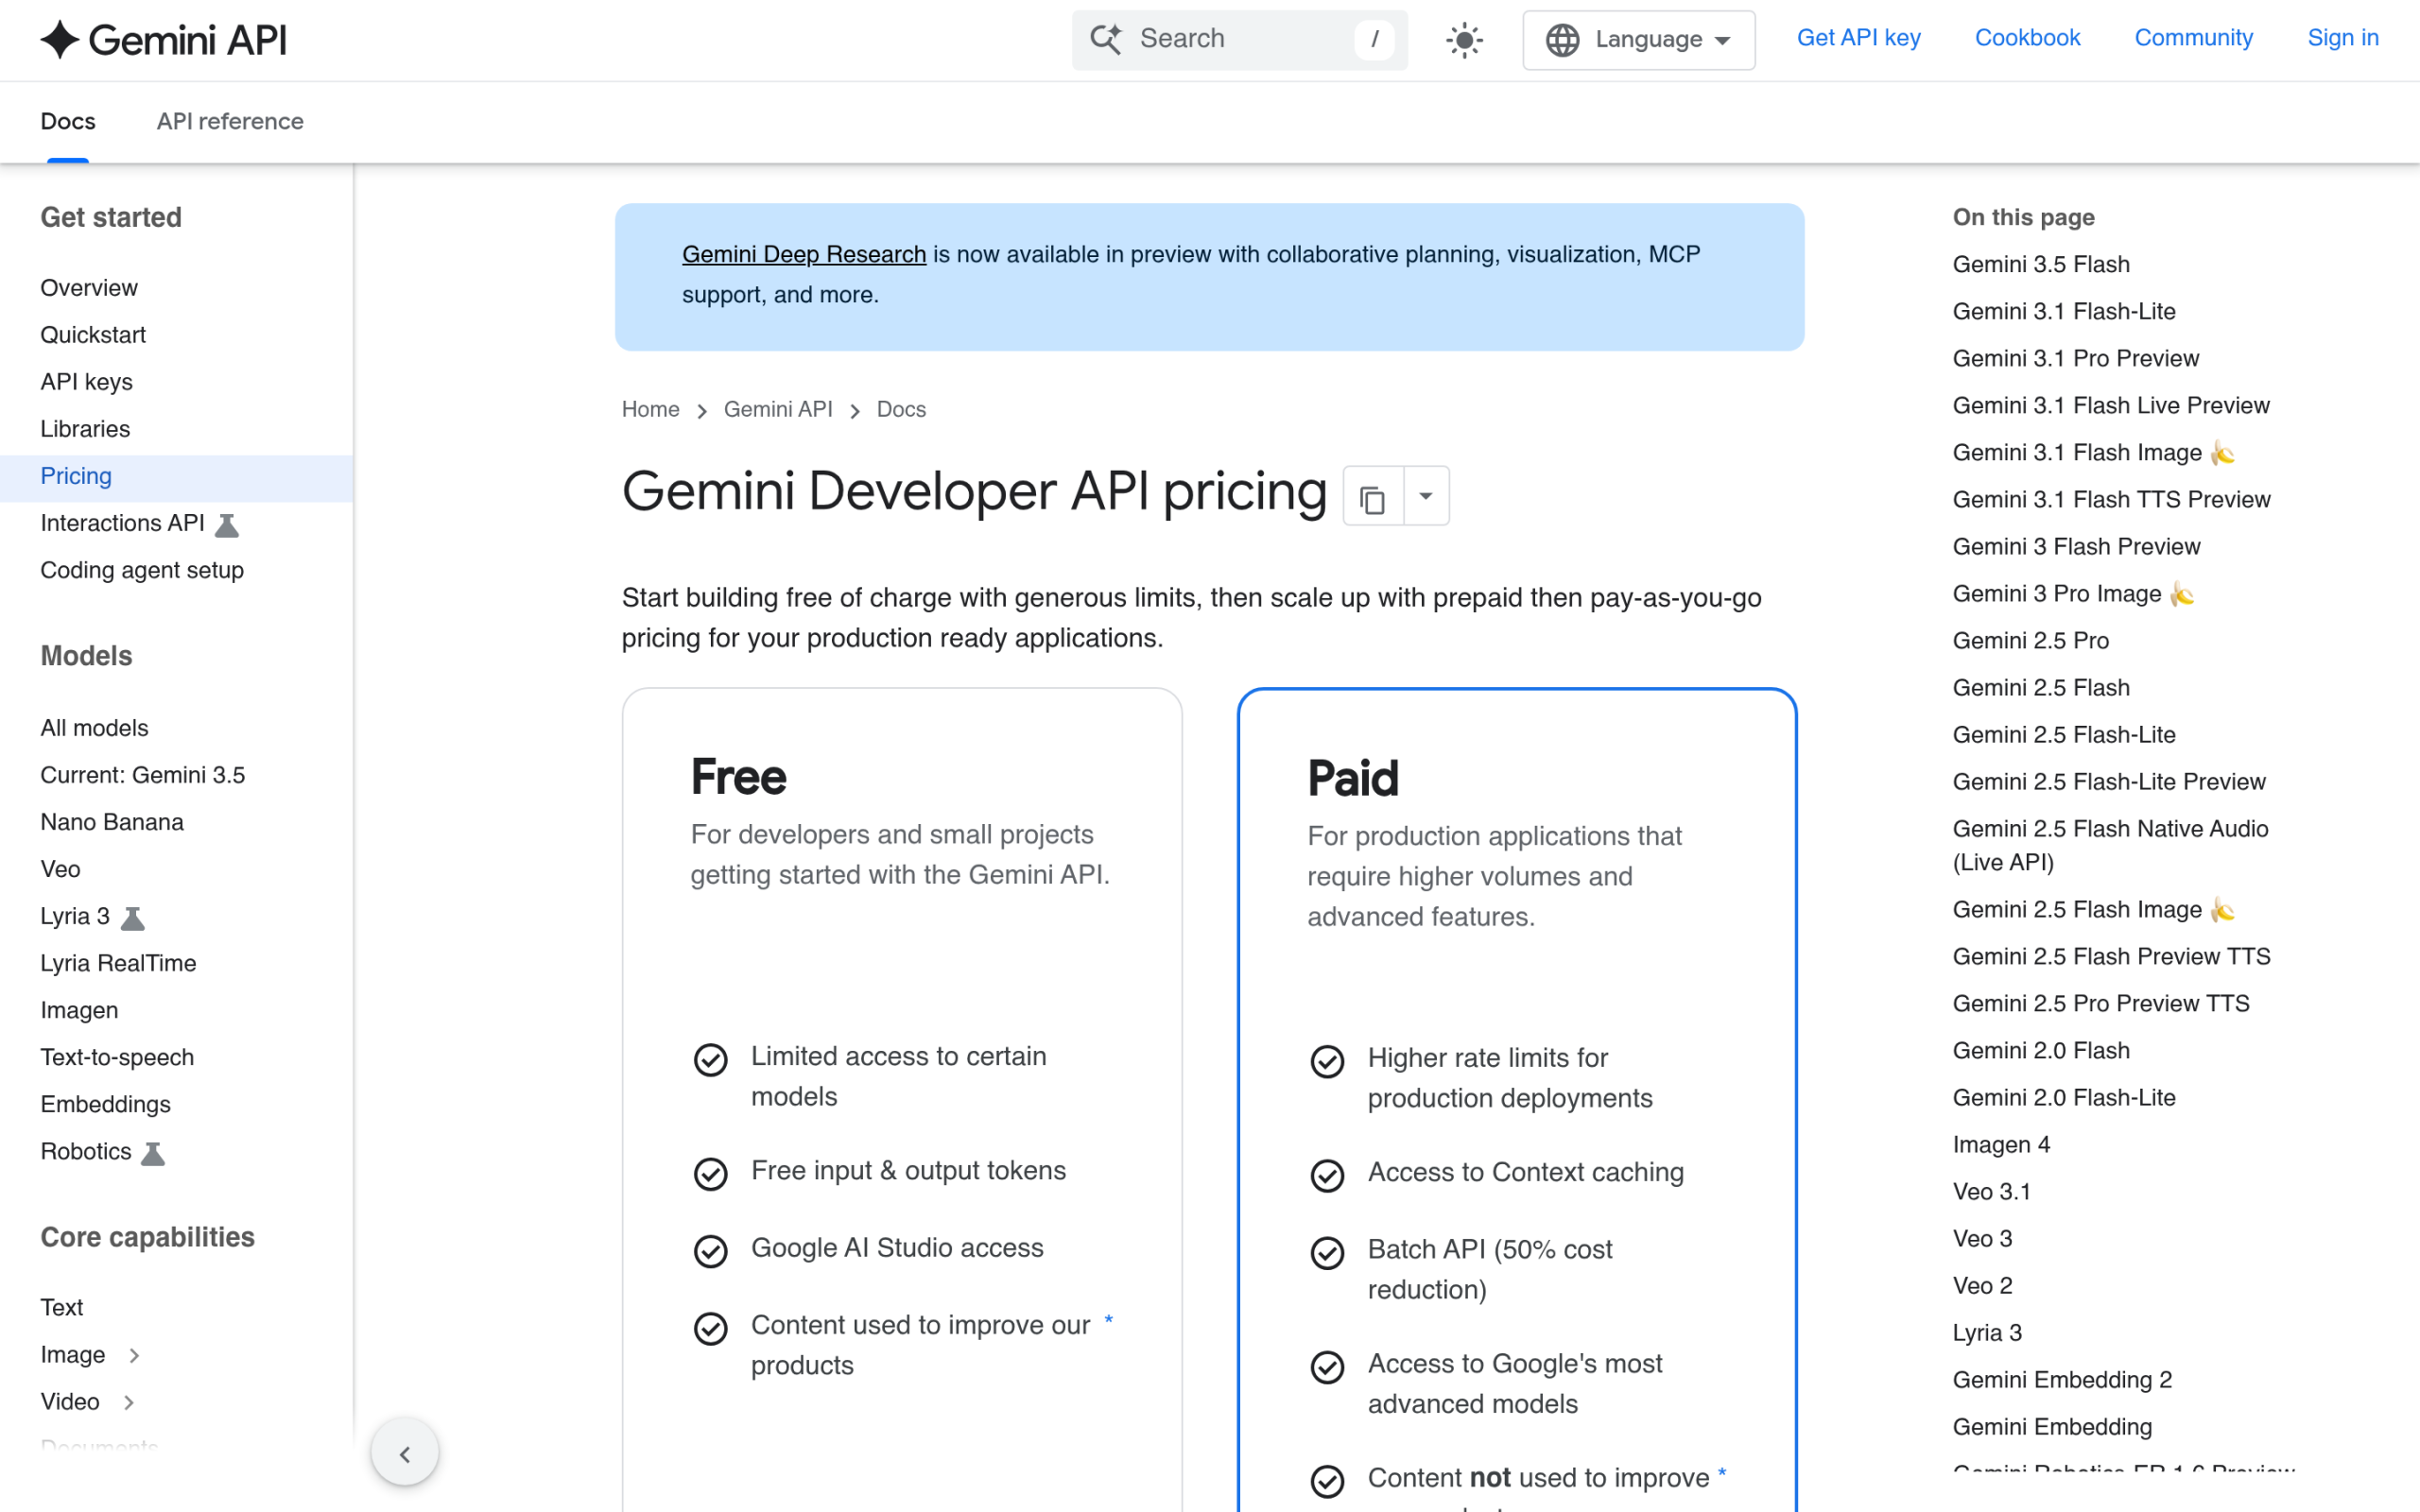Gemini API pricing: Flash is the budget choice for blog-scale tasks, Pro for long-context work. ## How to Connect the Gemini API to WordPress (3 Routes) Once you have a key, there are three honest ways to bring Gemini into WordPress. Which one fits depends on how much code you want to write and how much control you need. ### Route 1: A no-code plugin (the fastest path for content) If your goal is content rather than a custom feature, a plugin that already speaks Gemini saves you the whole build. RankReady is one example built for this: it lets you bring your own API key and supports Google Gemini 2.5 Flash and Pro alongside OpenAI, Anthropic, and DeepSeek. You paste your key once, then generate AI summaries and FAQ blocks from inside the Gutenberg editor, with live spend tracking per provider so you can watch the cost in real time. Because you use your own key, generation has no artificial caps, and you pay Google directly at the rates above. For a block-theme site that just wants Gemini-written summaries and FAQs, this is the route that takes minutes instead of days. [Get RankReady Free](https://store.posimyth.com/plugins/rankready/) ### Route 2: An automation platform (connect without code) If you want Gemini to fire on an event, like drafting a reply when a form is submitted, a no-code automation tool sits between WordPress and the API. Tools such as Uncanny Automator, Bit Flows, and n8n offer native Gemini actions where you map a trigger to an "Ask Gemini" step and route the response back into a post, a field, or an email. You still need your API key, but you never touch PHP. This route fits workflows more than on-page features. ***Also Read:** [5 Best WordPress SEO Plugins Using AI](https://qa.nexterwp.com/blog/best-wordpress-seo-plugins-using-ai/) for a wider look at where AI fits into a WordPress workflow.* ### Route 3: A custom plugin (full control) When you need a bespoke feature, you build a small plugin. Create a Google Cloud project, enable the Gemini API, and pull in Google's PHP client with Composer using `composer require google/apiclient`. Your plugin reads the key from secure storage, sends the request server-side, and renders the response. This gives you total control over prompts, caching, and where output lands, at the cost of being the one who maintains it. ## Why You Should Never Hardcode Your Gemini API Key This is the mistake I made on day one, and Google is blunt about it. Their documentation states: "Never expose API keys on the client-side. Do not use your API key directly in web or mobile apps in production." The reason is simple. Anything in client-side code, including JavaScript that runs in the browser, can be read by anyone who views the source. A leaked key lets a stranger spend your quota, run up charges if billing is on, and reach data tied to your project. 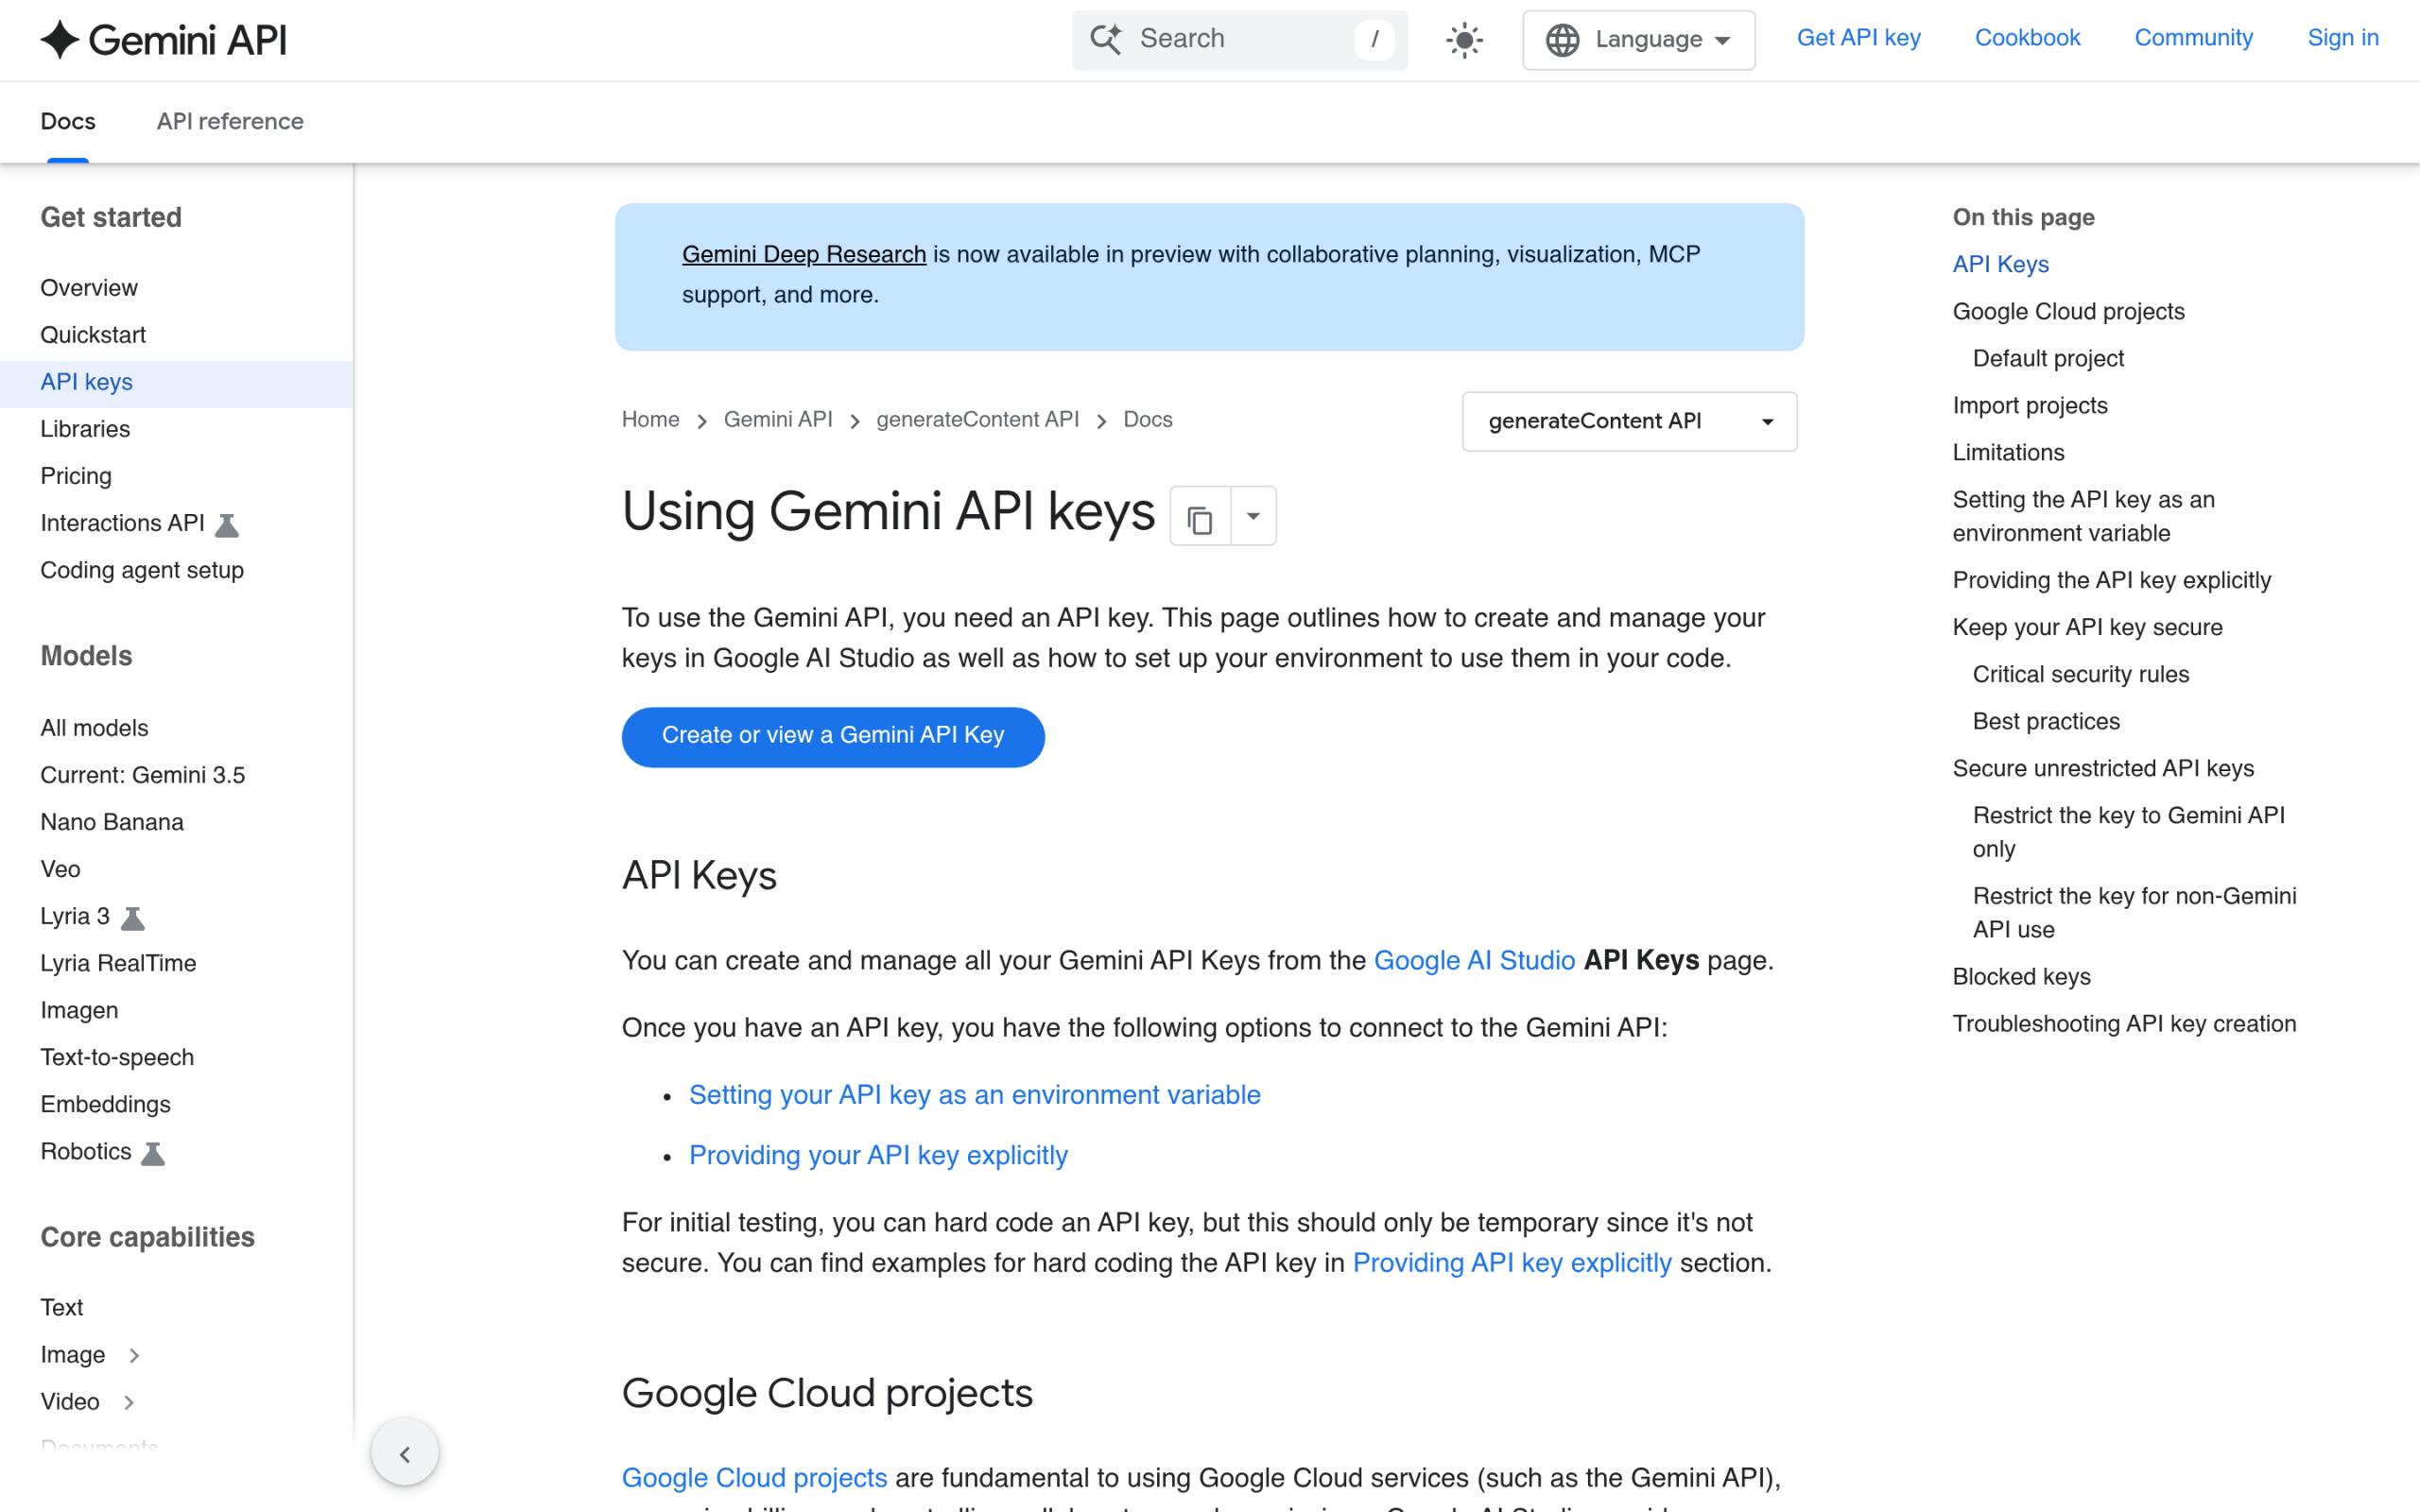Google's own guidance: treat your Gemini API key like a password and keep it server-side. The safe pattern in WordPress is to store the key in the database through the Options API and call Gemini from the server, never the browser. Google puts it this way: "The most secure way to use your API key is to call the Gemini API from a server-side application where the key can be kept confidential." Any plugin worth using does this for you and gives you an admin field to paste the key into, rather than asking you to edit a file. While you are there, set sensible rate limits and keep an eye on spend, because a runaway loop is the other way a quota disappears overnight. ## How Gemini Decides Which Websites to Cite Now the outbound direction. Calling the Gemini API does nothing to get your site cited by Gemini. That is a separate discipline, answer engine optimization, and it is worth understanding because Google AI Overviews now sit on top of a huge share of searches. When Gemini builds an answer, it pulls passages it can extract cleanly and trust. Pages that hand it a tidy, self-contained answer get used. Pages that bury the answer in fluff get skipped. In practice that means a few things. Lead each section with the answer, not a windup, so a single heading and its first lines can stand alone as a quotable block. Make your author and credentials visible, because Gemini leans on trust signals more than most engines. Keep content fresh, since recency wins on time-sensitive topics. And make sure Google's AI crawler can actually reach the page. Get those right and your content becomes the kind of source Gemini reaches for. ***Also Read:** [E-E-A-T for AI Search](https://qa.nexterwp.com/blog/e-e-a-t-ai-search-wordpress/) breaks down the trust signals that AI engines weigh before citing a page.* ## How to Get Your WordPress Content Cited by Gemini Here is the WordPress-specific checklist for the outbound job. Most of it is structure and access, and a block theme makes it easier because the markup stays clean. ### Publish an llms.txt file and Markdown copies An llms.txt file gives AI systems a clean map of your important content, and a Markdown copy of each post gives them text without the theme clutter. RankReady generates both llms.txt and llms-full.txt automatically and exposes a Markdown copy of every post, which removes the manual work. RankReady handles the outbound AEO work: llms.txt, schema, crawler control, and citation tracking. ### Add the schema Gemini reads Structured data tells an engine what your content is. Article and Speakable schema mark your prose and the lines worth reading aloud, FAQPage schema turns questions into extractable answers, and HowTo and ItemList schema label steps and lists. RankReady adds these for you and works alongside Rank Math, Yoast, AIOSEO, and SEOPress, so you are not forced to switch SEO plugins. ### Let Google's AI crawler in None of this matters if the crawler is blocked. Gemini's training and grounding rely on Google-Extended, so your robots.txt has to allow it. Check that you have not blocked it by accident, since some privacy plugins do exactly that. RankReady shows 31 AI crawlers in one screen so you can see who is allowed at a glance. ***Also Read:** [WordPress robots.txt for AI Crawlers](https://qa.nexterwp.com/blog/wordpress-robots-txt-ai-crawlers-gutenberg/) shows exactly which directives to set for Google-Extended and the rest.* ### Show authorship and keep it fresh Gemini favors pages with a clearly named, credible author and content that has been updated recently. Use real author boxes, keep your dates honest, and revisit important posts so they do not go stale. These are the same trust signals that help in classic search, which is why doing the outbound work pays off twice. ## Can You Track Whether Gemini Is Citing You? You can, and you should, because AEO without measurement is guesswork. The signals to watch are which of your pages AI engines crawl, which ones get surfaced as answers, and whether any referral traffic arrives from AI tools. RankReady tracks this with a live AI crawler log, a citation candidates leaderboard, AI referral traffic, and a per-post readiness score, so you can see which posts are close to being cited and which need work. That feedback loop is what turns the checklist above into steady progress instead of a one-time edit. ***Also Read:** [Rank Math vs RankReady](https://qa.nexterwp.com/blog/rank-math-vs-rankready/) compares a classic SEO plugin against an AI-search-native one if you are deciding what to run.* ## Should You Build Your Own Gemini Integration or Use a Plugin? If you need a one-off feature with custom prompts and total control, build a small plugin on Google's PHP client and keep the key server-side. If you mostly want Gemini to write summaries and FAQs, and you also want your pages cited by Gemini, a plugin that handles both directions is the better use of your time. The inbound and outbound jobs are different, but they share a destination, which is a WordPress site that both uses AI and gets used by it. Start with the free Gemini tier, store your key safely, and measure what gets cited. ### Is the Gemini API free to use in WordPress? Yes, to start. Google offers a free tier with free input and output tokens and limited access to certain models, which is enough to test summaries or an FAQ generator. Beyond that you pay Google per token, starting at $0.30 per million input tokens on Gemini 2.5 Flash. The WordPress plugin you use is often free; the cost is the API usage. ### Which Gemini model should I use, Flash or Pro? For blog summaries, FAQs, and most content tasks, Gemini 2.5 Flash is the right pick because it is cheap and fast and the jobs are small. Reserve Gemini 2.5 Pro for long-context work, like analyzing a very large document, where its bigger context window earns the higher price. ### Do I need coding skills to connect Gemini to WordPress? No. A no-code plugin or an automation platform lets you paste your API key and start generating without touching PHP. You only need code if you are building a custom feature with the Google PHP client. ### Will using the Gemini API help my site rank on Google? Not directly. Calling the API generates content; it does not lift rankings on its own, and thin AI text can hurt you. Getting cited by Gemini and Google AI Overviews is a separate job that depends on structure, schema, author trust, and crawler access, which is the outbound work covered above. ### How do I know if Gemini is citing my WordPress site? Track it with a tool that logs AI crawler visits and AI referral traffic and scores each post for readiness. A plugin like RankReady shows citation candidates and a live crawler log so you can see which pages AI engines are reading and surfacing. ### Is it safe to store my Gemini API key in WordPress? It is safe when the key lives in the database and is used server-side, which is how a proper plugin handles it. It is not safe to paste the key into a theme file or any client-side script, because Google warns that keys in client-side code can be extracted. ## Suggested Reading - [llms.txt for Gutenberg WordPress: Why Block Themes Win the AI Citation Race](https://qa.nexterwp.com/blog/llms-txt-gutenberg-wordpress/)- [E-E-A-T for AI Search: How WordPress Sites Earn Trust from Google AI, ChatGPT and Perplexity](https://qa.nexterwp.com/blog/e-e-a-t-ai-search-wordpress/)- [WordPress robots.txt for AI Crawlers: A Gutenberg Builder Guide](https://qa.nexterwp.com/blog/wordpress-robots-txt-ai-crawlers-gutenberg/)- [Rank Math vs RankReady: Which WordPress SEO Plugin Wins for AI Search](https://qa.nexterwp.com/blog/rank-math-vs-rankready/)- [5 Best WordPress SEO Plugins Using AI](https://qa.nexterwp.com/blog/best-wordpress-seo-plugins-using-ai/) --- # What Is the Model Context Protocol (MCP)? A WordPress Guide for 2026 Source: https://qa.nexterwp.com/blog/model-context-protocol-wordpress/ #### Key Takeaways - The Model Context Protocol (MCP) is an open standard that lets AI applications connect to outside systems. Think of it as a USB-C port for AI.- Anthropic introduced MCP in November 2024. OpenAI and Google have since adopted it, so the same connection works across many AI tools.- MCP has three parts: a host (the AI app), a client (the connector), and a server (the system that exposes data and tools).- WordPress can be an MCP server. The official WordPress MCP Adapter lets AI agents create posts, manage users, and run site tasks through conversation.- That power needs guardrails. Use OAuth, scope what agents can touch, and get your site ready for AI agents and AI search at the same time. The blog post you are reading was published through an MCP server. Not a dashboard, not a copy-paste into the editor, but an AI assistant talking to this WordPress site over the Model Context Protocol and creating the post directly. The first time I watched that happen I understood why MCP is suddenly everywhere: it turns a website from something you click through into something an AI can operate. If you have seen the term "MCP" or "model context protocol" and bounced off the jargon, this guide is the plain-English version. We will cover what MCP is, how the pieces fit together, and the part that matters most for you: how WordPress itself can become an MCP server that AI agents can safely manage. ## What the Model Context Protocol (MCP) Is The Model Context Protocol is, in its own documentation's words, "an open-source standard for connecting AI applications to external systems." Using MCP, AI applications like Claude or ChatGPT can connect to data sources such as files and databases, tools such as search engines, and workflows, so they can read real information and take real actions. ***Also Read:** [WebMCP](https://qa.nexterwp.com/blog/webmcp-wordpress/) takes this further, letting AI agents use your site instead of just reading it.* The analogy the MCP team uses is a good one: think of MCP like a USB-C port for AI applications. Just as USB-C gives every device one standard way to connect, MCP gives every AI app one standard way to plug into outside systems. Anthropic introduced MCP in November 2024, and it has since been adopted by OpenAI and Google, which is why a single MCP connection now works across a wide range of AI tools instead of needing a custom integration for each one. 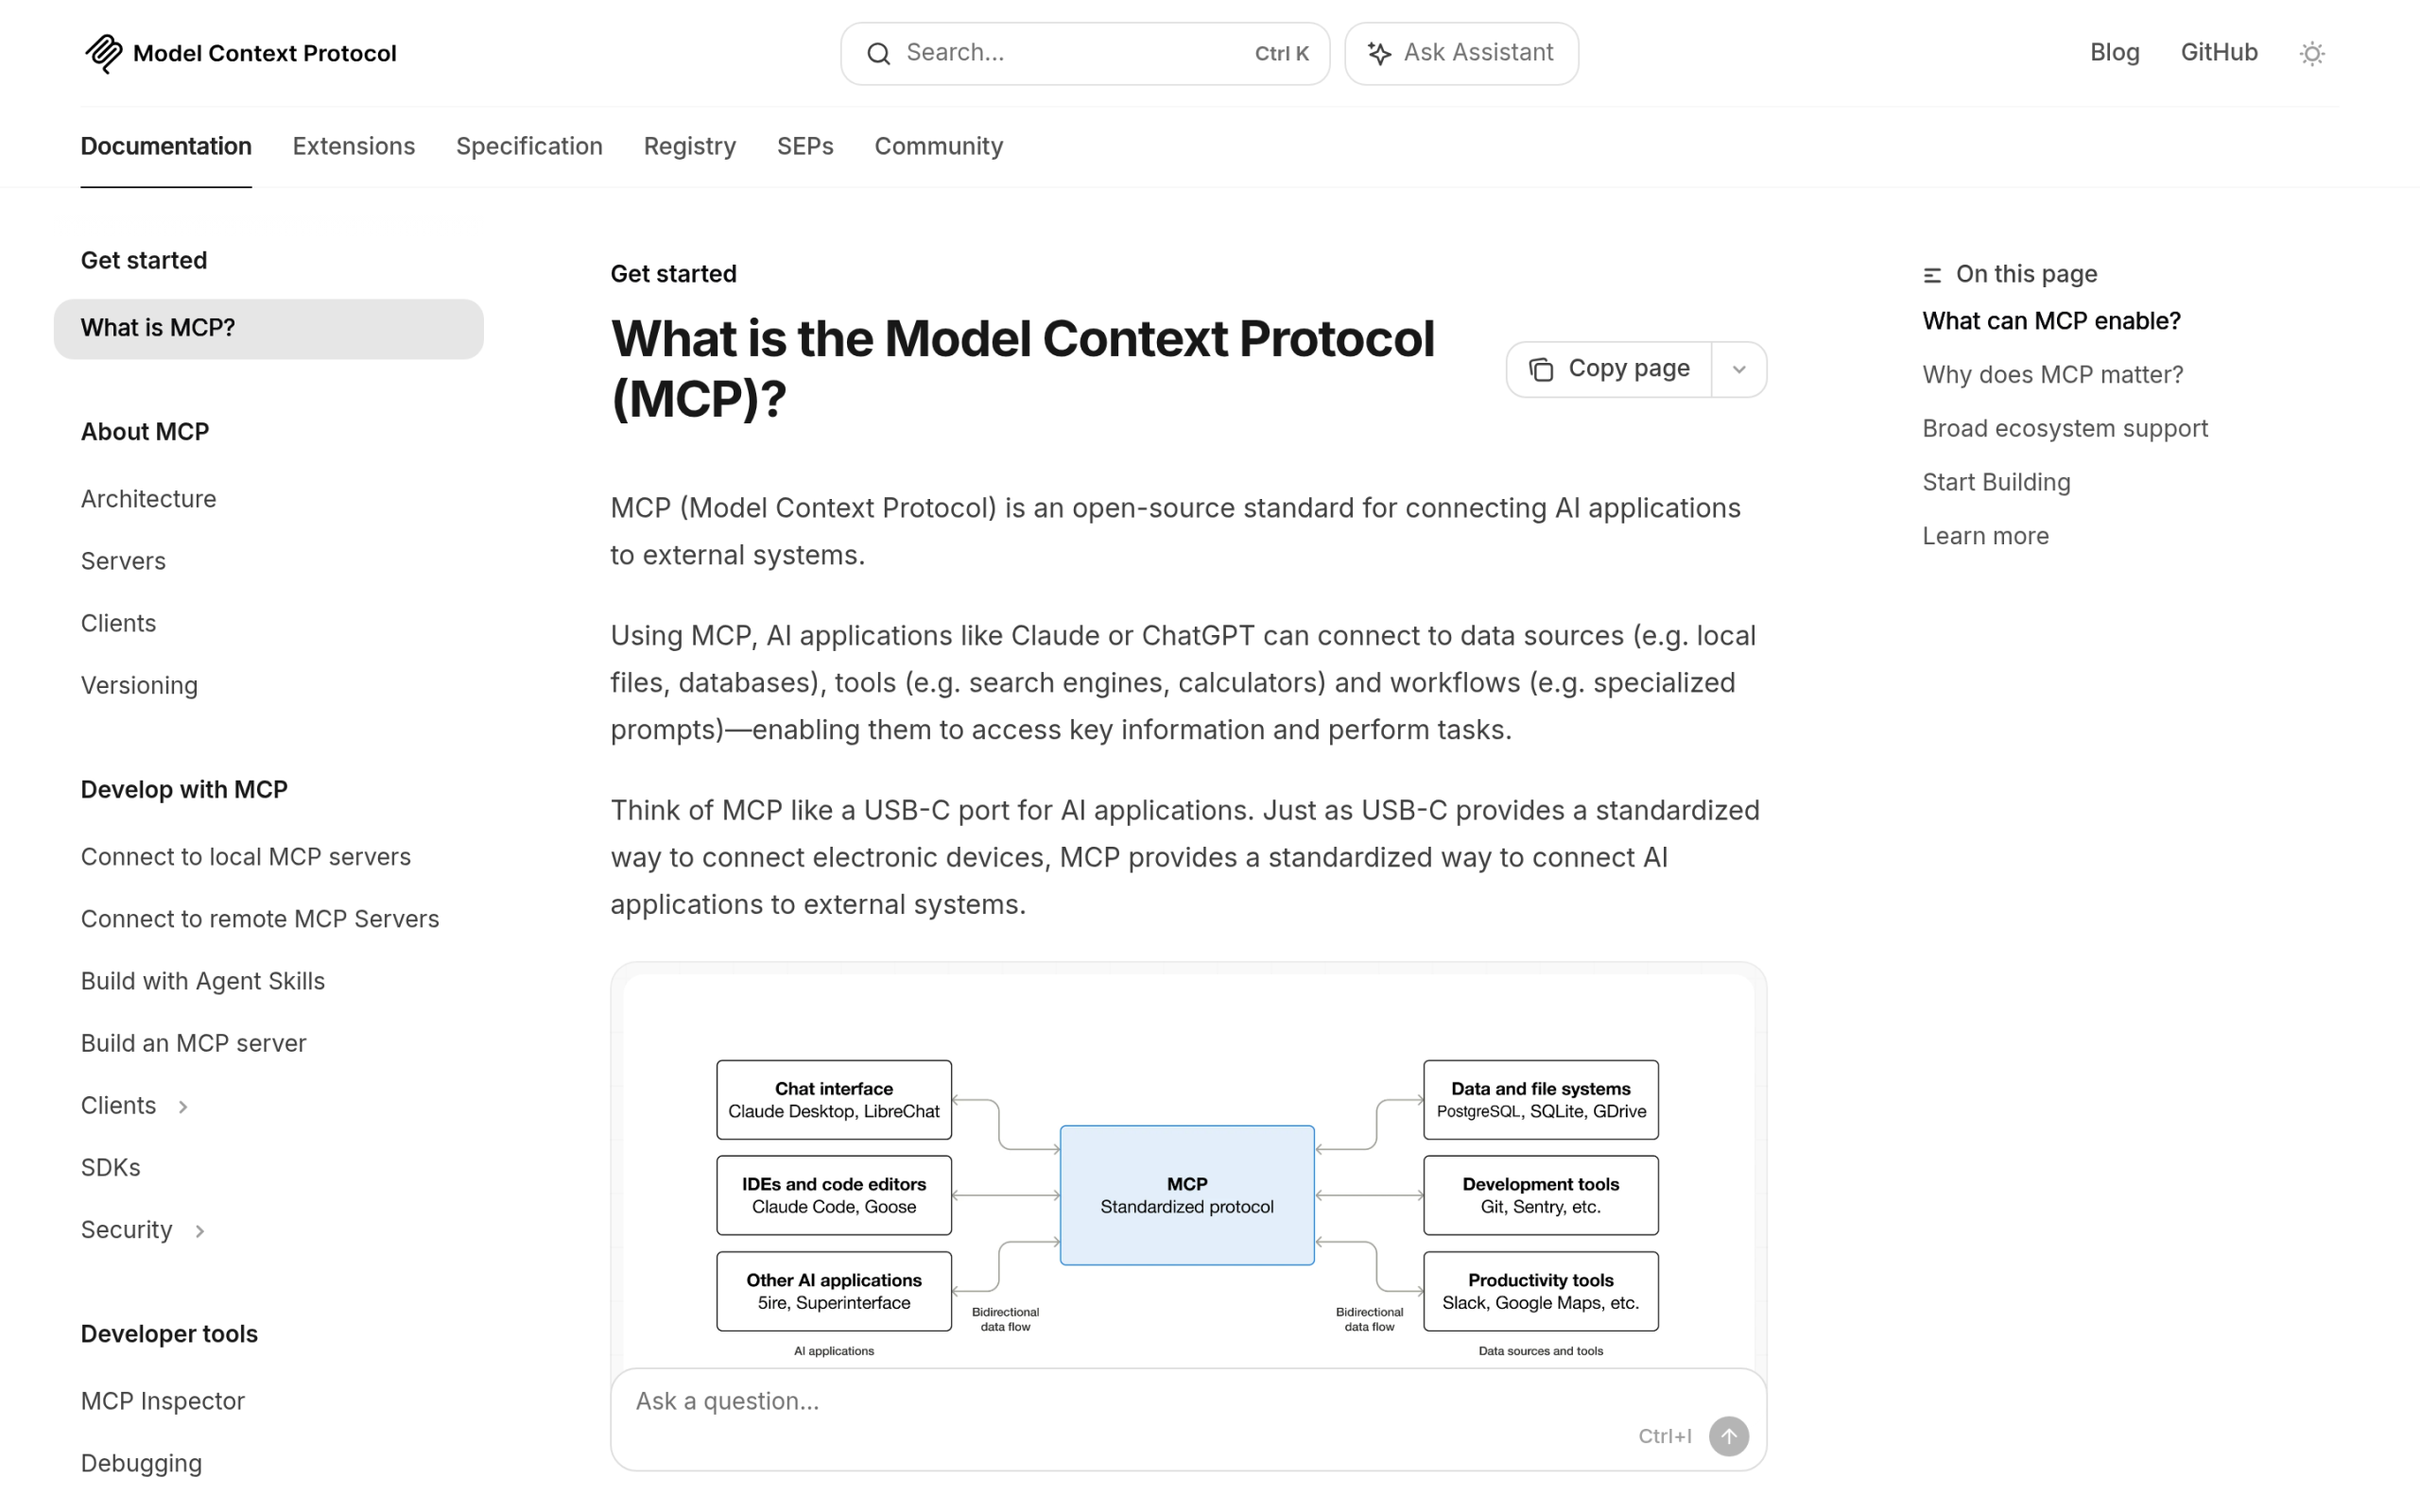The Model Context Protocol is an open standard for connecting AI apps to external systems. ## How MCP Works: Host, Client, and Server MCP has three moving parts, and once you see them the rest is easy. The host is the AI application you are using, like Claude Desktop or an AI-powered code editor. The client lives inside the host and is the piece that actually speaks the protocol. The server is the external system that exposes its data and capabilities in a way the client understands. So when an AI assistant does something useful with your data, the chain is host to client to server. The host holds the model, the client makes the connection, and the server offers up tools and resources. The whole point of the standard is that any host can talk to any server, so building one MCP server makes your system available to every MCP-capable AI tool at once. ## What MCP Lets AI Actually Do Examples make this concrete. With MCP connections in place, an agent can read your Google Calendar and Notion to act as a real assistant, a coding tool can build a web app from a Figma design, an enterprise chatbot can query several databases so staff analyze data by chatting, and an AI can even drive design software and a 3D printer. The common thread is that the AI is no longer trapped in a chat box. It can reach into the systems you already use and do work there. That is the shift worth understanding. Earlier AI integrations were mostly one-way: you pasted text in and copied text out. MCP makes the connection two-way and standardized, which is exactly what turns a passive model into an agent that can take action. ***Also Read:** [How to Use the Gemini API in WordPress](https://qa.nexterwp.com/blog/gemini-api-wordpress/) if you want the API side of connecting AI to your site.* ## MCP and WordPress: Your Site Can Become an MCP Server Here is where it gets real for WordPress. In February 2026, WordPress introduced the official WordPress MCP Adapter. It takes the abilities registered through the WordPress Abilities API and exposes them as MCP tools and resources, so an AI agent can discover what your site can do and then do it. In plain terms, your WordPress site can become an MCP server. 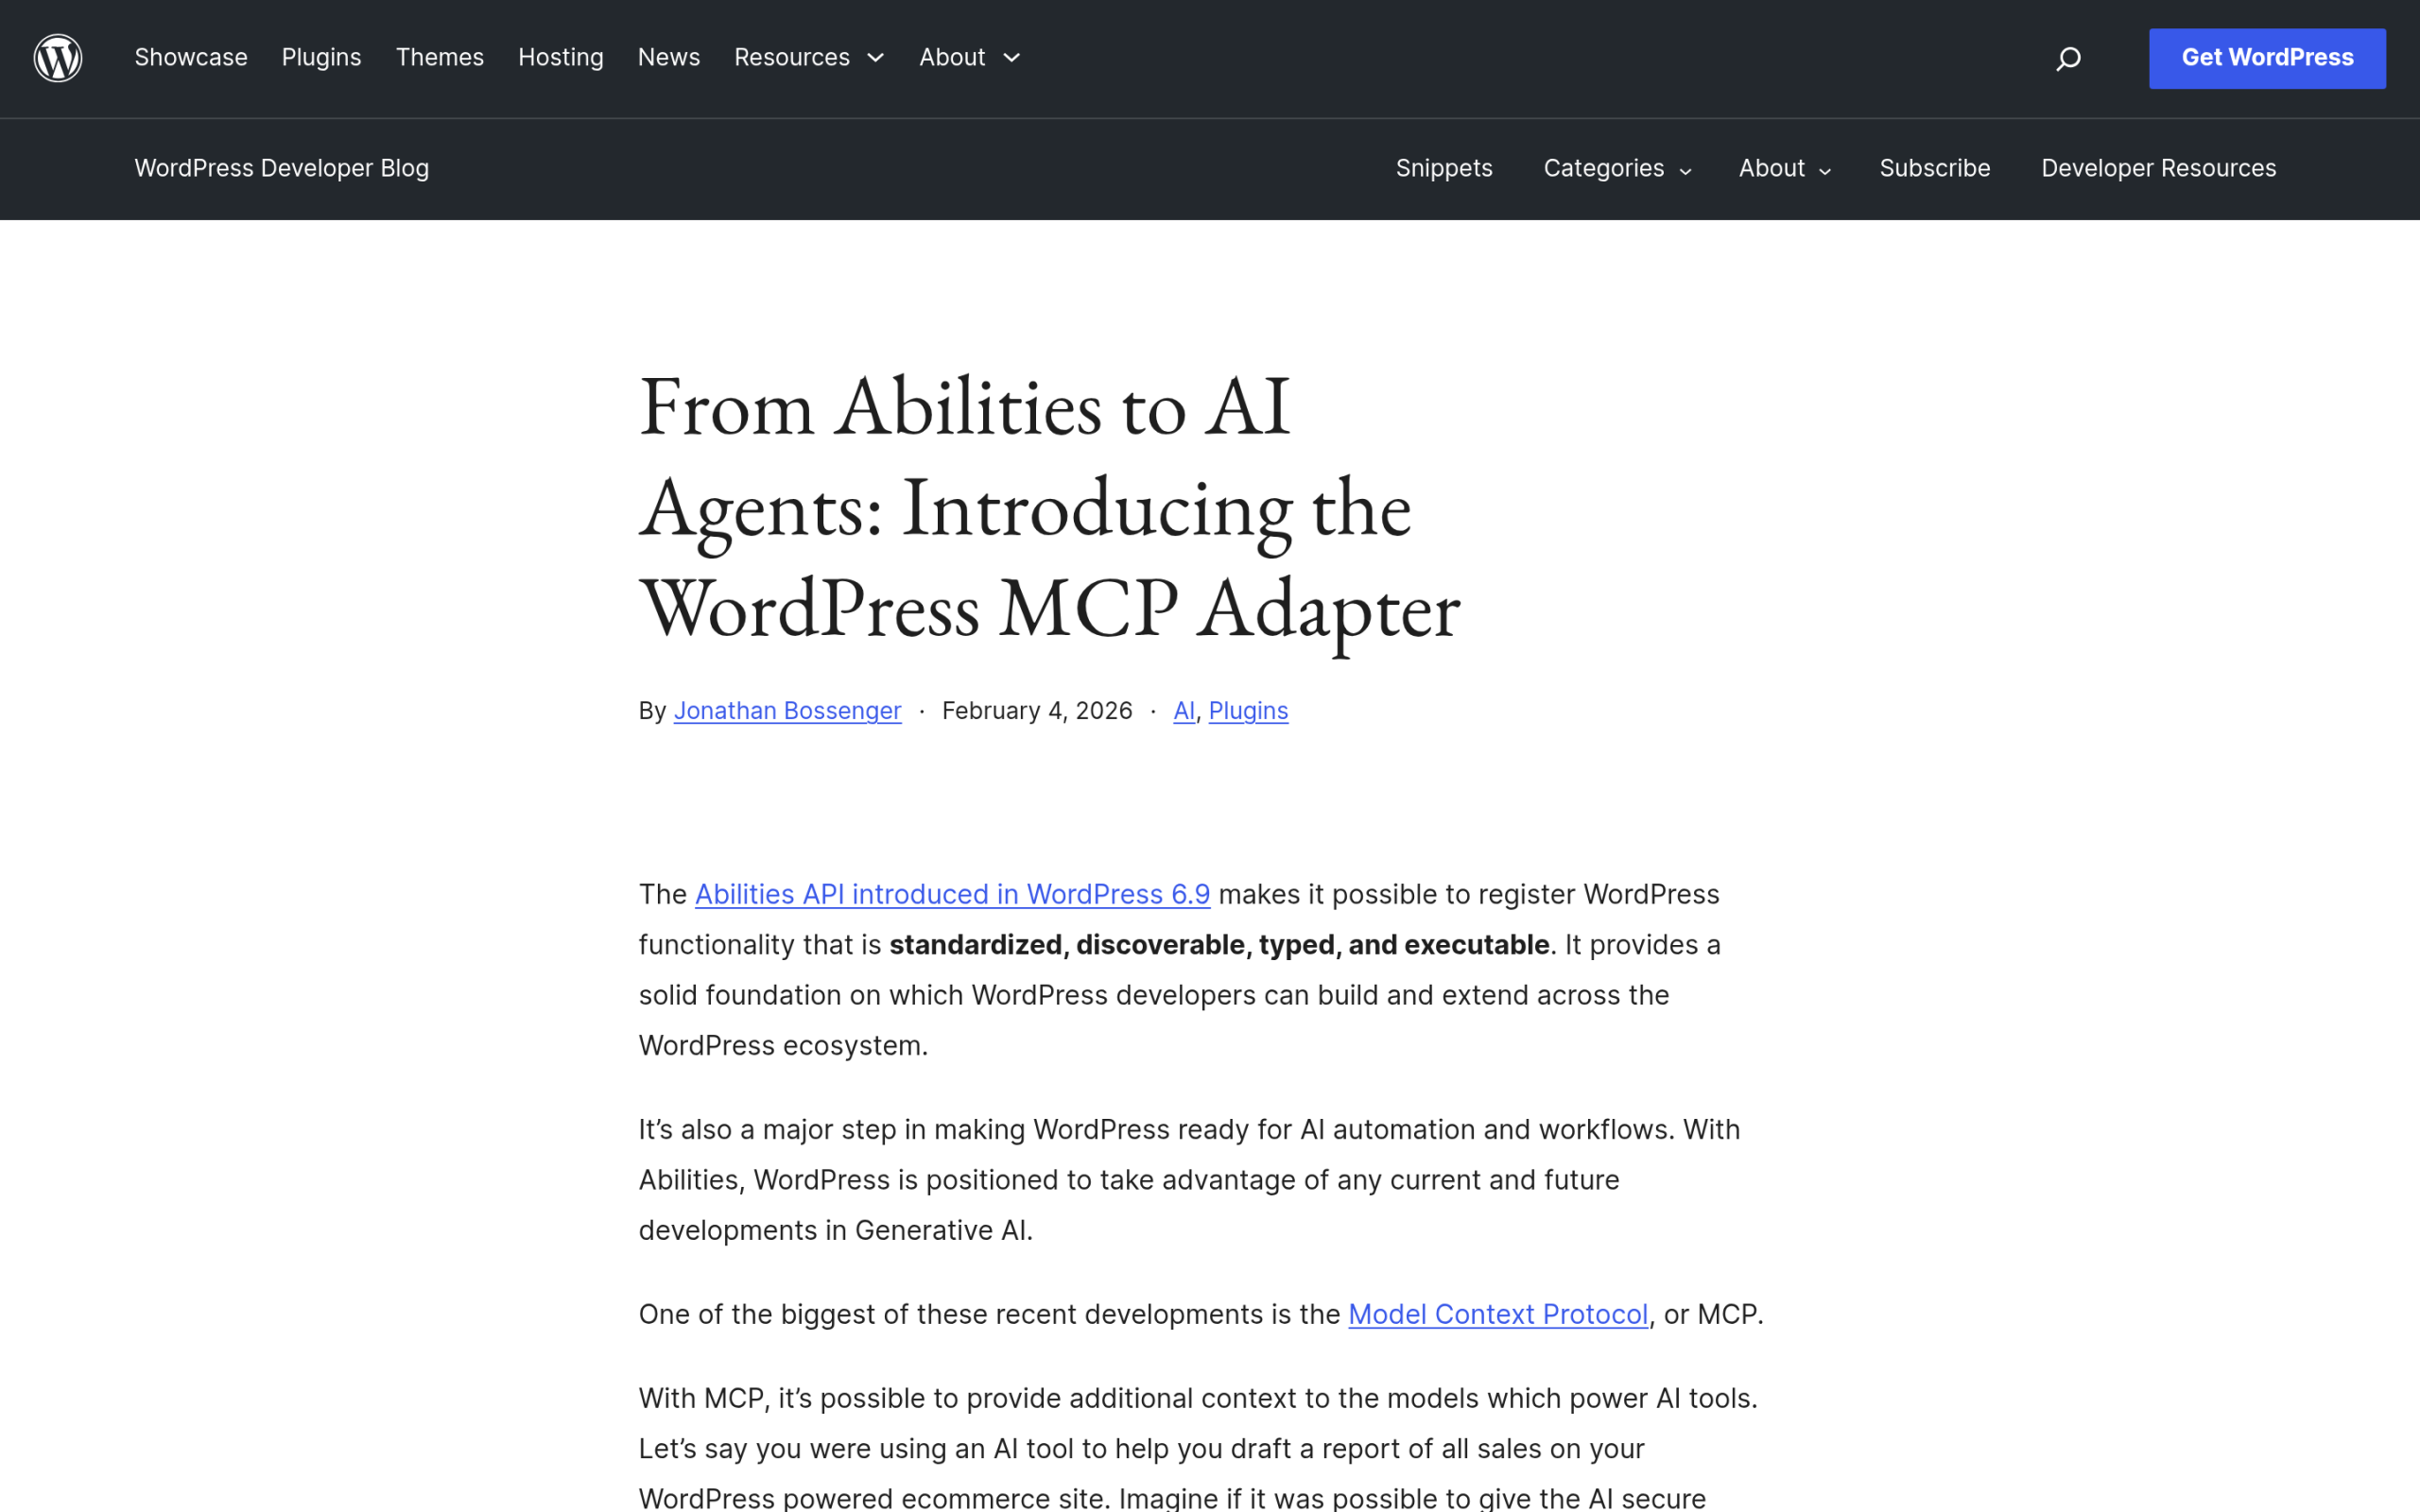WordPress shipped an official MCP Adapter so AI agents can use your site as an MCP server. There are two main paths. If you are on WordPress.com, it supports MCP through OAuth 2.1, so an assistant like Claude connects and authorizes through your browser with no extra software to install. If you run self-hosted WordPress, you install an MCP adapter plugin and your site starts describing its capabilities to AI tools. Either way, the result is the same: a standards-based door that AI agents can knock on. ## What an AI Agent Can Do With a WordPress MCP Server 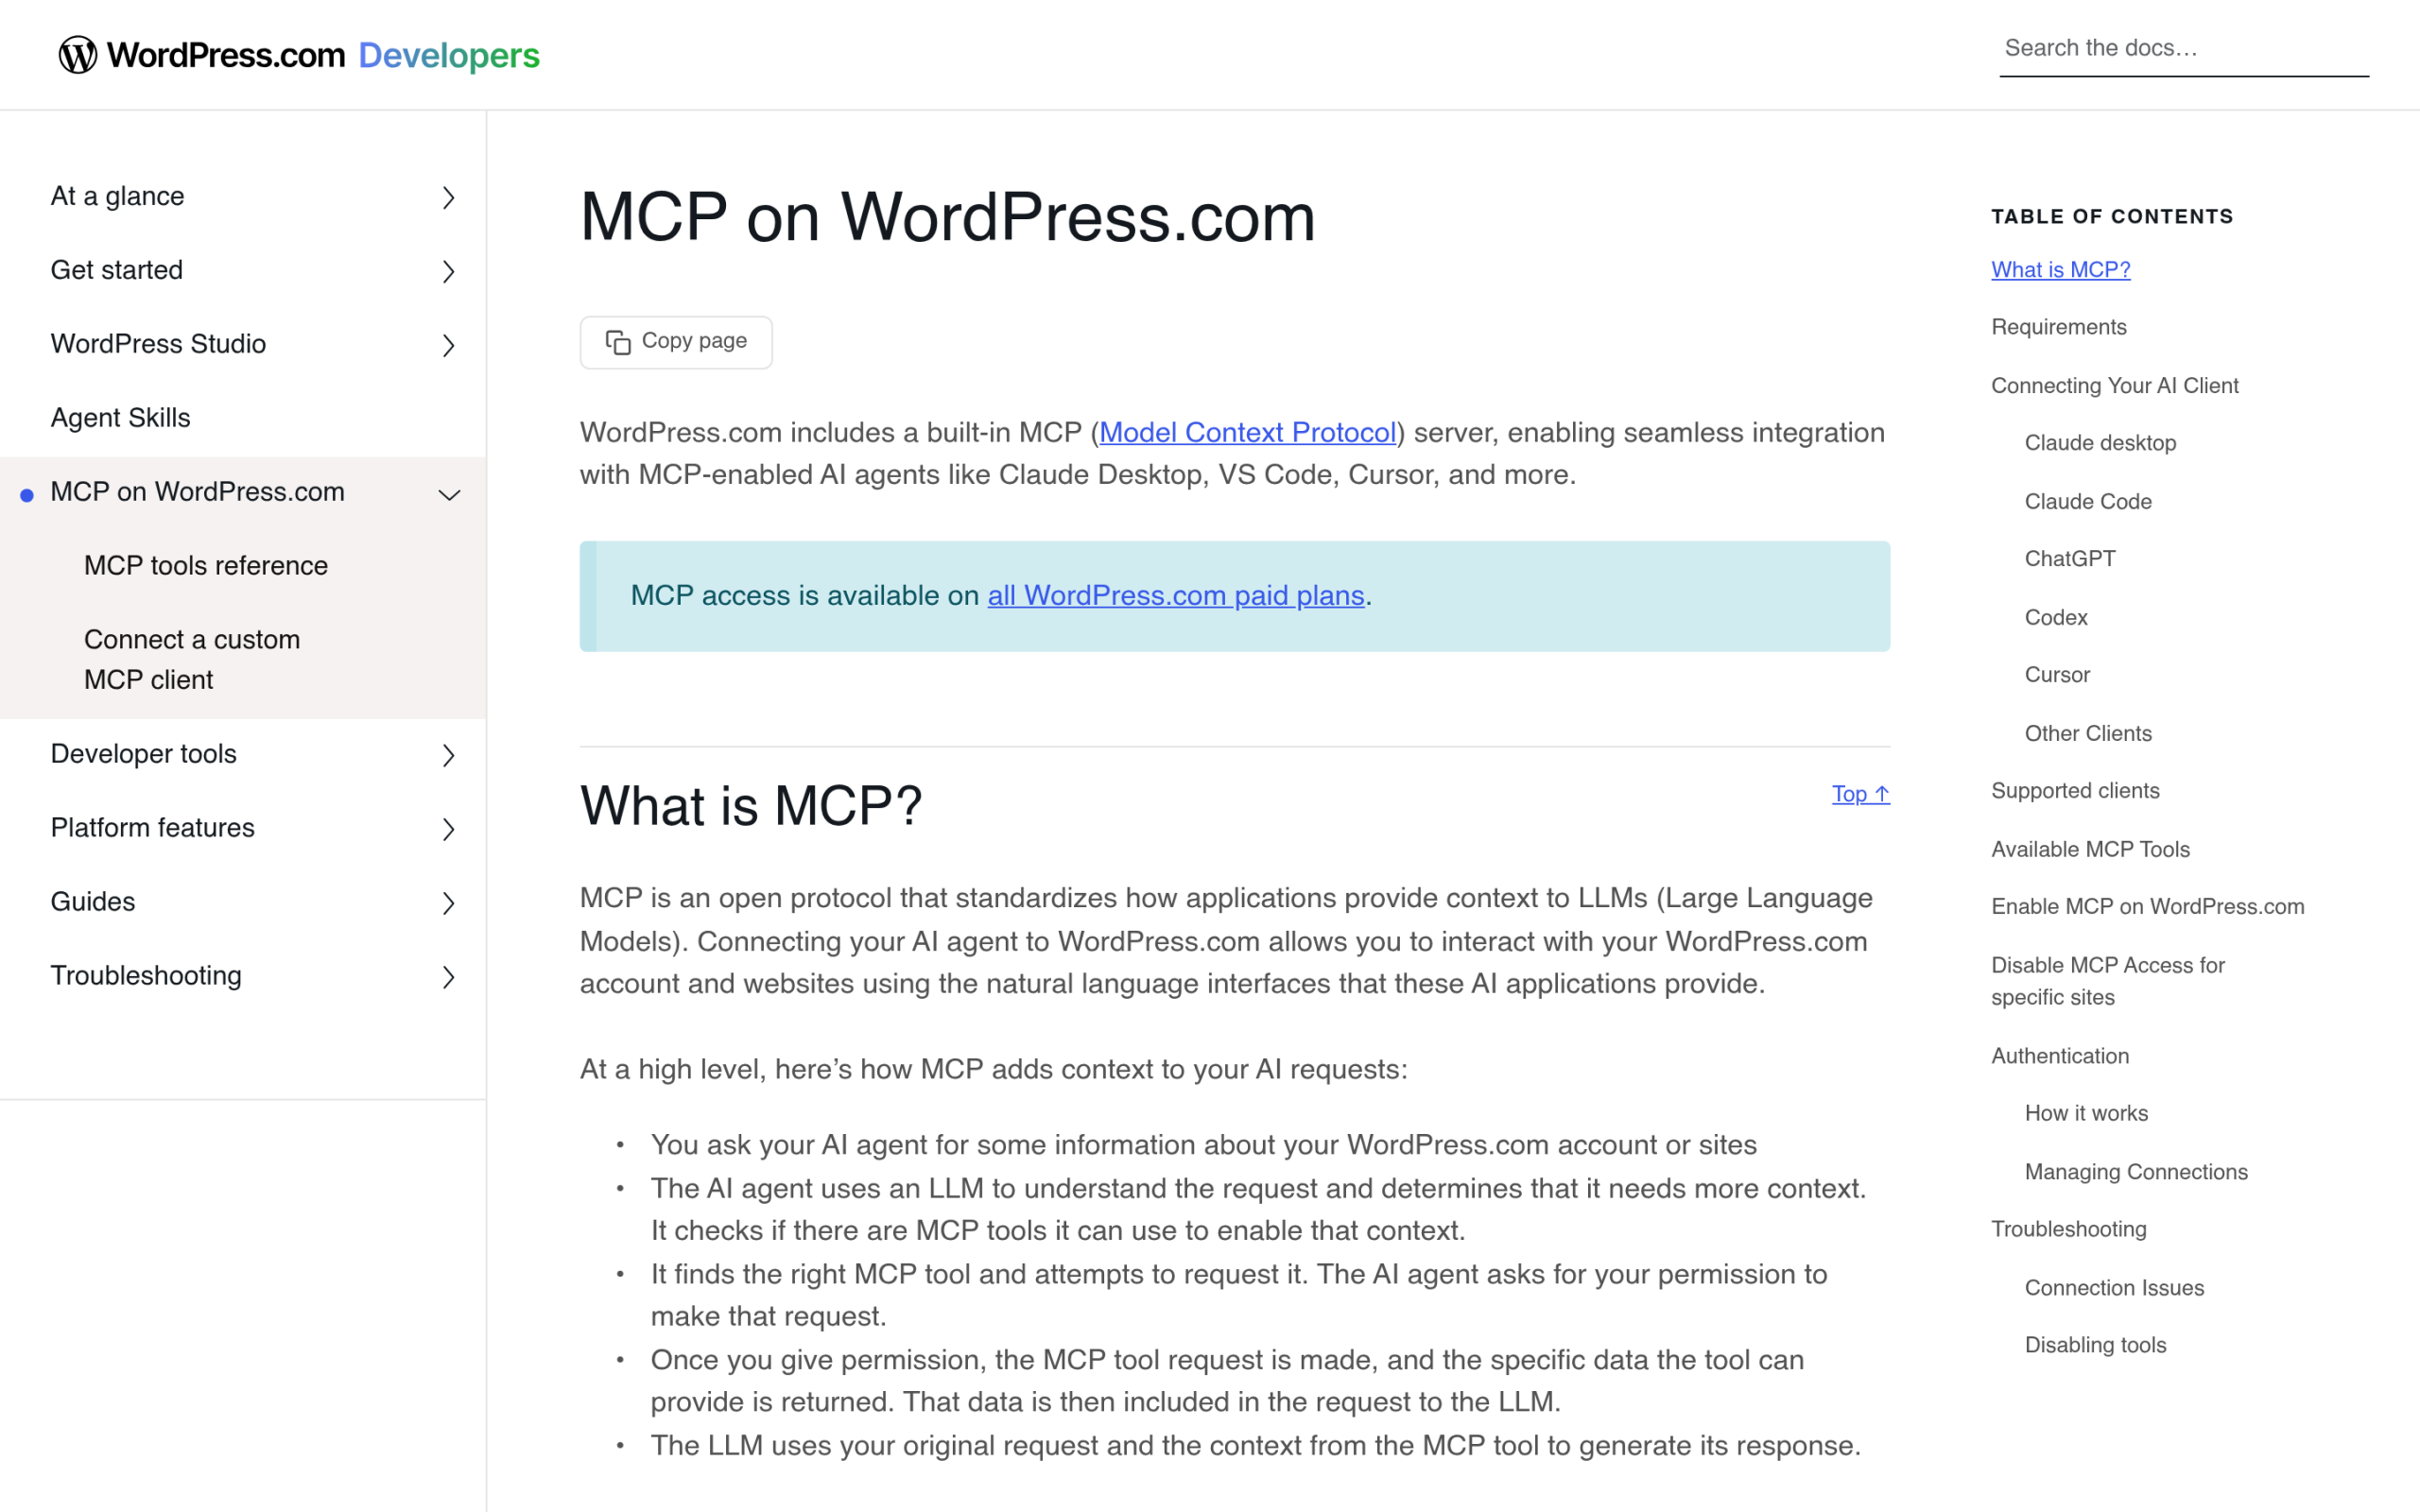Connected through MCP, an AI agent can read and manage your WordPress site by conversation. Once your site is an MCP server, an agent can do the kind of work you would normally do by hand. That includes creating and updating posts, generating alt text for images, moderating comments, managing users, updating WooCommerce products, installing plugins, and clearing cache, all from a chat conversation. The agent reads your site as MCP resources and runs tasks as MCP tools. On the client side, the usual AI tools already speak MCP. Claude Desktop, Cursor, Continue, Cline, and command-line agents like the Gemini CLI can all connect. Because the protocol is shared, you are not betting on one vendor. You set your site up once and any MCP-capable assistant can work with it. ## The Security Side: MCP Gives Agents Real Power Read that last section again and the risk is obvious. An agent that can publish posts, install plugins, and manage users is an agent that can do damage if it is careless or compromised. MCP is a capability, not a safety feature, so the guardrails are on you. Treat it like giving someone keys. Use proper authentication, which on WordPress.com means OAuth 2.1 rather than a pasted password. Scope what the agent is allowed to touch, and prefer least privilege so it can only reach what the task needs. Watch what it does, and start with low-risk actions like drafting posts before you let an agent loose on plugins or user accounts. The convenience is real, but so is the blast radius. ***Also Read:** [WordPress robots.txt for AI Crawlers](https://qa.nexterwp.com/blog/wordpress-robots-txt-ai-crawlers-gutenberg/) covers controlling which AI systems can reach your site.* ## MCP, AI Search, and Agentic Readiness MCP is one half of a bigger shift. AI agents are starting to act on websites through protocols like MCP, and AI answer engines are starting to cite websites in their answers. Both reward the same thing: a site that is clean, structured, and machine-readable. Getting ready for one tends to get you ready for the other. RankReady scores your site's agentic readiness and controls which AI crawlers can reach it. This is where a tool like RankReady fits. It scores your site's agentic readiness, shows the AI crawlers reaching your pages in one screen, and publishes the llms.txt files and schema that help AI systems understand your content. None of that builds an MCP server for you, but it makes your WordPress site the kind of clean, well-described source that both agents and answer engines prefer to work with. ***Also Read:** [llms.txt for Gutenberg WordPress](https://qa.nexterwp.com/blog/llms-txt-gutenberg-wordpress/) explains the file that maps your content for AI systems.* ## Should You Turn Your WordPress Site Into an MCP Server? If you run a site solo or in a small team and you already work with AI tools, an MCP connection can save real time on routine tasks, and the official WordPress adapter makes it a supported path rather than a hack. If you manage client sites or anything with sensitive data, move carefully: set up authentication, scope permissions, and test on a staging site before you let an agent act on production. The technology is ready, and the honest answer is that it is worth setting up for low-risk work now and expanding as you trust it. Start small, keep the guardrails on, and treat your site as something both people and agents will use. ### What is MCP in simple terms? MCP, the Model Context Protocol, is an open standard that lets AI applications connect to outside systems like files, databases, and apps. It is often described as a USB-C port for AI: one standard plug so any AI tool can connect to any system that supports it. ### Who created MCP and when? Anthropic introduced the Model Context Protocol in November 2024 as an open-source standard. It has since been adopted by other major AI providers including OpenAI and Google, which is why the same MCP setup works across many AI tools. ### What is an MCP server? An MCP server is the system that exposes its data and capabilities to AI applications through the protocol. The AI app is the host, the connector inside it is the client, and the server is the thing being connected to, such as a database or a WordPress site. ### Can WordPress be an MCP server? Yes. The official WordPress MCP Adapter, introduced in February 2026, turns your site into an MCP server by exposing its abilities as MCP tools and resources. WordPress.com supports MCP through OAuth 2.1, and self-hosted sites can use an MCP adapter plugin. ### Is it safe to connect an AI agent to WordPress? It can be, with guardrails. Use proper authentication such as OAuth, scope the agent to only what it needs, start with low-risk actions like drafting posts, and test on staging first. An agent that can manage users and plugins can also cause harm, so least privilege matters. ### Do I need to code to use MCP with WordPress? Not necessarily. On WordPress.com you connect through OAuth in the browser with no installation. On self-hosted WordPress you install an MCP adapter plugin. Building custom abilities for an agent to use does involve development, but connecting an existing agent does not. ## Suggested Reading - [How to Use the Gemini API in WordPress (and Get Cited by Gemini)](https://qa.nexterwp.com/blog/gemini-api-wordpress/)- [How to Use the DeepSeek API in WordPress (the Cheapest LLM Route)](https://qa.nexterwp.com/blog/deepseek-api-wordpress/)- [llms.txt for Gutenberg WordPress: Why Block Themes Win the AI Citation Race](https://qa.nexterwp.com/blog/llms-txt-gutenberg-wordpress/)- [E-E-A-T for AI Search: How WordPress Sites Earn Trust from Google AI, ChatGPT and Perplexity](https://qa.nexterwp.com/blog/e-e-a-t-ai-search-wordpress/)- [Rank Math vs RankReady: Which WordPress SEO Plugin Wins for AI Search](https://qa.nexterwp.com/blog/rank-math-vs-rankready/) --- # OAI-SearchBot: The Crawler That Decides Whether ChatGPT Search Can Find You (2026) Source: https://qa.nexterwp.com/blog/oai-searchbot-wordpress/ #### Key Takeaways - OAI-SearchBot is the OpenAI crawler that builds the search index behind ChatGPT search. It is not the training crawler and not the live page fetcher.- OpenAI states it plainly: sites opted out of OAI-SearchBot will not be shown in ChatGPT search answers. Blocking it makes you invisible there.- Unlike ChatGPT-User, OAI-SearchBot respects robots.txt, so you can allow or block it cleanly with a few lines.- Getting indexed is not the same as getting cited. OAI-SearchBot makes you eligible; clear structure, an llms.txt file, and fresh content earn the citation.- Verify it is genuine against OpenAI's published IP ranges at openai.com/searchbot.json, then track AI crawler hits and referrals from one dashboard. A few weeks ago I was checking why one of our guides kept turning up as a source inside ChatGPT search while a near-identical post on the same site never did. The pages were similar in length, both indexed in Google, both linked internally. The difference showed up in the access logs: one path was being fetched regularly by something called OAI-SearchBot, the other almost never. That single user agent, quietly crawling in the background, was the gatekeeper deciding which of our pages ChatGPT search even knew about. If you run a WordPress site and you care about showing up when people search inside ChatGPT, OAI-SearchBot is the crawler to understand first. This guide explains exactly what it is, why blocking it quietly removes you from ChatGPT search answers, how to allow or block it correctly, and how to confirm it is really reaching your site. ## What OAI-SearchBot actually is OpenAI runs three separate crawlers, and they do very different jobs. OAI-SearchBot is the one that builds the search index. In OpenAI's own words, it is "used to surface websites in search results in ChatGPT's search features." It visits your pages, reads them, and adds them to the pool of content that ChatGPT search can pull from when a user runs a query. It does not train models, and it is not the agent that grabs a page mid-conversation. ***Also Read:** here is how [ChatGPT Search](https://qa.nexterwp.com/blog/chatgpt-search-wordpress/) surfaces WordPress sites and how to become a source it pulls from.* The full user agent string, straight from OpenAI's documentation, is `Mozilla/5.0 (Macintosh; Intel Mac OS X 10_15_7) AppleWebKit/537.36 (KHTML, like Gecko) Chrome/131.0.0.0 Safari/537.36; compatible; OAI-SearchBot/1.3; +https://openai.com/searchbot`. If you see `OAI-SearchBot/1.3` in your logs, that is this crawler indexing you for ChatGPT search. Here is how OpenAI's three crawlers compare, pulled from its official documentation: 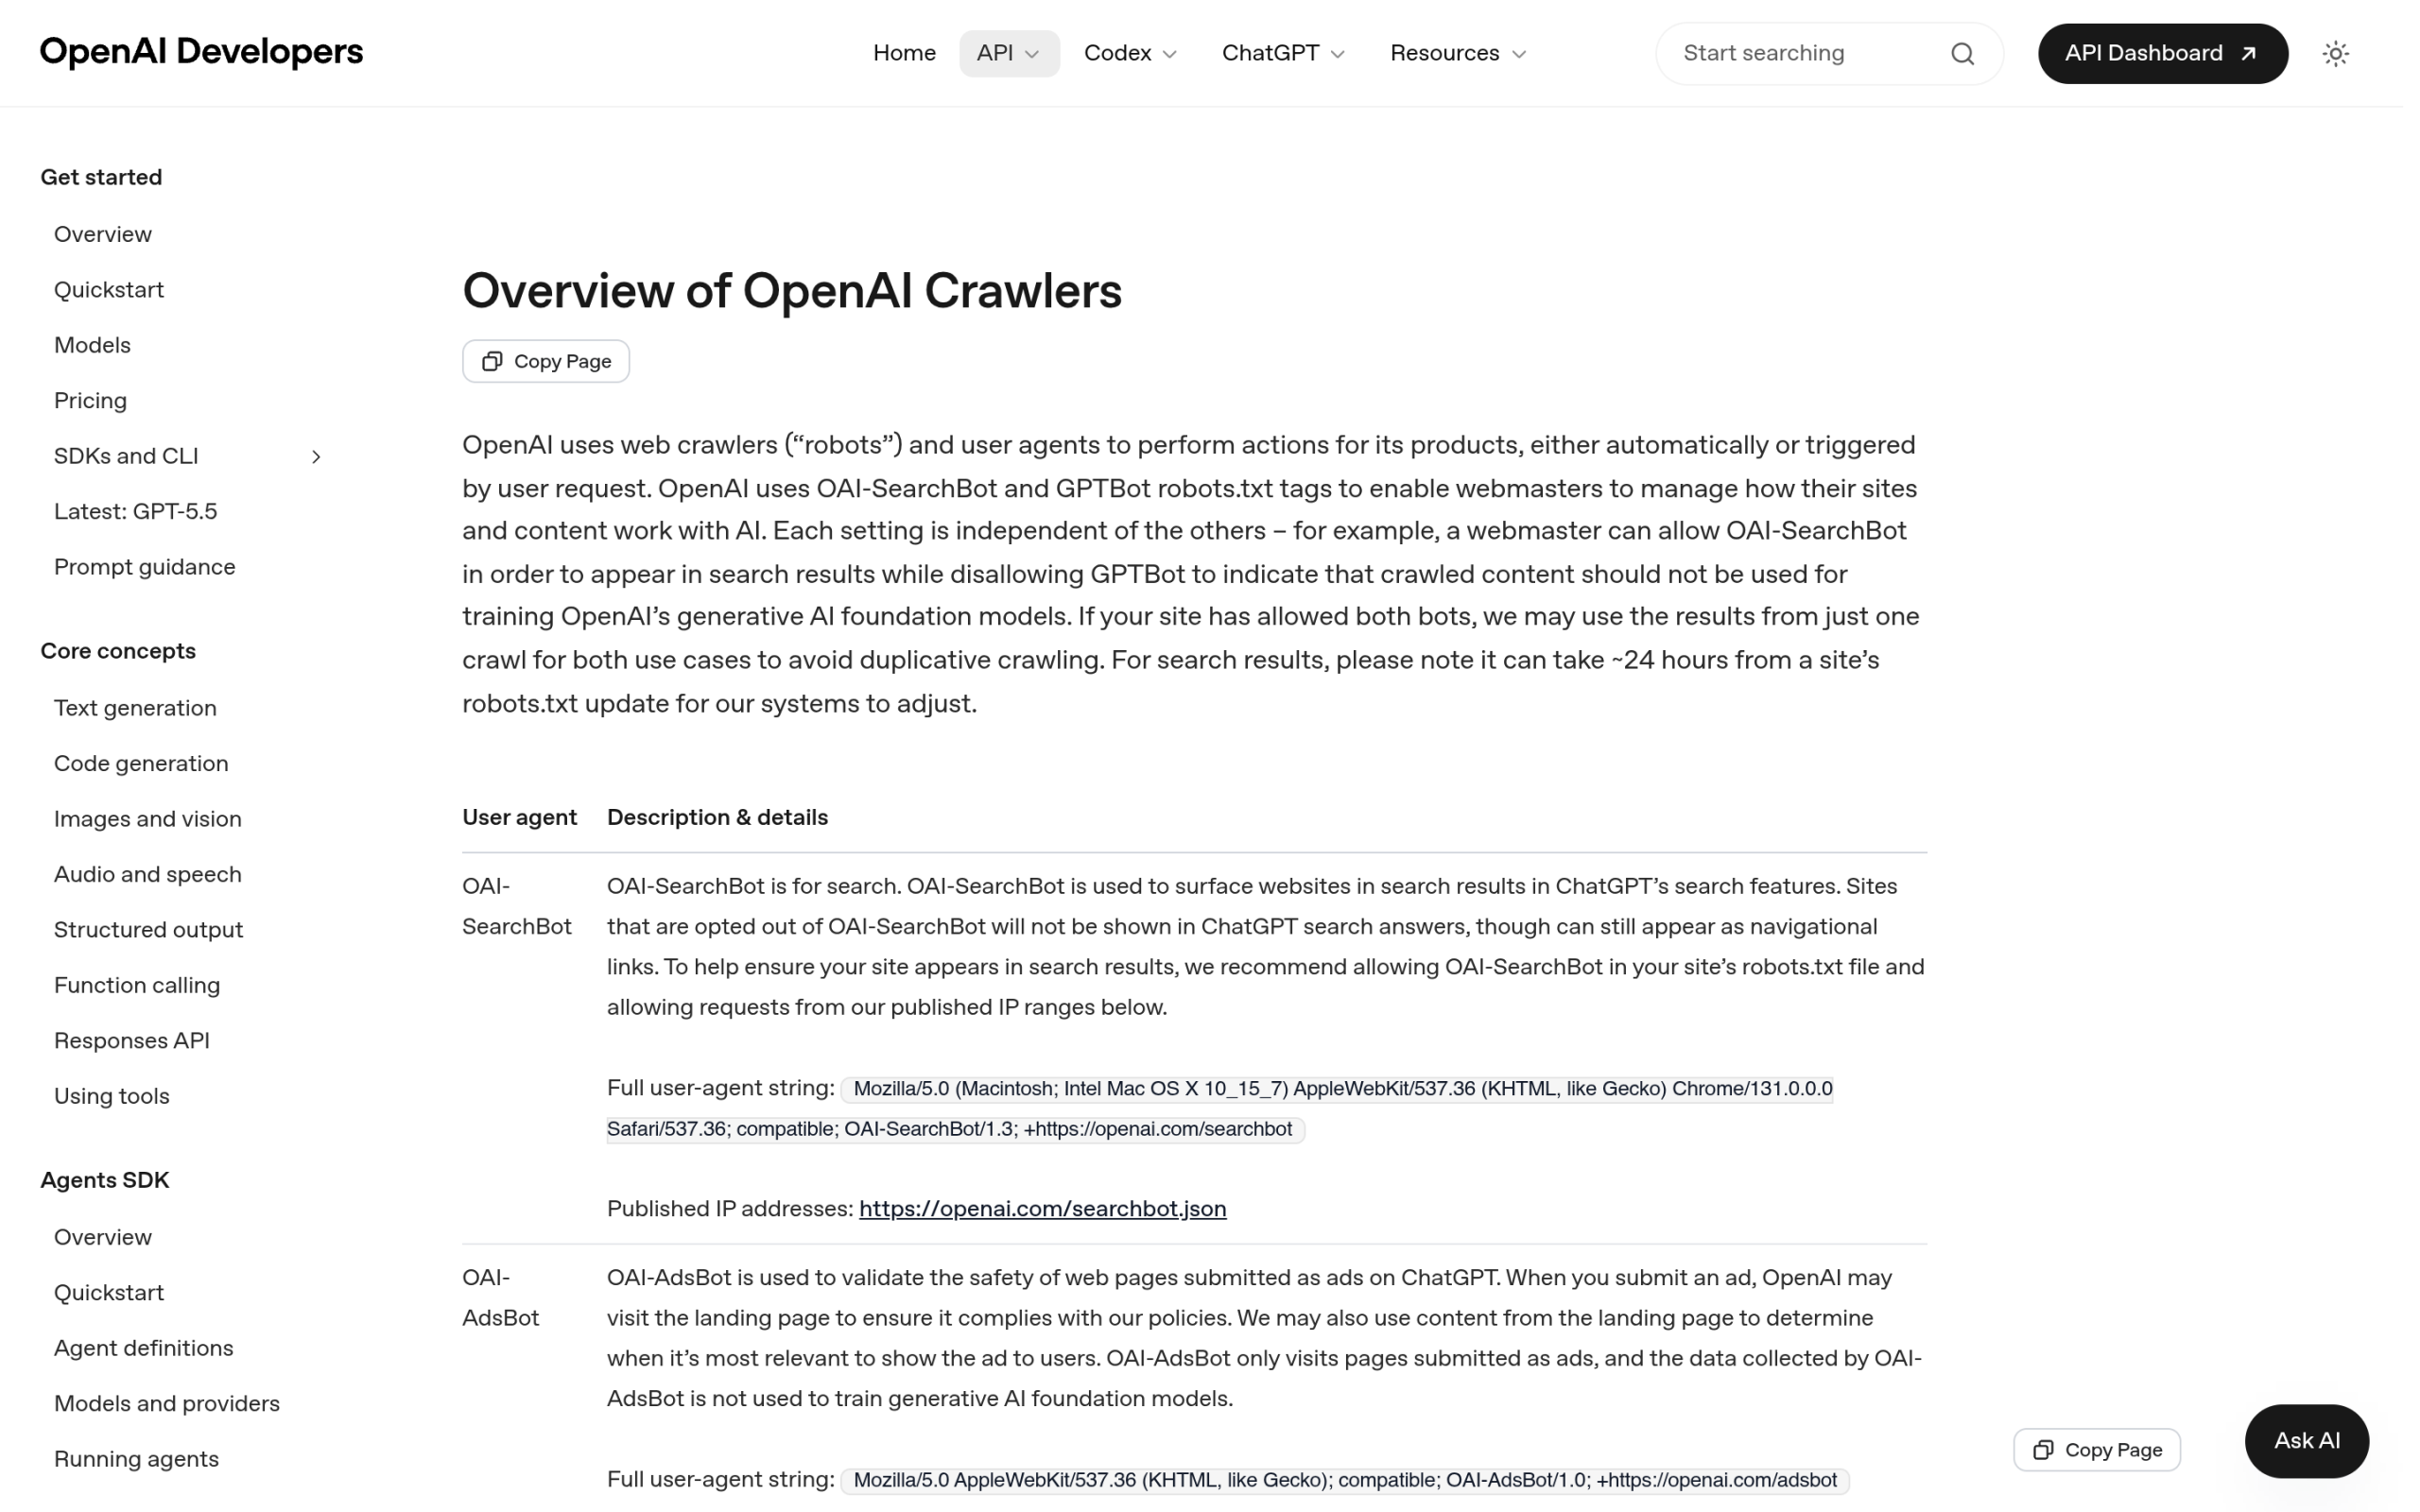OpenAI's official crawler documentation lists OAI-SearchBot/1.3 alongside GPTBot and ChatGPT-User. Source: developers.openai.com. | Crawler | User-agent token | What it does | Trains models? | Respects robots.txt? | | ------- | ---------------- | ------------ | -------------- | -------------------- | | **GPTBot** | GPTBot/1.3 | Trains OpenAI's foundation models | Yes | Yes | | **OAI-SearchBot** | OAI-SearchBot/1.3 | Builds the ChatGPT search index | No | Yes | | **ChatGPT-User** | ChatGPT-User/1.0 | Fetches a live page for a user's question | No | May not apply | OpenAI's three crawlers serve different jobs and are controlled separately. Source: OpenAI crawler documentation. The piece people get wrong is treating all three as one "OpenAI bot." They are independent switches. You can welcome the search crawler while blocking the training crawler, and the live fetcher follows its own rules again. If you want the full landscape of every AI crawler hitting WordPress sites right now, we keep a running reference. ***Also Read:** [The complete list of AI web crawlers](https://qa.nexterwp.com/blog/web-crawlers-list/) and what each one wants from your WordPress site.* ## Why blocking OAI-SearchBot makes you invisible in ChatGPT search This is the part that catches site owners off guard. OAI-SearchBot is not optional plumbing you can ignore. OpenAI is direct about the consequence of blocking it: "Sites that are opted out of OAI-SearchBot will not be shown in ChatGPT search answers." If this crawler cannot reach your pages, your content simply is not in the index that ChatGPT search draws from. You are not ranked low. You are absent. That matters more every month. ChatGPT search has become a real discovery surface, where people ask a question and get a synthesized answer with cited sources instead of ten blue links. To be one of those cited sources, you first have to be in the index, and OAI-SearchBot is the only way in. Block it by accident, through an overzealous security plugin or a copied robots.txt rule, and you have opted your whole site out of that channel without realizing it. This is the same shift that the wider answer-engine conversation is built on: discovery is moving from search results to AI answers. If that framing is new to you, our guide to [answer engine optimization for WordPress](https://qa.nexterwp.com/blog/answer-engine-optimization-wordpress/) lays out the full picture. ## How to check if OAI-SearchBot can reach your WordPress site Before you change anything, find out what your site is telling OAI-SearchBot today. Open `yourdomain.com/robots.txt` in a browser and look for any rule that disallows it, either by name or through a blanket block on all bots. A line like `User-agent: *` followed by `Disallow: /` blocks OAI-SearchBot along with everything else. So does a security plugin or a host-level "block AI bots" setting that you may have toggled on months ago. Next, confirm whether the crawler is actually visiting. Because anyone can fake a user agent, OpenAI publishes the real IP ranges for OAI-SearchBot as a JSON file at `openai.com/searchbot.json`. A request that claims to be OAI-SearchBot but comes from an address outside that list is not the genuine crawler, and you can disregard it. 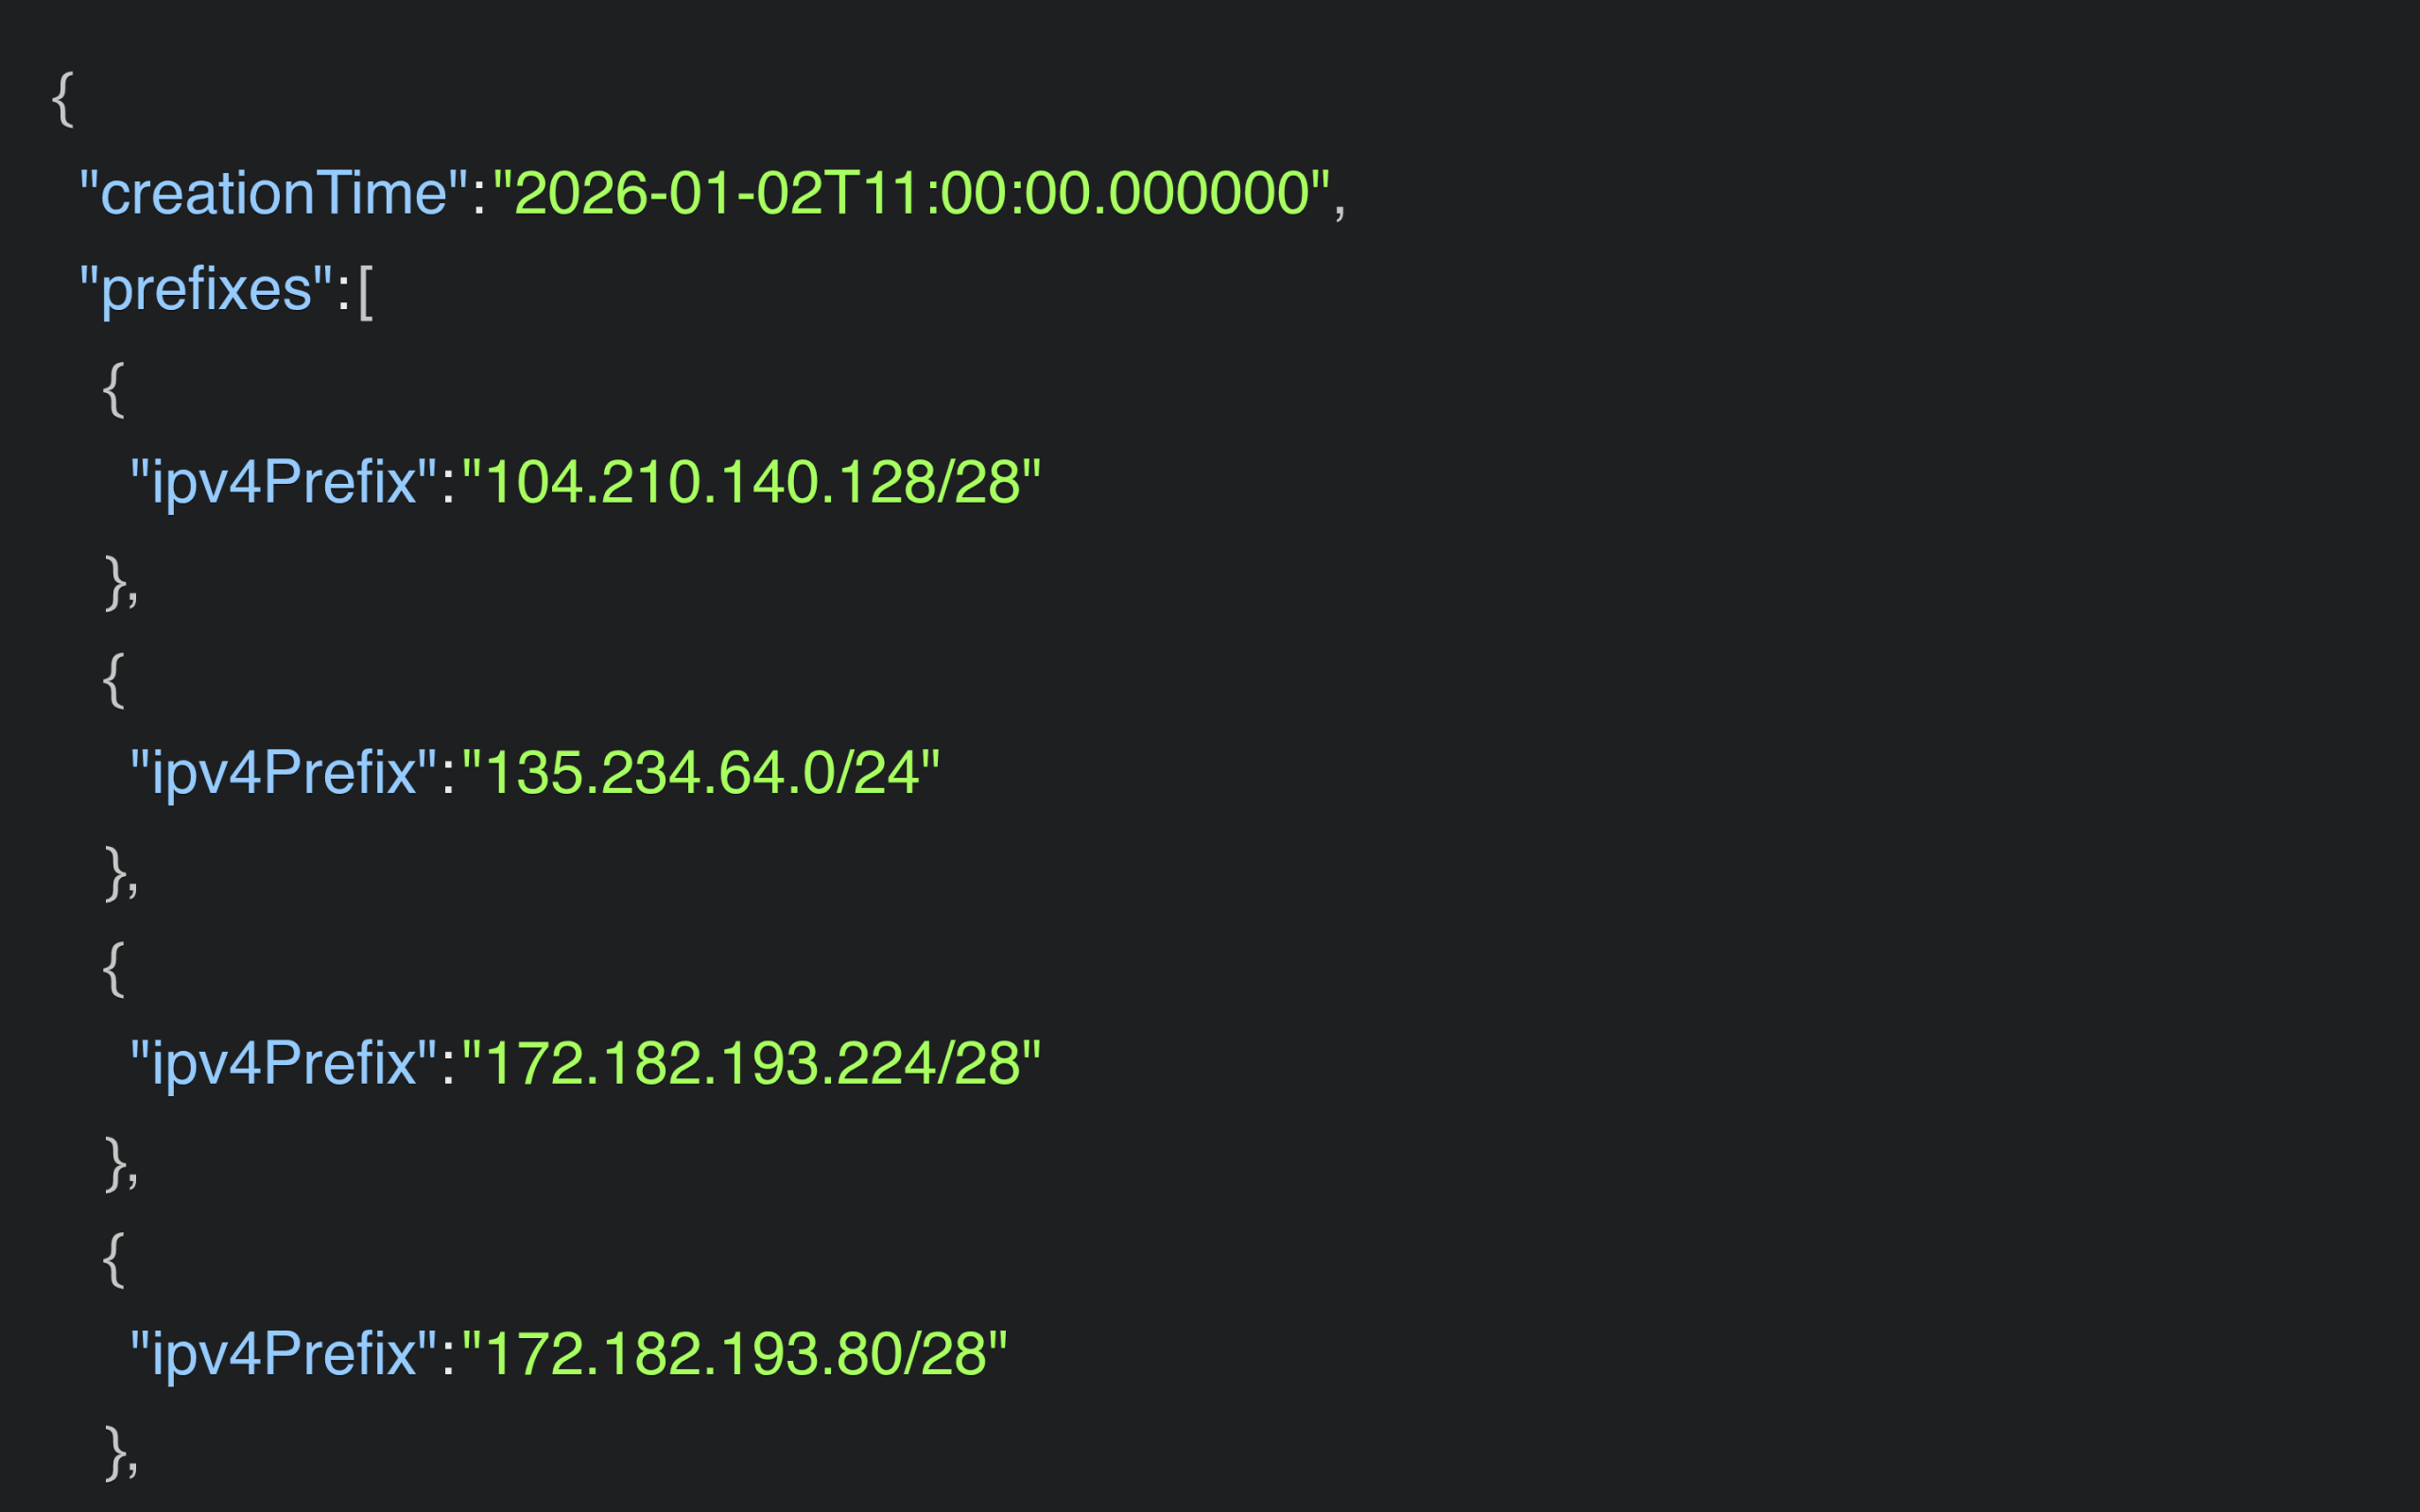OpenAI publishes OAI-SearchBot's verified IP ranges at openai.com/searchbot.json, the reliable way to confirm a real visit. ***Also Read:** OAI-SearchBot indexes you, but [ChatGPT-User is the bot that fetches your page live](https://qa.nexterwp.com/blog/chatgpt-user-wordpress/) when someone asks a question. Here is how to handle that one.* ## How to allow or block OAI-SearchBot in robots.txt Good news here: unlike ChatGPT-User, OAI-SearchBot fully respects robots.txt. That means a few clean lines give you exact control, no firewall gymnastics required. **To allow OAI-SearchBot (recommended for almost every site):** make sure nothing disallows it. You can state it explicitly so a future blanket rule does not catch it by surprise. `User-agent: OAI-SearchBot Allow: /` **To stay in ChatGPT search but out of model training:** allow the search crawler and the user fetcher, and disallow only the training crawler. This is the setup many publishers land on. `User-agent: OAI-SearchBot Allow: / User-agent: ChatGPT-User Allow: / User-agent: GPTBot Disallow: /` **To genuinely keep your site out of ChatGPT search:** disallow OAI-SearchBot by name. Just remember the trade-off from earlier, that this removes you from ChatGPT search answers entirely. `User-agent: OAI-SearchBot Disallow: /` On WordPress you can edit robots.txt without touching files. Rank Math includes a robots.txt editor under its general settings, and most other SEO plugins offer the same. If you prefer, you can drop a physical `robots.txt` at your site root. One caution: blanket toggles like Cloudflare's "Block AI Scrapers" or a host's "block AI bots" switch often sweep up OAI-SearchBot with everything else, so prefer a named rule you can see and reason about. If you want a deeper walkthrough of crawler rules on block themes, see our guide to the [WordPress robots.txt for AI crawlers](https://qa.nexterwp.com/blog/wordpress-robots-txt-ai-crawlers-gutenberg/). ## Getting indexed is not the same as getting cited Allowing OAI-SearchBot gets you in the door. It does not guarantee a seat at the table. Being in the index makes you eligible to appear in ChatGPT search answers; whether you actually get cited depends on how easy your content is to read, trust, and quote. In practice that means a few things working together. Clear heading structure so the crawler can map your page to a question. A clean [llms.txt file](https://qa.nexterwp.com/blog/llms-txt-gutenberg-wordpress/) that points engines at your best content. Demonstrated expertise and authorship, which is the heart of [E-E-A-T for AI search](https://qa.nexterwp.com/blog/e-e-a-t-ai-search-wordpress/). And content you keep current, because answer engines lean heavily on fresh, well-maintained pages. OAI-SearchBot is the access; these are what turn access into a citation. ## Verify and measure with a crawler log Reading raw access logs to spot OAI-SearchBot works, but it is tedious, and most site owners never do it. A WordPress-native crawler log makes the same information glanceable. [RankReady](https://store.posimyth.com/plugins/rankready/) keeps a live AI Crawler Log in your dashboard. As its own description puts it, "Every time an AI bot hits your site, you see it. Timestamp, page, bot name, what it was likely doing." It tracks GPTBot, ClaudeBot, PerplexityBot, Google-Extended and 27 more, 31 AI crawlers in one screen, so you can confirm OAI-SearchBot is indexing you without grepping a single log file. RankReady's AI Crawler Log shows every AI bot hit with timestamp, page, and bot name. Source: store.posimyth.com. The next question is whether the indexing pays off. RankReady also tracks AI referral traffic, monitoring visits from chatgpt.com, perplexity.ai, claude.ai, gemini.google.com and copilot.microsoft.com, and gives each post a readiness score from 0 to 100 so you can see what is holding a page back. One honest caveat to keep in mind: in answer engines, mentions happen far more often than clicks. Plenty of readers get their answer, see your name as the source, and never click through. Judge OAI-SearchBot first by whether you are being crawled and cited, and treat referral clicks as the bonus on top. RankReady is free, forever, released under GPL-2.0-or-later, runs on WordPress 6.0 and up with PHP 7.4 and up, and sits alongside Rank Math or Yoast rather than replacing them. ***Also Read:** Once you are in the index, [track your AI Overviews and AI citations](https://qa.nexterwp.com/blog/ai-overview-tracking-wordpress/) so you know which pages are actually getting picked up.* ## Bottom line: allow OAI-SearchBot For the overwhelming majority of WordPress sites, OAI-SearchBot should be allowed. It does not train models on your content, it respects your robots.txt, and it is the single path into ChatGPT search. The only sites that should block it are ones with a deliberate policy to stay out of AI products entirely. Everyone else who blocks it is usually doing so by accident, and paying for it with total invisibility in ChatGPT search. Check your robots.txt, allow the crawler by name, confirm it is reaching you against the published IP list, then build the structure and freshness that turn a crawl into a citation. ## Suggested Reading - [ChatGPT-User: should you allow or block it on WordPress?](https://qa.nexterwp.com/blog/chatgpt-user-wordpress/)- [The complete list of AI web crawlers and bots](https://qa.nexterwp.com/blog/web-crawlers-list/)- [Answer engine optimization for WordPress](https://qa.nexterwp.com/blog/answer-engine-optimization-wordpress/)- [How to build an llms.txt file for WordPress](https://qa.nexterwp.com/blog/llms-txt-gutenberg-wordpress/)- [E-E-A-T for AI search: earning trust from ChatGPT and Perplexity](https://qa.nexterwp.com/blog/e-e-a-t-ai-search-wordpress/) --- # SEO Audit Tools in 2026: What to Check (and the AI-Readiness Layer Most Tools Miss) Source: https://qa.nexterwp.com/blog/seo-audit-tool-wordpress/ #### Key Takeaways - A traditional SEO audit checks rankings, links, and technical health, but it says nothing about whether AI assistants can read and cite your pages.- In 2026 an SEO audit has two layers: the classic on-page and technical checks, and a newer AI-readiness check.- AI-readiness covers crawler access, structured data, an llms.txt file, content freshness, and clear author signals.- Tools like Semrush and Ahrefs cover the traditional layer well; the AI layer needs a different kind of check.- On WordPress, RankReady scores each post from 0 to 100, runs a 22-signal agentic readiness scorecard, and logs 31 AI crawlers in real time. The first time it really bothered me, a site had a clean bill of health. Green scores across the audit dashboard, a tidy backlink profile, fast pages. Then I asked ChatGPT a question that page answered better than anyone, and it cited three other sites instead. Nothing in the audit explained why. That gap is the whole story of SEO auditing right now. Most SEO audit tools were built to answer one question: will this page rank in Google? That is still worth answering. But a growing share of search now happens inside AI assistants, and a passing traditional audit tells you nothing about whether those assistants can find, read, and quote you. This guide walks through what an SEO audit tool actually checks, where that leaves a blind spot in 2026, and how to audit the AI-readiness layer on a WordPress site. ## What an SEO audit tool actually checks An SEO audit is a structured review of everything that helps or hurts a site in organic search. A good audit tool crawls your pages the way a search engine would and flags problems across three broad areas. ***Also Read:** [semantic SEO](https://qa.nexterwp.com/blog/semantic-seo-wordpress/) helps search and AI engines understand the meaning and entities behind your content.* - **On-page:** title tags, meta descriptions, heading structure, thin or duplicate content, keyword targeting, and internal links.- **Technical:** crawlability, indexability, XML sitemaps, redirects, broken links, canonical tags, mobile friendliness, and page speed or Core Web Vitals.- **Off-page:** the backlink profile, referring domains, and signals of authority that sit outside your own site. Core Web Vitals, checked here in PageSpeed Insights, are part of the technical layer a traditional SEO audit covers. Run any of these checks and you get a list of fixes ranked by severity. That model has worked for over a decade, and for classic blue-link ranking it still does. The question is whether ranking is the only outcome that matters anymore. ## Why traditional SEO audit tools miss AI search in 2026 When someone asks ChatGPT, Perplexity, or Google AI Overviews a question, the answer is assembled from sources the model can access and trust. You are not trying to win position one. You are trying to be one of the handful of pages quoted inside the answer. That is a different game with different rules. A traditional audit never measures any of it. It does not check whether you allow or block the AI crawlers that feed those answers. It does not check whether your content is available as clean, machine-readable text. It does not check for an llms.txt file or for the author signals that help a model decide your page is trustworthy. Your site can pass every classic check and still be invisible to the systems that are quietly taking a slice of your traffic. ***Also Read:** [E-E-A-T for AI Search](https://qa.nexterwp.com/blog/e-e-a-t-ai-search-wordpress/) breaks down the trust and author signals AI engines weigh before they cite you.* ## The AI-readiness audit: what to check now Think of this as a second checklist that sits beside the traditional one. Five areas decide whether an AI assistant can use your content. - **Crawler access:** can bots like GPTBot, ClaudeBot, PerplexityBot, and Google-Extended reach your pages, or is your robots.txt quietly blocking them?- **Structured data:** do your posts carry Article, FAQPage, and Speakable schema so a model can parse the meaning, not just the words?- **Machine-readable content:** is there an llms.txt file and a clean text version of each post, so a model is not guessing through a wall of markup?- **Freshness:** is the content current, or stale enough that a model prefers a newer source?- **Author signals:** is there a real, identifiable author with a bio and Person schema behind the writing? None of these show up in a Semrush or Ahrefs site audit, because those tools were not built to ask the question. They are not wrong, they are just scoped to the old map. ***Also Read:** [WordPress robots.txt for AI Crawlers](https://qa.nexterwp.com/blog/wordpress-robots-txt-ai-crawlers-gutenberg/) shows exactly how to allow or block each AI bot at the source.* ## How to run a traditional SEO audit For the classic layer, the established tools do the job. Google Search Console is free and shows you indexing status, Core Web Vitals, and the queries you already rank for. Semrush and Ahrefs both run deep site audits that score technical health, surface broken links and crawl errors, and analyse your backlink profile. Screaming Frog is excellent for a hands-on technical crawl. Google Search Console is a free way to cover the traditional audit layer: indexing, Core Web Vitals, and the queries you rank for. Pick one, run a full crawl, and work through the issues by severity. Fix indexability and Core Web Vitals first, then on-page and content gaps. This part of the process has not changed, and you should not skip it. It is half the picture. ## How to audit AI-readiness on WordPress The other half is where most sites have no tooling at all. On WordPress, [RankReady](https://store.posimyth.com/plugins/rankready/) is built specifically for this layer. Instead of measuring how you rank, it measures how ready each page is to be read and cited by AI. RankReady audits the AI-readiness layer on WordPress: a per-post readiness score, a 22-signal scorecard, and a live AI crawler log. - **Per-post readiness score:** every post gets a score from 0 to 100 based on schema, freshness, content depth, and author signals, so you know which pages need work.- **Agentic readiness scorecard:** one overall percentage, broken into 22 specific signals, that tells you what an AI agent can and cannot do with your site.- **Live AI crawler log:** a real-time record of which of 31 AI crawlers visited, when, and what they fetched, so allow-and-block decisions stop being guesswork.- **Citation candidates:** a leaderboard of the posts that citation-style bots fetched most in the last 30 days. RankReady is free, released under GPL-2.0, and runs on WordPress 6.0 or newer with PHP 7.4 or newer. It works alongside Rank Math, Yoast, or whatever traditional SEO plugin you already run, so the two layers do not fight each other. You keep your ranking tooling and add the AI-readiness check it was never meant to cover. ## The combined SEO audit checklist Here is the full 2026 audit in one place. Run the left side with your traditional tool and the right side with an AI-readiness check. - Indexing and crawlability are clean in Search Console- Core Web Vitals pass on mobile and desktop- Titles, headings, and internal links are tight- No broken links, redirect chains, or duplicate content- Backlink profile is healthy and spam-free- AI crawlers you want are allowed in robots.txt- Article, FAQPage, and Speakable schema are present- An llms.txt file and clean text versions exist- Content is fresh and dated, not quietly stale- Every post has a real author with a bio and Person schema ## How often should you audit? A full traditional audit once a quarter is a sensible baseline for most sites, with a lighter monthly check on Core Web Vitals and indexing. The AI-readiness layer moves faster, because crawler behaviour and AI features change month to month. A live crawler log makes this easier, since you are watching real visits rather than running a scan and hoping. Treat the readiness score like a Core Web Vitals number you check on every important post before you hit publish. ## Is your audit still measuring the right thing? A green SEO audit used to mean you had done the work. In 2026 it means you have done half of it. The classic checks still matter, but the pages winning attention are also the ones AI assistants can read, trust, and quote. Audit both layers, and you stop being surprised when a clean report does not turn into traffic. ## Suggested Reading - [Rank Math vs RankReady: Which WordPress SEO Plugin Wins for AI Search](https://qa.nexterwp.com/blog/rank-math-vs-rankready/)- [E-E-A-T for AI Search: How WordPress Sites Earn Trust](https://qa.nexterwp.com/blog/e-e-a-t-ai-search-wordpress/)- [llms.txt for Gutenberg WordPress](https://qa.nexterwp.com/blog/llms-txt-gutenberg-wordpress/)- [5 Best WordPress SEO Plugins Using AI](https://qa.nexterwp.com/blog/best-wordpress-seo-plugins-using-ai/)- [Web Crawlers List: 22 Most Common Bots and Spiders](https://qa.nexterwp.com/blog/web-crawlers-list/) --- # Schema Markup Generator for WordPress: Auto-Generate JSON-LD for AI Search (2026) Source: https://qa.nexterwp.com/blog/schema-markup-generator-wordpress/ #### Key Takeaways - A schema markup generator turns page facts into JSON-LD structured data that search engines and AI assistants can read.- The schema types that matter most in 2026 are Article, FAQPage, HowTo, Speakable, ItemList, and Person.- Manual generators make you paste JSON-LD into every page by hand; on WordPress you can auto-generate it instead.- Schema does not guarantee a spot in Google AI Overviews, but it powers rich results and helps third-party AI engines parse your content.- RankReady auto-generates Article, Speakable, FAQPage, HowTo, ItemList, and Person schema on WordPress, for free. I still remember pasting my first block of JSON-LD into a page by hand, holding my breath, and running it through a validator three times before I trusted it. It worked. Then I had four hundred more pages to do, and the math stopped making sense. That is the problem a schema markup generator solves. Instead of writing structured data by hand, you fill in a few fields and it spits out valid JSON-LD you can drop into a page. In 2026 there is a second reason to care, beyond Google rich results: structured data is one of the cleaner signals an AI assistant uses to understand what your page is about. This guide covers what a schema markup generator actually does, the types worth generating, and how to stop hand-pasting and auto-generate schema on WordPress. ## What a schema markup generator does Schema markup is structured data, a standardised vocabulary from Schema.org that describes the meaning of a page in a way machines can parse. It usually ships as JSON-LD, a small block of code in the page head that says, in effect, this is an article, here is the author, here is the publish date, here are the FAQ questions. ***Also Read:** add [Speakable schema](https://qa.nexterwp.com/blog/speakable-schema-wordpress/) to mark up content for voice and AI answers.* Schema.org defines the shared vocabulary a schema markup generator turns into JSON-LD. A schema markup generator is the tool that writes that JSON-LD for you. You pick a type, fill in the fields, and copy the output. It saves you from learning the full Schema.org syntax and from the small mistakes that quietly break structured data. The catch with most generators is what happens next: you still have to paste the result into the right page, and do it again every time the content changes. ## The schema types that matter in 2026 You do not need every type Schema.org defines. A handful do almost all the work for a content site. - **Article:** the backbone for any blog post or news piece. Sets headline, author, and dates.- **FAQPage:** marks up question-and-answer blocks, and can earn expandable FAQ rich results.- **HowTo:** describes step-by-step instructions, useful for tutorials.- **Speakable:** flags the parts of a page suited to being read aloud, which matters for voice and AI answers.- **ItemList:** structures list-style and roundup posts so each item is understood as a distinct entry.- **Person:** describes the author behind the content, a real trust signal for both Google and AI engines. ***Also Read:** [E-E-A-T for AI Search](https://qa.nexterwp.com/blog/e-e-a-t-ai-search-wordpress/) explains why Person and author signals carry so much weight now.* ## Manual generators vs auto-generation on WordPress Standalone generators like the Merkle tool or technicalseo.com are great for a one-off. You build a single block of JSON-LD, validate it, and paste it in. For a site with a few static pages, that is fine. It falls apart at scale. Hand-pasted schema goes stale the moment you edit a post, and nobody remembers to update the JSON-LD when the title or author changes. On WordPress, the better model is auto-generation: a plugin reads the post data you already have and outputs the correct schema on every page, kept in sync automatically. Rank Math and Yoast both do this for the core types. The question in 2026 is whether your schema also covers the types AI engines lean on, like Speakable. ***Also Read:** [SEO Audit Tools in 2026](https://qa.nexterwp.com/blog/seo-audit-tool-wordpress/) shows where schema fits in the wider AI-readiness audit.* ## Does schema help you show up in AI search? Here is the honest version, because there is a lot of hype. Google has said there are no additional structured-data requirements to appear in AI Overviews; you do not add special schema to qualify. So schema is not a magic key to Google AI Overviews. What schema does do is real and worth the effort. It powers traditional rich results in Google, which still drive clicks. It gives third-party AI engines like ChatGPT and Perplexity a clean, unambiguous description of your page rather than asking them to infer everything from prose. And Speakable and FAQPage markup line up neatly with how assistants pull short, quotable answers. Think of schema as removing friction for every machine that reads your page, not as a guaranteed ticket into any one feature. ## How to auto-generate schema on WordPress with RankReady If you want the full set of AI-relevant types without hand-pasting, [RankReady](https://store.posimyth.com/plugins/rankready/) generates them automatically on WordPress. Instead of a generator you visit and copy from, it reads each post and outputs the schema in place. RankReady auto-generates Article, Speakable, FAQPage, HowTo, ItemList, and Person schema on WordPress. - **Article and Speakable** schema on every post, so the voice-and-AI friendly markup is there by default.- **FAQPage** schema for FAQ blocks, generated from the questions on the page.- **HowTo** schema, detected automatically from numbered steps.- **ItemList** schema, detected automatically on list-style posts.- **Person** schema for author boxes, so the byline becomes a real entity. It also generates AI summaries with Speakable markup and FAQ blocks with FAQPage schema, using your own OpenAI, Anthropic, Gemini, or DeepSeek key. RankReady is free, released under GPL-2.0, and runs on WordPress 6.0 or newer with PHP 7.4 or newer. It works alongside Rank Math or Yoast, so you can let your existing plugin handle the basics and lean on RankReady for the AI-focused types. ## How to validate your schema Whatever generates your markup, validate it before you trust it. Two free tools cover this. Google's Rich Results Test tells you whether a page is eligible for specific rich results and flags errors. The Schema.org validator checks that your JSON-LD is well formed against the vocabulary. Paste a URL or the raw code, fix any errors or warnings, and re-test. Make this a habit on any template change, since one broken field can invalidate the whole block. The Schema.org validator checks that your generated JSON-LD is well formed before you publish. ## Your schema markup checklist - Every post has Article schema with author and dates- FAQ blocks carry FAQPage schema- Tutorials use HowTo schema- Roundups and lists use ItemList schema- Key answers are flagged with Speakable- Authors have Person schema tied to a real bio- Markup is auto-generated, not hand-pasted and forgotten- Every template change is re-validated in the Rich Results Test ## So, do you need a schema generator? A standalone schema markup generator is the right tool when you need one clean block of JSON-LD for a single page. For a living WordPress site with hundreds of posts, auto-generation is the saner path, because schema that updates itself is schema that stays correct. Pick the model that matches your scale, cover the types that matter, and validate before you ship. That is how structured data quietly does its job for both Google and the AI engines reading right behind it. ## Suggested Reading - [SEO Audit Tools in 2026: What to Check](https://qa.nexterwp.com/blog/seo-audit-tool-wordpress/)- [E-E-A-T for AI Search: How WordPress Sites Earn Trust](https://qa.nexterwp.com/blog/e-e-a-t-ai-search-wordpress/)- [llms.txt for Gutenberg WordPress](https://qa.nexterwp.com/blog/llms-txt-gutenberg-wordpress/)- [Rank Math vs RankReady: Which WordPress SEO Plugin Wins for AI Search](https://qa.nexterwp.com/blog/rank-math-vs-rankready/)- [5 Best WordPress SEO Plugins Using AI](https://qa.nexterwp.com/blog/best-wordpress-seo-plugins-using-ai/) --- # Answer Engine Optimization (AEO): The Complete WordPress Guide for 2026 Source: https://qa.nexterwp.com/blog/answer-engine-optimization-wordpress/ #### Key Takeaways - Answer engine optimization (AEO) is the practice of getting your content cited *inside* AI answers from ChatGPT, Perplexity, and Google AI Overviews, not just ranked in the blue links below them.- Google states there are no special files or markup required to appear in AI Overviews. ChatGPT and Perplexity behave differently, so a complete WordPress playbook has to cover both cases.- The fundamentals that move the needle: extractable answers, structured data that matches your visible text, crawlable and fast pages, and genuine authority signals.- WordPress gives you direct control over every one of those levers, from clean semantic block markup to a lightweight theme and crawler access rules.- You measure AEO by citations and brand mentions in AI answers, not only by rankings and clicks. A few months ago I was staring at Search Console for one of our guide pages, trying to work out why impressions kept climbing while clicks sat flat. The page had not dropped a single position. It was still sitting at the top. Then I ran the query myself and saw what was happening: Google had pulled two sentences from that page straight into an AI Overview, answered the searcher's question on the spot, and most people never needed to click through. We were being read by more people than ever and visited by fewer. That moment is the whole reason answer engine optimization exists. Search is quietly turning into an answer layer, and the new question is not only "do I rank" but "does the answer engine quote me." This guide walks through what AEO actually is, how the major answer engines decide who to cite, and the exact on-site moves you can make on a WordPress site to become the source they pull from. ## What is answer engine optimization? Answer engine optimization (AEO) is the practice of structuring your content so that AI systems can extract it and cite it when they generate a direct answer. Those systems include Google AI Overviews, ChatGPT and ChatGPT Search, Perplexity, Microsoft Copilot, and Google's Gemini. Instead of competing only for a ranking position, you are competing to be the source quoted inside the answer itself. ***Also Read:** [AI Overview tracking](https://qa.nexterwp.com/blog/ai-overview-tracking-wordpress/) shows which of your pages Google is actually pulling into AI answers.* The shift is subtle but important. Traditional search hands the user a list of ten links and lets them choose. An answer engine reads several of those sources, synthesizes a response, and shows the user a finished answer with a handful of citations attached. If your page is one of those citations, you earn visibility and trust even when the click does not happen. If it is not, you are invisible at the exact moment the user gets their answer. AEO is becoming a standard part of the search conversation, but most guides stay generic and skip the on-site implementation. ## AEO vs SEO vs GEO: the honest difference These three terms get thrown around as if they are rivals. They are not. AEO and GEO (generative engine optimization, the term some people prefer for the same idea) are extensions of SEO, not replacements for it. You cannot be cited by an answer engine if you are not crawlable, indexed, and trusted in the first place. The difference is what you optimize for once the fundamentals are in place. | Dimension | Traditional SEO | Answer Engine Optimization | | --------- | --------------- | -------------------------- | | Primary goal | Rank a page in the results list | Get cited inside the AI answer | | Content shape | Comprehensive, long-form | Concise, declarative, extractable | | Best for | Broad, high-volume queries | Specific, question-based queries | | Technical focus | Meta tags, internal links, speed | Clean HTML, schema, low JavaScript reliance | | How you measure | Rankings, clicks, organic traffic | Citations, brand mentions, share of answer | SEO and AEO share a foundation. They diverge on what you optimize for and how you measure success. The practical takeaway: keep doing solid SEO, then layer AEO on top. A page that is well structured for an answer engine is almost always a better page for human readers too, which is why this work compounds rather than competing with your existing rankings. ***Also Read:** our guide to [generative engine optimization](https://qa.nexterwp.com/blog/generative-engine-optimization-wordpress/) covers how to earn a spot inside AI-generated answers.* ## Why AEO matters now AI Overviews now appear on a large share of informational searches, and tools like ChatGPT and Perplexity have become a default starting point for millions of people researching a topic. When someone asks one of those tools a question, they get a synthesized answer with two to six cited sources. That is the new shelf space. There is no page two to fight your way up from, and there is no tenth result to settle for. You are either in the cited set or you are not. For a WordPress site owner this is good news, because the things answer engines reward are almost entirely under your control. You own your markup, your page speed, your content structure, and your crawler rules. Unlike chasing an opaque ranking algorithm, AEO comes down to a checklist you can actually work through. ## How answer engines decide who to cite There is a lot of guesswork online about this, so it helps to separate what the platforms actually say from what people assume. Google is the clearest. In its own documentation on AI features, Google states there are "no additional requirements to appear in AI Overviews or AI Mode, nor other special optimizations necessary." A page just needs to be indexed and eligible to show with a snippet. Google goes further and says you do not need to "create new machine readable files, AI text files, or markup to appear in these features." 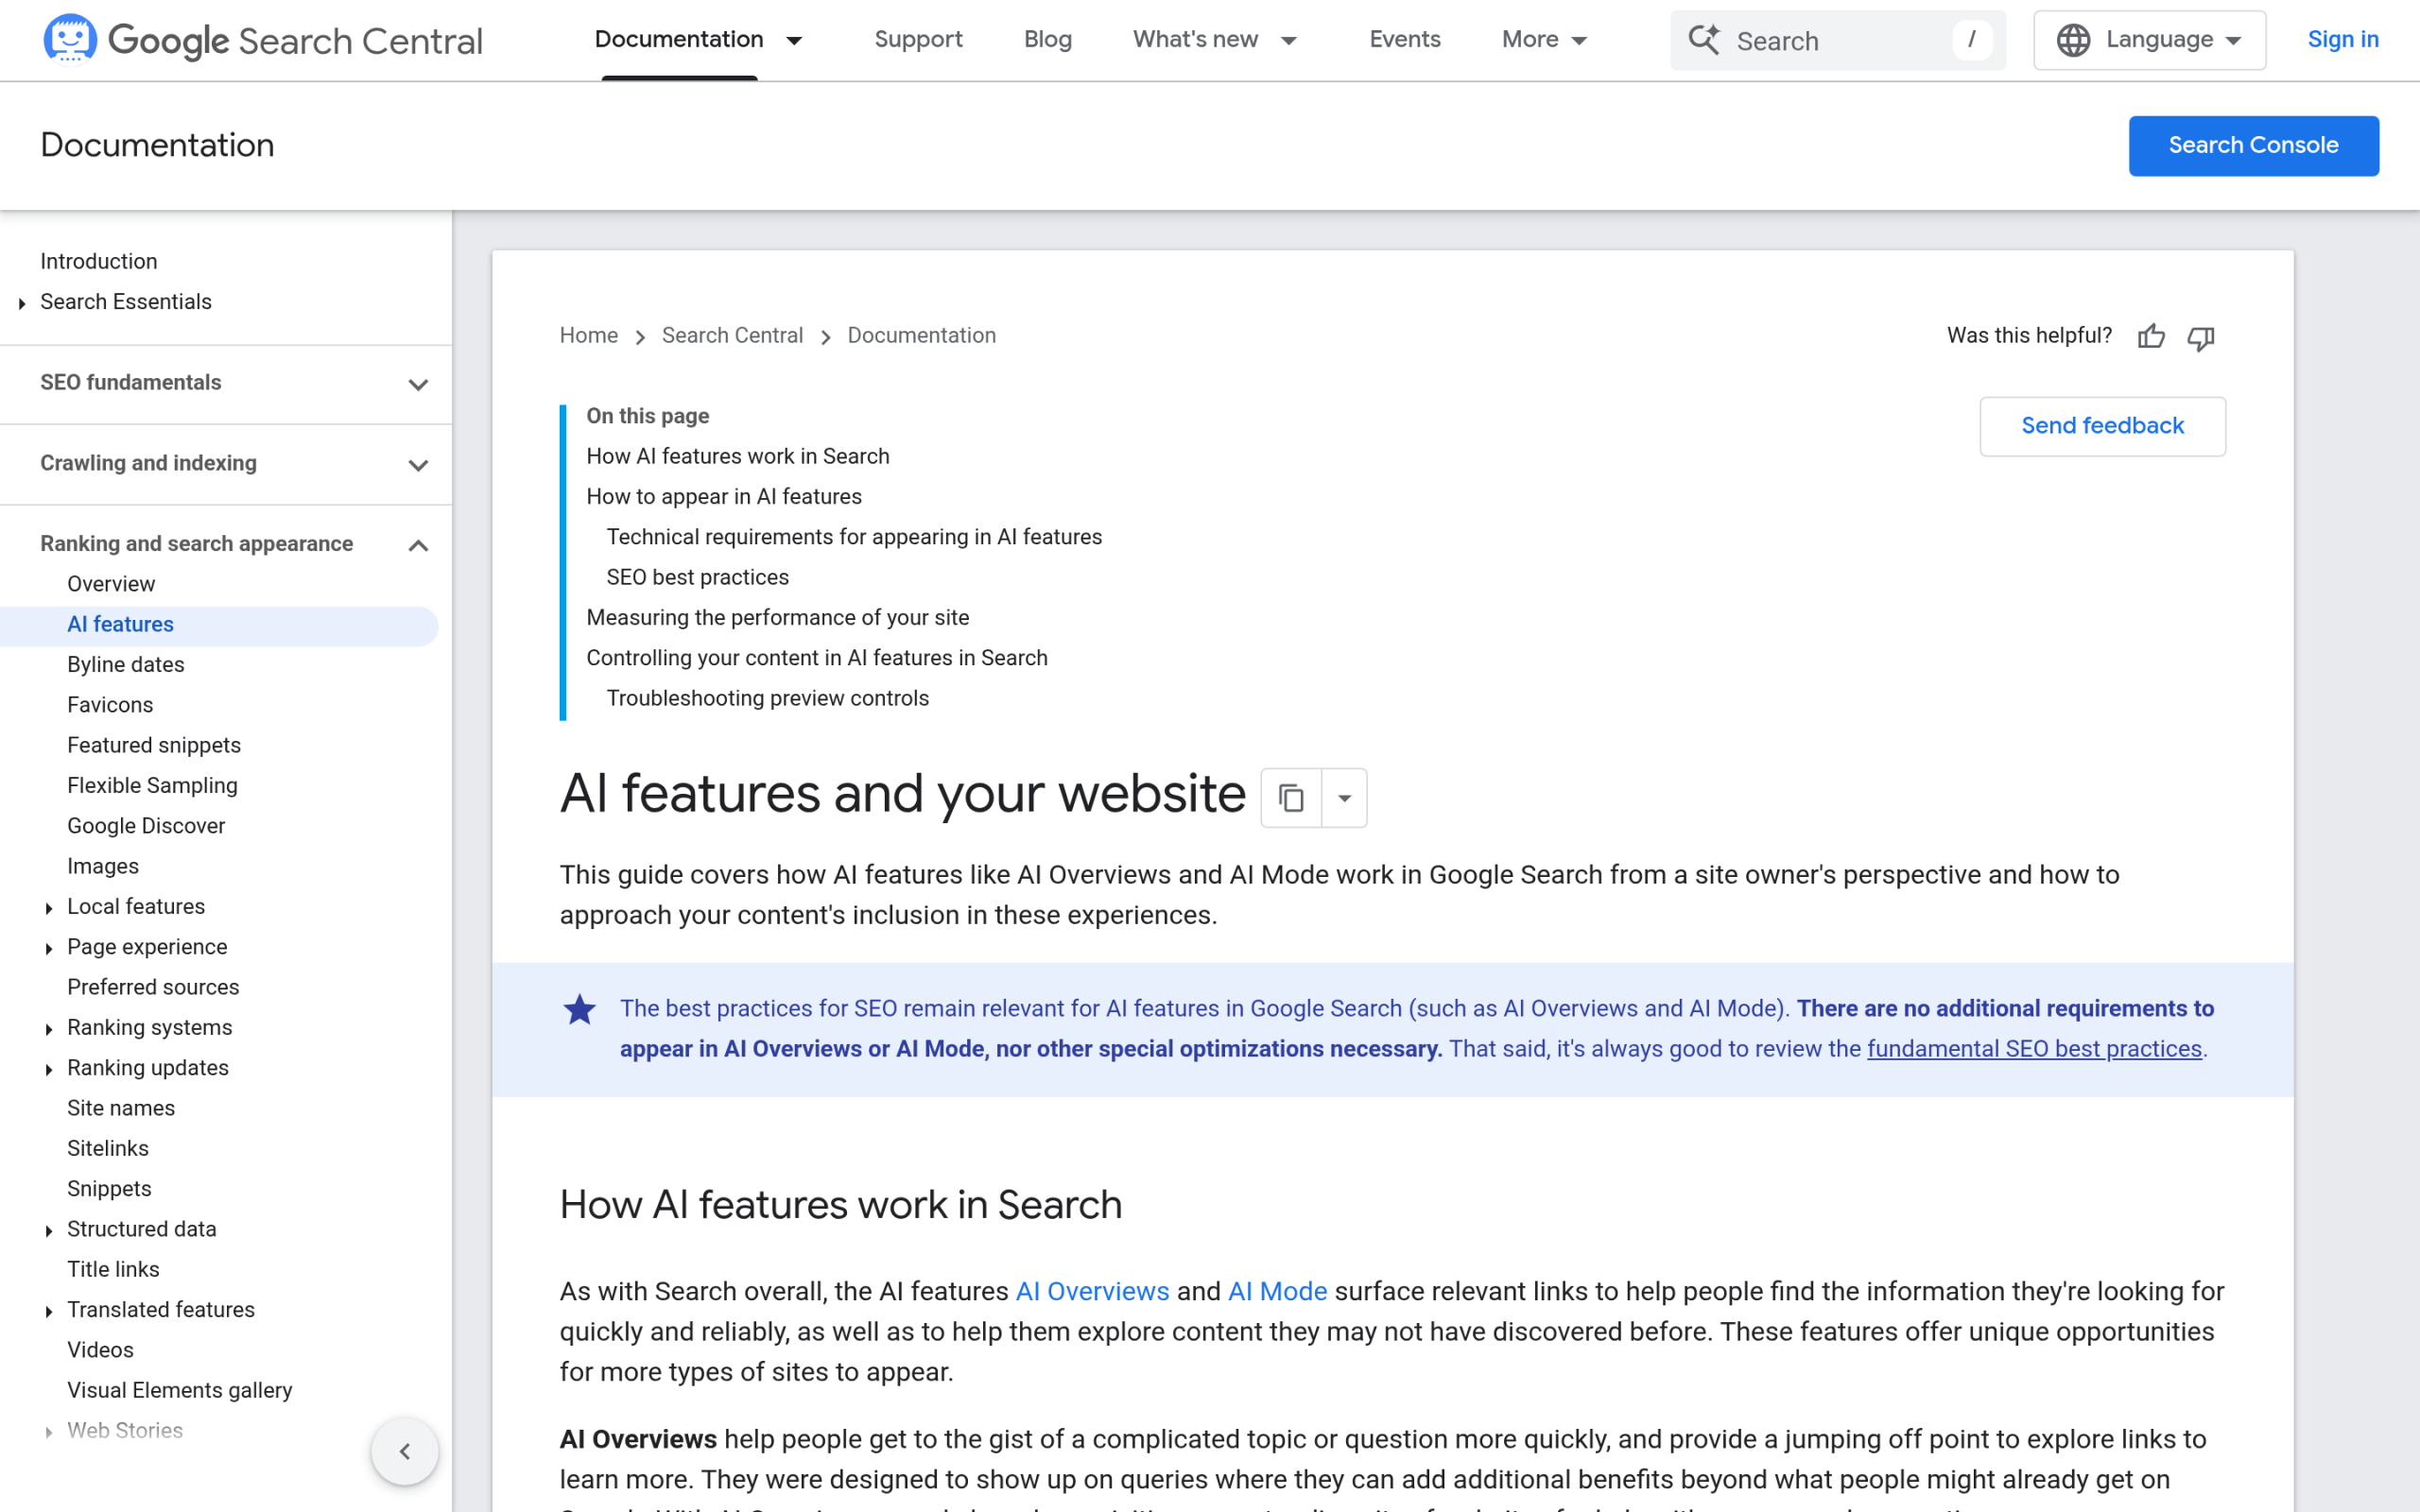Google's own AI features documentation: no special files or markup are required to appear in AI Overviews, just clean, indexable SEO. What Google does recommend is the foundation you would expect: allow crawling in robots.txt, give a great page experience, make important content available in textual form, and ensure your structured data matches the visible text on the page. In other words, for Google, AEO is excellent SEO done cleanly. ChatGPT and Perplexity are a different story. They run their own crawlers (such as OAI-SearchBot and PerplexityBot), and some answers are generated live by fetching and reading pages at query time. For those engines, machine-friendly signals like a clean content structure and a clear llms.txt file can genuinely help, because you are making it easier for a crawler to find and parse the part of your page that answers the question. So the complete picture is: do not build special files *for Google*, but do make your site easy for every other crawler to read. ***Also Read:** [WordPress robots.txt for AI crawlers](https://qa.nexterwp.com/blog/wordpress-robots-txt-ai-crawlers-gutenberg/), a builder's guide to deciding which AI bots you allow and how to set it up.* ## The WordPress AEO playbook This is where a WordPress site has a real advantage. Everything an answer engine looks for is a setting, a block, or a small content habit you can adopt. Here is the playbook, in priority order. ### 1. Write extractable answers An answer engine wants a clean, self-contained passage it can lift. Lead each section with a direct, declarative answer to the question in the heading, then add the supporting detail underneath. Phrase your headings as the questions people actually ask. Use short paragraphs, bullet lists, and tables so a parser can isolate the answer. A page that buries its conclusion under three paragraphs of throat-clearing is hard to quote, so it rarely gets quoted. A built-in table of contents helps here too. It gives both readers and crawlers a clean map of every question your page answers. In the block editor you can drop in a [Nexter Blocks](https://qa.nexterwp.com/help/nexter-blocks/) Table of Content block that builds itself from your headings, so the structure stays in sync as you edit. ### 2. Add schema that matches your visible text Structured data tells a machine what your content *is*: an article, a how-to, a set of questions and answers, a product. The important rule, straight from Google, is that your structured data must match the visible text on the page. Schema that describes content a user cannot see is a quality problem, not an AEO win. Article, HowTo, and Question-and-Answer markup are the most useful types for content pages. You do not need to hand-write JSON-LD for this. A schema plugin can generate and inject it for you based on the page content. ***Also Read:** [Schema markup generator for WordPress](https://qa.nexterwp.com/blog/schema-markup-generator-wordpress/), how to auto-generate JSON-LD that matches your content without touching code.* ### 3. Decide which AI crawlers can read your site If you want to be cited by ChatGPT and Perplexity, their crawlers need permission to read your pages. That is a robots.txt decision, and it is yours to make per bot. You can welcome the answer engines you want citations from while blocking the training-only crawlers you do not. The point is to make the choice deliberately rather than leaving it to a default. ### 4. Consider an llms.txt file for non-Google engines Google says it does not use llms.txt, and that is worth repeating so you do not waste effort expecting Google to read it. For other engines, an llms.txt file acts as a clean, plain-text map of your most important content, which can make it easier for a crawler to find your best answers. Treat it as a low-cost helper for the non-Google engines, not a magic ranking file. ***Also Read:** [llms.txt for Gutenberg WordPress](https://qa.nexterwp.com/blog/llms-txt-gutenberg-wordpress/), what the file does, what it does not, and how block themes set it up.* ### 5. Build genuine authority and topical depth Answer engines lean heavily on trusted sources. That means experience, expertise, authoritativeness, and trust (E-E-A-T) still matter, and they arguably matter more when a machine is choosing one source to quote out of thousands. Cover your topic thoroughly rather than publishing thin one-off posts. A cluster of connected articles around a subject signals that you are a real authority on it, which is exactly what this pillar and its linked posts are doing for the subject of AI search. Internal linking is the mechanism that ties that cluster together. When your AEO pillar links to focused posts on schema, crawlers, and trust signals, and they link back, you give both readers and crawlers a clear map of your expertise on the topic. ### 6. Get the technical foundation right Google asks for important content in textual form and a great page experience. Answer engine crawlers, especially the ones that fetch pages live, struggle with content that only appears after heavy JavaScript runs. A fast site built on clean, server-rendered HTML is simply easier to read and quote. A lightweight theme keeps your answer in clean, fast-rendering HTML that crawlers can read without wrestling with heavy JavaScript. This is where your theme choice does real work. The [Nexter Theme](https://qa.nexterwp.com/) ships under 50KB, uses zero jQuery, and loads only one CSS and one JavaScript file per page regardless of how many blocks you use. Lighter pages render their text faster and put fewer obstacles between a crawler and your answer. Pair that with the performance and asset-control tools in the [Nexter Extension](https://qa.nexterwp.com/nexter-extension/) and you have removed most of the technical friction that keeps pages out of AI answers. The Nexter Extension adds per-page asset control and performance tools that cut the JavaScript weight crawlers have to parse. ## How to measure answer engine optimization AEO breaks the old measurement habit, because a citation often produces no click. If you judge it only by traffic, you will conclude it is not working even when your brand is being quoted everywhere. The metrics that actually reflect AEO are different: - **Citations and mentions** in AI answers across ChatGPT, Perplexity, and Google AI Overviews.- **Share of answer**, meaning how often you appear when people ask questions in your topic area versus your competitors.- **Branded query lift**, since people who see you cited in an answer often search your name afterward.- **Referral traffic from AI tools**, which shows up as a growing slice of your analytics over time. Tracking this by hand is tedious, which is why a dedicated AI visibility tool such as [RankReady](https://store.posimyth.com/plugins/rankready/) exists to monitor where and how often your WordPress content gets cited across the major answer engines. Whether you use a tool or check manually, the principle holds: measure mentions, not just clicks. AEO success shows up as citations and mentions across answer engines, which is what an AI visibility tracker is built to measure. ***Also Read:** [E-E-A-T for AI search](https://qa.nexterwp.com/blog/e-e-a-t-ai-search-wordpress/), how WordPress sites earn the trust signals answer engines weigh most heavily.* ## How long does AEO take, and where to start For an established site with existing authority, citations can start appearing within weeks of cleaning up structure and schema. For a brand new site with little trust built up, it is realistic to expect twelve to eighteen months before answer engines treat you as a reliable source. The work is the same either way, the timeline just depends on how much authority you already have. If you want a simple starting order, work through it like this: - Rewrite your most important pages so each section opens with a direct, quotable answer.- Add Article, HowTo, or Question-and-Answer schema that matches the visible text.- Set your robots.txt rules deliberately for the AI crawlers you want citations from.- Tighten performance so your text renders fast on clean HTML.- Build out the cluster around your main topic and interlink it.- Start tracking citations and mentions so you can see what is working. None of these steps require a rebuild. They are settings, blocks, and writing habits, and most of them improve the page for human readers at the same time. That is the quiet advantage of answer engine optimization on WordPress: the work you do to get cited by a machine also makes your site faster, clearer, and more trustworthy for the people who do click through. ## Is AEO worth it for a small WordPress site? Yes, and arguably more so than for a large one. Answer engines do not only cite household-name domains. They cite the page that answers the question most clearly, and a focused, well-structured WordPress site can win that comparison against a bloated competitor. Get the fundamentals right, cover your topic with real depth, and you give a small site a genuine shot at the new shelf space. ## Suggested Reading - [What is topical authority and how WordPress sites build it](https://qa.nexterwp.com/blog/topical-authority-wordpress/)- [Schema markup generator for WordPress](https://qa.nexterwp.com/blog/schema-markup-generator-wordpress/)- [llms.txt for Gutenberg WordPress](https://qa.nexterwp.com/blog/llms-txt-gutenberg-wordpress/)- [WordPress robots.txt for AI crawlers](https://qa.nexterwp.com/blog/wordpress-robots-txt-ai-crawlers-gutenberg/)- [E-E-A-T for AI search](https://qa.nexterwp.com/blog/e-e-a-t-ai-search-wordpress/) --- # 5 Best WordPress SEO Plugins Using AI in 2026 Source: https://qa.nexterwp.com/blog/best-wordpress-seo-plugins-using-ai/ Most WordPress SEO plugins tell you what to fix. AI-powered ones go further. They analyze your content, suggest keyword improvements, generate meta tags, automate internal linking, and track rankings, all from inside your WordPress dashboard. In 2026, that advantage extends beyond Google: AI search engines like ChatGPT, Perplexity, and Google AI Overviews now surface answers directly from high-quality content, and AI-powered SEO plugins help you optimize for both. This guide covers the five best WordPress SEO plugins using AI: what each one does, who it is built for, and how much it costs, so you can pick the right tool without testing them all. All five were tested on WordPress 6.9.4. ## What Are WordPress SEO Plugins? WordPress SEO plugins are tools that help your site rank higher in search results. They sit inside your dashboard and guide you through technical and content-level optimizations that would otherwise require specialist knowledge. Common features include: ***Also Read:** once your content is optimized, [AI visibility tools](https://qa.nexterwp.com/blog/ai-visibility-tools-wordpress/) help you track whether AI engines are actually citing it.* ***Also Read:** a full [list of web crawlers](https://qa.nexterwp.com/blog/web-crawlers-list/) and bots, including the AI crawlers worth knowing about.* - Title and meta description optimization - Keyword research and placement - Image optimization and alt text - XML sitemap generation - Internal linking suggestions - Content analysis and readability scoring - Schema markup and structured data AI-powered SEO plugins take these features further. Instead of showing you a checklist, they actively analyze your content, identify gaps, and generate suggestions based on what is already ranking in search results for your target keyword. ### Why Use AI-Powered WordPress SEO Plugins? AI raises the ceiling on what a plugin can do for your rankings. Here are six reasons to use them: - **Better content optimization:** AI plugins analyze your content and suggest specific changes to improve rankings and engagement. They surface keywords and phrases you may have missed, making it easier to match search intent for your target audience. - **Improved user experience:** By analyzing user behavior and engagement signals, AI-powered plugins can suggest improvements to navigation, content depth, and structure that reduce bounce rates and increase time on page. - **Time savings:** Automating repetitive SEO tasks frees up time for creating quality content. You get better rankings without spending hours on manual optimization every week. - **Accurate performance analysis:** AI gives you a more precise read of where you rank well and where gaps exist, helping you build a more focused and effective SEO strategy. - **Cost-effective:** Many AI-powered WordPress SEO plugins are free or available at a low monthly cost, making them accessible for sites at every stage of growth. - **Visibility in AI search results:** AI search tools like ChatGPT, Perplexity, and Google AI Overviews increasingly cite well-structured, authoritative content in their responses. AI SEO plugins help you build the schema markup, entity clarity, and content depth that these systems look for when selecting sources to reference. *Building your site with Gutenberg? [**Nexter Blocks**](https://qa.nexterwp.com/nexter-blocks/) 4.7.2 gives you 90+ Gutenberg blocks with clean semantic markup that works perfectly with every AI SEO plugin on this list.* ## Top 5 AI-Powered WordPress SEO Plugins (2026) Here are the top 5 AI-powered WordPress SEO plugins that can help you boost your website's ranking: ### 1. RankMath  Rank Math is a feature-rich WordPress SEO plugin that combines keyword optimization, schema markup, rank tracking, and AI-powered content suggestions in a single dashboard. The plugin uses AI to help you optimize your website for search engines and increase organic traffic. With Rank Math, you can improve your site's SEO without any technical knowledge. #### Features of RankMath - **Content AI**: Analyzes your content and provides suggestions to improve readability, tone, and structure. It also suggests keywords to optimize your content for search engines. - **Link Building**: Analyzes your website's backlinks and provides suggestions to improve your link profile, and helps you find new link-building opportunities. - **Rank Tracking**: Tracks your website's rankings on search engines and provides regular reports on your site's performance. 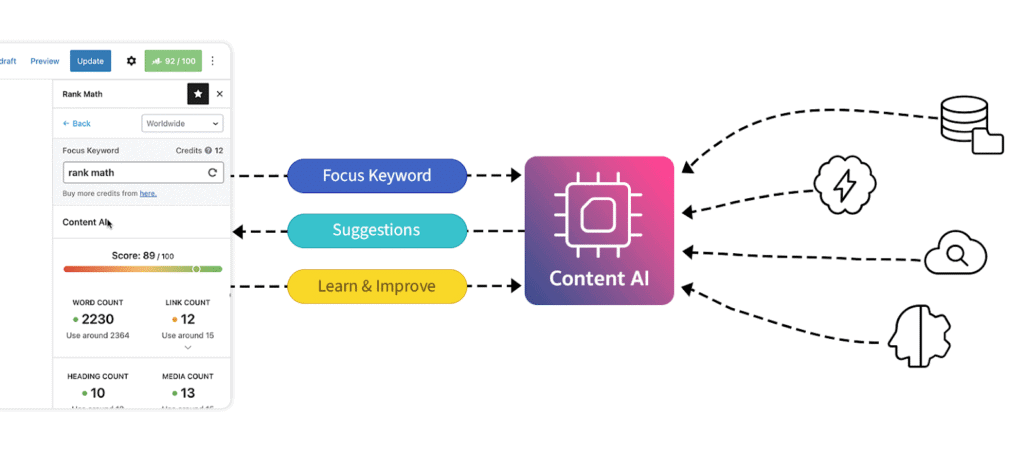 #### Cost of RankMath Rank Math is a free WordPress plugin. The premium version adds advanced schema markup, local SEO, and WooCommerce SEO features. The premium version of Rank Math starts from $59 per year. [Learn More](https://rankmath.com/content-ai/) *Want AI to write your blog posts too? Here is a list of the [**best AI blog content writing tools for WordPress**](https://qa.nexterwp.com/blog/best-ai-blog-content-writing-tools-for-wordpress/).* ### 2. WordLift  WordLift is an AI-powered SEO plugin for WordPress that helps users optimize their website content for search engines. It uses natural language processing and machine learning to analyze content and identify entities such as people, places, and things, then adds schema markup automatically to make the content more understandable for search engines. #### Features of WordLift - **Content creation:** WordLift helps users create high-quality content optimized for search engines by analyzing existing content and suggesting relevant keywords and topics to include. - **Internal linking:** Analyzes content and suggests relevant pages to link to, helping improve website structure and user experience automatically. - **SEO optimization:** Adds schema markup to content automatically and analyzes website structure to suggest improvements for search engine rankings. 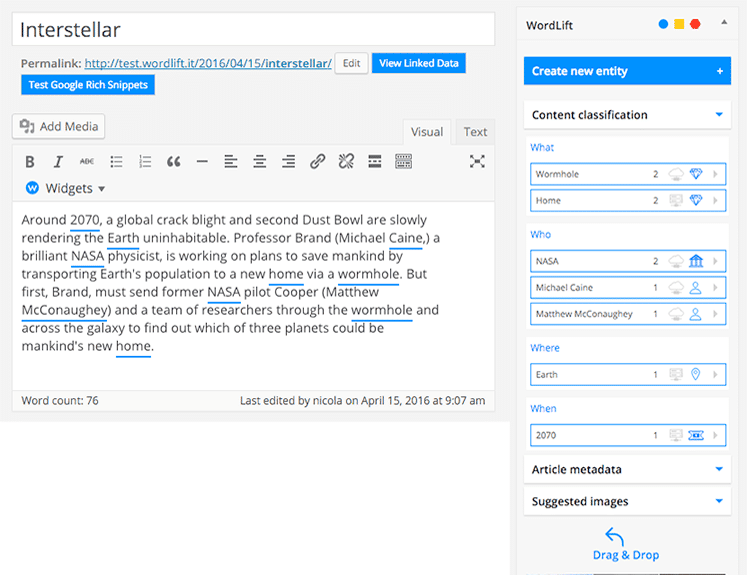 #### Cost of WordLift WordLift offers a range of pricing plans to suit different needs and budgets. The starter plan starts at $64 per month for a single website. The professional plan starts at $107 per month for up to two websites. Users can try WordLift free for 14 days before committing. [Learn More](https://wordlift.io/) ### 3. SEOPress 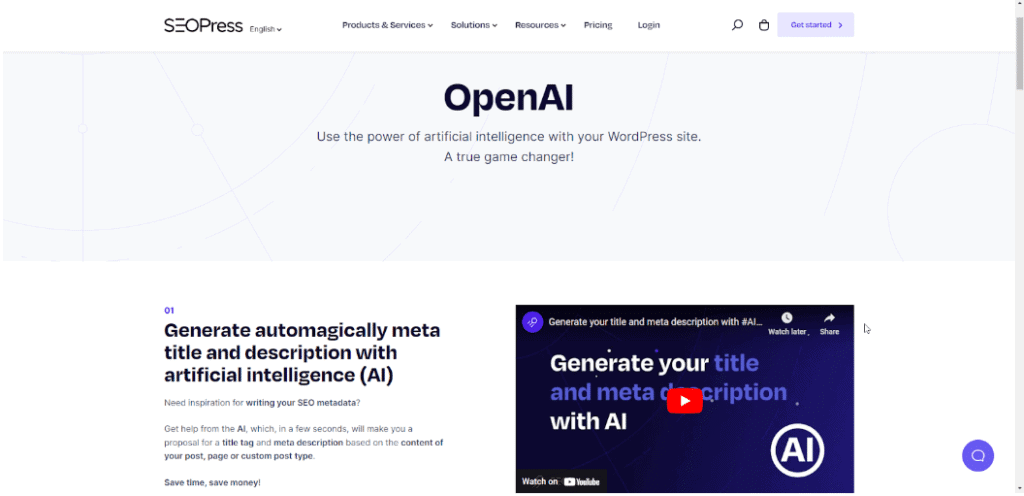 SEOPress is a WordPress SEO plugin that uses Artificial Intelligence to help optimize your website. With SEOPress, you can boost traffic, improve social sharing, build custom HTML and XML sitemaps, create optimized breadcrumbs, add schema markup, manage 301 redirections, and more, all from a single plugin. #### Features of SEOPress - **Universal SEO meta box**: SEOPress has a Universal SEO meta box that lets you edit SEO metadata from any page builder or theme builder. With AI, you can generate meta titles and descriptions in seconds, creating SEO-friendly content that attracts more visitors. - **URL optimization:** Remove stop words from URLs, add keywords, and make your URLs more readable for both visitors and search engines, improving rankings and shareability. - **On-page SEO**: Analyzes your content and suggests changes to improve search engine rankings, helping you create optimized content without manual guesswork. 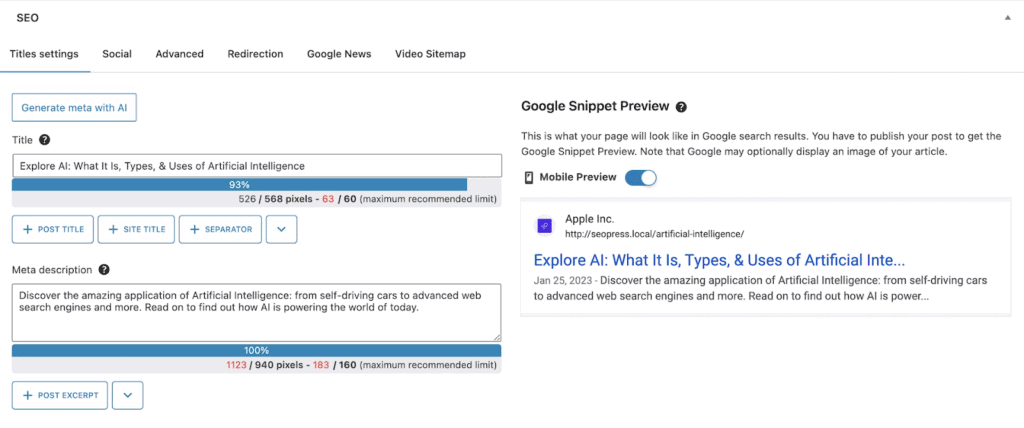 #### Cost of SEOPress SEOPress has a free version that includes basic SEO features. The premium version unlocks AI-powered meta generation and advanced SEO capabilities. SEOPress PRO costs $49 per year and includes unlimited sites, WooCommerce and Local SEO optimization, schemas for better SERP visibility, and more. [Learn More](https://www.seopress.org/features/openai/) *Elementor users also have AI options built in. Here is a detailed look at [**how to use Elementor AI**](https://theplusaddons.com/blog/how-to-use-elementor-ai/) and what it can do.* ### 4. LinkWhisper 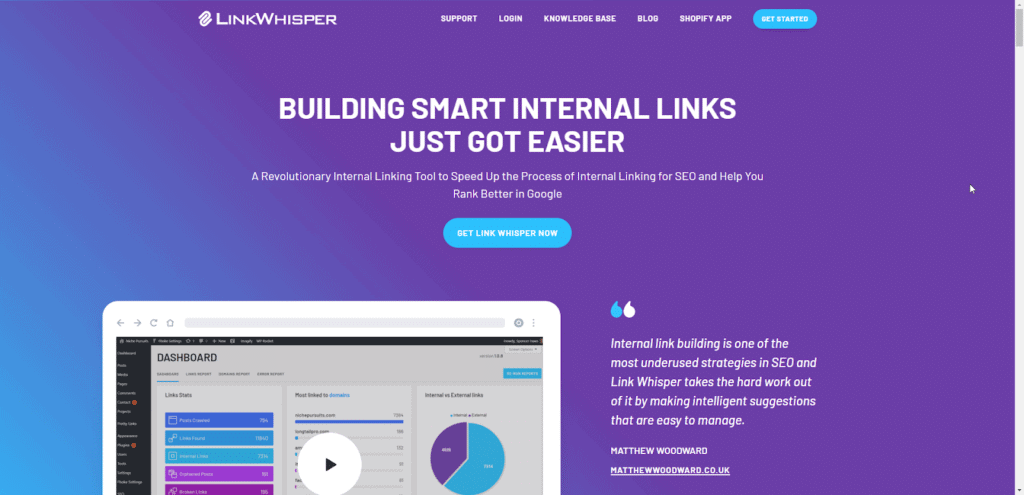 Link Whisper is a powerful SEO plugin for WordPress that automates internal link building across your site. It analyzes all pages on your site and surfaces relevant linking opportunities based on keyword relevance, helping search engines understand the relationship between your pages without manual research. #### Features of LinkWhisper - **Internal linking suggestions:** Link Whisper uses algorithms to analyze your website's content and suggest relevant pages to link to based on keyword relevance. Approve or deny suggestions with a single click, building a strong internal linking structure without manual searching. - **SEO keyword import:** Link Whisper imports target SEO keywords from popular SEO plugins like Yoast and RankMath, then automatically links to matching URLs across your content. This is especially useful for large sites with many pages to connect.  #### Cost of LinkWhisper Link Whisper is a premium plugin with pricing starting at $77 for a single-site license. The AI-powered suggestions and time savings make it a focused investment for anyone with internal linking as a priority. A 30-day money-back guarantee lets you try Link Whisper risk-free before committing. [Learn More](https://linkwhisper.com/) ### 5. CTRify AI SEO Content 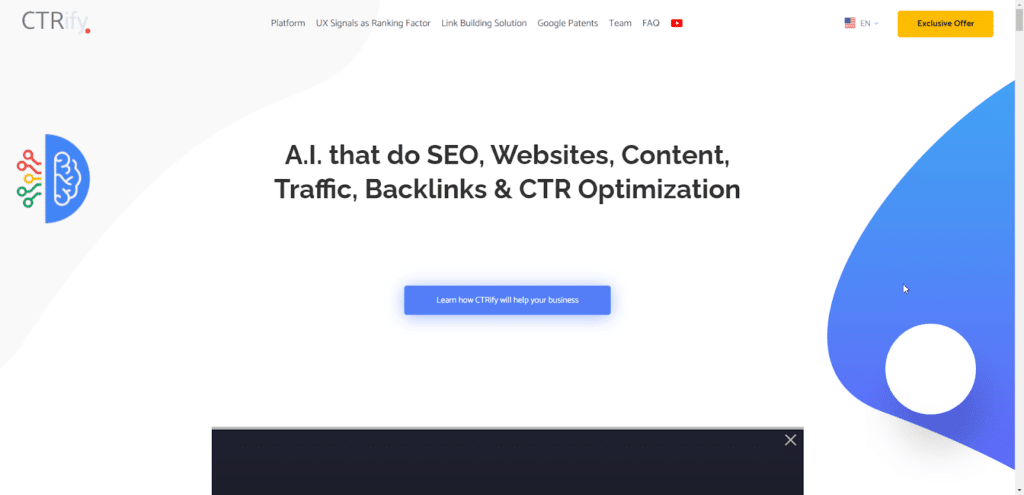 CTRify AI SEO WordPress Content is a plugin for generating SEO-optimized content using AI. Enter a keyword and the AI generates content tailored to your topic, creating keyword-rich posts in seconds. 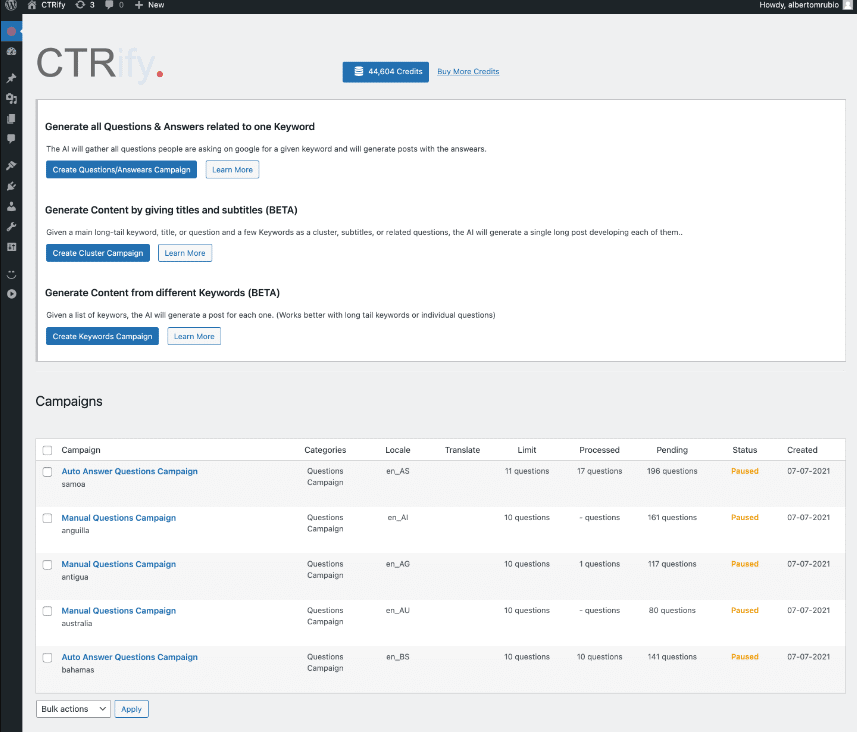 #### Features of CTRify - **Keyword research:** The AI analyzes your keyword and generates a list of related keywords you can use to optimize your content. - **Question and answer generation:** The AI generates a list of questions and answers related to your keyword, useful for creating FAQ sections or informational content. - **Post generation:** The AI generates complete blog posts based on your keyword, saving time when you need a starting point for new content. #### Cost of CTRify CTRify AI SEO Content is available on a monthly subscription, with pricing that varies depending on the number of campaigns you want to run. A lifetime deal is also available at $197 for users who prefer a one-time payment. [Learn More](https://www.ctrify.com/ai-that-do-webs-content-traffic-and-backlinks) ## How AI Is Changing SEO in WordPress AI is reshaping how WordPress site owners approach search optimization. Here are the key areas where AI is having the biggest impact: - **Automation:** AI automates many SEO tasks in WordPress. AI-powered plugins optimize content, meta tags, and images automatically, saving time and ensuring consistent optimization across every page. - **AI search engine visibility:** ChatGPT, Perplexity, and Google AI Overviews now answer search queries directly from indexed content. Sites with clear structure, accurate entity markup, and high topical authority are cited more often. AI SEO plugins help you build the content signals these systems weight heavily. - **Chatbots:** AI chatbots let you communicate with visitors in real time, answer queries, provide support, and generate leads, all of which improve user experience and engagement signals. - **Keyword research:** AI-powered keyword research tools use machine learning to analyze search data and surface the most relevant keywords for your site, saving hours of manual research. - **Machine learning:** Search engines like Google use machine learning to assess relevance. AI [SEO tools](https://saaspirate.com/seo-deals/) help you align your content with the signals Google is already analyzing, improving content-to-query matching. - **Translation:** AI-powered translation tools help you publish content in multiple languages, expanding your reach and improving international SEO without a professional translation budget. - **Video optimization:** AI tools help with video editing, captioning, and search engine optimization, as video becomes an increasingly important part of a complete WordPress SEO strategy. - **Analytics:** AI analytics tools surface insights into traffic, engagement, and conversion rates that are harder to spot manually, helping you make faster and more confident optimization decisions. - **Social media:** AI social tools automate posts, analyze performance, and generate content ideas, improving visibility and engagement on platforms that drive traffic back to your site. ## Which AI WordPress SEO Plugin Is Right for You? All five plugins serve different priorities. Here is a side-by-side comparison to help you decide: | Plugin | Free Plan | Starting Price | Best For | | ------ | --------- | -------------- | -------- | | **RankMath** | Yes | $59/year (Pro) | All-in-one SEO for any WordPress site | | **WordLift** | 14-day trial | $64/month | Schema markup and semantic SEO | | **SEOPress** | Yes | $49/year (Pro) | Budget-friendly full-feature alternative | | **LinkWhisper** | No | $77 one-time | Automated internal link building | | **CTRify** | No | $197 lifetime | AI-powered content generation | ## Choosing the Right AI SEO Plugin for WordPress All five plugins cover different use cases. Here is how to choose: **Choose RankMath** if you want an all-in-one free SEO plugin with AI content suggestions. It is the best starting point for most WordPress sites. **Choose WordLift** if you publish content-heavy sites and need schema markup and semantic SEO automation at a professional level. **Choose SEOPress** if you need a lightweight RankMath alternative with AI-powered meta generation and unlimited sites at a lower price point. **Choose LinkWhisper** if your main SEO bottleneck is internal linking. It is the most focused tool in this list for that specific task. **Choose CTRify** if you want AI-powered post generation and keyword research combined in a single tool. Once your SEO plugin is configured, pair it with clean, semantic markup. [Nexter Blocks](https://qa.nexterwp.com/nexter-blocks/) 4.7.2 gives you 90+ Gutenberg blocks with semantic HTML that Rank Math can fully analyze and score. Plans start at $39/year for a single site. [Download Nexter Blocks free](https://qa.nexterwp.com/download-nexter-free/#download-nexter) or [see all plans](https://qa.nexterwp.com/pricing/). Elementor users can extend their SEO setup with [The Plus Addons for Elementor](https://theplusaddons.com/). For ready-made page designs, [WDesignKit](https://wdesignkit.com/) has 1,000+ free WordPress templates to get you started. #### Get Exclusive WordPress Tips, Tricks and Resources Delivered Straight to Your Inbox! Subscribe to stay updated with everything happening on WordPress. ## FAQs on WordPress SEO Plugins Using AI --- # 12 Best AI WordPress Plugins + Free Tools Source: https://qa.nexterwp.com/blog/best-artificial-intelligence-wordpress-plugins/ If you're looking for Artificial Intelligence WordPress Plugins? Then you'll definitely want to check our curated best list of unique AI WordPress plugins. With the help of these innovative tools, you can automate tasks, personalize content, and provide a more engaging experience for your website visitors. This blog post will introduce you to the best WordPress artificial intelligence plugins, including top-rated machine learning and AI plugins. We'll also share a bonus free ai tools for WordPress that can help you enhance your website's AI capabilities even further. Whether you're a blogger, e-commerce site owner, or small business, these plugins can help you take your website to the next level. So, let's explore the exciting world of WordPress AI plugins and see what they can do for your website! ## What are Artificial Intelligence and Machine Learning? Artificial Intelligence (AI) is a term used to describe the ability of machines to perform tasks that typically require human intelligence, such as understanding natural language, recognizing images, making decisions, and solving problems. ***Also Read:** new to [AI SEO](https://qa.nexterwp.com/blog/ai-seo-wordpress/)? Our complete guide explains how AI search changes the way WordPress content gets found.* ***Also Read:** what the [Model Context Protocol means for WordPress](https://qa.nexterwp.com/blog/model-context-protocol-wordpress/).* Machine Learning (ML) is a specific subset of AI that involves training machines to recognize patterns in data and make decisions based on that data without being explicitly programmed. In other words, ML is a way of teaching machines to learn and improve on their own based on the data they're given. Artificial intelligence and Machine Learning are often used together to create intelligent systems that can automate tasks, personalize content, and provide better experiences for users. ## How are WordPress Plugins using AI to their advantage? AI is a powerful technology, and it's great for WordPress, too! There are some really cool features and advantages to using AI for WordPress. - **Chatbots:** WordPress plugins with AI-powered chatbots can help website owners provide 24/7 customer support to their users. These chatbots can answer frequently asked questions, help users find information, and even make product recommendations. - **Personalization:** AI-powered recommendation engines can help WordPress site owners deliver personalized content and product suggestions to their users. These engines analyze user behavior and preferences to provide relevant recommendations. - **Content Creation:** WordPress plugins with AI-powered content creation capabilities can help site owners automate the creation of blog posts, articles, and other types of content. These plugins can analyze data and generate unique content based on that data. - **SEO:** AI-powered WordPress plugins can help site owners improve their search engine optimization (SEO) by analyzing website content, identifying keywords, and recommending optimizing content. - **Security:** WordPress also uses AI to improve website security by analyzing website traffic, detecting malicious activity, and blocking potential threats. These are just a few examples of how AI tools for WordPress are beneficial. As AI technology advances, we can expect to see even more innovative uses of AI in the WordPress ecosystem. *Looking for Design Friendly Gutenberg blocks? Check out [Nexter Blocks](https://qa.nexterwp.com/nexter-blocks/) for 90+ Powerful WordPress Blocks.* ## Best Artificial Intelligence WordPress Plugins ### 1. Chat GPT by Open AI  The first WordPress AI plugin in our list is [ChatGPT](https://openai.com/) - an AI language model designed to generate human-like responses to text-based inputs. It uses machine learning algorithms to understand the context of a conversation and generate appropriate responses. It also gives benefits to content creators by providing them with high-quality content ideas, and it can be a virtual assistant for them. The tool has been specifically designed to comprehend human intent in questions and deliver helpful, truthful, and innocuous responses. As a result of its training, ChatGPT may dispute certain questions and disregard elements of the question that lack coherence. However, it's important to note that this may not always be accurate or complete in its responses. It's always a good idea to verify information from multiple sources to ensure accuracy. 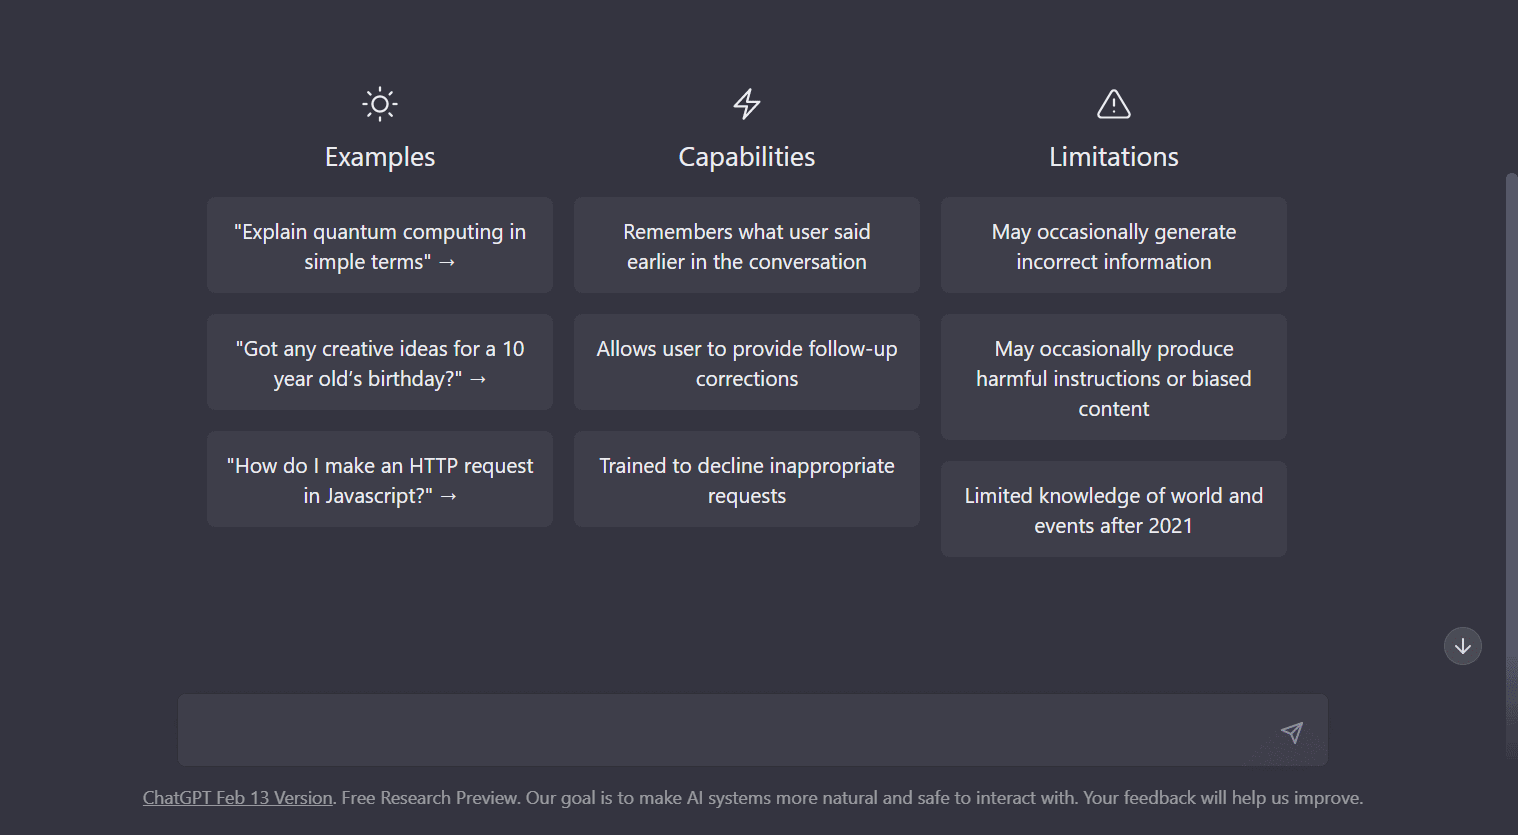 #### Advantages of using ChatGPT: - **Quick and easy access to information:** It’s designed to provide fast and accurate answers to your questions, which can save you time and effort. - **Wide range of knowledge:** It has been trained on a vast amount of information from the internet so that it can provide answers on a wide variety of topics. - **Personalized Conversational assistance:** ChatGPT can remember previous conversations and tailor its responses to your specific needs and preferences. ChatGPT is a powerful tool that can help you find the information you need quickly and easily, making your life easier and more efficient. [Learn More](https://openai.com/) *Do you want to write an optimized Blog using AI? Check out the **[5 Best AI Blog Content Writing Tools for WordPress](https://qa.nexterwp.com/blog/best-ai-blog-content-writing-tools-for-wordpress/)**.* ### 2. Elementor AI 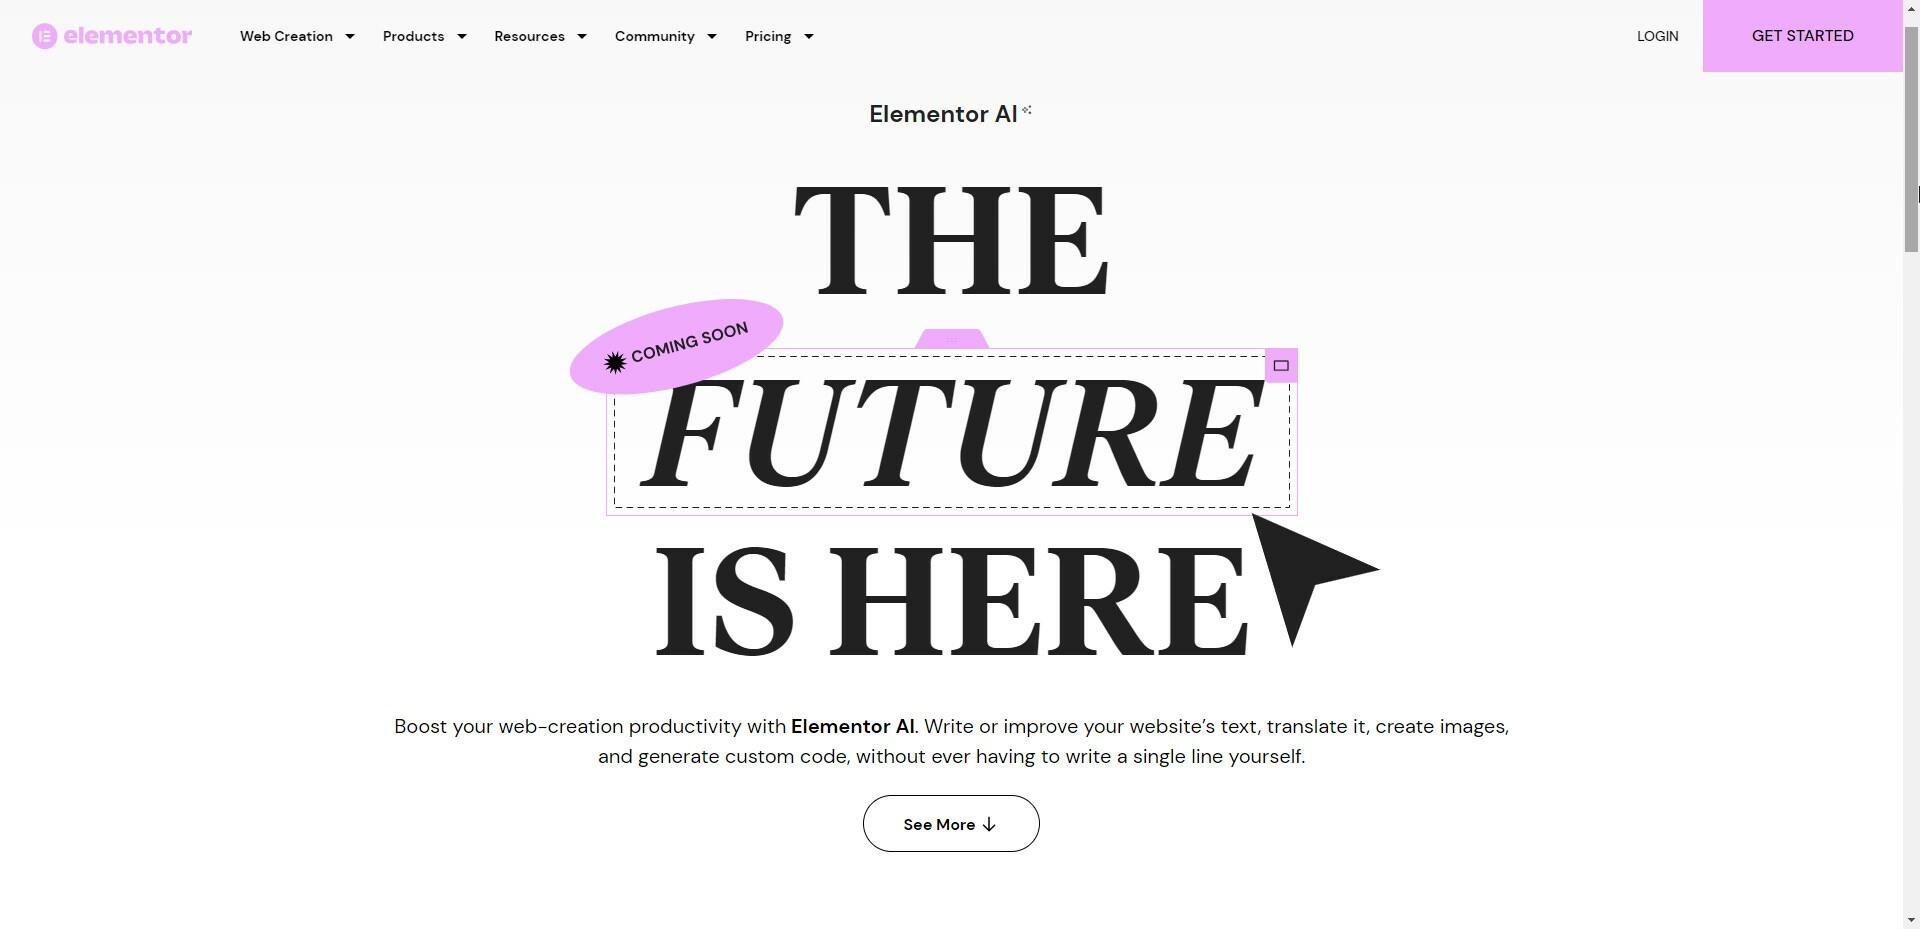 Boost your web-creation productivity with Elementor AI. With this upcoming feature, website owners can write or improve website text, translate it, create images, and generate custom code without ever having to write a single line themselves. Elementor announced this on their [Quarter 2 Roadmap of 2023](https://youtu.be/eEhqUjEyL04), and users were thrilled to hear the news in the Facebook Community. With Elementor AI, website owners can streamline their web design process and enhance the user experience with ease. https://youtu.be/WJMXtwCWHs8 *We have reviewed Elementor AI and shared everything you need to know about its price, Free vs Pro Elementor AI & use cases - [**Read everything about Elementor AI in detail here**.](https://theplusaddons.com/blog/how-to-use-elementor-ai/)* #### Advantages of using Elementor AI: - **Generate Custom CSS code** targeting any section and class, allowing users to easily customize the look and feel of their website without any coding experience. - **Generate Custom HTML Code** in the HTML widget to design any section, giving users complete control over the structure and layout of their website. - **Generate Copy Content** like headings and bylines on a page, saving users time and effort in creating unique and engaging content. - With these powerful AI-powered features, Elementor AI helps users streamline their website design process and enhance the user experience. [Learn More](https://elementor.com/products/ai/) ### 2. CodeWP 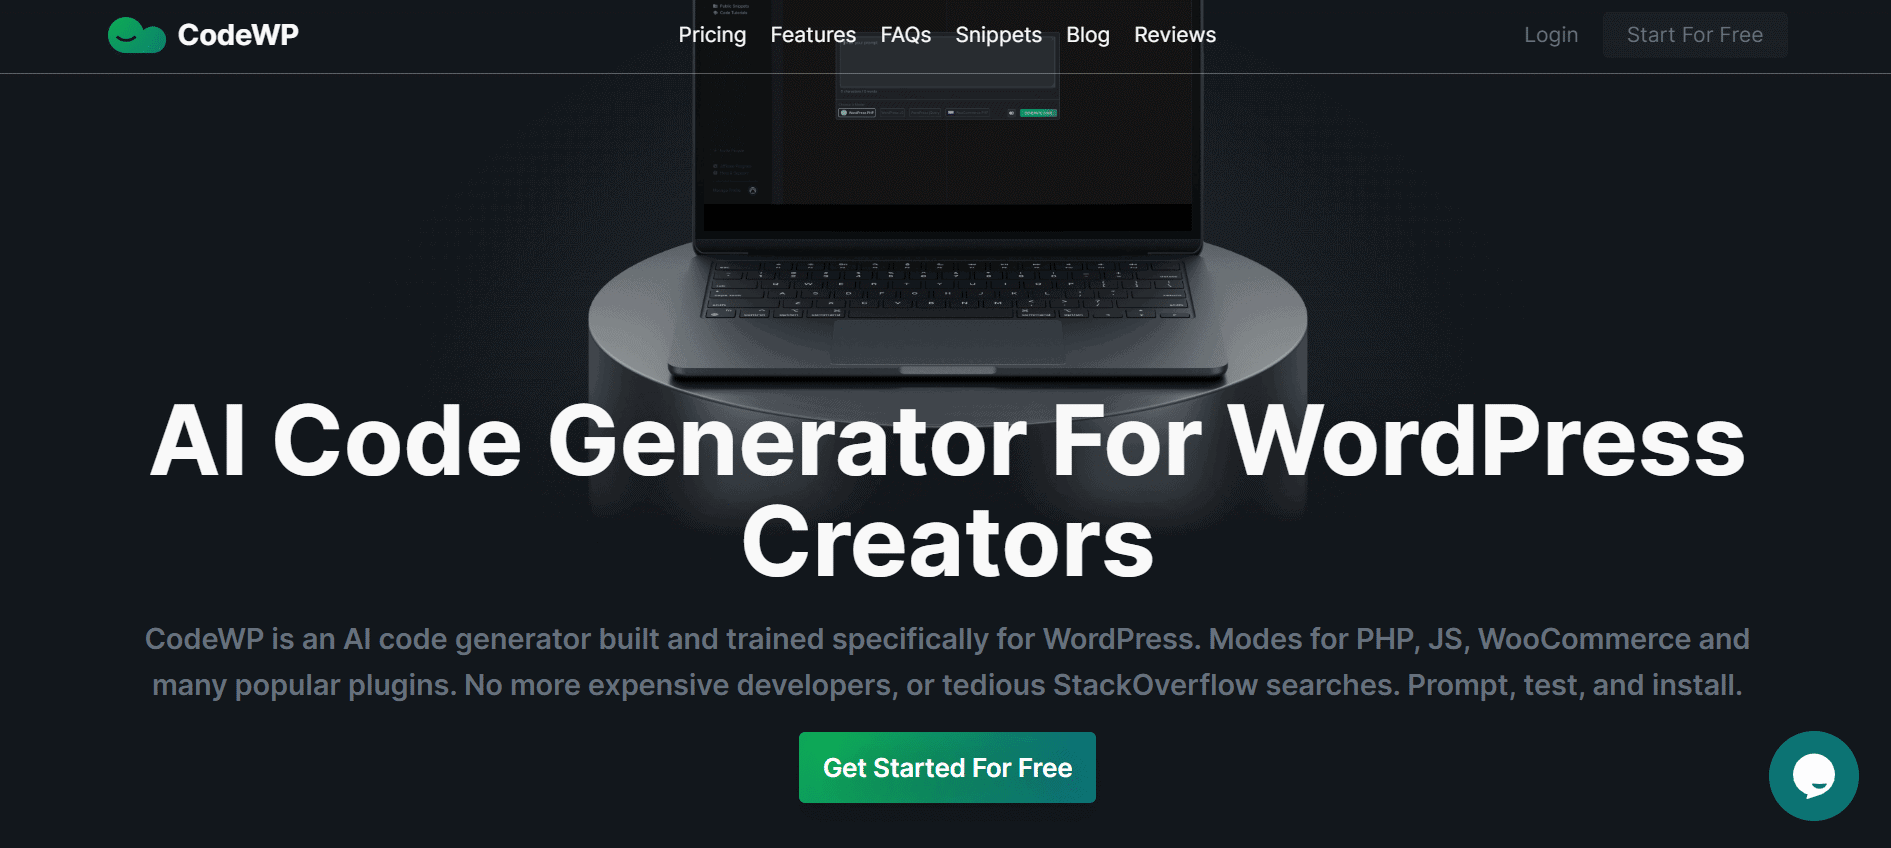 [CodeWP ](https://codewp.ai/)is an innovative AI code generator that has been specifically designed and trained to create code for WordPress websites. It provides an efficient and cost-effective solution to the tedious process of searching for code solutions on StackOverflow or hiring expensive developers. CodeWP offers modes for PHP, JS, WooCommerce ai Plugin, and several popular WordPress plugins, making it a versatile tool for website owners and developers. 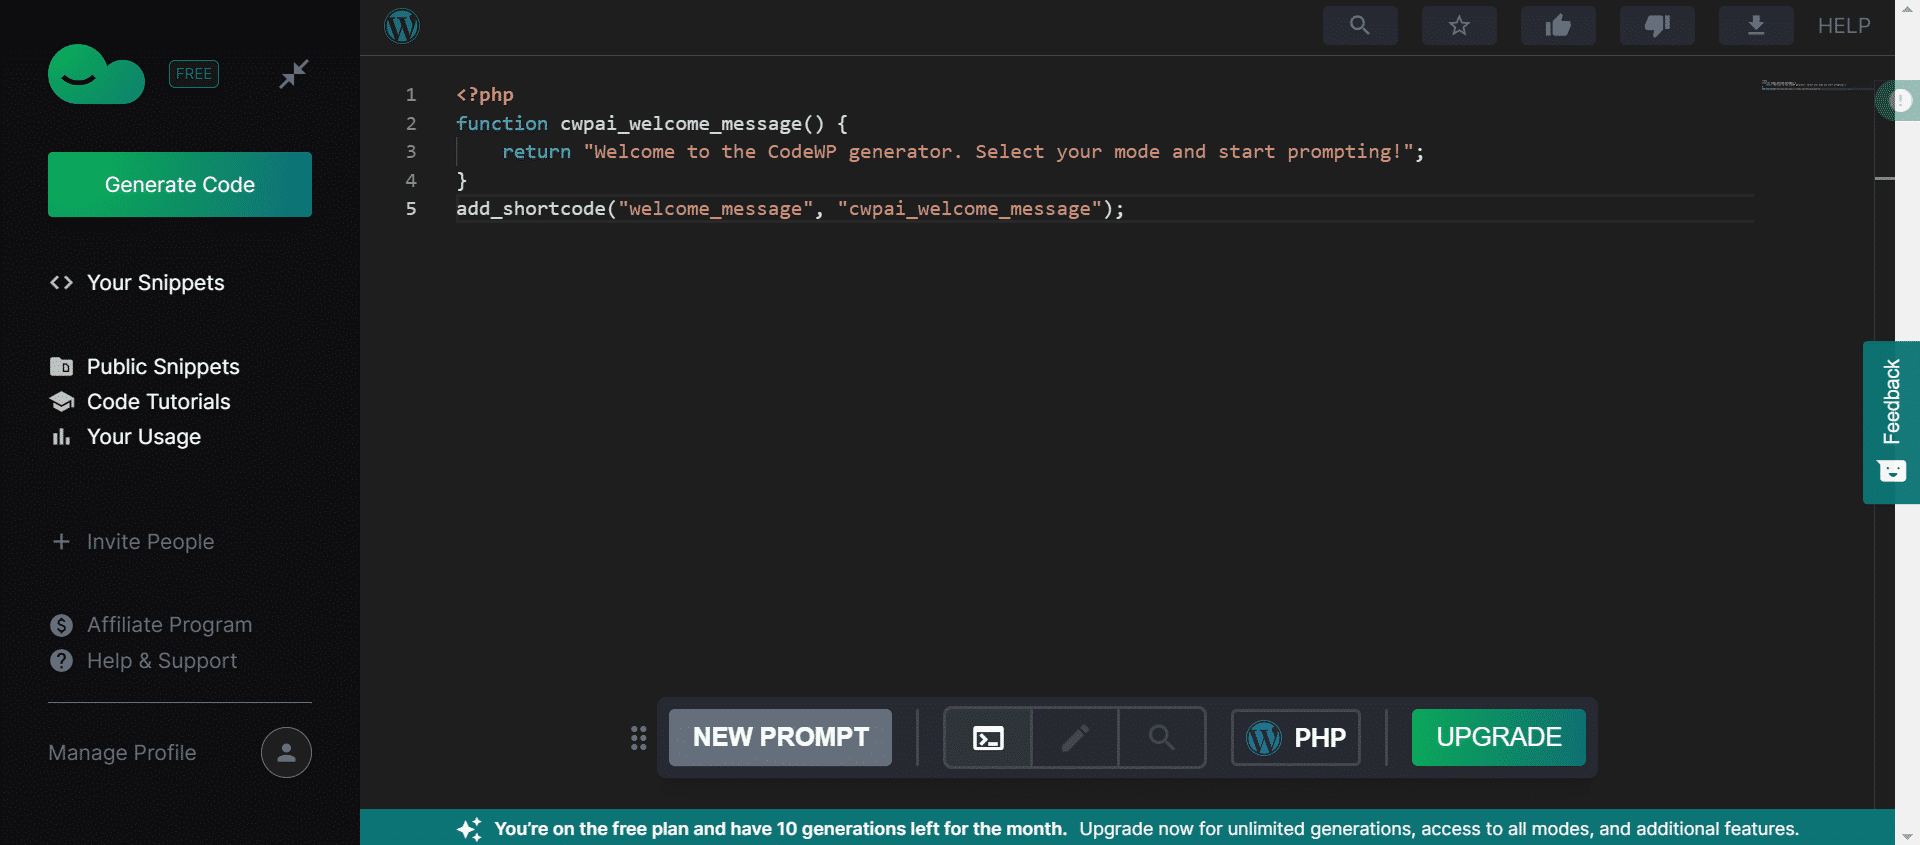 In addition, CodeWP has a vast collection of pre-built [code snippets library](https://codewp.ai/snippets/) that users can utilize directly on their websites. This feature gives users an excellent starting point for their WordPress-related tasks, saving them time and effort. #### Advantages of using CodeWP: - **Saves Time and Money: **CodeWP eliminates the need to hire expensive developers or spend hours searching for code solutions on StackOverflow. - **Improves Website Functionality:** CodeWP offers a reliable and efficient way to improve the functionality of WordPress websites, making them more user-friendly and efficient. - **Reduces Risk of Code Errors: **CodeWP generates safe and reliable code, reducing the risk of errors that can result in website downtime or other issues. - **Easy to Use:** CodeWP's user-friendly interface and easy-to-understand code snippets make it easy for website owners and developers to use. - **Versatile:** With modes for PHP, JS, WooCommerce, and several popular plugins, CodeWP is a versatile tool that can be used for various WordPress-related tasks. - **Constantly Improving:** CodeWP continuously learns and improves, offering users better code generations with each update. Perhaps the best part about CodeWP is that it is a reliable source of code. As one of the best WordPress AI tools, it does not rely on random code snippets from the internet that may or may not work. This feature ensures that the code generated by CodeWP is efficient, reliable, and safe to use without the risk of breaking the website. CodeWP is a fantastic plugin for any WordPress website owner or developer looking to save time and money while improving their website's functionality. [Learn More](https://codewp.ai/) *Confuse between WooCommerce and WordPress? Read [WooCommerce vs WordPress [6 Key Differences]](https://qa.nexterwp.com/blog/woocommerce-vs-wordpress/)* ### 3. SEO Press  [SEO Press](https://www.seopress.org/) is a popular WordPress plugin that offers a comprehensive suite of SEO tools to optimize your website's search engine rankings. With the release of version 6.3, SEO Press has taken a bold step by integrating Open AI, a leading artificial intelligence platform, into their plugin. This integration has given SEO Press users access to a powerful new tool to generate SEO titles and meta descriptions in bulk using AI technology. With the help of Open AI's advanced algorithms, users can create hundreds or thousands of unique and optimized titles and meta descriptions without any hassle. 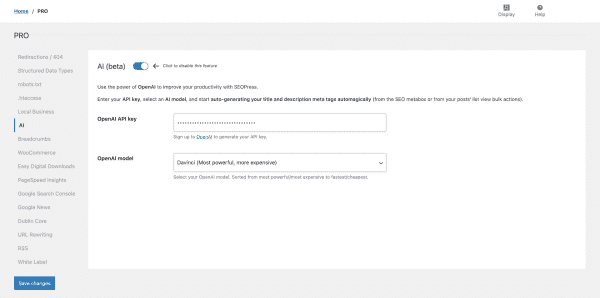 #### Advantages of SEO Press with Open AI Integration: - **Saves Time and Effort:** Manually generating SEO titles and meta descriptions can be time-consuming. With the Open AI integration, SEO Press users can create bulk SEO titles and meta descriptions in just a few clicks. - **Improves SEO Rankings:** Well-optimized SEO titles and meta descriptions can significantly improve your website's search engine rankings, resulting in increased traffic and visibility. - **Reduces Human Error:** With Open AI's advanced algorithms, there is a lower risk of human error in generating SEO titles and meta descriptions, ensuring that they are accurate, relevant, and optimized. - **User-Friendly Interface:** The AI-powered SEO title and meta description generator is integrated seamlessly into the existing SEO Press interface, making it easy for users to access and utilize. To take advantage of this feature, users must have the PRO version of SEO Press and an Open AI account with API access. Every new user gets $18 of free credits, which means they can generate many meta titles and descriptions without additional cost. [Learn More](https://www.seopress.org/) ### 4. AI Engine  [AI Engine](https://meowapps.com/ai-engine/) is a powerful AI-powered WordPress plugin. It offers a range of AI-powered tools to help website owners generate fresh content, images, and chatbots, as well as perform tasks like translation and correction. 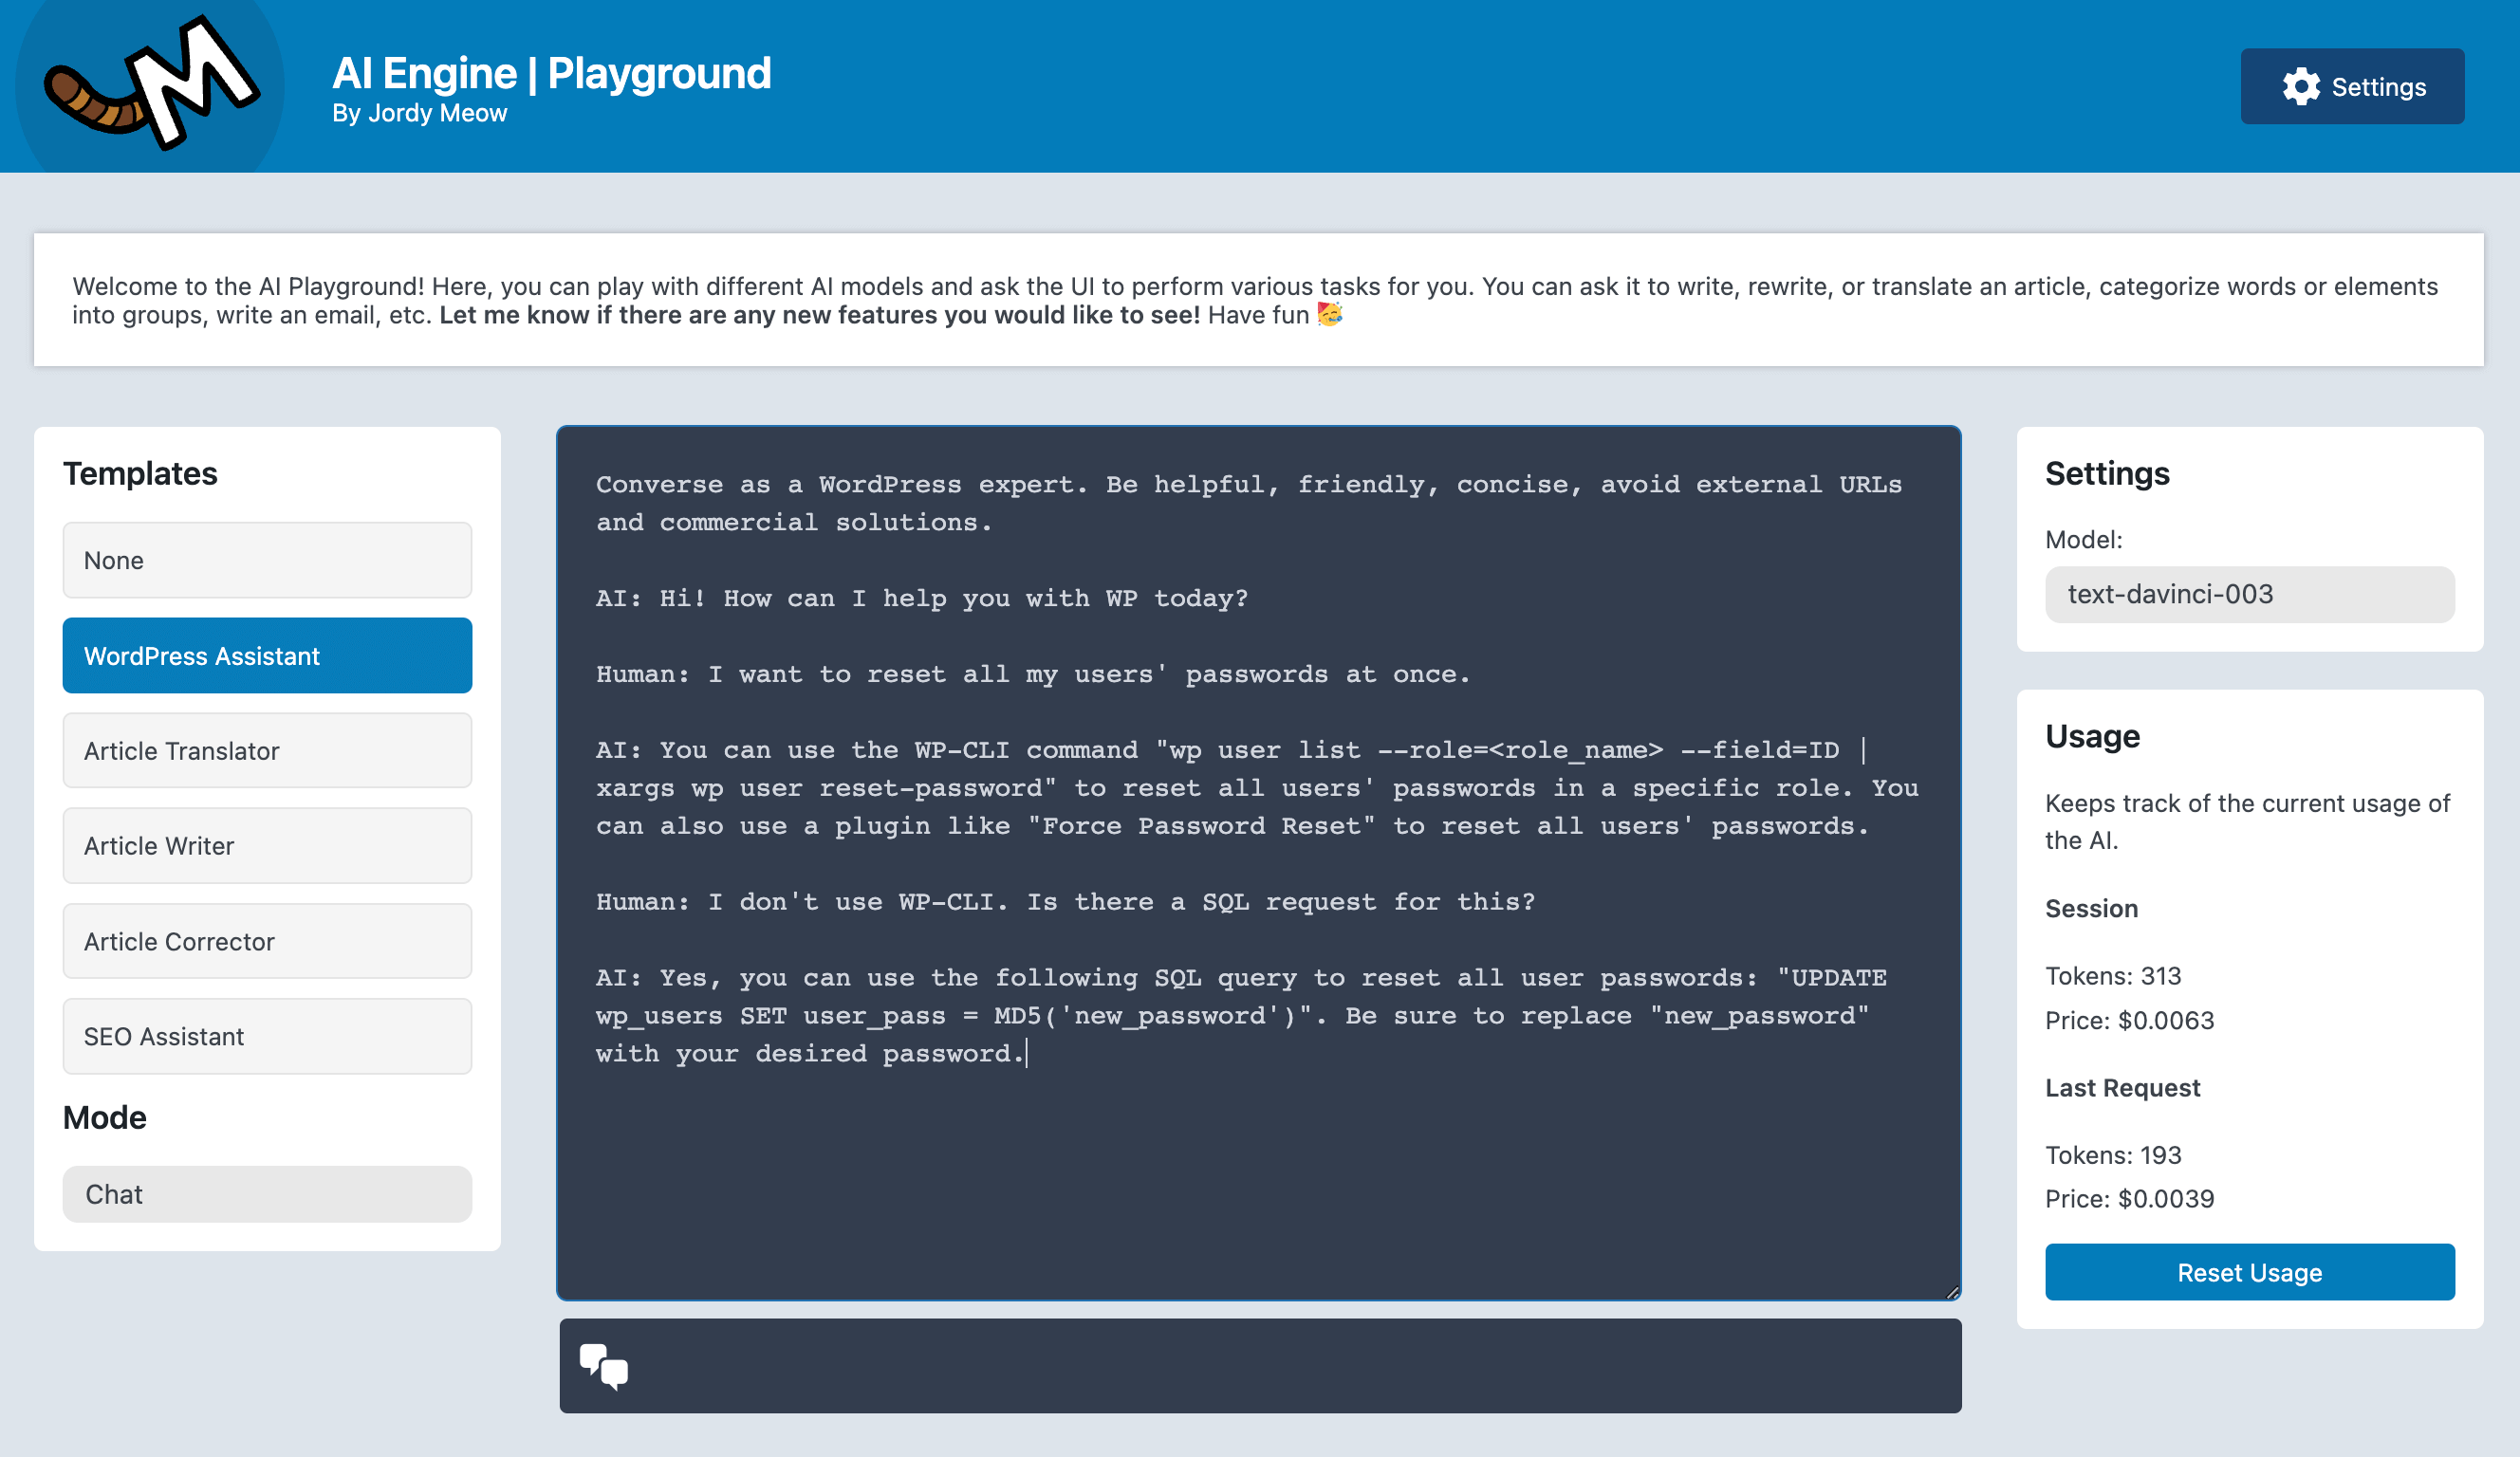 #### Advantages of AI Engine - **Efficient Content Generation: **The AI-powered content and image generator can quickly create fresh and engaging content for your website, saving you time and effort. - **Versatile AI Playground:** The AI Playground offers a range of tools for translation, correction, discussions, and more, providing website owners with a variety of options to choose from. - **Customizable Templates: **Users can create their own templates for the Playground, Content, or Image Generator, making it easier to generate content that fits their specific needs. - **Quick Suggestions:** AI Engine offers one-click recommendations for titles, excerpts, and other content elements, making it easier to optimize your website's content. - **Internal API:** The plugin offers an internal API that allows users to gather risks and statistics in one place, making tracking AI usage and performance easier. The PRO plan is available starting at $29/year and includes all the features of the standard plan, as well as the additional number of websites. [Learn More](https://meowapps.com/ai-engine/) ### 5. Rankmath Content AI  [Rank Math Content AI](https://rankmath.com/content-ai/) is a revolutionary tool for writers who want to improve their search engine rankings. It is the first WordPress SEO plugin to use AI, providing smart and intelligent recommendations for content optimization. With dynamic suggestions based on focus keyword language and target country, intelligent recommendations for perfect content length, headings, links, media, and keywords, users can get better content ideas with minimal effort. #### Advantages of Rank Math Content AI: - **Dynamic Suggestions: **The plugin provides smart suggestions based on the focus keyword's language and the target country, ensuring your content is optimized for your audience. - **Intelligent Recommendations: **Content AI recommends the perfect length of content, number of headings, links, and media to embed, making it easier for you to create optimized content. - **Keyword Suggestions:** The plugin helps you identify additional keywords for your content, headings, or SEO metadata, improving your visibility in search engine result pages. - **Schema-Ready FAQ Generation:** You can easily generate a fully functional and Schema-ready FAQ section with the click of a button, saving you time and effort. - **Smart Link Suggestions:** You can add credible citations to your content with the smart link suggestions, boosting your visibility in search engines. - **AI-generated Content: **Rank Math Content AI is the first WordPress SEO plugin to use AI to generate content suggestions that are optimized for search engines and engaging for your visitors. The plugin's credit system is cost-effective, with plans starting at $99 for 450 credits. You can purchase credits as needed and use them for various optimization tasks. [Learn More](https://rankmath.com/content-ai/) ### 6. WPBakery AI  Transform the way you create WordPress pages and posts with WPBakery AI. With just a click of a button, you can now create and maintain high-quality content and code. Simply enter your requirements, and let WPBakery AI do the rest for you. https://youtu.be/b3CDb1qTm6Q?si=ExuzD1cz9HJ3wyLS #### Advantages of using WPBakery AI: - **Generate new and improve existing textual content** - Generate a wide range of content, from captivating product descriptions to complete blog posts, or improve existing content across your website. Just craft your prompt, choose your preferred tone of voice, refine your keywords, and watch your content come to life. - **Generate CSS and JS code** - Craft custom CSS and JS code with ease, whether it’s for specific elements, individual pages, or your entire website. Say goodbye to complexity – our AI not only simplifies coding but also automatically integrates it with a WPBakery placeholder, ensuring seamless functionality and design enhancements. - **Translate texts into over 100 languages** - Easily connect with global audiences by translating your website into any language. WPBakery AI simplifies the process and allows you to create prompts in any language for a seamless multilingual experience. [Learn More](https://wpbakery.com/) ### 7. Link Whisper  [Link Whisper](https://linkwhisper.com/) is an intelligent internal linking tool for WordPress. This AI-powered Plugin suggests relevant internal links while you write articles and can offer dozens or more internal links, depending on your existing content. Simply check the box and save to add internal links. This helps you to create a better internal linking strategy by suggesting relevant anchor text and allowing you to easily add links to relevant pages or posts on your website. This can improve your website's navigation and help visitors find the information they're looking for. The plugin also includes advanced features like the ability to automate internal linking, track internal links and broken links, and customize the suggestions based on your preferences. 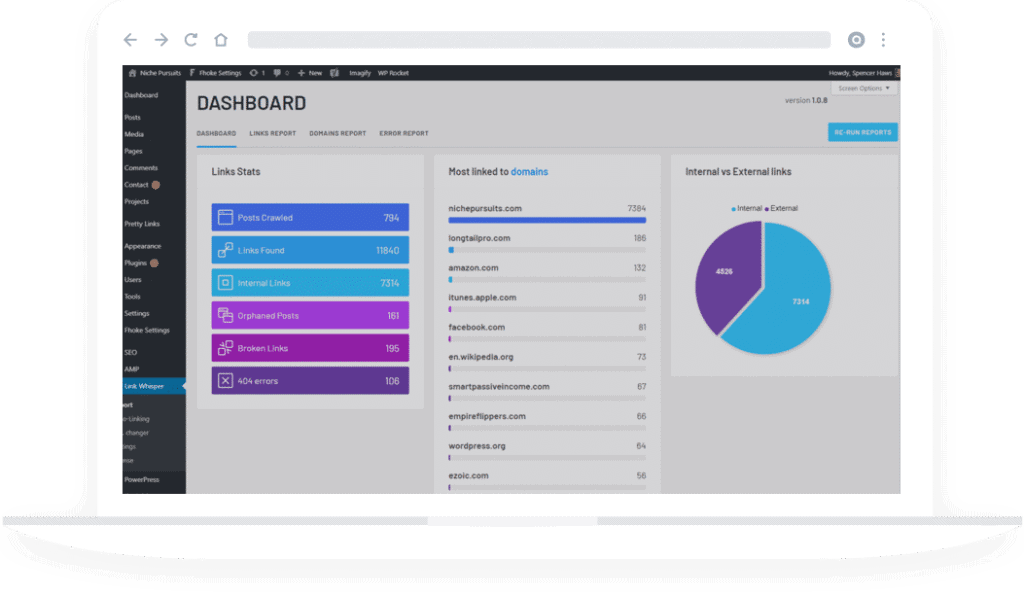 #### Advantages of using Link Whisper: - **Improves SEO:** Link Whisper helps to improve your website's search engine rankings by creating a better internal linking structure. Internal links can help search engines understand the structure of your website and the importance of different pages. - **Boosts User Experience:** Link Whisper helps improve your website's user experience by suggesting relevant internal links. Visitors can easily find related content and navigate through your website. - **Reduces Bounce Rates: **With relevant internal links, visitors are likelier to stay on your website for longer and explore multiple pages, reducing bounce rates. - **Monitors Broken Links:** Link Whisper monitors your internal links and alerts you to any broken links so you can quickly fix them and avoid negative impacts on your SEO. Link Whisper is a useful tool for optimizing your website's internal linking structure and improving your SEO and user experience. It comes with a paid plan starting at $77 for a site. [Learn More](https://linkwhisper.com/) ### 8. Voicer  [Voicer](https://voicer.merkulov.design/) is an easy-to-use and powerful tool for businesses that want to create an effective and engaging online presence. This awesome WordPress plugin turns text into genuine-sounding human-like speech with more than 275 voices and 45+ languages! It's based on the latest research in speech synthesis (WaveNet) and Google's powerful neural networks to give you high-quality audio. With this easy-to-use plugin, you can make your user interactions sound realistic and boost your customer service! It's perfect for creating audio versions of your blog posts and stories, adding life to your videos, or even providing audio versions of your customer service scripts. And with its intuitive user interface and simple settings, you can ensure your voiceovers sound just right. So, if you're looking for an easy and powerful way to take your website to the next level, give the Voicer WordPress plugin a try! 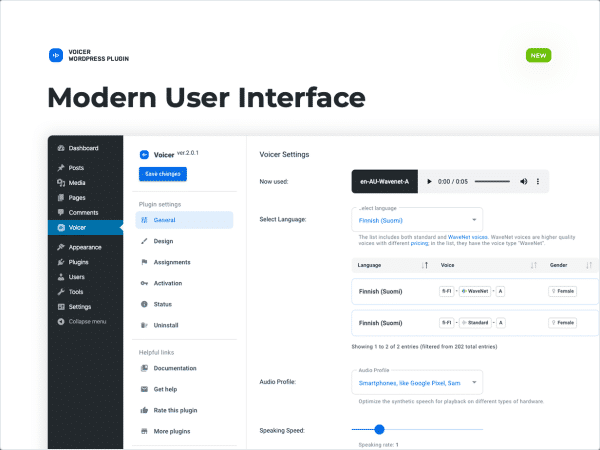 #### Advantages of using Voicer WordPress plugin: - **Easy to use:** Voicer WordPress plugin is easy to install and use. You don't need technical skills or coding knowledge to add voice reviews and audio testimonials to your website. The plugin comes with a simple interface that allows you to manage and display your reviews. - **Boost SEO:** Adding voice reviews and audio testimonials to your website can boost your search engine rankings. Search engines like Google use various signals to rank websites, and user-generated content is one of them. Voice reviews and audio testimonials can improve the user experience of your website, which can lead to better rankings. - **Cost-effective:** Voicer WordPress plugin is an affordable solution for adding voice reviews and audio testimonials to your website. You don't need to pay for expensive voiceover services or hire a developer to add this feature to your website. - **Increase engagement: **Voice reviews and audio testimonials can also increase user engagement on your website. Visitors are more likely to listen to a voice review than to read a text review. This can increase the time spent on your website and reduce bounce rates. The Voicer Text-to-Speech Plugin for WordPress is available for[ purchase on Codecanyon](https://codecanyon.net/item/voicer-text-to-speech-plugin-for-wordpress/24047538) for a one-time fee of $20. [Learn More](https://voicer.merkulov.design/) ### 9. WordLift  [Wordlift ](https://wordpress.org/plugins/wordlift/)is a WordPress plugin that uses AI and Natural Language Processing (NLP) to help publishers produce richer, more relevant, and more engaging content. The plugin automatically adds semantic annotations to your content, making it easier for search engines to understand the meaning of your text and display it in more relevant search results. It also provides tools for creating structured data and knowledge graphs, which can be used to improve your website's SEO and enhance the user experience. 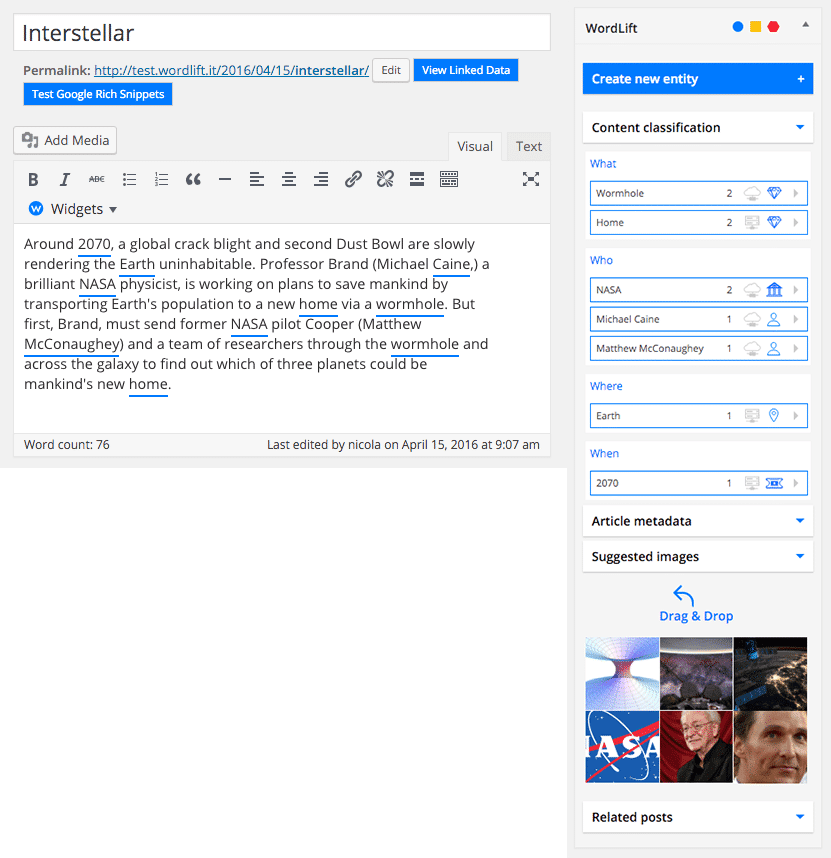 #### Advantages of using WordLift: - **Self-organize content using publicly or privately available knowledge graphs:** WordLift uses AI technology to organize and categorize content based on publicly available knowledge graphs, making it easier to manage and access content. - **Easy way to build datasets and full data ownership:** WordLift provides an easy and efficient way to build and manage datasets, giving users full ownership of their data. - **Support for creating web content using contextually relevant information:** With WordLift, users can easily create content using contextually relevant information, improving the quality and relevance of their content. - **Free-to-use** photos and illustrations from the Commons community: WordLift offers a library of free-to-use photos and illustrations from the Commons community, making it easy to find and use high-quality images for your content. - **New means to drive business growth with meaningful content discovery paths:** By improving the relevance and organization of content, Wordlift can help drive business growth by providing meaningful content discovery paths for users. - **Content tagging for better SEO:** Wordlift's content tagging feature makes it easy to optimize content for SEO by adding relevant tags and metadata to improve search engine visibility. WordLift aims to help businesses improve search engine rankings, attract organic traffic, and engage their audience with relevant, high-quality content. The plugin is available for free ai plugins on the WordPress plugin repository. [Learn More](https://wordlift.io/) ### 10. Block Diffusion 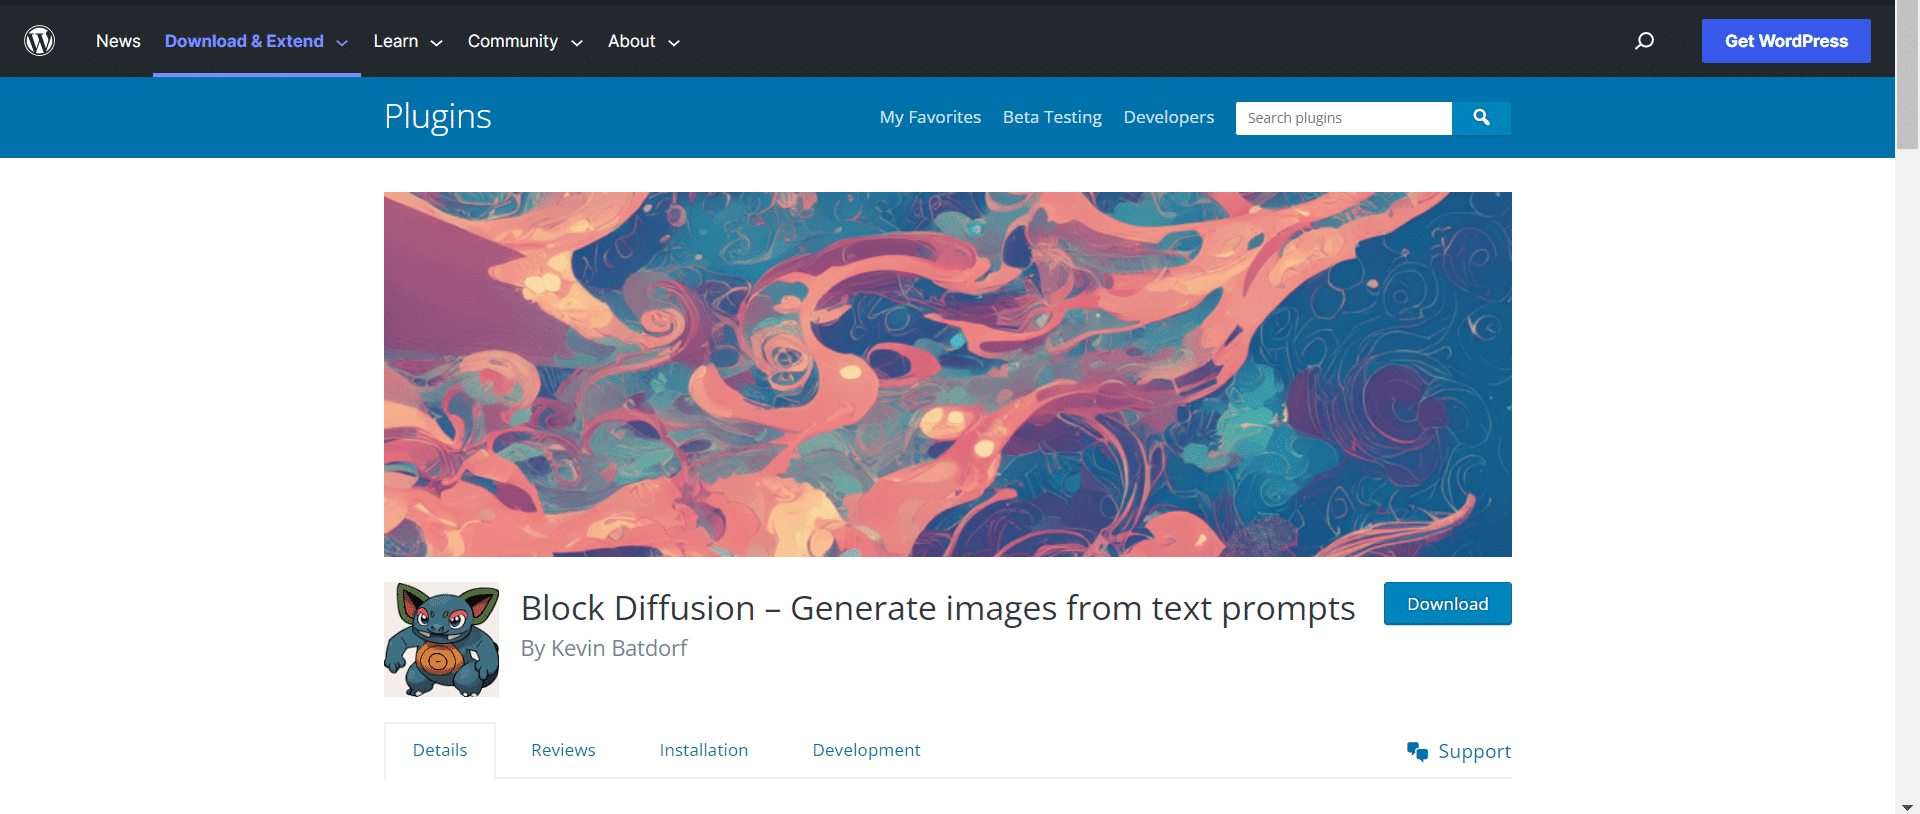 [Block Diffusion](https://wordpress.org/plugins/stable-diffusion/) AI plugin WordPress brings a new level of creativity to content creation by using machine learning and advanced models to generate unique images based on text prompts. It integrates with the Replicate API, allowing you to run open-source models via their cloud API. Simply add the block to a page and select a model to enter your API token. This plugin offers a powerful way to create engaging and visually stunning content that will captivate your audience. 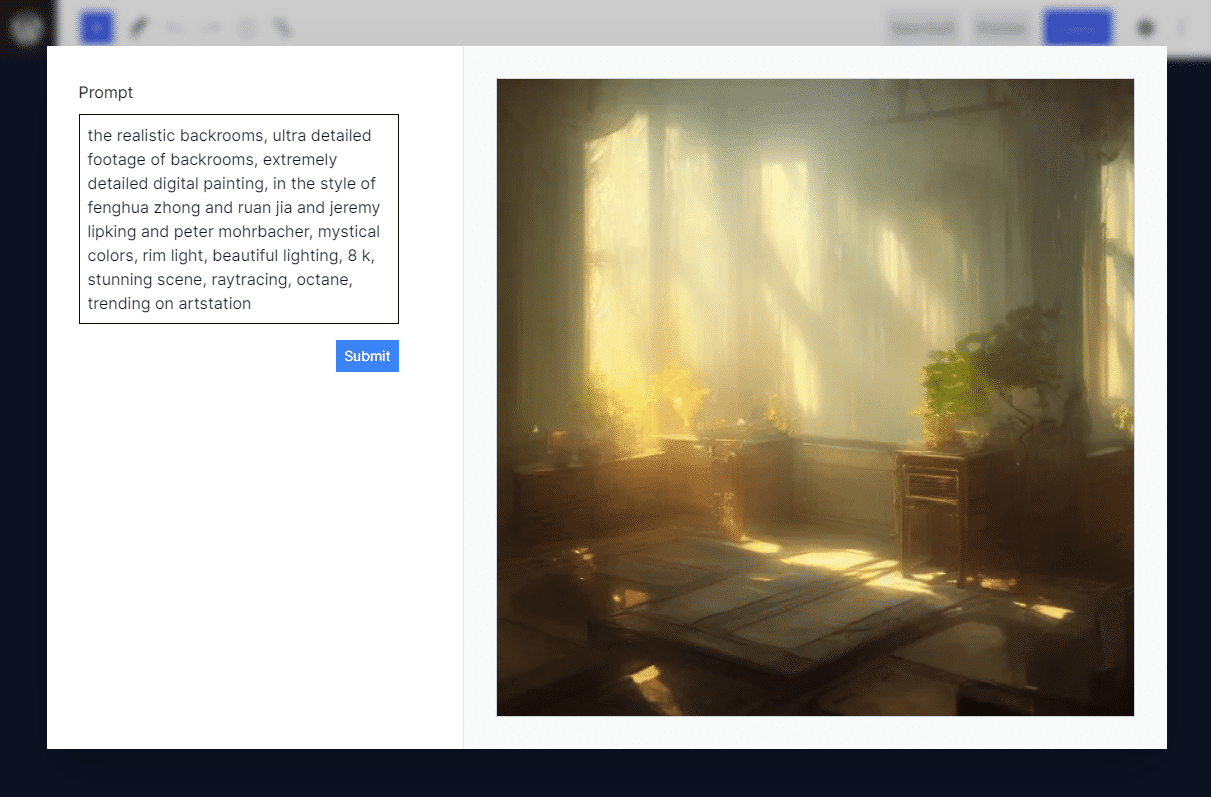 #### Advantages of Block Diffusion Plugin - The stable Diffusion plugin offers a powerful latent text-to-image diffusion model to create photo-realistic images from any text input. - The plugin includes the latest version of Stable Diffusion V2 for testing purposes and allows generating multiple outputs. - With the Text to Pokémon feature, users can generate Pokémon based on a text description, adding a fun and creative element to their content. - Open Journey is another feature of Stable Diffusion, which fine-tunes the model on Midjourney v4 images, offering more control and accuracy in image generation. - The plugin also allows for image input with basic controls and various output options, including downloading, copying, or importing into the editor. - Prompt suggestion and preview features help users refine their text input and see the generated image before finalizing the output. Stable Diffusion offers a powerful and creative way to generate unique and photo-realistic images for WordPress content using advanced machine learning and open-source models. [Learn More](https://wordpress.org/plugins/stable-diffusion/) ### 11. WP Doc Chat 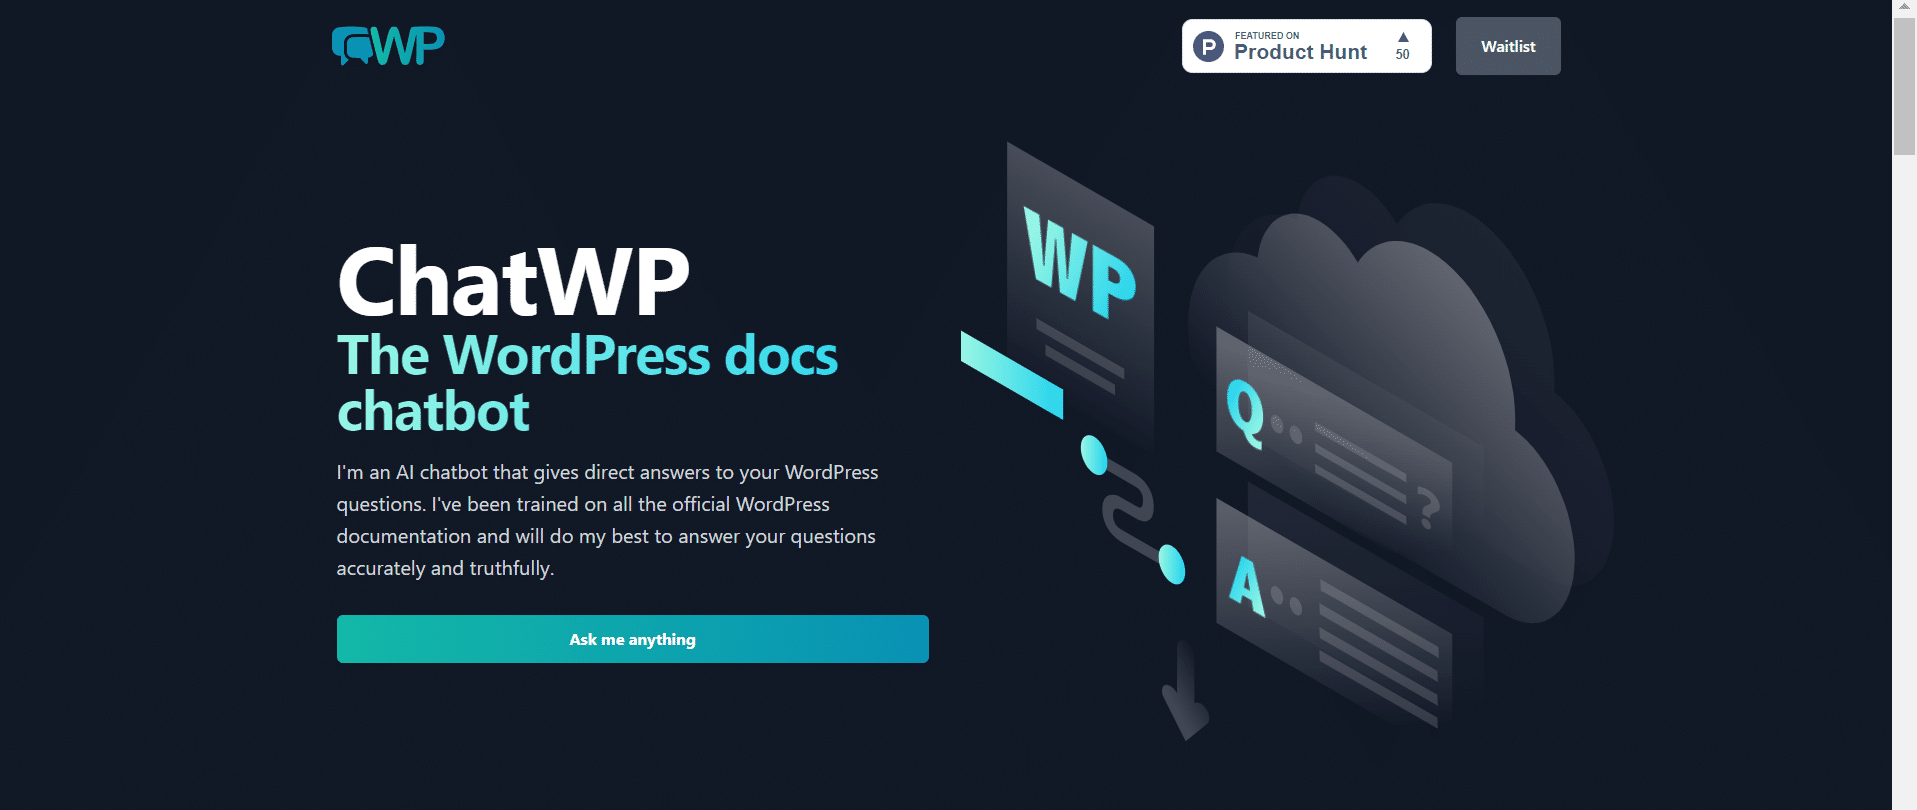 [ChatWP](https://wpdocs.chat/) is an AI chatbot that provides direct answers to WordPress-related queries and is trained on all official WordPress documentation. With the development of their new service, users will be able to easily index their documentation or blog posts with just a few clicks and create custom Q&A and chatbots from their data. This can be integrated into their website, WordPress, app/plugin, Slack, or any other platform through a simple API. This tool offers an intuitive interface and the opportunity to revolutionize how businesses interact with their customers. #### Advantages of using ChatWP: - Easy and quick indexing of support docs, code documentation, blog content, and internal knowledge base. - AI-powered search helps employees find answers instantly, reducing time spent searching. - Powerful API enables integration of AI chat into your own products, providing answers to your users from your site, app, or WordPress plugin. - The embeddable widget makes it easy to add AI chat to your website in minutes. Currently, it's in beta; you can join the waiting list [from here](https://wpdocs.chat/#waitlist) [Learn More](https://wpdocs.chat/) ### 12. BONUS FREE - WooCommerce Product Visualizer 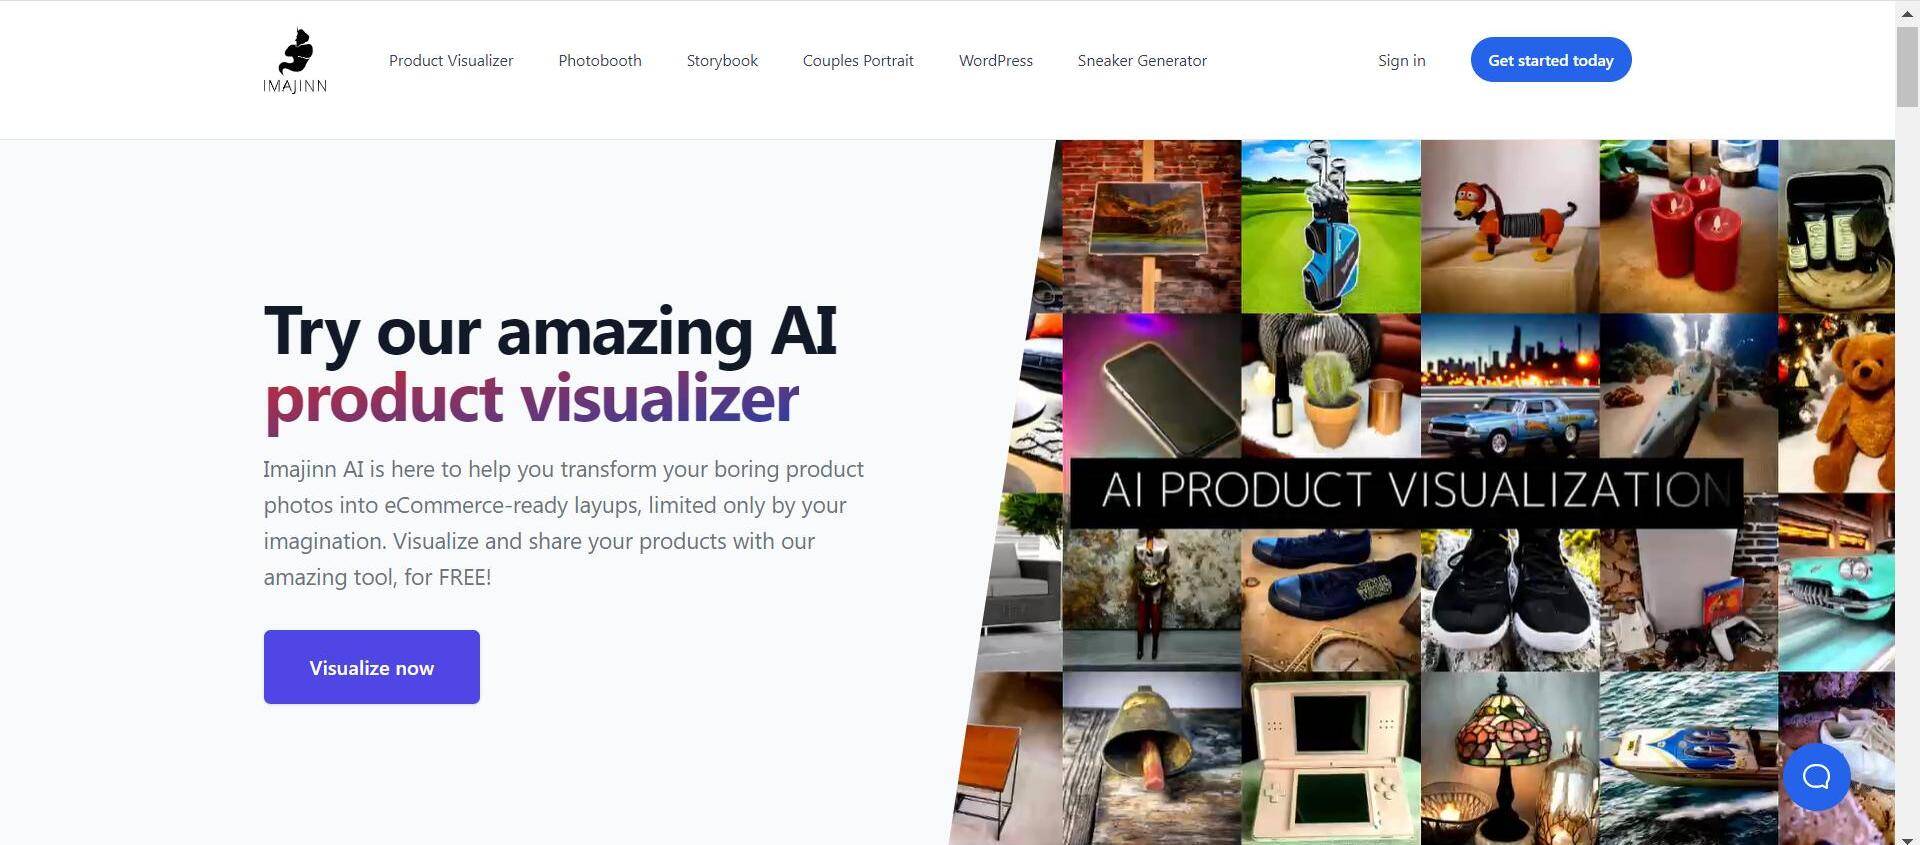 [Imajinn AI is an AI product visualizer](https://imajinn.ai/product-visualizer) that can transform your boring product photos into eCommerce-ready layups with the power of AI. It allows you to visualize and share your products for free and is great for eCommerce, virtual photoshoots, and more. With Imajinn AI, you can easily describe where you want the product to appear and let the tool do the rest. The AI product photoshoots can bring your products to life and help you showcase them in an engaging and visually appealing way. 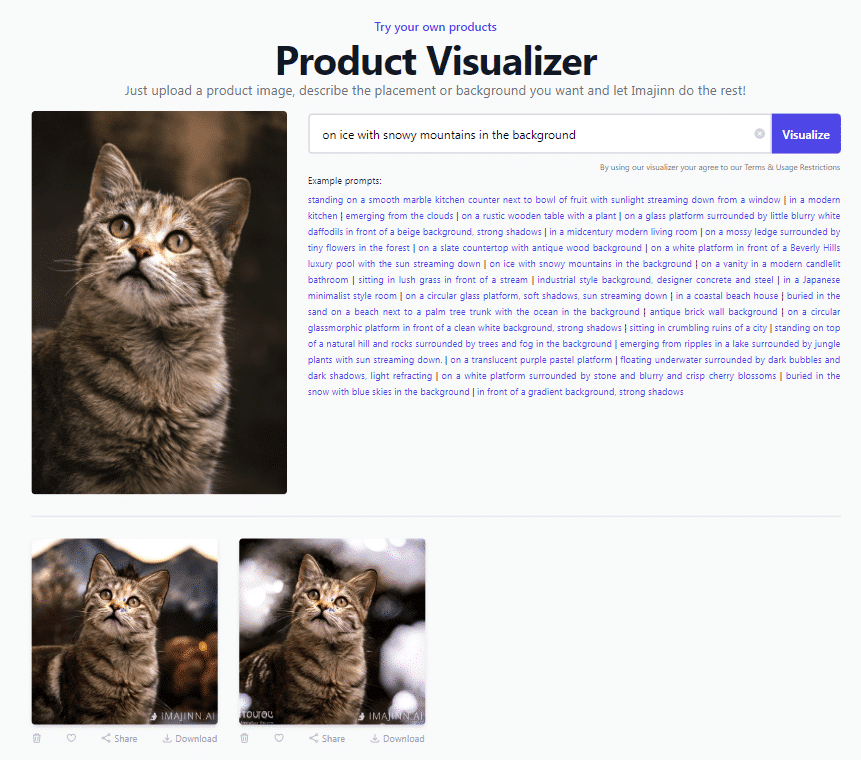 #### Advantages of using BONUS FREE - WooCommerce Product Visualizer: - AI-powered product photo transformation - Quick and easy product visualization - Suitable for eCommerce and virtual photoshoots - Provides before-and-after photo comparisons. - Free to use. [Learn More](https://imajinn.ai/product-visualizer) ## Wrapping Up That wraps up our list of the best AI plugins for WordPress. These top 10 AI WordPress plugins offer a wide range of functionalities, from generating unique content to creating photo-realistic images to building chatbots that provide direct answers to customers. With these plugins, businesses can improve their website's user experience, enhance customer engagement, and streamline internal processes. As AI technology continues to evolve, these plugins provide a glimpse into the future of web development and content creation. Whether you're an eCommerce site or a business with an internal knowledge base, there's an AI WordPress plugin out there to help you take your website to the next level. If you're struggling to design creative websites due to coding limitations, check out [Nexter Blocks](https://qa.nexterwp.com/nexter-blocks/)- Prebuild blocks for WordPress. ## FAQs about Best AI WordPress Plugins ### What are AI plugins? AI plugins are WordPress plugins that use artificial intelligence to automate tasks such as content creation, image generation, and search engine optimization. ### How can I use AI in WordPress? You can use AI in WordPress by installing AI plugins that automate tasks, provide chatbots, and analyze data to improve user experience. ### Is there an AI plugin for WordPress? Yes, there are several AI plugins available for WordPress, such as Divi AI, Rank Math, and Uncanny Automator. ### How do I add AI to WordPress? You can add AI to WordPress by installing AI plugins that automate tasks and improve user experience. ### Can I add AI to my website? Yes, you can add AI to your website by using AI plugins that automate tasks, provide chatbots, and analyze data to improve user experience. ### Can I publish AI generated content? Yes, you can publish AI-generated content, but it is important to ensure that the content is high-quality, relevant, and unique to avoid penalties from search engines. ## What Next? Read More AI Related Articles Here - [5 Best AI Blog Content Writing Tools for WordPress](https://qa.nexterwp.com/blog/best-ai-blog-content-writing-tools-for-wordpress/) - [5 Best WordPress SEO Plugins using AI](https://qa.nexterwp.com/blog/best-wordpress-seo-plugins-using-ai/) - [Best 6 WordPress ChatGPT Plugins](https://theplusaddons.com/blog/best-wordpress-chatgpt-open-ai-plugins/) - [5 Best AI-Generated Website Builders](https://theplusaddons.com/blog/best-ai-generated-website-builders/) - [How to Generate AI Images in WordPress](https://qa.nexterwp.com/blog/how-to-generate-ai-images-in-wordpress/) --- # How to Disable Comments in WordPress (With or Without a Plugin) Source: https://qa.nexterwp.com/blog/disable-comments-in-wordpress/ #### Key Takeaways - WordPress turns comments on for every new post by default. You switch them off under Settings > Discussion.- That checkbox only affects future posts. Use Bulk Edit to close comments on content you already published.- The Disable Comments plugin (1M+ installs) switches everything off site-wide in one click, including the admin clutter.- Developers can disable comments with a few lines in functions.php and skip the plugin entirely.- Disabling comments does not hurt your SEO, and it does not delete content, only the comment form. A friend who runs a small accounting site messaged me in a panic last month. Forty-seven comments overnight, every one of them pushing counterfeit handbags, all sitting under pages that never asked for comments in the first place. Her site has no blog. It has no reason to accept a single comment. WordPress was just leaving the door open by default. If that sounds familiar, you are in the right place. WordPress enables comments on every new post out of the box, and on a lot of sites that one setting does nothing but invite spam and create moderation work. The good news: you can shut it off completely, and you get to pick how far you go, from a single checkbox to a one-click plugin. Here is every reliable way to disable comments in WordPress, when to use each one, and how to clear out the leftover comment clutter in your admin afterward. ## Why turn off WordPress comments? Not every site wants a comment section. A brochure site for a law firm, a portfolio, a documentation hub, a landing page: none of them gain much from open comments, and all of them attract bots the moment they go live. People usually switch comments off for three reasons: - **Spam.** Automated bots hammer the default comment form with links to sketchy stores and malware.- **Time.** Every comment is a moderation decision. On a site that does not need discussion, that is wasted effort.- **Focus.** A pile of empty or low-quality comments under a sales page makes a business look neglected. ## First, decide: disable comments or just fight spam? Turning comments off is not the only option, and it is not always the right one. If readers genuinely reply to your posts, you want to keep that and filter the junk, not throw the feature away. A quick way to choose: - **Keep comments and filter:** blogs, news sites, anything where readers reply. Pair moderation with a spam tool.- **Disable comments:** brochure sites, portfolios, stores, docs, or any post type where comments serve no purpose. ***Also Read:** [How to stop WordPress comment spam](https://qa.nexterwp.com/blog/stop-wordpress-comment-spam/) if you would rather keep comments and filter the junk instead.* If you landed on disable, here are four built-in methods, from a single checkbox to a full site-wide switch. ## Method 1: Disable comments on new posts (Settings > Discussion) This is the master switch for everything you publish from now on. - In your dashboard, go to **Settings > Discussion**.- Under *Default post settings*, uncheck **Allow people to submit comments on new posts**.- Scroll down and click **Save Changes**. 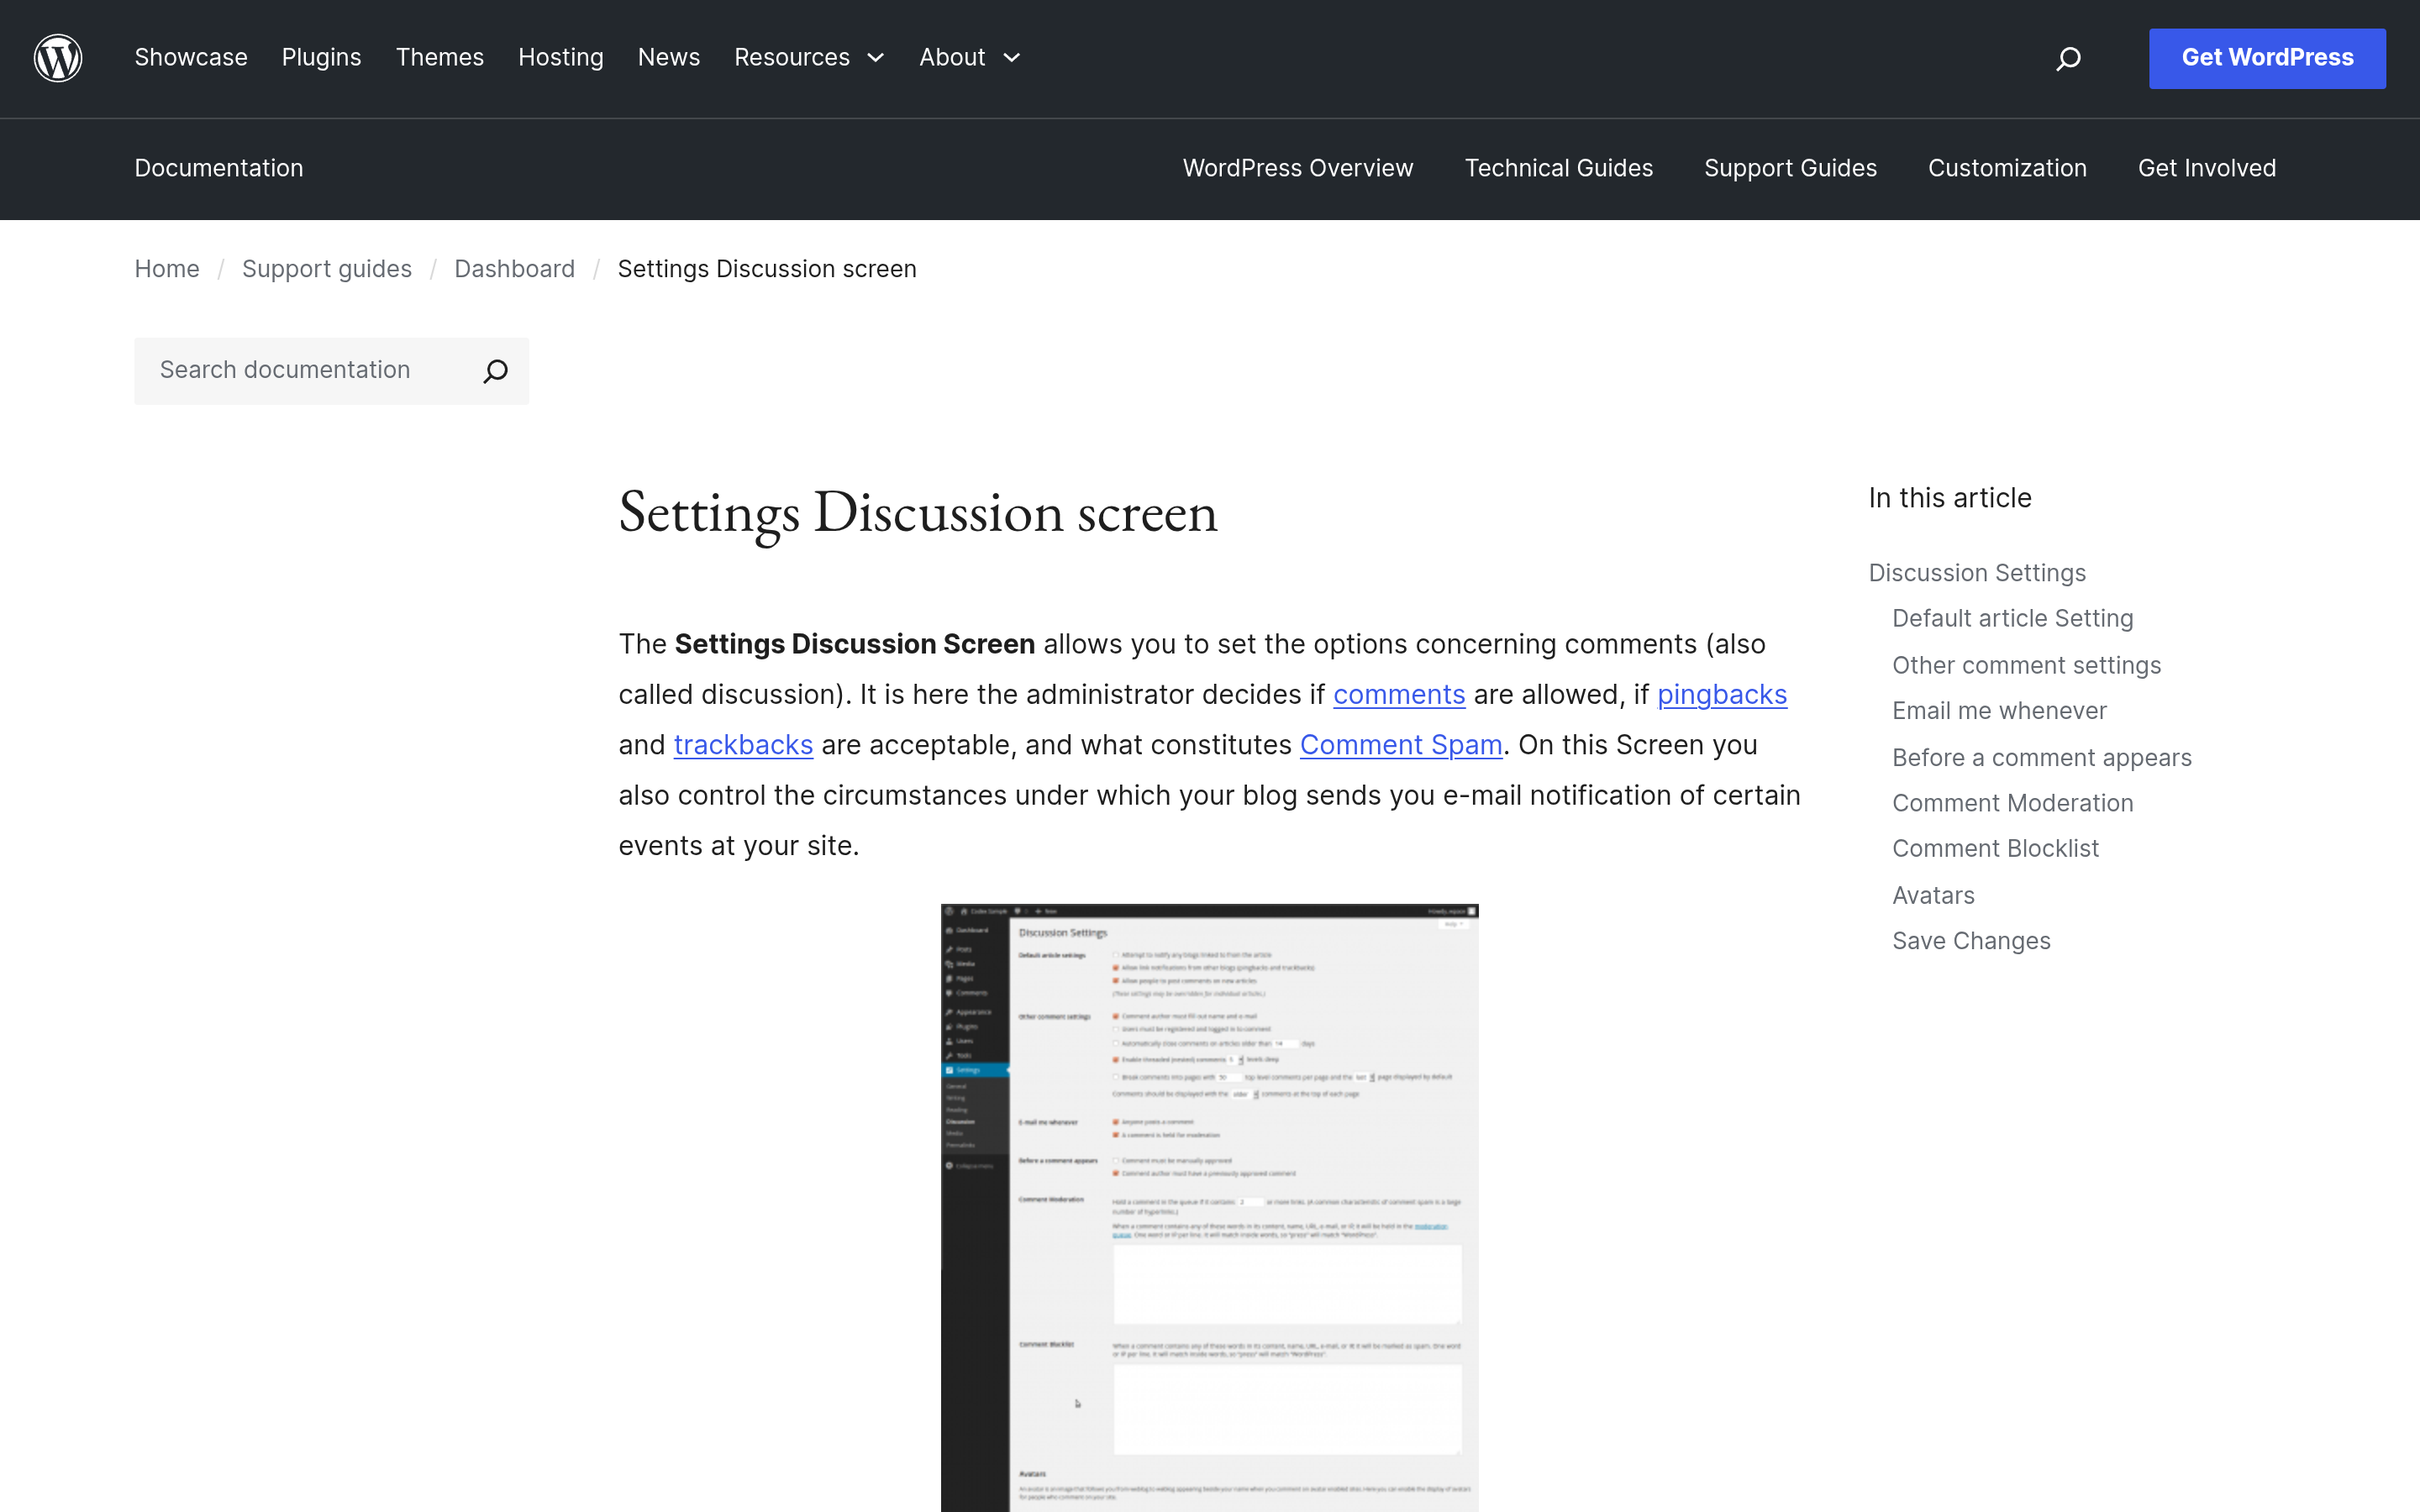The Settings > Discussion screen is where you control comments site-wide. Source: WordPress.org documentation. That handles future content. One important catch: this setting does not touch posts and pages you already published. WordPress saves the comment status on each post when you create it, so existing content keeps whatever setting it had. To fix those, use Method 2. ## Method 2: Disable comments on existing posts and pages To close comments on content that is already live, use Bulk Edit. - Go to **Posts > All Posts**.- Tick the checkbox at the top of the list to select every post on the screen.- From the **Bulk actions** dropdown, choose **Edit** and click **Apply**.- In the Bulk Edit panel, find the **Comments** dropdown and set it to **Do not allow**.- Click **Update**. Repeat the same steps under **Pages**. If you have more posts than fit on one screen, raise the per-page count first under *Screen Options* in the top right. To change a single post, open it, turn on the **Discussion** panel from the options menu, and uncheck **Allow comments**. ## Method 3: Auto-close comments on older posts If you want comments open for a while and then closed automatically, WordPress has a built-in timer. Go to **Settings > Discussion**, check **Automatically close comments on posts older than [X] days**, and enter a number such as 14 or 30. After that window, WordPress disables the comment form on older posts while leaving any existing approved comments visible. It is a useful middle ground for active blogs, where older posts tend to attract the most spam. ## Method 4: Turn off comments on media, and delete existing comments Two cleanup jobs people forget: - **Media attachments.** WordPress can attach comments to image and media pages. The Settings > Discussion checkbox covers new uploads going forward. For older attachments, Bulk Edit the Media library the same way you did with posts.- **Existing comments.** Disabling the form does not remove comments that already came in. To clear them, go to **Comments**, select all, choose **Move to Trash** from Bulk actions, and apply. Empty the trash to delete them for good. ## The one-click way: the Disable Comments plugin If you would rather not work through settings page by page, the [Disable Comments](https://wordpress.org/plugins/disable-comments/) plugin does it all at once. It has passed one million active installs, holds a 4.7 star rating, and is tested up to WordPress 7.0, so it is actively maintained. Install it from **Plugins > Add New**, activate it, and open **Settings > Disable Comments**. You can switch comments off everywhere in one click, or limit it to specific post types. The plugin also hides the clutter most manual methods leave behind: the Comments link in the admin menu and admin bar, the comment widgets, the comment RSS feeds, and the Discussion settings page itself. The Disable Comments plugin has over 1M active installs and switches comments off site-wide. Source: WordPress.org plugin directory. ***Also Read:** [How to customize the WordPress admin dashboard](https://qa.nexterwp.com/blog/customize-wordpress-admin-dashboard/) to tidy up the rest of your back end.* For people running several sites, this is the fastest route. For a single site where you want zero extra plugins, the code method below does the same job. ## The developer way: disable comments with code Prefer to keep the install lean? Drop this into your theme’s functions.php file, or better, a small must-use plugin. It closes comments everywhere, removes comment support from every post type, and hides the admin menu item. `// Remove comment support from every post type. add_action('admin_init', function () { foreach (get_post_types() as $type) { if (post_type_supports($type, 'comments')) { remove_post_type_support($type, 'comments'); remove_post_type_support($type, 'trackbacks'); } } }); // Close comments and pingbacks on the front end. add_filter('comments_open', '__return_false', 20, 2); add_filter('pings_open', '__return_false', 20, 2); // Hide any existing comments. add_filter('comments_array', '__return_empty_array', 10, 2); // Remove the Comments item from the admin menu. add_action('admin_menu', function () { remove_menu_page('edit-comments.php'); });` A lot of developers favor this approach because it lives in version control and travels with the site instead of sitting in the database. If you manage client sites, it pairs well with a hardened setup. Our [ultimate WordPress security guide](https://qa.nexterwp.com/blog/ultimate-wordpress-security-guide/) covers the rest of the checklist. ## Clean up: remove Comments from the admin menu and bar Even after comments are off, WordPress often leaves the Comments link sitting in your admin menu, the dashboard At a Glance box, and the top admin bar. Both the plugin and the code snippet above remove it. If you went the manual settings route, the small code block clears the menu item on its own. A tidy back end is part of a tidy site. If you like keeping the WordPress admin lean, the Nexter Extension gives you a set of controls for trimming admin clutter and shaping the dashboard around how you actually work. While you are at it, you can also [disable the WordPress admin bar](https://qa.nexterwp.com/blog/disable-wordpress-admin-bar-for-all-users-except-administrators/) for non-admin users. ## Frequently asked questions ### Does disabling comments hurt SEO? No. Comments are not a ranking requirement. Removing an empty or spam-filled comment section has no negative effect on search rankings, and cutting spammy outbound links can actually help. ### Will disabling comments delete my existing comments? No. Turning off the comment form only stops new comments. Your existing comments stay in the database until you delete them from the Comments screen. ### Can I disable comments on posts but keep them on one page? Yes. Use the per-post Discussion panel from Method 2 to allow or disallow comments on any single post or page, no matter what the site-wide default is. ### Is a plugin or code better for disabling comments? For most site owners, the plugin is simpler and safer. If you are comfortable editing functions.php and want to avoid an extra plugin, the code method is just as effective. ## Suggested reading - [How to stop WordPress comment spam](https://qa.nexterwp.com/blog/stop-wordpress-comment-spam/)- [Best anti-spam plugins for WordPress](https://qa.nexterwp.com/blog/best-anti-spam-plugins-for-wordpress/)- [How to stop spam registrations on WordPress](https://qa.nexterwp.com/blog/how-to-stop-spam-registrations-on-wordpress/)- [How to customize the WordPress admin dashboard](https://qa.nexterwp.com/blog/customize-wordpress-admin-dashboard/)- [How to disable the WordPress admin bar](https://qa.nexterwp.com/blog/disable-wordpress-admin-bar-for-all-users-except-administrators/) --- # How to Fix 408 Request Timeout Error [Solved] Source: https://qa.nexterwp.com/blog/how-to-fix-408-request-timeout-error/ A 408 request timeout means a page started to load, then stalled because the server stopped waiting for the full request to arrive. It is annoying for visitors and, if it keeps happening, it costs you traffic and trust. The good news is that a 408 is usually quick to fix once you know whether the holdup is on the visitor side or your own server. This guide explains what the error really is, what triggers it on WordPress, and six fixes to clear it and keep it from coming back. ## What Is a 408 Request Timeout Error? The 408 Request Timeout is an HTTP status code the server sends when it gives up waiting for a complete request from the browser. Every server sets a window for how long it will hold a connection open. If the full request does not arrive in that window, the server closes the connection and returns a 408. Because 408 sits in the 4xx range, it is classed as a client-side error, and it often is one: a slow or dropped connection is the most common trigger. On a WordPress site, though, the cause is just as often at your end, such as a large upload, an overloaded server, or a timeout setting that is too short to finish the job. Two quick points that save confusion. A 408 is not the same as a 504 Gateway Timeout: a 504 means one server waited too long on another server upstream, while a 408 is about the original request never completing. And if you reached this page looking for a SIP 408 in a VoIP app like Zoiper or Asterisk, that is a different protocol with its own causes; this guide covers the web and WordPress version. ## What Causes a 408 Timeout Error? Knowing where the delay comes from tells you which fix to try first. The triggers fall into two groups. ### Visitor (Client) Side - **Slow or unstable connection:** a weak Wi-Fi signal or dropped mobile data can delay the request so it never fully reaches the server in time. - **A stale browser cache:** old cached files or cookies can hold up the request the browser tries to send. - **A VPN, proxy, or strict firewall:** security tools sitting between the visitor and your site can throttle or stall the connection. ### Site and Server Side - **A timeout setting that is too short:** if your server only waits a few seconds, a normal but slightly slow request gets cut off. - **Server overload or thin resources:** high traffic or low CPU and memory mean requests queue up and run past the limit. - **Heavy or poorly coded plugins:** a slow plugin or a heavy database query can push processing time over the edge. - **Large uploads:** sending a big file can take longer than the server is willing to wait. ***Also Read:** [How to Fix 400 Bad Request Errors](https://qa.nexterwp.com/blog/how-to-fix-400-bad-request-errors/) if you are seeing a 400 alongside the 408.* ## How to Fix a 408 Request Timeout Error Work through these from the quickest visitor checks to the server fixes, and stop as soon as the page loads again. If you are a visitor seeing this on someone else site, the first two steps are the ones for you. ### 1. Check Your Connection and Reload Start with the simplest cause. Confirm your internet is stable, switch from Wi-Fi to a wired or mobile connection if you can, and reload the page. A one-off 408 often clears on the next try because the original request simply got delayed. ### 2. Clear Your Browser Cache and Pause Security Tools Clear your browser cache and cookies, then try again, or open the site in a private window to rule the cache out. If it loads in private mode, stale data was the cause. Temporarily turning off a VPN, proxy, or aggressive firewall also tells you quickly whether one of those is stalling the request. ### 3. Deactivate Heavy or Recently Added Plugins If the 408 only started after installing or updating a plugin, that plugin is the prime suspect. In your WordPress dashboard, deactivate all plugins, then reactivate them one at a time, testing the page after each. When the error returns, you have found the plugin to replace or remove. If you cannot reach the dashboard, rename the plugins folder over FTP to switch them all off at once. 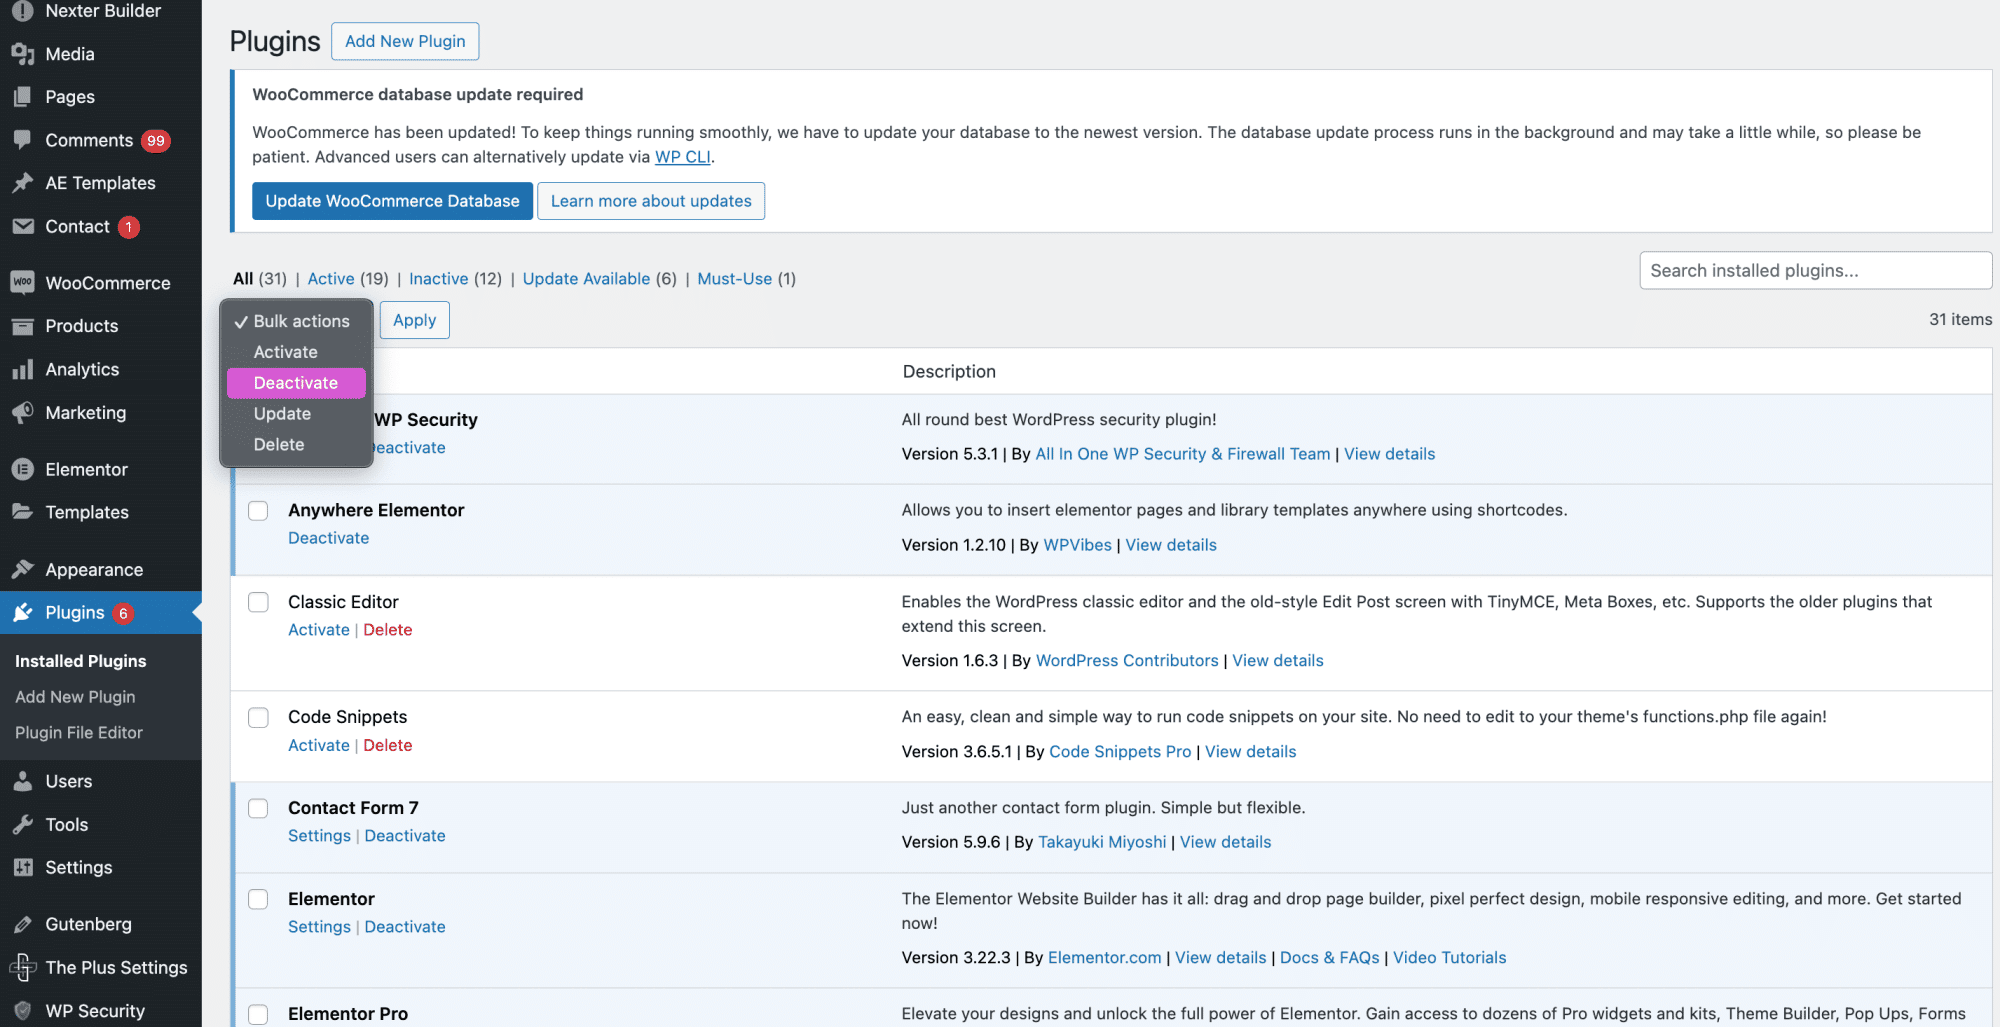Deactivate plugins in bulk, then reactivate one by one to find the slow plugin behind a 408. ### 4. Undo Recent Site or Database Changes A recent theme change, custom code, or database edit can quietly add load that tips requests over the timeout. Roll back the most recent changes one at a time and test in between. If a database change is the cause, open your database tool such as phpMyAdmin and review or revert the recent edits and heavy queries. Always back up before you touch the database. 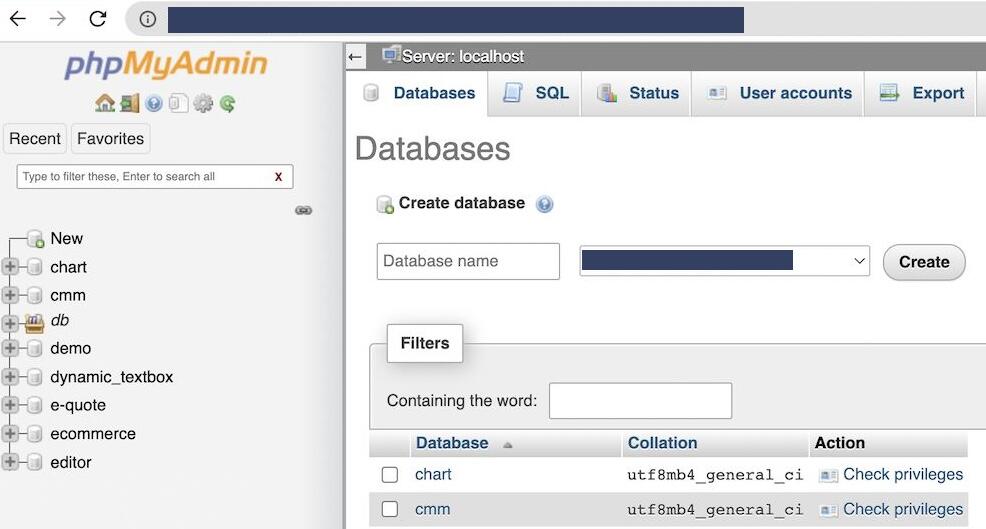Review or revert recent database edits and heavy queries that can push requests past the timeout. ### 5. Raise the PHP and Server Timeout Limits WordPress has no timeout setting of its own. The limit comes from PHP and your web server, so raise both to give requests more room. Common values look like this: `; php.ini max_execution_time = 300 # .htaccess (Apache) php_value max_execution_time 300 Timeout 300 # nginx fastcgi_read_timeout 300;` Increase the values gradually rather than setting them very high, since a long timeout can hide a real performance problem. On managed hosting some of these are locked at the server level, so if you cannot edit them, ask your host to raise the limits for you. ### 6. Reduce Server Load With Caching and Cleanup The lasting fix is to make requests finish faster so they never reach the limit. Add a caching plugin so most pages serve without hitting PHP, optimize large images and your database, and upgrade your hosting plan if the server is consistently short on resources. To find what is slow, install the free [Query Monitor](https://wordpress.org/plugins/query-monitor/) plugin and look at its slow-query and HTTP-request reports, then optimize whatever shows up. 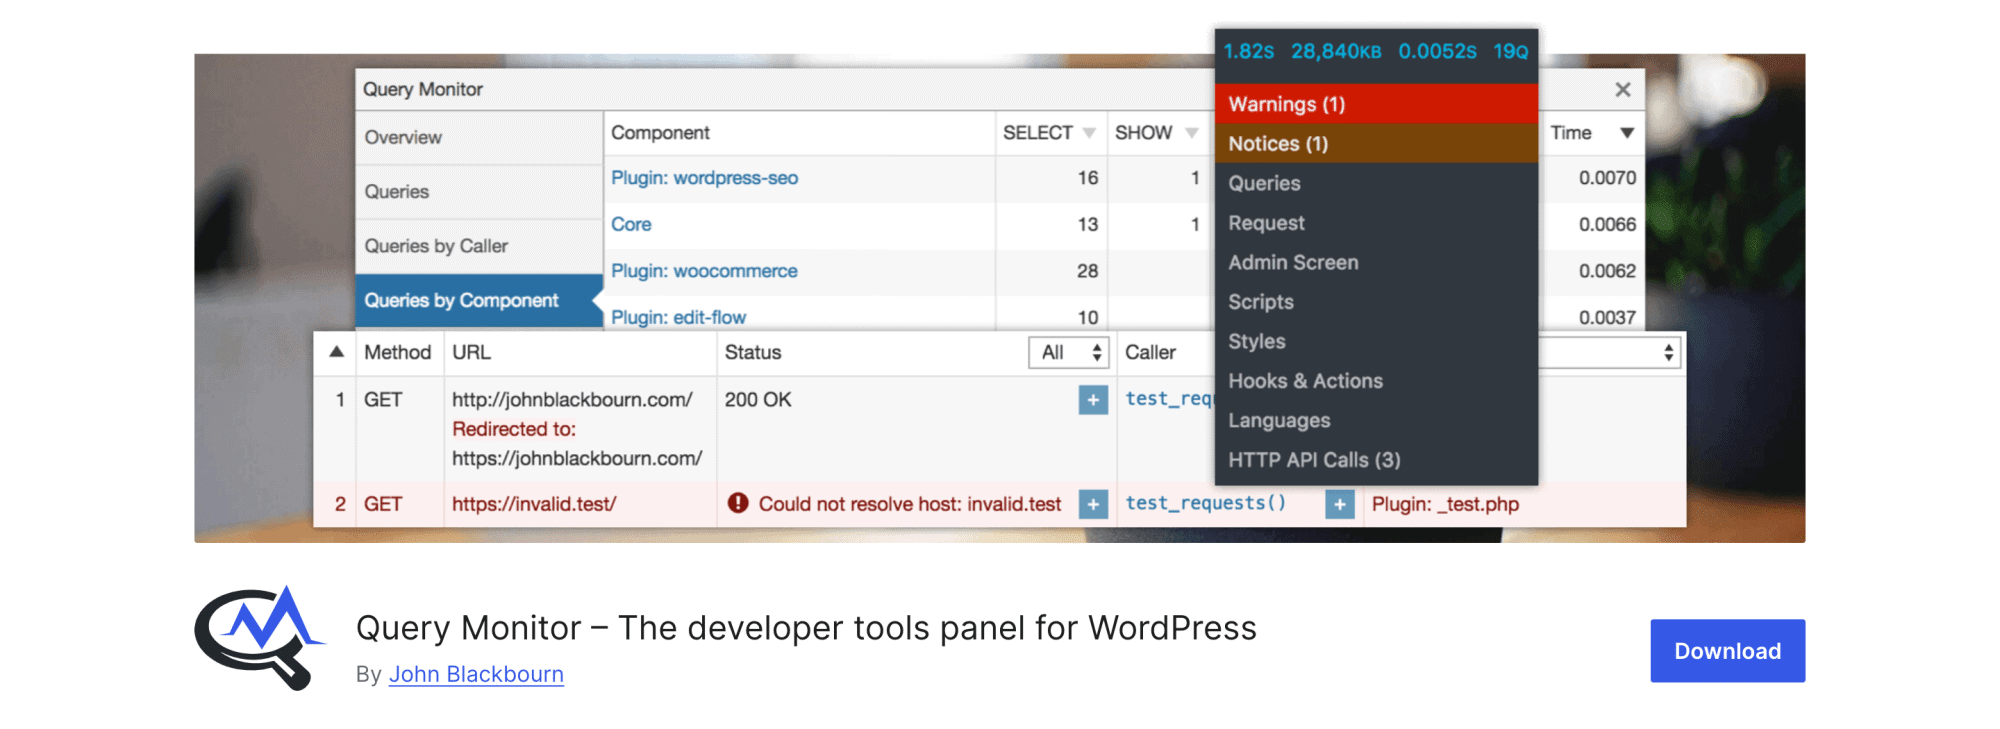Query Monitor surfaces the slow queries and scripts that push processing time over the limit. If your site runs behind Cloudflare or another CDN, check that layer too. A timeout reported there can show up as a 408 or, when the origin server is too slow to answer, a 524. Clearing the CDN cache and confirming its timeout settings rules it out. ***Also Read:** [How to Increase the WordPress Memory Limit](https://qa.nexterwp.com/blog/how-to-increase-wordpress-memory-limit/) when thin server resources are behind the timeouts.* ## Suggested Reading - [How to Fix 400 Bad Request Errors](https://qa.nexterwp.com/blog/how-to-fix-400-bad-request-errors/) - [Tips to Speed Up Your WordPress Website](https://qa.nexterwp.com/blog/tips-to-speed-up-wordpress-websites/) - [Best WordPress Cache Plugins](https://qa.nexterwp.com/blog/best-wordpress-cache-plugins/) - [5 Best WordPress Backup Plugins](https://qa.nexterwp.com/blog/best-wordpress-backup-plugin/) ## Wrapping Up A 408 request timeout looks alarming but usually traces back to one of a few causes: a slow connection, a heavy plugin, or a server timeout that is too tight. Start with the visitor-side checks, move to deactivating plugins and reviewing recent changes, then raise your timeout limits and reduce load so requests finish well inside the window. Because slow, bloated pages are a common trigger, a lightweight setup helps prevent timeouts in the first place. [Nexter Blocks](https://qa.nexterwp.com/nexter-blocks/) adds 90+ Gutenberg blocks that are built for performance, so you can design rich pages without piling on the load that leads to 408 errors. ## FAQs on 408 Request Timeout Error ### What is the difference between 408 and 504 status code? A 408 timeout error is a client-side issue and means that the client took too much time to send a request to the server. On the other hand the 504 status code is a server-side issue and indicates a gateway timeout. This means that the server did not receive a timely response from the upstream server. ### Is it important to fix the 408 request timeout error? Yes, it is important to fix the 408 error to ensure your website’s visitors have a pleasant experience. When users encounter this error, they may perceive your site as slow or unreliable which could lead to frustration. You can maintain your website’s performance and reliability by fixing the 408 timeout error. ### Does 408 request timeout error affect SEO? A 408 request timeout error can affect your website’s SEO if the issue occurs frequently. Search engines may struggle to crawl and index your site if they encounter timeout errors repeatedly. This can lead to lower rankings in search results as search engines prioritize sites that load promptly and reliably. ### How do I increase the request timeout limit in WordPress? WordPress has no single timeout setting of its own. The limit comes from PHP and your web server. Raise PHP max_execution_time through php.ini, .htaccess, or your host panel, then increase the matching server value: Timeout in Apache or fastcgi_read_timeout in nginx. On managed hosting some of these are locked, so ask your host to raise them if you cannot edit them yourself. ### Is a 408 request timeout error a server-related issue? A 408 request timeout error is generally not a server-related issue but rather a client-side problem. It indicates that the client's request was not completed within the server's allowed time frame due to slow internet connections or long processing times. However, server configuration settings like short timeout thresholds can also cause issues. --- # How to Log Into Your WordPress Website Securely Source: https://qa.nexterwp.com/blog/how-to-log-into-your-wordpress-website/ Your WordPress login page is one short URL away, and most of the time the only thing between you and the dashboard is remembering where it lives. Add `/wp-admin/` to your domain, type your username and password, and you are in. The trouble starts when the page will not load, the reset email never arrives, or you inherited a site and have no idea what the login address even is. This guide covers the fast path to logging in, every place your login URL can hide, the fixes for the errors that lock people out, and the settings that keep attackers off that same page. ## The Quick Answer: How to Login to WordPress To log into your WordPress website: - Open any browser and go to **yourdomain.com/wp-admin/**. - Enter the username or email address and password for your WordPress account. - Click **Log In**. WordPress sends you straight to the admin dashboard. That is the whole process for a standard site. If your site uses a custom login address, only step one changes, and the next section shows you how to find it. ## How to Find Your WordPress Login URL By default, two addresses open the same login screen: `yourdomain.com/wp-admin/` and `yourdomain.com/wp-login.php`. When you are logged out, `/wp-admin/` redirects you to the login form, then drops you back at the dashboard once you sign in. Where the login page sits depends on how WordPress was installed: - **Root install:** yourdomain.com/wp-admin/ - **Subdirectory install** (WordPress lives in a folder like /blog): yourdomain.com/blog/wp-admin/ - **Subdomain install:** blog.yourdomain.com/wp-admin/ - **Multisite network:** each site keeps its own /wp-admin/, and the network dashboard is at yourdomain.com/wp-admin/network/ The default WordPress login URL is your domain plus /wp-admin/, and it can be changed for security. If the default address redirects oddly or returns a 404, the site is most likely using a custom login URL set up for security. In that case you need the exact custom path. Check with whoever built the site, or look in your security plugin settings. Once you know the right address, bookmark it so you never hunt for it again. ## 3 Ways to Log Into WordPress ### Method 1: The Standard WordPress Login Page This is the route you will use most. Go to your login URL, enter your username or email and password, and click Log In. Two small habits make it smoother. Tick **Remember Me** so WordPress keeps you signed in for two weeks instead of one day, and only ever log in over a secure **HTTPS** connection so your credentials are encrypted in transit. Passwords are case sensitive, so check that Caps Lock is off. If you are not sure of your username, the email address tied to the account works in the same field. ### Method 2: Through Your Hosting Control Panel If you cannot remember your WordPress password, your host can often get you in without it. Log into your hosting account and open its control panel, usually cPanel, hPanel, or Plesk. Look for a section named something like **WordPress**, **WordPress Tools**, or **Applications**. Most managed hosts put a one-click **Log in to WordPress** or **Admin** button there that opens the dashboard with no password prompt. This is the quickest option when you manage several sites from one host, since every dashboard is one click away in the same place. ### Method 3: Save Time With a Bookmark and Remember Me Once you are in, bookmark the login page or the dashboard itself. Combined with the Remember Me option, a bookmarked dashboard means you usually land inside WordPress in a single click, no typing required, until the session expires. ***Also Read:** [How to Change Your WordPress Admin Login URL Path](https://qa.nexterwp.com/docs/change-wordpress-admin-login-url-path/) to move the login page somewhere bots cannot guess.* ## How to Fix Common WordPress Login Problems Most login failures come down to a handful of causes. Work through these from the simplest fix to the most technical, and stop as soon as you are back in. ### Wrong Username or Password Re-check spelling and capitalization first, and turn off Caps Lock. If your username is not working, try the email address on the account instead. Repeated failed attempts can lock you out for a few minutes, so pause rather than hammering the button. ### Reset a Forgotten Password Click **Lost your password?** under the login form, enter your username or email, and WordPress sends a reset link. If the email does not arrive, check your spam folder, since many sites send mail from a no-reply address that filters flag. 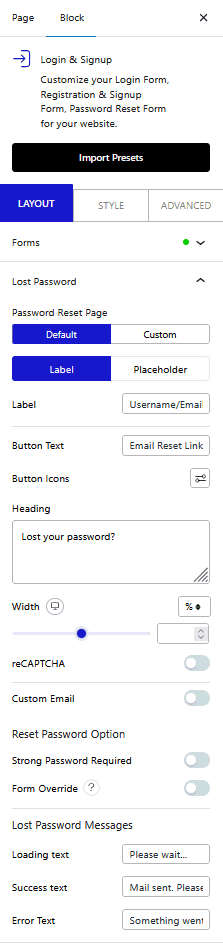The Lost your password link sends a reset email so you can set a new password. ### The Login Page Keeps Reloading A login page that refreshes without letting you in is almost always a cookie or cache problem. Clear your browser cookies and cache, or try an incognito window. If it still loops, the site address may be misconfigured. Ask your administrator to confirm the **WordPress Address** and **Site Address** under Settings, General match your real domain. ### A Plugin or Theme Is Blocking Login If the page throws an error or a redirect loop, a plugin or theme conflict is a common cause. Connect over FTP or your host file manager, open wp-content, and rename the `plugins` folder to something like `plugins-off`. Try logging in again. If it works, rename the folder back and reactivate plugins one at a time to find the culprit. ### Advanced: Reset Login Details in the Database This is a last resort for people comfortable working in a database, and you should back up your site first. Through your host phpMyAdmin you can open the `wp_users` table and reset a password directly. Set the new value with the **MD5** function. Modern WordPress hashes passwords with a stronger algorithm, but it still accepts an MD5 value and upgrades it automatically the next time you log in. If any of that feels risky, your host support team can do it for you safely. ***Also Read:** [5 Best WordPress Security Plugins to Protect Your Site](https://qa.nexterwp.com/blog/best-wordpress-security-plugins-to-protect-your-site/) if repeated login trouble points to a bigger security gap.* ## How to Keep Your WordPress Login Secure Automated bots hammer `/wp-admin` and `/wp-login.php` with thousands of guessed passwords every day, because those URLs are the same on almost every WordPress site. A few settings turn that open door into a hard target. Nexter Extension groups WordPress login security controls in one place. - **Use a strong, unique password and turn on two-factor authentication** so a stolen password alone is not enough to get in. - **Limit login attempts** to block the bots that try password after password. - **Turn on login email notifications** so you know the moment someone signs in. - **Change your login URL** so automated scans of /wp-admin never reach a login form. - **Add a CAPTCHA** to the login form to stop scripted submissions. You can assemble these from several separate plugins, or get them in one toolkit. [**Nexter Extension**](https://qa.nexterwp.com/nexter-extension/) bundles the full set, including 2 Factor Authentication, Limit Login Attempts, Login Email Notification, a Custom Login URL, and Captcha Spam Protection, alongside 50+ other WordPress controls. 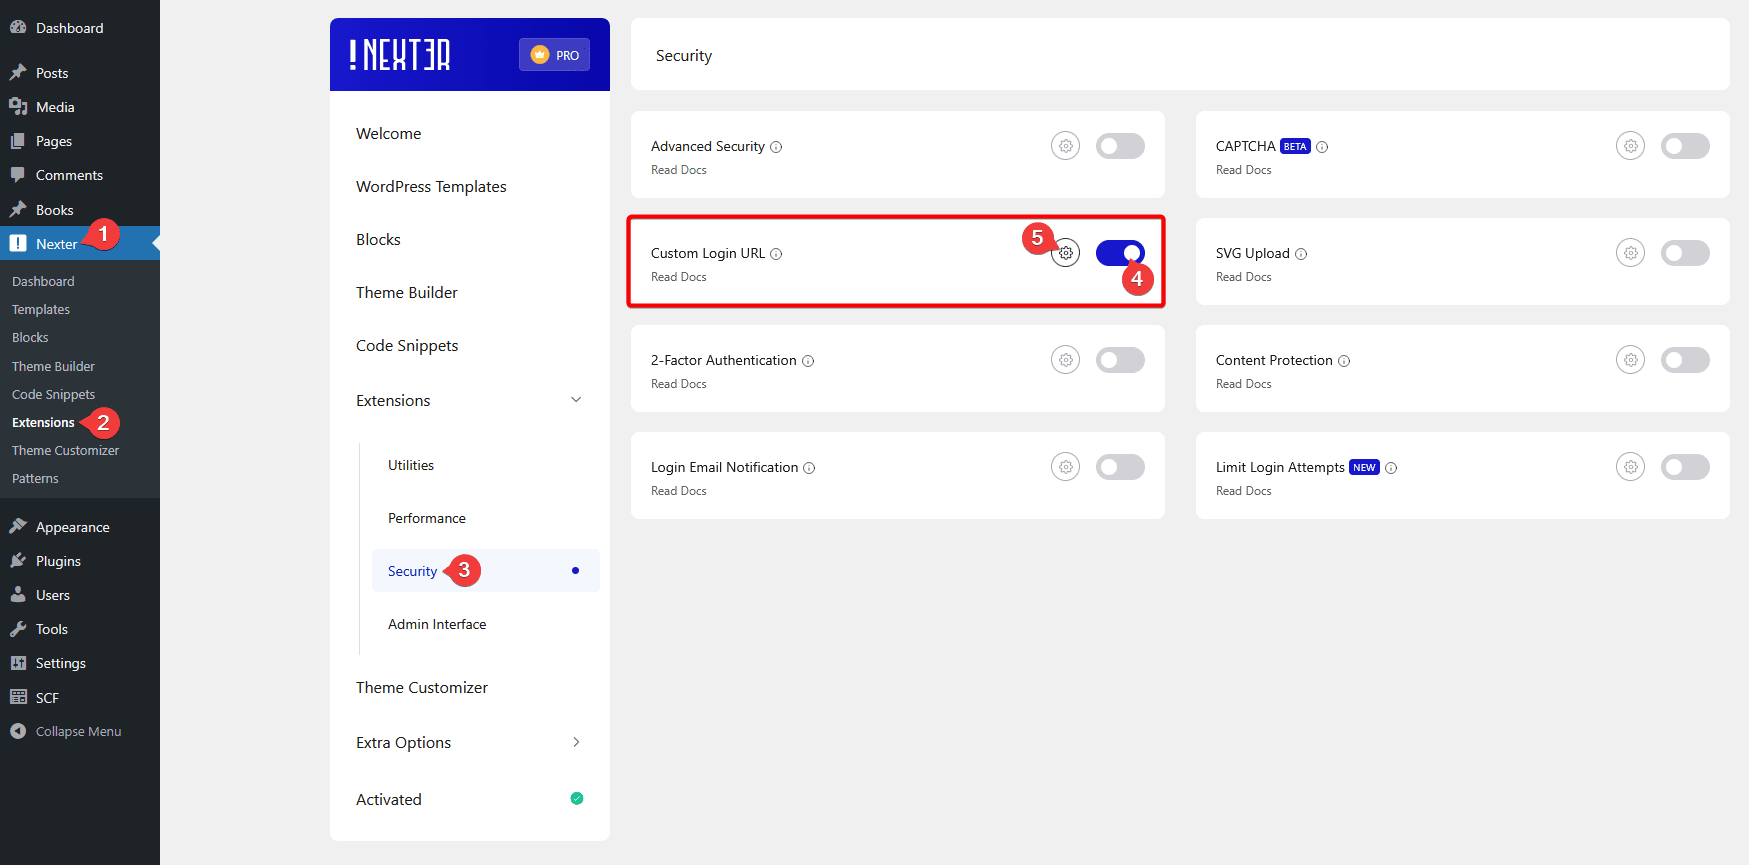Moving the login page to a custom URL hides it from automated attacks. 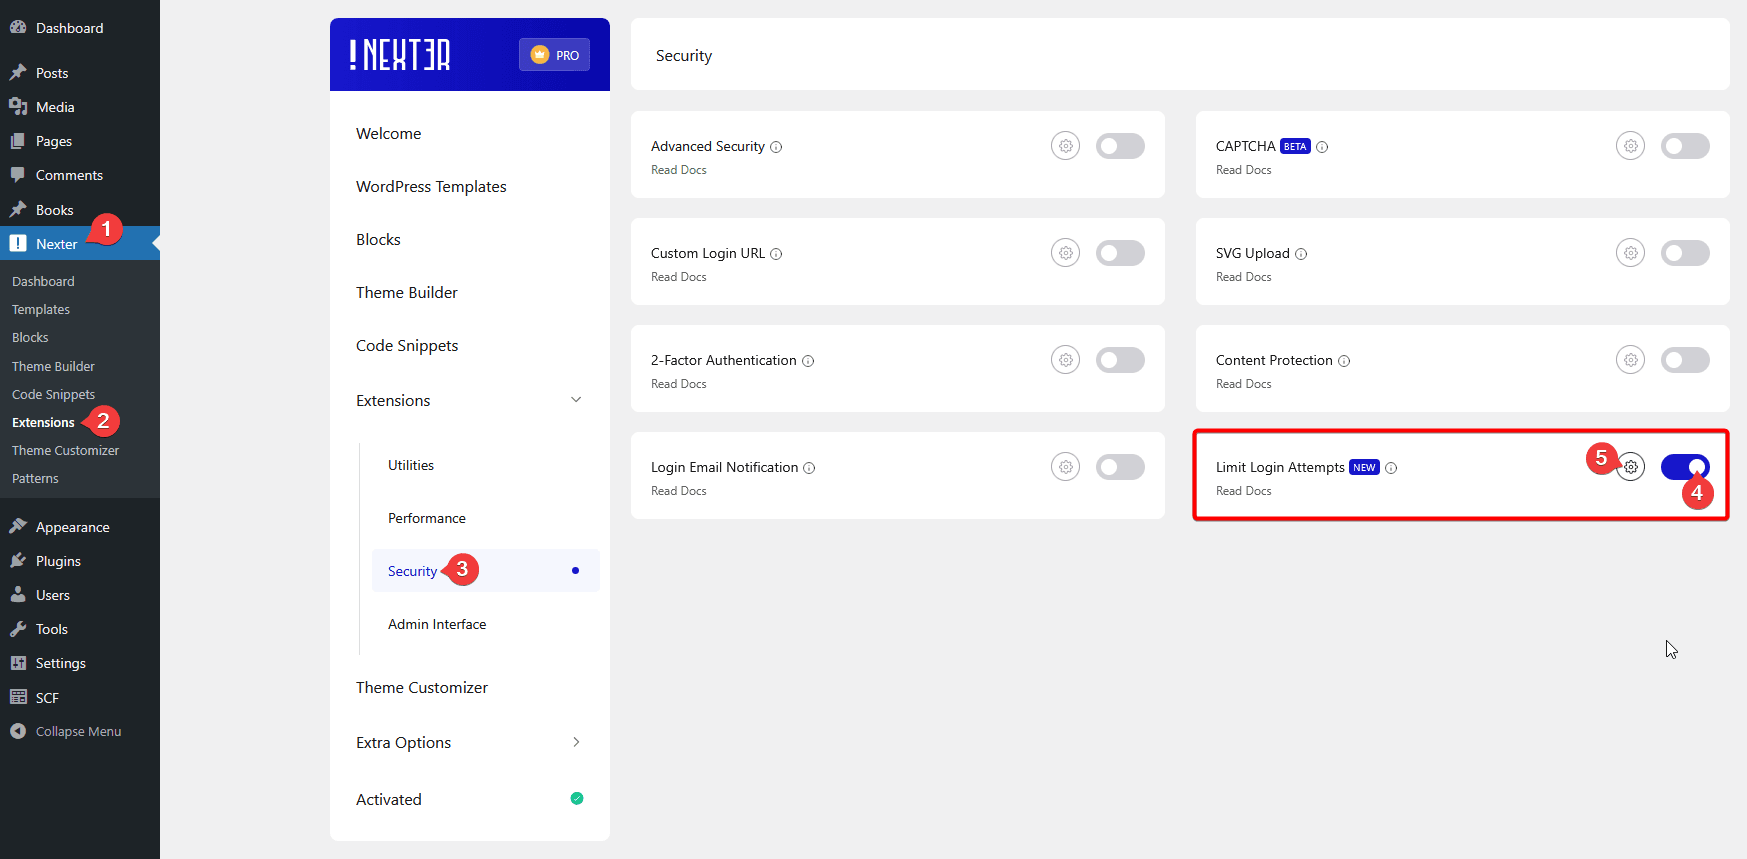Limit Login Attempts locks out repeated failed guesses automatically. 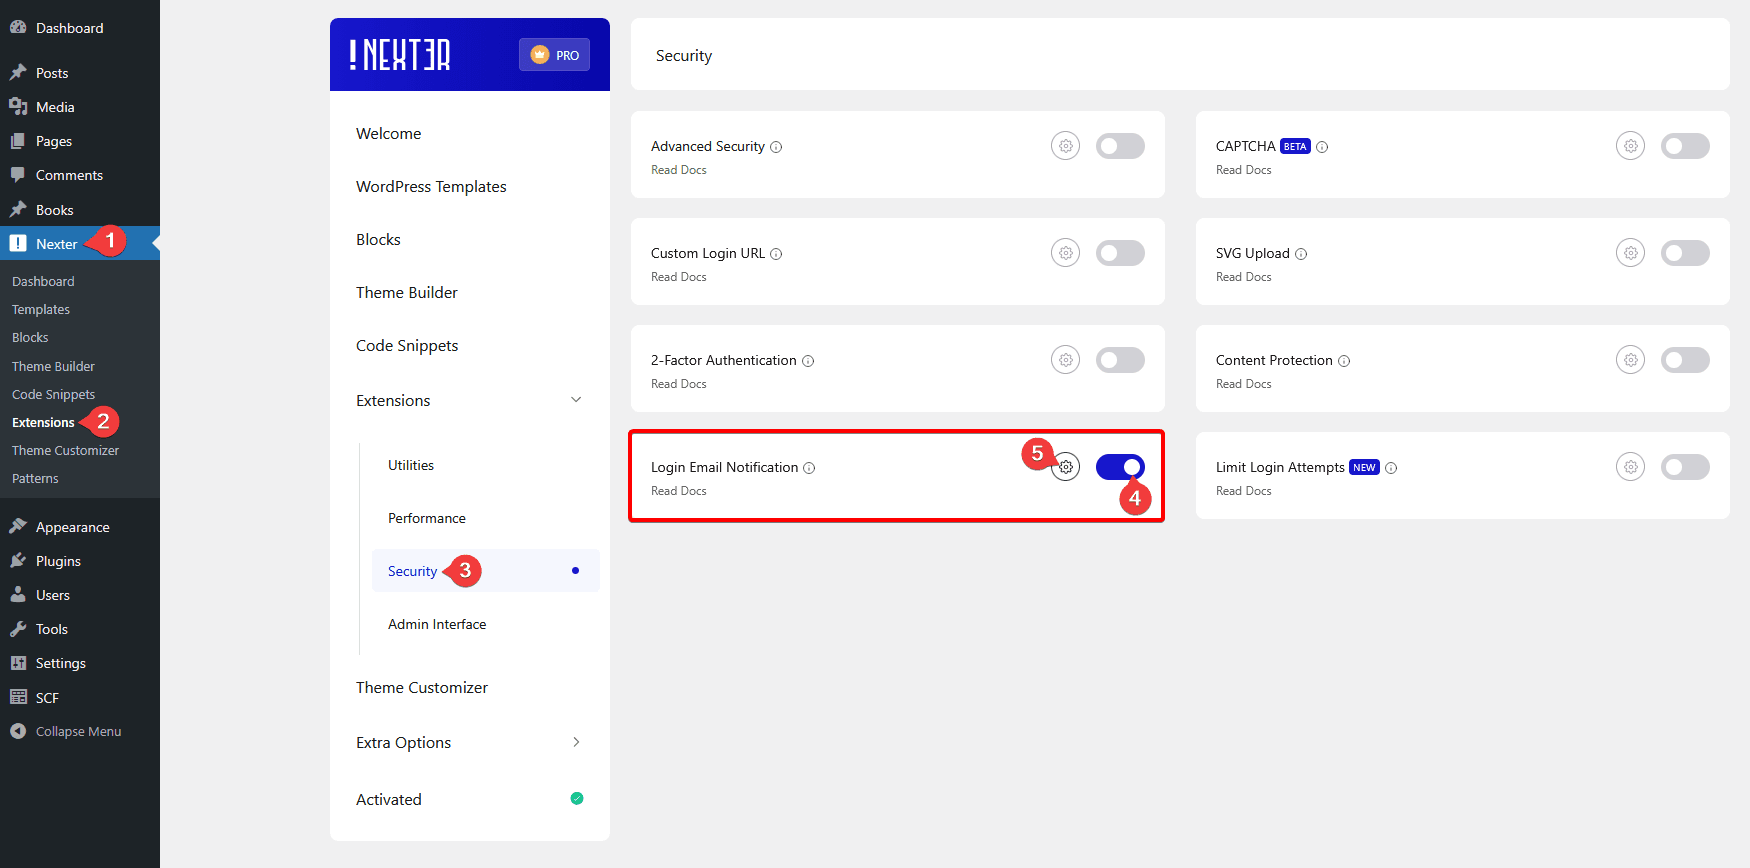Login email notifications alert you to every sign-in, including ones you did not make. [Secure Your WordPress Login With Nexter Extension](https://qa.nexterwp.com/nexter-extension/) ## Suggested Reading - [How to Create a Password Protected Page in WordPress](https://qa.nexterwp.com/blog/how-to-create-a-password-protected-page-in-wordpress/) - [How to Make a WordPress Site Private](https://qa.nexterwp.com/blog/make-a-wordpress-site-private/) - [How to Customize the WordPress Admin Dashboard](https://qa.nexterwp.com/blog/customize-wordpress-admin-dashboard/) - [Gutenberg vs Elementor: Honest Block-Builder Comparison](https://qa.nexterwp.com/blog/gutenberg-vs-elementor/) ## Wrapping Up Logging into WordPress comes down to one URL and one set of credentials. Add /wp-admin/ to your domain, sign in, and bookmark the page. When something goes wrong, work from the simple fixes, clearing cookies and resetting your password, before touching the database. Speed should not come at the cost of safety. The same page you use to log in is the one bots attack, so a custom login URL, limited attempts, login alerts, and two-factor authentication are worth setting up once. [**Explore Nexter Extension pricing**](https://qa.nexterwp.com/pricing/) to add those protections without stacking up separate plugins. ## FAQs on Logging into Your WordPress Website ### What is the default login URL for accessing the WordPress admin dashboard? The default URL is your website’s domain plus “/wp-admin”. For example, if your site is example.com, you go to example.com/wp-admin. ### How can I find my WordPress admin username and password? Your username is usually set when you first install WordPress. The password is the one you created during setup or later changed. If you don’t remember, check your email for setup details or ask your site administrator. ### Can I sign in to my WordPress site using my Google account? By default, WordPress does not support Google account login. You must use your WordPress username and password unless you add a plugin that allows social login. ### What should I do if I'm unable to access the wp-admin page? First, clear your browser cache and cookies. If that doesn’t work, check if your site URL is correct. You might also have a plugin or theme conflict; disabling plugins via FTP could help. ### How do I log into my WordPress site on a local server? Use “localhost” or “127.0.0.1” followed by “/wp-admin” in your browser. For example, localhost/wp-admin will lead you to the login page on your local computer. ### What steps can I take if I have forgotten my WordPress login credentials? Go to the login page and click “Lost your password?” Enter your username or email to get a reset link. Follow the email instructions to set a new password. --- # How to Use the OpenAI API in WordPress (and Get Cited by ChatGPT) in 2026 Source: https://qa.nexterwp.com/blog/openai-api-wordpress/ #### Key Takeaways - "OpenAI API" connects to WordPress in two directions: you can feed GPT into your site to generate content, and you can shape your site so ChatGPT cites it in answers. Most guides only cover the first.- There is no permanent free tier. The API is pay-as-you-go. GPT-5.5 runs $5 per million input tokens and $30 per million output tokens, with a 1M-token context window.- The base URL is https://api.openai.com/v1 and every request carries your secret key as an Authorization: Bearer header. The newer Responses API is OpenAI's recommended starting point for new projects.- Three ways to connect OpenAI to WordPress: a no-code plugin, an automation platform, or a custom plugin. Whichever you pick, the key stays server-side, never in client code.- Getting cited by ChatGPT is a separate job from calling the API. It rewards clean extractable answers, schema, author trust, and crawler access, which is the gap RankReady fills. A few months ago a customer messaged us, half proud and half annoyed. They had wired GPT into their WordPress site to auto-draft product descriptions, and it worked beautifully. Then they asked ChatGPT a question their own site answered better than anyone, and ChatGPT named a competitor instead. Both of those moments are the OpenAI API at work. They just point in opposite directions. This guide covers both. First, how to actually connect the OpenAI API to WordPress and what it costs in 2026. Then the half almost nobody writes about: how to shape your WordPress content so ChatGPT cites you when someone asks the question you already answered. ## What the OpenAI API actually is The OpenAI API is the way your server talks to OpenAI's models over HTTPS, without anyone opening the ChatGPT app. You send a prompt, you get back generated text, images, audio, or embeddings. The base URL is `https://api.openai.com/v1`, and every request carries your secret key as an `Authorization: Bearer YOUR_API_KEY` header. That is the whole handshake. For text, there are two endpoints worth knowing. Chat Completions is the long-standing one most tutorials still show. The Responses API is OpenAI's newer primitive, which it describes as "an evolution of Chat Completions" and now recommends "for all new projects." If you are building something fresh, start there. If you are pasting in code from an older guide, it is probably Chat Completions, and that still works. 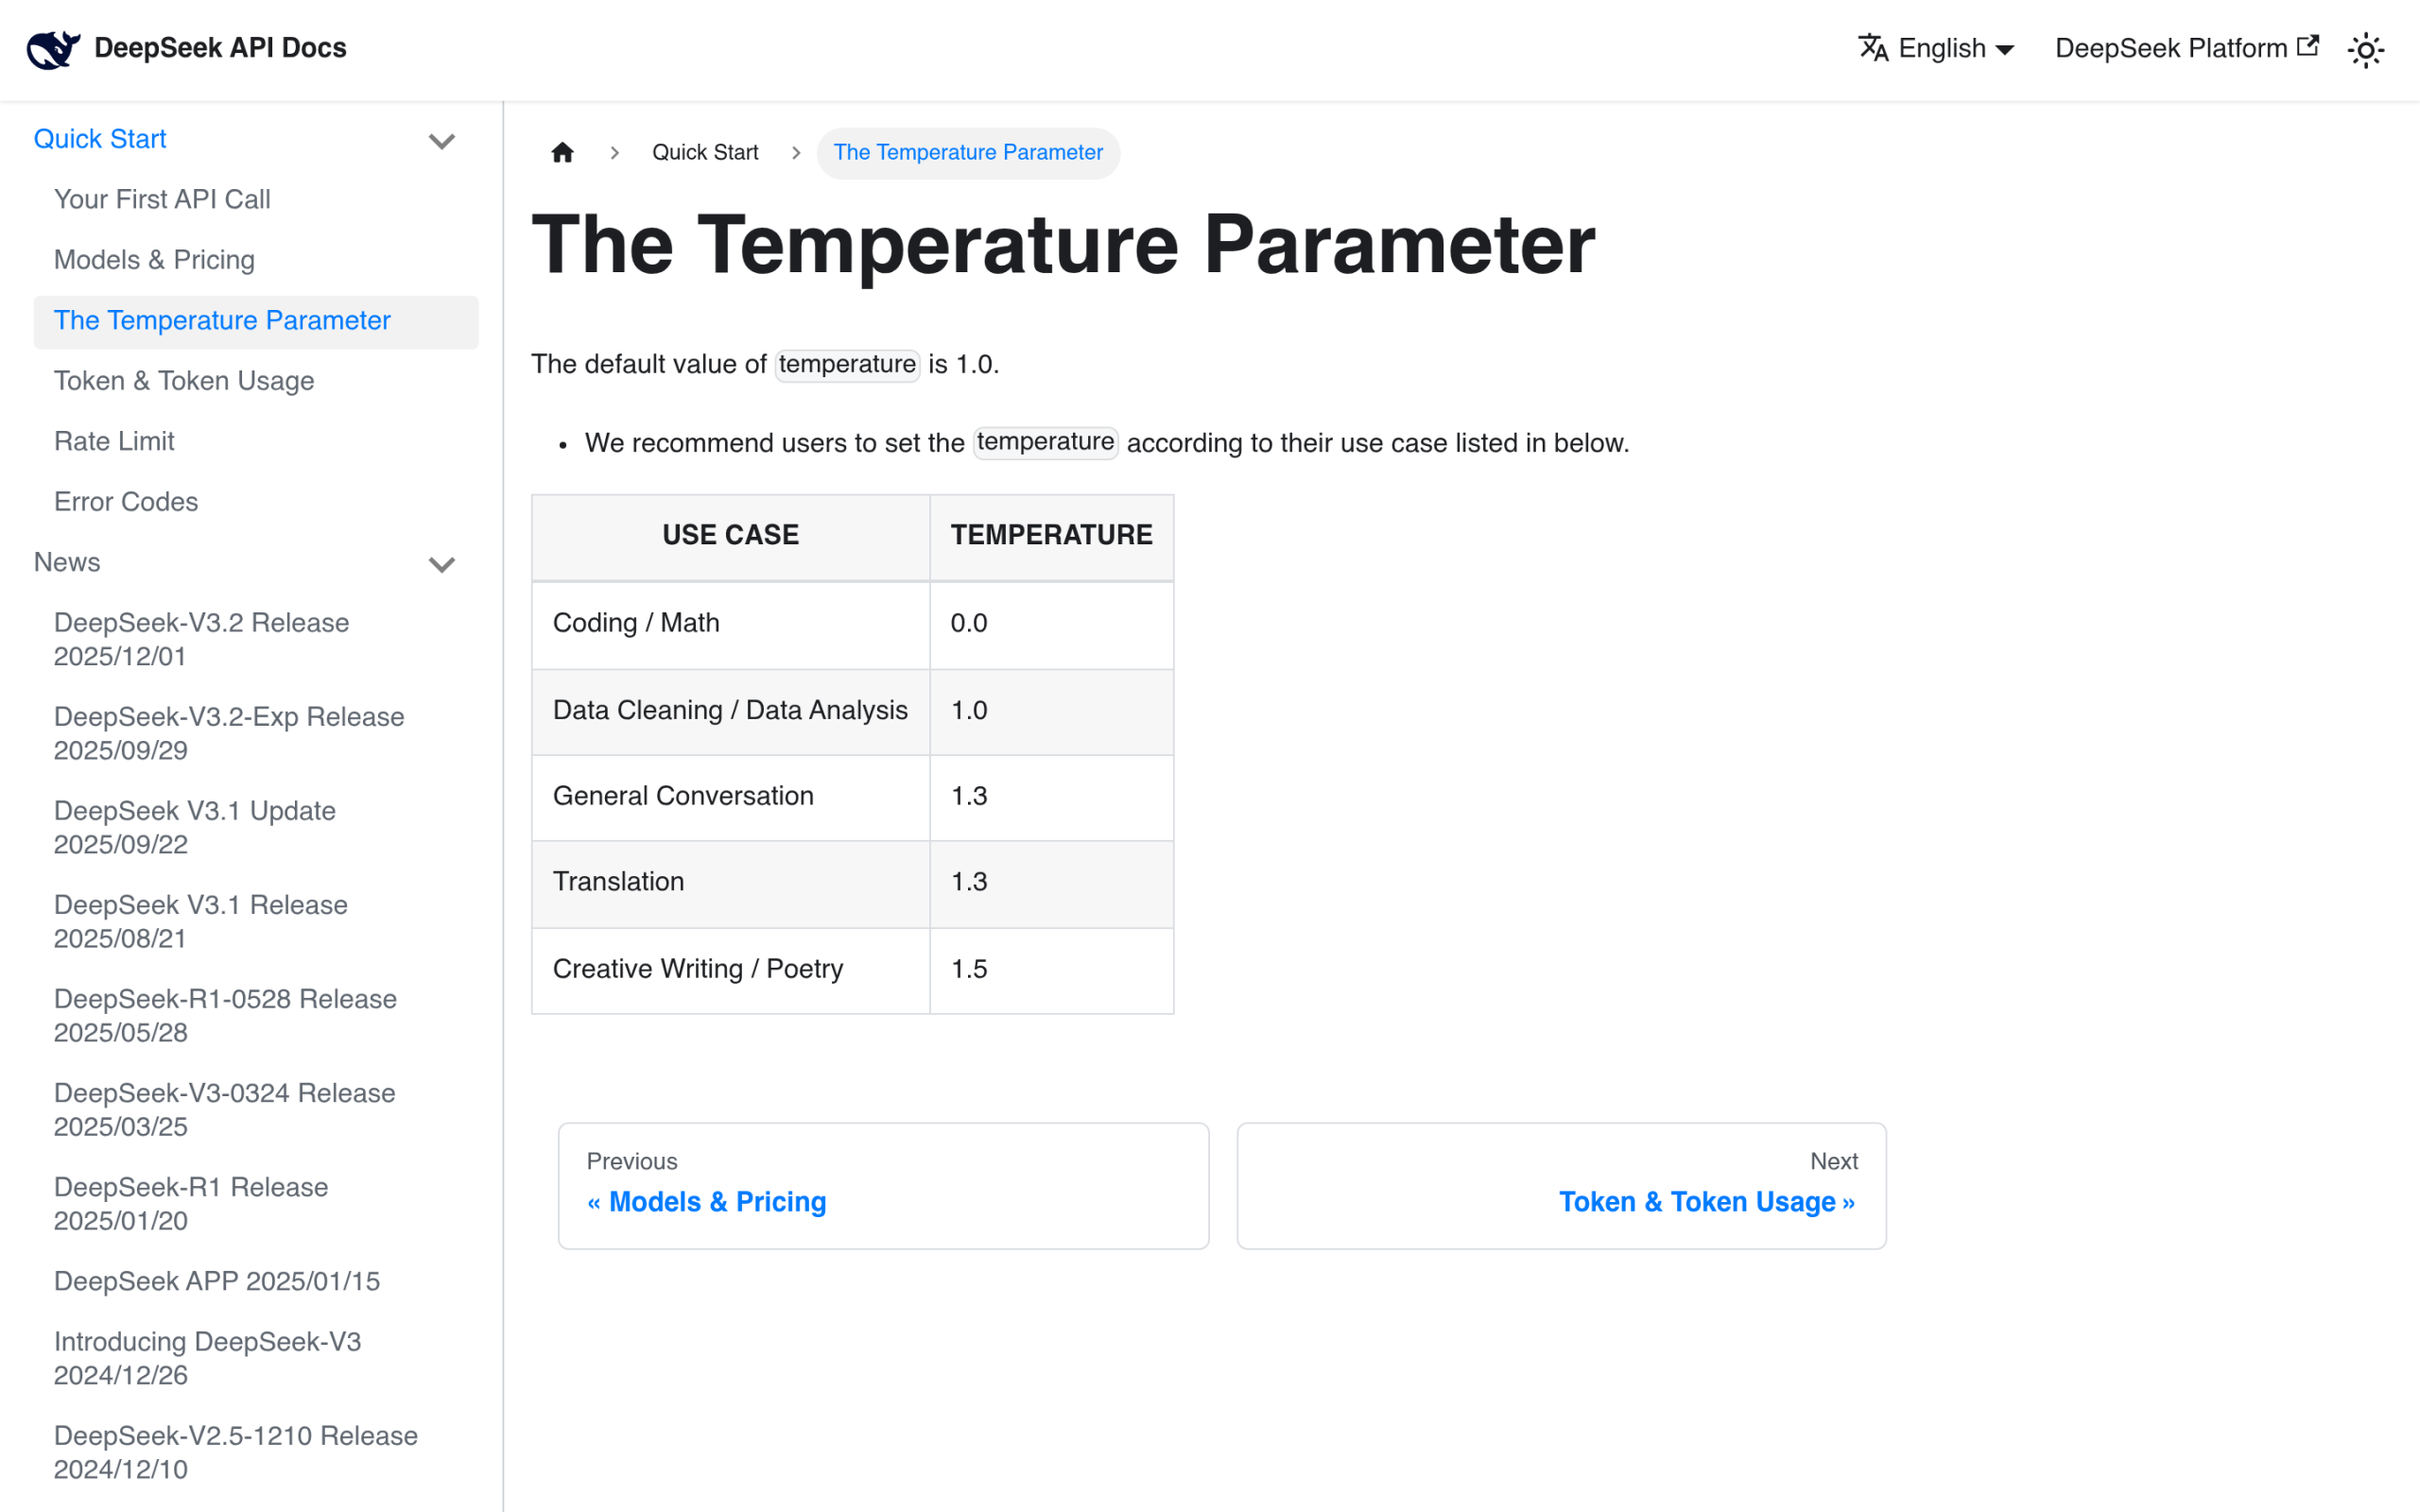The OpenAI request format is so standard that other providers copy it: a base URL, a model name, and your key in a Bearer header. ## The two directions OpenAI and WordPress connect Hold these two apart in your head, because they need completely different work. **Direction one is OpenAI into WordPress.** You call the API from your site to draft posts, write product copy, summarize comments, or tag content. This is a coding and plumbing job: get a key, store it safely, send requests. **Direction two is WordPress into ChatGPT.** You make your published pages easy for OpenAI's crawlers to read and quote, so ChatGPT names your site as the source. This is a content and structure job, and it has nothing to do with holding an API key. Most "OpenAI API for WordPress" articles stop after direction one. The customer I mentioned had nailed direction one and ignored direction two, which is exactly why a competitor got the citation. ***Also Read:** [How to Use the Gemini API in WordPress](https://qa.nexterwp.com/blog/gemini-api-wordpress/) if you want to compare OpenAI's pricing and setup against Google's free-tier route.* ## How to get an OpenAI API key (and what it costs) Create an account at platform.openai.com, open the API keys page, and create a new secret key. Copy it the moment it appears, because OpenAI shows the full key only once. Then add a payment method, because this is where OpenAI differs sharply from Google's Gemini: there is no permanent free tier. The OpenAI API is pay-as-you-go from your first call. New accounts sometimes get a small block of trial credit, but it expires, and you should not build a plan around it. Pricing is per token, billed separately for what you send (input) and what you get back (output). The flagship GPT-5.5 is "$5 per 1M input tokens and $30 per 1M output tokens, with a 1M context window." The heavier gpt-5.5-pro runs $30 and $180 per million. If you batch jobs overnight or use the Flex tier, OpenAI charges roughly half the standard rate. For a sense of scale, a million tokens is around 750,000 words, so a single auto-drafted 800-word product description costs a fraction of a cent. The bill only gets real when you run thousands of them. ## Three ways to connect OpenAI to WordPress **1. A no-code plugin.** The fastest route. You paste your key into a plugin's settings and it handles the requests. Several WordPress AI plugins do this, and Nexter Blocks ships AI text and image generation that runs on an OpenAI key you provide. Good when you want generation inside the editor without touching code. A no-code path: Nexter Blocks calls the OpenAI API with your own key to generate text and images inside the WordPress editor. **2. An automation platform.** Tools like Make, Zapier, or n8n call the OpenAI API on a schedule or trigger, then push the result into WordPress through the REST API. Good for workflows that span more than one app, like turning a spreadsheet row into a draft post. **3. A custom plugin.** The most control. You send requests to `api.openai.com` from PHP with `wp_remote_post()`, or use OpenAI's official client libraries. Worth it when the generation is core to your product and you need it to behave exactly your way. If you are also exploring how AI agents talk to apps in general, the [Model Context Protocol](https://qa.nexterwp.com/blog/model-context-protocol-wordpress/) is a useful companion read. ## Keep your API key server-side, always OpenAI's own safety guidance is blunt about this: never expose your API key in client-side code. A key sitting in JavaScript or a page template can be scraped and run up a bill on your account in hours. Store it server-side, in a `wp-config.php` constant or the WordPress options table, and never echo it into a theme file or front-end script. Set a monthly usage limit in the OpenAI dashboard as a safety net, and rotate the key immediately if you ever suspect it leaked. ## The other half: getting cited by ChatGPT Here is the part that has nothing to do with your API key. When someone asks ChatGPT a question, ChatGPT Search sends crawlers like [OAI-SearchBot](https://qa.nexterwp.com/blog/oai-searchbot-wordpress/) and [ChatGPT-User](https://qa.nexterwp.com/blog/chatgpt-user-wordpress/) to fetch live pages, and OpenAI's training crawler [GPTBot](https://qa.nexterwp.com/blog/gptbot-wordpress/) reads pages for the model itself. If those bots cannot reach your content, or cannot pull a clean answer out of it, you do not get named. Calling the API does not buy you a citation. Structure does. The practical checklist is short. Answer the question in the first sentence under each heading so a model can quote it without guessing. Add Article, FAQPage, and Speakable schema so the meaning is machine-readable. Publish an llms.txt file that points AI tools at your best pages. Keep your author and freshness signals visible. And make sure your robots rules actually allow the OpenAI crawlers you want, instead of blocking them by accident. RankReady logs which AI crawlers actually visit, including GPTBot and OAI-SearchBot, so you can see if OpenAI is even reaching your pages. This is exactly what [RankReady](https://store.posimyth.com/plugins/rankready/) handles, and it is free. It generates llms.txt and llms-full.txt, serves a clean Markdown version of every post at /post.md, and adds Article, Speakable, FAQPage, HowTo, and ItemList schema automatically. It lets you allow or block 31 AI crawlers, including GPTBot, ClaudeBot, and PerplexityBot, from one screen. And it shows you the part you usually fly blind on: which AI bots crawled you, which posts are citation candidates, and real AI referral traffic from chatgpt.com, perplexity.ai, claude.ai, and more. It scores 22 readiness signals per post, runs on WordPress 6.0+ and PHP 7.4+, and is GPL licensed with zero telemetry. RankReady publishes an llms.txt and a Markdown copy of each post, the formats AI tools read most cleanly. ***Also Read:** [How to Rank in ChatGPT](https://qa.nexterwp.com/blog/how-to-rank-in-chatgpt/) for the full playbook on getting your WordPress content cited in AI answers.* RankReady is a free, GPL-licensed plugin for making WordPress content AI-readable. [Get RankReady free](https://store.posimyth.com/plugins/rankready/) ## Suggested Reading - [How to Use the Gemini API in WordPress (and Get Cited by Gemini)](https://qa.nexterwp.com/blog/gemini-api-wordpress/)- [How to Use the DeepSeek API in WordPress (the Cheapest LLM Route)](https://qa.nexterwp.com/blog/deepseek-api-wordpress/)- [How to Rank in ChatGPT: Getting Cited in AI Answers](https://qa.nexterwp.com/blog/how-to-rank-in-chatgpt/)- [What Is ChatGPT Search? How WordPress Sites Get Surfaced in It](https://qa.nexterwp.com/blog/chatgpt-search-wordpress/)- [What Is GPTBot? Should You Allow or Block OpenAI's Crawler?](https://qa.nexterwp.com/blog/gptbot-wordpress/) --- # What Is AI SEO? The Complete 2026 Guide for WordPress Source: https://qa.nexterwp.com/blog/ai-seo-wordpress/ #### Key Takeaways - AI SEO means two different things at once: using AI tools to do SEO work faster, and optimizing your content so AI engines like ChatGPT and Google AI Overviews quote it.- Traditional SEO fundamentals still matter. AI SEO is a layer on top of them, not a replacement for them.- The fastest wins come from structure machines can read: clean headings, accurate schema, and a clear llms.txt file.- You cannot improve what you cannot see. Track which AI crawlers visit and which pages get cited, not just Google rankings.- On WordPress, a free plugin like RankReady handles the discovery and measurement layer so you can focus on the writing. A client called me last spring, half proud and half confused. Their main service page had finally hit number one on Google for the term they had chased for two years. Same week, they asked ChatGPT which company to hire for that exact service, and it named a competitor they had never even heard of. They were winning the ranking and losing the recommendation. That gap is what people are really asking about when they search for AI SEO. The phrase gets thrown around as if it means one clear thing. It does not. AI SEO is two separate ideas wearing the same name, and most of the confusion online comes from blending them. This guide pulls them apart, shows how each one works on WordPress, and points you to the deeper guides for every piece. AI SEO spans two jobs: using AI to produce and structure content, and optimizing that content to be cited by AI answer engines. ## What Is AI SEO, Really? Two Definitions, One Term When someone says AI SEO, they mean one of two things, and sometimes both without realizing it. The first meaning is **using AI to do SEO work**. That is keyword research, topic clustering, drafting, and schema generation done with help from large language models instead of by hand. The goal here is speed and scale for the same old target: ranking on Google. The second meaning is **optimizing so that AI engines cite you**. When a reader asks ChatGPT, Perplexity, or Google AI Overviews a question, those systems read content, pick a few trustworthy sources, and quote them. Getting picked is a different target with different rules. People call this answer engine optimization, generative engine optimization, or LLM SEO, but it is the same idea: be the source the machine quotes. Both halves are real and both matter. The mistake is treating a tip from one half as if it solves the other. Faster drafting does not get you cited. Clean schema does not write your article. Once you see the split, the rest of AI SEO gets a lot simpler. ## Half One: Using AI to Do SEO Faster This is the half most teams already touch. AI helps you move through the slow parts of SEO: building a topical map, finding question variations, outlining, drafting a first pass, and generating structured data. A job that used to take a day can take an hour. AI handles the slow parts of SEO work, but the output still needs human editing and fact-checking before it ships. Here is the honest caveat. AI output is a draft, not a finished page. It invents statistics, repeats itself, and writes in a flat voice that readers and AI engines both distrust. The teams that win with AI-assisted SEO treat the model as a fast junior writer: useful for structure and speed, never trusted on facts. Every claim still needs a real source, and every draft still needs a human edit. ***Also Read:** [How to build a topical map for WordPress](https://qa.nexterwp.com/blog/how-to-build-a-topical-map/) if you want the planning step that makes AI drafting actually useful.* If you are weighing the tools themselves, the category ranges from all-in-one writers to focused assistants. We break down what each type actually does in our guides to [AI content generators for WordPress](https://qa.nexterwp.com/blog/ai-content-generator-wordpress/) and the wider set of [AI SEO tools](https://qa.nexterwp.com/blog/ai-seo-tool-wordpress/). ## Half Two: Optimizing to Be Cited by AI Engines This is the newer, harder half, and the one my client was losing. Search is no longer only a list of blue links. A growing share of questions get answered inside ChatGPT, Perplexity, Copilot, and Google AI Overviews, often with no click at all. If your page is not one of the few sources those systems quote, you are invisible no matter where you rank. Getting cited is about being machine-readable: clear answers, accurate schema, and a discovery file AI crawlers can follow. Getting cited rewards a specific kind of page. Answer the question directly near the top instead of burying it. Use clean, descriptive headings so a machine can find the section that matches a query. Add accurate schema so the engine knows what your content is. Publish an llms.txt file and a Markdown version of each post so AI crawlers get a clean copy without fighting your theme. None of this is magic. It is the same clarity that helps human readers, made explicit for machines. ***Also Read:** [Answer engine optimization for WordPress](https://qa.nexterwp.com/blog/answer-engine-optimization-wordpress/) and [LLM SEO](https://qa.nexterwp.com/blog/llm-seo-wordpress/) go deep on the techniques this section only summarizes.* One honest line worth keeping in mind: no plugin and no trick guarantees a citation. Thin content stays uncitable. What you can do is remove every technical reason an AI engine might skip a page that deserves to be quoted. ## Traditional SEO vs AI SEO: What Changes and What Stays AI SEO does not throw out the old playbook. Crawlable pages, fast load times, helpful content, and real authority still decide whether you show up anywhere, Google or AI. What changes is the finish line and a few of the signals. | Factor | Traditional SEO | AI SEO | | ------ | --------------- | ------ | | Goal | Rank in the blue links | Rank and get quoted in AI answers | | Main surface | Google results page | ChatGPT, Perplexity, AI Overviews, plus search | | Success metric | Position and clicks | Citations, AI referrals, and clicks | | Key signals | Keywords, links, page speed | All of those plus schema, llms.txt, entity clarity | | What stays the same | Helpful, accurate, well-structured content from a trusted source | The takeaway is calm, not dramatic. If your traditional SEO is weak, fix that first. AI SEO is what you add once the foundation holds. ## An AI SEO Workflow for WordPress in 2026 Here is how the two halves fit into one repeatable process on a WordPress site. - **Plan with intent.** Map your topics and the real questions behind them. This is where AI assistance saves the most time.- **Write for a human first.** Answer the question early, keep the voice specific, and cite real sources. AI can draft, but you own the facts.- **Structure for machines.** Add clean headings, accurate schema, and an llms.txt file so AI crawlers can read and quote you.- **Build authority.** Use clear author information and consistent entities so engines trust who is speaking. This is the [E-E-A-T](https://qa.nexterwp.com/blog/e-e-a-t-ai-search-wordpress/) layer.- **Measure what AI does.** Watch which AI crawlers visit and which pages they cite, then double down on what works. A per-post readiness view turns a vague goal into a checklist: discovery, schema, author, and freshness signals. On WordPress, the structure and measurement steps are where a tool earns its place. [RankReady](https://store.posimyth.com/plugins/rankready/) is a free plugin that handles the discovery and measurement layer of AI SEO. It generates llms.txt and llms-full.txt files, adds a Markdown endpoint to every post, writes Article, Speakable, FAQPage, HowTo, ItemList, and Person schema, and manages 31 AI crawler controls synced to your robots.txt. It is free forever on WordPress.org, runs alongside Rank Math, Yoast, AIOSEO, and SEOPress, and keeps zero telemetry. It does not write your content for you, and that is the point: it removes the technical blockers so good content can get cited. [Get RankReady free](https://store.posimyth.com/plugins/rankready/) ## How to Measure AI SEO The oldest rule in SEO still holds: you cannot improve what you cannot see. The problem is that Google Search Console does not tell you when ChatGPT quoted you or when an AI crawler read a page. AI SEO needs its own dashboard. An AI crawler log shows which bots fetched which pages, and citation candidates show which posts AI systems pulled recently. Three numbers tell the story. First, AI crawler activity: which bots like GPTBot and PerplexityBot visited, and what they read. Second, citation candidates: the pages AI systems fetched most in the last month, which hints at what they are likely to quote. Third, real AI referrals: actual visits sent from chatgpt.com, perplexity.ai, claude.ai, gemini.google.com, and copilot.microsoft.com. Together they turn AI SEO from a guess into something you can manage. Start small. Pick your five most important pages, make them machine-readable, publish your llms.txt, and watch the crawler log for a month. The pages that get fetched and cited tell you exactly where to spend the next round of effort. ## Suggested Reading - [Semantic SEO for WordPress: optimizing for meaning and entities](https://qa.nexterwp.com/blog/semantic-seo-wordpress/)- [Generative engine optimization (GEO): the 2026 guide](https://qa.nexterwp.com/blog/generative-engine-optimization-wordpress/)- [How to optimize content for AI search, step by step](https://qa.nexterwp.com/blog/how-to-optimize-content-for-ai-search/)- [Schema markup generator for WordPress](https://qa.nexterwp.com/blog/schema-markup-generator-wordpress/)- [E-E-A-T for AI search: building trust signals](https://qa.nexterwp.com/blog/e-e-a-t-ai-search-wordpress/) --- # How to Fix WordPress Stuck in Maintenance Mode (Step by Step) Source: https://qa.nexterwp.com/blog/how-to-fix-wordpress-stuck-in-maintenance-mode/ A client messaged me in a panic last year. Their store had gone dark in the middle of a plugin update, and every visitor was hitting the same line: “Briefly unavailable for scheduled maintenance.” The update had stalled, WordPress never finished, and the whole site was frozen on that message. Once we knew where to look, the fix took about ninety seconds. Here is the reassuring part first: WordPress is built to clear maintenance mode on its own, and when it does not, the cause is almost always one small leftover file or a cache serving an old page. This guide walks through every fix in order, from the fastest to the most thorough, including the case where your site looks stuck but the file is already gone. Let’s get started. ## What Maintenance Mode Actually Is (and the .maintenance File) Maintenance mode is a temporary state WordPress uses while it updates core, a plugin, or a theme. Instead of showing visitors a half-broken page mid-update, it shows a short holding message: “Briefly unavailable for scheduled maintenance. Check back in a minute.” To do this, WordPress drops a hidden file named **.maintenance** into your site’s root folder for the few seconds an update runs. While that file exists, every visitor sees the holding message instead of your site. One detail most guides skip explains almost every “stuck” case: WordPress writes a timestamp into that file. In WordPress core, the `wp_is_maintenance_mode()` function checks it, and if the timestamp is more than 10 minutes old, WordPress ignores the file and serves your site normally again. So a clean update keeps the site in maintenance mode for only a moment, and even a failed update is designed to clear itself after 10 minutes. That means if you are still stuck well past that window, either the file was left behind and is being re-read, or a cache is serving the old maintenance page. The rest of this guide fixes both. ## Why WordPress Gets Stuck in Maintenance Mode If the message hangs around for more than a few minutes, the update did not finish cleanly. The usual reasons: - **An interrupted update.** You closed the tab, lost your connection, or the request timed out before WordPress could remove the .maintenance file. - **Updating too much at once.** Bulk-updating many plugins or themes together raises the odds that one stalls and leaves the file behind. - **A plugin or theme conflict.** An incompatible update can error out partway through. - **Server resource limits.** Low PHP memory or a short max execution time can cause the update to time out, especially on shared hosting. - **Caching.** Sometimes the update finished fine, but a page cache is still serving the saved maintenance screen. ***Also Read:** [Best Maintenance & Coming Soon Mode WordPress Plugins](https://qa.nexterwp.com/blog/maintenance-and-coming-soon-plugins-wordpress/) for when you want to plan downtime on purpose.* ## How to Fix a WordPress Site Stuck in Maintenance Mode Work through these in order. The first two solve the large majority of cases, and you rarely need to reach the last one. ### Method 1: Give It 10 Minutes, Then Confirm It Is Really Stuck Because WordPress clears the file on its own after 10 minutes, the quickest move is to wait it out. After 10 minutes, hard refresh the page (Ctrl+F5 on Windows, Cmd+Shift+R on Mac) and load the site in a private or incognito window to rule out your own browser cache. If the maintenance message is gone, you are done. If it is still there across a fresh browser, the site is genuinely stuck, so move on to Method 2. ### Method 2: Delete the .maintenance File This is the fix for almost every stuck site. Connect to your server with an FTP client like FileZilla, or open **File Manager** in your hosting control panel (cPanel, Plesk, or your host’s dashboard). Open your site’s root folder. It is usually called **public_html** and contains **wp-config.php** and the **wp-content** folder. Because **.maintenance** starts with a dot, it is hidden by default, so turn on “Show hidden files” (in FileZilla: Server > Force showing hidden files). Find the **.maintenance** file, right-click it, and choose **Delete**. Then reload your site. Delete the hidden .maintenance file in your site’s root folder to clear a stuck maintenance screen. If the site loads normally, maintenance mode is over. If the file reappears or the message stays, a plugin or a failed update is re-triggering it, so keep going. ### Method 3: Turn It Off With WP-CLI If your host gives you SSH access with WP-CLI installed (most managed WordPress hosts do), you can switch maintenance mode off with a single command, without touching files: `wp maintenance-mode deactivate` WordPress replies with **Success: Deactivated Maintenance mode.** You can check the current state first with `wp maintenance-mode status`. This is the cleanest fix when you are comfortable on the command line. ### Method 4: Disable Plugins to Rule Out a Conflict If deleting the file did not hold, a broken plugin update is the likely cause. Using FTP or File Manager, open the **wp-content** folder and rename the **plugins** folder to something like **plugins-old**. That deactivates every plugin at once. Reload your site. 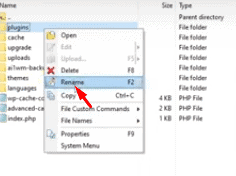Renaming the plugins folder deactivates every plugin so you can isolate the one causing the issue. If the site comes back, rename the folder back to **plugins**, then rename each plugin folder one at a time until the maintenance message returns. The last one you renamed is the culprit. Update, replace, or remove it. ### Method 5: Increase Server Resources If updates keep stalling, your server may be running out of room mid-update. Low PHP memory or a short max execution time causes timeouts that leave the .maintenance file behind. Raising your [**WordPress memory limit**](https://qa.nexterwp.com/blog/how-to-increase-wordpress-memory-limit/) and asking your host about execution-time limits usually fixes the pattern. It also helps to trim plugin bloat and add a [**caching**](https://qa.nexterwp.com/blog/best-wordpress-cache-plugins/) layer so updates have more headroom to finish. With enough resources, updates complete cleanly and the file is removed the way it should be. ***Also Read:** [How to Fix the WordPress White Screen of Death](https://qa.nexterwp.com/blog/how-to-fix-wordpress-white-screen-of-death/), another scary-looking error with a calm, step-by-step fix.* ## Stuck in Maintenance Mode but There Is No .maintenance File? You checked the root folder, the **.maintenance** file is not there, and visitors still see the maintenance page. That usually means WordPress itself is fine and a cache is serving a saved copy of the old screen. Clear caches in this order: - **Browser cache:** hard refresh and open the site in an incognito window to confirm the page is actually cached on your end. - **Caching plugin:** clear all cache in WP Rocket, W3 Total Cache, LiteSpeed Cache, or whichever plugin you run. - **Host and CDN cache:** many managed hosts and Cloudflare cache the full page. Purge from your host dashboard and from Cloudflare if you use it. - **Object cache and OPcache:** if you run Redis or Memcached object caching, or PHP OPcache, flush it from your host dashboard or restart PHP. - **A coming-soon or security plugin:** a dedicated maintenance, coming-soon, or security plugin may be holding the page deliberately. Check its settings and turn the mode off there. Once the right cache is cleared, the live site returns immediately. ## Bonus: How to Put Your Site in Maintenance Mode the Right Way Sometimes you want maintenance mode on purpose, for a redesign, a risky update, or while you patch a security issue, so visitors see a tidy notice instead of a half-finished page. With the [**Nexter theme**](https://qa.nexterwp.com/nexter-theme/), you can switch on a custom maintenance message without a separate plugin. Install and activate Nexter, then go to **Appearance > Customize**. 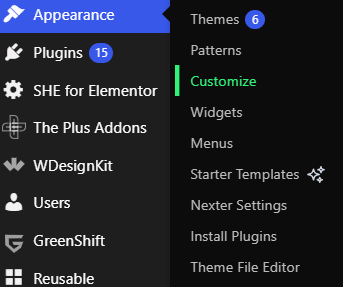In the WordPress dashboard, open Appearance > Customize with the Nexter theme active. In the Customizer, go to **General > Maintenance Mode**. 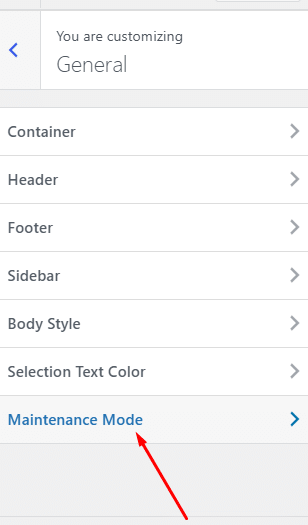Find the Maintenance Mode panel under General in the Nexter Customizer. Toggle on the **Enable Maintenance Mode** option. 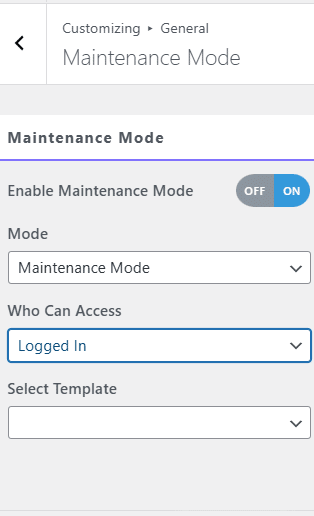Switch on Enable Maintenance Mode, then set who can still view the site. You can also set access rules so specific roles, such as admins or editors, still see the live site while everyone else sees the maintenance message. When you are done, switch the toggle off and your site is back. Because this is a clean toggle rather than a half-finished update, it will not leave you stuck. ## How to Prevent WordPress From Getting Stuck Again A few habits keep this from happening in the first place: ### Update One Thing at a Time Update plugins and themes one by one instead of in a single bulk action, and let your connection stay open until each finishes. If one stalls, you know exactly which one to look at. ### Test on a Staging Site First Run major updates on a staging copy before touching the live site. If an update breaks there, your visitors never see it. ### Keep Recent Backups Always have a fresh backup before you update. If something goes wrong, restoring is far faster than debugging a frozen site under pressure. ### Choose Reliable Plugins and Hosting Stick to well-reviewed, actively maintained plugins and keep the count lean to reduce conflicts. Managed WordPress hosting also helps, since those plans handle updates carefully and give you more server headroom. ***Also Read:** [How to Increase the WordPress Memory Limit](https://qa.nexterwp.com/blog/how-to-increase-wordpress-memory-limit/) to stop updates from timing out.* ## Suggested Reading - [Best WordPress Cache Plugins](https://qa.nexterwp.com/blog/best-wordpress-cache-plugins/) - [Best Maintenance & Coming Soon Mode WordPress Plugins](https://qa.nexterwp.com/blog/maintenance-and-coming-soon-plugins-wordpress/) - [Gutenberg Core Web Vitals: Speed Up a Block-Theme Site](https://qa.nexterwp.com/blog/gutenberg-core-web-vitals-block-theme/) - [What Is a WordPress Block Theme?](https://qa.nexterwp.com/blog/what-is-a-wordpress-block-theme/) - [Ways to Protect Content in WordPress](https://qa.nexterwp.com/blog/ways-to-protect-content-in-wordpress/) ## Wrapping Up A site stuck in maintenance mode looks alarming, but it is one of the easier WordPress problems to solve. Most of the time, waiting out the 10-minute window or deleting the **.maintenance** file puts you back online in minutes. If the file is already gone, a quick cache clear does it. And a little prevention, updating one at a time and keeping backups, means you rarely see that screen again. If you want a lightweight, fast theme that keeps updates smooth and downtime short, [**Nexter**](https://qa.nexterwp.com/) is worth a look. **Nexter Theme** and **Nexter Extension** add real control over speed, security, and customization, including the built-in maintenance mode shown above. And **Nexter Blocks** gives you 90+ Gutenberg blocks, from Advanced Heading to Google Maps and Social Icons, to build out your site without extra plugins. Check out [**Nexter’s pricing plans**](https://qa.nexterwp.com/pricing/) to find the right fit. ## FAQs on WordPress Stuck in Maintenance Mode ### Why is WordPress in maintenance mode even after updates? WordPress may remain in maintenance mode if an update is not completed properly. This often happens if the process is interrupted or if there is an error during the installation of plugins or themes. ### What should I do if there's no maintenance file but my WordPress site is still in maintenance mode? If there is no maintenance file, you can try clearing your browser cache and refreshing the page. You might also want to disable any caching plugins that could cause this issue. ### What steps should I take if Elementor has caused my site to enter maintenance mode? If Elementor is causing maintenance mode, first check for an incomplete update. Delete the .maintenance file. You may also need to deactivate the Elementor plugin via FTP and reactivate it afterward. ### Why can't I log in to my WordPress site during maintenance mode? When your site is in maintenance mode, it may prevent you from logging in. This happens because the site temporarily disables access to ensure updates are applied correctly. Deleting the .maintenance file will allow you to log back in. --- # What Is ChatGPT Search? How WordPress Sites Get Surfaced in It (2026) Source: https://qa.nexterwp.com/blog/chatgpt-search-wordpress/ #### Key Takeaways - ChatGPT Search lets ChatGPT pull answers from the live web and link to the pages it used, so being a cited source now matters alongside ranking on Google.- A dedicated crawler, OAI-SearchBot, decides whether your WordPress site can appear in those answers. OpenAI states that sites opted out of it "will not be shown in ChatGPT search answers."- OAI-SearchBot is not GPTBot (which is for training) or ChatGPT-User (live user fetches). You can stay visible in search while still controlling training access.- Getting surfaced is mostly on-page work: keep the crawler welcome, structure content so it is easy to quote, add schema, and keep pages fresh.- RankReady is a free WordPress plugin that manages AI crawlers, generates llms.txt, adds schema, and shows which AI bots actually fetched each page. A few months ago a customer emailed me a screenshot. She had asked ChatGPT a question that her own blog answered better than anyone else on the web, and ChatGPT gave a clean answer with three little source links underneath. Hers was not one of them. A competitor she had outranked on Google for two years was sitting right there in the citation list. Her words were blunt: "I am number one on Google for this. Why am I invisible here?" That gap is what this guide is about. ChatGPT Search changed the question from "where do I rank?" to "am I one of the sources?" The good news for WordPress owners is that most of the work to get surfaced is work you already understand. You just have to know what ChatGPT Search is reading, and make sure it can read you. ## What ChatGPT Search actually is For a long time ChatGPT could only answer from what it learned during training, so it had a knowledge cutoff and no idea what happened last week. ChatGPT Search removes that limit. When a question needs current information, ChatGPT goes out to the live web, reads relevant pages, and writes an answer that includes links to the sources it used. From a site owner's point of view, two things changed. First, your content can be quoted inside an answer instead of just listed on a results page. Second, the click is no longer guaranteed. Someone can read your point, see your name as the source, and move on without visiting. That makes being the cited source the whole game, because the citation is where your credibility and your brand mention live. ChatGPT Search answers from the live web and links to the pages it used as sources. ## ChatGPT Search is not Google: how it finds and cites sources Google sends one main crawler to index everything. OpenAI splits the job across three named crawlers, and the difference matters because they do completely different things. According to OpenAI's own bot documentation: - **OAI-SearchBot** "is used to surface websites in search results in ChatGPT's search features." This is the one that controls whether you can appear in ChatGPT Search. It respects robots.txt.- **GPTBot** "is used to crawl content that may be used in training our generative AI foundation models." This is about training, not search, and it also respects robots.txt.- **ChatGPT-User** handles live fetches when a person asks ChatGPT to look something up. Because the action is user-initiated, OpenAI notes that "robots.txt rules may not apply," and it is "not used to determine whether content may appear in Search." The line that matters most for visibility is this one, straight from OpenAI: "Sites that are opted out of OAI-SearchBot will not be shown in ChatGPT search answers, though can still appear as navigational links." In plain terms, if your robots.txt or firewall blocks OAI-SearchBot, you have quietly removed yourself from ChatGPT Search. ***Also Read:** [OAI-SearchBot: the crawler that decides whether ChatGPT Search can find you](https://qa.nexterwp.com/blog/oai-searchbot-wordpress/) for a full breakdown of how to allow it safely.* ## Why your WordPress content might be invisible in ChatGPT Search When a site that ranks well on Google still does not show up in ChatGPT Search, it is usually one of these reasons, and all of them are fixable on WordPress: - **OAI-SearchBot is blocked.** A security plugin, a host firewall, or an overzealous robots.txt rule can quietly deny AI crawlers. Many "block all bots" presets catch OAI-SearchBot too.- **The answer is buried.** If the point a reader is searching for is hidden three paragraphs into a section, it is hard to lift out as a clean quote.- **No structure for machines.** Missing or thin schema, no clear headings, and no author signals make a page harder for a search system to trust and parse.- **Stale content.** Search answers favor current pages. A post that has not been touched in two years reads as out of date. An AI crawler log shows whether OAI-SearchBot is actually reaching your pages or being blocked. ## How to get your WordPress site surfaced in ChatGPT Search There is no button that forces a citation, and any tool that promises one is selling smoke. What you can do is remove every reason for ChatGPT Search to skip you. Four steps cover most of it. ### 1. Keep OAI-SearchBot welcome This is the one that is easy to get wrong. Check your robots.txt and any security plugin, and make sure OAI-SearchBot is allowed even if you choose to block GPTBot from training. Splitting those two decisions is the whole point of OpenAI naming separate crawlers. A WordPress plugin that manages AI crawlers individually makes this a checkbox instead of a hand-edited file. Allow OAI-SearchBot for search visibility while keeping training crawlers under separate control. ### 2. Write so a single passage answers the question Lead each section with a direct, self-contained answer, then expand. A clear two-sentence definition near a heading is far easier to quote than the same idea spread across a long paragraph. Short lists, clear subheadings, and plain language all help a search system lift your words out cleanly. ### 3. Add the structure machines read Schema markup, real author profiles, and an llms.txt file all tell a machine what your page is and who stands behind it. These are exactly the signals that help a search system decide your page is trustworthy enough to quote, and they are easy to add on WordPress without touching code. ### 4. Keep it fresh Revisit your best pages on a schedule. Update the facts, the year, and the examples. Freshness is one of the cheapest signals to maintain and one of the most visible to a system that prefers current answers. This is where [RankReady](https://store.posimyth.com/plugins/rankready/), a free WordPress plugin, fits the workflow. It manages 31 AI crawlers (including OAI-SearchBot, GPTBot, ClaudeBot, and PerplexityBot) with allow or block toggles that sync to robots.txt, generates llms.txt and llms-full.txt, and adds Article, Speakable, FAQPage, HowTo, ItemList, and Person schema that merges with Rank Math or Yoast instead of duplicating it. It does not promise a citation. It removes the technical reasons you would not get one. ***Also Read:** [How to rank in ChatGPT](https://qa.nexterwp.com/blog/how-to-rank-in-chatgpt/) for the step-by-step content checklist that pairs with this overview.* ## How to tell if ChatGPT is actually citing you You cannot improve what you cannot see. The honest way to measure ChatGPT Search visibility is to watch two things: which AI crawlers fetch your pages, and whether real visitors arrive from ChatGPT. RankReady keeps an AI crawler log that records which bots fetched which page and tags the intent of each visit (training, search indexing, or a citation-fetch mid-answer). It flags citation candidates, the pages that ChatGPT-User, OAI-SearchBot, PerplexityBot, Claude-Web, and DuckAssistBot pulled while building an answer, and it tracks real AI referral traffic from chatgpt.com, perplexity.ai, claude.ai, gemini.google.com, and copilot.microsoft.com. That turns a vague hope into a list of pages you can actually act on. Citation candidates and AI referral tracking show whether ChatGPT is fetching and sending traffic to your pages. ## ChatGPT Search vs Google SEO: an honest comparison ChatGPT Search does not replace Google SEO. It sits on top of it. Most of the groundwork overlaps, but the goal and the measurement differ. | Aspect | Google SEO | ChatGPT Search visibility | | ------ | ---------- | ------------------------- | | Goal | Rank a blue link on the results page | Be a cited source inside the answer | | Crawler | Googlebot | OAI-SearchBot | | What wins | Relevance, links, page experience | Clear quotable answers, structure, trust signals | | The click | Usually required to get value | Often optional; the mention is the value | | How you measure | Rankings, clicks, impressions | Crawler hits, citation candidates, AI referrals | The takeaway is reassuring. If you write clearly, structure your pages, and keep crawlers welcome, you are improving both at once. ChatGPT Search rewards the same fundamentals that good SEO always has, then asks you to measure a new outcome. ## The bottom line ChatGPT Search turned every answer into a shortlist of sources, and OAI-SearchBot is the gate. Make sure it can reach you, write answers that are easy to quote, give machines the structure and trust signals they look for, and then watch which pages actually get fetched. Do that and you stop hoping you are in the answer and start knowing. [Get RankReady free and control your AI crawlers](https://store.posimyth.com/plugins/rankready/) RankReady is free, GPL licensed, and works alongside Rank Math, Yoast, AIOSEO, and SEOPress. ## Suggested Reading - [OAI-SearchBot: the crawler that decides whether ChatGPT Search can find you](https://qa.nexterwp.com/blog/oai-searchbot-wordpress/)- [How to rank in ChatGPT: a WordPress guide to getting cited](https://qa.nexterwp.com/blog/how-to-rank-in-chatgpt/)- [LLM SEO for WordPress: get cited by ChatGPT, Gemini, and Perplexity](https://qa.nexterwp.com/blog/llm-seo-wordpress/)- [Answer Engine Optimization (AEO): the complete WordPress guide](https://qa.nexterwp.com/blog/answer-engine-optimization-wordpress/)- [How Perplexity AI cites WordPress sites (and how to become a source)](https://qa.nexterwp.com/blog/perplexity-seo-wordpress/) --- # How to Get a Google Knowledge Panel for Your WordPress Site (2026) Source: https://qa.nexterwp.com/blog/google-knowledge-panel-wordpress/ #### Key Takeaways - A Google Knowledge Panel is the information box that appears when someone searches for an entity (a person, organization, place, or thing) that Google recognizes in its Knowledge Graph.- You cannot buy or directly create one. Google generates panels automatically from sources across the web, then lets an official representative claim it and suggest edits after verifying identity.- The real work is entity SEO: make Google confident about who you are using consistent structured data, author and brand signals, and corroborating sources.- On WordPress that means Person and Article schema, real author profiles, sameAs links to your official profiles, and mentions from places Google already trusts.- RankReady is a free plugin that adds the author and Person schema plus the trust signals that help Google understand the entity behind your site. It cannot force a panel, and no tool can. A founder I work with sent me a Google search of his own brand last spring with one line: "Why does my smaller competitor get the box and I don't?" On the right side of their results sat a tidy panel with a logo, a founding date, social links, and a short description. His ten-year-old company had nothing but ten blue links. He assumed it was something you applied for, or paid for. It is neither. A Google Knowledge Panel is earned, not bought, and the path to one runs through how clearly Google understands your identity. The good news is that the same entity signals that earn a panel are the ones that help you get cited in AI answers too. Here is how panels actually work and what you can do on WordPress to make one more likely. ## What a Google Knowledge Panel actually is In Google's own words, knowledge panels are "information boxes that appear on Google when you search for entities (people, places, organizations, things) that are in the Knowledge Graph." The key phrase is *in the Knowledge Graph*. A panel is not a feature you switch on. It is a side effect of Google being confident enough about an entity to describe it. That confidence is the whole game. If Google is not sure whether "your brand" is a company, a product, or just a phrase on a page, there is nothing to build a panel around. Your job is to remove that doubt. A Knowledge Panel appears only once Google recognizes your brand as an entity in its Knowledge Graph. ## Where the information comes from (and why you can't just create one) Google is explicit that knowledge panels are "automatically generated, and information that appears in a knowledge panel comes from various sources across the web." Those sources include open web content, data partnerships for topics like movies or music, and edits suggested by verified entities. So there is no form to fill in that conjures a panel into existence. What you can do, once a panel already exists, is claim it: "If you are the subject of or official representative of an entity depicted in a knowledge panel, you can claim this panel and suggest changes." That claim step comes after the panel appears, not before. First Google has to recognize the entity. Then you can refine what it shows. ***Also Read:** [What is entity SEO and how WordPress sites get recognized by Google and AI](https://qa.nexterwp.com/blog/entity-seo-wordpress/) for the foundation this whole process sits on.* ## Why your WordPress brand doesn't have a panel yet If a brand has been around for years and still has no panel, it is almost always an identity-clarity problem, not an age problem. The usual gaps are: - **No structured data about who you are.** Google reads Organization and Person schema to connect a name to a real entity. Without it, you are just text.- **Inconsistent identity.** The brand name, logo, and details differ across your site, social profiles, and directories, so Google cannot merge them into one entity with confidence.- **No sameAs links.** Nothing on your site explicitly tells Google "this site, this LinkedIn, this Crunchbase, and this Wikipedia entry are all the same entity."- **Thin corroboration.** Few or no trusted third-party sources mention you, so there is little for Google to cross-check. ## How to build the entity signals on WordPress You cannot force a panel, but you can systematically make your entity legible. On WordPress, that comes down to four things. ### 1. Add Organization and Person schema Mark up your brand as an Organization and your authors as Person entities, with names, roles, logos, and descriptions. This is the single clearest way to tell Google what kind of entity you are. A schema plugin handles it without code. ### 2. Connect your identities with sameAs Add sameAs links from your schema to your official LinkedIn, X, YouTube, Crunchbase, and any Wikipedia or Wikidata entry. These links are how you tell Google that all of these profiles describe one entity, which is exactly the connective tissue the Knowledge Graph is built from. ### 3. Keep your identity consistent everywhere Use the same brand name, logo, founding details, and author bios across your site and every external profile. Consistency raises Google's confidence; contradictions lower it. ### 4. Earn mentions from sources Google trusts Get covered, listed, and cited by reputable third parties. Panels lean on corroboration, so independent sources that describe your entity the same way you do are worth more than any amount of self-description. This is where [RankReady](https://store.posimyth.com/plugins/rankready/), a free WordPress plugin, helps with the on-site half. It adds Person schema for your authors and Article schema for your content, surfaces the author and E-E-A-T trust signals that are part of its 22 readiness checks, and generates an llms.txt file so machines can read a clean summary of who you are. It does not promise a panel, because no honest tool can. It makes the entity behind your site easier for Google to understand. Person and author schema tell Google who stands behind your content, a core entity signal behind any panel. ***Also Read:** [E-E-A-T for AI search: how WordPress sites earn trust](https://qa.nexterwp.com/blog/e-e-a-t-ai-search-wordpress/) for the author-credibility side of entity signals.* ## How to claim and verify your panel once it appears When a panel does show up for your brand, you can take a measure of control over it. Google requires identity verification first: "To submit verified feedback, you must verify your identity," and "your Google Account must be verified to represent this knowledge panel." Once verified, "we can make some corrections directly, like links to social profiles." In practice: search for your brand while signed into your Google Account, look for the option to claim the panel on the result, and complete Google's identity verification. After that you can suggest edits to the facts and links Google shows. ## How to measure your entity progress Entity work is slow and easy to abandon because the panel either exists or it does not. A readiness view helps you see progress before the panel arrives. RankReady scores each post against 22 readiness signals covering discovery, schema, author credentials, and freshness, and its AI crawler log shows which engines are fetching your pages. Those are leading indicators that your entity signals are landing, long before Google decides to draw a box. A per-post readiness score turns slow entity work into something you can actually track. ## What helps a Knowledge Panel, and what doesn't | Helps | Does not help | | ----- | ------------- | | Organization and Person schema | Paying a "guaranteed panel" service | | sameAs links to official profiles | Buying followers or fake reviews | | Consistent name, logo, and details everywhere | Contradictory bios across the web | | Mentions from trusted third parties | Only self-published claims | | A claimed, verified panel once it exists | Trying to claim before a panel appears | ## The bottom line A Google Knowledge Panel is a reflection of how well Google understands your entity, not a button you press. Make your identity unmistakable with schema, sameAs links, and consistency, earn corroboration from sources Google trusts, and claim the panel once it appears. Do the entity work and the box tends to follow, and you get cited more in AI answers along the way. [Get RankReady free and strengthen your entity signals](https://store.posimyth.com/plugins/rankready/) RankReady is free, GPL licensed, and works alongside Rank Math, Yoast, AIOSEO, and SEOPress. ## Suggested Reading - [What is entity SEO? How WordPress sites get recognized by Google and AI](https://qa.nexterwp.com/blog/entity-seo-wordpress/)- [Semantic SEO for WordPress: optimize for meaning, entities, and AI answers](https://qa.nexterwp.com/blog/semantic-seo-wordpress/)- [E-E-A-T for AI search: how WordPress sites earn trust](https://qa.nexterwp.com/blog/e-e-a-t-ai-search-wordpress/)- [Schema markup generator for WordPress: auto-generate JSON-LD](https://qa.nexterwp.com/blog/schema-markup-generator-wordpress/)- [Answer Engine Optimization (AEO): the complete WordPress guide](https://qa.nexterwp.com/blog/answer-engine-optimization-wordpress/) --- # How to Add Google Maps to WordPress [Free Methods] Source: https://qa.nexterwp.com/blog/add-google-maps-to-wordpress/ Say a visitor lands on your contact page and wants to know where you actually are. A plain text address makes them copy it, switch tabs, and search. An embedded Google Map shows them in one glance, with directions a tap away. That small thing builds trust, and it nudges your local search visibility too. Adding that map to WordPress comes down to one of two routes, and the right one depends on a single question: do you want a quick static map, or a styled, interactive one you control? This guide walks through both. It also clears up the part most older tutorials get wrong in 2026, which is when you actually need a Google Maps API key (and when you do not). ## Why Add Google Maps to WordPress? An interactive Google Map does more for a business site than a line of address text ever could. Here is what you get: - **Help visitors find your business:** A map on your contact page lets customers, clients, or prospective hires see your location and pull up directions in one tap, instead of copying an address into another app. - **Show multiple locations:** If you run several stores or offices, a single map can hold every address so customers find the nearest one. - **Support your local SEO:** Most people look online first when they want a nearby business. A clear map and address reinforce the location signals that help you show up in local search. *Want to strengthen your site for search at the same time? [**Here are the 5 Best WordPress SEO Plugins Using AI.**](https://qa.nexterwp.com/blog/best-wordpress-seo-plugins-using-ai/)* ## Do You Need a Google Maps API Key? (The 2026 Answer) This is where a lot of guides are out of date, so let us settle it clearly. Whether you need an API key depends entirely on which method you use. - **No key needed:** If you copy the embed code straight from the Google Maps website (Method 1 below), you are using the Maps Embed API. Google states this is [available at no charge with unlimited usage](https://developers.google.com/maps/documentation/embed/get-started). The iframe you copy from the Share dialog needs no API key and no billing setup. - **Key needed:** If you use a plugin block that renders a styled, interactive map (Method 2 below), it relies on the Maps JavaScript API, also called Dynamic Maps. That does require an API key from a Google Cloud project with billing enabled. The old advice about a flat $200 monthly credit no longer reflects how Google bills. Today each API has its own monthly free allowance. The Maps Embed API is free with unlimited usage, and Dynamic Maps (the Maps JavaScript API) includes 10,000 free map loads per month before any pay-as-you-go charges apply. For a typical small business site, that free tier comfortably covers normal traffic, but adding a billing-enabled project is still required to generate the key. ### How to Get a Free Google Maps API Key If you are going the plugin route, here is how to create the key. You only do this once. - Sign in to the [Google Cloud Platform Console](https://console.cloud.google.com/google/maps-apis/discover) and create a project (or select an existing one). - Add a billing account to the project. The free monthly tier covers typical usage, but billing must be enabled for the key to work. - Open the API you need and click **Enable**. 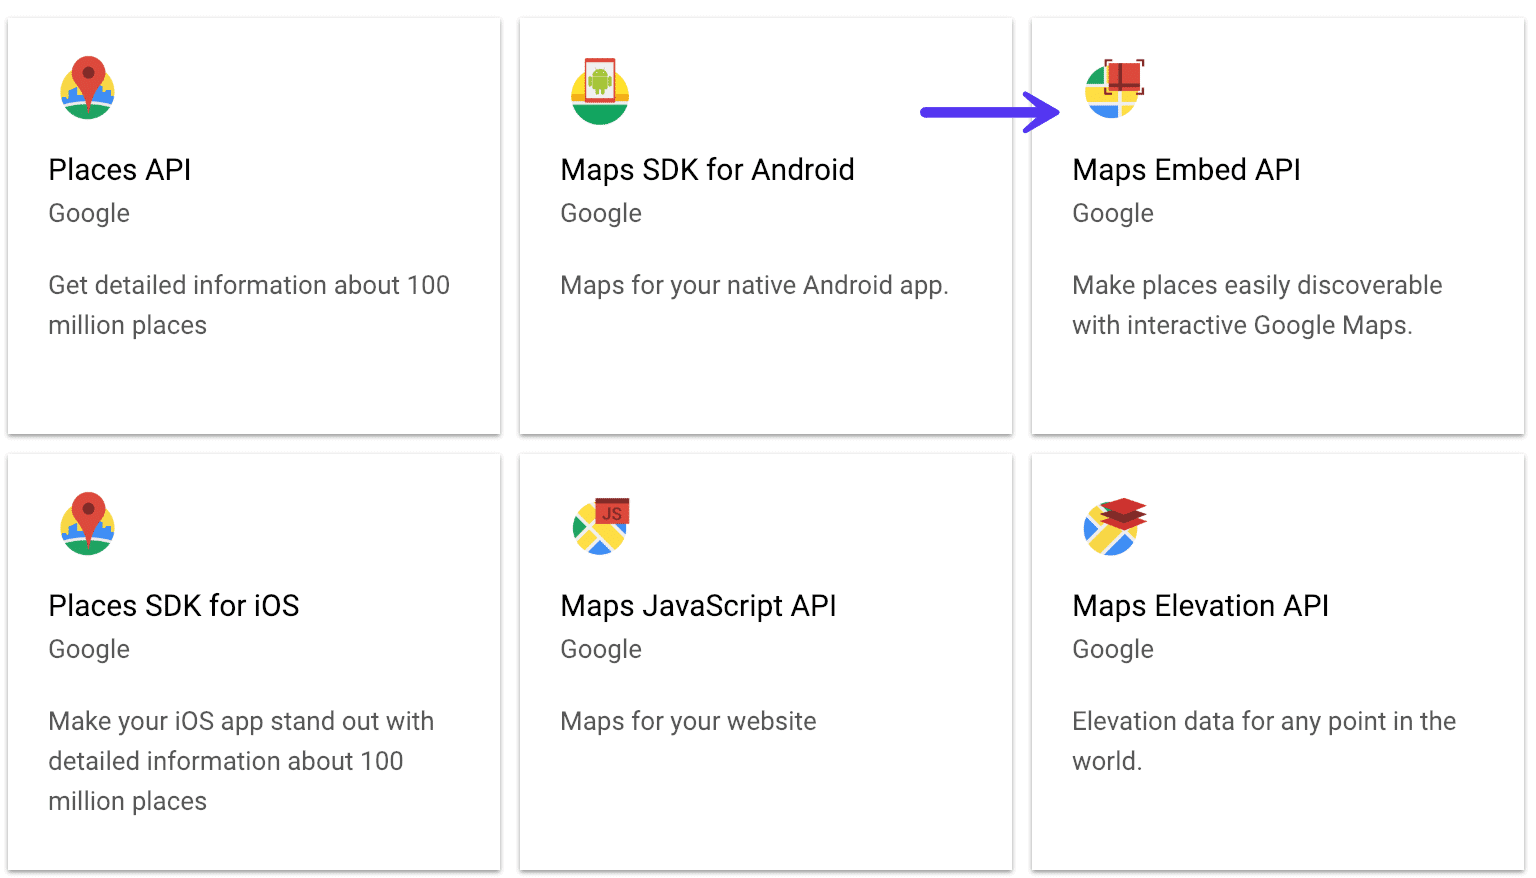Find the map API you need in the Google Cloud Platform Console. Click Enable to turn on the API for your project. - Go to **Credentials**, click **+ Create Credentials**, and choose **API Key**. 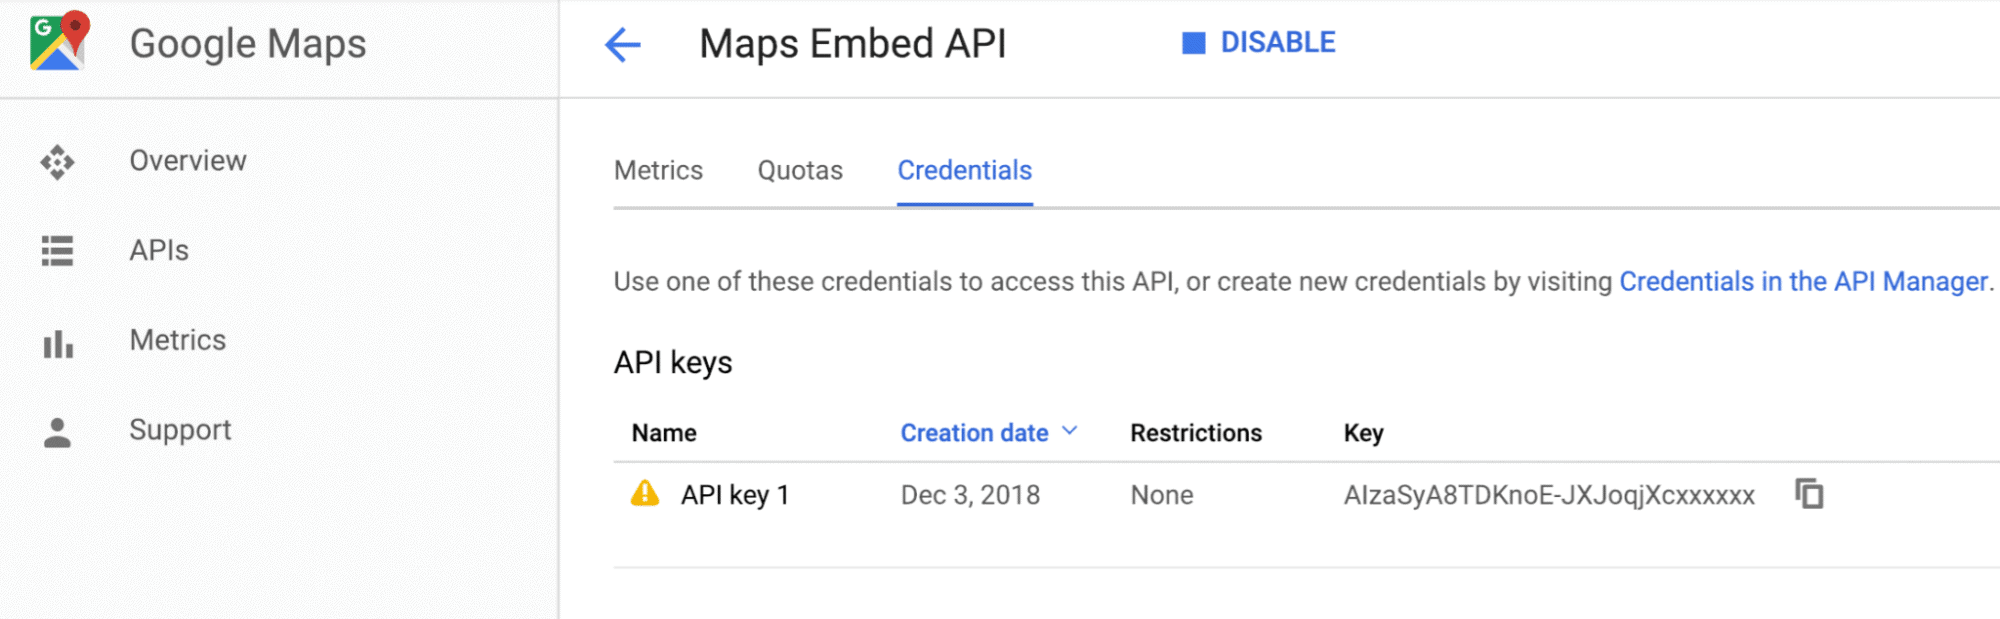Create the API key from the Credentials screen, then restrict it to your site. Copy the generated key and keep it handy. A quick tip: restrict the key to your own domain in the Cloud Console so no one else can run up usage on it. You are now ready to drop it into your plugin settings. ## How to Add Google Maps in WordPress (2 Free Methods) Here are the two ways to embed Google Maps on WordPress, from the fastest no-code option to the fully customizable one. ### Method 1: Add Google Maps in WordPress Without a Plugin If you just want a simple map for a single location, with no custom markers or styling, the built-in embed code is the quickest route. It is free, takes about two minutes, and needs no API key at all. #### Step 1: Find your location on the Google Maps website Go to the [official Google Maps website](https://www.google.com/maps) and search for the place you want to show. You can embed a place marker or directions to your physical location. 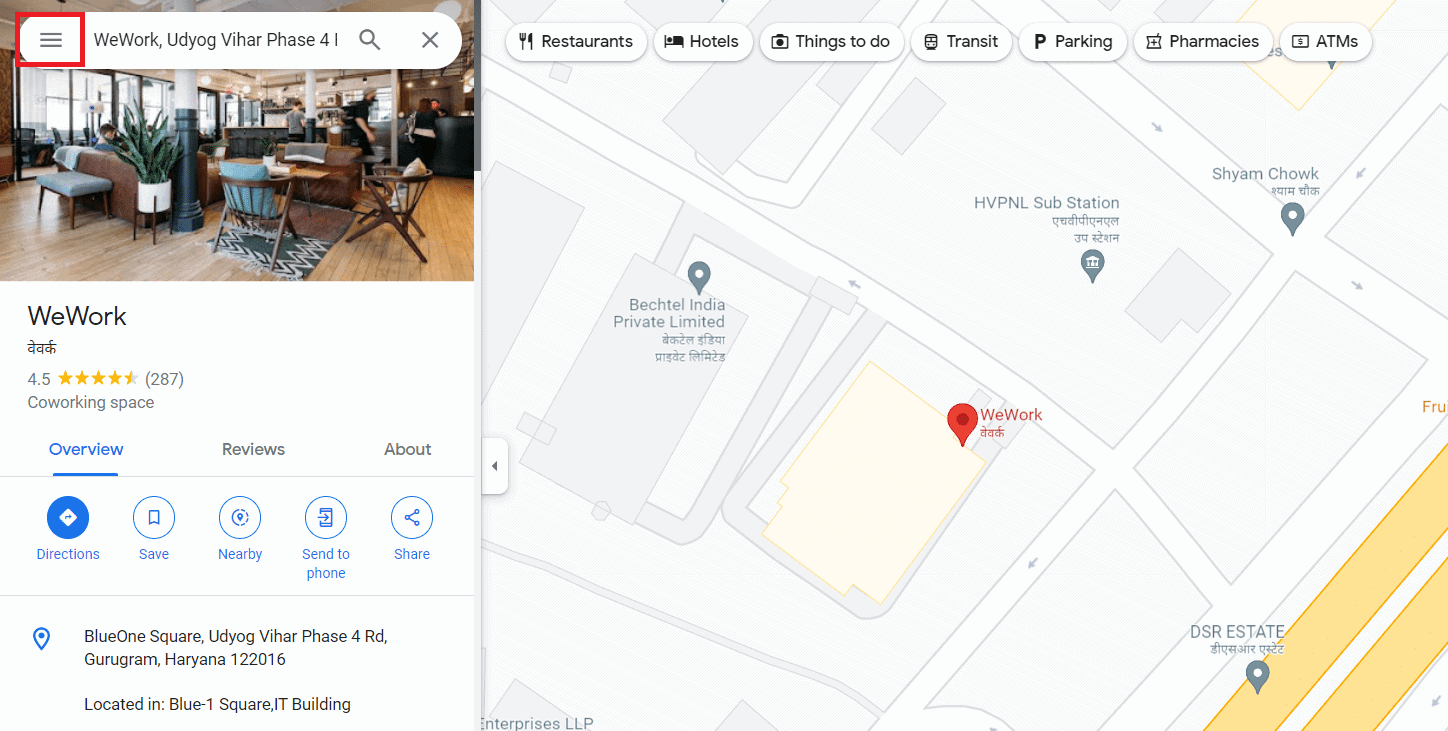Search for your location on the Google Maps website. With the location selected, click the **hamburger menu** in the top-left corner. #### Step 2: Copy the embed code From the menu, select **Share or embed map**. 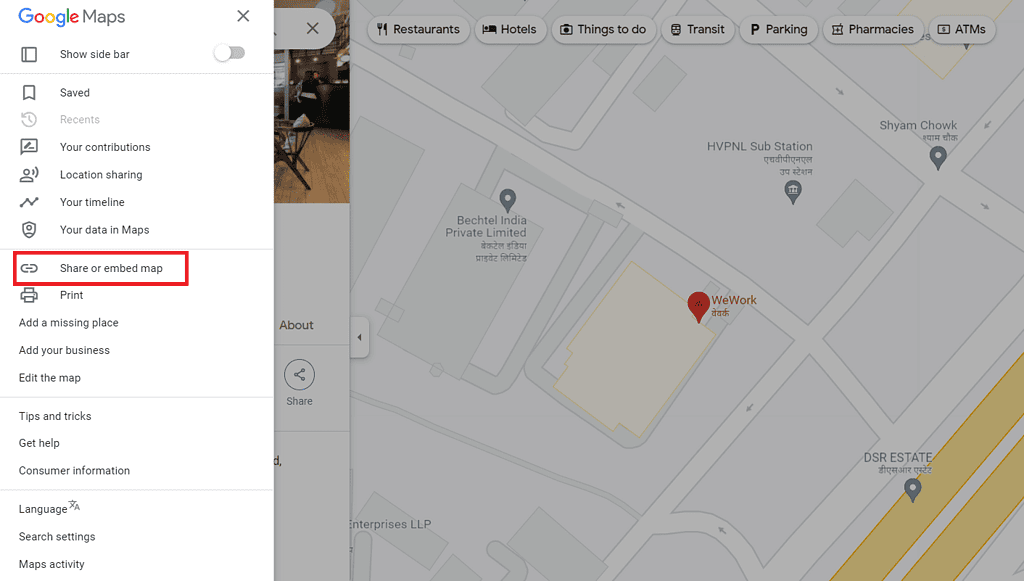Choose Share or embed map from the menu. In the popup, open the **Embed a map** tab and pick a map size from the drop-down. The default size works well for most WordPress layouts, but you can change it. Then click **Copy HTML**. 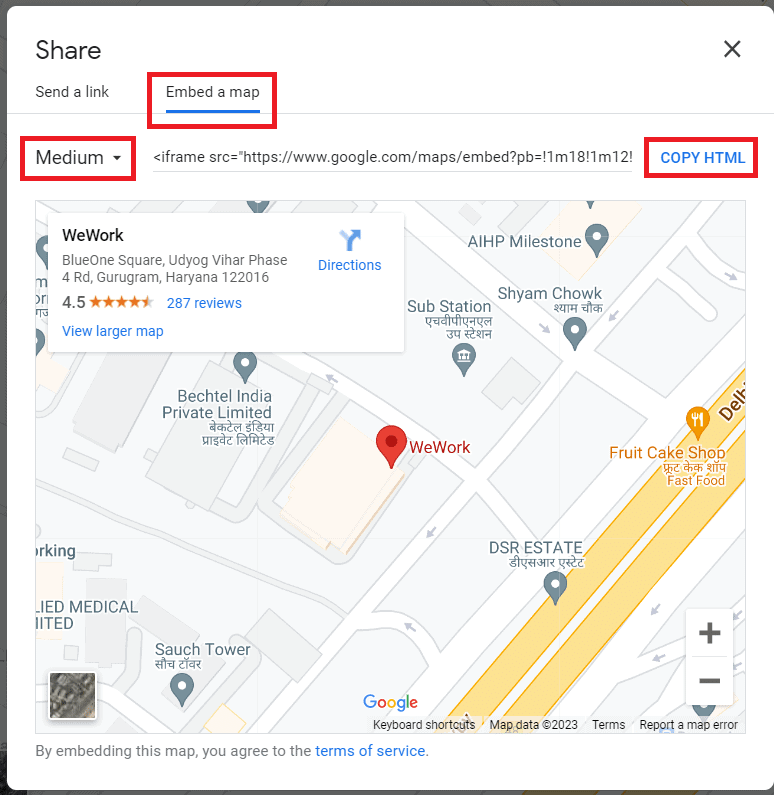Open the Embed a map tab and click Copy HTML. #### Step 3: Paste the embed code into WordPress Open the post or page where you want the map. In the Gutenberg editor, add a **Custom HTML** block. 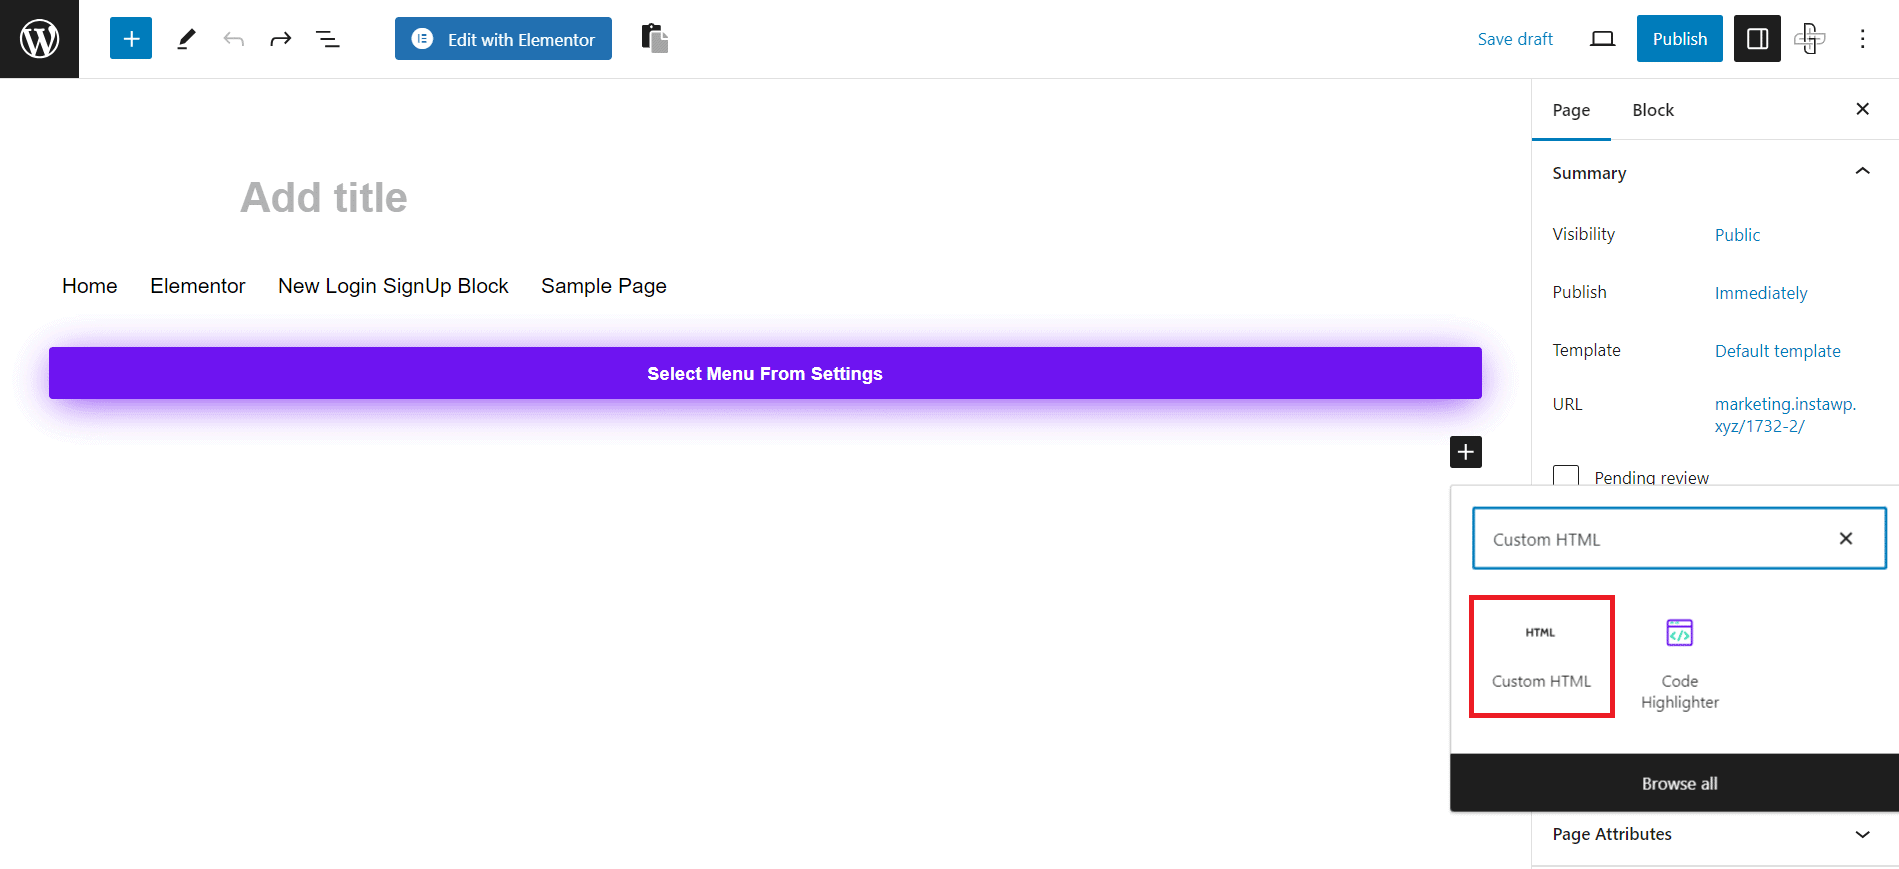Add a Custom HTML block in the block editor. Paste the copied embed code into the block, then click **Update** to save. 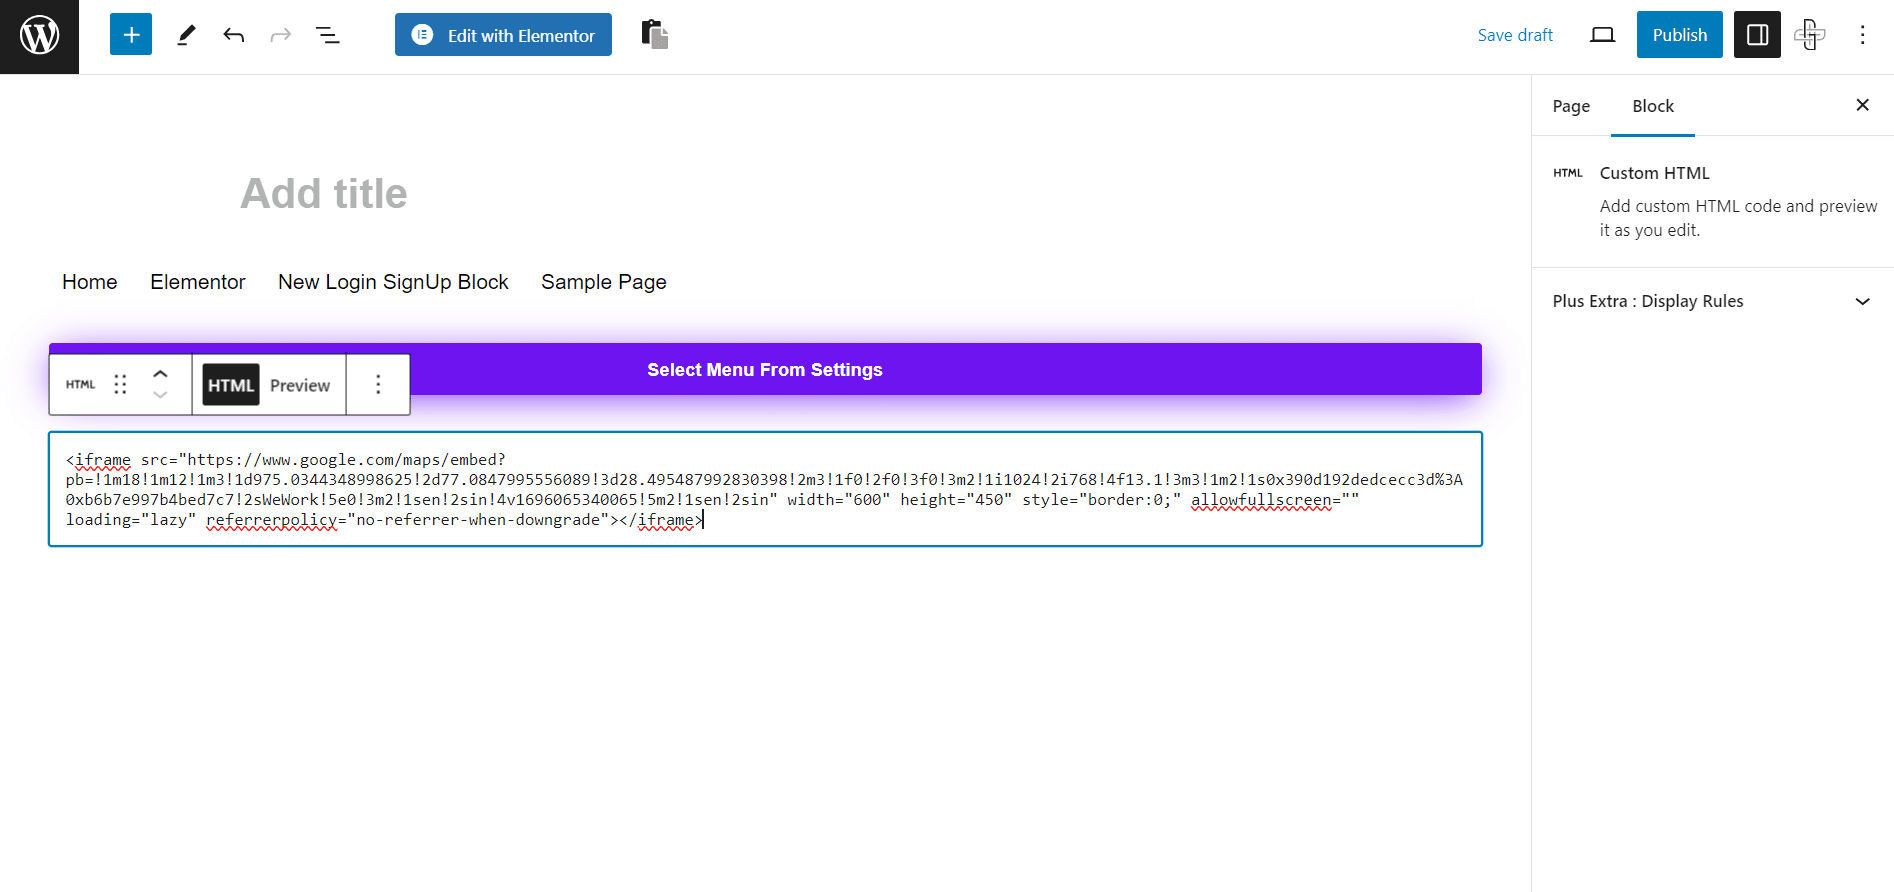Paste the embed code, then save or update the page. Use **Preview** to see how the map looks on the live page. 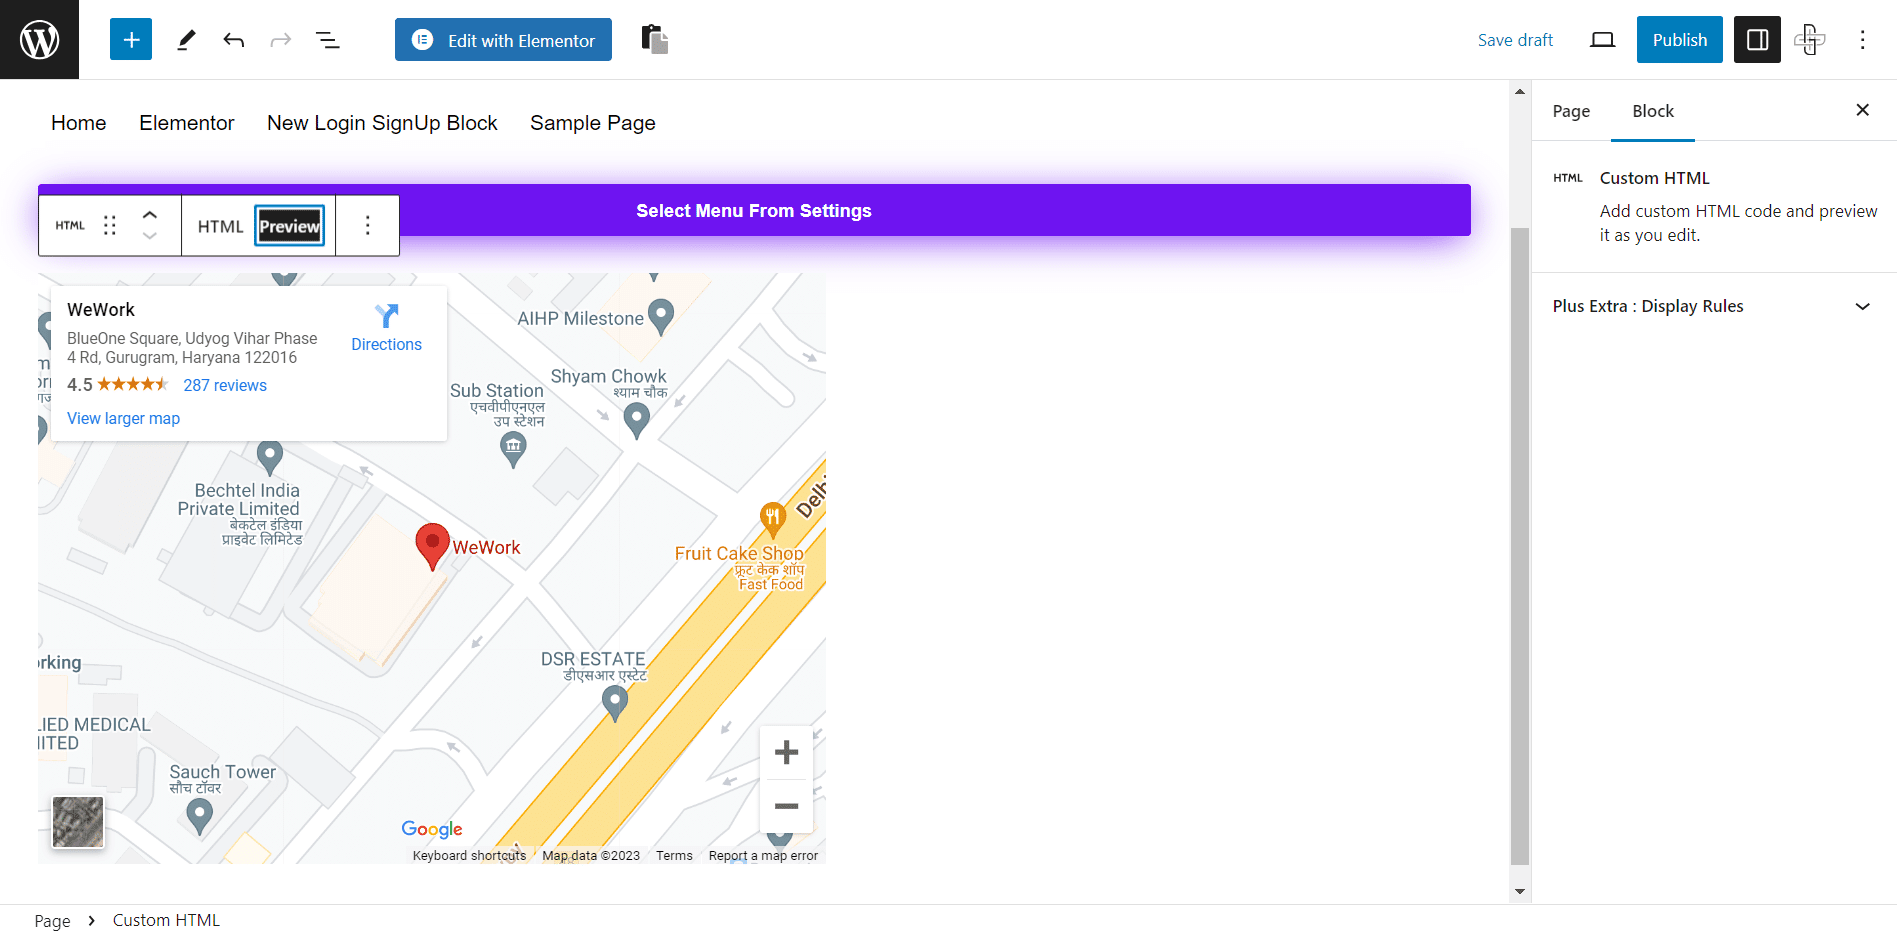Preview the embedded map before you publish. Need more than one location? Repeat these steps and add a separate embed for each address. (For many pins in a single map, Method 2 is the better fit.) ***Also Read:** Show live customer feedback next to your map. Here are the [5 Best WordPress Google Business Review Plugins](https://qa.nexterwp.com/blog/best-wordpress-google-business-reviews-plugins/) to build trust with visitors.* ### Method 2: Add Google Maps in WordPress Using a Plugin 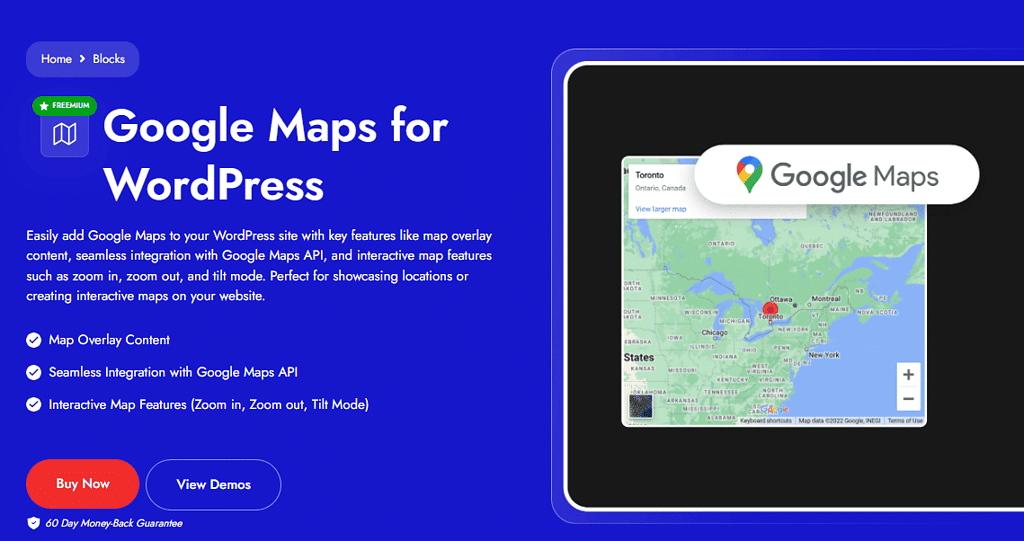The Google Map block by Nexter Blocks adds a styled, interactive map. If you want a map you can style and load with multiple pins, use a plugin block like the [Google Map](https://qa.nexterwp.com/nexter-blocks/blocks/wordpress-google-maps/) block by Nexter Blocks. Unlike the plain iframe, this gives you control over the map look, custom markers, and multiple locations, all without code. Nexter Blocks is a free plugin with [90+ Gutenberg blocks](https://qa.nexterwp.com/nexter-blocks/), including the Google Map block. You drag the block into the editor, add your locations, and customize it to match your site. Here is the step-by-step. #### Step 1: Install and activate Nexter Blocks In your WordPress dashboard, go to **Plugins > Add New**, search for **Nexter Blocks**, then install and activate it. #### Step 2: Turn on the Google Map block Go to **Nexter Settings > Blocks**, search for the **Google Map** block, switch its toggle on, and click **Save**. To make the block display a live map, you will add your Google Maps API key next. #### Step 3: Add your Google Maps API key Use the API key you created earlier (see the section above). In your WordPress dashboard, open **Nexter Settings**, find the **Google Maps API key** field, paste your key, and click **Save**. #### Step 4: Add the block to your page In the Gutenberg editor, click the **+ icon**, search for the Google Map block by Nexter Blocks, and click it to insert the block. 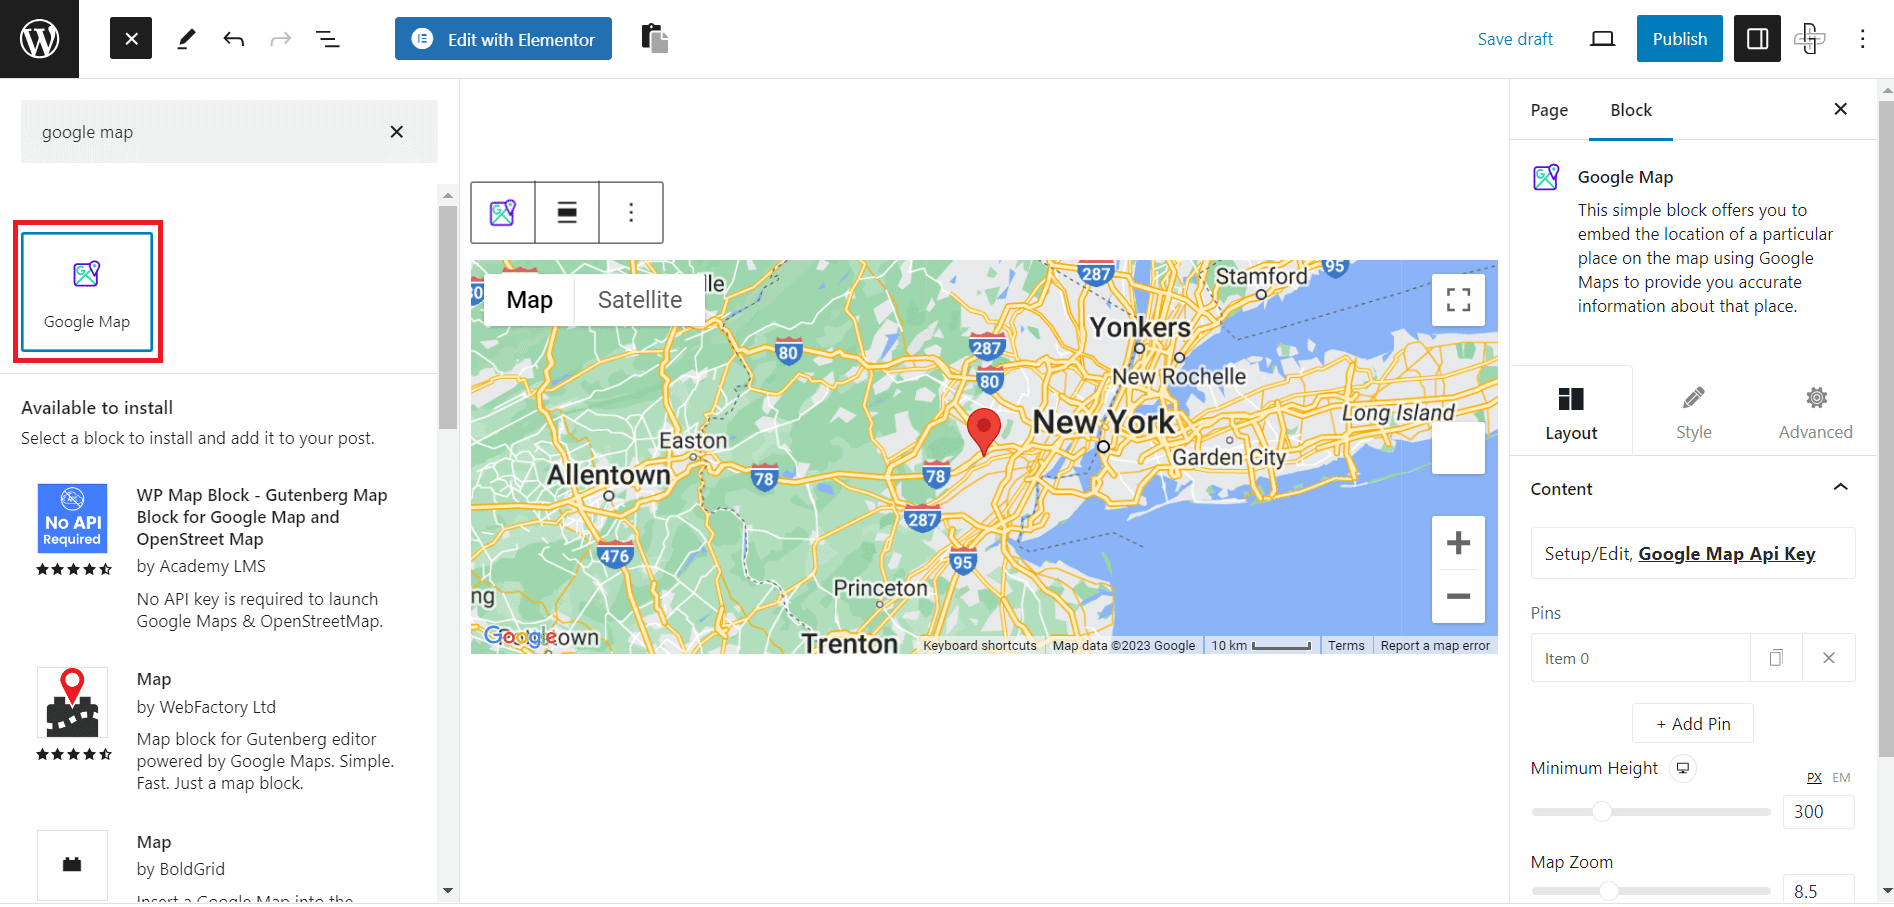Search for and insert the Google Map block in the editor. Go to **Content > Pins** and open the first item. Add the latitude and longitude of your business location. *(Google explains how to find these in its [Geocoding documentation](https://developers.google.com/maps/documentation/geocoding/overview).)* Under **Tooltip Content**, add the name and address that shows when a visitor clicks the pin. 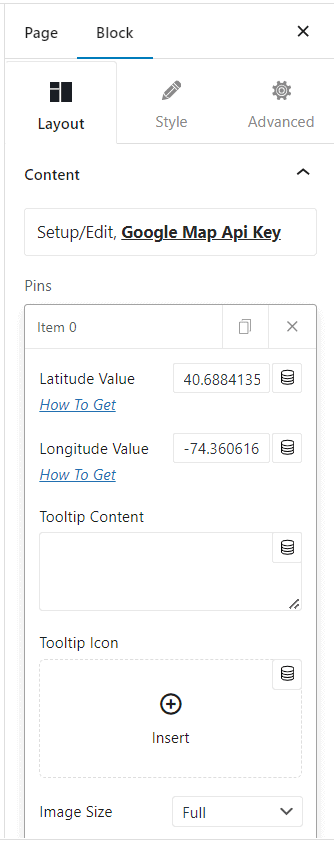Enter the coordinates and tooltip content for each pin. To map more than one location, click **+ Add Pin** and repeat. Nexter Blocks also supports pin clusters for sites with many locations. 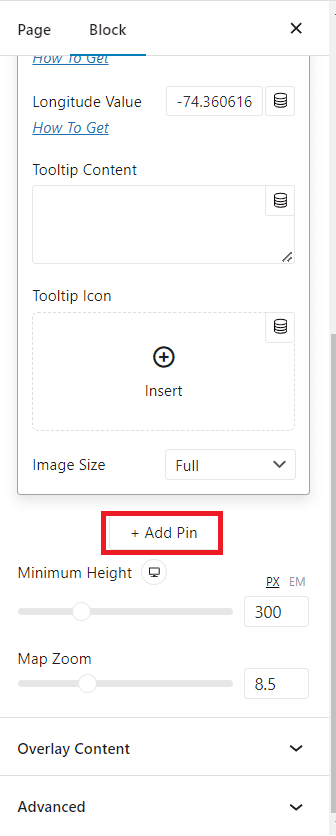Add multiple pins for businesses with more than one location. #### Step 5: Customize the map This is where the plugin route pulls ahead of a plain embed. Under **Content** in the **Layout** tab, set the image size, map height, and zoom level. You can also add custom text as an overlay from the **Overlay Content** tab. 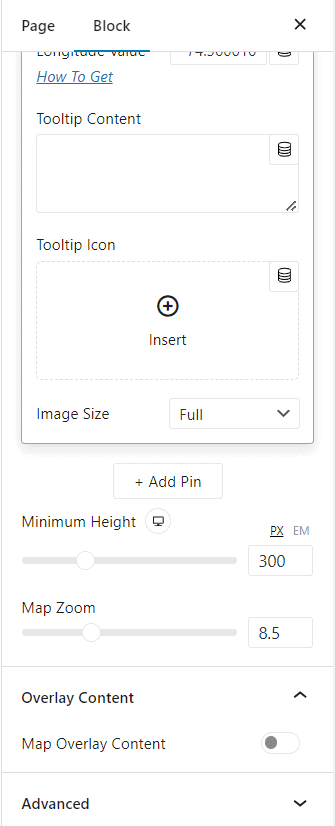Adjust map height, zoom, and overlay content in the Layout tab. In the **Style** tab, you control the scroll wheel, zoom control, scale control, full-screen mode, and more to set how interactive the map feels. 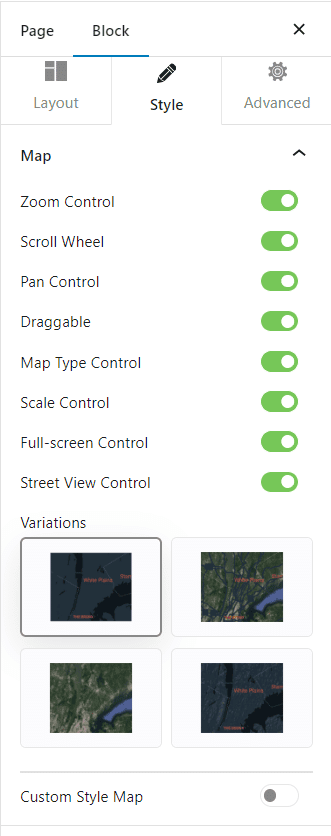Toggle zoom, scale, and full-screen controls in the Style tab. You can choose from four map types, Roadmap, Hybrid, Satellite, and Terrain, plus different map styles to match your branding. 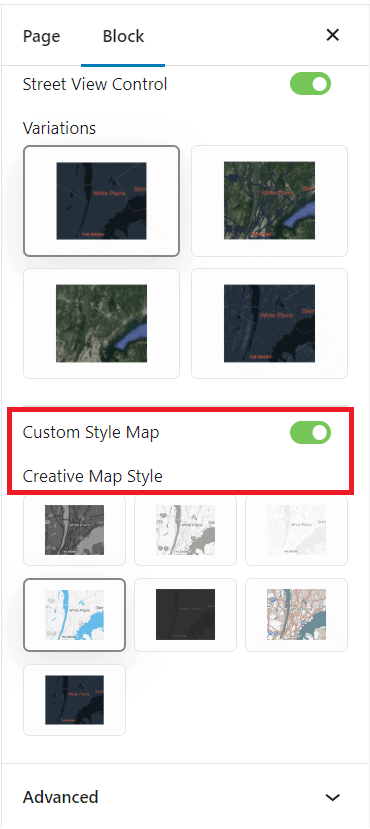Pick a map type and style that fits your site. Finally, you can set a custom image as the pin icon, so the marker matches your brand instead of the default Google pin. ***Also Read:** Comparing your options first? Check the [5 Best WordPress Google Map Plugins](https://qa.nexterwp.com/blog/best-wordpress-google-map-plugins/) before you commit to one.* ## Which Method Should You Use? Both methods are free for normal usage. The right one depends on how much control you want and whether you are mapping one address or several. | | Method 1: Embed code (iframe) | Method 2: Nexter Blocks Google Map | | --- | ----------------------------- | ---------------------------------- | | **API key needed?** | No | Yes (10,000 free loads/month) | | **Setup time** | About 2 minutes | About 10 minutes (one-time key setup) | | **Styling and colors** | Fixed Google styling | Full control over style and markers | | **Multiple locations** | One embed per location | Many pins and clusters in one map | | **Best for** | A single address on a contact page | Branded, interactive, multi-location maps | In short: if you need one static map fast, use the embed code. If you want a map that matches your brand, holds several locations, and stays interactive, use the Nexter Blocks Google Map block. ## Wrapping Up Adding Google Maps to WordPress is genuinely free either way. The plain embed code drops a single static map onto any page with no API key, which is perfect for a contact page with one address. When you want styling, custom pins, multiple locations, and interactive controls, the [Google Map block](https://qa.nexterwp.com/nexter-blocks/blocks/wordpress-google-maps/) by Nexter Blocks handles all of it without code, using the free Maps JavaScript API tier. [Nexter Blocks](https://qa.nexterwp.com/nexter-blocks/) is an all-in-one plugin that extends the Gutenberg block editor with 90+ optimized blocks for dynamic content, social feeds, product listings, image galleries, and more. 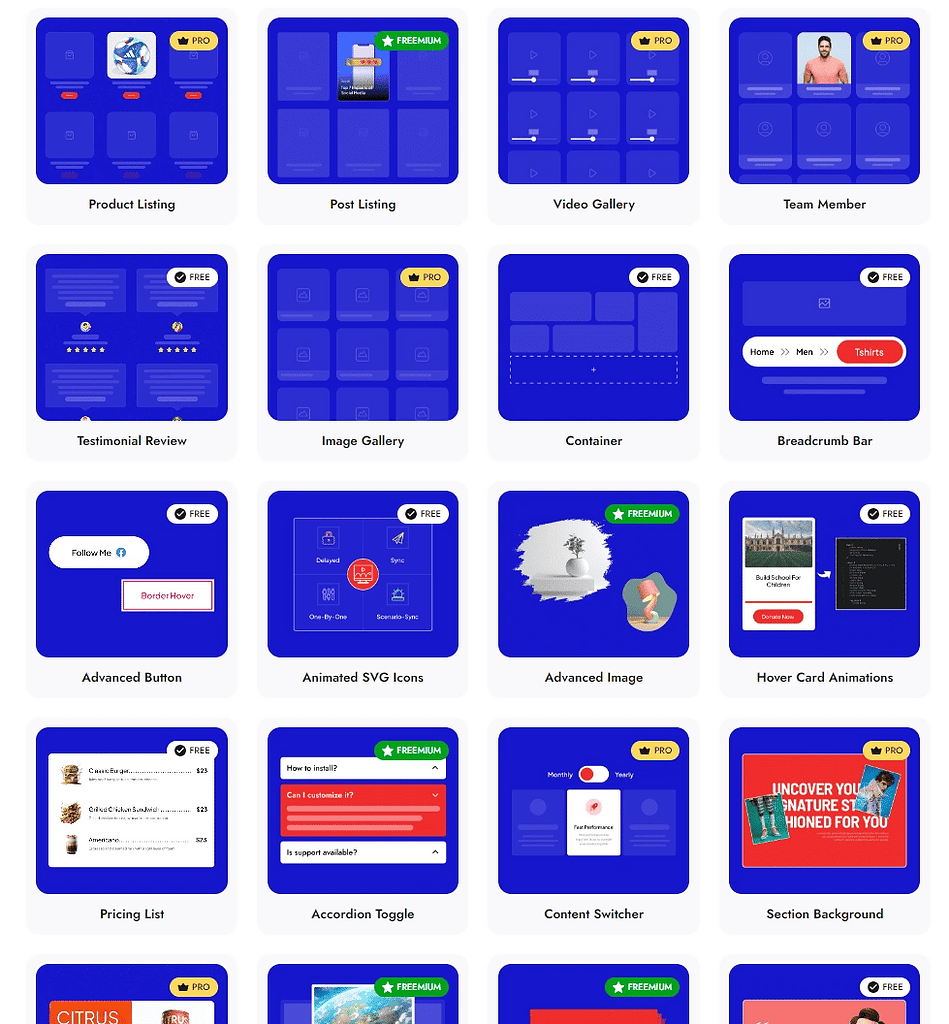Nexter Blocks adds 90+ Gutenberg blocks to WordPress. Explore the full [**90+ Gutenberg Blocks**](https://qa.nexterwp.com/nexter-blocks/) library here. The free version covers everything in this guide. The Pro version starts at $39/year and adds advanced features, extra options, and premium support, with a lifetime plan available if you prefer to pay once. ## Suggested Reading - [5 Best WordPress Google Map Plugins](https://qa.nexterwp.com/blog/best-wordpress-google-map-plugins/) - [5 Best WordPress Google Business Review Plugins](https://qa.nexterwp.com/blog/best-wordpress-google-business-reviews-plugins/) - [5 Best WordPress SEO Plugins Using AI](https://qa.nexterwp.com/blog/best-wordpress-seo-plugins-using-ai/) - [5 Best WordPress Block Themes for Gutenberg](https://qa.nexterwp.com/blog/wordpress-block-themes-gutenberg/) - [Gutenberg vs Elementor: Which Should You Use?](https://qa.nexterwp.com/blog/gutenberg-vs-elementor/) ## FAQs on Adding a Google Map to WordPress ### What's the best way to add a Google Map to a WordPress site? The best way to add a Google Map to your WordPress website is by using a reliable plugin like Nexter Blocks. The plugin brings you the Google Map block that you can use to embed and customize interactive maps on your business website without writing a single line of code. ### How do I embed a Google Map into WordPress? There are two simple ways to embed a Google Map into WordPress. You can do it manually without a plugin by using the embed code from the Google Map website. Or you can use a plugin to add a highly responsive and customizable Google Map to your site. ### Is it necessary to use a plugin to add Google Maps to WordPress? No, you can easily add Google Maps to the WordPress website without a plugin. You'll have to visit the Google Map official website to get the embed code and add it to your WordPress page. However, using a plugin to add a Google Map is an even simpler and hassle-free process. ### What are the advantages of using a plugin to add Google Maps to WordPress? Whether you're a beginner or an experienced developer, a plugin is easy to use and doesn't require any technical knowledge to embed a Google Map. Further, a powerful plugin like Nexter Blocks offers many customization options, lets you add multiple locations, and helps create complex maps in a single interface. ### How do I create a Google Maps API key for my WordPress website? To create a Google Maps API key for your WordPress website, go to your Google Cloud Console Platform account. Once logged in, create a new project. Select Maps Embed API and click Enable. Go to Credentials in the sidebar, click + Create Credentials, and select API Key. This will generate the API Key for you. ### How do I add multiple locations to a Google Map on my WordPress website? You can add multiple locations to your WordPress Google map using the Google Map Block by Nexter Blocks. To do so, add the Google Map block to WordPress and go to Content Pins. Add details like latitude, longitude of the location, and the Tooltip Content in the first item. Once the first location is set, click on the + Add Pin button to add a second location, and so on. --- # How to Create a Password Protected Page in WordPress [Easy Method] Source: https://qa.nexterwp.com/blog/how-to-create-a-password-protected-page-in-wordpress/ A client once asked me to send over a page of draft copy without putting it anywhere public. I did not want to email a document back and forth, and I did not want the page turning up in search or in the site menu. WordPress has a built-in answer for exactly this: a password protected page. Anyone with the password sees the content, and everyone else hits a password prompt. This guide covers how to password protect a single WordPress page or post two ways: with the built-in editor setting (no plugin needed), and with a plugin for when you need more control, like multiple passwords, role-based access, or an expiry date. One thing to be clear on up front: this is page-level and post-level protection. If you want to lock down your whole site at once instead of a single page, that is a different setting, and there is a separate guide for it linked further down. ## Why Password Protect a Page in WordPress? Password protecting a page limits who can open that specific page. The content stays on your site and keeps working, but a visitor has to enter the password before they can read it. A few common reasons to do it: - **Protect sensitive information:** Contracts, invoices, or internal documents that should only reach specific people. Password protection adds a layer of access control while keeping the page live. - **Share gated or premium content:** Members-only resources, downloads, or early-access pages you want to hand out selectively rather than publish for everyone. - **Collaborate privately with clients:** Freelancers, agencies, and photographers can share mockups, drafts, or reports with one client by sending a password instead of making the page public. - **Hide work in progress:** Keep an unfinished page out of public view while you build it, without saving it as a draft you cannot preview in context. - **Keep it out of search:** WordPress tells search engines not to index a password protected page, so drafts and private pages do not leak into Google results. ***Also Read:** protect your whole site from unauthorized access and hacking attempts with the *[***5 Best WordPress Security Plugins to Protect Your Site***](https://qa.nexterwp.com/blog/best-wordpress-security-plugins-to-protect-your-site/)*.* ## How to Password Protect a WordPress Page (Built-In, No Plugin) WordPress has password protection built into the editor, so for a single page you do not need a plugin at all. Here is the full process in three steps. **1. Open the page you want to protect** From your WordPress dashboard, go to *Pages > All Pages* to open an existing page or post, or go to *Pages > Add New* to create a new one. 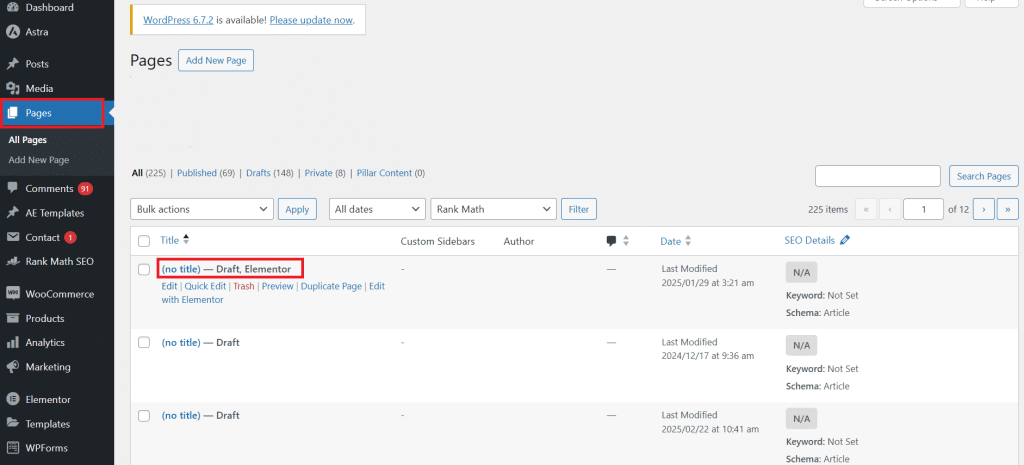Open the page you want to protect from Pages in the WordPress dashboard. **2. Open the status and visibility settings** In the editor, look at the *Status* panel in the post settings on the right. Click the visibility or status link next to it to open the status and visibility options. 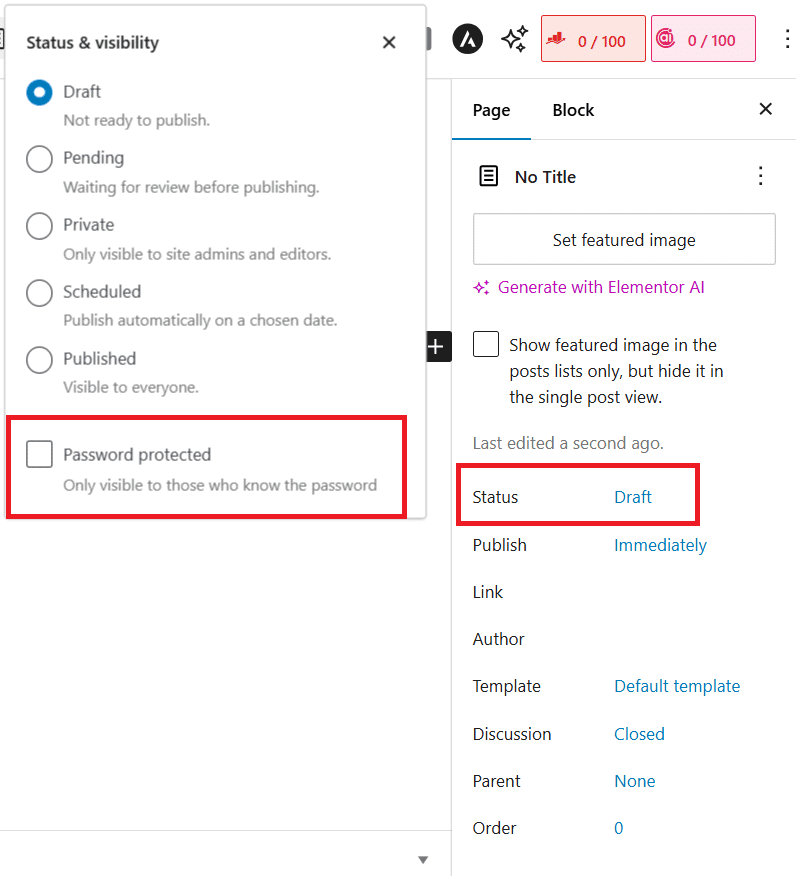Open the status and visibility panel from the editor sidebar. **3. Set the password and publish** Choose *Password protected* and type the password readers will need. Then publish or update the page. 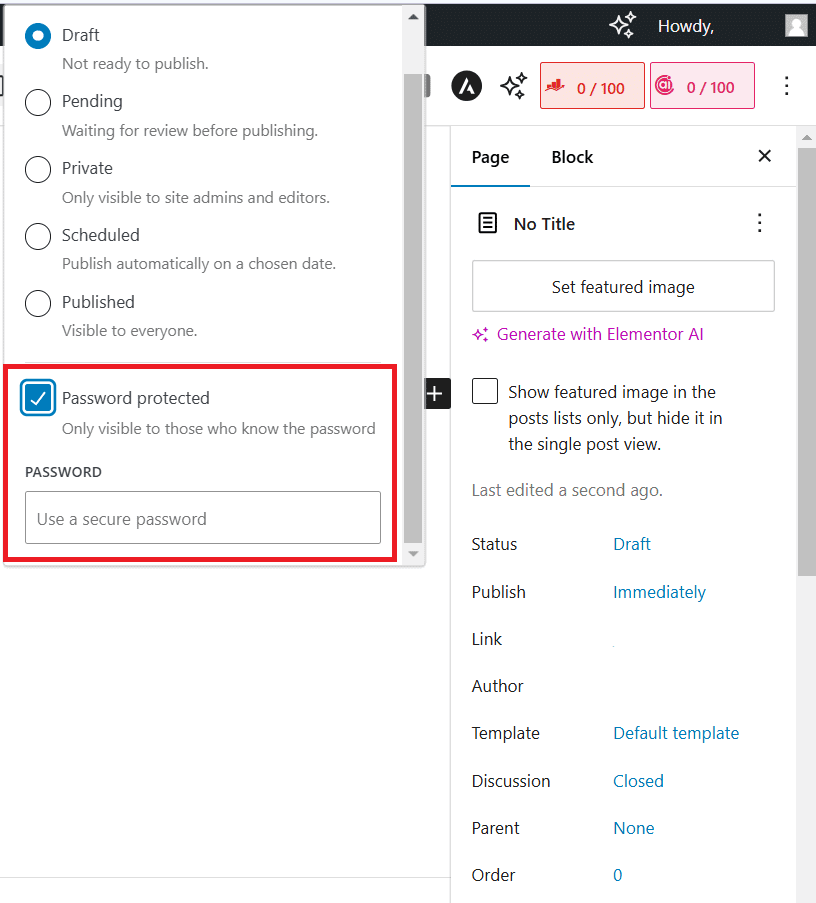Select Password protected and set the password readers will enter. That is the whole process. Open the page in a private browser window and you should see a password prompt in place of the content. ## What the Built-In Option Cannot Do (and When You Need a Plugin) The built-in setting is quick, but it is deliberately basic. It gives you one password per page, with no way to: - set different passwords for different people - restrict access by user role - expire a password after a date or a number of uses - protect a whole category or a group of pages at once - style the password form to match your brand If you need any of that, a dedicated password protection plugin is the better route. ## How to Password Protect a Page With a Plugin Two well-supported options on the WordPress plugin directory cover most needs: - [Passster - Password Protect Pages and Content](https://wordpress.org/plugins/content-protector/) (10,000+ active installations, version 4.3.5, tested up to WordPress 7.0) - [PPWP - Password Protect Pages](https://wordpress.org/plugins/password-protect-page/) (30,000+ active installations, version 1.9.20, tested up to WordPress 7.0), which also protects posts, categories, and entire sites and supports master passwords and reCAPTCHA Here is how protection works using Passster. **1. Install the plugin** Go to *Plugins > Add New* on your WordPress dashboard, search for Passster, then install and activate it. 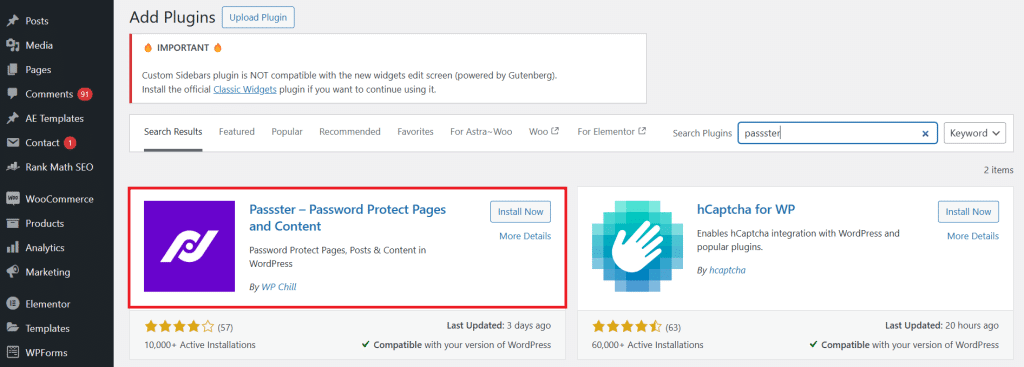Install and activate the Passster plugin from the WordPress plugin directory. **2. Turn on protection for the page** Open the page you want to restrict. In the *Page* tab on the right, find the section labeled Passster, switch on the *Activate Protection* toggle, enter your password, and click *Save*. 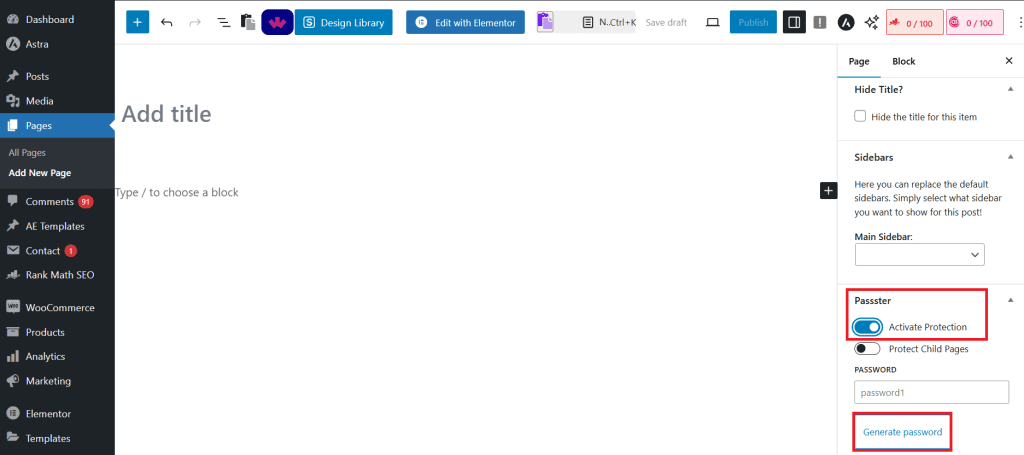Toggle Activate Protection and set a password in the Passster page panel. **3. Configure the password screen** Go to *Passster > Settings > General* to set what visitors see on the password screen. You can customize the headline, the message shown to the visitor, the placeholder text for the password field, the error message, and the button label. 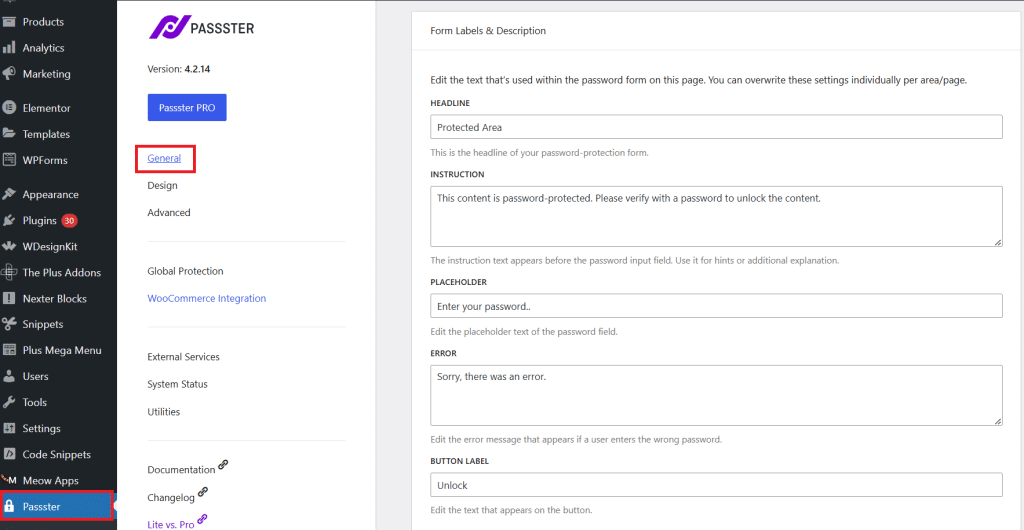Set the headline, message, and button text shown on the password screen. **4. Match it to your design** For a password screen that matches your brand, go to *Passster > Settings > Design* and adjust the font, color, size, and margins. 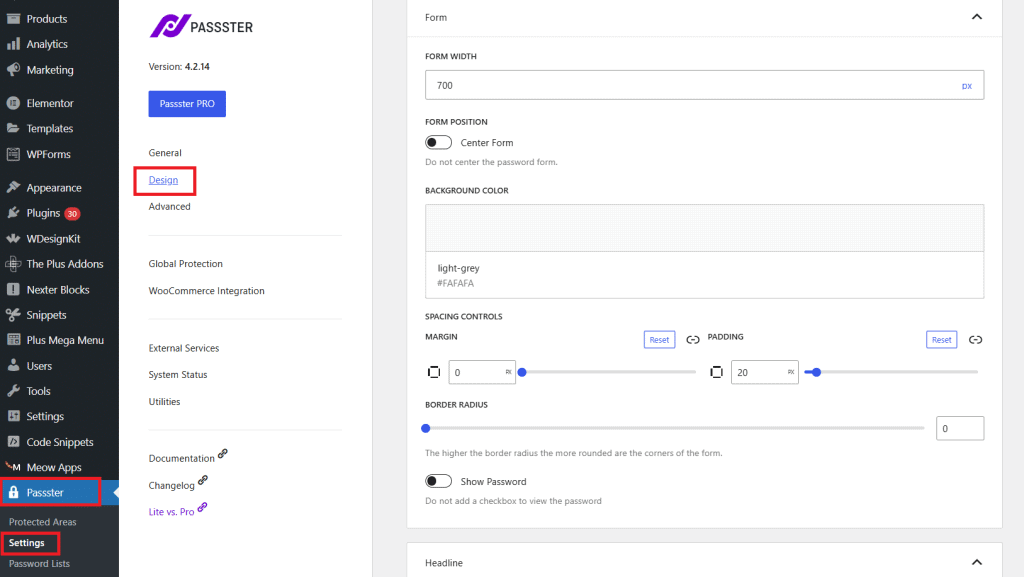Style the password screen to match your site under Passster Design settings. ***Also Read:** have too many users on your WordPress admin dashboard? Learn *[***How to Disable the WordPress Admin Bar for All Users Except Administrators***](https://qa.nexterwp.com/blog/disable-wordpress-admin-bar-for-all-users-except-administrators/)*.* ## Private vs Password-Protected Pages in WordPress WordPress gives you two built-in ways to restrict access to content: Private and Password protected. Both limit who can view a page, but they work differently. **1. Private page in WordPress** A private page is hidden from public view. It does not appear in search results, menus, or archives, and only logged-in users with the right permissions (Administrator or Editor by default) can see it. Anyone else who tries to open it gets a 404 error or is redirected. **2. Password-protected page in WordPress** A password-protected page is visible to anyone who has the password. The page can still appear in menus, but visitors have to enter the password before they can read the content. Here is a quick comparison: | **Feature** | **Private page** | **Password protected page** | | ----------- | ---------------- | --------------------------- | | Access | Only logged-in users with the right role (Admins, Editors) | Anyone who has the password | | Search visibility | Not indexed; hidden from search | Not indexed; search engines skip protected pages | | Best for | Internal pages, drafts, team-only content | Client pages, premium content, event pages | ***Also Read:** want to restrict the whole website rather than one page? See *[***How to Make a WordPress Site Private***](https://qa.nexterwp.com/blog/make-a-wordpress-site-private/)*.* ## Password Protection Not Working? Quick Fixes If a protected page still shows its content, or the password is not being accepted, check these first: - **Clear your cache:** A page cache or CDN can keep serving the unprotected version. Clear the site cache and the CDN after setting the password, then test again in a private window. - **Test while logged out:** You can always see your own protected pages as an admin. Open the page in a private window or a different browser to see what visitors actually get. - **Check the scope:** The built-in setting protects one page at a time. If you meant to protect the whole site, use a plugin like PPWP or the site-private route instead. - **Page builder content:** Some builders render content in a way that ignores the built-in password. If that happens, protect the page with a plugin that works at the access level rather than the content level. ## Wrapping Up Password protecting a page in WordPress is one of the faster ways to control who sees what. For a single page, the built-in *Password protected* setting is all you need. When you want multiple passwords, role-based access, or an expiry date, reach for a plugin like Passster or PPWP. Want your pages to look as good as they are secure? [Nexter Blocks](https://qa.nexterwp.com/nexter-blocks/) gives you 90+ Gutenberg blocks to design pages that stay lightweight and fast, so the pages worth protecting are also worth showing. ## Suggested Reading - [How to Make a WordPress Site Private](https://qa.nexterwp.com/blog/make-a-wordpress-site-private/) - [5 Best WordPress Security Plugins to Protect Your Site](https://qa.nexterwp.com/blog/best-wordpress-security-plugins-to-protect-your-site/) - [How to Disable the WordPress Admin Bar for All Users Except Administrators](https://qa.nexterwp.com/blog/disable-wordpress-admin-bar-for-all-users-except-administrators/) - [What Is Gutenberg in WordPress?](https://qa.nexterwp.com/blog/what-is-gutenberg/) - [Gutenberg vs Elementor: Which Should You Use?](https://qa.nexterwp.com/blog/gutenberg-vs-elementor/) ## FAQs on Password Protecting a Page in WordPress ### How secure is WordPress password protection? WordPress password protection provides a good level of security as it stores passwords in an encrypted format within its database. ### Will password-protecting a page affect SEO? Yes, search engines usually don't index password-protected pages, so they won't appear in search results unless you specifically allow them. ### Can I use multiple passwords to protect a page or post? By default, WordPress allows only one password per page. ### Can I make my WordPress site private? Yes, you can make your entire WordPress site private using the password-protected plugin or by enabling "Private" mode for individual pages. ### Is my site secure if I password-protect it? Password protection is a basic security measure to restrict access to certain website pages. If you want enhanced security, consider using SSL, two-factor authentication, and security plugins for your website. ### Can I remove the password from a page? Yes. Simply edit the page, go to "Visibility" settings, change it back to "Public," and update the page. ### What do I do if I forget the password I set for a page? If you forget the password, you can edit the page in WordPress admin and set a new password under "Visibility" settings. --- # Kadence Blocks vs Essential Blocks: Which Gutenberg Plugin Wins in 2026? Source: https://qa.nexterwp.com/blog/kadence-blocks-vs-essential-blocks-for-gutenberg/ Kadence Blocks and Essential Blocks solve the same problem in two different ways. One keeps the WordPress block editor lean and design-led. The other hands you a much bigger box of ready-made blocks. So which one actually fits your site? Short answer: pick Kadence Blocks if you want a small, fast set of design-focused blocks that pairs with a full theme and template ecosystem. Pick Essential Blocks if you want the widest free block library you can get, with built-in AI and a large pattern catalog. The rest of this guide breaks down where each one wins, what they cost in 2026, and how to decide. ## What is Kadence Blocks? 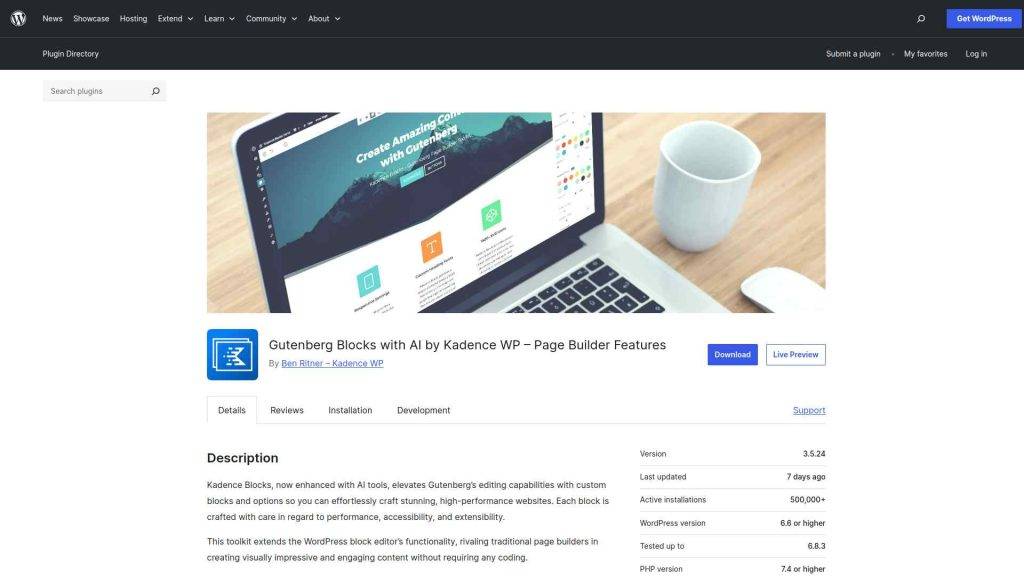Kadence Blocks adds 16 free blocks and deep design controls to the WordPress block editor. Kadence Blocks is a free WordPress plugin that extends the block editor with custom blocks and advanced design controls. The free version on WordPress.org has passed 600,000 active installs, runs at version 3.7.6, is tested up to WordPress 7.0, and holds a 4.8-star rating from 331 reviews (figures from WordPress.org, June 2026). The free version ships 16 blocks, including Row Layout, Advanced Button, Tabs, Accordion, and the Advanced Gallery. The focus is less about block count and more about control. You get responsive settings on almost every option, a shared design library, and clean front-end output that keeps pages fast. Kadence Blocks is now part of the Kadence family under Liquid Web's StellarWP, sold alongside the Kadence theme and starter templates. That makes it a strong pick if you want your blocks, theme, and templates to come from one consistent design system. ***Also Read:** Want the full picture first? Here is a [detailed review of Kadence Blocks](https://qa.nexterwp.com/blog/kadence-blocks-review/) with its pros and cons.* ## What is Essential Blocks for Gutenberg? 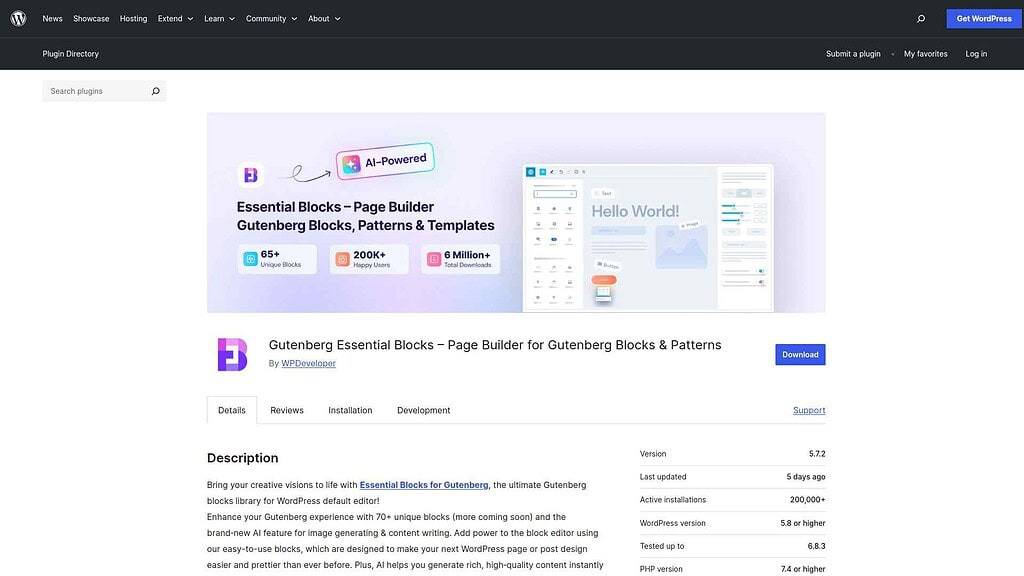Essential Blocks ships 66 free blocks plus built-in AI for the default WordPress editor. Essential Blocks is a free WordPress plugin built by WPDeveloper that adds a large library of blocks to the default editor. On WordPress.org it has crossed 200,000 active installs, sits at version 6.3.0, is tested up to WordPress 7.0, and carries a 4.9-star rating from 210 reviews (June 2026). The free plugin lists 66 blocks, spanning content, creative, marketing, dynamic, form, WooCommerce, and social categories. It also builds in AI: you can generate titles and copy, adjust tone, and create images right inside the editor. Through its Templately integration, you get access to thousands of ready-made patterns and templates. Where Kadence leans into a tight, design-system approach, Essential Blocks goes wide. If your priority is having a block for almost everything without buying add-ons, it covers a lot of ground out of the box. ***Also Read:** See the full breakdown in this [Essential Blocks for Gutenberg review](https://qa.nexterwp.com/blog/essential-blocks-for-gutenberg-review/).* ## Kadence Blocks vs Essential Blocks: The Core Difference The honest way to compare these two is by philosophy, not by feature counts. **Kadence Blocks is a design toolkit.** It keeps the block count small (16 free blocks) and spends its effort on control, performance, and a design system that connects to the Kadence theme. You reach for it when you want fast, clean pages and tight control over spacing, typography, and responsive behavior. **Essential Blocks is a block library.** With 66 free blocks plus AI writing and image tools, it tries to give you a ready-made block for nearly every section you would build, from pricing tables to WooCommerce product grids. You reach for it when breadth matters more than a single design system. A few practical differences worth knowing: - **Block range:** Essential Blocks (66 blocks) covers far more block types than Kadence Blocks (16). For WooCommerce, social feeds, or marketing sections without extras, Essential Blocks has them built in.- **Control vs variety:** Kadence puts deep responsive controls on a smaller set of blocks. Essential Blocks gives you more blocks with lighter per-block control.- **AI:** Essential Blocks ships AI content and image generation today. Kadence lists an AI website builder as coming soon.- **Ecosystem:** Kadence ties into a full theme and template system. Essential Blocks ties into Templately's large pattern catalog. ## Kadence Blocks vs Essential Blocks Pricing (2026) Both plugins are free to start, and for many sites the free version is enough. The differences show up when you move to paid tiers. | Tier | Kadence | Essential Blocks | | ---- | ------- | ---------------- | | Free | 16 blocks | 66 blocks + AI | | Entry paid | $99/yr (Essentials bundle: theme, 30+ blocks, 200+ templates) | $39/yr (Starter, 1 site) | | Higher tiers | $299/yr Pro, $499/yr Elite | $112/yr Innovator (5 sites), $199/yr Visionary (100 sites), $249 lifetime | Pricing from the Kadence and Essential Blocks pricing pages, June 2026. Promotional pricing changes through the year. One thing to note on value: Essential Blocks unlocks its full block range plus AI at a lower entry price, while Kadence's paid tiers bundle a theme, security, and WooCommerce tools alongside the blocks. You are buying a different shape of product at each price point. ## Which One Should You Choose? Choose **Kadence Blocks** if you want a lean, fast, design-led set of blocks and you like the idea of one company supplying your theme, blocks, and templates. It rewards people who care about performance and consistent design more than sheer block count. Choose **Essential Blocks** if you want the largest free block library, built-in AI, and a big pattern catalog, and you are happy to add the few extras you need over time. It rewards people who want variety and AI help without paying up front. If you are still torn, the deciding question is simple: do you want fewer blocks with deeper control (Kadence), or more blocks with more variety and AI (Essential Blocks)? ***Also Read:** Weighing other options too? Compare the [7 best Kadence Blocks alternatives](https://qa.nexterwp.com/blog/kadence-blocks-alternatives/) for 2026.* ## Kadence Blocks vs Essential Blocks Compared The table below puts Kadence Blocks and Essential Blocks side by side with Nexter Blocks across the features site builders ask about most. .tpgb-table tbody tr td:nth-child(3), .tpgb-table tbody tr td:nth-child(5), .tpgb-table tbody tr td:nth-child(6), .tpgb-table tbody tr td:nth-child(8), .tpgb-table tbody tr td:nth-child(9), .tpgb-table thead th:nth-child(3), .tpgb-table thead th:nth-child(5), .tpgb-table thead th:nth-child(6), .tpgb-table thead th:nth-child(8), .tpgb-table thead th:nth-child(9) { display: none; } ## Why Consider Nexter Blocks? If you find yourself wanting both sides of this comparison, lean performance and a wide block range in one free plugin, Nexter Blocks is worth a look. It offers 90+ Gutenberg blocks on WordPress.org plus 50+ extensions, dynamic content, display conditions, AI content and image generation, and header, blog, popup, and form builders. ## Suggested Reading - [Greenshift vs Essential Blocks for Gutenberg](https://qa.nexterwp.com/blog/greenshift-vs-essential-blocks-for-gutenberg/)- [Stackable vs Essential Blocks](https://qa.nexterwp.com/blog/stackable-vs-essential-blocks-for-gutenberg/)- [Kadence vs Blocksy: 7 Key Differences](https://qa.nexterwp.com/blog/kadence-vs-blocksy/)- [Introducing AI in Nexter Blocks](https://qa.nexterwp.com/blog/introducing-ai-in-nexter-blocks-new-code-snippets-more/) ### Extra Resources --- # How to Optimize Content for AI Search: A Step-by-Step WordPress Guide (2026) Source: https://qa.nexterwp.com/blog/how-to-optimize-content-for-ai-search/ #### Key Takeaways - Optimizing content for AI search means structuring a page so engines like ChatGPT, Perplexity, and Google AI Overviews can understand and quote it, not just rank it.- It builds on good SEO, it does not replace it. An indexable, fast, well-written page is still the base.- The workflow has four moves: write for extraction, add a machine-readable layer, prove who is behind the content, then measure what AI does with your pages.- Lead each section with a clear, self-contained answer, then add depth. Extraction tools grab the first clean sentence.- A free plugin can generate the schema, llms.txt, and tracking, but it cannot make thin content worth citing. I went looking through a client's server logs a few months ago and watched an AI crawler fetch one of their best guides. Then I asked the same question in ChatGPT and got a clean answer that quoted a competitor instead. Our page had the better information. It just buried the answer four paragraphs down, wrapped in setup and throat-clearing, with no structure a machine could grab. The crawler came, read, and moved on. That is the gap this guide closes. Optimizing content for AI search is not a new dark art. It is a short, repeatable workflow you run on a page so engines can find the answer, trust it, and quote it. Below are the four steps I use, in order, plus an honest note on where a plugin helps and where it does not. ## What optimizing content for AI search actually means Traditional SEO gets your page indexed and ranked so a person clicks a blue link. AI search adds a second job: an engine reads your page, decides whether it can answer a question, and either quotes you or quotes someone else. You are no longer only competing for a ranking. You are competing to be the source a model pulls a sentence from. So optimizing content for AI search means making a page easy to read, easy to extract, and easy to trust for a machine. It sits on top of normal SEO, it does not replace it. If your page is not indexable, slow, or thin, no amount of AI tuning helps. Get the basics right first, then layer the four steps below. If you are still deciding whether you even need help with this, the honest take in [do you actually need an AI SEO tool](https://qa.nexterwp.com/blog/ai-seo-tool-wordpress/) is a good starting point. 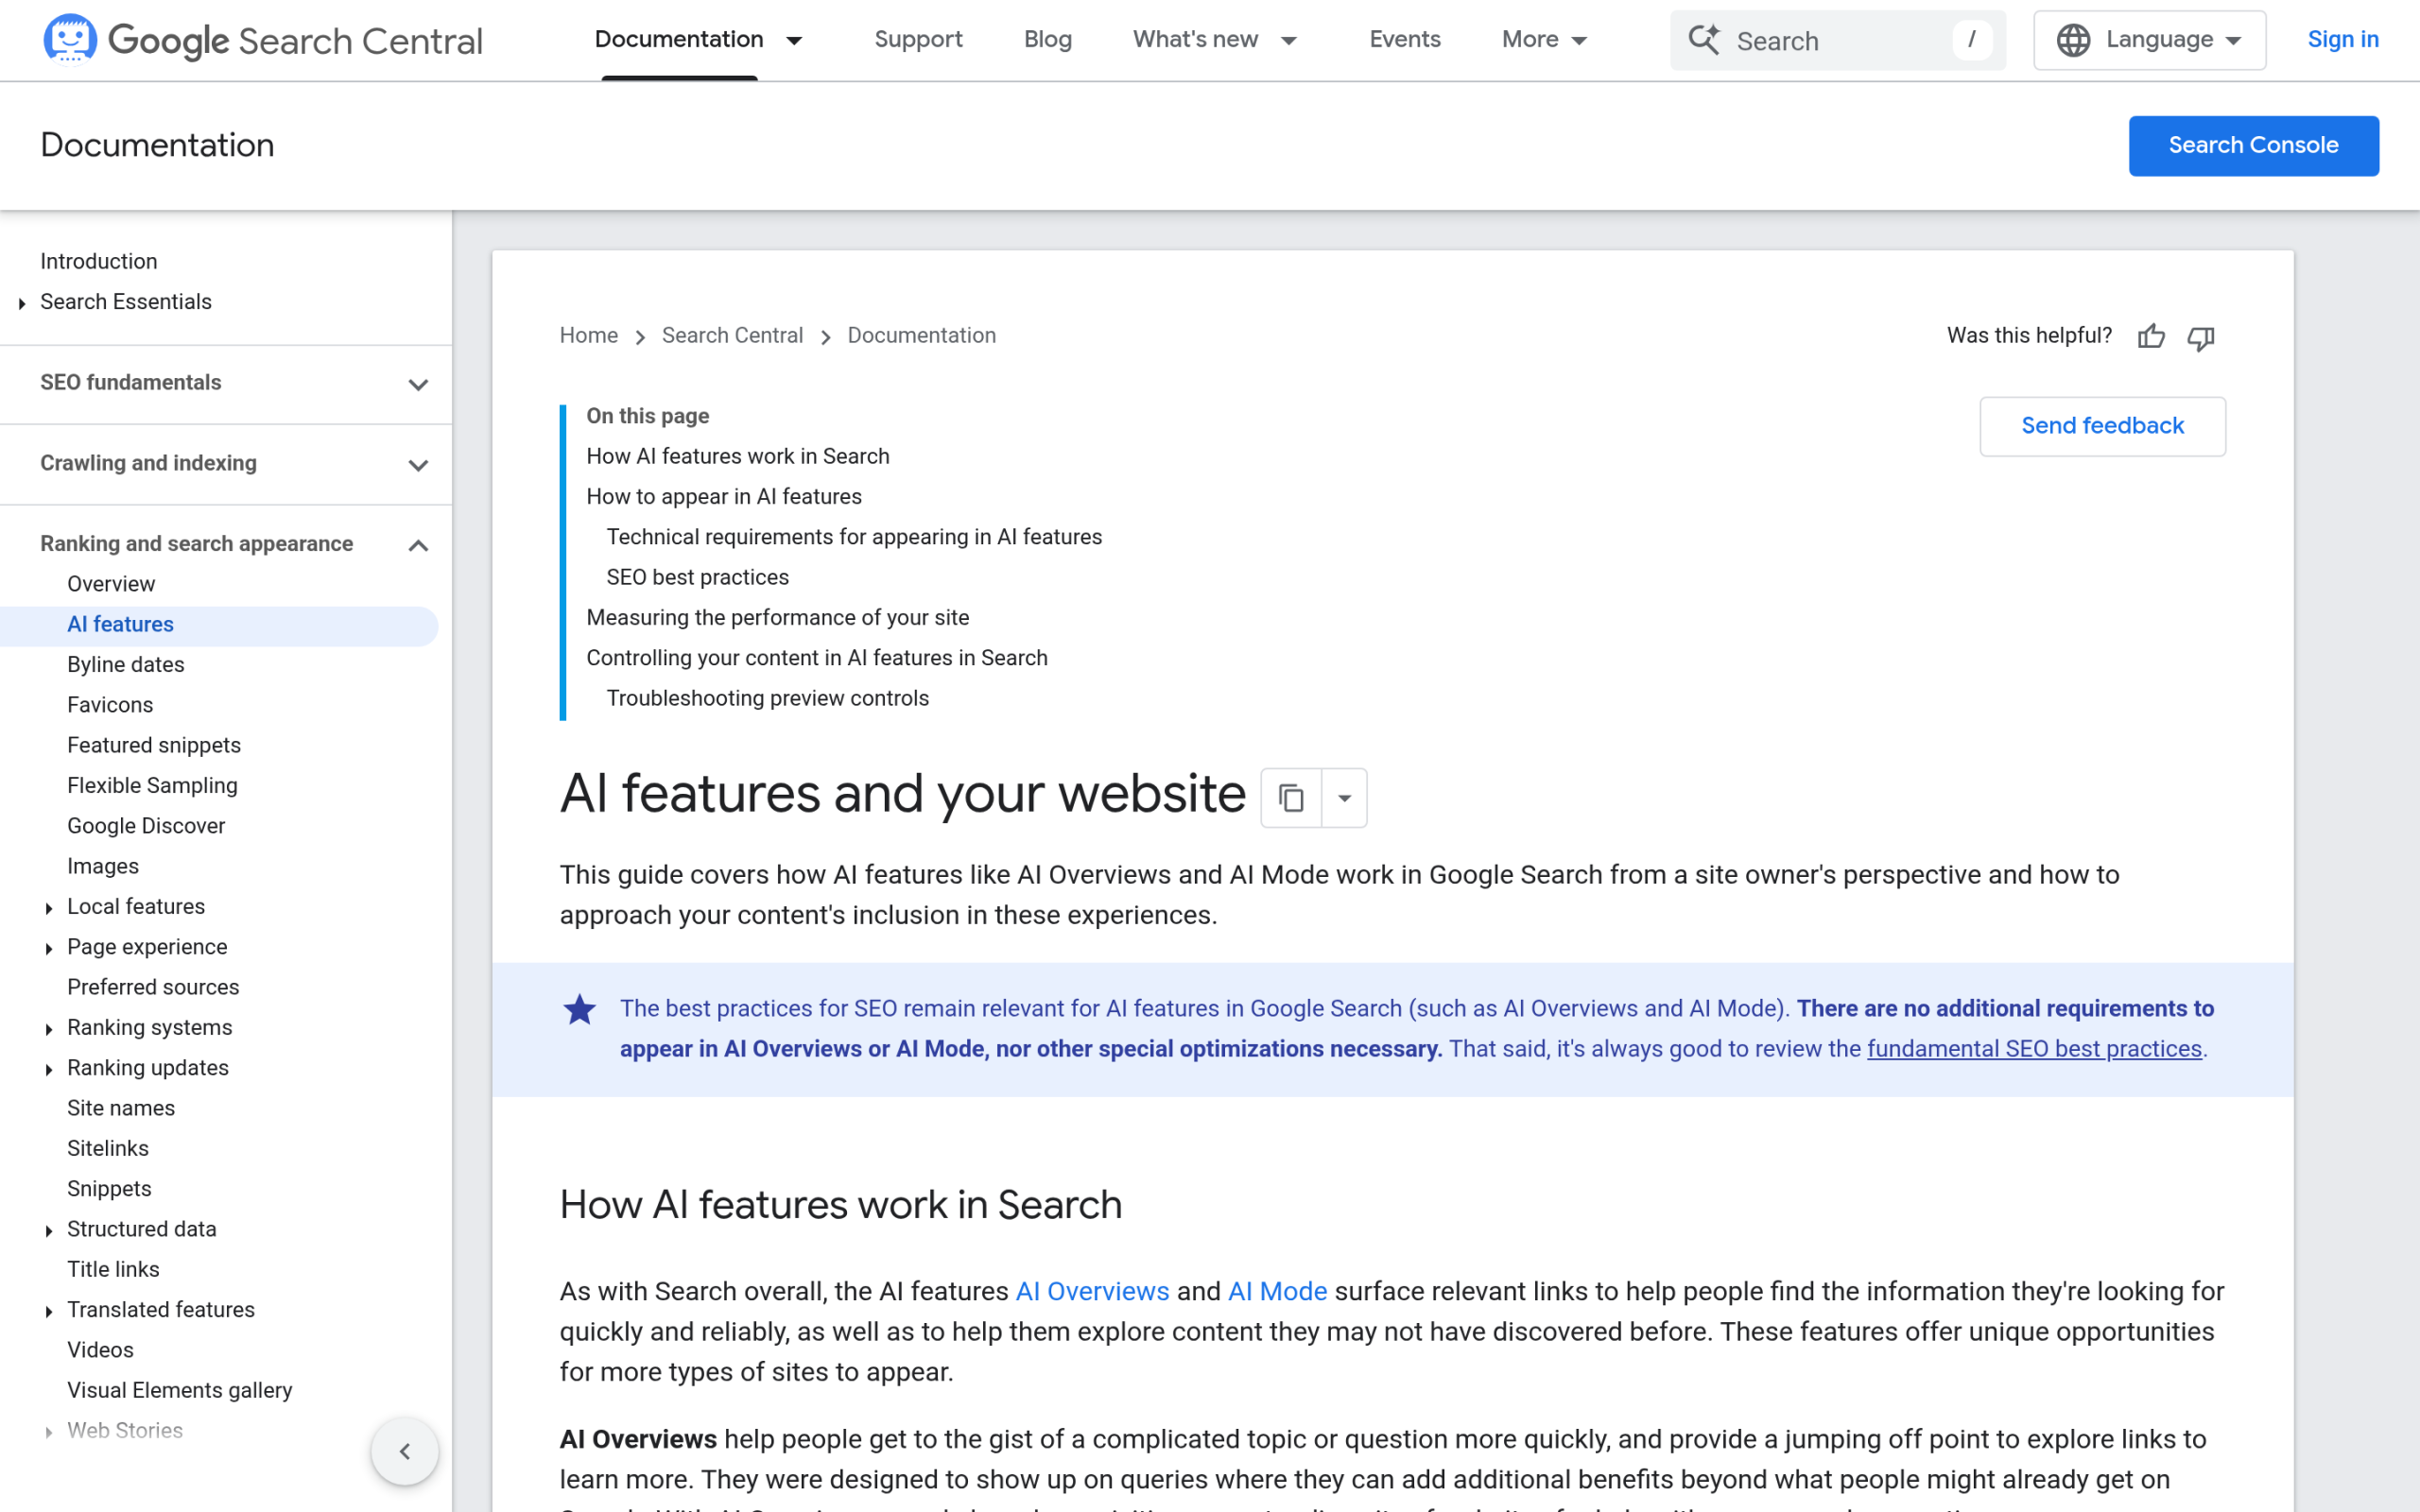Google's own guidance is that AI features reward standard, high-quality, crawlable content, not special tricks. Source: Google Search Central. ## Step 1: Write each section so it can be extracted Models pull short, self-contained passages. The single biggest change you can make is to answer the question in the first sentence of a section, then expand. Front-load the fact, then add the nuance, the caveats, and the example. - **Use a question or a clear claim as your H2,** then answer it in the first line below.- **Keep answer sentences self-contained.** Avoid openers like "this" or "as mentioned above" that only make sense in context.- **Use lists and small tables for steps and comparisons.** They extract cleanly and map well to how an engine builds an answer.- **One idea per paragraph.** Walls of text hide the sentence you want quoted. This is the same discipline behind [answer engine optimization](https://qa.nexterwp.com/blog/answer-engine-optimization-wordpress/): you are writing for the question, not just the keyword. ## Step 2: Add the machine-readable layer Once the words are clean, give machines explicit signals about what the page is and which parts matter. This is the layer most content skips. - **Article schema** so engines know the page is an article, with a headline, author, and dates.- **Speakable schema** to flag the one or two sentences you would want read aloud or quoted.- **An llms.txt file** that gives AI crawlers a tidy index of your key content, plus Markdown versions of posts they can read without wading through page markup.- **Clean headings and a real table of contents,** so the structure of the page is obvious without guessing. A machine-readable layer includes llms.txt and Markdown endpoints alongside schema. Source: store.posimyth.com. ***Also Read:** [Speakable Schema in 2026](https://qa.nexterwp.com/blog/speakable-schema-wordpress/) for exactly which sentences to flag and how to add the markup.* ## Step 3: Make it obvious who is behind the content AI engines weigh trust heavily, because quoting a wrong or anonymous source is a real risk for them. You reduce that risk by making authorship and expertise explicit. Add a real author with a bio and credentials, use Person schema, cite primary sources, and keep pages updated with visible dates. You also help engines connect your page to the right things in the world: the people, products, and topics it is about. That is the job of [entity SEO](https://qa.nexterwp.com/blog/entity-seo-wordpress/), and it is what turns a page from "some text" into "a clear statement from a known source about a known thing." Author signals and Person schema tell engines a real, credible person stands behind the page. Source: store.posimyth.com. ***Also Read:** [E-E-A-T for AI Search](https://qa.nexterwp.com/blog/e-e-a-t-ai-search-wordpress/) on how WordPress sites earn trust from Google AI, ChatGPT, and Perplexity.* ## Step 4: Measure what AI actually does with your pages The step almost everyone skips is checking whether any of this worked. Traditional analytics will not tell you that GPTBot fetched a post or that Perplexity built an answer from it. You need to watch the AI layer directly: which crawlers visit, which pages they pull, and whether AI tools send you any referral traffic. RankReady, the free AI SEO plugin from POSIMYTH, is built for this measurement gap. It generates Article and Speakable schema, FAQPage and HowTo where they fit, plus your llms.txt and Markdown endpoints, so steps 2 and 3 are mostly handled for you. Then it shows a live log of 31 named AI crawlers (GPTBot, ClaudeBot, PerplexityBot, Google-Extended, and more), a citation-candidates leaderboard of posts those bots fetched in the last 30 days, and a per-post readiness score from 0 to 100. It is free, GPL-2.0-or-later, and runs on WordPress 6.0+ with PHP 7.4+. The honest limit: it measures and structures, it does not write your content or guarantee a citation. You can see the full feature set on the [RankReady plugin page](https://store.posimyth.com/plugins/rankready/). Measuring AI search means watching crawler hits and citation candidates, not just Google clicks. Source: store.posimyth.com. ## How this differs from traditional SEO (and from buying a tool) Two honest clarifications. First, this is not a replacement for SEO. Most of what helps AI search, clear writing, structure, schema, and trust, also helps Google rankings. You are extending good SEO, not abandoning it. Second, a tool is not the strategy. The four steps above are the strategy. A plugin like RankReady removes the manual work in steps 2 and 4, but the writing in step 1 and the credibility in step 3 are still on you. If you want the wider context for where all of this is heading, [LLM SEO for WordPress](https://qa.nexterwp.com/blog/llm-seo-wordpress/) covers how citations work across ChatGPT, Gemini, and Perplexity, and the [2026 AI-readiness stack](https://qa.nexterwp.com/blog/ai-readiness-stack-wordpress/) shows how the pieces fit at a site level. This guide is the per-page workflow that sits underneath both. [Generate the schema, llms.txt, and AI tracking with RankReady (free)](https://store.posimyth.com/plugins/rankready/) ## Suggested Reading - [Answer Engine Optimization for WordPress: The Complete Guide](https://qa.nexterwp.com/blog/answer-engine-optimization-wordpress/)- [LLM SEO for WordPress: How to Get Cited by ChatGPT, Gemini and Perplexity](https://qa.nexterwp.com/blog/llm-seo-wordpress/)- [Speakable Schema: Markup for Voice and AI Answers](https://qa.nexterwp.com/blog/speakable-schema-wordpress/)- [What Is Entity SEO? How WordPress Sites Get Recognized by Google and AI](https://qa.nexterwp.com/blog/entity-seo-wordpress/)- [Do You Actually Need an AI SEO Tool?](https://qa.nexterwp.com/blog/ai-seo-tool-wordpress/) --- # Speakable Schema in 2026: How to Mark Up Content for Voice & AI Answers on WordPress Source: https://qa.nexterwp.com/blog/speakable-schema-wordpress/ #### Key Takeaways - Speakable is a schema.org property that flags the exact sentences on a page that are best read aloud, pointed to with a CSS selector or an XPath.- Google's Speakable rich result is still a beta, limited to English-language news publishers and U.S. Google Home users, so do not expect a Google feature from it today.- The real 2026 value is different: clean Speakable markup tells voice assistants and AI answer engines which sentences are safe to quote.- You can add it by hand with a small JSON-LD block, or have a plugin generate Article plus Speakable schema on every post automatically.- Mark up one or two short, factual sentences such as a summary or key takeaway, never a whole article. A reader emailed me last year to say she found one of our tutorials in an odd way. She asked her smart speaker a question out loud, and it answered by reading back a single sentence from the post, word for word. I had never written that line to be read aloud. It just happened to be short, clear, and sitting near the top of the page. That one sentence is the whole idea behind Speakable schema. It is a small piece of structured data that points a machine at the exact lines on your page worth saying out loud. With voice search and AI answer engines now pulling single sentences out of articles to respond to people, deciding which sentence gets picked is no longer something you want to leave to luck. Here is what Speakable actually is, the honest story on Google's support for it, and how to add it to a WordPress site without touching much code. ## What is Speakable schema, exactly? Speakable is part of the shared structured-data vocabulary at schema.org. In schema.org's own words, a SpeakableSpecification "indicates (typically via xpath or cssSelector) sections of a document that are highlighted as particularly speakable." The `speakable` property attaches to Article and WebPage types and "indicates sections of a Web page that are particularly 'speakable' in the sense of being highlighted as being especially appropriate for text-to-speech conversion." In plain terms: instead of leaving a machine to guess which line to read, you hand it a pointer. There are two ways to make that pointer. A **CSS selector** targets content by its class or tag, for example the box that holds your key takeaways. An **XPath** targets content by its position in the page structure. Most people use a CSS selector because it survives small layout changes better. Speakable is defined in the shared schema.org vocabulary, the same place Article and FAQPage live. Source: schema.org. ## The honest truth about Google's Speakable rich result If you have read older guides promising a Google voice feature from Speakable, here is the part they skip. Google's own documentation still labels it clearly: "This feature is in beta and subject to change." More importantly, the eligibility is narrow. Google states the `speakable` property "works for users in the U.S. that have Google Home devices set to English, and publishers that publish content in English," and it is built so Google Assistant can "answer topical news queries on smart speaker devices." Read that twice. It is a beta. It is U.S.-only. It is English-only. It is aimed at news publishers and Google Home speakers. Google even says it hopes "to launch in other countries and languages as soon as sufficient number of publishers have implemented speakable." That sentence has sat in the docs for a long time. So if you run a normal WordPress blog or business site, you should not add Speakable expecting a Google rich result to appear. That is the wrong reason to do it. 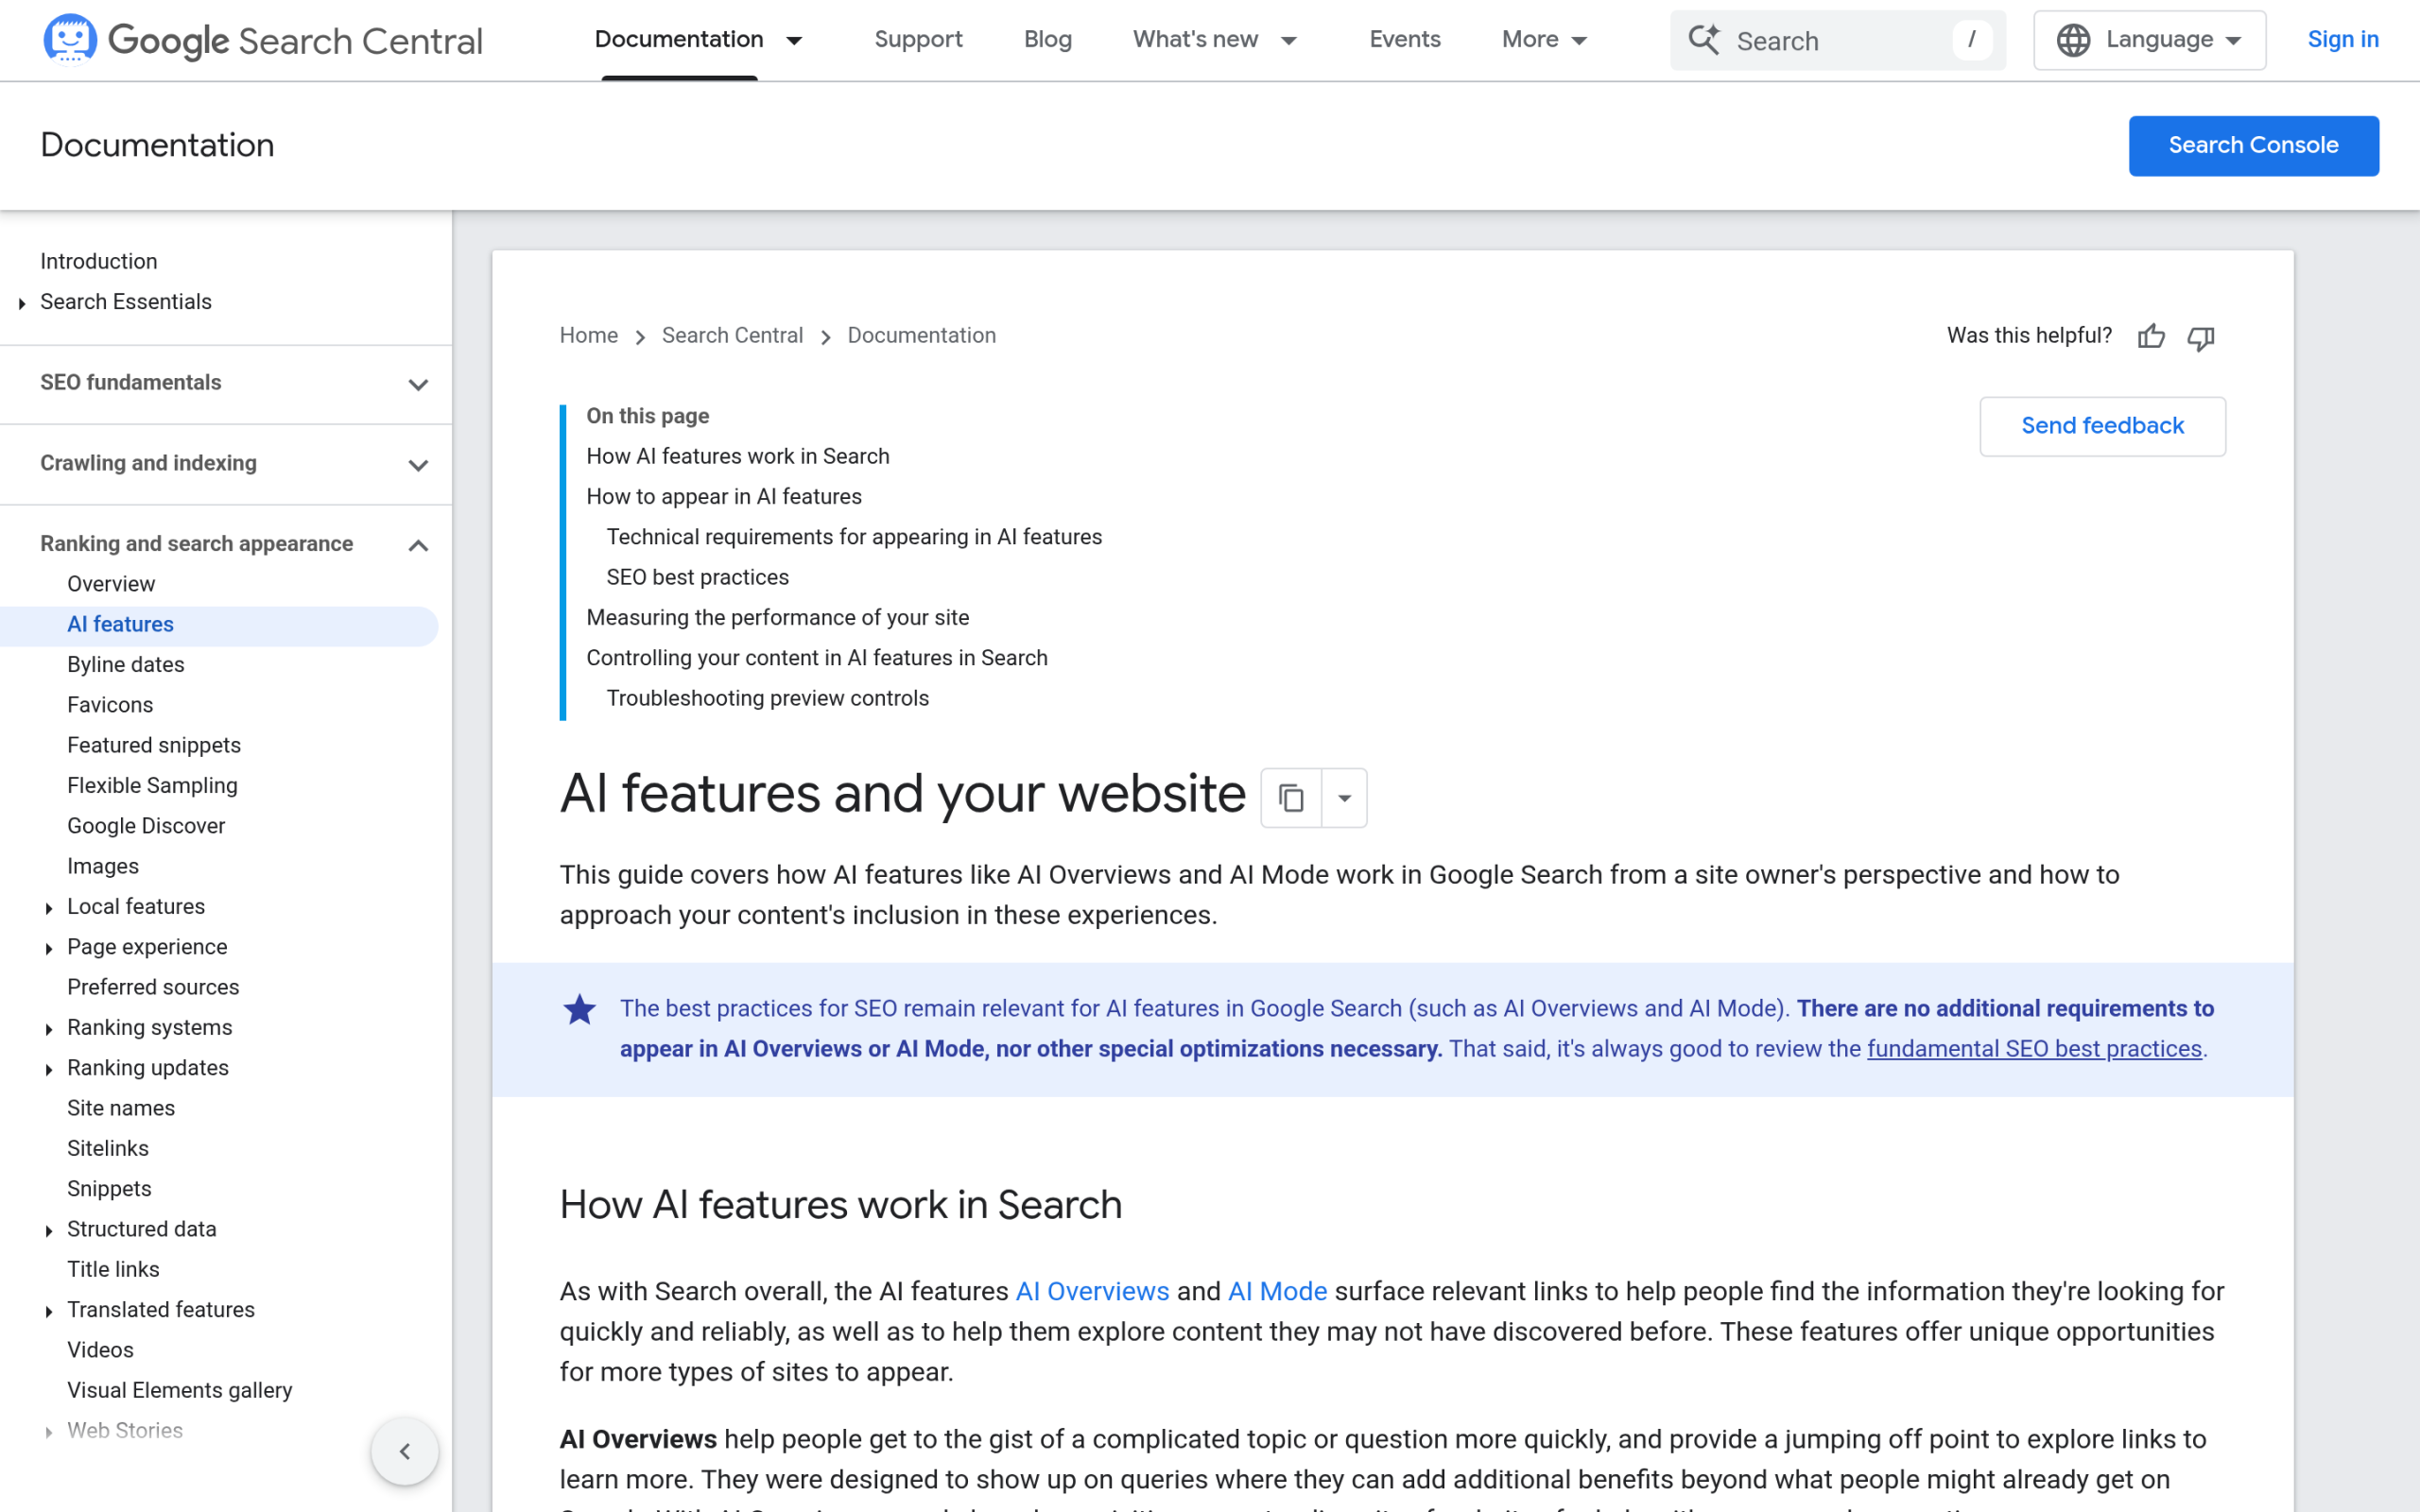Google's structured data docs are explicit that Speakable is a limited beta. Source: Google Search Central. ***Also Read:** [Answer Engine Optimization for WordPress](https://qa.nexterwp.com/blog/answer-engine-optimization-wordpress/) for the bigger picture on how engines decide what to quote.* ## Why Speakable still matters in 2026 If the Google feature stalled, why bother? Because the job Speakable does is now more useful than the feature it was built for. The schema.org property is valid, well-formed markup either way. And the way people get answers has shifted. Voice assistants read sentences aloud. AI answer engines like ChatGPT, Perplexity, and Google's AI Overviews lift a sentence or two out of a page and present it as the answer. In every one of those cases, something is choosing a single line from your article to speak or quote. Speakable is an explicit, machine-readable way to say "this is the sentence I would want quoted." It will not force any engine to obey, and no honest guide should claim otherwise. But pairing a clean summary sentence with a Speakable pointer removes ambiguity. You are writing for extraction, not just for reading, and you are labelling the part you stand behind. That is a small, low-risk signal that fits the way [LLM SEO on WordPress](https://qa.nexterwp.com/blog/llm-seo-wordpress/) actually works. ## How to add Speakable schema to WordPress You have two routes. The manual route is a small JSON-LD block you place in the page head or body. It points a CSS selector at the element you want flagged, for example your key-takeaways box and the H1: `` That works, but you have to keep the selector in sync with your theme and repeat it for every post. The no-code route is to let a plugin handle it. RankReady, the free AI SEO plugin from POSIMYTH, generates this for you: every post gets Article JSON-LD with the Speakable sentences flagged separately for voice assistants and AI quotation. Its one-click AI Summary feature creates a short key-takeaways block and wraps it in Speakable schema, so the engine is told exactly which sentences to quote. It is free, licensed GPL-2.0-or-later, and runs on WordPress 6.0+ with PHP 7.4+. You can see how it handles schema on the [RankReady plugin page](https://store.posimyth.com/plugins/rankready/). RankReady generates Article plus Speakable schema per post and flags the sentences meant for quotation. Source: store.posimyth.com. ## Speakable best practices: what to mark up and what to skip The mistake I see most often is marking up too much. Speakable is meant for a small, deliberate set of sentences, not your whole post. A few rules that keep it useful: - **Pick one or two sentences.** A single summary line or your top key takeaway is the right size. If a speaker read it aloud, it should make sense on its own.- **Keep them self-contained.** Avoid sentences that start with "this" or "that" and depend on the paragraph above to make sense.- **Lead with the fact.** Put the answer first, then any nuance. Extraction tools grab the front of a sentence.- **Never mark up navigation, ads, author bios, or related-post widgets.** Point only at real content.- **Match the selector to a stable element,** such as a class on your takeaways box, so a theme tweak does not break it. ***Also Read:** [What Is Entity SEO?](https://qa.nexterwp.com/blog/entity-seo-wordpress/) to understand how clear, factual sentences also help engines recognise who and what your content is about.* ## Where Speakable fits in your AI-readiness stack Speakable is one signal, not a strategy on its own. It works best alongside the rest of your structured data and machine-readable layer: Article schema so engines understand the page is an article, a [schema markup generator](https://qa.nexterwp.com/blog/schema-markup-generator-wordpress/) to keep your JSON-LD clean, an [FAQ schema](https://qa.nexterwp.com/blog/faq-schema-generator-wordpress/) block where it fits, and an llms.txt file that gives crawlers a tidy index of your content. Think of Speakable as the line-level pointer and the rest as the page-level and site-level context. If you want the whole picture of how these pieces fit together on WordPress, the [2026 AI-readiness stack](https://qa.nexterwp.com/blog/ai-readiness-stack-wordpress/) walks through llms.txt, schema, MCP, and more in order. Speakable slots in once your content and Article schema are already solid. Adding it to thin or unclear content will not help, because no plugin makes a weak sentence worth quoting. RankReady bundles Speakable with Article, FAQPage, llms.txt, and AI crawler tracking. Source: store.posimyth.com. [Add Speakable and Article schema automatically with RankReady (free)](https://store.posimyth.com/plugins/rankready/) ## Suggested Reading - [Answer Engine Optimization for WordPress: The Complete Guide](https://qa.nexterwp.com/blog/answer-engine-optimization-wordpress/)- [LLM SEO for WordPress: How to Get Cited by ChatGPT, Gemini and Perplexity](https://qa.nexterwp.com/blog/llm-seo-wordpress/)- [What Is Entity SEO? How WordPress Sites Get Recognized by Google and AI](https://qa.nexterwp.com/blog/entity-seo-wordpress/)- [Schema Markup Generator for WordPress: Auto-Generate JSON-LD](https://qa.nexterwp.com/blog/schema-markup-generator-wordpress/)- [The 2026 AI-Readiness Stack for WordPress](https://qa.nexterwp.com/blog/ai-readiness-stack-wordpress/) --- # How to Add a WordPress Read More Button (4 Easy Methods) Source: https://qa.nexterwp.com/blog/wordpress-read-more-button/ Ask three WordPress users what a "Read More" button is and you get three different answers. One means the preview cutoff on the blog page. One means a button that loads more posts. One means a styled link they drop anywhere on the site. They are all called read more, and they are set up in completely different ways. This guide sorts out which one you actually want, then gives you the exact steps for each. Most of these methods need no plugin at all. ## What a Read More Button Actually Means in WordPress In WordPress, "read more" covers three separate things. Picking the right method starts with knowing which one you need. - **The excerpt cutoff (the More tag).** This trims a single post on your homepage, blog page, or archive so visitors see a short preview plus a "Read more" link instead of the full article. It is built into WordPress core, no plugin required.- **A Load More button on a post grid.** This sits under a list of posts and pulls in more posts when clicked, without reloading the page. You need a block or plugin for this one.- **A standalone button.** This is a styled link you place anywhere, labeled "Read more" or anything else, pointing wherever you want. A button block handles it. Once you know which of the three you want, the setup is quick. The sections below cover all three, plus the Load More option for post grids. ## Why Add a Read More Button in WordPress ### Clean Up Long Blog and Archive Pages Showing full articles on your homepage or blog index makes the page long and hard to scan. A reader has to scroll past one entire post to reach the next. Cutting each post to a short preview fixes that. Visitors can see several posts at a glance, pick the one they want, and click through. Shorter index pages also load faster, since the browser is not rendering every full article at once. ### Keep Readers Engaged A preview plus a clear "Read more" link gives the reader a small decision to make, and a reason to click. That click takes them onto the full post page, where they are more likely to keep reading and explore related articles. When people click through and stay longer, search engines read that as a sign your content is useful, which can help your rankings over time. ***Also Read:** [5 Best WordPress Button Plugins to Improve Conversions](https://qa.nexterwp.com/blog/wordpress-button-plugins/) if you want more design control than the native button.* ## How to Add a Read More Button in WordPress There are three native ways to add one, plus a Load More option for post grids. Match the method to the type from the section above. ### Method 1: The More Block in the Gutenberg Editor This is the native way to create the excerpt cutoff. From your WordPress dashboard, go to **Posts > Add New Post** or open an existing post. Write the post as usual, then place your cursor where you want the preview to end. Click the **+** icon and search for the **More** block. 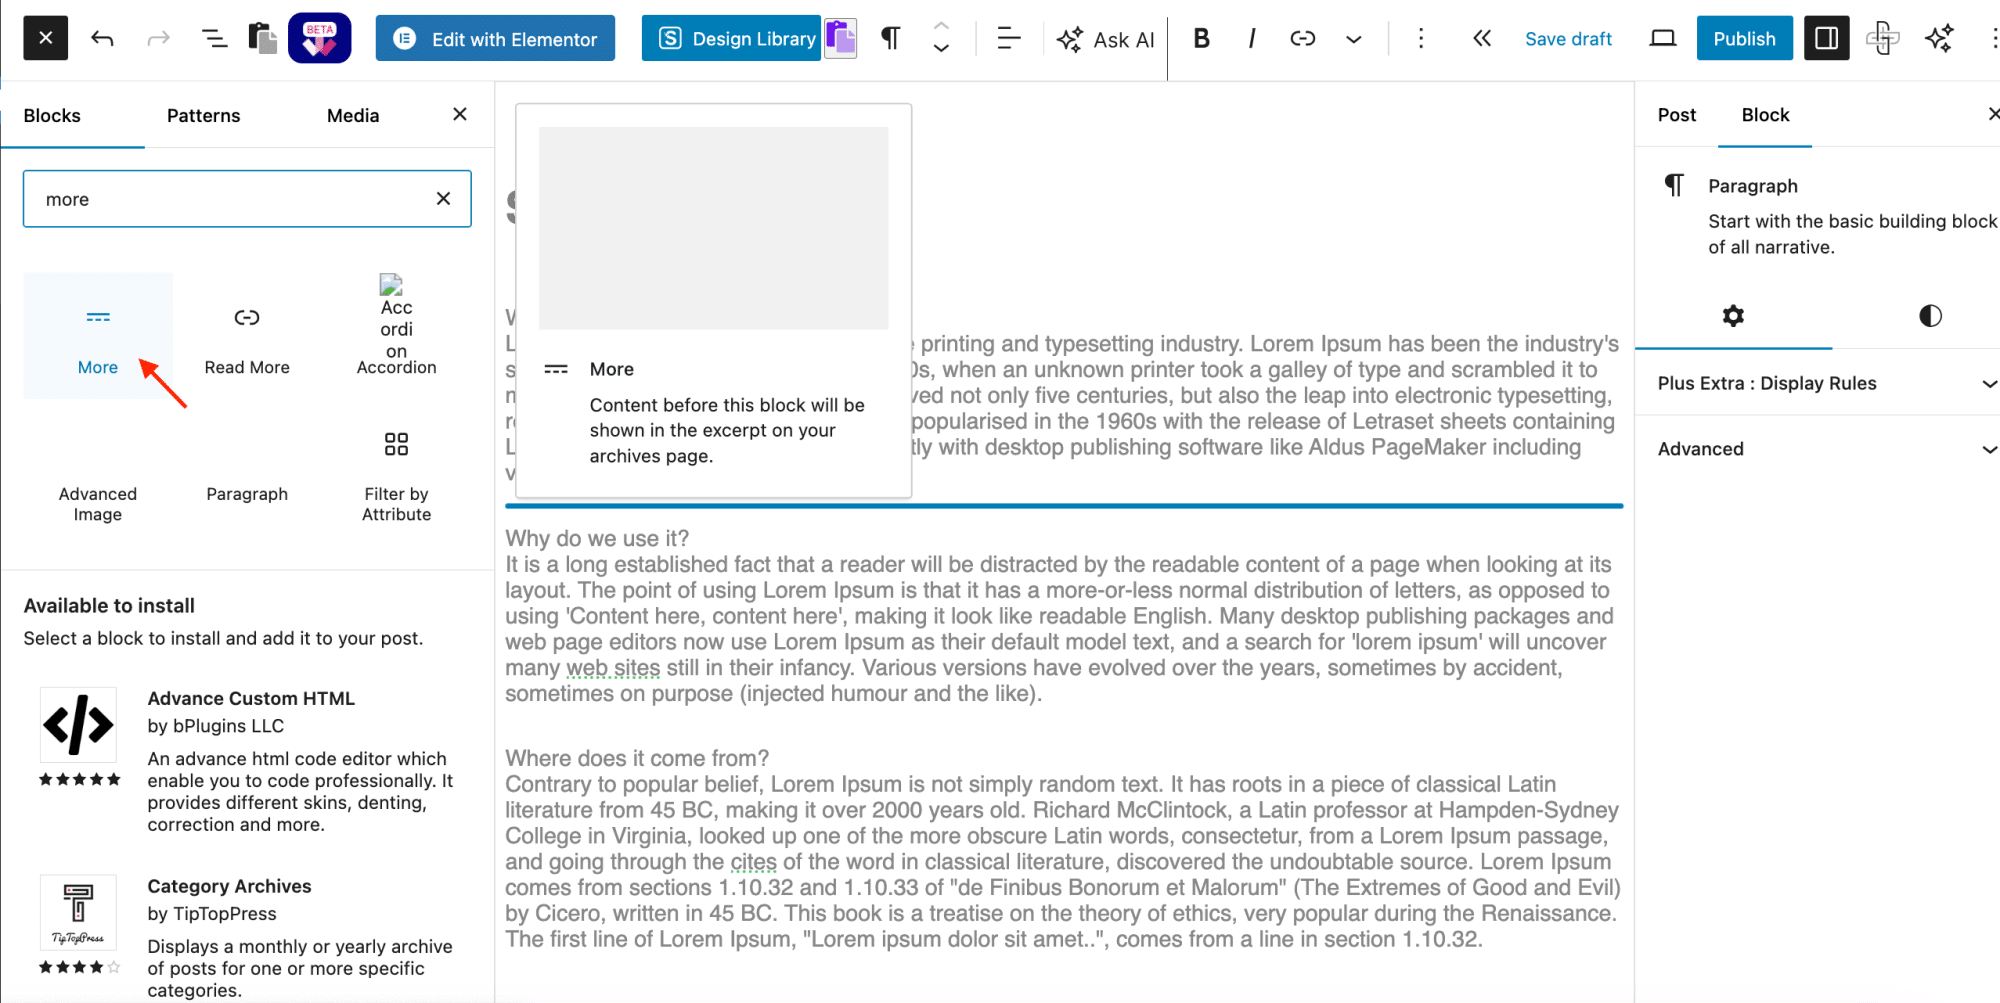Search for and add the More block in the Gutenberg editor. Drag the block to the exact spot where the preview should stop. Everything above it shows on the blog and archive pages, everything below it stays hidden until the reader clicks through. 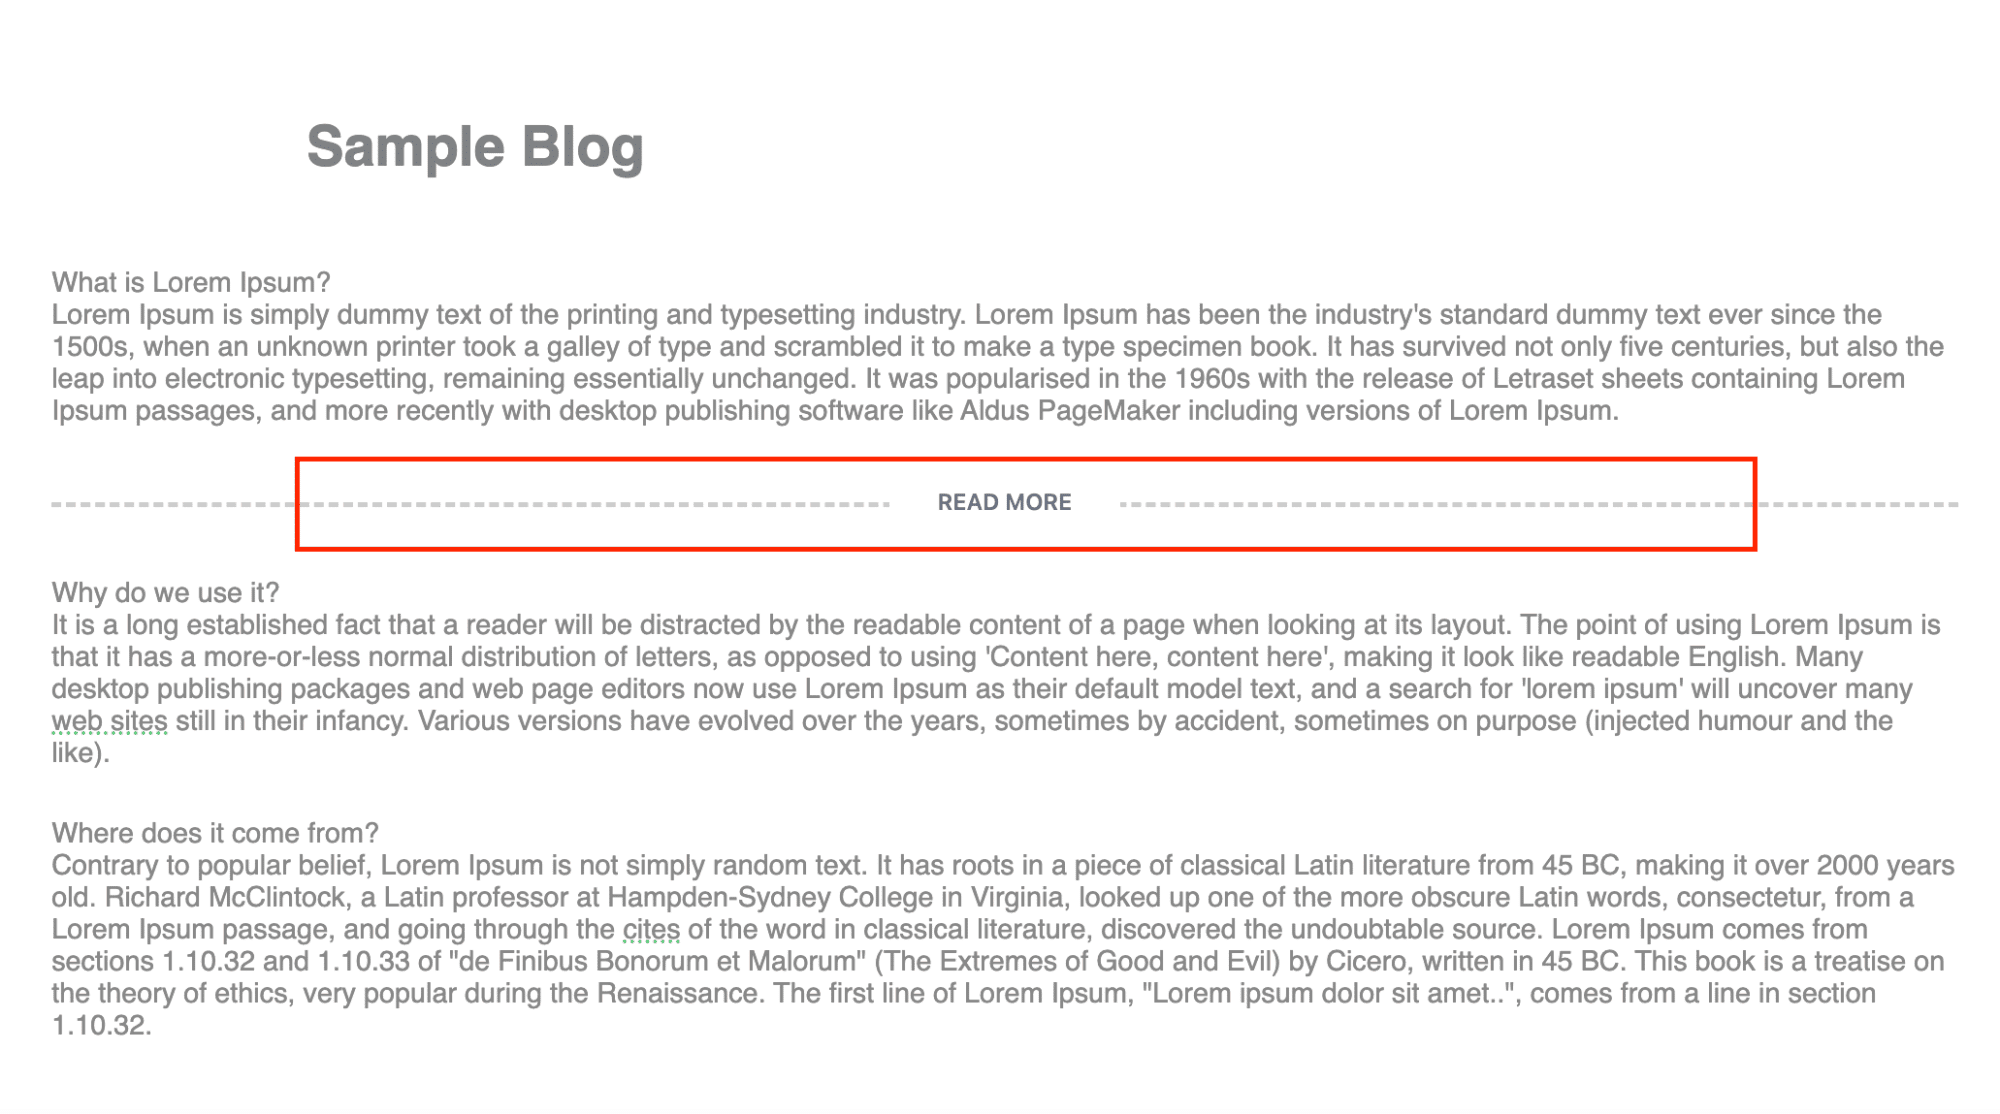The More block creates a Read More link, and the text on it is editable. Click the block to edit the link text, for example "Continue reading." You can also switch on the **Hide the excerpt on the full content page** toggle so the preview text does not repeat once the full post opens. 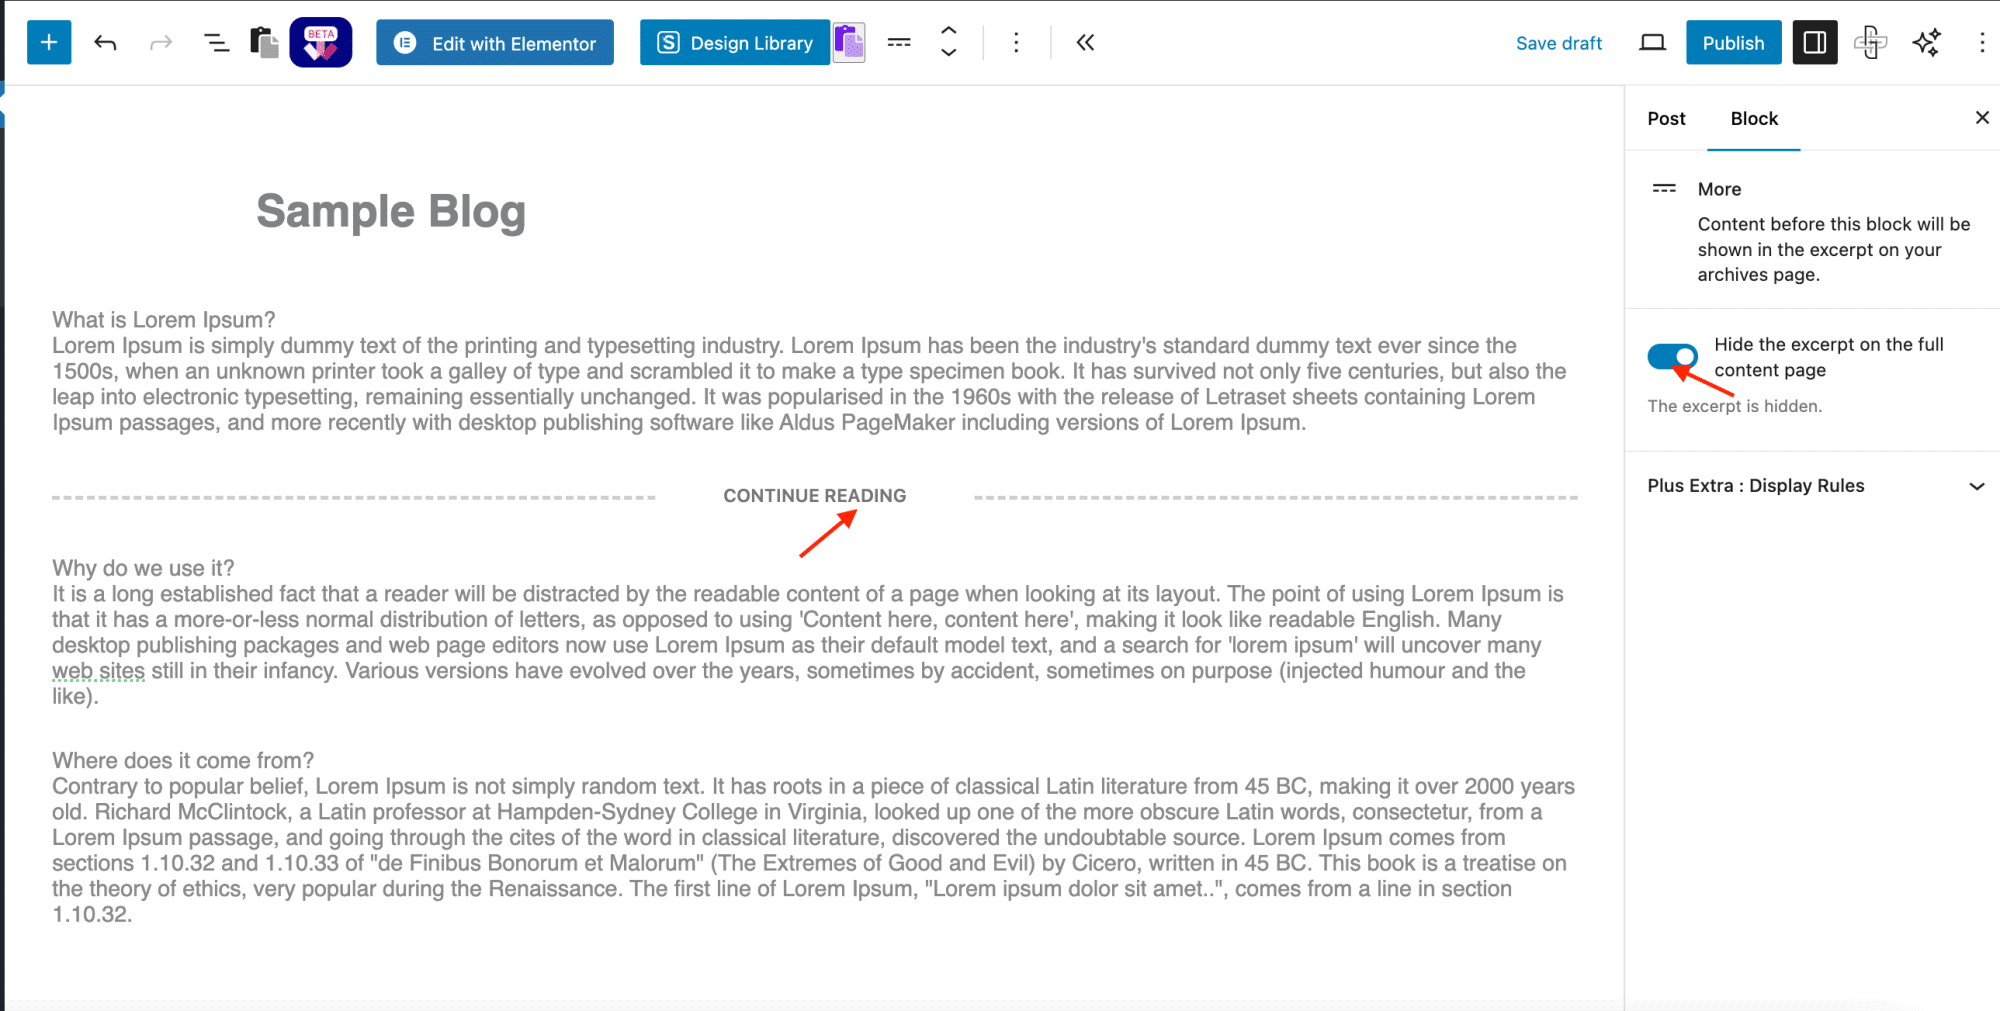Toggle Hide the excerpt on the full content page to control what shows after the cut. ### Method 2: The Read More Tag in the Classic Editor If your site still runs the Classic Editor, the same excerpt cutoff is one click away. Open or create a post, place your cursor where the preview should end, and click the **Insert Read More tag** button in the visual toolbar. 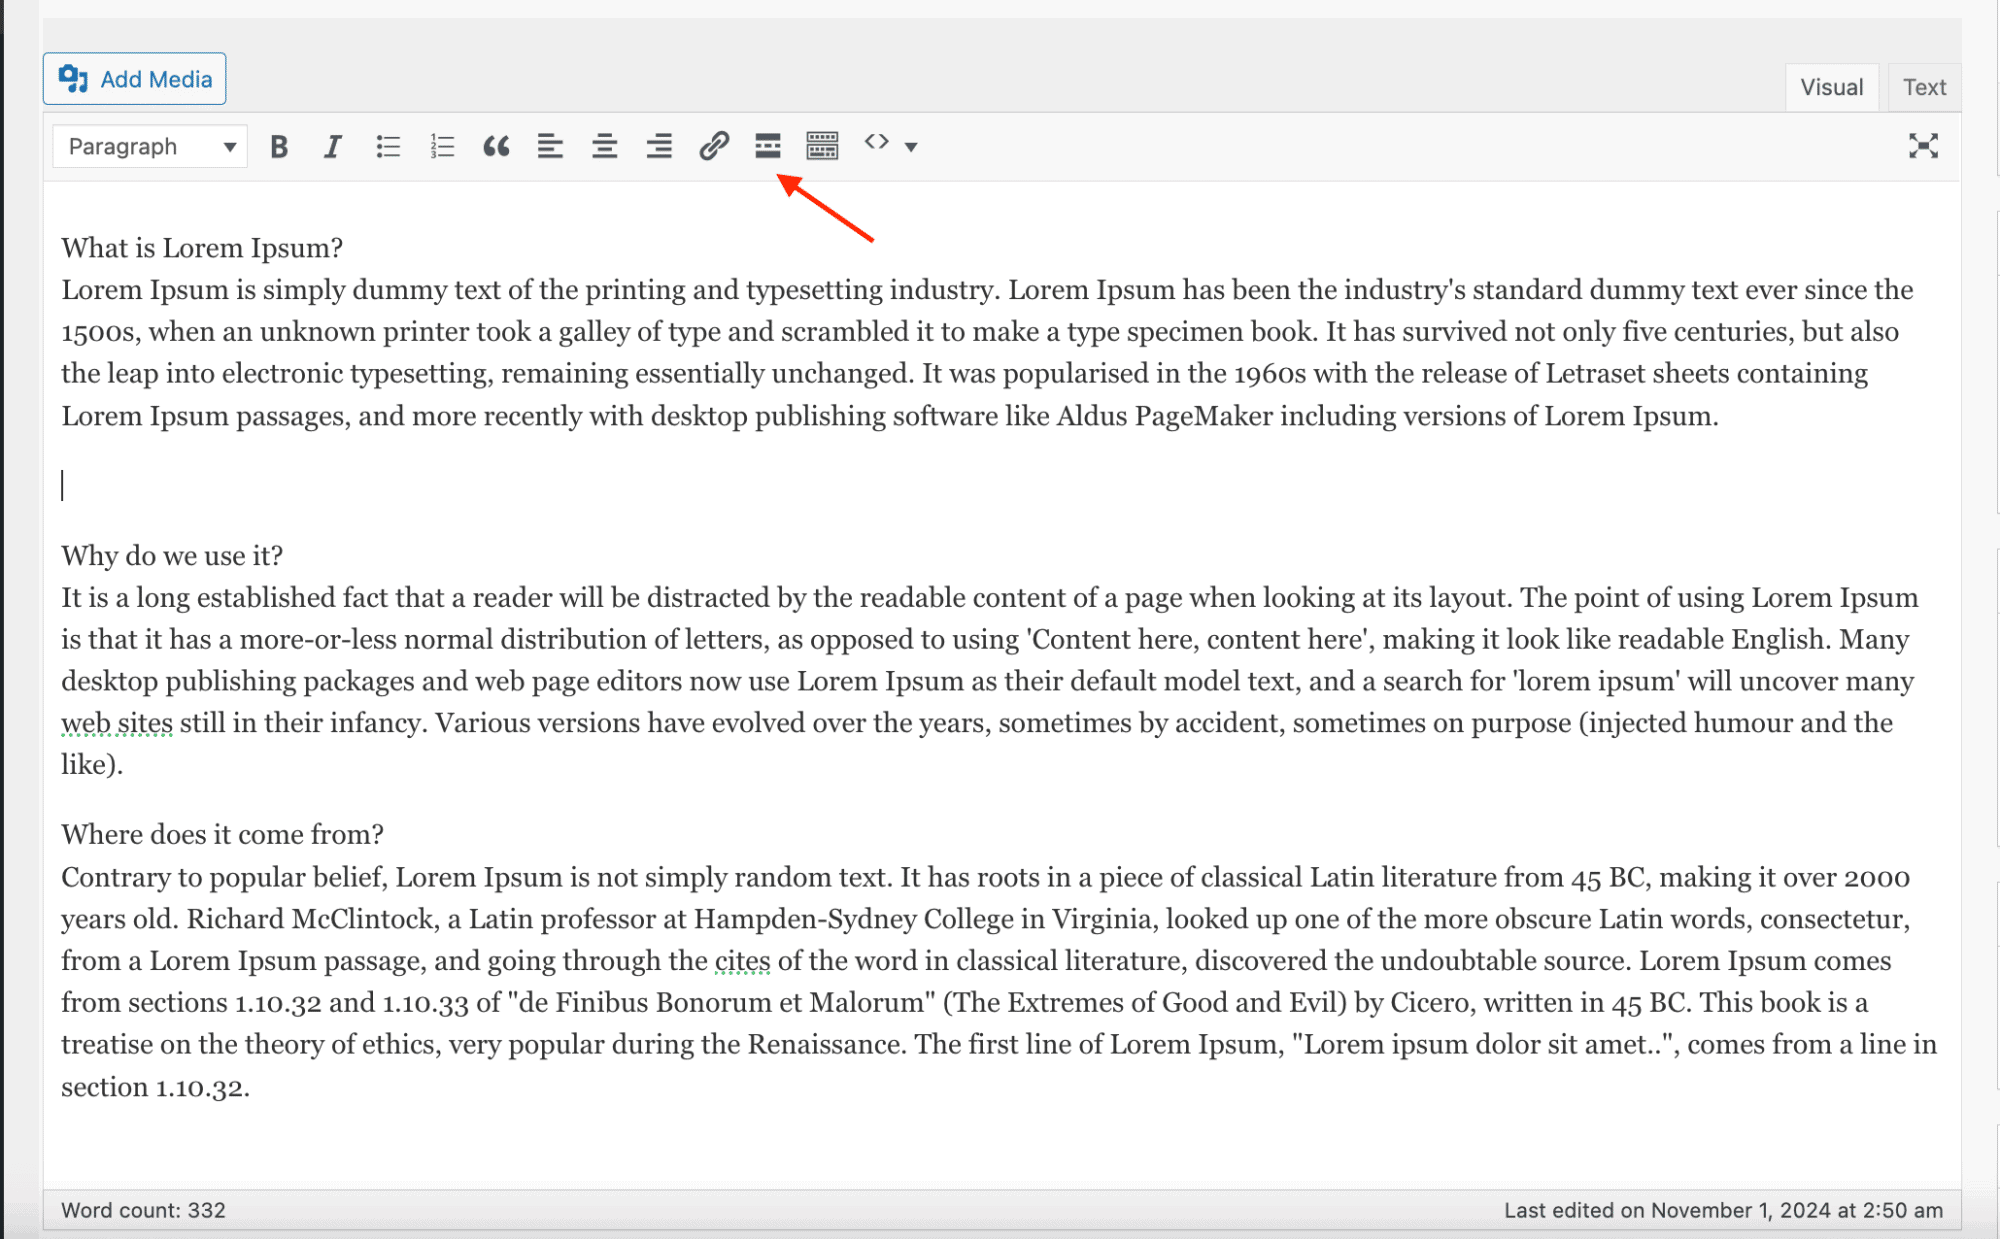The Classic editor inserts the Read More tag straight from the visual toolbar. Prefer to work in code? Switch to the **Text** view and type the More tag where you want the cut. It is a simple comment tag that WordPress reads as the cutoff point. 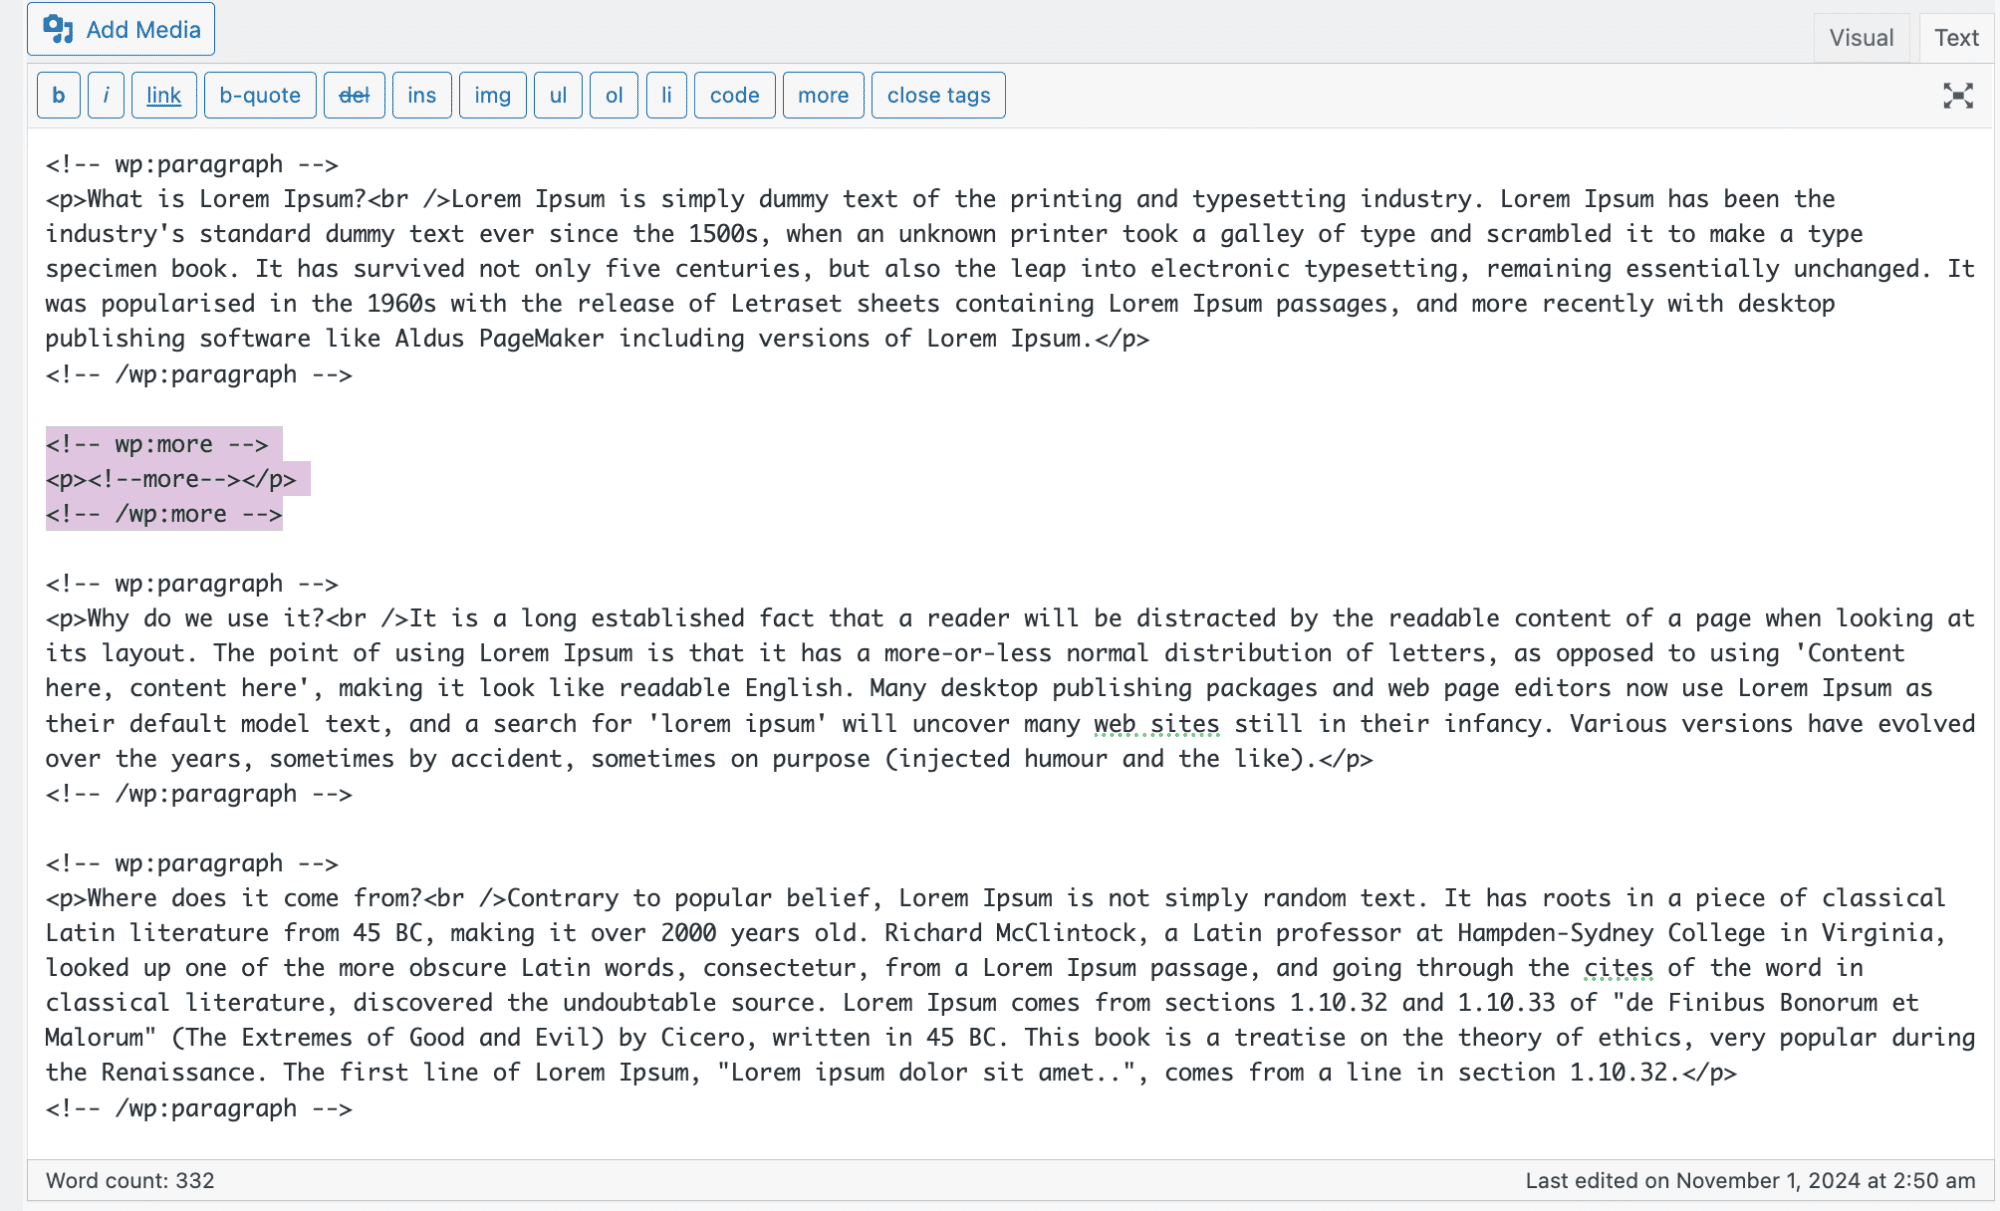In Text view, the cutoff is added as a More comment tag. ***Also Read:** [11+ High Converting Landing Page Examples](https://qa.nexterwp.com/blog/high-converting-landing-page/) to see how strong calls to action are placed.* ### Method 3: A Custom Button with Nexter Blocks If you want a standalone "Read more" button that you can style and point anywhere, the native More tag is not the tool. A button block is. The [Button block from Nexter Blocks](https://qa.nexterwp.com/nexter-blocks/blocks/wordpress-button/) lets you set the label, link, colors, shape, and size, and it stays responsive on mobile. To [set it up](https://qa.nexterwp.com/docs/button-block-settings-overview/), install the free Nexter Blocks plugin. From the dashboard, go to **Nexter Blocks > Blocks**, find the Button block, and switch its toggle on. 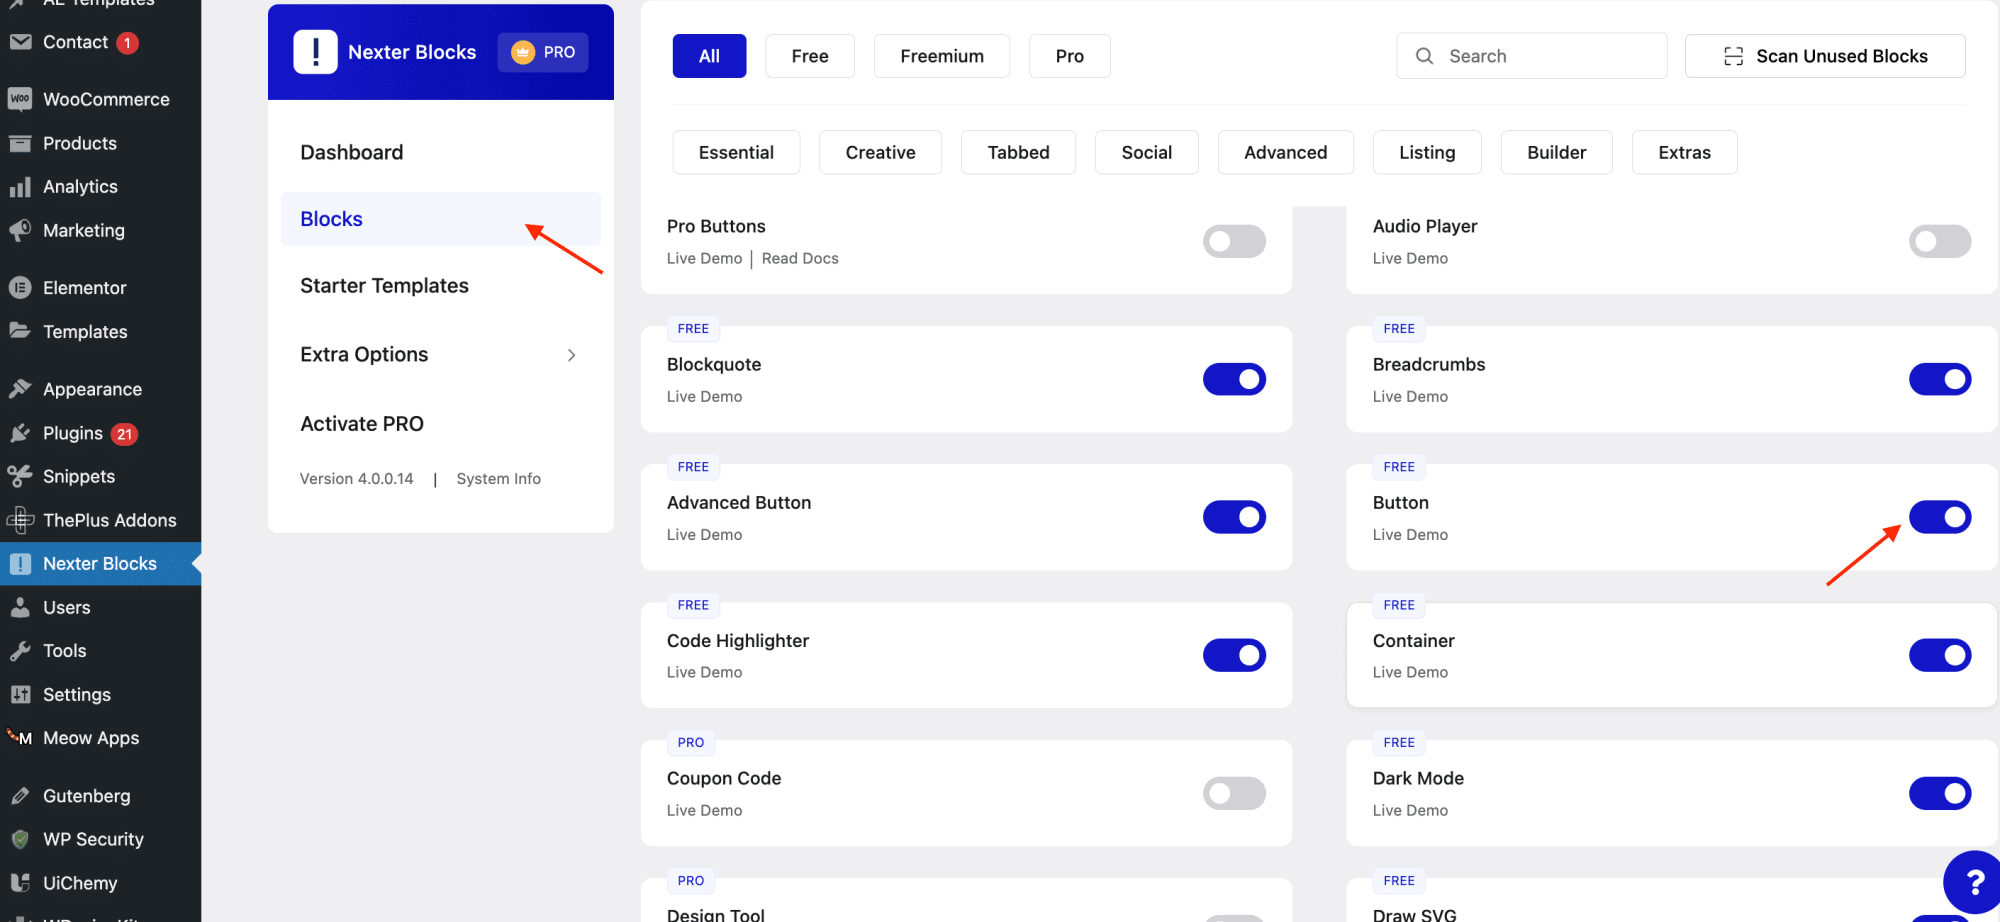Enable the Button block under Nexter Blocks > Blocks. Back in the Gutenberg editor, add the Button block where you want it. Use the layout settings to set the button text and the link it points to. Then open the style settings to adjust typography, background color, and spacing so the button matches your design. 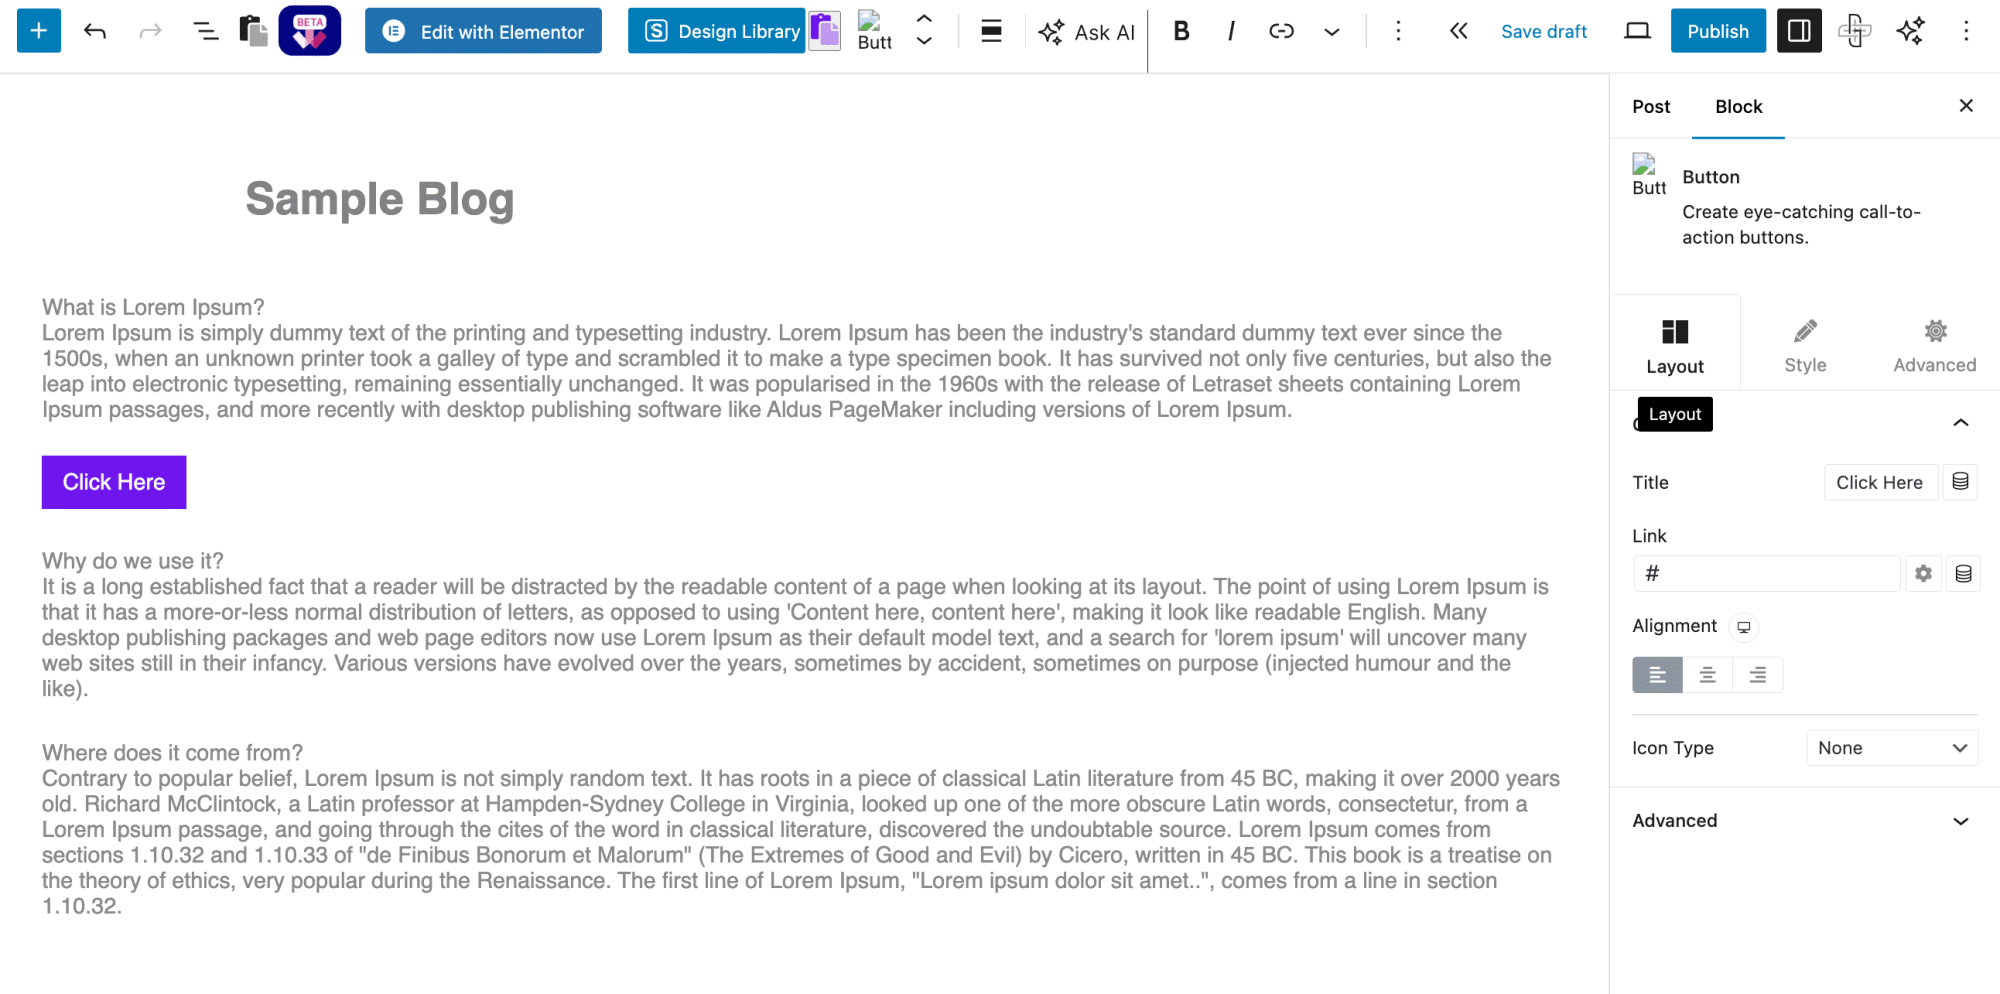Customize typography, colors, and spacing in the Button block style settings. ### Bonus: A Load More Button on a Post Grid This is the third meaning of read more: a button under a grid of posts that loads more posts on click, without a full page reload. The [Post Listing block from Nexter Blocks](https://qa.nexterwp.com/nexter-blocks/listing/wordpress-post-listing/) handles it. Add the block in the Gutenberg editor and set up your post grid. To turn on the button, go to **Layout > Extra Options > More Post Loading Options** and choose **Load More** from the dropdown. In the **Post View OnClick/OnScroll** field, set how many posts load per click, and use the **Button Text** field to edit the label. 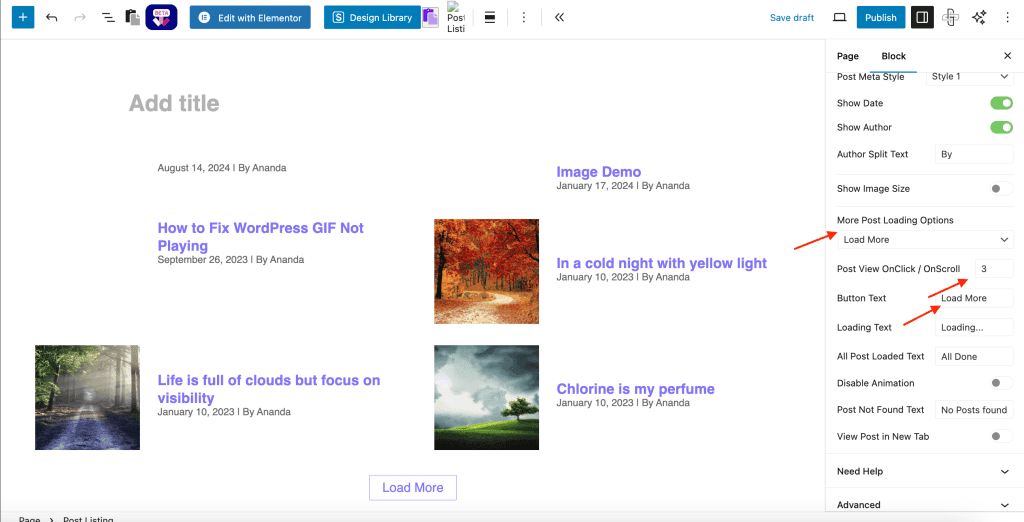Choose Load More and set how many posts load per click in the Post Listing block. To control how many posts show before the Load More button appears, go to **Layout > Query** and set the number in the **Display Posts** field. 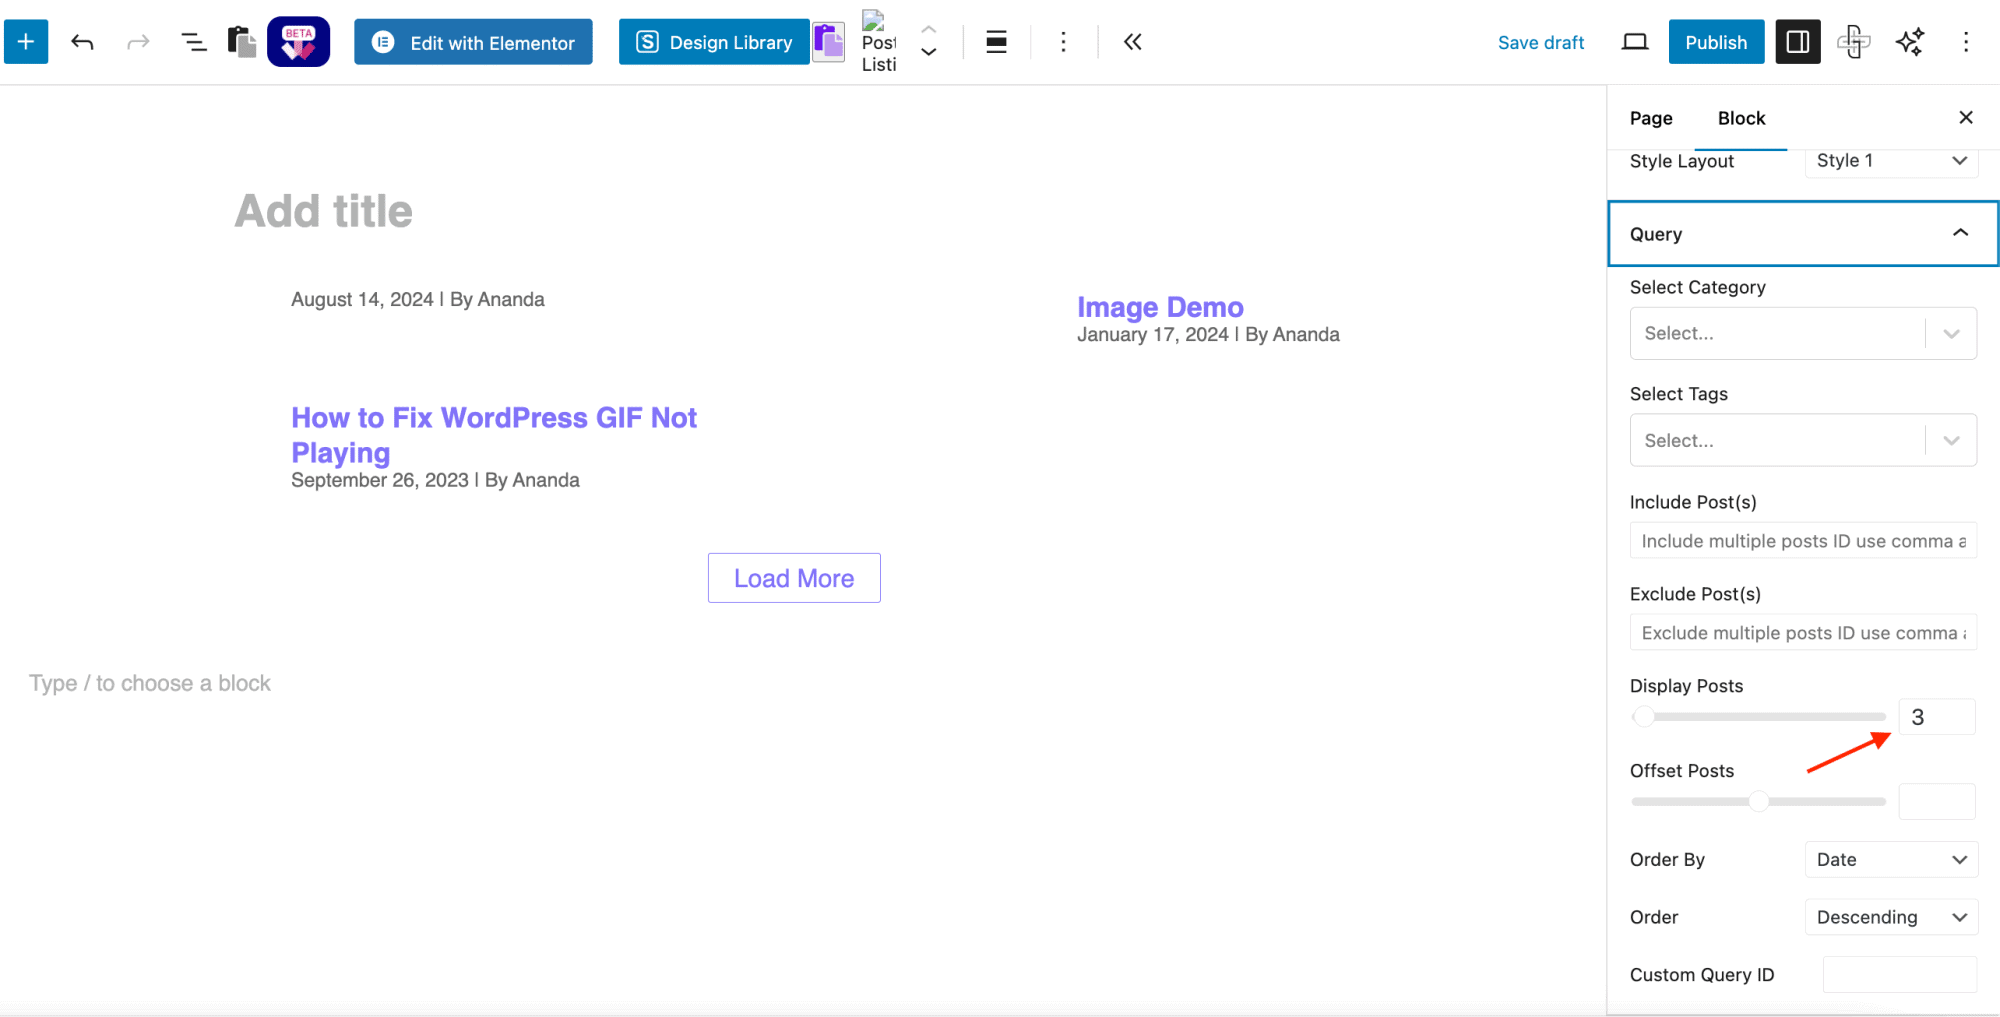Set how many posts appear before the Load More button under Layout > Query. ## How to Change the Read More Button Text The default link just says "Read more," which works but is generic. Where you change it depends on the method you used. - **More block (Gutenberg):** click the block and type your own text, such as "Continue reading" or "See the full guide."- **Classic editor tag:** in Text view, add your label right after the word "more" inside the tag, so the cutoff carries custom text.- **Theme-generated excerpts:** if your theme auto-trims posts and adds its own read more link, the text usually lives in the theme Customizer, or you can change it with a small snippet using the `excerpt_more` filter in your child theme.- **Nexter Blocks button:** just edit the Button Text field. No code needed. ## How to Remove the Read More Button Removing it is just as method-specific. - **You added a More tag or block:** delete that block or tag. The post then shows its full content wherever it appears.- **Your theme auto-truncates with excerpts:** switch the blog and archive layout to show full content, or turn off the excerpt option in your theme settings or Customizer.- **It is a button or Load More block:** select the block and remove it like any other block. ## Read More Buttons in Elementor and Page Builders If you build with Elementor instead of Gutenberg, the read more setting lives inside the widget that outputs your posts. Elementor's Posts and Loop Grid widgets include a Read More option where you can toggle the link on and edit its label. For finer control over how each post card and its button look, [The Plus Addons for Elementor](https://theplusaddons.com/blog/wordpress-menu-plugins/) adds dynamic listing widgets with per-element styling, so you can design the read more button to match the rest of your layout. ## Wrapping Up Start by deciding which read more you actually want: the excerpt cutoff for cleaner blog and archive pages, a Load More button for post grids, or a standalone styled button. The native More tag handles the first, and it needs no plugin. For the other two, a block gives you the control you need. With [90+ blocks](https://qa.nexterwp.com/wordpress-blocks/) including the Button and Post Listing blocks, [Nexter Blocks](https://qa.nexterwp.com/nexter-blocks/) covers both the styled button and the Load More grid, and it is free on WordPress.org. It is a solid way to get read more behavior that matches your design without touching code. ## Suggested Reading - [5 Best WordPress Button Plugins to Improve Conversions](https://qa.nexterwp.com/blog/wordpress-button-plugins/)- [How to Create a High-Converting Landing Page With Gutenberg](https://qa.nexterwp.com/blog/create-landing-page-with-gutenberg/)- [Gutenberg vs Elementor: Which Builder Should You Use?](https://qa.nexterwp.com/blog/gutenberg-vs-elementor/)- [7 Best Websites for Downloading Fonts for Free](https://qa.nexterwp.com/blog/websites-for-downloading-fonts/) ## FAQs on WordPress Read More Button ### Can I control how much content is shown before the "Read More" button? Yes, you can have full control over the amount of content displayed before the Read More button. In the Gutenberg or Classic editor, you can achieve this by inserting the Read More button exactly where you want to shorten your content. WordPress will automatically hide the remaining content from view. ### Can I remove the "Read More" button from certain posts? Yes, you can remove the read more button from specific WordPress posts. Simply do not insert the More Tag in posts where you want the full content to display. WordPress will then show the entire post. For certain themes that automatically display custom excerpts, turn on the full content display option. ### Can I track clicks on my "Read More" button? Yes, you can track clicks on your Read More button by setting up a relevant click trigger on Google Analytics using the Tag Manager. You can also use dedicated plugins like MonsterInsights, WP Google Analytics Events, and Hotjar, which let you track and visualize all user interactions on your WordPress website. ### Can I add multiple "Read More" buttons within a single post? While WordPress doesn't support multiple "Read More" tags in a single post by default, you can achieve a similar effect by using a Page Break block in the Gutenberg editor or the Insert the tag at the desired points in your content in the Classic editor. These options allow you to split your content, and users can click on Next Page to see more of it. ### Why does my "Read More" button reload the page? In WordPress, the default behavior of the "Read More" button is to navigate to the full post page, which causes a page to reload. The "Read More" link is a tag that directs to the post's permalink (the_permalink() function). Clicking it loads the single post page containing the full content. ### Is it possible to style the "Read More" buttons differently on mobile and desktop? Yes, you can style the "Read More" buttons differently for mobile and desktop. Some themes come with built-in settings for styling elements on different devices. Navigate to Appearance > Customize for any responsive design options. You can also use plugins dedicated to creating mobile-friendly sites where you can customize styles separately. --- # AIOSEO vs RankReady: Which WordPress SEO Plugin Wins for AI Search in 2026? Source: https://qa.nexterwp.com/blog/aioseo-vs-rankready/ #### Key Takeaways - All in One SEO (AIOSEO) is a mature, all-round WordPress SEO plugin used on more than 3 million sites, and it now includes an llms.txt generator plus AI writing tools.- RankReady is a free plugin built for one job: making your content easy for AI engines like ChatGPT and Perplexity to find, understand, and cite.- They overlap on llms.txt, but RankReady adds AI crawler allow and block control, a live crawler log, citation tracking, and a per-post AI readiness score that AIOSEO does not have.- AIOSEO is paid above its free Lite tier (Basic up to Elite); RankReady is free forever and lists AIOSEO as compatible.- For most site owners this is not either or: keep AIOSEO for traditional SEO and content, add RankReady for the AI citation layer. A few months ago a customer sent us a screenshot that stuck with me. Their blog post was sitting at position two on Google for a high-intent keyword, real traffic, real rankings. Then they asked ChatGPT the same question their readers ask, and the answer named a competitor instead of them. Their traditional SEO was working. Their AI visibility was not. That gap is exactly why people start comparing a plugin like All in One SEO (AIOSEO) with a newer tool like RankReady. One is the SEO workhorse you may already trust. The other is built specifically for the moment search moved into AI answers. So which one do you actually need on WordPress in 2026? Here is the honest version. Both plugins are good at what they do, and they do not really do the same thing. Below we break down where each one is strong, where AIOSEO stops and RankReady picks up, what each costs, and how to decide without wasting money on overlap. ## What All in One SEO (AIOSEO) does well AIOSEO has been around for years and runs on more than 3 million sites, so it is not a tool you need to be talked into trusting. It covers the full traditional SEO checklist without asking you to touch code. - **On-page optimization:** TruSEO analysis scores each post and tells you what to fix for your focus keyword.- **Schema and rich snippets:** structured data so your pages can earn star ratings, FAQs, and other rich results in Google.- **Technical SEO:** smart XML sitemaps (plus News and Video sitemaps), a redirection manager, a broken link checker, and a robots.txt editor.- **Indexing:** Google Search Console integration, IndexNow for faster indexing, and a post index status checker.- **Linking and growth:** a Link Assistant that suggests internal links, plus Local SEO, WooCommerce SEO, and Author SEO for E-E-A-T signals.- **AI writing tools:** an AI Assistant, AI Content Generator, and AI Image Generator that run on credits to help draft posts, metadata, and FAQs. If you want one plugin to handle titles, meta descriptions, schema, sitemaps, redirects, and on-page scoring, AIOSEO does that job well. It is a genuine all-rounder, and for a lot of sites it is all the traditional SEO they will ever need. ***Also Read:** [Rank Math vs Yoast SEO](https://qa.nexterwp.com/blog/rank-math-vs-yoast/) if you are still choosing your core traditional SEO plugin before adding an AI layer.* ## AIOSEO and AI search: how far it actually goes Here is where most older comparisons are now wrong, so let me be accurate. AIOSEO has stepped into AI search. It ships an **llms.txt generator** that builds a compliant llms.txt and llms-full.txt file for your site, lets you choose which post types and taxonomies are included, and can output Markdown so AI systems can read your content more cleanly. AIOSEO describes it as a way to take control of how AI systems index your site and get cited in AI chatbots. That is a real AEO feature, and credit where it is due. So the line is not AIOSEO does no AI. The line is how far it goes. Based on AIOSEO's own llms.txt documentation, the generator handles the publishing side (creating the discovery files and Markdown), and the basic version is in the free Lite tier while the full llms-full.txt and Markdown settings are unlocked in Pro. What AIOSEO's llms.txt feature does not do, per its own page, is the measurement and control side: it does not give you AI crawler allow and block rules beyond content selection, it does not log which AI crawlers actually hit your pages, it does not track citation candidates, and it does not score how ready each post is to be cited. That is the exact half RankReady was built for. ## What RankReady adds on top RankReady is a free WordPress plugin (GPL-2.0, WordPress 6.0+ and PHP 7.4+, zero telemetry) with one focus: getting your content found, understood, and cited by AI engines. It overlaps with AIOSEO on llms.txt, but everything around that file is where it goes further. RankReady logs which AI crawlers hit which pages and flags citation candidates, the measurement layer a generator alone does not give you. - **AI crawler control:** allow or block 31 AI crawlers individually (GPTBot, ClaudeBot, PerplexityBot, Google-Extended, Bytespider, CCBot and more), auto-synced to a real robots.txt.- **Live AI crawler log:** see which crawlers actually fetched which pages, timestamped, with each hit tagged by intent (training, search indexing, or a live citation fetch).- **Citation candidates:** a leaderboard of the pages that citation bots like ChatGPT-User, OAI-SearchBot, and PerplexityBot fetched mid-answer.- **AI referral tracking:** real humans clicking through from chatgpt.com, perplexity.ai, claude.ai, gemini.google.com, and copilot.microsoft.com.- **Per-post readiness:** an agentic readiness scorecard that grades every post across 22 signals covering discovery, schema, author, and freshness.- **Schema for AI:** Article with Speakable, FAQPage, HowTo, ItemList, Person, and Brand schema, plus a Markdown endpoint on every post. In short, AIOSEO can publish the signals (llms.txt, Markdown). RankReady publishes them too, then shows you whether AI engines are reading and citing your pages, and tells you which posts to fix next. If you have ever wondered whether GPTBot is even crawling your site, that log answers it. Both plugins generate llms.txt. RankReady pairs it with a clean Markdown version of every post for AI agents. ***Also Read:** [How to track Google AI Overviews and AI citations](https://qa.nexterwp.com/blog/ai-overview-tracking-wordpress/) for the metrics that matter once you start optimizing for AI search.* ## AIOSEO vs RankReady at a glance | Capability | AIOSEO | RankReady | | ---------- | ------ | --------- | | Traditional on-page SEO (titles, meta, TruSEO) | Yes, full suite | No, not its job | | XML sitemaps, redirects, schema for Google | Yes | Partial (AI-focused schema) | | AI content writing (posts, FAQs, images) | Yes, credit based | AI summaries and FAQ, bring your own key | | llms.txt and llms-full.txt | Yes (full version in Pro) | Yes, free | | AI crawler allow and block control | No | Yes, 31 crawlers | | Live AI crawler log | No | Yes | | Citation candidate tracking | No | Yes | | AI referral traffic tracking | No | Yes | | Per-post AI readiness score | No | Yes, 22 signals | | Price | Free Lite, paid from Basic up | Free, forever | The table makes the split clear. AIOSEO owns the traditional SEO column. RankReady owns the AI measurement and control column. They meet in the middle on llms.txt and Markdown. ## Pricing: paid tiers vs free forever AIOSEO has a free Lite version on the WordPress repository, but most of the features people want sit in the paid plans. At current pricing they start at 49.50 for the first year (Basic, one site) and run up to 299.50 (Elite, 100 sites), with renewals at the regular rate of 99 to 599. Each tier includes a pool of AI credits, from 10,000 on Basic to 200,000 on Elite, for the AI writing tools. Prices shift with seasonal discounts, so check the current rate before you buy. RankReady scores AI readiness on every post for free, across 22 signals. RankReady is free, forever, with no credit card and zero telemetry. There is no paid tier gating the crawler log, citation tracking, or readiness score. Its AI summaries and FAQ generation use your own API key (OpenAI, Anthropic, Gemini, or DeepSeek), so you pay the model provider directly instead of buying credits from a plugin. So on cost the comparison is lopsided in RankReady's favor, but that is because they are not selling the same thing. AIOSEO's price buys a complete traditional SEO suite. RankReady's price buys nothing because the AI layer is free. ## So which should you run on WordPress? For most WordPress owners, the honest answer is not either or. RankReady even lists AIOSEO as compatible, and checks for an existing schema plugin before it outputs its own so the two do not collide. They are built to run side by side. - **Already on AIOSEO and happy?** Keep it for traditional SEO and content, and add RankReady for the AI crawler log, citation tracking, and readiness scoring it does not cover.- **On a budget or just starting?** Use a free traditional SEO plugin for the basics, then add RankReady free for the AI layer. You can be fully covered without paying for either.- **Only care about AI visibility right now?** RankReady alone gets you the crawler control, llms.txt, and measurement. You will still want a traditional SEO plugin eventually. Think of it like analytics. AIOSEO makes sure your pages are technically sound and optimized for Google. RankReady tells you whether the AI engines are actually reading and citing them, and what to fix when they are not. One is the foundation. The other is the instrument panel for where search is heading. [](https://store.posimyth.com/plugins/rankready/)RankReady is free and runs alongside AIOSEO, Rank Math, or Yoast. [Get RankReady free and see who is citing your WordPress site](https://store.posimyth.com/plugins/rankready/) ## Suggested Reading - [Rank Math vs RankReady: which wins for AI search](https://qa.nexterwp.com/blog/rank-math-vs-rankready/)- [SEOPress vs RankReady compared](https://qa.nexterwp.com/blog/seopress-vs-rankready/)- [LLM SEO for WordPress: how to get cited by ChatGPT, Gemini, and Perplexity](https://qa.nexterwp.com/blog/llm-seo-wordpress/)- [How to track Google AI Overviews and AI citations](https://qa.nexterwp.com/blog/ai-overview-tracking-wordpress/)- [Multilingual SEO for WordPress and the AI layer everyone skips](https://qa.nexterwp.com/blog/multilingual-seo-wordpress/) --- # WebMCP for WordPress: Letting AI Agents Use Your Site, Not Just Read It Source: https://qa.nexterwp.com/blog/webmcp-wordpress/ #### Key Takeaways - WebMCP is an emerging browser standard that lets AI agents actually use a website's features, not just read its text.- It is a W3C Web Machine Learning Community Group proposal backed by Google and Microsoft, and it is still early, not a ratified standard.- It works client-side: a page registers tools the agent can call, so the agent acts through your real interface instead of a separate backend server.- WebMCP sits next to llms.txt and schema. Those help AI read and cite you; WebMCP is about letting AI take actions.- On WordPress, the free RankReady plugin already publishes a WebMCP manifest at /.well-known/mcp.json, so you can signal agent-readiness today. A few months ago I watched an AI assistant try to book a demo on a client's WordPress site. It read the page perfectly. It summarised the pricing, quoted the feature list, even located the contact form. Then it stopped. It could describe the button, but it could not press it. The whole site was readable and none of it was usable. That gap is exactly what WebMCP is trying to close. For the last two years the AI-readiness conversation has been about making your content easy to read and cite, with llms.txt, clean Markdown, and schema. WebMCP is the next layer: making your site easy to operate. This guide explains what WebMCP is in plain English, how it differs from the Model Context Protocol and llms.txt, and how a WordPress site can start signalling that it is ready for agents. The AI-readiness stack started with making content readable. WebMCP extends it to making sites operable. ## What Is WebMCP? WebMCP is a proposed browser standard that lets a website expose its own functionality, either JavaScript functions or HTML form elements, as **tools** that an AI agent can call. Each tool gets a natural-language description and a structured input schema, so an agent in the browser can understand what the tool does and run it. The mechanism is client-side. A page registers its tools through a browser interface (the current draft uses `document.modelContext` with a `registerTool` call), and an agent acting on behalf of the user can discover and invoke them. The agent works through your real interface, with your existing code and the user's existing login session, instead of going around your site to a separate backend. Two facts worth being precise about. WebMCP is a proposal under the **W3C Web Machine Learning Community Group**, with contributors from **Google and Microsoft** and an evolving specification draft. It is early. The simplest way to hold it in your head: llms.txt and schema make your content *readable*; WebMCP makes your site *operable*. ## WebMCP vs MCP vs llms.txt: the read-to-act layers It is easy to lump every AI acronym together. They actually do different jobs, and they stack rather than compete. | Layer | What it does | Where it lives | | ----- | ------------ | -------------- | | llms.txt / Markdown | Hands AI a clean, machine-readable copy of your content for reading and citation | Files served from your domain | | Schema (Article, FAQ, Speakable) | Adds structured meaning so search and AI answers understand your content | In-page JSON-LD | | MCP (server) | Connects an AI model to a backend or external tool over a server | A separate MCP server | | WebMCP (browser) | Exposes the page's own actions to an agent running in the browser | Client-side, inside the page | The cleanest distinction is between MCP and WebMCP. A traditional MCP server bypasses your web interface and often forces you to duplicate your backend logic, your data, and your authentication on a separate server. WebMCP reuses what you already have: the same client-side code, the same UI, and the same session the user is already logged into. One is server-to-server plumbing; the other lives where your visitor and their agent already are. ***Also Read:** [What Is the Model Context Protocol (MCP)?](https://qa.nexterwp.com/blog/model-context-protocol-wordpress/) for the server-side side of this story and where it fits on WordPress.* Reading and citation tooling is mature today; agent-action standards like WebMCP are the newer frontier. ## Why WebMCP Matters for WordPress Site Owners Search behaviour is moving from "type a query, scan results, click" to "ask an agent to handle it." When that happens, the question is no longer only whether an AI can find and quote your page. It is whether an AI can complete a task on your site on a visitor's behalf. If agents can only read you, you are a reference they cite and then leave. If agents can act on your site, you stay a destination where things actually get done. For a WordPress site that could mean filtering a product catalogue, starting a booking, running an internal search, or beginning a checkout, all through your real interface with the user watching it happen rather than being sent to some opaque backend. This is the same strategic reason the AI-readiness conversation matters at all. Being readable got you cited. Being operable keeps you useful once the agent is the one driving. ## How WebMCP Works on a WordPress Site At a high level the flow has three parts. First, the page registers its tools, describing each action in plain language with a schema for its inputs. Second, an agent discovers what is available. Third, the agent calls a tool, your existing JavaScript handles it, and the interface updates the way it normally would. Discovery is where a manifest comes in. A file published at `/.well-known/mcp.json` advertises that your site speaks this language and points to what it offers. You do not want to hand-write and maintain that file across a WordPress site by hand, which is exactly the kind of plumbing a plugin should handle for you. A WebMCP manifest at /.well-known/mcp.json is published alongside llms.txt and Markdown endpoints as part of a site's AI discovery files. ## Getting WebMCP-Ready on WordPress You do not need to write the manifest by hand. [RankReady](https://store.posimyth.com/plugins/rankready/), a free WordPress plugin, publishes a **WebMCP manifest at /.well-known/mcp.json** for Model Context Protocol integration, alongside the rest of your discovery files: llms.txt and llms-full.txt following the llmstxt.org standard, Markdown endpoints that serve each post as clean `.md`, and Open Knowledge Format output. The point is to treat WebMCP as one signal in a fuller picture rather than a standalone trick. Reading first, then action. RankReady pairs the manifest with 31 individual AI crawler controls, Article and Speakable schema, a per-post AI readiness scorecard that grades 22 signals, and AI referral tracking from ChatGPT, Perplexity, Claude, Gemini, and Copilot. It is free forever, GPL-2.0, runs on WordPress 6.0+ and PHP 7.4+, keeps zero telemetry, and works alongside Rank Math, Yoast, AIOSEO, SEOPress, and others rather than replacing them. ***Also Read:** [The 2026 AI-Readiness Stack for WordPress](https://qa.nexterwp.com/blog/ai-readiness-stack-wordpress/) shows how llms.txt, schema, MCP, and OKF fit together with WebMCP.* Agent-readiness is a stack: publish the manifest, but get readable and structured first. ## The Honest Take: WebMCP Is Early WebMCP is a proposal, not a finished web standard. The API names will change, browser support is experimental, and nobody should rebuild their site around it this quarter. Treat it as forward positioning, not a feature you ship and forget. What is worth doing now is sequencing it sensibly. Get readable first with llms.txt and schema so agents can understand you. Publish the manifest so you are discoverable as agent-ready when the spec matures. Then watch the W3C group as it evolves. And keep one thing honest: no plugin makes a thin site worth acting on. WebMCP is a capability and signal layer, not a shortcut around having something useful to offer. ## Suggested Reading - [What Is the Model Context Protocol (MCP)? A WordPress Guide](https://qa.nexterwp.com/blog/model-context-protocol-wordpress/)- [MCP vs API: What's the Difference, and When Your WordPress Site Needs Each](https://qa.nexterwp.com/blog/mcp-vs-api-wordpress/)- [The 2026 AI-Readiness Stack for WordPress](https://qa.nexterwp.com/blog/ai-readiness-stack-wordpress/)- [llms.txt for Gutenberg WordPress](https://qa.nexterwp.com/blog/llms-txt-gutenberg-wordpress/)- [Generative Engine Optimization (GEO): The 2026 WordPress Guide](https://qa.nexterwp.com/blog/generative-engine-optimization-wordpress/) [Get RankReady free and publish your WebMCP manifest](https://store.posimyth.com/plugins/rankready/) --- # AI Visibility Tools in 2026: How to Track (and Earn) Your Place in AI Answers Source: https://qa.nexterwp.com/blog/ai-visibility-tools-wordpress/ #### Key Takeaways - AI visibility tools tell you whether AI engines like ChatGPT, Perplexity, and Google AI Overviews actually mention and cite your site.- They split into two kinds: off-site monitors that watch the AI answers themselves, and an on-site layer that tracks AI crawlers and referrals hitting your own site.- Off-site SaaS monitors like Profound and Otterly.ai measure share of voice, brand mentions, and sentiment across many engines, and they are paid.- The free RankReady plugin is the on-site layer for WordPress: it logs which AI crawlers visit, flags citation candidates, and tracks real AI referral traffic.- The two are complementary. Most WordPress owners should start with the free on-site layer, then add an off-site monitor when budget allows. A client called me last quarter convinced their SEO was working. They ranked on page one for their main terms, traffic looked steady, and the dashboards were green. Then a prospect told them, "I asked ChatGPT for the best option and you weren't on the list." Nobody on the team could say whether that was true, because nobody was looking. They could see Google. They were blind to everything an AI assistant said about them. That blind spot is what AI visibility tools exist to fix. As more people ask an assistant instead of scrolling a results page, the question shifts from "where do I rank" to "do the AI engines mention me, and are they citing my pages." This guide explains what AI visibility tools do, the two very different kinds you will run into, and how a WordPress site can start measuring this without a big budget. AI visibility means knowing whether AI engines reach, read, and cite your pages, not just where you rank on Google. ## What Is an AI Visibility Tool? An AI visibility tool measures how present your brand and content are inside AI-generated answers. Instead of tracking a blue-link position, it answers questions like: when someone asks ChatGPT or Perplexity about your category, does your name come up? Which of your pages get cited as sources? How often, and how does that compare to competitors? This is the measurement half of [answer engine optimization](https://qa.nexterwp.com/blog/answer-engine-optimization-wordpress/). You can do all the right on-page work, but without visibility data you are guessing. The tools turn "I think we show up sometimes" into a number you can track over time. ## Two Kinds of AI Visibility Tools This is the distinction that saves you money and confusion. AI visibility tools fall into two camps that measure different things. **Off-site monitors** watch the AI answers themselves. They run prompts across many engines, then report whether you appear, how your share of voice compares to rivals, and what the sentiment is. They see the conversation happening out in the models, which your own analytics never will. **On-site tools** live inside your website. They cannot see what ChatGPT says about you, but they can see something just as useful: which AI crawlers actually fetch your pages, which posts those citation-hungry bots return to, and how much real traffic arrives from AI assistants. One watches the answer; the other watches your site. | Tool | Type | What it watches | Price | | ---- | ---- | --------------- | ----- | | Profound | Off-site SaaS | Answers across 9 engines plus AI Overviews: share of voice, citations, sentiment | Demo / freemium, pricing not public | | Otterly.ai | Off-site SaaS | Brand mentions and citations across ChatGPT, AI Overviews, Perplexity, Gemini, Copilot | From $29/month, free trial | | RankReady | On-site WordPress plugin | AI crawler hits, citation candidates, real AI referral traffic to your site | Free | ***Also Read:** [How to Rank in ChatGPT](https://qa.nexterwp.com/blog/how-to-rank-in-chatgpt/) for the on-page work that earns the citations these tools measure.* An on-site tool shows which AI crawlers fetch your pages and which posts are citation candidates. ## The Tools, and What Each Is Best For **Profound** is an off-site platform that tracks your brand across Perplexity, ChatGPT, Claude, Gemini, Grok, Microsoft Copilot, Meta AI, DeepSeek, and Google AI Overviews. Its Answer Engine Insights show how you are represented in AI conversations, alongside prompt volume data, agent analytics for how bots crawl you, brand sentiment, and source citations. It is an external SaaS you log into separately, and pricing is demo-led rather than published. *Best for* larger brands that need cross-engine share-of-voice and sentiment in one place. **Otterly.ai** monitors ChatGPT, Google AI Overviews, Google AI Mode, Perplexity, Microsoft Copilot, Gemini, and Claude. It combines AI prompt research, search analytics for brand appearance, brand mention and citation tracking, competitor benchmarking, and content auditing to find why AI skips certain pages. It is a paid SaaS with a free trial, starting at $29 per month. *Best for* small and mid-size teams that want off-site monitoring without an enterprise contract. **RankReady** is the on-site layer, a free WordPress plugin rather than an external dashboard. It logs which of the 31 AI crawlers it tracks actually visit your site, flags your posts as citation candidates when citation-focused bots return to them, and reports real AI referral traffic arriving from ChatGPT, Perplexity, Claude, Gemini, and Copilot. It also scores each post against 22 AI-readiness signals so you can fix what is holding a page back. *Best for* WordPress owners who want to measure crawler and referral reality and improve their pages, for free, on their own site. A per-post readiness score turns AI visibility from a vague worry into a checklist you can act on. ## What to Actually Track Whichever tools you pick, a few metrics matter more than the rest. **Citations**, meaning which of your pages get used as sources, are the closest thing to a ranking in AI search. **Share of voice** tells you how often you appear versus competitors for the prompts that matter. **AI referral traffic** is the real visits landing on your site from assistants, the bottom-line proof that visibility converts. And **crawler access** is the quiet prerequisite: if the AI crawlers cannot reach a page, none of the rest can happen. Notice that the first two live off-site and the last two live on your own site. That is exactly why the two kinds of tool complement each other rather than compete. A [site audit](https://qa.nexterwp.com/blog/seo-audit-tool-wordpress/) that ignores AI crawler access now leaves a real gap. ## How to Start on WordPress If you run WordPress, start with the on-site layer because it is free and it covers the metrics you own. Install [RankReady](https://store.posimyth.com/plugins/rankready/), let it log AI crawler activity and referrals for a couple of weeks, and use the per-post readiness score to fix your most important pages. That alone tells you whether AI engines can reach and understand you, which is the foundation everything else sits on. Once you have that baseline and a budget, add an off-site monitor like Otterly.ai or Profound to see how you actually show up in the answers across engines. RankReady is free forever, GPL-2.0, runs on WordPress 6.0+ and PHP 7.4+, keeps zero telemetry, and works alongside Rank Math, Yoast, AIOSEO, and SEOPress, so adding it does not disturb your existing SEO setup. ***Also Read:** [The 2026 AI-Readiness Stack for WordPress](https://qa.nexterwp.com/blog/ai-readiness-stack-wordpress/) shows how visibility tracking fits with llms.txt, schema, and the rest.* Start with the free on-site layer, then layer an off-site monitor on top when budget allows. ## The Honest Take No visibility tool earns the citation for you. They are mirrors, not magic. A monitor that tells you a competitor owns the answer is only useful if you then improve the page, the schema, and the depth that made the competitor citable in the first place. Measure first so you stop guessing, but keep the work where it belongs: on content worth quoting. For most WordPress sites the sensible path is simple. Get the free on-site picture, fix the pages that matter, and add a paid off-site monitor when the stakes justify it. Visibility is the scoreboard. The content is still the game. ## Suggested Reading - [Answer Engine Optimization (AEO): The Complete WordPress Guide](https://qa.nexterwp.com/blog/answer-engine-optimization-wordpress/)- [How to Rank in ChatGPT: Getting Cited in AI Answers](https://qa.nexterwp.com/blog/how-to-rank-in-chatgpt/)- [Generative Engine Optimization (GEO): The 2026 WordPress Guide](https://qa.nexterwp.com/blog/generative-engine-optimization-wordpress/)- [Do You Actually Need an AI SEO Tool?](https://qa.nexterwp.com/blog/ai-seo-tool-wordpress/)- [How Perplexity AI Cites WordPress Sites](https://qa.nexterwp.com/blog/perplexity-seo-wordpress/) [Track your AI visibility free with RankReady](https://store.posimyth.com/plugins/rankready/) --- # 9+ Best YouTube Channels to Learn WordPress [Ultimate List] Source: https://qa.nexterwp.com/blog/best-youtube-channels-to-learn-wordpress/ Looking for the best YouTube channels to learn WordPress? This list is for you. If you are starting out with WordPress, it can be a hassle to figure out some of its quirks and features. But as you know, WordPress is also the most popular CMS out there. So, there’s an abundance of tutorials and how-to guides online that solutions to issues are often just a few mouse clicks away. While you can easily find plenty of blogs and documentation, we all can agree that nothing beats a detailed video tutorial. Video content isn’t only engaging, but visual cues make it easy to follow the process as it happens on our screens. And that’s where we turn to WordPress YouTube channels. Like every other genre, YouTube has also become a popular platform for creators to post content covering WordPress. Be it the latest updates, new features, plugins, or tutorials, you can find it all on YouTube. So, let’s explore some of the best WordPress YouTube channels you must check out. ## Best WordPress YouTube Channels Here are the 10 best YouTube channels to learn WordPress: ***Also Read:** the [best YouTube feed plugins for WordPress](https://qa.nexterwp.com/blog/best-youtube-feed-plugins-for-wordpress/) to embed channel videos.* ### 1. POSIMYTH Innovations - WordPress Tutorials  POSIMYTH Innovations is the team behind the popular [The Plus Addons for Elementor](https://theplusaddons.com/) and [Nexter Blocks](https://qa.nexterwp.com/nexter-blocks/). Their channel, POSIMYTH Innovations - WordPress Tutorials, takes the top spot on our list of best WordPress YouTube channels. This channel provides plenty of helpful content covering diverse topics like website design, SEO, themes and plugins, and more. Their step-by-step video tutorials covering Elementor, Gutenberg, WooCommerce, etc., will particularly be helpful if you are new to WordPress. - **Channel Started:** 20 July 2015 - **Total Subscribers:** 5.97K+ - **Total Views:** 1,434,441 [**View Videos**](https://www.youtube.com/@posimyth?sub_confirmation=1) ### 2. WP Beginner  WP Beginner website needs no introduction if you frequently search WordPress-related topics on Google. While their blog is a great resource, they have an equally solid YouTube presence. Whether you need help with the basics of WordPress or how-to videos to accomplish a task, WP Beginner’s WordPress YouTube channel is worth subscribing to. - **Channel Started: **18 July 2009 - **Total Subscribers:** 295K+ - **Total Views:** 53,409,301 [**View Videos**](https://www.youtube.com/@wpbeginner) *Planning to generate leads from your website? Here's **[how to create high-converting landing pages using Gutenberg](https://qa.nexterwp.com/blog/create-landing-page-with-gutenberg/)**.* ### 3. WPTuts  Another great YouTube channel to learn WordPress is WPTuts, which is focused solely on teaching its viewers the nitty-gritty of the CMS. You will find explainer videos covering a wide range of topics along with how-to guides related to website design. Besides, the channel also covers Slider Revolution and Visual Composer plugins. - **Channel Started: **11 November 2014 - **Total Subscribers:** 158K+ - **Total Views:** 21,772,973 [**View Videos**](https://www.youtube.com/@WPTuts) ### 4. Let’s Build WordPress  Next up is Let’s Build WordPress, a YouTube channel run by the creator named Martie Dread. The channel is guided purely towards beginners, covering all the basics of website design using WordPress. Also, all tutorials are to the point and concise. So, if you prefer to find the solutions within minutes, Let’s Build WordPress deserves your attention. - **Channel Started:** 28 October 2013 - **Total Subscribers: **32.3K+ - **Total Views:** 3,234,200 [**View Videos**](https://www.youtube.com/@LetsBuildWordPress/) ### 5. Darrel Wilson  Darrel Wilson runs the next YouTube channel you must check out. He mainly posts video lessons on website design using no-code tools such as Elementor page builder. But you will also find content related to SEO, hosting, eCommerce, plugin reviews, and more. - **Channel Started: **22 January 2016 - **Total Subscribers: **395K+ - **Total Views: **40,269,671 [**View Videos**](https://www.youtube.com/@darrelwilson/) ### 6. WPCrafter  At the sixth spot is WPCrafter, a YouTube channel run by Adam Preiser. Adam is a WordPress expert and actively posts content for non-tech website owners on diverse topics, including SEO, eCommerce, and more. You’ll also find detailed tutorials and review videos on this channel. - **Channel Started:** 28 May 2014 - **Total Subscribers:** 247K+ - **Total Views:** 21,791,545 [**View Videos**](https://www.youtube.com/@WPCrafter/) *Looking to create your own theme? Check out these **[top 5 WordPress theme builders](https://qa.nexterwp.com/blog/best-drag-and-drop-wordpress-theme-builders/)**.* ### 7. WPLearningLab  Another WordPress YouTube channel that is worth your attention is WPLearningLab. The channel primarily focuses on WordPress basics, Elementor skills, dynamic websites, and eCommerce. Besides, you will also find videos helping you use WordPress to earn money online. - **Channel Started: **24 July 2014 - **Total Subscribers:** 149K+ - **Total Views:** 19,113,368 [**View Videos**](https://www.youtube.com/@wplearninglab/) ### 8. Website Learners  The next channel on our list is Website Learners. This WordPress YouTube channel primarily focuses on website design. The channel has a huge library of tutorials covering eCommerce websites, Elementor, SEO, and more. If you also like videos with quick tech tips, check out the Website Learners YouTube channel. - **Channel Started: **16 January 2017 - **Total Subscribers: **1.49M+ - **Total Views:** 94,950,527 [**View Videos**](https://www.youtube.com/@WebsiteLearners/) ### 9. WinningWP  Winning WP is another good YouTube channel to learn WordPress that should be on your watch list. It has a huge library of content, especially the tutorial videos. The tutorial videos are quite extensive, some even clocking over an hour. Also, the channel regularly posts short tips and tricks videos. - **Channel Started: **13 January 2014 - **Total Subscribers:** 12.8K+ - **Total Views: **2,363,854 [**View Videos**](https://www.youtube.com/@Winningwp/) ### 10. Ferdy Korpershoek  The last entry on our list is Ferdy Kopershoek’s YouTube channel. Ferdy is an experienced website creator, and he is committed to helping beginners master WordPress. He regularly posts how-to guides for WordPress, Elementor, and different themes and plugins. You will also find tips and tricks related to eCommerce and monetization on this channel. - **Channel Started: **15 October 2014 - **Total Subscribers:** 406K+ - **Total Views: **30,198,340 [**View Videos**](https://www.youtube.com/@ferdycom) *Find more WordPress experts in our round-up of **[20+ top WordPress influencers to follow](https://qa.nexterwp.com/blog/top-wordpress-influencers-to-follow/)**.* ## Why Should You Follow WordPress YouTube Channels? Now that we’ve seen the list of 10 best YouTube channels to learn WordPress, let’s understand why you must follow them: **1. Troubleshooting** When working with a WordPress website, there can be times when some features may break, plugins may stop working, or certain elements may not work as expected. In such cases, you can turn to WordPress YouTube channels to understand the issues and get solutions. **2. Latest News** The WordPress ecosystem is huge and constantly evolving. If you follow YouTube channels focusing on WordPress, you can stay updated, be it features, security updates, or any other newsworthy event. **3. Design and Development Tips** The majority of WordPress YouTube channels primarily cover topics related to website design and development. Whether you are a beginner or an expert, you can find channels that provide the latest best practices to pick and implement when designing and developing your website. **4. General Tips and Tricks** Many YouTube channels covering WordPress also create videos providing general tips and tricks for users. Whether it is SEO, monetization strategies, website management, etc., you can find short videos with valuable tips and tricks on these channels. **5. Review Videos** WordPress repository is filled with thousands of themes, plugins, and addons. Similarly, there are a plethora of [hosting providers](https://qa.nexterwp.com/blog/best-wordpress-hosting-providers/) as well. Which one should you get for your website? You can rely on reviews from popular WordPress YouTube channels to make a decision. ## Wrapping Up That wraps up our list of the 10 best WordPress YouTube channels you must follow. All channels are unique in terms of the type of content they serve, the topics they pick, and their presentation style. But they all offer a huge and invaluable library of videos that you can rely on to stay updated with the WordPress ecosystem and improve your WordPress skills. Addons, as you know, are a huge part of WordPress. They enable extra features, add more design elements, and even help you improve your site performance. One such addon is Nexter Blocks. 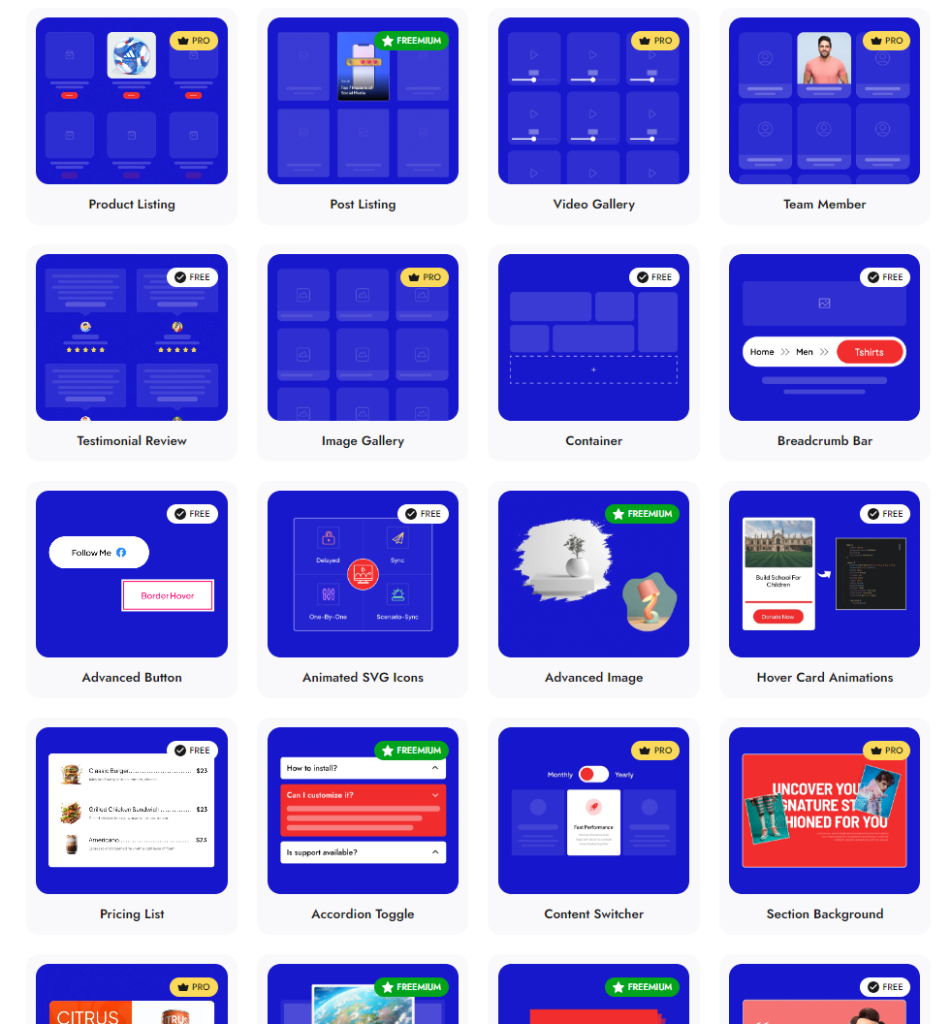 **Nexter Blocks give you access to [85+ Gutenberg blocks](https://qa.nexterwp.com/nexter-blocks/) (Some of them are mentioned in the above image).** You can use these blocks alongside your default WordPress blocks. You can drag and drop them to your page and customize them to your liking. [Download Nexter Blocks today!](https://qa.nexterwp.com/pricing/) *Liked this list of WordPress YouTube channels? Also, check out **[20+ best WordPress newsletters to subscribe](https://qa.nexterwp.com/blog/best-wordpress-newsletters-to-subscribe/) **to.* ## FAQs About WordPress YouTube Channels ### How long does it take to learn WordPress? It depends entirely on your level of WordPress proficiency and what you plan to learn about WordPress. In general, one can learn the basics in less than a week. For intermediate-level skills, you’ll need at least three months. And in 1 year, you can become an advanced WordPress user. ### Is WordPress easy to learn? Yes, WordPress is easy to learn because there are ample resources, both free and paid, available online. You can easily find blogs, video tutorials, and courses to help you master WordPress. ### Can I learn WordPress on my own? Yes, you can learn WordPress on your own. All you need to do is follow some top WordPress blogs and YouTube channels. Then, you can pick topics to learn at your own pace. You can even purchase online courses to get a more structured resource to master WordPress. ### Which WordPress YouTube channel provides step-by-step tutorials? POSIMYTH Innovations - WordPress Tutorials, WP Beginner, WinningWP, and Website Learners are some WordPress YouTube channels that publish step-by-step tutorials. ### Are there YouTube tutorials on using page builders like Elementor or Divi with WordPress? Yes, you can find tutorials on using page builders like Elementor or Divi with WordPress on YouTube channels like POSIMYTH Innovations - WordPress Tutorials and WP Beginner. ### What are some top YouTube channels for learning WordPress basics? POSIMYTH Innovations - WordPress Tutorials, WP Beginner, WP Tuts, Let’s Build WordPress, and WP Crafter are some of the top YouTube channels to learn WordPress. --- # What is Gutenberg? [Beginners Guide to WordPress Block Editor] Source: https://qa.nexterwp.com/blog/what-is-gutenberg/ Open a fresh post in WordPress and the screen you land on is Gutenberg, the block editor. Every paragraph, image, heading and button is its own block that you stack, drag and style, with no shortcodes or HTML required. That is the short answer to "what is Gutenberg in WordPress." The longer answer matters, because Gutenberg has grown well past a writing tool. It now drives Full Site Editing, block themes and a four-phase roadmap that is still rolling out in 2026. This guide explains what Gutenberg actually is, how it differs from the old Classic Editor, the kinds of blocks you get, how Full Site Editing fits in, and how to build a page step by step. If the word "Gutenberg" sent you here from a history class, start with the quick disambiguation below, then jump to the WordPress part. ## Gutenberg, Project Gutenberg, or the Printing Press? Three different things share the Gutenberg name, which is why search results mix them up. Here is the one-line version of each so you know you are in the right place: ***Also Read:** handy [WordPress keyboard shortcuts](https://qa.nexterwp.com/blog/wordpress-keyboard-shortcuts/) to speed up editing.* - **Johannes Gutenberg** was the 15th-century inventor of the movable-type printing press in Europe.- **Project Gutenberg** is a free online library of public-domain ebooks named after him.- **Gutenberg (WordPress)** is the block editor built into WordPress since 2018, and the subject of this guide. The WordPress editor borrowed the name as a nod to how movable type changed publishing. Everything below is about that WordPress editor. ***Also Read:** [Bricks Builder vs Gutenberg](https://qa.nexterwp.com/blog/bricks-builder-vs-gutenberg/) if you are deciding between the native editor and a page builder.* ## What Is the Gutenberg WordPress Block Editor? The WordPress block editor, usually called Gutenberg, launched with WordPress 5.0 in December 2018 and replaced the Classic Editor as the default. Where the Classic Editor gave you a single text field that worked like a word processor, Gutenberg treats every element on the page as a separate block. 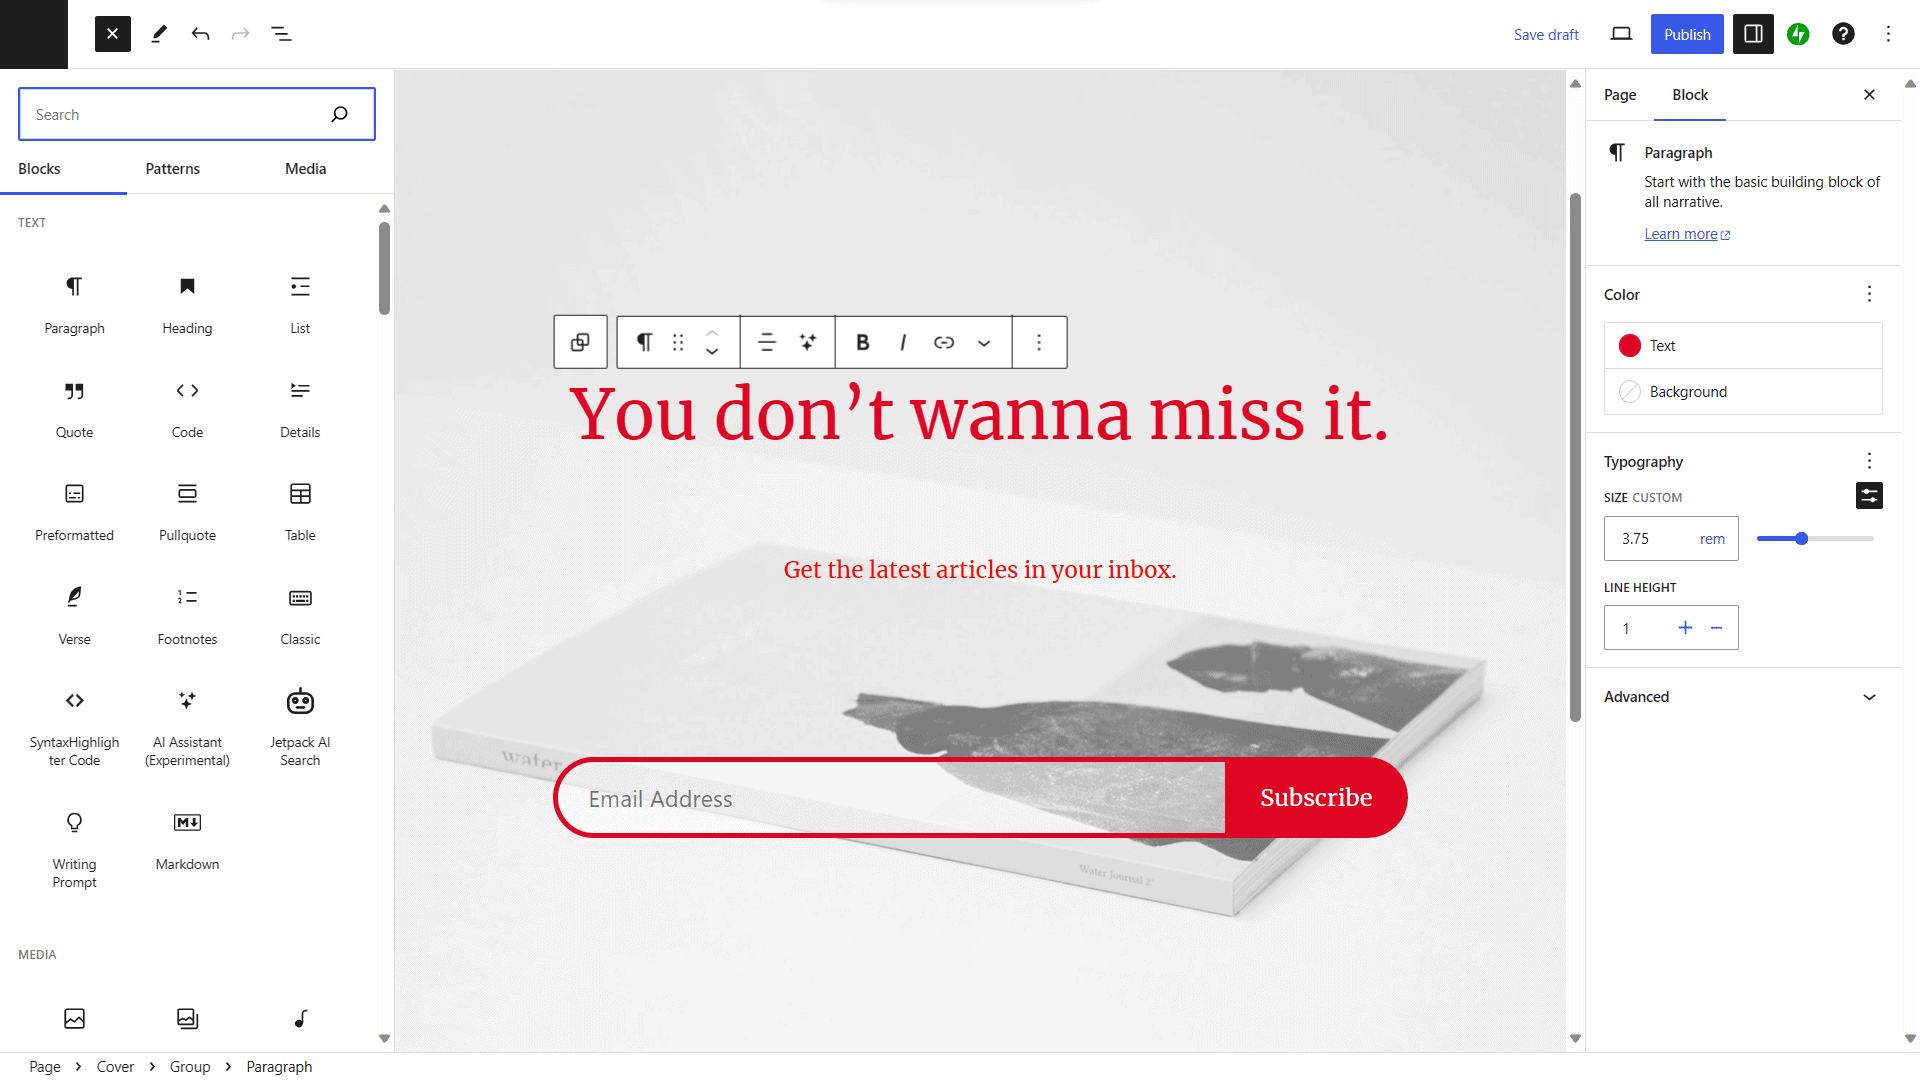The Gutenberg block editor became the WordPress default in version 5.0 (December 2018). A block-based approach means a paragraph, an image, a button or a table is each its own unit you can move, duplicate and restyle on its own. You arrange the page visually instead of writing shortcodes or HTML, and you see roughly what the front end will look like as you build. WordPress ships with dozens of core blocks, and any plugin can register its own. That open system is why the block editor keeps expanding into new layouts and content types every release. ### Pros and Cons of Gutenberg Like any tool, the block editor has trade-offs. Here is an honest look at both sides. | Pros ✅ | Cons ❌ | | -------- | -------- | | **User-Friendly Interface:** Gutenberg's block-based approach is designed to be more intuitive, making your experience smoother. | **Learning Curve:** If you are used to the classic editor, Gutenberg can initially seem complex. | | **Design Blocks: **The block system is a game-changer, allowing you to design pages by simply dragging and dropping blocks. | **Performance:** Gutenberg can sometimes be slower than the classic editor. | | **Optimization:** Gutenberg's responsive design ensures that content looks good on all devices. | **Limited Layout Options: **While Gutenberg offers various blocks, it lacks some advanced functionalities and design layouts available in other page builders. | | **Enhanced Visual Editing:** Unlike the classic editor, where shortcodes were required, Gutenberg provides a real-time visual representation of your content. | | | **Customizations:** Integrate custom blocks to expand the editor's capabilities. | | ***Also Read:** [Gutenberg vs Elementor](https://qa.nexterwp.com/blog/gutenberg-vs-elementor/) if you are deciding between the native editor and a page builder.* ## The 4 Phases of Gutenberg (and Where WordPress Is in 2026) Gutenberg is not a finished product, it is a long-running project with four planned phases. Knowing the phases explains why the editor can suddenly do something this year that it could not last year. - **Phase 1, Easier Editing.** The block editor itself, shipped in WordPress 5.0 (2018). Done and still being refined.- **Phase 2, Customization.** Full Site Editing, block themes, the Site Editor, block patterns and the block directory, rolled out across the 5.9 to 6.x releases. Done.- **Phase 3, Collaboration.** Real-time co-authoring and smoother publishing workflows. This is the current focus, and WordPress 7.0 (2026) is the release advancing it.- **Phase 4, Multilingual.** Core support for multilingual sites. Still ahead. For a 2026 site owner, the practical takeaway is that Phases 1 and 2 are live today, so Gutenberg already edits both your posts and your whole site, and Phase 3 collaboration features are arriving through the current release cycle. ## Gutenberg Block Editor vs Classic Editor: What Is Different? The Classic Editor and Gutenberg solve the same job in very different ways. This table sums up the practical differences. | Aspect | Classic Editor | Gutenberg Block Editor | | ------ | -------------- | ---------------------- | | Content model | One TinyMCE text field | Independent blocks you stack and rearrange | | Layout | Needs shortcodes or HTML for columns and media | Columns, groups and media are built-in blocks | | Visual accuracy | Roughly matches the front end | Closer live preview as you build | | Site-wide design | Posts and pages only | Full Site Editing of headers, footers and templates | | Availability | Plugin required to keep using it | Default since WordPress 5.0 | If you are new to WordPress, the block editor is the natural starting point. If you genuinely prefer the old interface, the free [Classic Editor plugin](https://wordpress.org/plugins/classic-editor/) keeps it available, and WordPress has committed to maintaining it for years. ## What Kinds of Blocks Does the Gutenberg Editor Offer? Blocks are the heart of the editor. Think of them as building units: each one does a single job, and together they form the page. Core blocks fall into a few clear groups. ### 1. Widget Blocks Widget blocks bring familiar WordPress widgets into the editor, including Calendar, Archives, Latest Comments, Latest Posts, RSS, Search and Social Icons. You place them anywhere a block can go, not just in a sidebar. 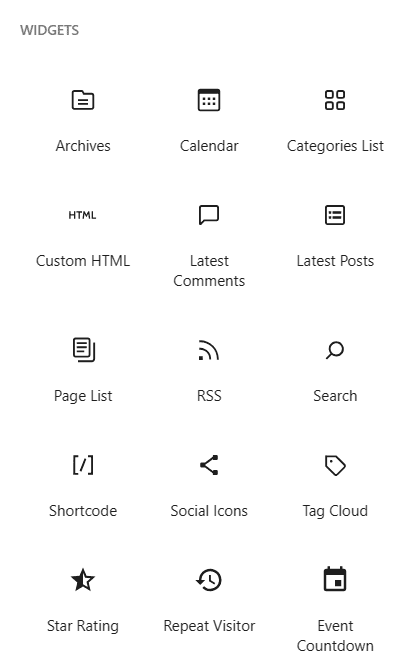Widget blocks bring classic WordPress widgets into the block editor. ### 2. Text Blocks Text blocks cover the writing itself. The Paragraph block is your main tool, with bold, italics, links and alignment, and the group also includes Heading, Quote, List, Table, Verse and Preformatted blocks. Text blocks handle the core of most posts and pages. ### 3. Design Blocks Design blocks control layout: Columns, Group, Row, Spacer, Separator and Page Break, plus the Buttons block for calls to action. They decide how the rest of your content is arranged. Design blocks control layout and structure on the page. ### 4. Media Blocks Media blocks handle anything that is not plain text, including Image, Gallery, Audio, Video, File and Cover. The Cover block is handy for hero sections with text over an image. Media blocks add images, video and cover sections without code. ### 5. Embed Blocks Embed blocks pull in content from other platforms by pasting a URL, with dedicated blocks for YouTube, X, Spotify, Reddit, Pinterest, TikTok and more. If a platform is not listed, the generic Embed block usually still works. Embed blocks pull in external content from a pasted URL. ### 6. Theme Blocks Theme blocks are what make Full Site Editing possible. They include Site Title, Site Logo, Navigation, Query Loop, Post Title, Featured Image and Post Excerpt, the pieces you use to build headers, footers and templates. 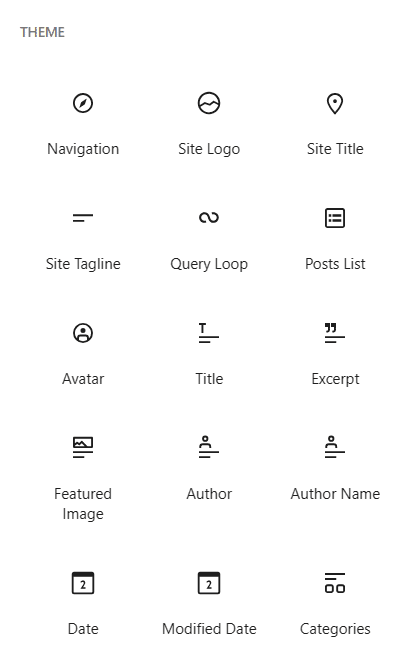Theme blocks power headers, footers and templates in block themes. ## Full Site Editing and the Site Editor Early Gutenberg only edited the content area of a post or page. Full Site Editing, delivered in Phase 2, extends the same block tools to your entire site. With a block theme active, open Appearance, then Editor, and you can edit headers, footers, sidebars and templates with blocks instead of code or the old Customizer. A few modern features are worth knowing as a beginner: - **The Site Editor** lets you change site-wide design, templates and template parts in one place.- **Patterns** are reusable block layouts. What older guides called "reusable blocks" are now synced Patterns.- **Styles and the Style Book** let you set fonts, colors and spacing for the whole site and preview them together.- **The Command Palette** (Ctrl+K on Windows, Cmd+K on Mac) jumps to any block, page or setting fast. Full Site Editing needs a block theme to work. If you are choosing one, our guide to the [best WordPress block themes for Gutenberg](https://qa.nexterwp.com/blog/wordpress-block-themes-gutenberg/) is a good starting point. ***Also Read:** [What is a WordPress block theme](https://qa.nexterwp.com/blog/what-is-a-wordpress-block-theme/) to understand the themes that unlock Full Site Editing.* ## How the Gutenberg Editor Works, Step by Step The block editor has everything you need to build a page: pick blocks, drop them in, and style them in the sidebar. Here is the full flow from blank page to published. **Create a page.** In your WordPress dashboard, go to Pages on the left and click Add New. You get a blank canvas. 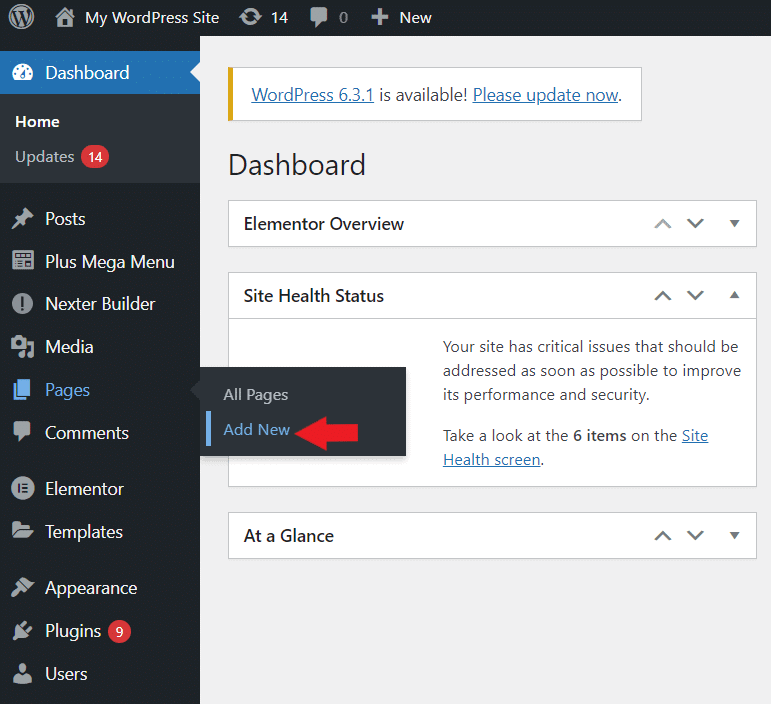Pages, then Add New, opens a blank Gutenberg canvas. **Add a title.** The title field is built into the top of the page, marked Add title. Type your title there. 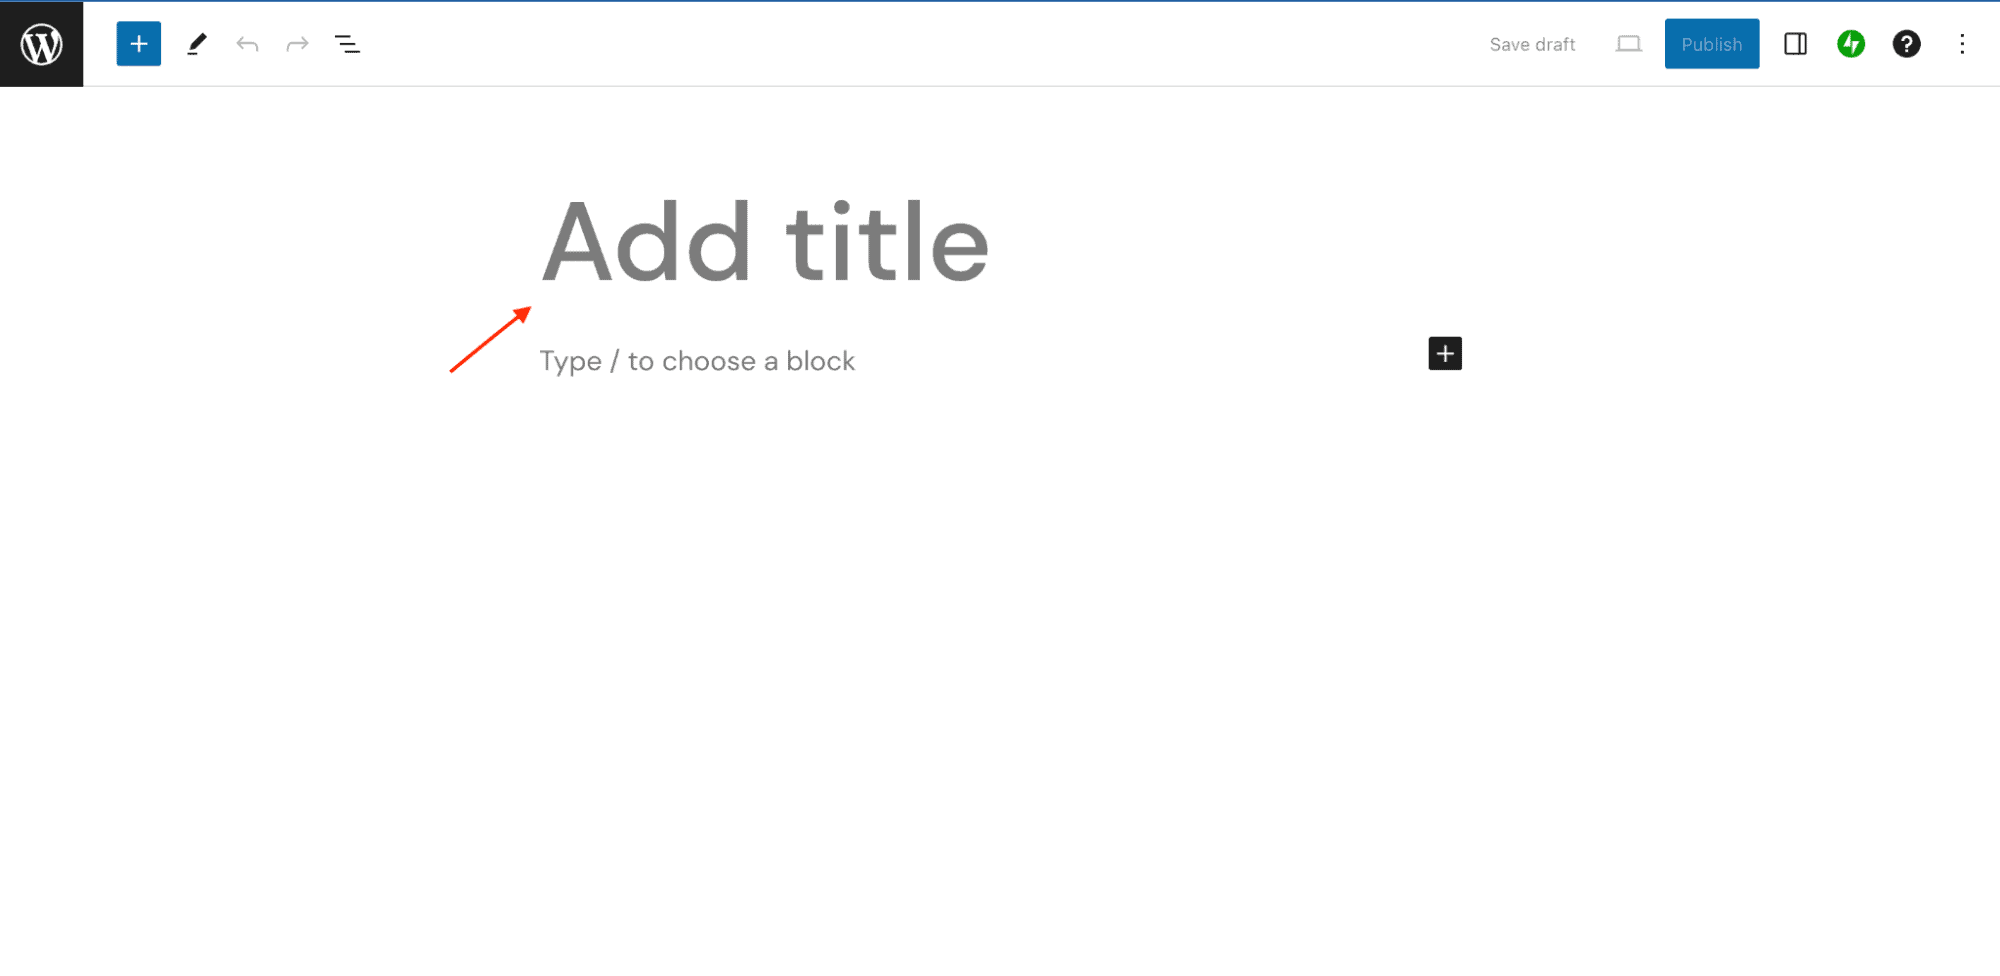Type the title straight into the Add title field. **Add a block.** Click the plus icon at the top left to open the inserter, then pick the block you need. 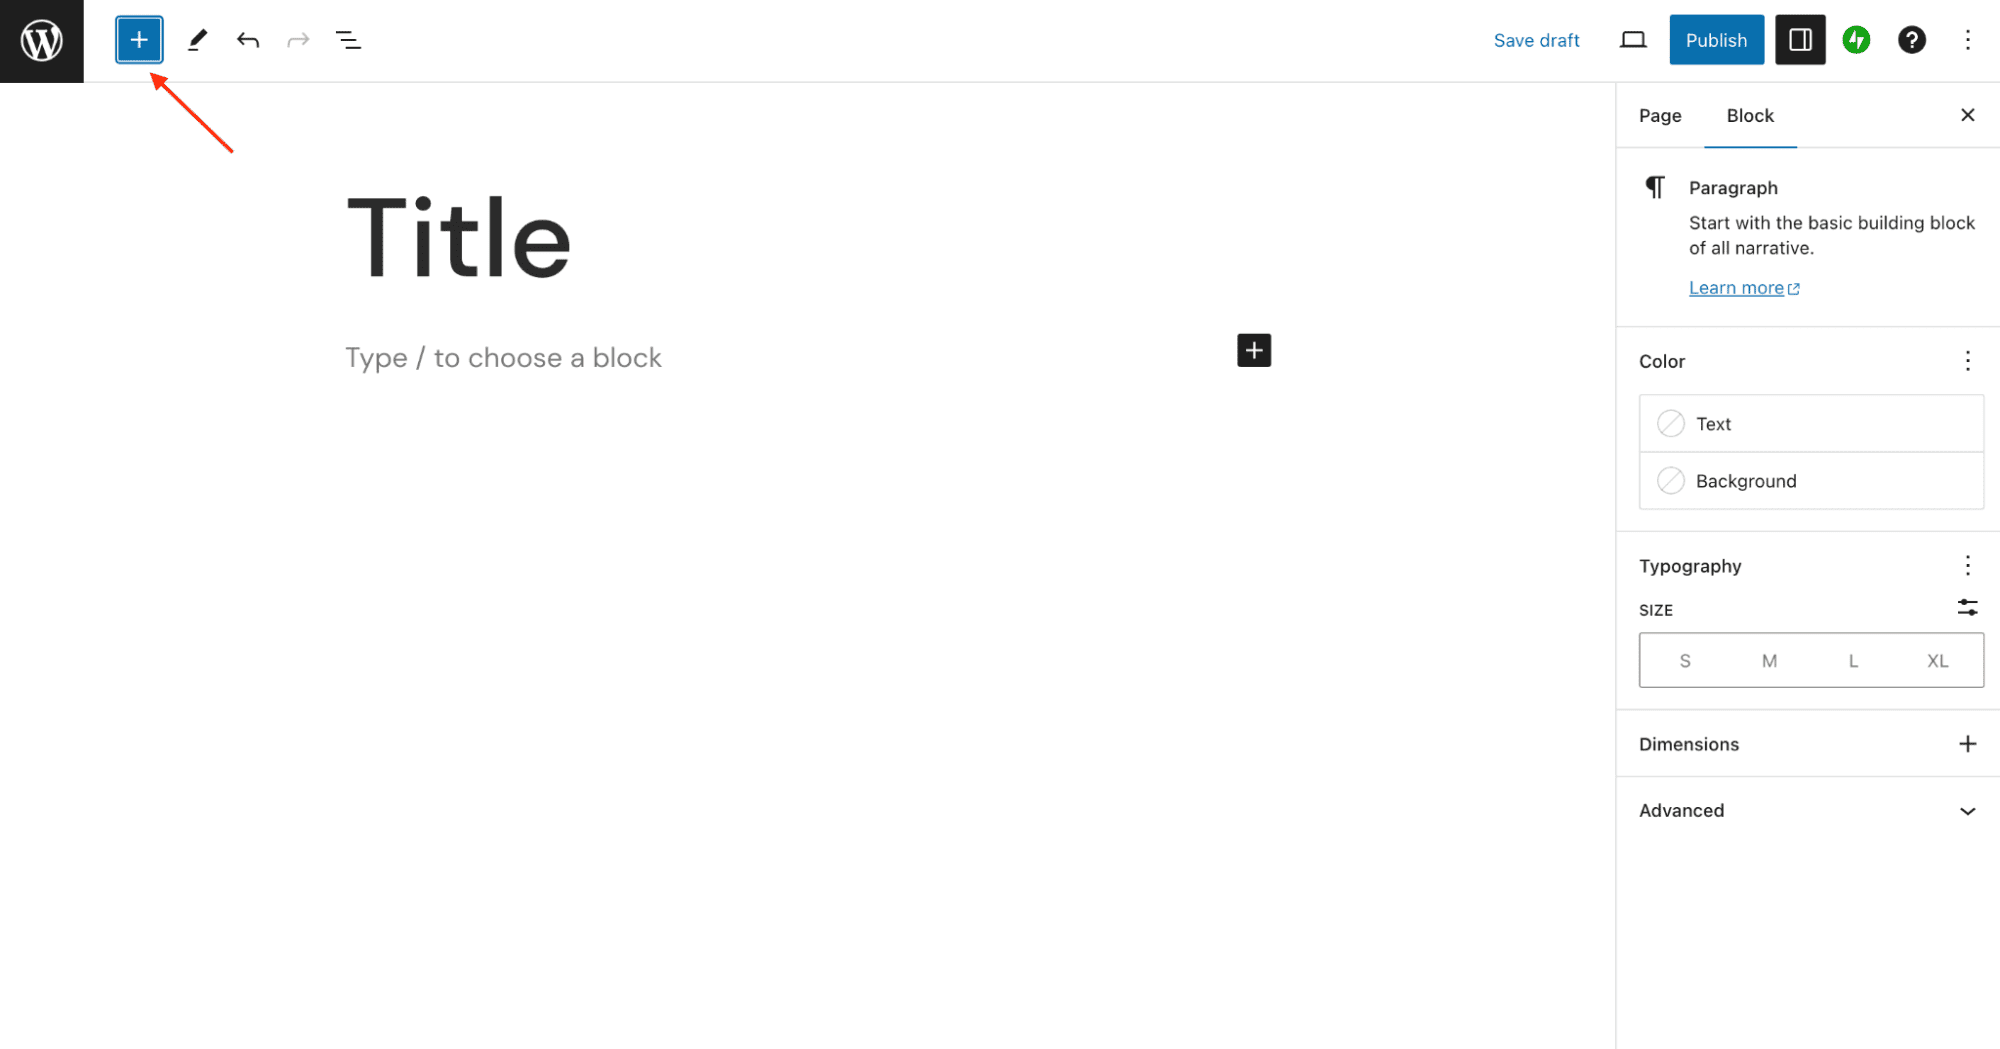The plus icon opens the inserter with every available block. **Remove a block.** Select the block, click the three dots in its toolbar, and choose Delete. 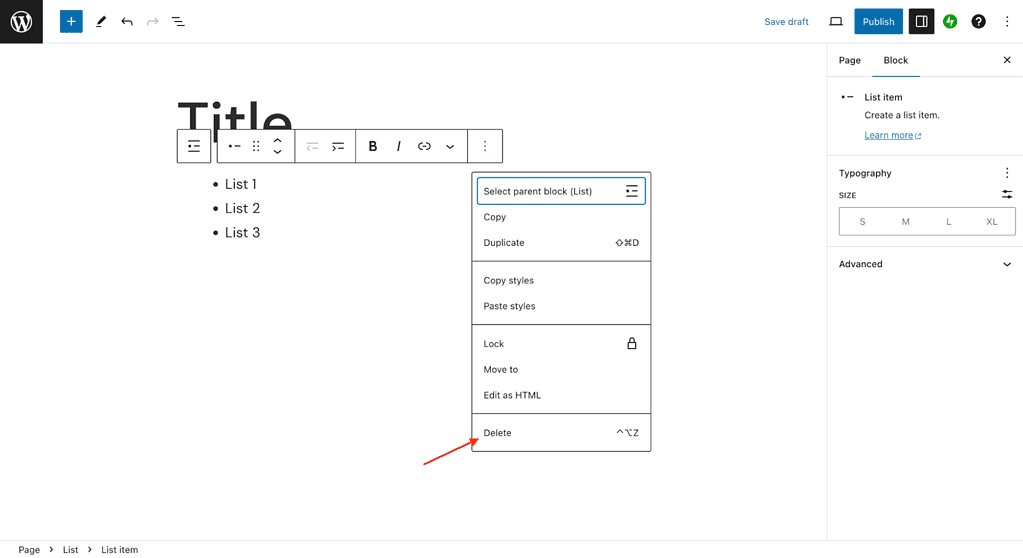The three-dot menu removes or transforms any block. **Write text.** Use the Paragraph block, which gives you alignment, font size and color in the toolbar and sidebar. 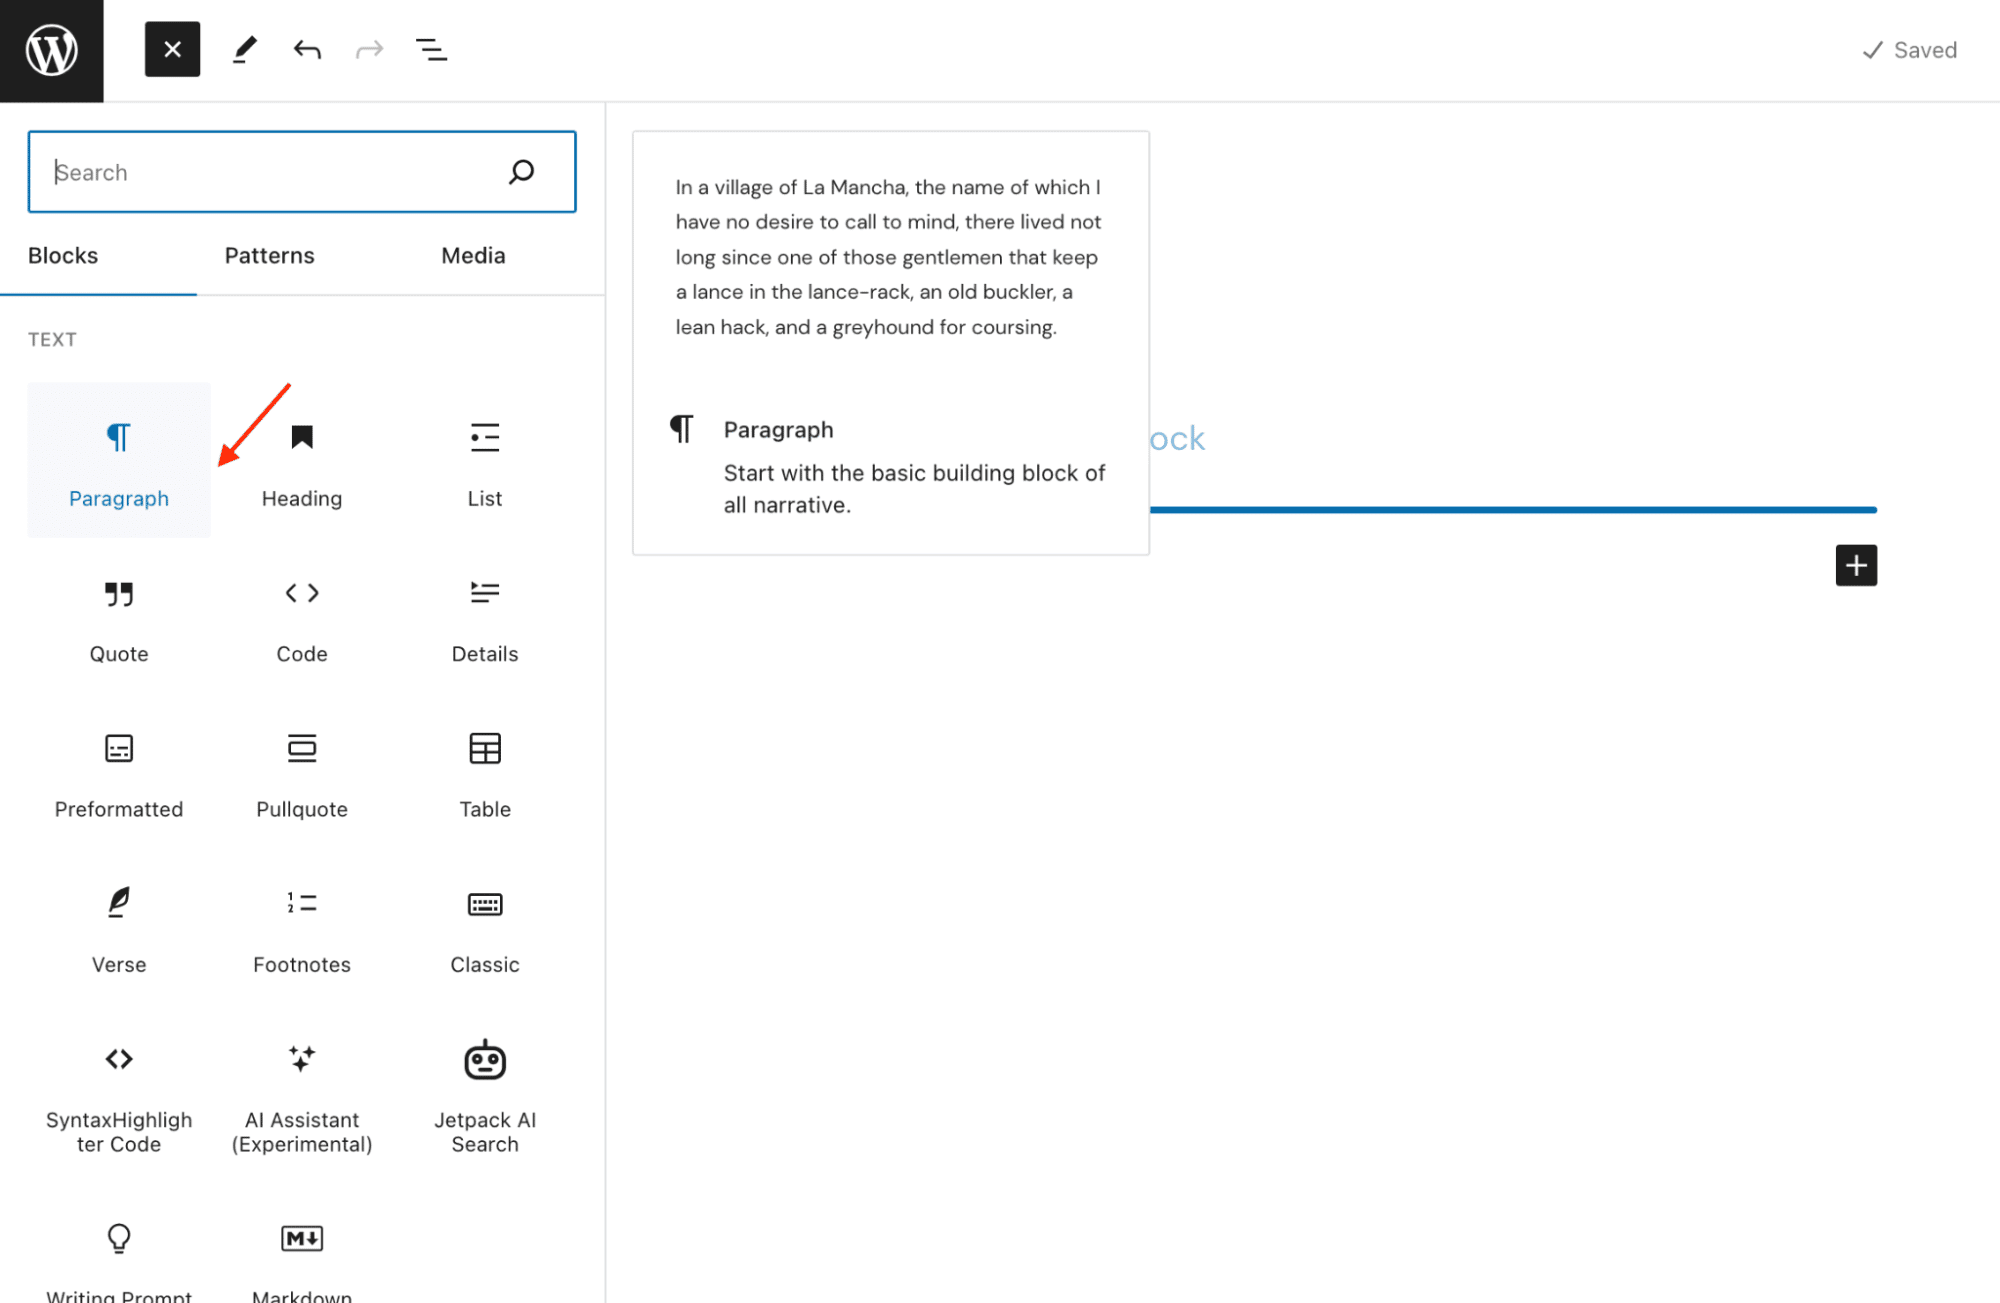The Paragraph block handles alignment, size and color. **Add headings.** The Heading block offers levels H2 to H6 for structure and SEO. Keep one clear hierarchy so readers and search engines follow along. **Add an image.** Choose the Image block, then upload a file or pick one from the Media Library. 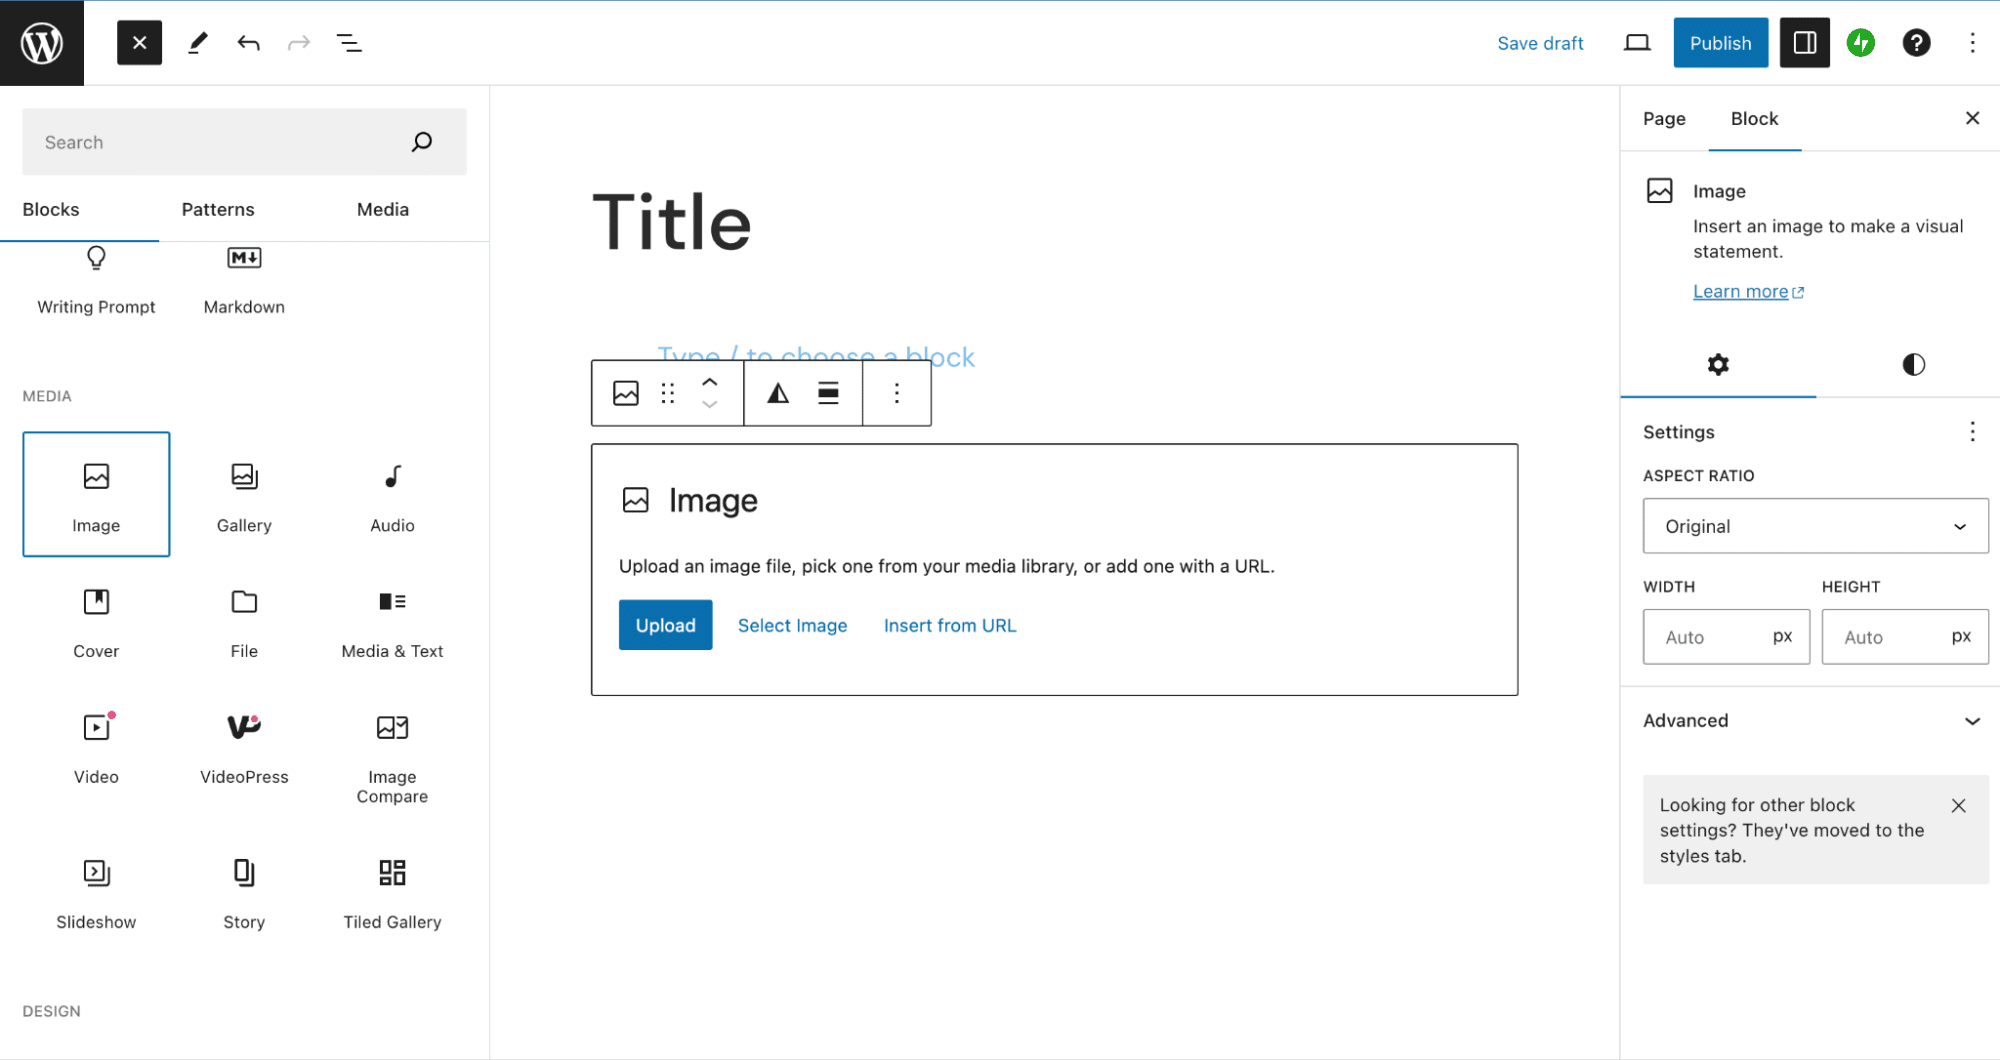The Image block uploads a file or pulls one from the Media Library. **Add a link.** Highlight the text, click the link icon, and paste the URL. 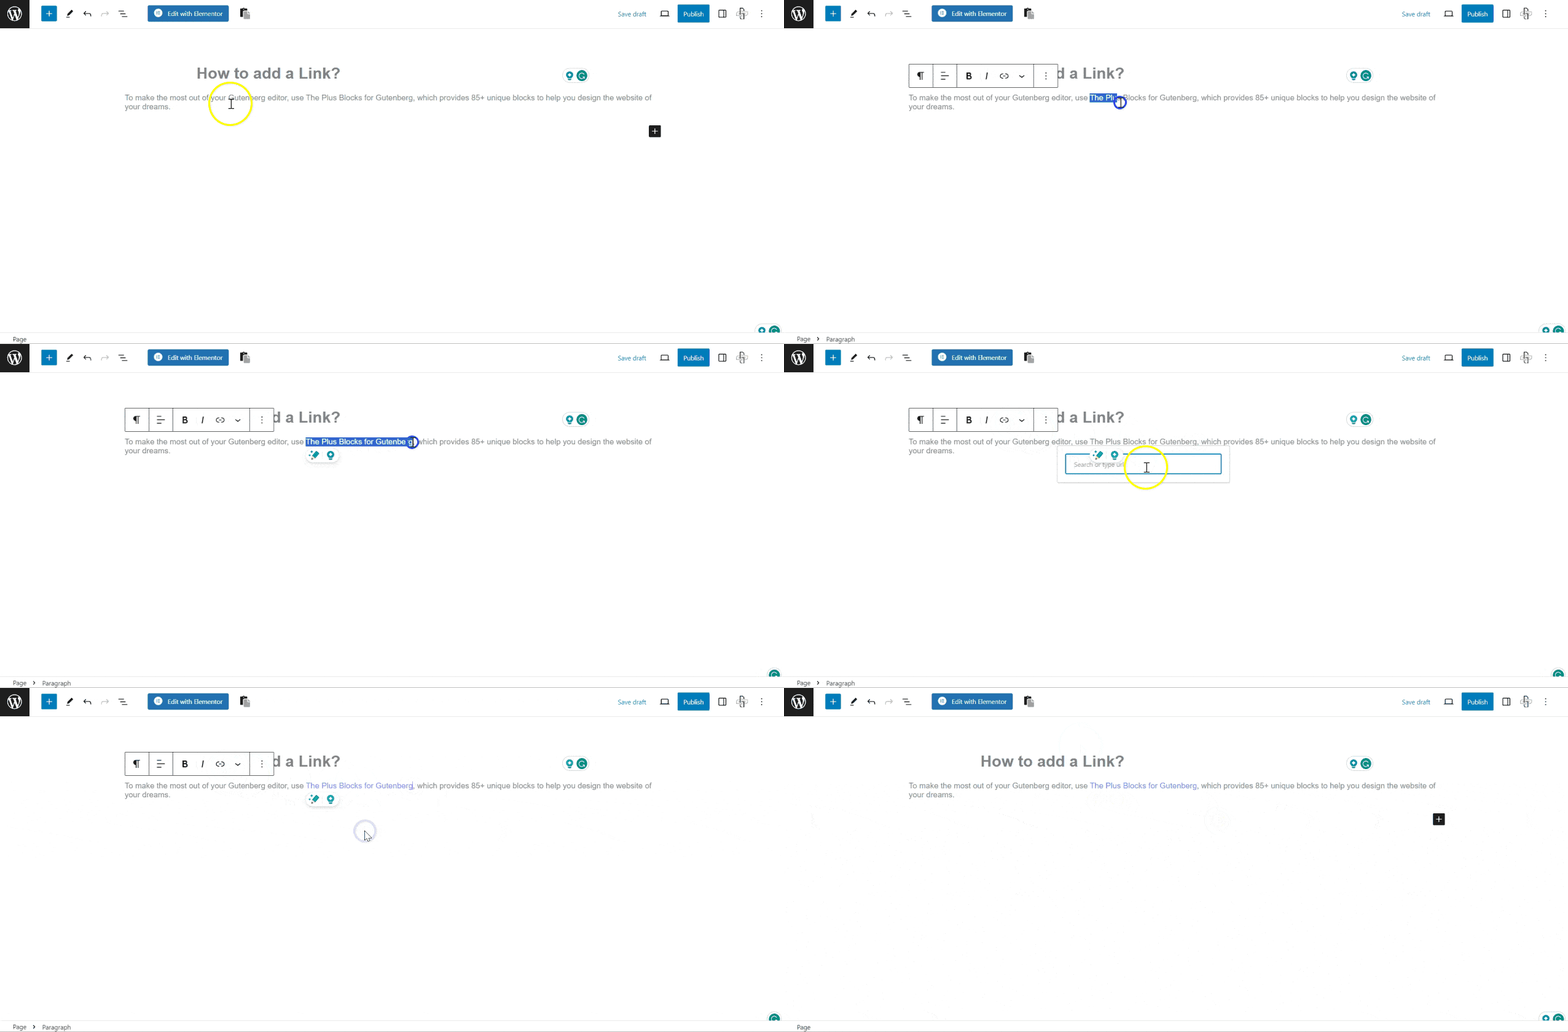Highlight text and add a link from the toolbar. **Add a shortcode.** The Shortcode block runs any plugin shortcode inside your content. 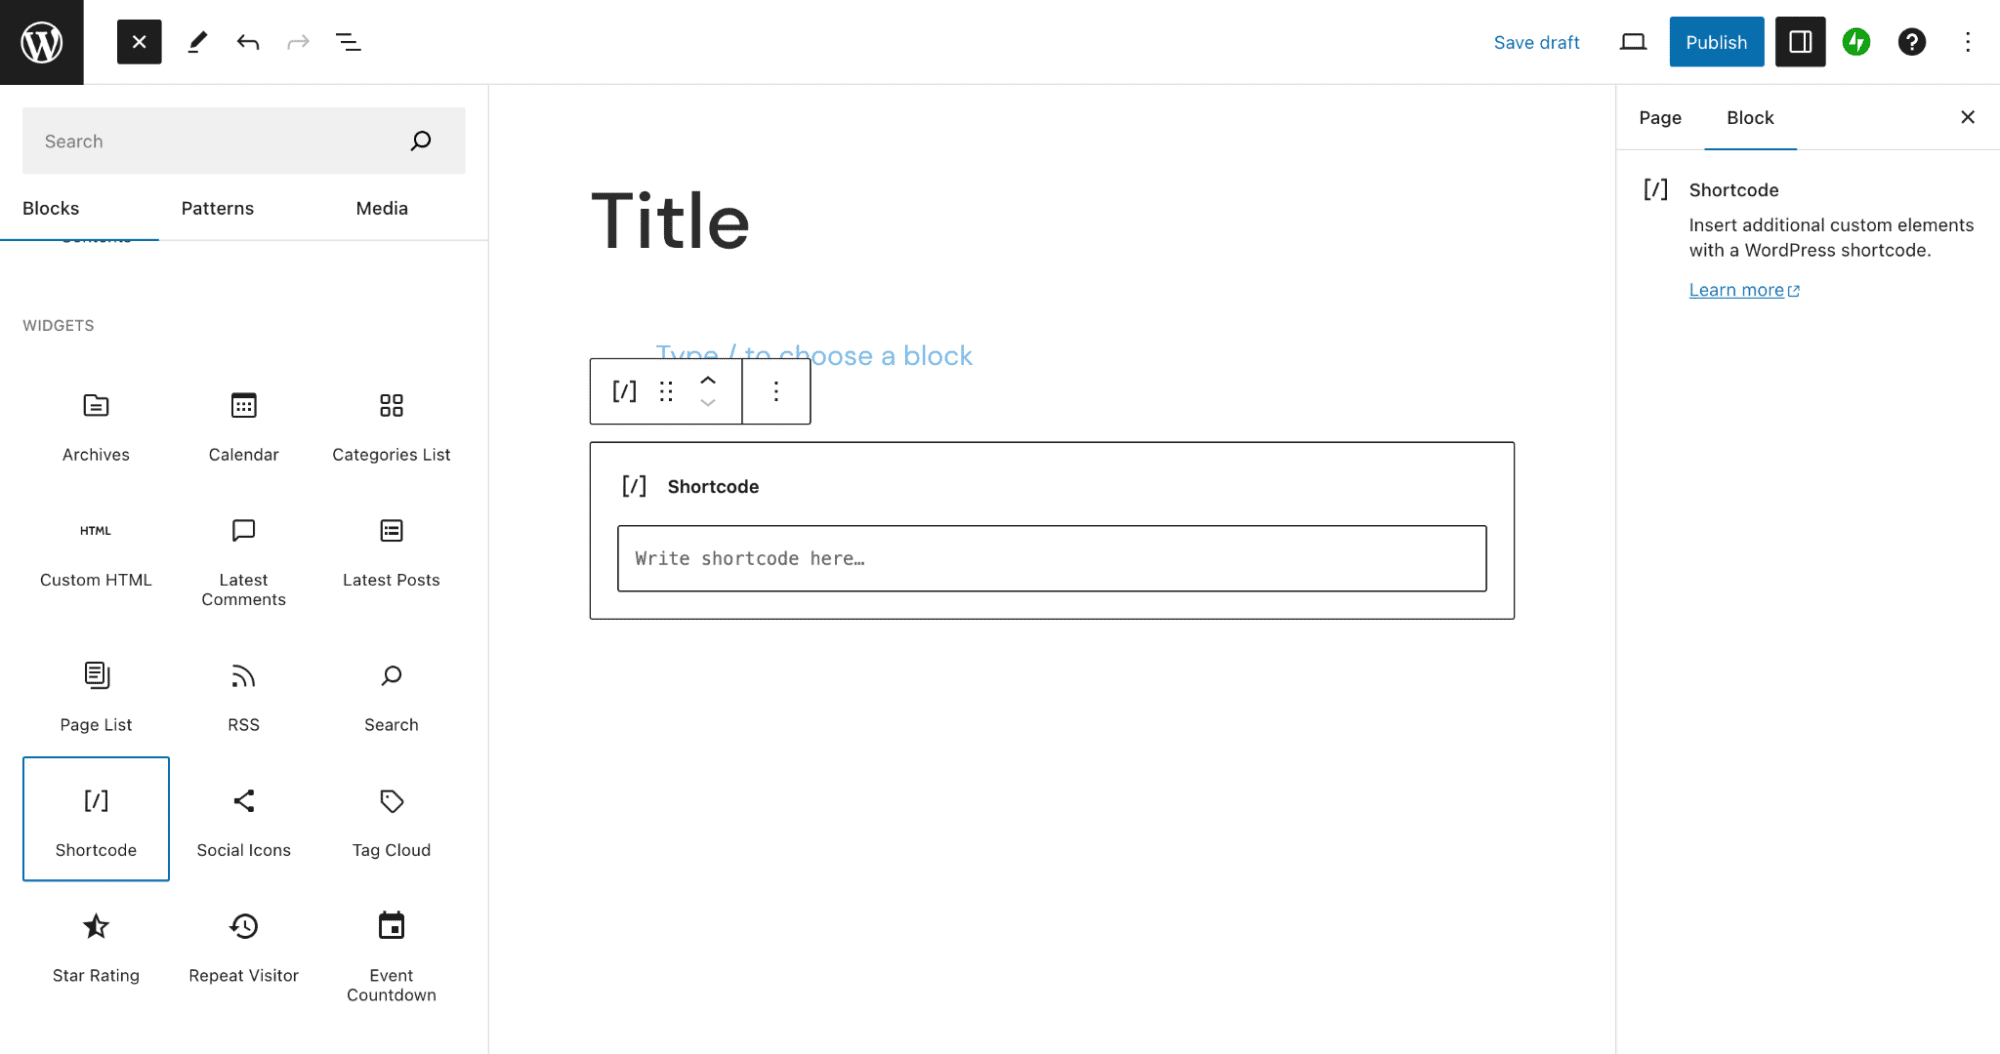The Shortcode block runs plugin shortcodes inside a post. **Add a button.** The Buttons block adds a styled call to action with text, a target URL and color options. 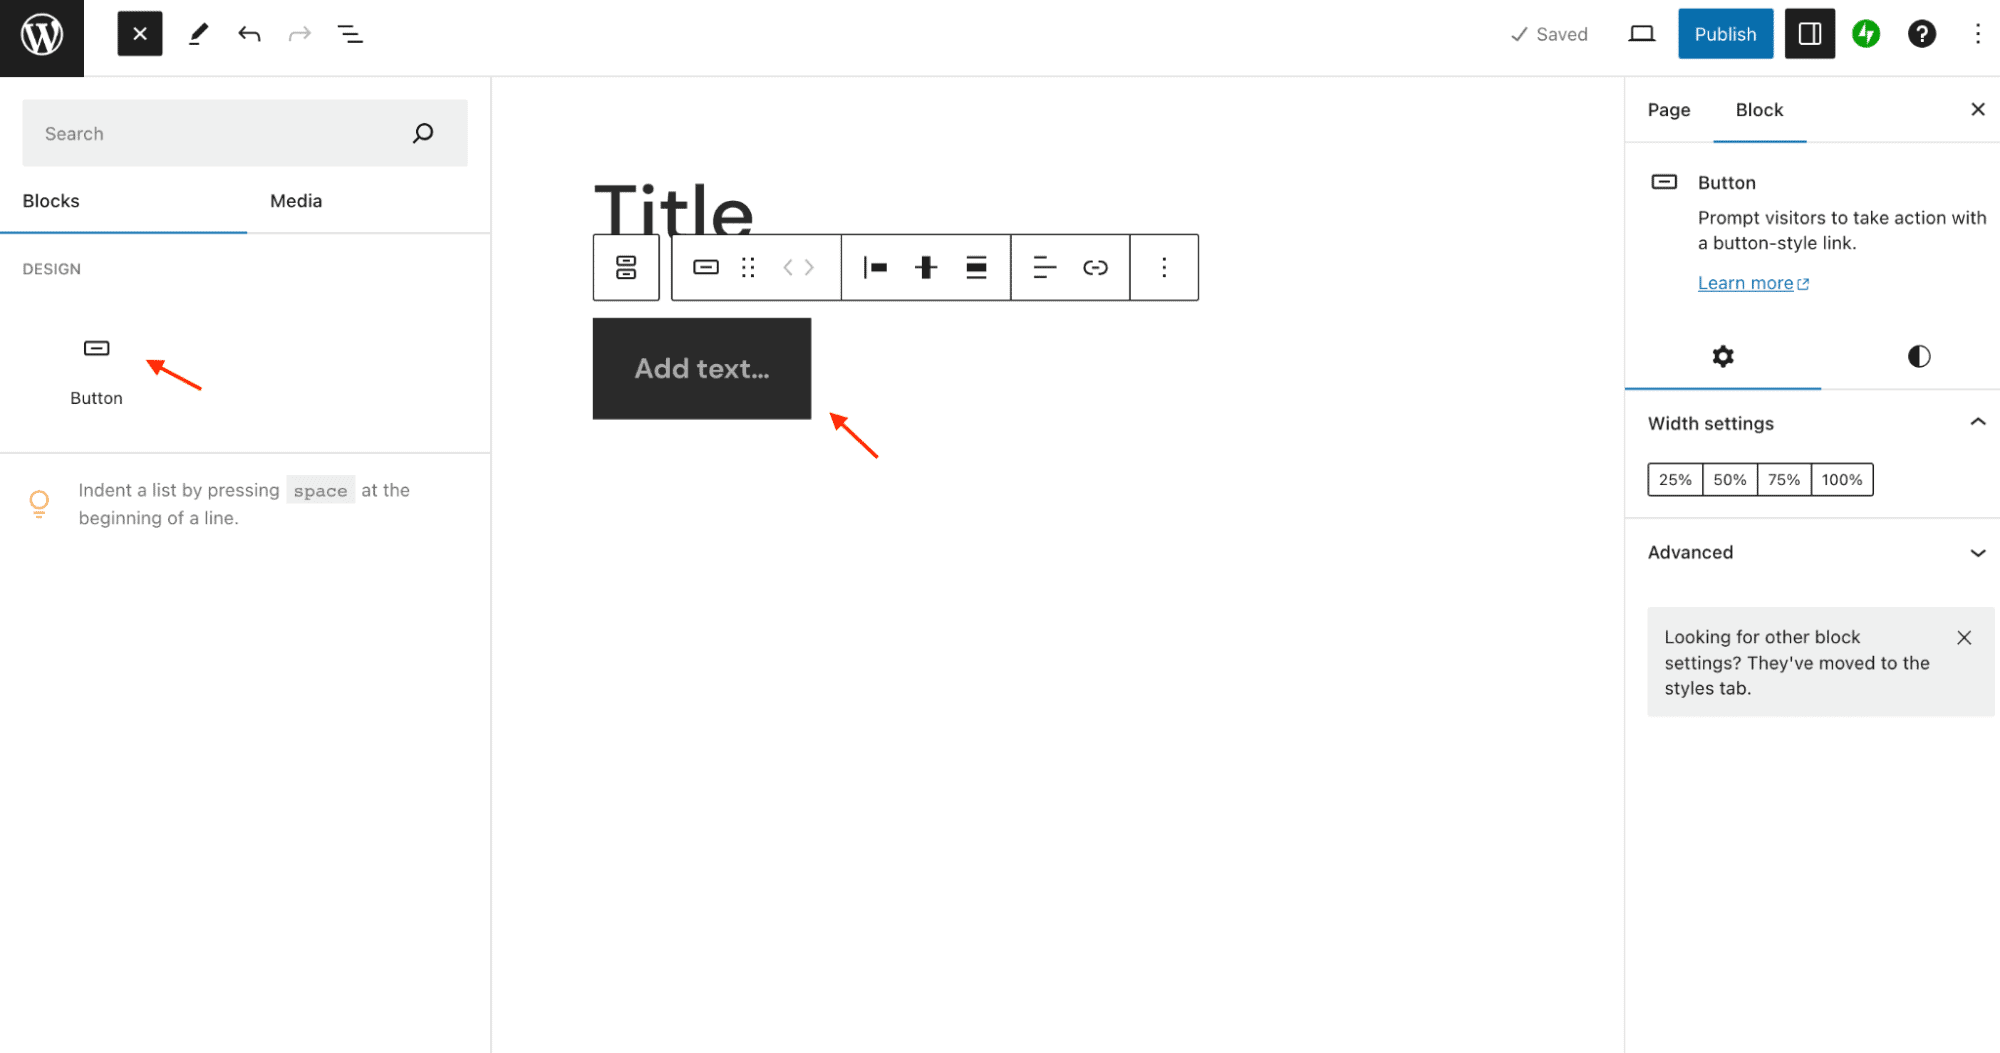The Buttons block adds styled calls to action. **Add a table.** The Table block builds rows and columns for clean data, no HTML needed. 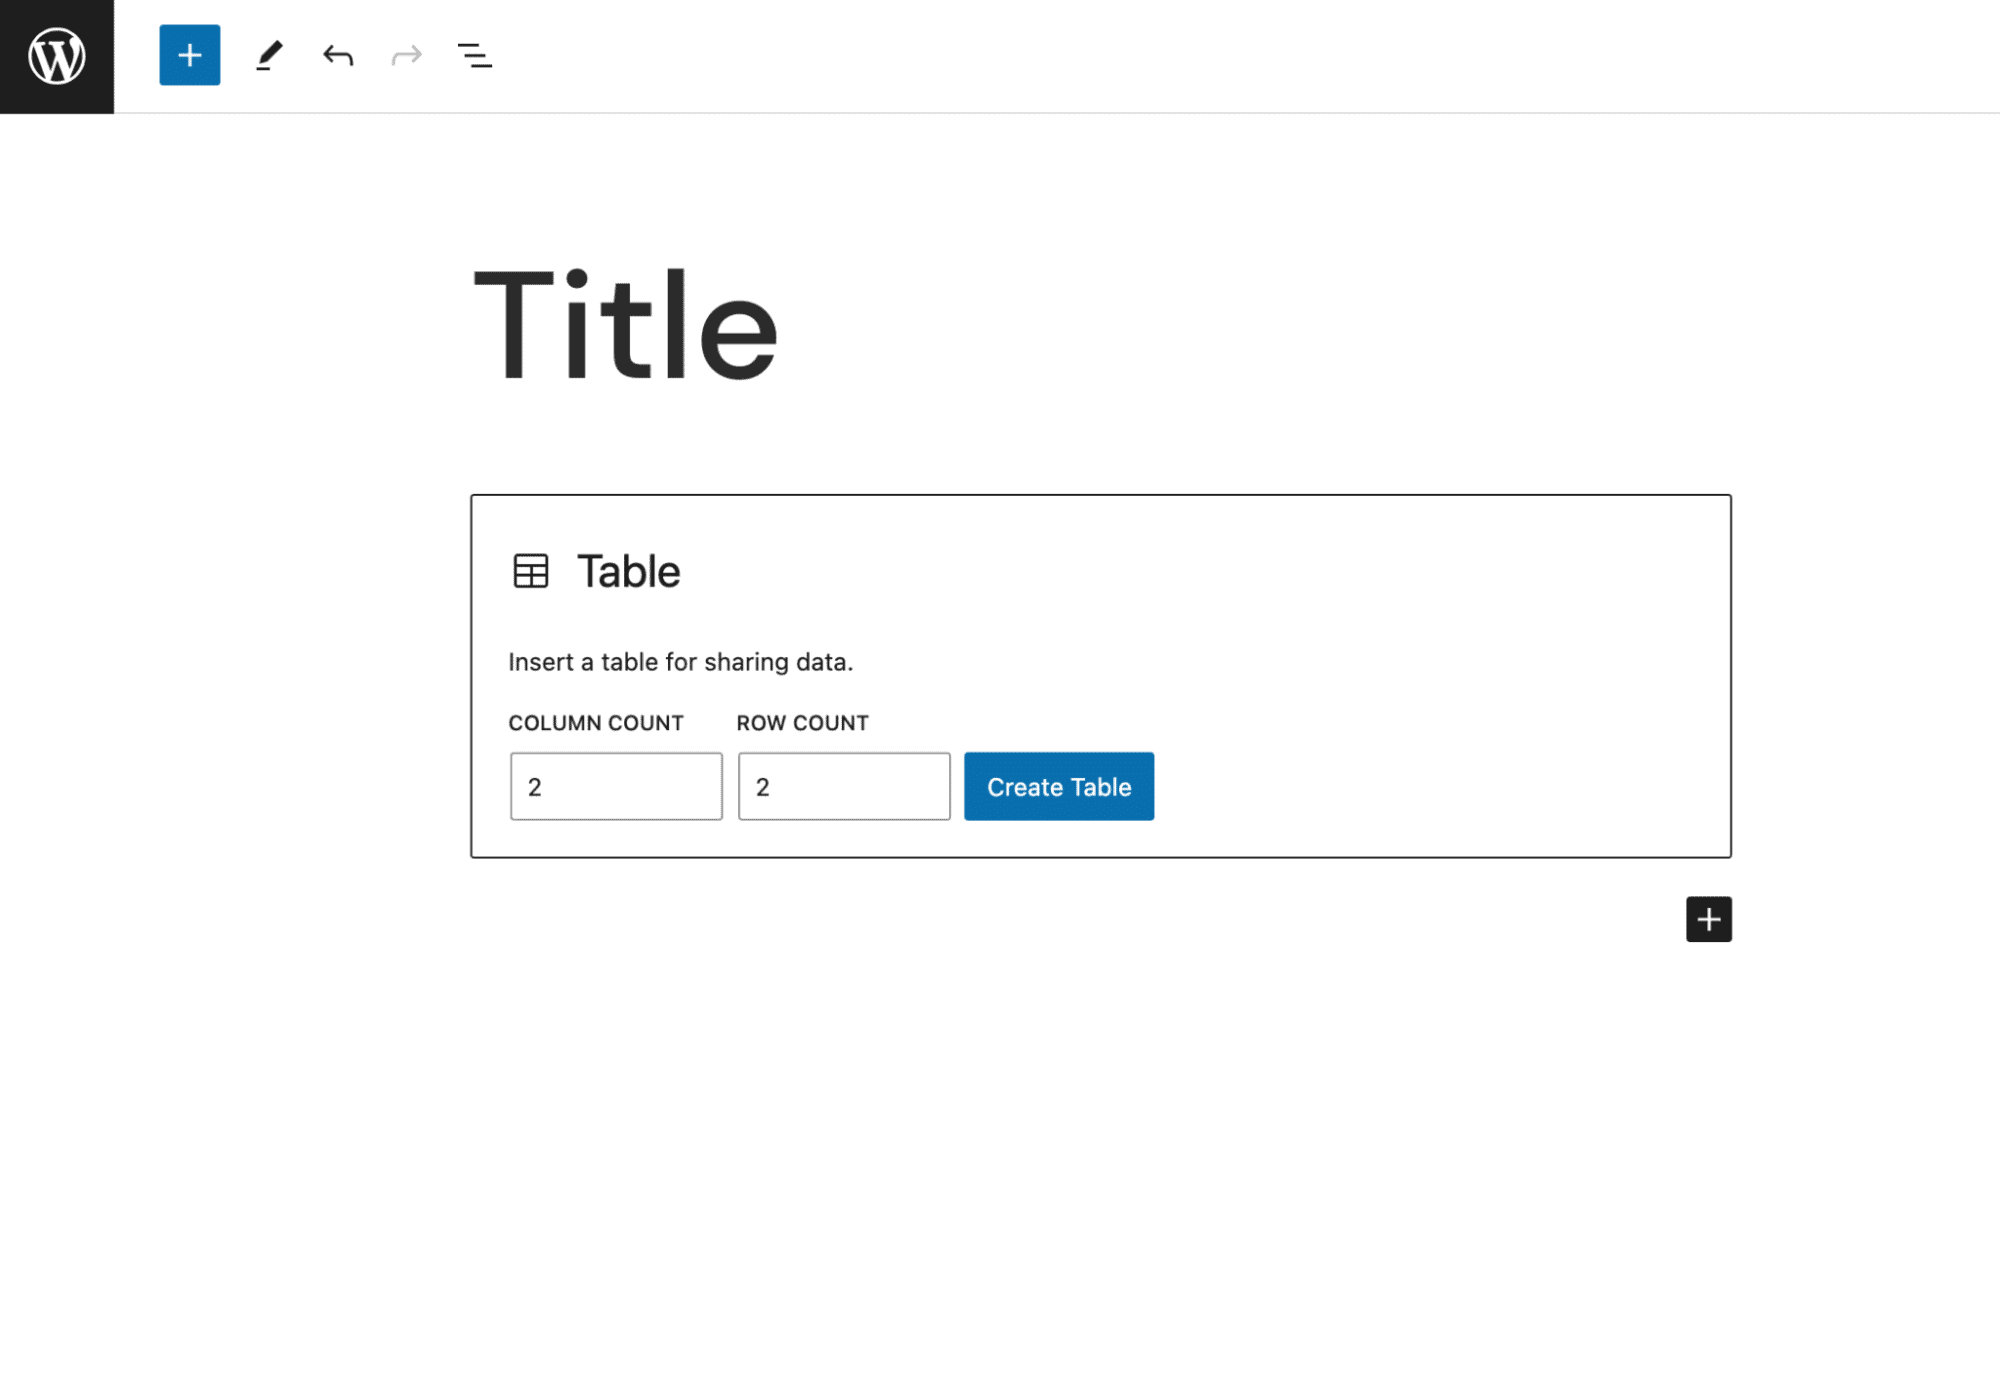The Table block builds rows and columns without HTML. **Save a Pattern.** Build a layout once, open the three-dot menu, choose Create Pattern, and reuse it anywhere from the inserter under Patterns. 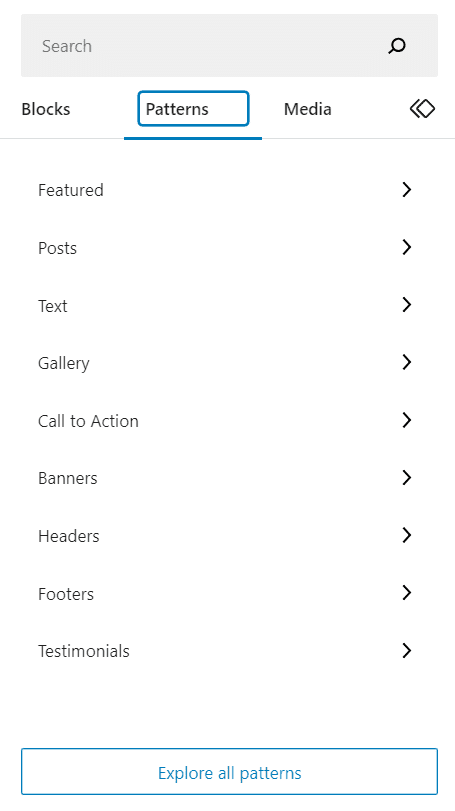Reusable blocks are now called synced Patterns. **Publish.** Click the blue Publish button at the top right, confirm, and your page is live. 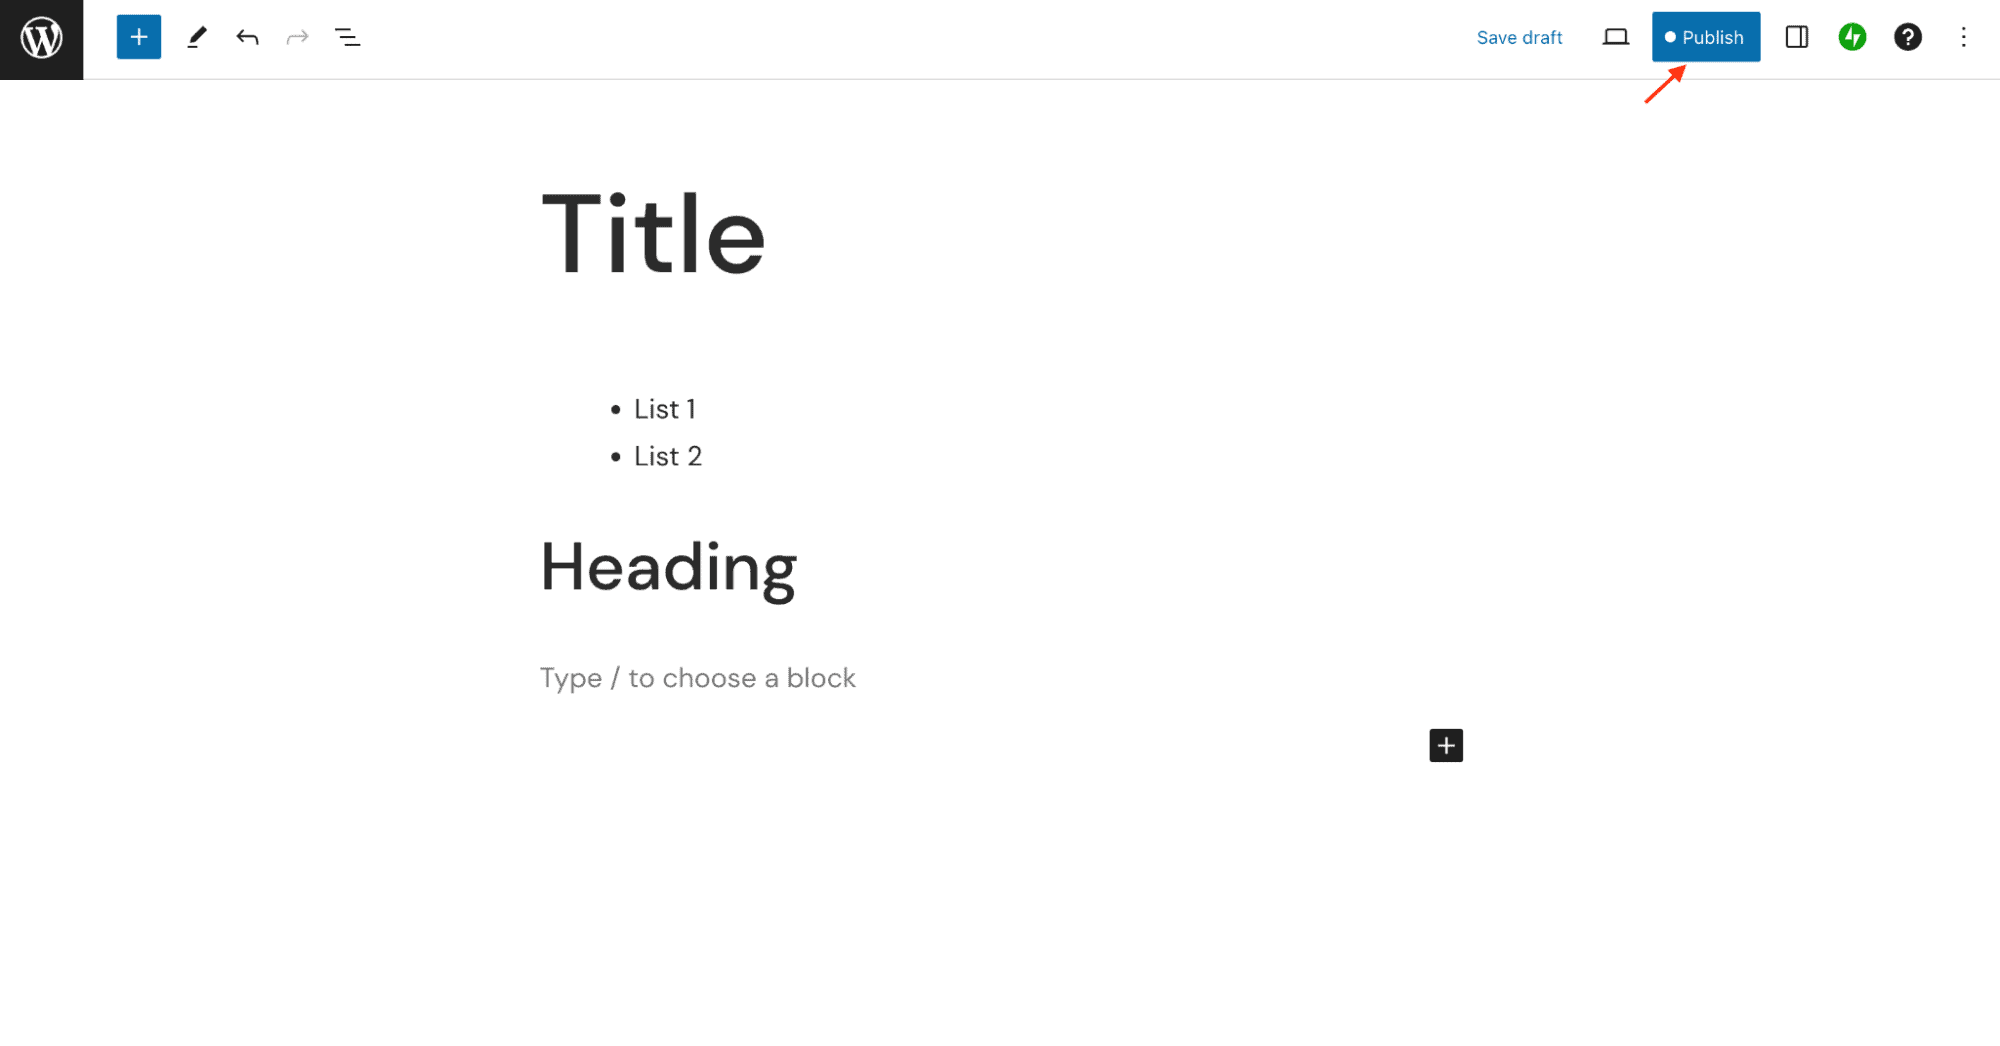The Publish button pushes your content live. ***Also Read:** [How to create a landing page with Gutenberg](https://qa.nexterwp.com/blog/create-landing-page-with-gutenberg/) to put these blocks together into a real page.* ## Enhance Gutenberg with Nexter Blocks Core Gutenberg covers the basics well. When you want more advanced layouts and design control, a block plugin fills the gap. [Nexter Blocks](https://qa.nexterwp.com/nexter-blocks/) adds 90+ extra blocks to the editor, all built specifically for Gutenberg. You get blocks for advanced listings, menus, on-scroll animations, dynamic content and display conditions, plus prebuilt design sections you can drop in and edit. The free version is available on WordPress.org, with a paid tier for the advanced blocks and builders. Nexter Blocks extends Gutenberg with 90+ additional blocks. Once active, Nexter Blocks appear in the inserter next to the core blocks, so you keep using Gutenberg exactly as before with more options on hand. ## Suggested Reading - [Gutenberg vs Elementor](https://qa.nexterwp.com/blog/gutenberg-vs-elementor/): which to use for your site, with an honest comparison.- [7 WordPress block builders](https://qa.nexterwp.com/blog/wordpress-7-block-builders/): tools that extend the Gutenberg editor.- [Best WordPress block themes for Gutenberg](https://qa.nexterwp.com/blog/wordpress-block-themes-gutenberg/): themes built for Full Site Editing.- [What is a WordPress block theme](https://qa.nexterwp.com/blog/what-is-a-wordpress-block-theme/): the foundation Full Site Editing needs.- [Create a landing page with Gutenberg](https://qa.nexterwp.com/blog/create-landing-page-with-gutenberg/): a practical build from scratch. ## FAQs for WordPress Gutenberg Editor ### Is Gutenberg free for WordPress? Gutenberg is now the default WordPress block editor. It is a free feature integrated with WordPress 5.0 and later versions. It is designed to elevate the editing experience and replace the previous classic editor. ### Will Gutenberg Replace Page Builders? Gutenberg will not replace page builders entirely. It merely improves the out-of-the-box website design experience on WordPress with its drag-and-drop editor. However, many page builders offer advanced design capabilities beyond what Gutenberg provides. ### Is Gutenberg better than Elementor? Both Gutenberg and Elementor have their unique strengths. While Gutenberg is a built-in feature of WordPress and offers a drag-and-drop editing experience, Elementor is a powerful page builder plugin that provides advanced design capabilities. ### Is Gutenberg good for SEO? Gutenberg is designed to be SEO-friendly. Its block-based structure allows for clean and organized content, which search engines love. Its performance and compatibility with SEO best practices are improving with continuous updates. ### Can I create custom Gutenberg blocks in WordPress? Yes, you can create custom Gutenberg blocks in WordPress. Developers can design custom blocks using JavaScript, ES6, and JSX. Plugins and tools allow you to create custom blocks without extensive coding knowledge. Nexter Blocks is one such plugin that offers you unparalleled customization and creative freedom. ### Can I still keep using the old Classic editor? Yes, you can keep using the classic editor even with the introduction of Gutenberg. To let you do this, WordPress has a Classic Editor Plugin that will allow you to revert to the old editor if that is the interface and functionality you prefer over Gutenberg. ### Can I use Elementor and Gutenberg together? Yes, you can install the Elementor page builder plugin and use it with the Gutenberg editor. Once you install the plugin, you get an “Edit with Elementor” option within the Gutenberg editor. You can click it to switch to Elementor. ### Is Gutenberg better than classic WordPress? WordPress Gutenberg offers more flexibility and a modern user experience than the classic WordPress editor. Its drag-and-drop visual builder is quite beginner-friendly and lets you craft complex layouts with ease. --- # 5 Best Testimonial WordPress Plugins [Build Trust] Source: https://qa.nexterwp.com/blog/best-testimonial-wordpress-plugins/ Customer reviews are crucial to your success. They provide social proof and help potential customers make informed decisions. But how do you display these reviews on your WordPress website? The answer is with Testimonial WordPress Plugins. WordPress Testimonial plugins allow you to display customer reviews and testimonials on your website. They come with a range of features, from simple display options to more advanced features like review management and social proof integration. In this article, we'll explore some of the top testimonial WordPress plugins that can help you effectively display customer feedback on your website. ## What are Testimonial WordPress Plugins? Testimonial WordPress plugins allow you to display customer feedback, Google reviews, Instagram reviews, FaceBook reviews, and testimonials on your website. ***Also Read:** the [best team member plugins for WordPress](https://qa.nexterwp.com/blog/best-team-member-plugins-for-wordpress/) to showcase your team.* 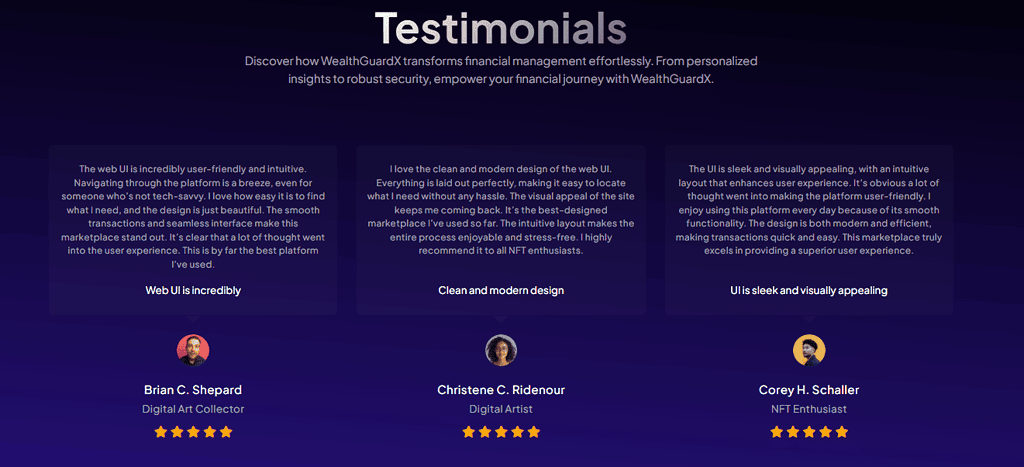 [](https://qa.nexterwp.com/nexter-blocks/listing/wordpress-testimonial-reviews/)[* Testimonial Plugin Demo From Nexter Blocks*](https://qa.nexterwp.com/nexter-blocks/listing/wordpress-testimonial-reviews/) These Testimonial Widgets make it easy to add testimonial sliders to your website without any coding knowledge. They provide a simple way to showcase social proof and build trust with your website visitors. Testimonials slider plugin helps you display customer feedback in a variety of formats. They allow potential customers to see what others have experienced with your product or service. Adding testimonials helps in building authority and trust among your site’s visitors. ## Best Testimonial WordPress Plugins Compared Here are the best WordPress Testimonial Plugins you should consider. | Sl no | Plugins | Price Starting at | | ----- | ------- | ----------------- | | 1 | [Testimonials Listing By Nexter Blocks](https://qa.nexterwp.com/nexter-blocks/listing/wordpress-testimonial-reviews/) | Free + $39/yr | | 2 | [Strong Testimonials](https://wordpress.org/plugins/strong-testimonials/) | $23/yr | | 3 | [Testimonial Slider](https://wordpress.org/plugins/testimonial-slider-and-showcase/) | $16/yr | | 4 | [Real Testimonials](https://wordpress.org/plugins/testimonial-free/) | $39/yr | | 5 | [Super testimonials](https://wordpress.org/plugins/super-testimonial/) | $29/yr | ### 1. Testimonial Listing By Nexter Blocks 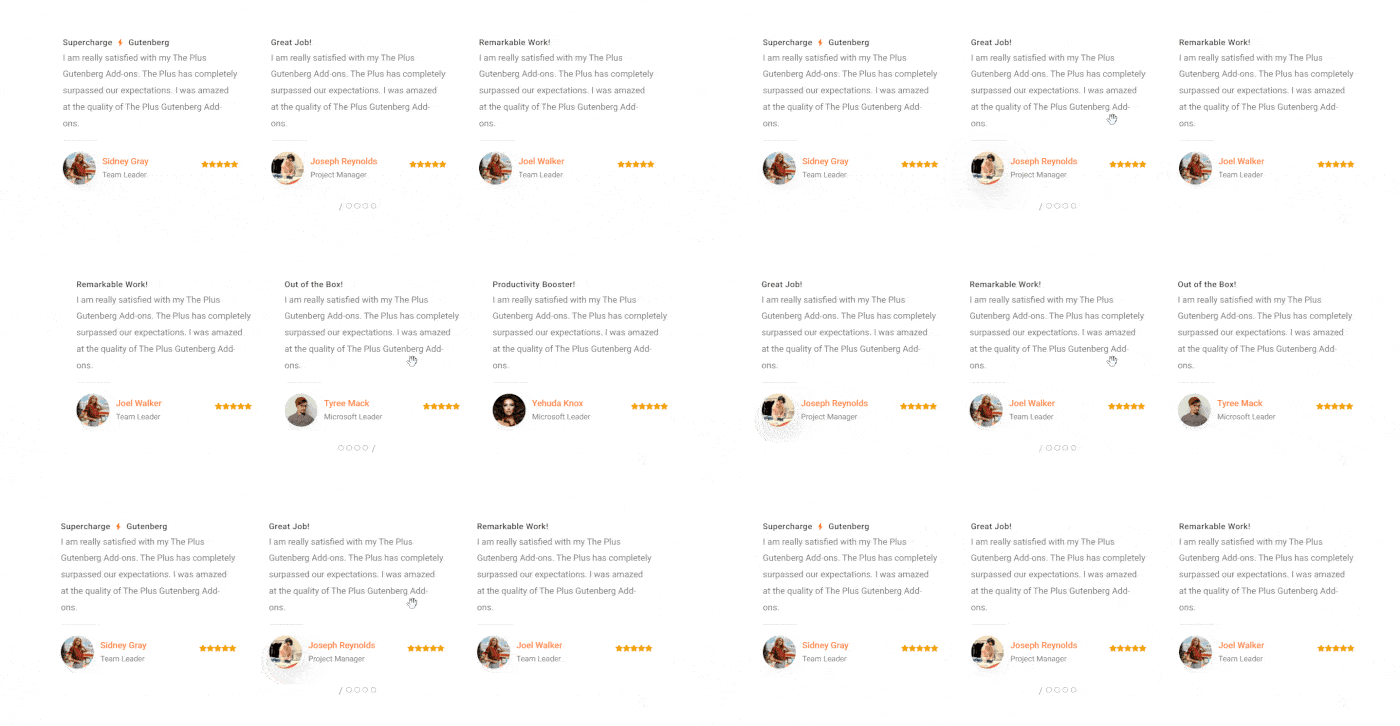 Testimonial Listing by [Nexter Blocks](https://qa.nexterwp.com/nexter-blocks/) is the best WordPress testimonial plugin. It allows you to add a Testimonial slider directly to your website without any coding knowledge. This plugin offers a range of layouts like Grid, Masonry, and Carousel layout. It has multiple carousel .options like center mode, Normal mode, Wheel Navigation & Keyboard Navigation Carousel It also has an amazing typography option like font style, font color, etc. This Testimonial Plugin also has multiple scrolling animations which makes your testimonials look interactive and attractive. You can give a 3D look and feel to your testimonials by using its 3D tilt feature. Using Nexter Blocks you can also embed social media reviews like [Facebook reviews](https://qa.nexterwp.com/nexter-blocks/blocks/wordpress-facebook-reviews/), [Google Reviews](https://qa.nexterwp.com/nexter-blocks/blocks/wordpress-google-reviews/), [Facebook Reviews Badge](https://qa.nexterwp.com/nexter-blocks/blocks/wordpress-facebook-badge/), and [Google Reviews Badge](https://qa.nexterwp.com/nexter-blocks/blocks/wordpress-google-badge/) in your website. Also, you can place all your social reviews in one place on a [Reviews wall](https://qa.nexterwp.com/nexter-blocks/blocks/wordpress-reviews-wall/). It also has a [live copy-paste domain](https://qa.nexterwp.com/nexter-blocks/extras/wordpress-cross-domain-live-copy-paste-content/) feature in which you can simply copy the desired testimonial style from our pre-designed demo page and directly paste it to your web page. #### Key Features of Testimonial Listing by Nexter Blocks - **Multiple display options: **You can display your testimonial in Grid, Masonry, and carousel layout - **Multiple reviews: **It allows you to embed multiple reviews from various platforms like Facebook, Instagram, Google, etc. - **Multiple scrolling options**: It has multiple scrolling options which allow visitors to scroll and read through long testimonials easily and make it more visually appealing. - **Tooltip(PRO): **Add extra information on hover or click on any block/section with text, media, or reusable block templates. - **On scroll animations**: This feature adds animations to the testimonial carousel, which helps in making your testimonial look more engaging and eye-catchy - **Advanced Border Radius(PRO)** – Go beyond simple radius borders and create custom shaped border based on 8 parameters.Choose from predesign shapes or create your own - **Multiple carousel mode**: It has Normal carousel mode, Center carousel mode and Wheel navigation and keyboard navigation carousel which helps visitors to browse through multiple testimonials easily - **Custom fields**: You can add custom fields to your testimonials, such as the reviewer's name, photo, and website URL. - **3D Tilt(PRO):** This feature gives an amazing 3D look and feel to your testimonials - **Content Hover Effect(PRO)**: This feature adds a hover effect to the testimonial content, which makes it more interactive and engaging. - **Shortcode support: **You can easily integrate testimonials on your page and post using shortcodes - **Continuous Animation(PRO)**: This feature allows you to create a continuous animation effect like Floating, Pulse, etc, making it easy to draw attention to your testimonials. - **Display Rules**: This feature allows you to control when and where your testimonials are displayed, ensuring that they are shown to the right visitors at the right time. If you’re an Elementor page builder user, then check out** **the** **[**Testimonial Widget from The Plus Addons for Elementor**](https://theplusaddons.com/testimonial/). #### Pricing of Testimonial Listing by Nexter Blocks The Testimonial Listing By Nexter Blocks is free with limited features. It also comes with a pro plan starting at $39/yr for 1 website, $79/yr for 5 websites, and $169/y for unlimited websites. Also, there is a lifetime access plan where you have to pay only once. [Learn More](https://qa.nexterwp.com/nexter-blocks/listing/wordpress-testimonial-reviews/) ### 2. Strong Testimonials  The Strong Testimonials plugin is a great option. It allows you to easily collect and publish testimonials or reviews. This plugin has been refined over four years based on user feedback and requests, making it a flexible and reliable choice for both beginners and pros. #### Key Features of Strong Testimonials - **Import Reviews from Multiple Platforms**: Streamline the collection of reviews from popular platforms like Facebook, Google My Business, Yelp, Zomato, and WooCommerce. - **Automated Testimonial Management**: Utilize our dedicated third-party importer to automate the import, manage, and display of your testimonials easily. - **Tailored Testimonial Collection Forms**: Customize your testimonial collection forms with specific fields that suit your needs, ensuring a personalized and comprehensive approach. - **Captcha Anti-Spam Protection**: Enhance the security of your testimonial collection process with built-in Captcha anti-spam protection, safeguarding the integrity of your feedback system. #### Pricing of Strong Testimonials Strong Testimonials comes with a paid version which includes additional features starting at $23/yr for one site, $41/yr for 3 sites, and $59/yr for five sites. [Learn More](https://wordpress.org/plugins/strong-testimonials/) ***Suggested Reading:**** *[*5 Best WordPress Review Plugins*](https://qa.nexterwp.com/blog/best-wordpress-review-plugins/) ### 3. Testimonial Slider 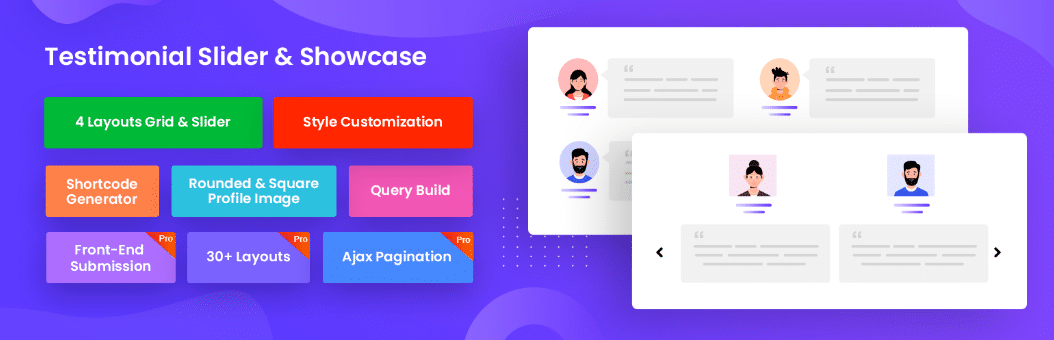 Considering Testimonial Slider Plugin can be a good choice. This plugin helps in managing customer testimonials. This plugin is developer and user-friendly. Testimonial Slider Plugin also provides easy testimonial management and high responsiveness. #### Key Features of Testimonial Slider - **Grid and Slider Layouts**: When you use the free versions, you can use either of the 2 grid layouts and 2 slider layouts. - **Isotope Filter**: With the isotope filter, the premium version of this plugin allows you to show and hide elements easily. - **Shortcode Generator**: With the help of the shortcode generator, you can call up a shortcode easily. This plugin lets you create unlimited shortcodes. - **Member Filter Option**: This testimonial plugin allows you to display testimonials by department or individual member. Your testimonials can be displayed with various filter options for your members. #### Pricing of Testimonial Slider Testimonial Slider plugins paid version starting at $16/yr for 1 site, $52/yr for 5 websites, and $104 for unlimited websites. [Learn More](https://wordpress.org/plugins/testimonial-slider-and-showcase/) ***Read Further: ***[*Elementor Hosting vs Plugin | Which One Should You Choose?*](https://theplusaddons.com/blog/elementor-hosting-vs-plugin/)*** *** ### 4. Real Testimonials  The Real Testimonials plugin helps to display testimonials, customer reviews, or quotes in multiple ways on any post, page, custom template, widget, etc. So it can be worth considering for your WordPress website #### Key Features of Real Testimonials - **Fully Responsive and Mobile Friendly: ** This testimonial plugin is highly responsive and mobile friendly Ensure that your testimonials look great on all devices. - **ShortCode: **Easily create and customize testimonial displays with the shortcode generator. - **Unlimited Testimonials: **Add as many testimonials as you need and display them anywhere on your website. - **Easy Customization and Developer-Friendly: **Customize the appearance and behavior of your testimonials. Whether you're a beginner or a developer. #### Pricing of Real Testimonials The paid version of Real Testimonials starts at $39/yr for 1 site, $99/yr for 5 sites, and $199/yr for unlimited sites. [Learn More](https://wordpress.org/plugins/testimonial-free/) ***Suggested Reading:**** *[*How to Eliminate Render-Blocking Resources in WordPress*](https://theplusaddons.com/blog/how-to-eliminate-render-blocking-resources-in-wordpress/) ### 5. Super Testimonial  Super Testimonial is a valuable WordPress plugin for testimonials. It's user-friendly, allowing users to easily add testimonials to sidebars, and widgets, or embed them into posts and pages using shortcodes. #### Key Features of Super Testimonial - **Fully Responsive and Mobile Friendly: **Ensure your testimonials look great on all devices, providing an optimal user experience for mobile users. - **Clean Design & Code**: Enjoy a sleek and modern design that enhances the visual appeal of your testimonials. - **Easy Shortcode Generator**: Generate shortcodes easily to integrate testimonials into your website. - **Unlimited Testimonial Support**: Display an unlimited number of testimonials on your website, providing visitors with social proof and credibility. #### Pricing of Super Testimonial Super Testimonial comes with paid version with additional features which is starting at $29/yr for 1 website, $99/yr for 5 websites, and $199/yr for unlimited websites. [Learn More](https://wordpress.org/plugins/super-testimonial/) ***Read Further****:* [***How to Create Custom Elementor Blog Post Template***](https://theplusaddons.com/blog/create-custom-elementor-blog-post-template/) ## Which Testimonial WordPress Plugin Should You Choose? Choosing the best testimonial plugin for your WordPress website can be a struggle, it can be hard when there are many options available. So choosing the right plugin that suits your specific needs and requirements is important. Here are some factors you should consider it should be **Flexible and Responsive**, **Platform compatible**, **Easy to Use**, **Budget-friendly, Highly Customizable, etc.** After considering all these features Testimonial Plugin by Nexter Blocks is the best option to consider as it fulfills all the features you need, it has **Multiple carousel modes, Multiple display options, 3D Tilt, Content Hover Effects, Shortcode support, **and many more. Testimonial plugins is just only one of the key blocks. Check out the complete collection of [The Plus Listing Blocks of Gutenberg](https://qa.nexterwp.com/nexter-blocks/listing/) by Nexter Blocks. 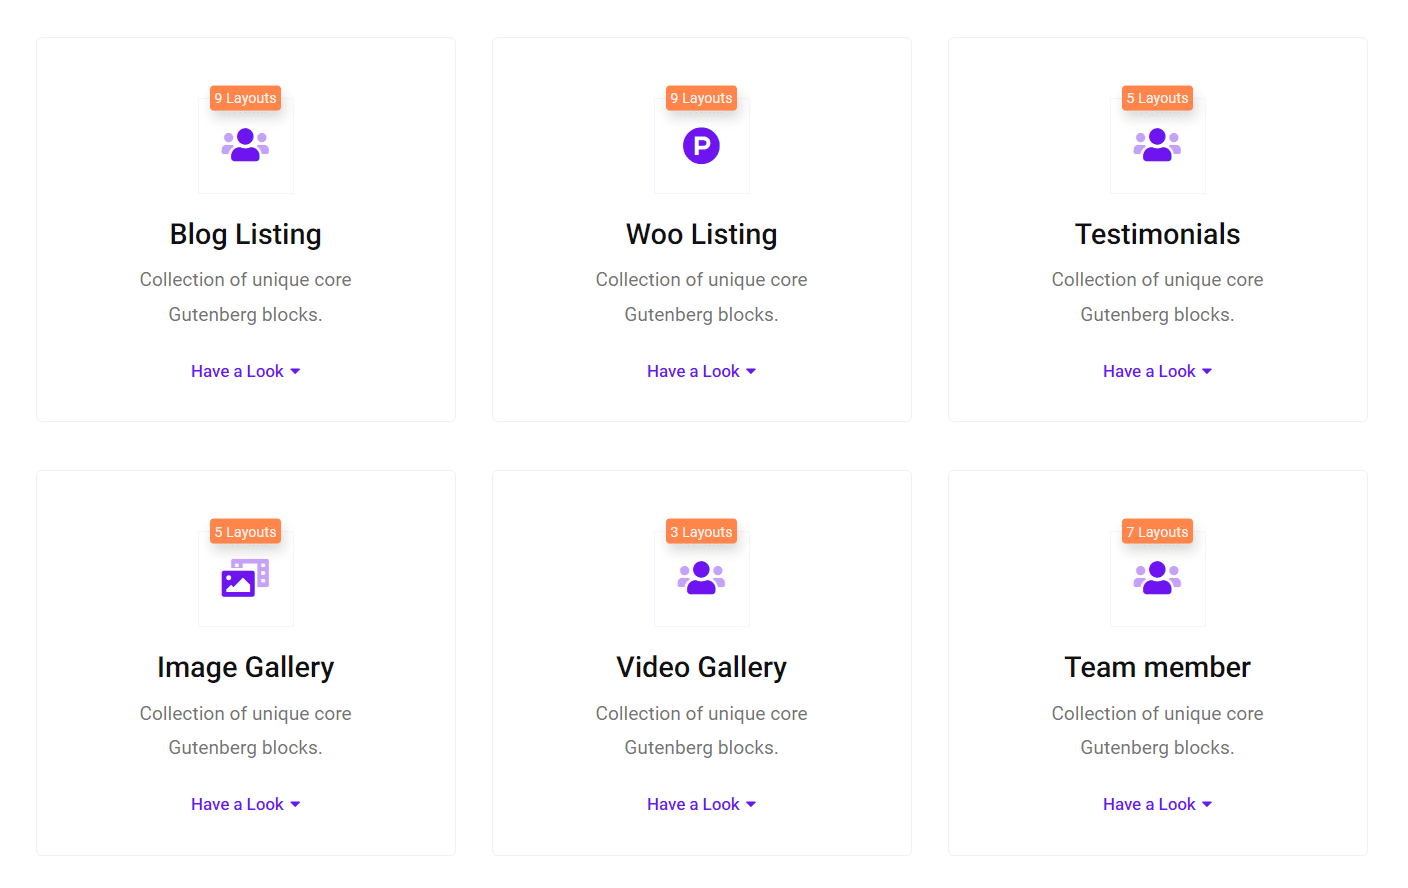 ***Suggested Reading:*** [*How to Create Scroll Back To Top Button in Elementor*](https://theplusaddons.com/blog/create-scroll-back-to-top-button-in-elementor/) ## FAQs on Testimonial WordPress Plugins ### What is a testimonial plugin? A Testimonial Widgets plugin lets you showcase your best customer feedback in stylish pre-designed widgets on your website. You can customize these widgets and filter testimonials to highlight your business's great reputation. ### How can I integrate a testimonial slider on my WordPress site? To add a testimonial slider to your WordPress site, you can use a plugin like Nexter Blocks. Its Testimonial listing feature allows you to create a responsive slider that displays your testimonials in an attractive and easy-to-read format. ### Which testimonial plugins are compatible with the Elementor page builder? If you're using the Elementor page builder to design your WordPress site, then check out the Testimonial widget by The Plus Addons for Elementor. ### Is it possible to create a testimonial slider in WordPress without using a plugin, and if so, how? Creating a testimonial slider in WordPress manually is complex and time-consuming. You'd need to write custom code or rely on a page builder with slider features. Using a plugin is simpler and more efficient for adding a testimonial slider to your site. ### How do I add scrolling testimonials in WordPress? To enable scrolling testimonials in WordPress, install and activate a plugin like Testimonial Listing by Nexter Blocks. Import or create testimonials and configure the plugin to enable scrolling. Then, use the plugin's shortcode or widget to display scrolling testimonials on your site. ### What factors to consider when choosing a testimonial plugin for WordPress? When choosing a testimonial plugin for WordPress, prioritize features like customization, support for different content types, integration with page builders, shortcode compatibility, display styles, review management, spam protection, and compatibility with your theme and plugins for effective customer feedback display. ### Can I create a testimonial slider in WordPress for free? Yes, you can create a free testimonial slider in WordPress using Nexter Blocks's Testimonial Listing plugin. Add testimonials via Gutenberg, customize layout and style, and embed the slider using Gutenberg blocks on your pages or posts. --- # How to Create an Off-Canvas Menu in WordPress Source: https://qa.nexterwp.com/blog/how-to-create-an-off-canvas-menu-in-wordpress/ If you are looking for a smarter way to tweak your website navigation, an off-canvas menu in WordPress is all you need. These slide-in navigation menus that otherwise remain hidden instantly enhance your website's UI and keep the navigation minimal and uncluttered. With a sleek layout, these responsive menus combine the best of functionality and aesthetics, offering a rewarding user experience on mobiles and even desktops. However, this feature is not available in WordPress by default. Fortunately, you can easily create a responsive flyout menu in WordPress with custom code or a third-party plugin. How? In this article, we'll discuss what an off-canvas menu in WordPress is, why it's important, and how to create an off-canvas menu in WordPress for developers. ## What is an Off-Canvas Menu in WordPress? An off-canvas menu is a navigation menu that slides in from the edge of your WordPress screen, typically triggered by an icon or a button. ***Also Read:** how to [change the menu in WordPress](https://qa.nexterwp.com/blog/how-to-change-menu-in-wordpress/).* An off-canvas menu or WordPress sidebar menu makes your website navigation highly responsive, allowing users to access different pages of the site seamlessly on any device. The menu stays hidden and becomes visible only when your users need it. That way, it offers a quick and easy way to navigate without cluttering your website screen. ### Benefits of Using an Off-Canvas Menu Adding an off-canvas menu to your WordPress website is an excellent way to make your website navigation more intuitive and engaging. Here's why it is a good idea- - **Improved mobile user experience: **It makes your website mobile-responsive while having a great smartphone experience. - **Saves screen space: **An off-canvas menu saves screen space by allowing you to make the navigation menu pop up only when you need it, otherwise staying out of sight. - **Clean and minimal design: **Ensures your WordPress website has a sleek design, keeping the interface clean and clutter-free. - **Supports sub-menus: **With an off-canvas menu, you can add other granular options, such as sub-menus, that let you present your menu items in an organized manner. This will be a smart move for launching featured products and those requiring special promotion. *Looking to enhance your website navigation with a clutter-free menu style? Learn *[***How to Create a Mega Menu in WordPress Using Gutenberg***](https://qa.nexterwp.com/blog/create-a-mega-menu-in-wordpress-using-gutenberg/)***.*** ## How to Add Off-Canvas Menu in WordPress Manually (For Developers) Adding an off-canvas menu in WordPress can be best achieved through custom code in CSS and JavaScript. These tailored snippets enable you to include complex functionality in an off-canvas menu. To begin, write the following HTML code for your website off-canvas menu- ` open' . $minutes . ' min read
'; return $label . $content; } add_filter( 'the_content', 'show_reading_time' );` 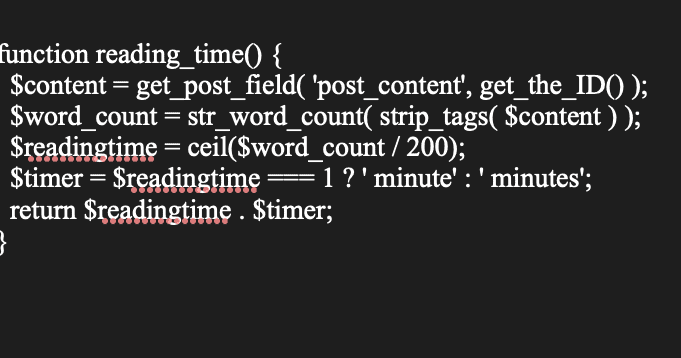A simple function counts the words, divides by 200, and prints the minutes before the content. This counts the words in the post, divides by an average speed of 200 words per minute, rounds up, and prints a line like 3 min read above the content. It gives you full control, and you can style the output with the .reading-time class shown later in this guide. ### Method 3: Use a Gutenberg Block (No Code, Cleanest for Builders) If you build your post templates in the block editor, a block is the tidiest option because reading time lives right alongside your other post meta. The [Post Meta Info block](https://qa.nexterwp.com/nexter-blocks/builder/wordpress-post-meta-info/) in [Nexter Blocks](https://qa.nexterwp.com/nexter-blocks/) handles this without any code. Install Nexter Blocks from **Plugins > Add New**, then go to **Nexter Blocks > Blocks**, find Post Meta Info under the Builder section, toggle it on, and save. 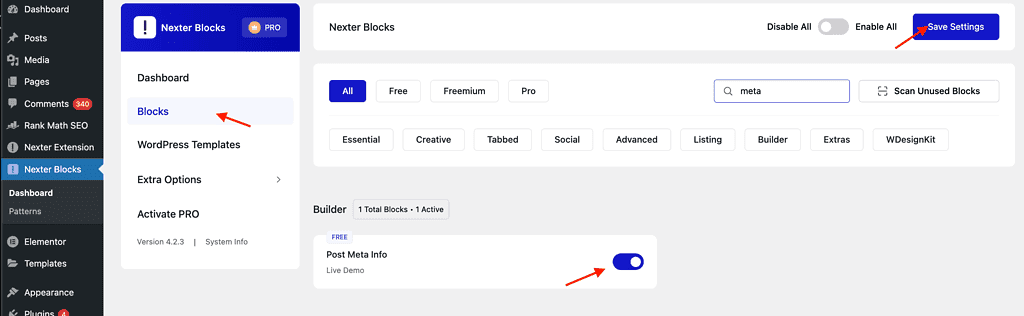Toggle on the Post Meta Info block under the Builder section, then save. Open a post in the editor, add the Post Meta Info block, and in the block settings open the Style tab. Scroll to the Post Reading Time section, switch Show Post Reading Time to on, and set a prefix such as Time to Read. 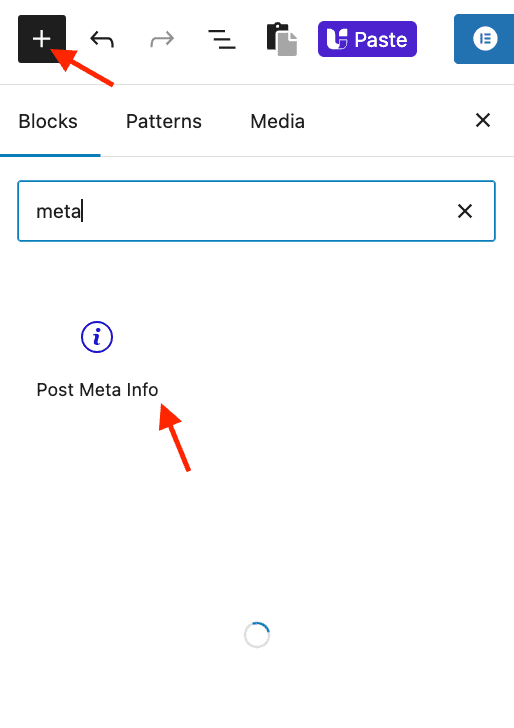Add the Post Meta Info block anywhere in your post or template layout. 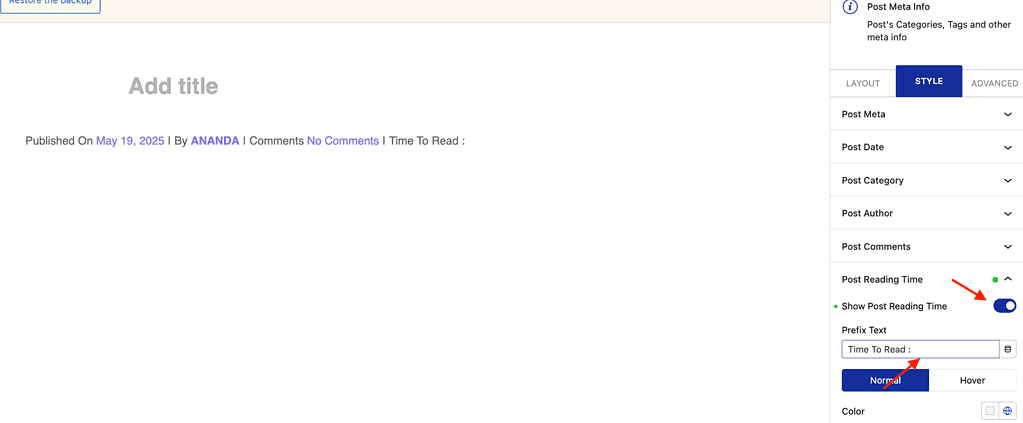Turn on Show Post Reading Time and add a prefix from the block Style tab. The block also lets you control text color, font, and spacing, and toggle other meta like author, date, and categories, so reading time sits in a consistent meta row instead of floating on its own. To round out the reading experience, pair it with the [Scroll Reading Progress Bar](https://qa.nexterwp.com/nexter-blocks/blocks/wordpress-reading-scroll-progress-bar/) block. It tracks how far down the post a reader has scrolled and works on every device. 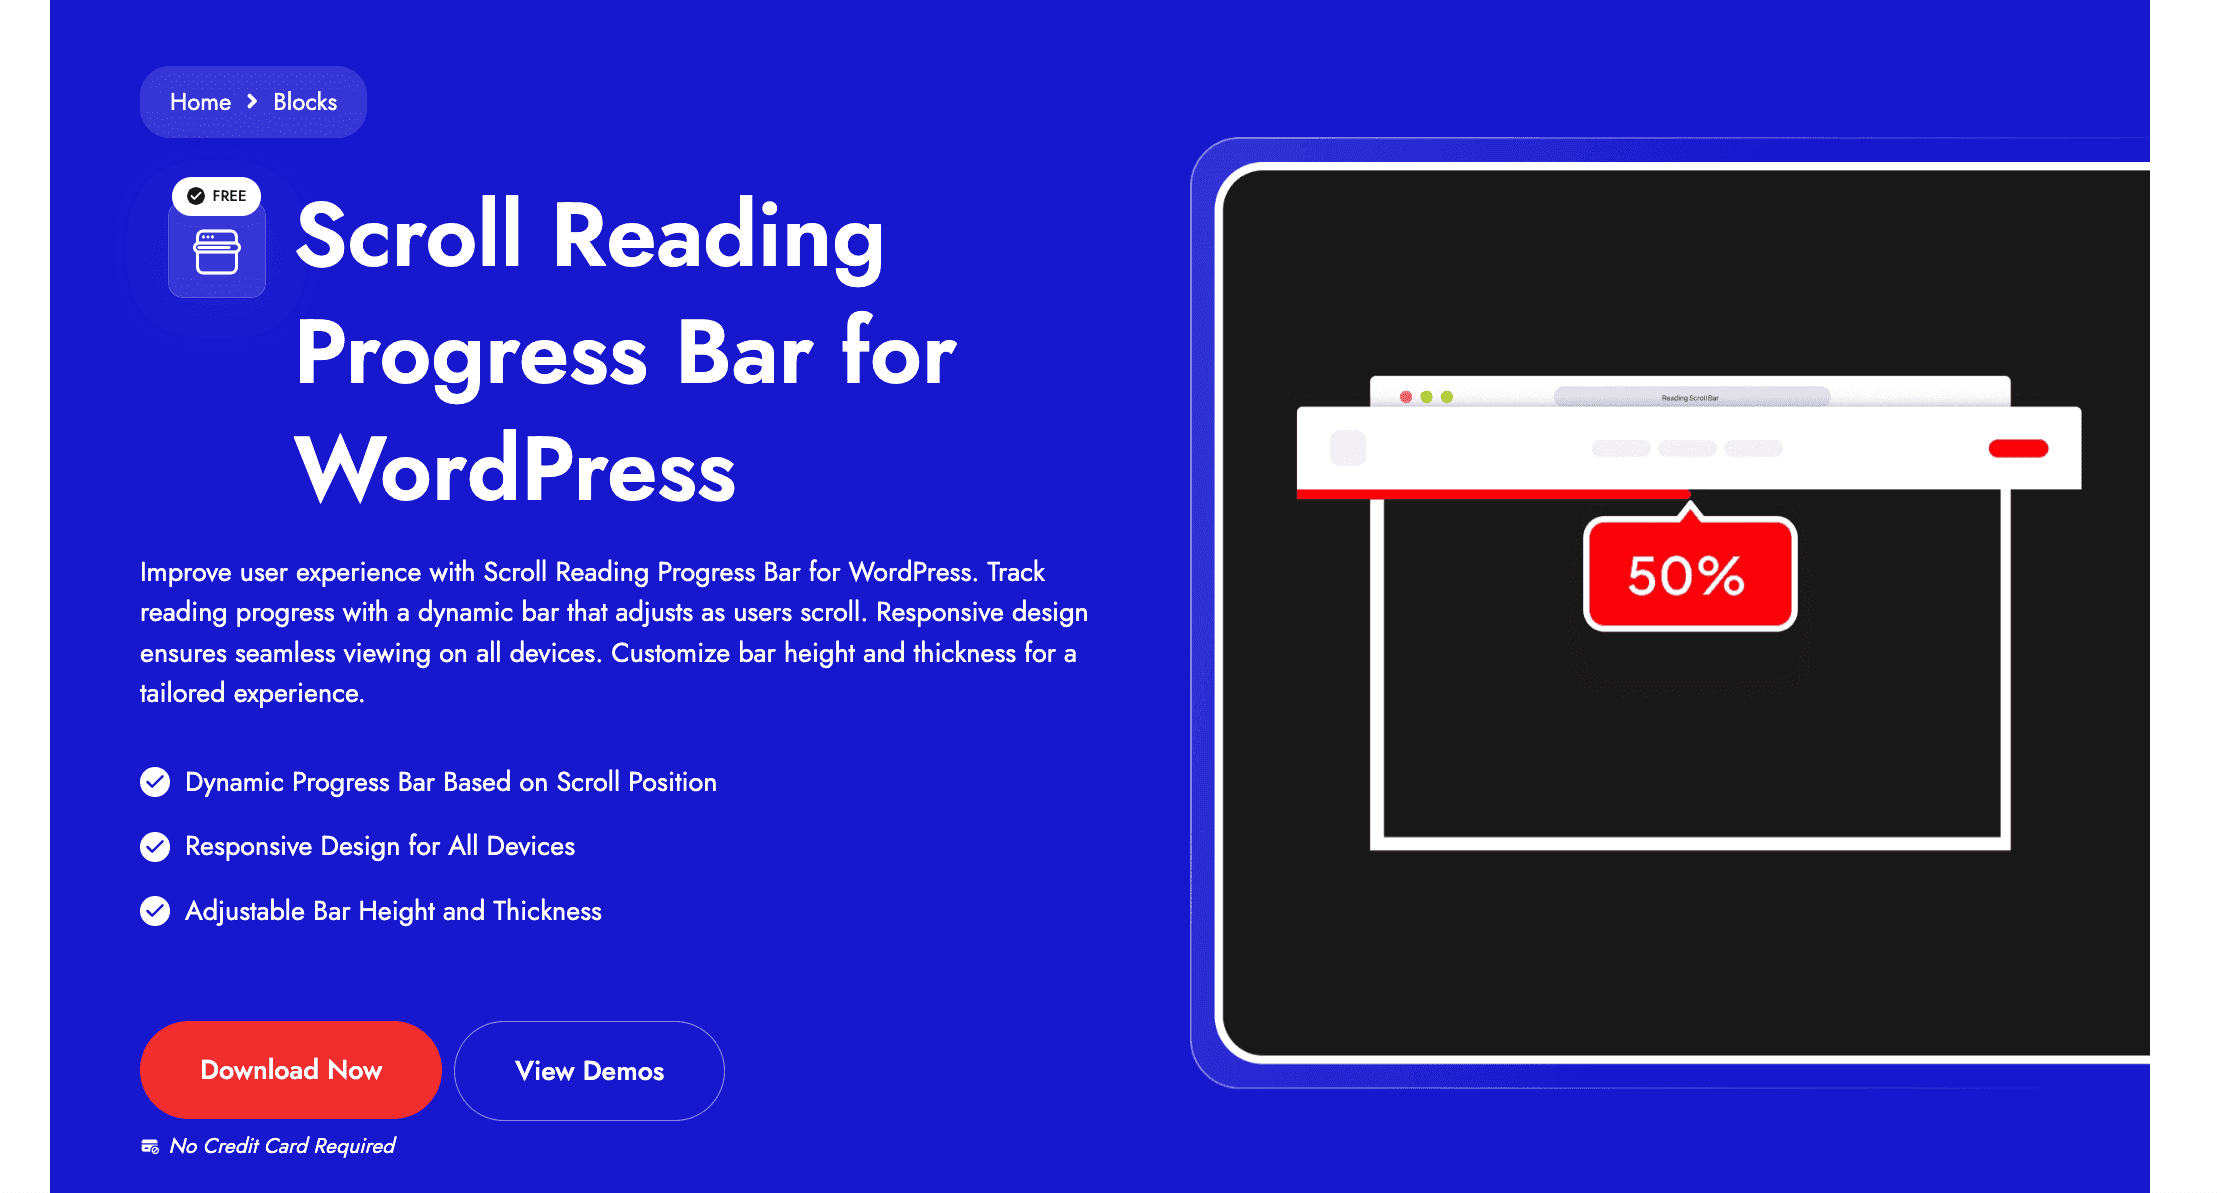The Scroll Reading Progress Bar settings: choose height, position, animation, and color. You can place the bar at the top, bottom, or as a floating line, and adjust its height, animation, and color without writing CSS. Here is how it looks on a live post: 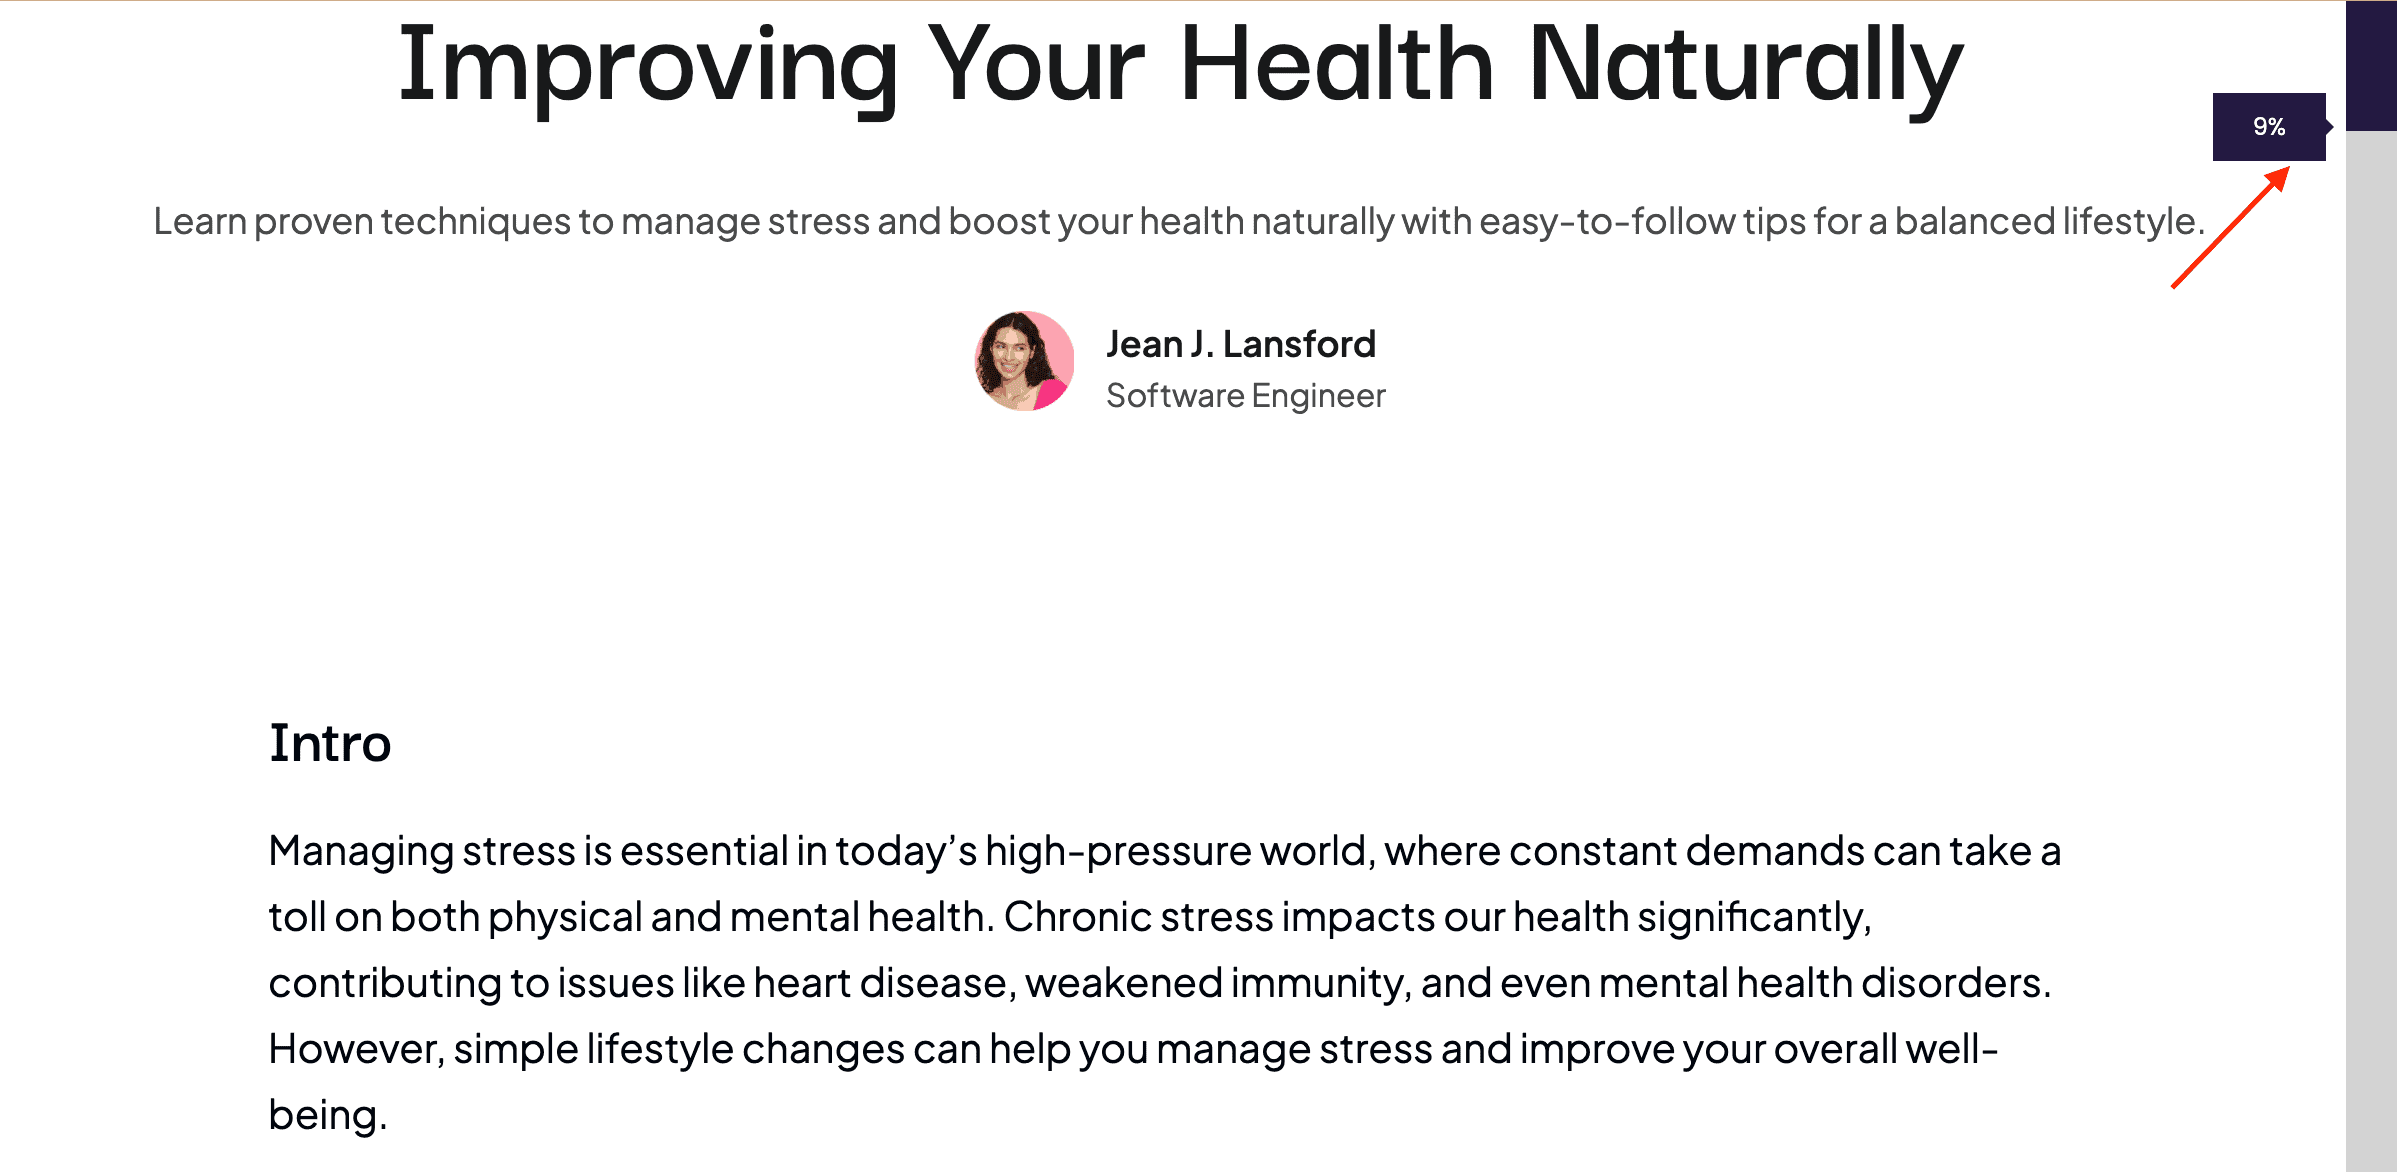A scroll progress bar running across the top of a published post. ## Read Meter vs Nexter Blocks: Which to Use Both routes work. The plugin is the quickest way to switch reading time on across a whole site, and the block is the better fit if you design your own post templates and want reading time to match the rest of your layout. Here is the side-by-side: | What matters | Read Meter plugin | Nexter Blocks Post Meta Info block | | ------------ | ----------------- | ---------------------------------- | | How it works | Standalone plugin with a settings panel | Gutenberg block you drop into the editor | | Time calculation | Automatic, sitewide | Automatic inside the post template | | Styling | Built-in options in plugin settings | Full control in the editor: text, color, spacing, icon | | Placement | Above or below content | Anywhere in your template or layout | | Extras | Includes a reading progress bar | Part of a 90+ block suite, pairs with a scroll progress bar | | Best for | Beginners who want a quick set-and-forget option | Site builders who design their own post templates | Read Meter vs the Nexter Blocks Post Meta Info block for showing reading time. ## How to Customize the Look of Reading Time However you add reading time, you will want it to blend into your design while staying easy to spot. Here are your options. ### Styling a Plugin Most reading time plugins, Read Meter included, ship with built-in styling. On the plugin settings page you can usually adjust font size, text and background color, margins and padding, the prefix and suffix text, and where the estimate appears. ### Styling the Nexter Post Meta Info Block With the Post Meta Info block you style everything from the editor: set a custom prefix like Time to Read, pick the font weight, color, and size, and adjust spacing, alignment, and whether an icon shows. No settings page, no code. ### Styling Reading Time with CSS If you need more control, or your theme overrides the plugin styles, add your own CSS under **Appearance > Customize > Additional CSS**: `.reading-time { font-size: 14px; color: #333; font-style: italic; margin-bottom: 10px; }` This assumes your plugin outputs an element with a .reading-time class. Use your browser developer tools to inspect the element and confirm the exact class name your tool uses. ## Common Reading Time Problems and How to Fix Them - **The estimate looks wrong.** Fixed words-per-minute rates do not account for code, tables, or heavy images. Adjust the reading speed in your plugin settings, or tweak the divisor in your function.- **It does not show up.** Usually the feature is not enabled for that post type, or the theme is suppressing it. Confirm the plugin or block is active for the right post type, and test with a default theme if it still will not appear.- **It appears everywhere.** Some plugins apply to every post type by default. Limit it in the settings, or wrap your code in a conditional like is_single() so it only runs on single posts.- **The styling clashes.** Themes can override plugin CSS. Use the built-in styling options, or add custom CSS so it matches your design. ***Also Read:** [how to add custom fields in Gutenberg](https://qa.nexterwp.com/blog/how-to-add-custom-fields-in-gutenberg/) for more ways to enrich your post meta beyond reading time.* ### Best Practices for Displaying Reading Time - **Put it where readers pause.** Near the title or in the meta row, where people scan before they commit.- **Keep the format consistent.** Pick one wording, like 3 min read, and use it on every post so readers learn to recognize it.- **Match the speed to the content.** A general blog can use 200 to 250 WPM; technical pieces read slower, so a lower rate is more honest.- **Pair it with a progress bar.** A scroll progress indicator alongside the estimate gives readers ongoing feedback and encourages them to finish.- **Keep it lightweight.** Whether you use a plugin or a block, make sure it does not drag down your page speed. ## Wrapping Up Estimated reading time is a small touch that helps readers decide to stay, especially on longer posts. It sets clear expectations, improves the reading experience, and can cut your bounce rate on in-depth content. Pick the method that matches how you work: a plugin like Read Meter for a quick sitewide setup, a code snippet for full control, or a block if you build your own templates. If you are already working in the block editor, the Post Meta Info block in [Nexter Blocks](https://qa.nexterwp.com/nexter-blocks/) adds reading time and pairs with a scroll progress bar, alongside 90+ other [WordPress blocks](https://qa.nexterwp.com/wordpress-blocks/), all without code. ## Suggested Reading - [Gutenberg vs Elementor: Which Should You Use](https://qa.nexterwp.com/blog/gutenberg-vs-elementor/)- [What Is a WordPress Block Theme](https://qa.nexterwp.com/blog/what-is-a-wordpress-block-theme/)- [WordPress 7.0: What Is Changing for Block Builders](https://qa.nexterwp.com/blog/wordpress-7-block-builders/)- [How to Monetize a WordPress Blog](https://qa.nexterwp.com/blog/how-to-monetize-wordpress-blog/)- [Best Popup Plugins for WordPress](https://qa.nexterwp.com/blog/best-popup-plugins-for-wordpress/) ### How is estimated reading time calculated in WordPress? Estimated reading time is usually calculated by dividing the total word count of a post by an average reading speed, typically 200 to 250 words per minute. Some tools also factor in image count or allow you to adjust the words-per-minute rate. ### Do reading time plugins affect page speed? Most lightweight plugins have minimal impact on performance. However, plugins that rely on JavaScript or load extra stylesheets may slightly increase page load time. Choosing a server-side or block-based tool helps maintain speed while still adding the feature. ### Can I manually change the reading time on posts? Yes, if you're using a custom function or a plugin that supports overrides. Some plugins let you manually edit the displayed time, while others calculate it automatically based on content length. Custom code offers the most flexibility for manual control. ### Is there a way to show reading time only on blog posts? Yes, most plugins let you choose which post types to include. If you’re using code, you can wrap the function inside a conditional like is_single() or is_singular('post') to display it only on blog posts, not pages or other types. ### How can I style the reading time with CSS? You can style the reading time text by targeting its class in your theme’s custom CSS section. Adjust font size, color, spacing, or add effects using simple rules. For example: .reading-time { font-size: 14px; color: #333; } ### Can I use Nexter Blocks to show reading time in my blog layout? Yes, Nexter Blocks includes a Post Meta Info block that lets you display reading time in your blog layout. You can turn the option on in the block settings and fully customize the text, style, and placement, directly inside the Gutenberg editor. [inarticle_subscribe] --- # 11 Best WordPress Video Hosting Solutions Source: https://qa.nexterwp.com/blog/wordpress-video-hosting-solutions/ Most WordPress video problems start the same way. Someone uploads a 300MB MP4 straight into the media library, the page that used to load in two seconds starts to crawl, and a few days later the host sends a bandwidth warning. WordPress can technically store and play a video, but it was never built to stream one to a few hundred people at once. That is the job of a dedicated video host. The hard part is picking one, because the right choice depends entirely on what the video is for: reach, privacy, marketing, or raw delivery speed. This guide walks through 11 video hosting solutions for WordPress, from free platforms to pay-as-you-go CDNs, and shows which one fits each use case so you can pick with confidence. ## Should I Self-Host Videos on WordPress or Use a Third-Party Video Hosting Solution? Self-hosting means the video file lives on your own web server and plays through WordPress. It gives you full control over the player and the surrounding content, and there are no separate hosting fees. The trade-off is that your server has to do the heavy lifting, and most shared hosting is not built for it. A third-party video host stores and streams the file for you. You give up some control, but you gain scalability, reliability, adaptive streaming, and a global CDN. For most sites that trade is worth it. Here is the honest version of both sides. ### Advantages of Self-Hosting Videos on WordPress - No recurring hosting fees beyond what you already pay your web host.- Full control over the player look and the content around it, instead of a fixed YouTube or Vimeo player skin.- No third-party branding, related-video suggestions, or ads on top of your content. The [Video Player block from Nexter Blocks](https://qa.nexterwp.com/nexter-blocks/blocks/wordpress-video-player/) is built for exactly this. If you stream from your own server it lets you adjust the player appearance, add a banner image, control which player controls show, and enable a video SEO schema, all from the WordPress editor. 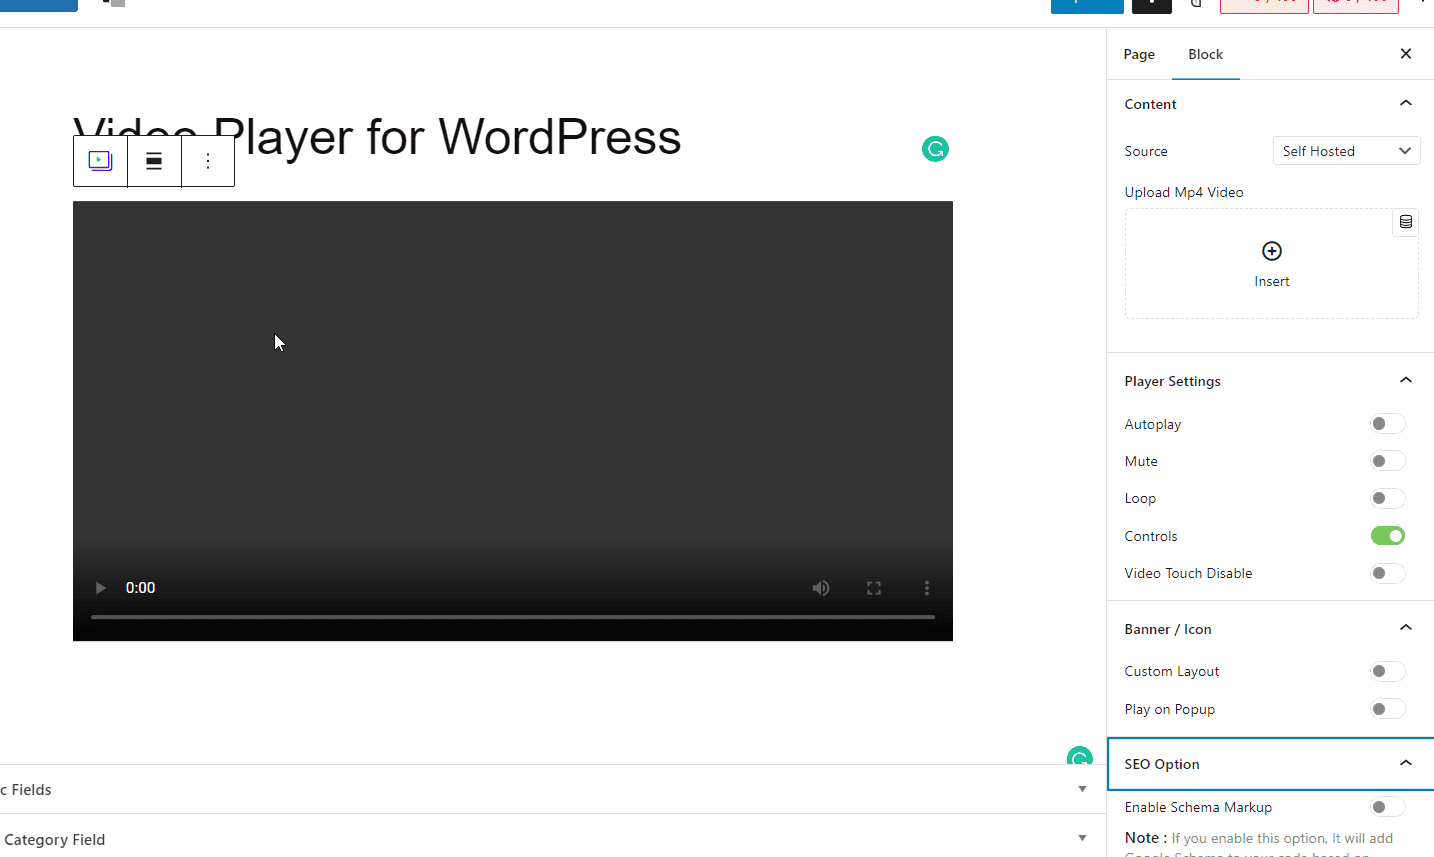The Nexter Blocks Video Player block gives a self-hosted player you can fully style inside WordPress. ### Disadvantages of Self-Hosting Videos on WordPress - Increased server load, which can slow page load times and strain shared hosting.- Higher effort: setting up and maintaining a server that can stream video well is not trivial.- Storage and bandwidth caps from your host that a few large files can blow through fast.- No built-in adaptive streaming, transcoding, or video analytics that dedicated hosts include.- No CDN, so a viewer far from your server gets slower playback. For most people the verdict is simple: unless you have a specific reason to keep the file in-house, a dedicated video host that specializes in streaming, delivery, and analytics will serve your visitors better. The rest of this guide covers the best options. ## List of the 11 Best WordPress Video Hosting Platforms #### Free WordPress Video Hosting Solutions - YouTube- Vimeo (free tier)- Facebook- Dailymotion #### Paid WordPress Video Hosting Solutions - Wistia- Gumlet- Spotlightr- Cloudflare Stream- Jetpack VideoPress- Bunny Stream- SproutVideo ## Free WordPress Video Hosting Solutions These platforms cost nothing to host on and come with a built-in audience. The trade is less control and, in most cases, ads or platform branding. | Platform | Private hosting | Unlimited bandwidth | Unlimited storage | Free to use | | -------- | --------------- | ------------------- | ----------------- | ----------- | | YouTube | Limited (unlisted/private) | Yes | Yes | Yes | | Vimeo | Yes (password) | On paid tiers | No (free tier capped) | Free tier | | Facebook | No | Yes | Yes | Yes | | Dailymotion | Limited | Yes | Yes | Yes | ### 1. YouTube [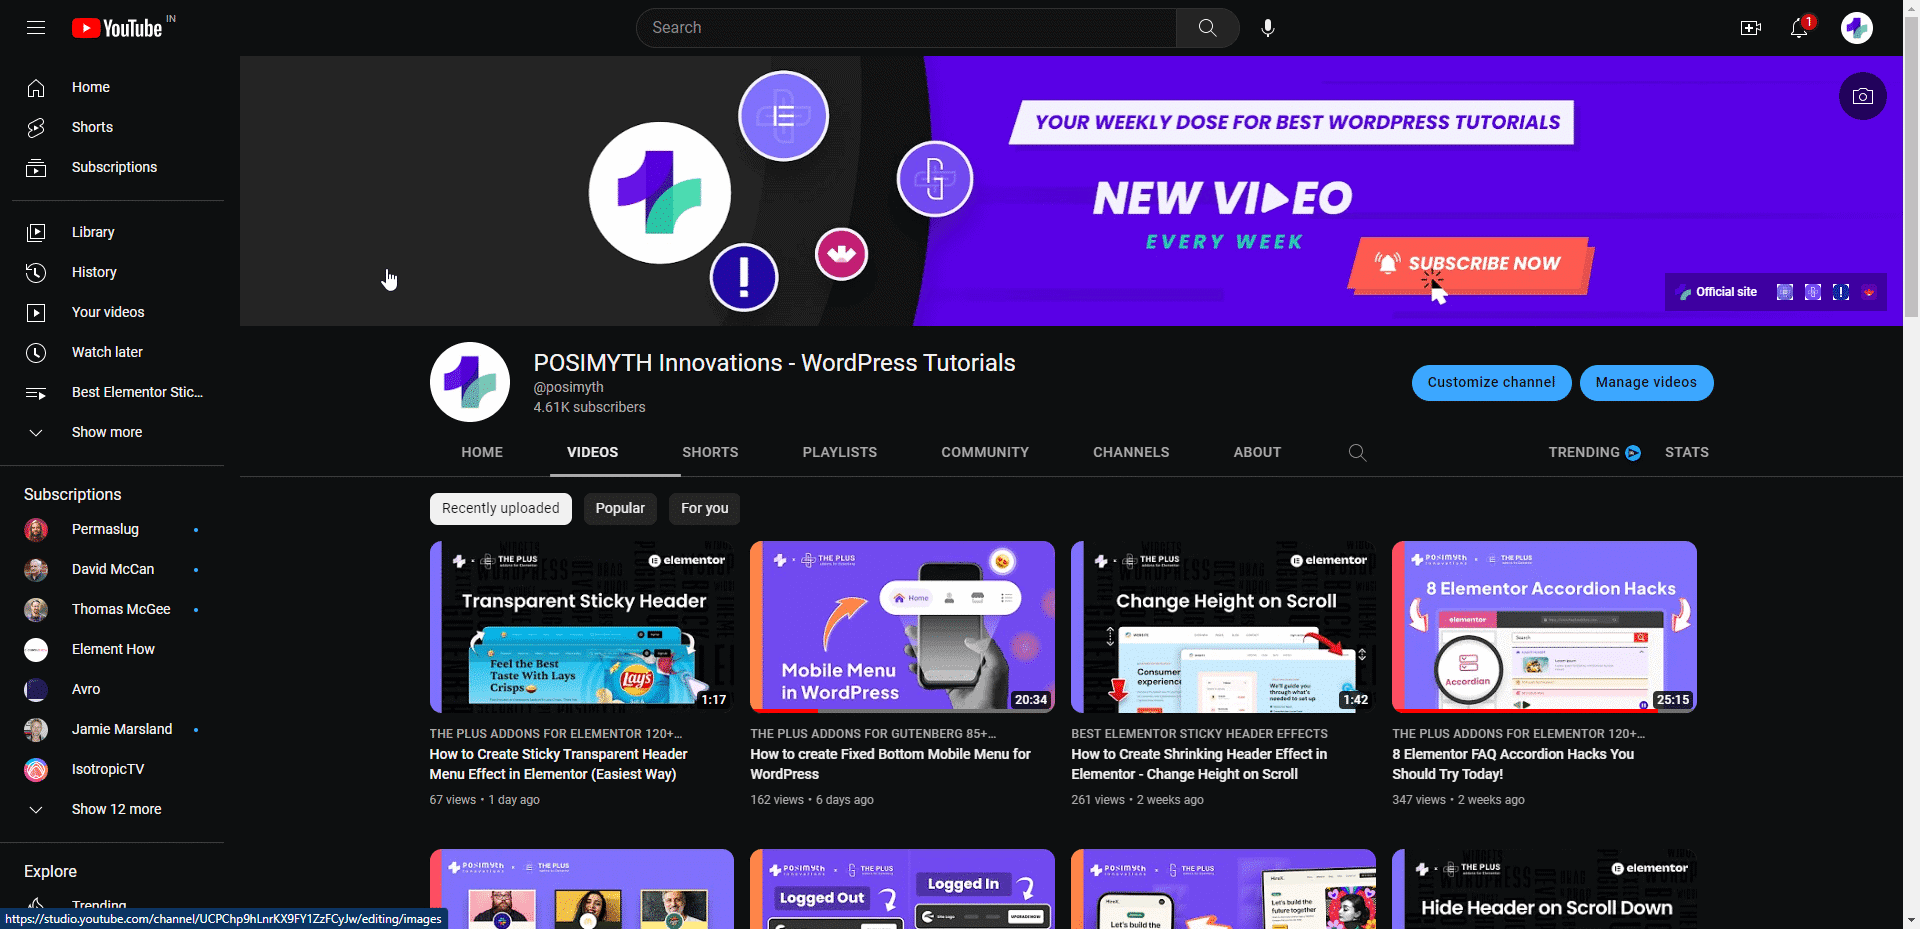](https://www.youtube.com/c/POSIMYTHInnovations/?sub_confirmation=1)YouTube remains the most widely used platform for hosting and embedding video on WordPress. [YouTube](https://www.youtube.com/) is the most widely used video-sharing platform in the world, with billions of monthly logged-in users. If your goal is reach, nothing else comes close: the recommendation engine can surface your videos to new viewers, which makes YouTube the obvious pick when video is a core part of your content marketing. There is no storage or bandwidth limit and no hosting cost, so you can host every video for free and embed it on your site with the Nexter Blocks Video Player block and the video ID. YouTube accepts almost all major video file formats, and a single video can run up to 12 hours long. YouTube is not the right fit for everything, though. It is a poor choice for paid courses or testimonials you need to protect, because embedded videos always carry YouTube branding and you cannot fully control whether ads appear. The built-in analytics are also fairly basic. You can push the embedded experience further with the [Nexter Blocks Video Player block](https://qa.nexterwp.com/nexter-blocks/blocks/wordpress-video-player/), which adds autoplay, mute by default, a custom banner, popup play, and schema markup to your WordPress YouTube player. 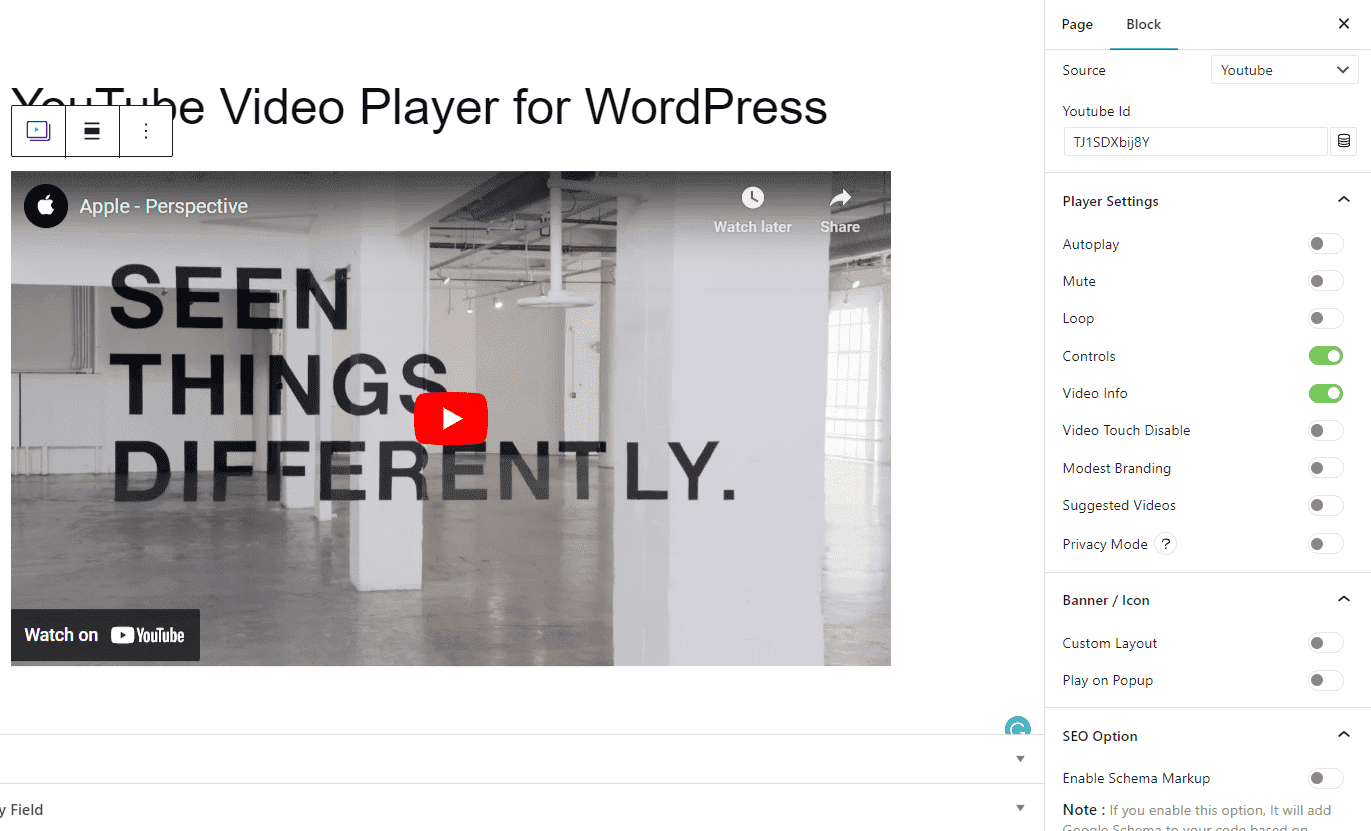Customizing the YouTube player inside WordPress with the Nexter Blocks Video Player block. #### Pros of YouTube - Unlimited free storage and bandwidth- A huge built-in audience and recommendation engine- Embeds easily in WordPress with the Video Player block- Accepts all major video file formats- Can double as an extra revenue source #### Cons of YouTube - You cannot fully secure or gate your videos- Ads can appear on your content- Basic analytics- YouTube branding on the embedded player ***Also Read:** [5 Best YouTube Feed Plugins for WordPress](https://qa.nexterwp.com/blog/best-youtube-feed-plugins-for-wordpress/) to pull your channel feed straight into your site.* ### 2. Vimeo Vimeo targets creative professionals and businesses that want an ad-free, privacy-friendly player. [Vimeo](https://vimeo.com/) fixes several of YouTube's weak spots. It is built for businesses and creative professionals who want a polished video hub, and because it is ad-free with strong privacy controls, it is popular for original films, animations, and any video where you decide exactly who can watch. It suits companies that use video professionally and do not need to chase a mass audience, since Vimeo's built-in audience is much smaller than YouTube's. Vimeo is not entirely free: it keeps a limited free tier with storage caps and several paid plans above it, billed annually (check vimeo.com for current rates). The [Nexter Blocks Video Player block](https://qa.nexterwp.com/nexter-blocks/blocks/wordpress-video-player/) gives the Vimeo player the same customization options as YouTube, all from your WordPress dashboard. #### Pros of Vimeo - Streams up to 4K video quality- Ad-free playback- Password-protected private hosting- Solid video-creation tools- Optional download button in the player #### Cons of Vimeo - Limited storage on the free tier- Gets expensive for large-scale use- Smaller built-in audience ***Also Read:** [5 Best Vimeo Video Player Plugins for WordPress](https://qa.nexterwp.com/blog/best-vimeo-video-player-plugins-for-wordpress/) to embed and control Vimeo videos on your site.* ### 3. Facebook Videos 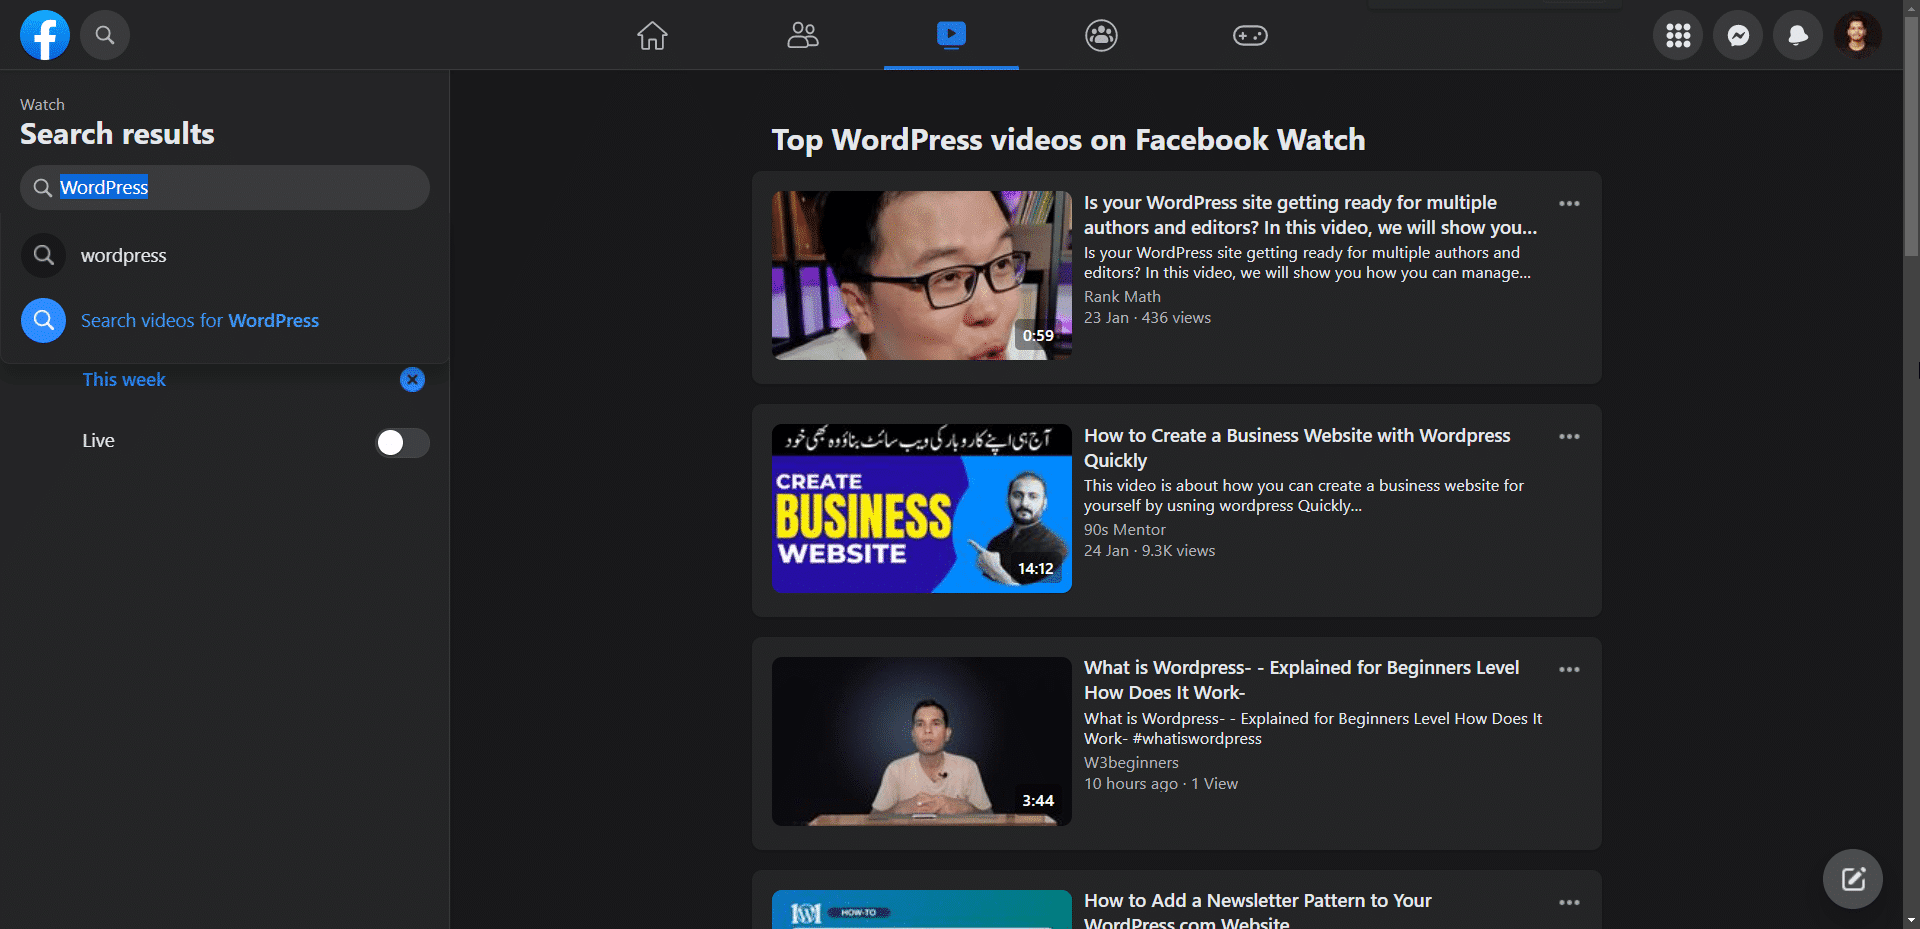Facebook can double as a video host, with reach as its main advantage. [Facebook](https://www.facebook.com/) is a social network first, but you can use it as a video host for your WordPress site too. With billions of daily users it is a strong source of views outside your own site, which makes it useful for content-marketing clips. It does apply length and file-size limits per upload, and it was never primarily built to host video, so it shares many of YouTube's downsides. Nexter Blocks includes a free Social Embed feature that lets you pull Facebook content directly into WordPress, with controls to customize how the embedded Facebook player behaves. #### Pros of Facebook Videos - Free hosting with generous storage- Access to an existing social audience- Doubles as a traffic and marketing channel #### Cons of Facebook Videos - You cannot secure your videos- Basic analytics- Basic player not designed for video hosting ***Also Read:** [5 Best Facebook Feed Plugins for WordPress](https://qa.nexterwp.com/blog/best-facebook-feed-plugins-for-wordpress/) to display your Facebook content on WordPress.* ### 4. Dailymotion Dailymotion is a long-running YouTube alternative with a sizeable global audience. [Dailymotion](https://www.dailymotion.com/) is a long-running video-sharing platform and a direct YouTube alternative with a sizeable global audience. It has no storage limit and supports all major video formats, but it applies length and file-size caps per upload, and it is ad-supported with no paid plan to remove them. It is a fine free home for WordPress videos if you are comfortable with those trade-offs, but it is not the best fit for businesses or creative professionals who need control and a clean, ad-free player. #### Pros of Dailymotion - Free hosting with no hard storage limit- Access to an existing audience- Accepts a wide range of content #### Cons of Dailymotion - Ads on your videos- Lower length and file-size caps than YouTube- Limited control over the experience ***Also Read:** [5 Best WordPress Social Media Feed Plugins](https://qa.nexterwp.com/blog/best-wordpress-social-media-feed-plugins/) with live-sync to display social feeds on your site.* ## Paid WordPress Video Hosting Solutions Paid hosts give you privacy controls, marketing tools, better analytics, and a CDN built for streaming. Pricing models vary widely, from flat monthly plans to pure pay-as-you-go, so the table below is a starting point and current rates are on each provider's site. | Platform | Starting cost | Private hosting | Marketing tools | Free trial | | -------- | ------------- | --------------- | --------------- | ---------- | | Wistia | Free, then $79/mo (Business) | Yes | Yes | Yes | | Gumlet | Free, then tiered | Yes | Yes | Yes | | Spotlightr | $13/mo | Yes | Yes | 14 days | | Cloudflare Stream | $5 / 1,000 min stored | Yes | No | No | | Jetpack VideoPress | 1TB, billed yearly | No | No | No | | Bunny Stream | $0.01/GB stored | Yes | No | 14 days | | SproutVideo | $10/mo | Yes | Yes | 30 days | ### 5. Wistia Wistia is a video marketing platform that offers hosting alongside detailed engagement analytics. Wistia is video marketing software that includes hosting as one of its features. It is built around detailed analytics, A/B testing, and [engagement heatmaps](https://wistia.com/support/analytics/heatmaps) so you can see exactly how people watch, which is why marketing teams like it. Wistia is not fully free. The free plan now includes 25GB of storage for a single user, and the paid Business plan starts at $79 per month billed annually, with 250GB of storage and three users. You can embed Wistia videos with the embed code or the [Wistia WordPress plugin](https://wordpress.org/plugins/wistia-wordpress-oembed-plugin/), and add CTAs or lead forms on top of the player. #### Pros of Wistia - Strong for lead generation with video- Customizable, ad-free player- Deep engagement analytics and A/B testing- Easy social and marketing integrations #### Cons of Wistia - Free plan is capped on storage and users- The jump to a paid plan is a big step up in price- Advanced analytics are behind paid tiers ***Also Read:** [How to Create a WordPress Vimeo Video Gallery](https://qa.nexterwp.com/docs/create-wordpress-vimeo-video-gallery/) once your videos are hosted and ready to embed.* ### 6. Gumlet Gumlet is an enterprise video platform built around protection, optimization, and analytics. [Gumlet](https://www.gumlet.com/enterprise-video-platform/) is an enterprise video hosting and streaming platform for creators and businesses that want fast, secure, feature-rich delivery. It combines adaptive streaming, video optimization, a global CDN, DRM protection, and detailed analytics. Key features include automatic optimization and adaptive bitrate streaming, low-latency global CDN delivery, DRM support (Widevine and FairPlay) with dynamic watermarking and domain restrictions, and a customizable player with chapters, thumbnails, and privacy or geo restrictions. #### Pros of Gumlet - Strong protection and control over premium content- Transparent, tiered pricing- A capable feature set even in mid tiers #### Cons of Gumlet - Some protection features like DRM sit in higher tiers- More than you need if you only want basic hosting Gumlet pricing is tiered, starting with a free plan and scaling with storage minutes, streaming and bandwidth usage, live-streaming minutes, and seats. Current rates are on the [Gumlet pricing page](https://www.gumlet.com/pricing/). ### 7. Spotlightr Spotlightr is an all-in-one video hosting and marketing suite for businesses. [Spotlightr](https://spotlightr.com/) is a video hosting suite built for businesses and marketers as an all-in-one tool. It gives you full control over player customization and a detailed analytics dashboard. It will not build an audience for you, since it is focused purely on hosting and marketing, which is exactly why it suits business use. You can host video in its own cloud or use a hybrid setup that combines platforms like YouTube and Vimeo for more customization, then embed via an iframe in a WordPress HTML block, add a call to action, and track everything in one place. #### Pros of Spotlightr - In-depth video analytics- Advanced player customization- Lead-capture CTAs on videos- Ad-free hosting #### Cons of Spotlightr - Storage and bandwidth scale with price- No built-in audience Paid plans run from $13 per month (Light) up to $163 per month (Scale), with a 14-day free trial. ***Also Read:** [How to Create a WordPress YouTube Video Gallery](https://qa.nexterwp.com/docs/create-wordpress-youtube-video-gallery/) to turn your hosted clips into a gallery.* ### 8. Cloudflare Stream Cloudflare Stream delivers video from Cloudflare's global network for fast playback. [Cloudflare Stream](https://www.cloudflare.com/products/cloudflare-stream/) is a serverless video host that delivers your videos from Cloudflare's network, which spans 330+ cities worldwide. That global edge is what makes playback fast, and caching cuts the requests hitting your own server and your bandwidth bill. You can connect it to WordPress with the [Cloudflare Stream plugin](https://wordpress.org/plugins/cloudflare-stream/) and upload straight from your dashboard. It also works as private hosting: set a signing key and restrict which domains may embed. There is no built-in audience, but you can choose to run ads using the VAST format if you want. The pricing is refreshingly simple: you do not pay for encoding or bandwidth, only for storage and streaming time. #### Pros of Cloudflare Stream - No bandwidth charges- Fast global delivery from Cloudflare's network- Customizable player- Private hosting with signed URLs- Easy WordPress integration #### Cons of Cloudflare Stream - Storage is tied to video length- Billing rounds up to the next 1,000 minutes- No built-in audience Cloudflare Stream costs $5 per 1,000 minutes of video stored and $1 per 1,000 minutes delivered to viewers. ### 9. Jetpack VideoPress Jetpack VideoPress is built by Automattic specifically for the WordPress editor. Jetpack is best known for security, backups, and performance, but it also hosts video. [VideoPress](https://jetpack.com/videopress/) is available standalone or as part of the Jetpack Complete plan, and because it is built by the team behind WordPress.com, it slots straight into the block editor. Videos are stored on WordPress.com's servers and upload from your media library, and you can customize and brand the player. VideoPress includes 1TB of storage, full 4K resolution at 60fps, an ad-free player, and unlimited users, with a 5GB maximum file size per upload. It is billed yearly, so check jetpack.com/videopress for the current rate. #### Pros of Jetpack VideoPress - Built for WordPress, with native editor integration- 1TB storage and full 4K at 60fps- Ad-free, customizable player- Unlimited users #### Cons of Jetpack VideoPress - Basic analytics- Fewer advanced features than dedicated video platforms- No built-in audience ### 10. Bunny Stream Bunny Stream delivers video from a global CDN with free encoding and pay-as-you-go pricing. [Bunny Stream](https://bunny.net/stream/) is a CDN-based video host that delivers from a global network of 119 points of presence, so playback stays fast wherever the viewer is. Like Cloudflare Stream it caches your videos and offers [DRM security](https://www.fortinet.com/resources/cyberglossary/digital-rights-management-drm), which makes it a solid private host. You can add watermarks and block users from screenshotting while they watch. You can make Bunny your main CDN for the whole WordPress site, use it for live streaming with free encoding, and rely on a fully customizable, mobile-responsive player. There is a 14-day free trial to test it first. #### Pros of Bunny Stream - Free video encoding- DRM security for private hosting- Customizable, responsive player- Fast global delivery and caching #### Cons of Bunny Stream - Storage scales with usage- Muted autoplay is not supported- No built-in audience Bunny Stream charges $0.01/GB for storage and $0.005/GB for delivery, which Bunny says is up to 10x cheaper than traditional cloud providers. ***Also Read:** [How to Create a WordPress Video Gallery](https://qa.nexterwp.com/docs/create-wordpress-youtube-video-gallery/) to organize your hosted videos into a gallery or carousel.* ### 11. SproutVideo SproutVideo is an on-demand and live-streaming host built for business owners. [SproutVideo](https://sproutvideo.com/) is an on-demand and live-streaming video host built mainly for business owners. It ships with advanced marketing and analytics tools, and it is strong on privacy: you can apply login protection and block other sites from embedding your videos. Videos are stored on a global CDN for fast delivery, the player is highly customizable with animated thumbnails, and it supports all major formats in high quality. You can even create a dedicated landing page for a video inside SproutVideo, though that uses your storage. There is a 30-day free trial. #### Pros of SproutVideo - Password-protected private hosting- Advanced analytics dashboard- Customizable player- Marketing tools and video SEO- Detailed documentation #### Cons of SproutVideo - Storage and bandwidth scale with price- No built-in audience SproutVideo plans run from $10 per month (Seed) to $295 per month (Forest), with a 30-day free trial. ## Which Hosting Platform Should You Choose? There is no single best platform. The right pick depends on what the video is for, so here is the honest recommendation for each common use case and why. #### Best for small businesses: Vimeo, Wistia, and Jetpack VideoPress Vimeo and Wistia both have free tiers you can start on and upgrade as you grow. Jetpack VideoPress is a strong value if you want a lot of storage with native WordPress integration. #### Best for large businesses: Gumlet, SproutVideo, Cloudflare, and Wistia These give you the marketing tools, protection, and delivery scale that bigger video programs need. #### Best for SEO: YouTube, Vimeo, SproutVideo, and Wistia All four let you add chapters and structured data so search engines understand the video, which helps it surface in search and AI answers. #### Best for private hosting: Vimeo, SproutVideo, Bunny Stream, Cloudflare Stream, Dailymotion, and YouTube Each of these can lock videos behind a password or restrict which domains embed them. Bunny Stream goes furthest, even blocking screenshots, which makes it good for paid courses. #### Best for large-scale live streaming: Bunny Stream and Cloudflare Stream Live streaming is core to both, and because they deliver from a CDN, playback stays fast for a global audience. #### Best for sharing with family: Facebook and YouTube Both are social platforms, which makes them the easiest way to host and share videos with family and friends. ## Wrapping Up We covered 11 video hosting solutions for WordPress and matched them to the use cases that matter most: small and large businesses, SEO, private hosting, live streaming, and sharing. The short version is to start from what the video is for, not from the price tag, and the right host usually becomes obvious. Whichever you pick, you can embed and restyle the player for free with the [Nexter Blocks Video Player block](https://qa.nexterwp.com/nexter-blocks/blocks/wordpress-video-player/) after installing the [Nexter Blocks plugin](https://qa.nexterwp.com/nexter-blocks/). ## Suggested Reading - [5 Best YouTube Feed Plugins for WordPress](https://qa.nexterwp.com/blog/best-youtube-feed-plugins-for-wordpress/)- [5 Best Vimeo Video Player Plugins for WordPress](https://qa.nexterwp.com/blog/best-vimeo-video-player-plugins-for-wordpress/)- [5 Best Facebook Feed Plugins for WordPress](https://qa.nexterwp.com/blog/best-facebook-feed-plugins-for-wordpress/)- [5 Best WordPress Social Media Feed Plugins](https://qa.nexterwp.com/blog/best-wordpress-social-media-feed-plugins/)- [27 Best WordPress Podcasts to Listen To](https://qa.nexterwp.com/blog/best-wordpress-podcasts-to-listen-to/) ### Are video hosting on WordPress free? Self-hosting your videos on WordPress is not free. You would have to pay your web hosting service for the bandwidth and video storage. But there are free video hosting platforms that you can use to host your videos and embed them on WordPress. ### How do I self-host a video on WordPress? To self-host a video on WordPress, all you have to do is upload it to your media library and host it on your main server. Note that doing this can have a negative impact on your page load time on browsers and website performance. ### How do I make a video gallery in WordPress? To make a video gallery in WordPress, install and download [The Plus Addons for Guntenberg ](https://wordpress.org/plugins/the-plus-addons-for-block-editor/)and use the [TP media listing block](https://qa.nexterwp.com/nexter-blocks/plus-listing/video-gallery/) to set up your media gallery or carousel. ### What video format does WordPress support? WordPress supports the following video formats: mp4, m4v, WebM, ogv, WMV, and flv. You can host other video formats with a third-party video hosting site and embed them on WordPress. ### How do I host a video privately? To host a video privately, you need to use a platform that offers private hosting features. SproutVideo, Vimeo Bunny Stream, Cloudflare Stream DailyMotion, and YouTube offer this feature. ### Where can I get unlimited bandwidth video hosting? Cloudflare stream, YouTube, and Dailymotion are video hosting platforms that offer unlimited bandwidth video hosting. --- # Will OKF Replace Your Wiki? What Google’s New Format Means for Content and Knowledge Teams Source: https://qa.nexterwp.com/blog/will-okf-replace-your-wiki/ #### Key Takeaways - OKF (Open Knowledge Format) is Google's new specification for storing knowledge as a directory of Markdown files with YAML frontmatter, built for AI agents and data teams. Google Cloud announced v0.1 on June 13, 2026.- It will not replace your wiki. A wiki is the surface humans browse and edit. An OKF bundle is a machine-readable export that sits next to it.- OKF is not a Google Search ranking signal, and nothing crawls these bundles across the open web yet. Treat it as a bet on where the machine-readable web is heading, not a citation tactic for this quarter.- WordPress can serve both the human knowledge base and the machine files at /okf/. Closed platforms like Wix or Squarespace often cannot serve files at a custom path.- RankReady does not build wikis or generate OKF bundles. Its job is to show you which AI crawlers actually fetched and quoted your knowledge. Last Thursday someone on our team dropped a link to Google's Open Knowledge Format announcement into our chat with one line under it: "Should we move our wiki to this?" Our internal docs live in a normal team wiki, the kind everyone half-maintains and nobody fully trusts. So the question was fair. If Google just shipped a format for storing knowledge, does the wiki we have become the old way of doing things? I spent an evening reading the spec and the early takes, and the short version is reassuring: no, OKF does not replace your wiki. It does something quieter and more interesting. Here is what it actually is, why a wiki and an OKF bundle are two different jobs, and what content and knowledge teams should do about it without falling for the hype. ## First, what OKF actually is Google Cloud announced the Open Knowledge Format (OKF) v0.1 on June 13, 2026. In Google's own words it is "an open specification that formalizes the LLM-wiki pattern into a portable, interoperable format," described as "a vendor-neutral, agent- and human-friendly standard for representing the metadata, context, and curated knowledge that modern AI systems need." Underneath the language it is simple. An OKF bundle is "a directory of markdown files with YAML frontmatter." Each concept is one Markdown file, the files interlink like a wiki, and a small set of fields stay queryable: type, title, description, resource, tags, and timestamp. Only one field is actually required, the type field. No SDK, no runtime, no database. As Google puts it, it is "just markdown," "just files," and "just YAML frontmatter." If you want the full plain-English version, we wrote a [guide to Google's Open Knowledge Format](https://qa.nexterwp.com/blog/open-knowledge-format/) that breaks down every field. 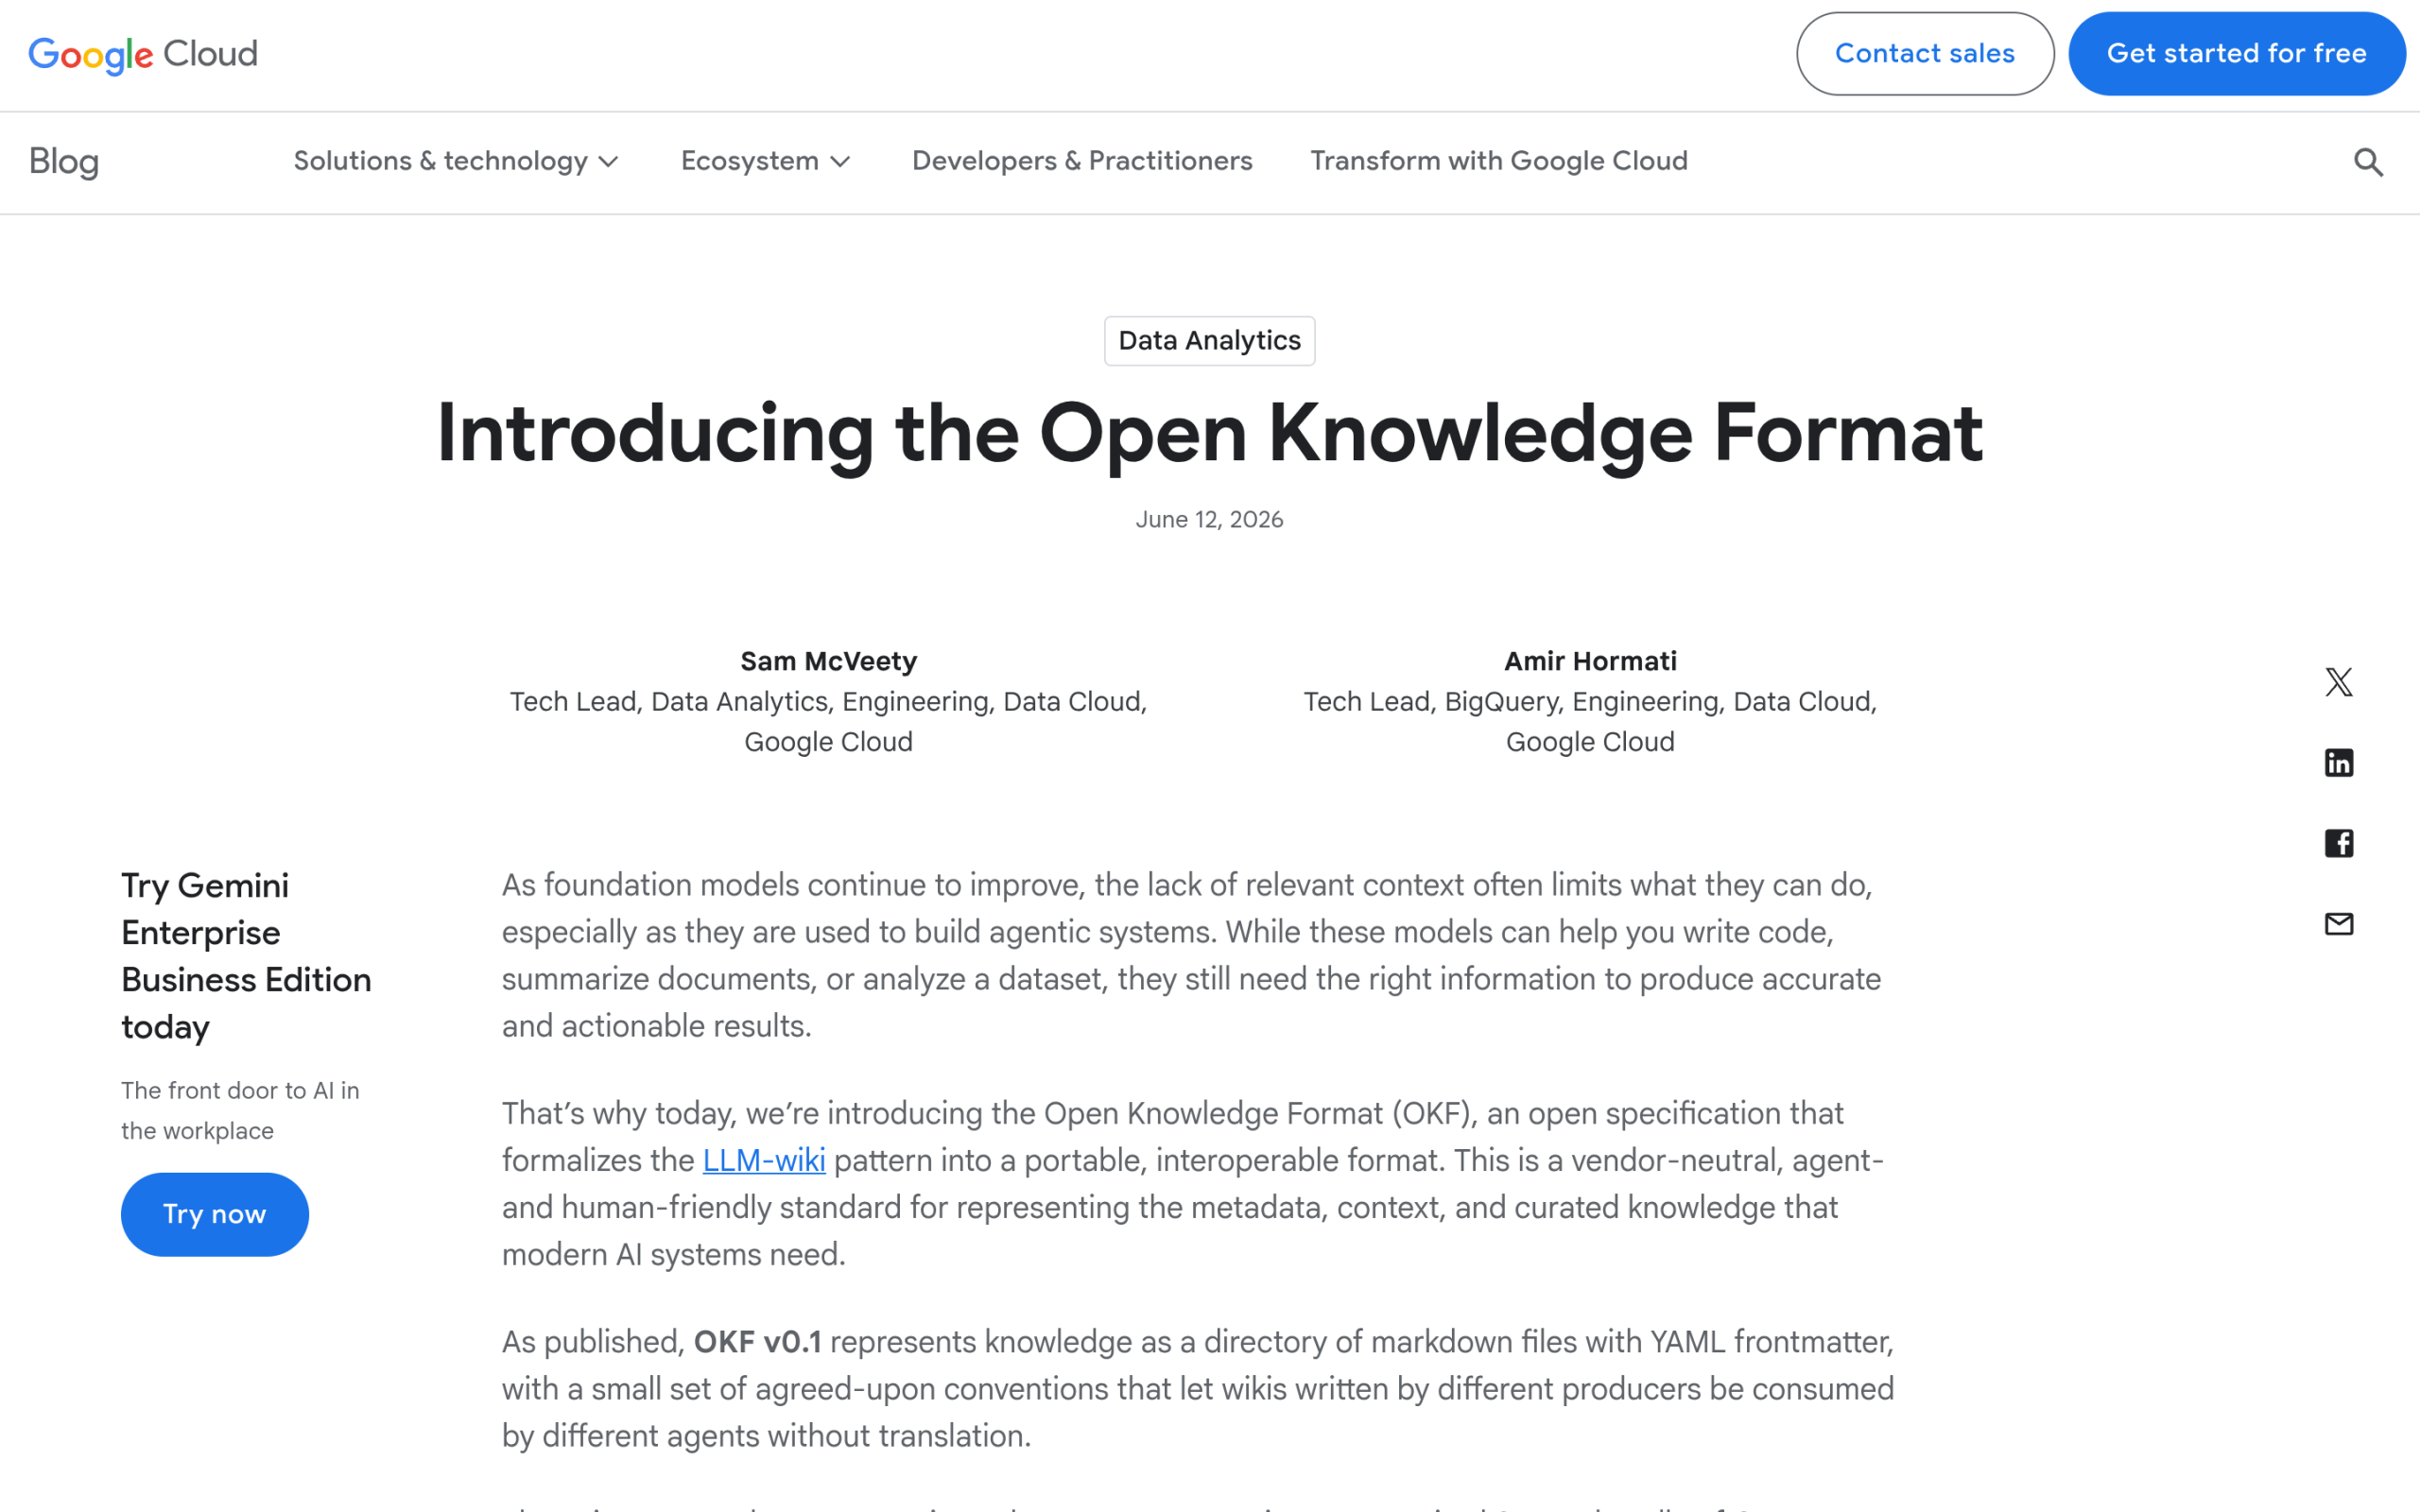Google Cloud introduced OKF v0.1 on June 13, 2026, framing it as a vendor-neutral format for the knowledge AI systems need. Source: cloud.google.com One thing the announcement is careful about: OKF is built for AI systems and data teams, not for Google Search. The blog post never calls it a ranking signal, and you should not either. We dug into that distinction in [our honest take on whether OKF matters for WordPress SEO](https://qa.nexterwp.com/blog/does-okf-matter-wordpress-seo/). ## What a wiki actually does A wiki, whether it is Notion, Confluence, MediaWiki, or a pile of Google Docs, exists for people. Someone opens it, searches it, edits a page, leaves a comment, and links one note to another. It has permissions, version history, a search box, and a hundred small affordances that exist because humans are messy and need to find things fast. The wiki is a workspace. An OKF bundle has none of that, on purpose. There is no edit button, no comment thread, no login. It is a frozen, structured snapshot of knowledge laid out so a machine can read the whole thing in one pass without guessing. The moment you understand that a wiki is a place people work and an OKF bundle is a thing a machine reads, the replacement question mostly answers itself. ## So, will OKF replace your wiki? Short answer: no OKF does not replace your wiki. It sits next to it as a second, machine-facing copy. Your team keeps writing and editing in the surface they already know, and the OKF bundle is generated from that source so an agent can consume it cleanly. Think of the wiki as the kitchen and the bundle as the plated dish you hand to a machine at the door. The honest catch worth naming: a bundle is a second copy of knowledge you already maintain, so it only stays useful if it regenerates when the source changes. A stale bundle is worse than no bundle. And the payoff is not immediate. The technical SEO Suganthan, who has written some of the clearest material on OKF, puts the timing plainly: "A bundle will not move your rankings or your AI visibility this week." His framing for why to bother anyway is the right one: "Schema took the best part of a decade to pay off, and I am still glad I shipped it early." OKF is that same shape of bet, now with Google's name on it. 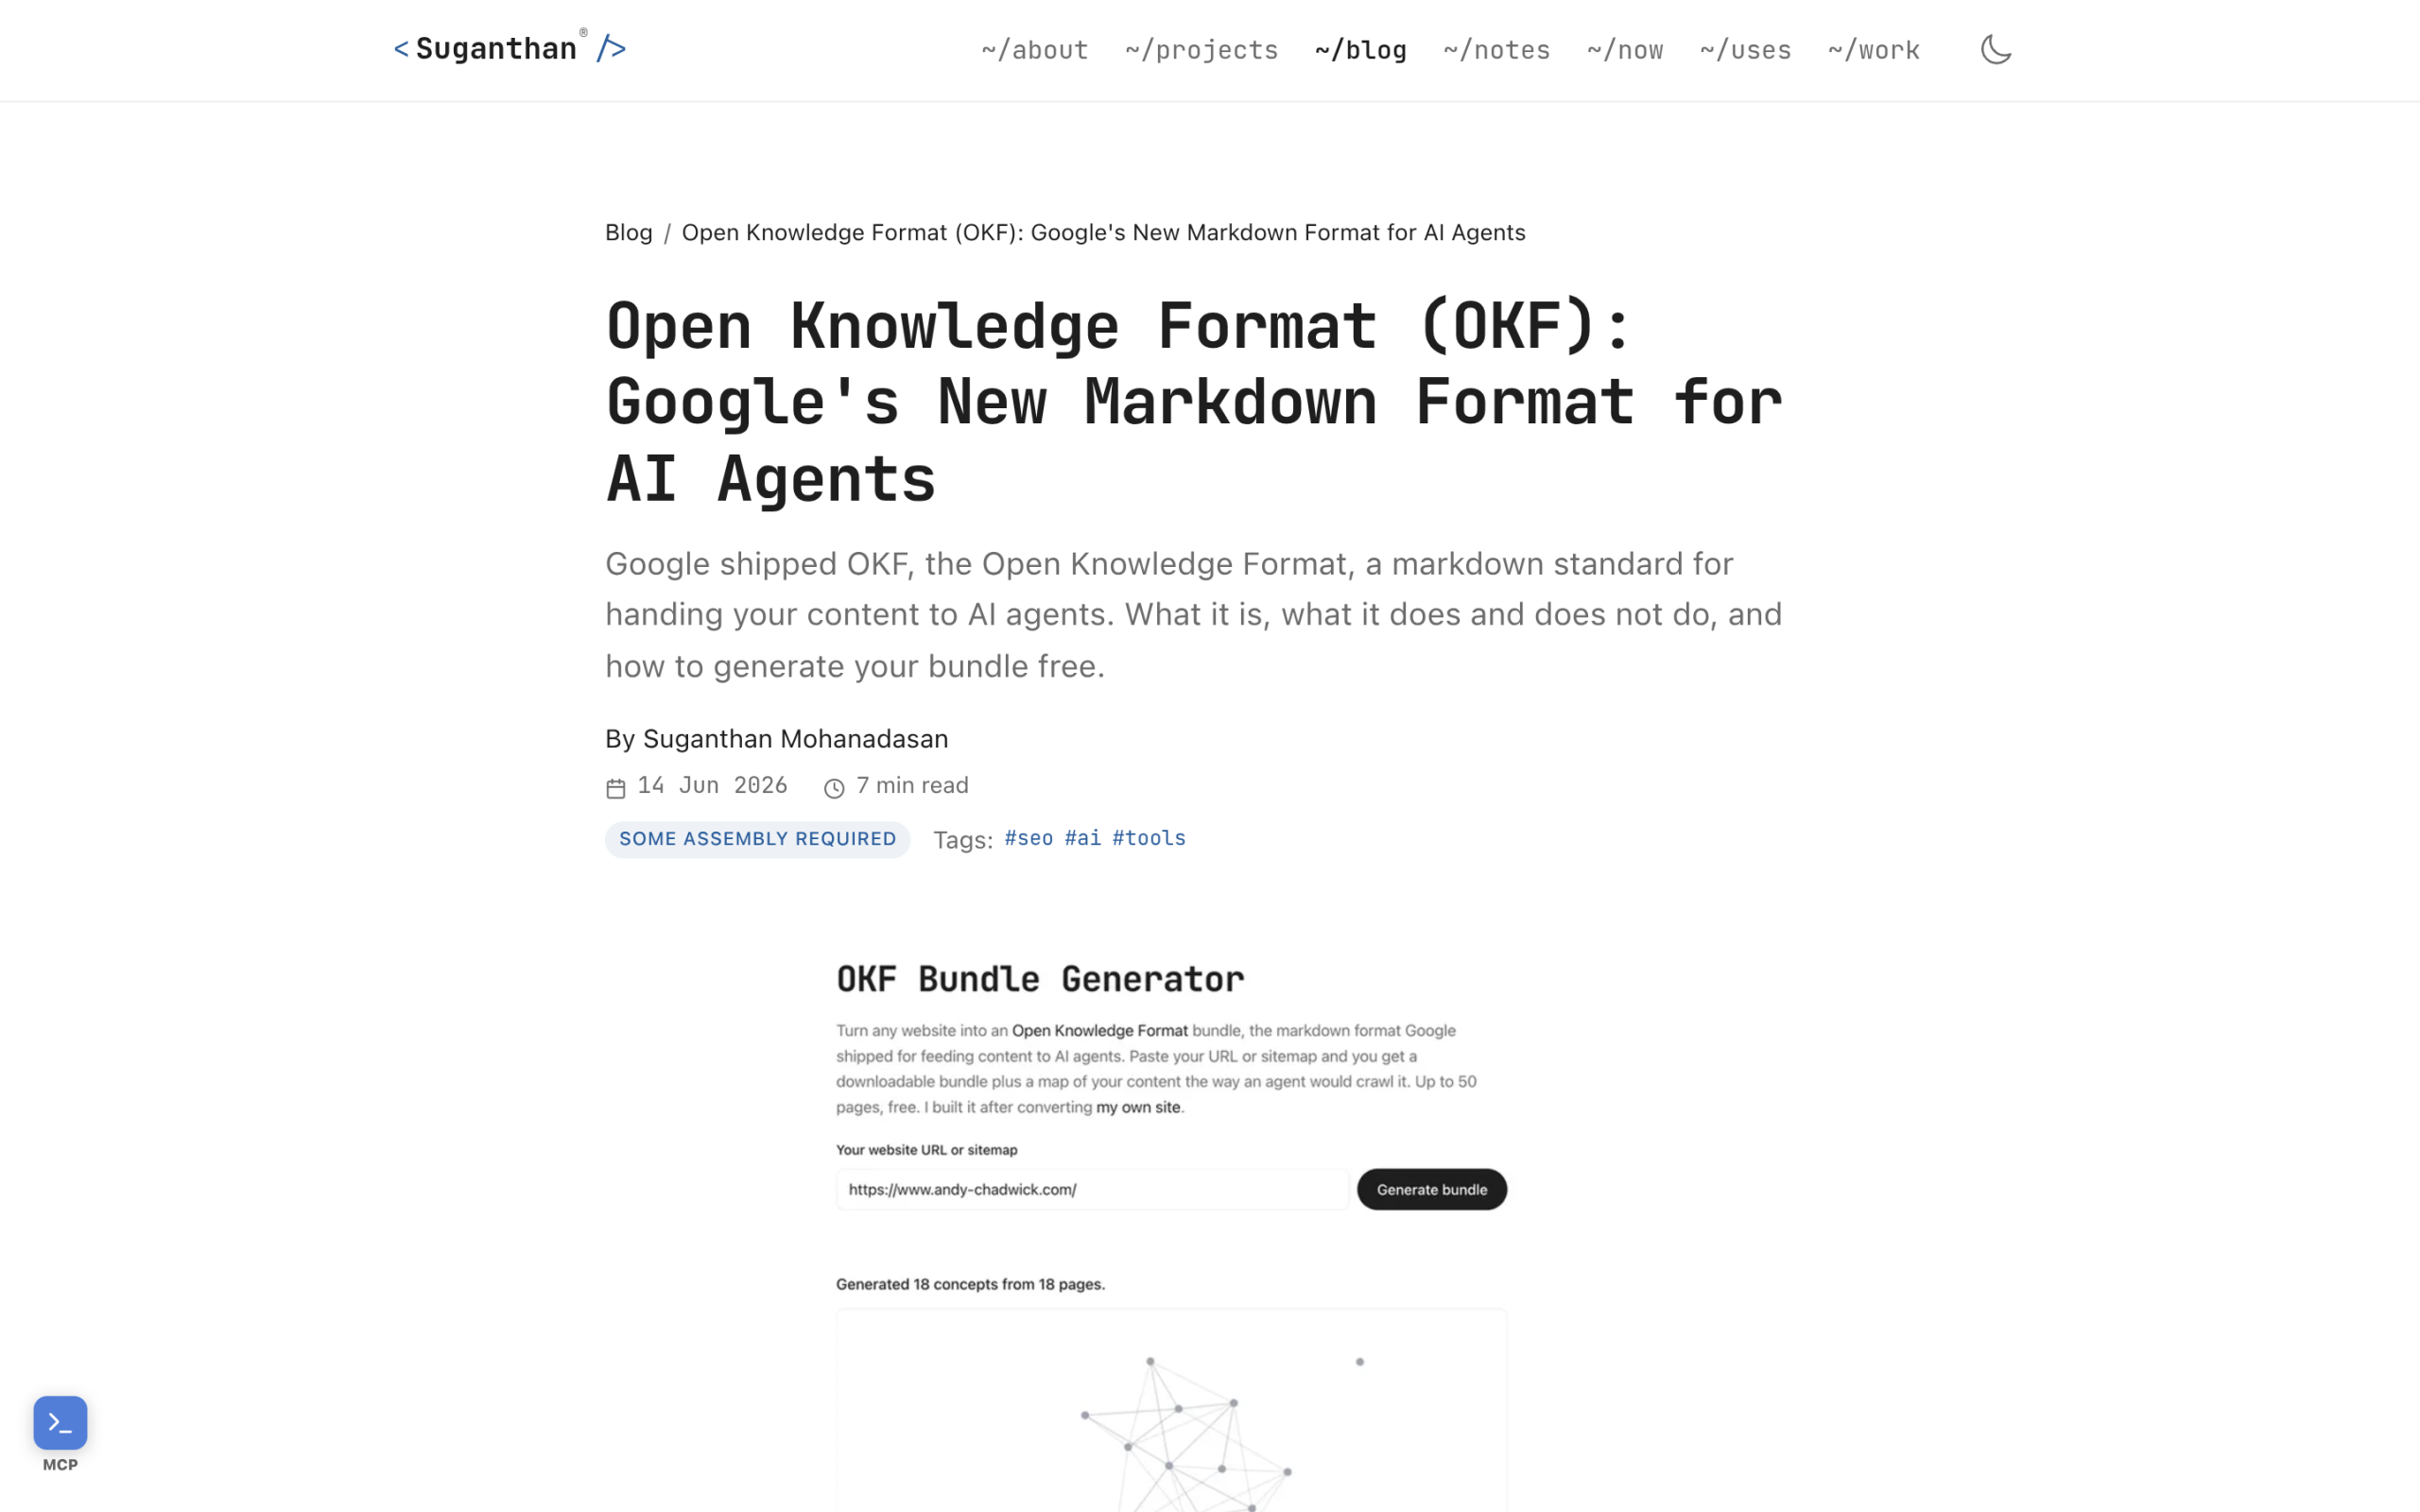Technical SEO Suganthan frames OKF as a long-horizon bet, the same shape as shipping schema early. Source: suganthan.com ***Also Read:** [How to publish a Google OKF bundle on WordPress](https://qa.nexterwp.com/blog/publish-okf-bundle-wordpress/) if you want the step-by-step on the actual /okf/ folder and frontmatter.* ## What this means for content and knowledge teams If you run a content or knowledge team, here is the practical read. You do not migrate. You do not freeze your wiki and rebuild it as a folder of Markdown files by hand. You keep the wiki as the place people work, and you decide whether the knowledge inside it is worth exposing to AI agents in a clean, structured form. For most teams the first candidates are the public-facing parts: your help docs, your product knowledge, the explainers that AI assistants already get asked about. That is the same thinking behind turning your site into an [AI-readable knowledge base](https://qa.nexterwp.com/blog/ai-readable-knowledge-base-wordpress/). OKF just gives the data-team version of that idea a shared shape. If your knowledge already lives as clean Markdown, you are most of the way there, which is why [Markdown is quietly becoming the language of AI agents](https://qa.nexterwp.com/blog/markdown-for-ai-agents/). Internal-only knowledge, the HR policies and runbooks nobody outside should see, is a separate decision. OKF was designed inside Google partly for exactly that internal sharing between teams and agents, so the format fits, but exposing it on the open web is a choice you make deliberately, not a default. ***Also Read:** [How to turn your WordPress content into an AI-readable knowledge base](https://qa.nexterwp.com/blog/ai-readable-knowledge-base-wordpress/) for the public-facing version of this same move.* ## The WordPress angle: one site can be both surfaces Here is where WordPress quietly has an edge. A WordPress site can be the human knowledge base, pages and posts people read and search, and it can also serve the machine files at a path like /okf/. You own the server and the routing, so both surfaces live on one domain. That is not true everywhere. As Suganthan notes, "on closed platforms like Wix or Squarespace you often cannot serve files at a custom path, which is the one real wall." If your knowledge base sits on a closed builder, the OKF route is partly closed to you. On WordPress it is open. A clean block theme like Nexter Theme paired with Nexter Blocks keeps the human side fast and well-structured, and well-structured blocks export to clean Markdown far more cleanly than a pile of page-builder wrapper divs. OKF is one of four layers we cover in the [2026 AI-readiness stack for WordPress](https://qa.nexterwp.com/blog/ai-readiness-stack-wordpress/). ## Where RankReady fits, and where it does not Let me be precise about this so nobody buys the wrong thing. [RankReady](https://store.posimyth.com/plugins/rankready/) does not build your wiki, and it does not generate OKF bundles. There is no OKF button in it. What it does is the measurement layer that all of this is missing. RankReady generates your llms.txt and llms-full.txt and keeps them current, adds a clean Markdown version to any post when you append .md to the URL, and outputs schema like Article, FAQPage, and HowTo. More to the point for this topic, it keeps a live AI crawler log of 31 named AI crawlers, with the timestamp and page for each fetch, plus a leaderboard of which of your own posts citation-style bots pulled in the last 30 days. So when you do expose knowledge to agents, you can see whether GPTBot, ClaudeBot, or PerplexityBot actually came and read it, instead of guessing. It is free on WordPress.org under GPL, and runs on WordPress 6.0+ with PHP 7.4+. RankReady's AI crawler log shows which of 31 named AI bots fetched a page, so you can see if your knowledge is actually being read. Source: store.posimyth.com So, will OKF replace your wiki? No. Your wiki is for your people, and it is not going anywhere. OKF is a tidy way to hand a structured copy of that knowledge to machines, and it is a bet on a web that is increasingly read by agents before it is read by humans. Keep the wiki. If your public knowledge is worth being quoted by AI, make a machine-readable copy, and then watch the logs to see if it worked. ## Suggested Reading - [What Is Google's Open Knowledge Format (OKF)? A Plain-English Guide](https://qa.nexterwp.com/blog/open-knowledge-format/)- [OKF vs llms.txt: Two Ways to Hand AI Your Site's Knowledge](https://qa.nexterwp.com/blog/okf-vs-llms-txt/)- [How to Publish a Google OKF Bundle on WordPress](https://qa.nexterwp.com/blog/publish-okf-bundle-wordpress/)- [Turn Your WordPress Content Into an AI-Readable Knowledge Base](https://qa.nexterwp.com/blog/ai-readable-knowledge-base-wordpress/)- [OKF Explained for SEOs and Marketers (Not Just Data Teams)](https://qa.nexterwp.com/blog/okf-for-seos-marketers/) --- # OKF Explained for SEOs and Marketers (Not Just Data Teams) Source: https://qa.nexterwp.com/blog/okf-for-seos-marketers/ #### Key Takeaways - OKF (Open Knowledge Format) is a Google Cloud spec announced on June 13, 2026. It is a directory of Markdown files with YAML frontmatter that hands AI agents curated knowledge in one agreed format.- Google framed it as data-team news, so most SEOs and marketers tuned it out. The vocabulary is technical, but the idea is plain: structure your content so a machine can read it cleanly.- OKF is not a ranking factor and no major AI model fetches OKF bundles yet. Treat it as a bet on where the machine-readable web is heading, not a tactic that earns citations this week.- The real signal for marketers: llms.txt, Cloudflare's Markdown, and now OKF all point the same way. Clean, structured, machine-readable content is becoming table stakes.- On WordPress you can act on this cheaply today: keep content well structured, ship an llms.txt file, and measure which AI agents actually fetch you. On June 13 this year, Google Cloud announced something called the Open Knowledge Format. The next morning I watched three different SEO people I follow share the announcement with almost the same caption: "data team thing, skipping." I almost skipped it too. The post was full of words like BigQuery, metadata catalogs, and knowledge sharing across data systems. None of that sounds like a marketing problem. Then I read it twice and realized the announcement was written for data engineers, but the idea underneath it is one every SEO and marketer should understand. So here is OKF without the data-engineering vocabulary, what it actually means for your content, and the honest answer to whether you need to do anything about it. ## Why this landed in your feed as "data team news" OKF stands for Open Knowledge Format. Google Cloud describes it as an open specification that turns the LLM-wiki pattern into a portable, interoperable format. In plain terms, it is an agreed way to store knowledge as a folder of Markdown files so that any AI agent can read it without custom translation. The reason it read as data-team news is the examples Google chose. The announcement talks about internal company knowledge, data catalogs, and metrics tables that live trapped inside whichever tool created them. That is a real enterprise problem, and it is the lens Google used. But the format itself is not enterprise-only. It is just Markdown files with a little structured information at the top of each one, and that is something a marketing site can produce as easily as a data warehouse can. Google Cloud announced OKF v0.1 on June 13, 2026, framed around data sharing and AI agents. ## OKF in marketing language (the decoder) Here is the whole format translated into terms you already use every day. | What the spec calls it | What it means for you | | ---------------------- | --------------------- | | A directory of Markdown files | A clean, plain-text copy of your content library, with no theme, ads, or navigation in the way. | | YAML frontmatter | The metadata at the top of each file: a title, a description, a few tags. The same fields you already fill in for SEO. | | An agent | The AI assistant (ChatGPT, Perplexity, Gemini, Claude) that reads content to answer a question your buyer asked. | | A bundle served at /okf/ | One folder on your site that holds all of those clean files, so an agent can grab the whole picture in one place. | OKF terminology translated from data-engineering language into marketing terms. Each OKF file carries a small set of fields that Google designed to be queryable: type, title, description, resource, tags, and timestamp. A single entry looks like this: `--- type: Article title: How to Connect the Ahrefs MCP Server to Manus description: The official MCP servers, why they did not connect, and the fix. resource: https://yoursite.com/blog/ahrefs-mcp-manus/ tags: [mcp, ahrefs] ---` If that looks familiar, it should. A title, a description, a URL, and some tags is the exact information you already write into a Rank Math or Yoast snippet. OKF is not asking you to learn a new discipline. It is asking you to hand a machine the same metadata you already produce, in a format the machine can read without guessing. ***Also Read:** [What Is Google's Open Knowledge Format (OKF)?](https://qa.nexterwp.com/blog/open-knowledge-format/) for the full plain-English breakdown of the spec.* ## What OKF is not (the part vendors will skip) This is the section that keeps you out of trouble in a meeting. OKF is new and exciting, which means it is about to be oversold. Three things are worth saying plainly. First, it is not a ranking signal. Google built OKF for sharing knowledge between data systems and AI agents, not as a Search feature. Publishing an OKF bundle will not move your Google rankings. Second, nothing reads these bundles yet. As technical SEO Suganthan put it, "a bundle will not move your rankings or your AI visibility this week" because "nothing crawls the web for these bundles yet, the spec is weeks old." The major models do not fetch OKF folders today. Third, it is not mandatory. The spec is a version 0.1 draft. In Suganthan's words, "skip it and nothing breaks today, and anyone calling a 0.1 draft mandatory is selling you something." If a tool or agency tells you OKF is required right now, that is a sales pitch, not a fact. Technical SEO Suganthan's honest read: OKF is a bet on where the web is heading, not a citation tactic for this week. ## The trend a marketer should actually track So if OKF does nothing this week, why pay attention? Because it is the third arrival of the same idea in under a year. The llms.txt proposal asked sites to publish a Markdown map of their important pages. Cloudflare started serving Markdown versions of pages to bots. Now Google has put its name on a Markdown-based knowledge format. Three different players, the same direction: machine-readable, clean, structured content. You can think of it as a layered system. The llms.txt file is a signpost that points an agent at your important pages. OKF is the library that actually holds the clean content. They are not rivals, they are different jobs in the same shift toward content that machines can parse without fighting your layout. Suganthan compares it to schema markup, which "took the best part of a decade to pay off, and I am still glad I shipped it early. This is the same shape of bet, now with Google's name on it." That is the right altitude for a marketer. You are not chasing a quick win. You are deciding whether to position early for a format the index owner is clearly interested in. ***Also Read:** [OKF vs llms.txt](https://qa.nexterwp.com/blog/okf-vs-llms-txt/) breaks down the signpost-and-library relationship in detail.* ## What to do on WordPress Monday morning The good news for anyone on WordPress is that you are already in the best position to act. The one real wall, as Suganthan notes, is that "on closed platforms like Wix or Squarespace you often cannot serve files at a custom path." WordPress can serve a folder like /okf/ without issue, so the technical barrier that blocks closed platforms does not apply to you. Here is a sensible, low-effort order of operations that does not bet the quarter on a 0.1 draft: - Keep your content genuinely well structured: clear headings, real answers near the top, descriptive titles and meta. This helps humans, search, and machines at once.- Ship an llms.txt file as the cheap hedge. It is a few minutes of work and it is the most adopted of these formats so far.- Watch the OKF spec, but do not rush a bundle into production until something actually reads it. When that day comes, you already serve files at custom paths.- Measure what AI agents do on your site, so the day they start fetching these formats you can see it instead of guessing. That last step is the one most marketers skip, and it is the one that turns this from a guessing game into a decision you can defend with data. ## How to know if any of this is working Formats like OKF and llms.txt make your content readable. They do not tell you whether a machine read it. That gap is where measurement matters, and it is the honest role for a tool here. [RankReady](https://store.posimyth.com/plugins/rankready/) is a free WordPress plugin that sits on the measurement side of this. It generates an llms.txt and an llms-full.txt file, adds a Markdown copy of every post, and writes Article, Speakable, FAQPage, HowTo, and ItemList schema. More to the point for this topic, it keeps a live log of the 31 AI crawlers it tracks and a citation candidates list, so you can see which agents actually fetched your pages and which posts they reached for. RankReady's AI crawler log shows which agents fetched your content, so you can measure interest instead of guessing. To be clear about what it does not do: RankReady does not generate OKF bundles. The OKF spec is too young for that, and pretending otherwise would be the kind of overclaim this whole post is arguing against. What it does is answer the only question that makes the bet worth making: when the agents do come, are they reading you? That answer holds no matter who eventually generates the bundle. OKF is worth understanding precisely because it is not urgent. It is a clear signal from the company that runs the index about the shape it wants content to take. You do not need to drop everything. You need to keep your content clean, hedge cheaply with llms.txt, and watch the machines. That is a calm, defensible position, and on WordPress it costs you almost nothing to hold it. ## Suggested Reading - [Does Google's OKF Matter for WordPress SEO? An Honest 2026 Take](https://qa.nexterwp.com/blog/does-okf-matter-wordpress-seo/)- [The 2026 AI-Readiness Stack for WordPress: llms.txt, Schema, MCP and OKF](https://qa.nexterwp.com/blog/ai-readiness-stack-wordpress/)- [When an AI Agent Visits Your WordPress Site: How It Finds, Reads, and Quotes You](https://qa.nexterwp.com/blog/cited-by-ai-agents-okf/)- [Markdown Is Becoming the Language of AI Agents](https://qa.nexterwp.com/blog/markdown-for-ai-agents/)- [Do You Actually Need an AI SEO Tool? What They Do and How to Choose](https://qa.nexterwp.com/blog/ai-seo-tool-wordpress/) --- # When an AI Agent Visits Your WordPress Site: How It Finds, Reads, and Quotes You in the OKF Era Source: https://qa.nexterwp.com/blog/cited-by-ai-agents-okf/ #### Key Takeaways - AI agents do not rank your page the way Google does. They fetch a copy of your content and decide whether to quote it while doing a task, so the goal shifts from ranking to being the cleanest, most quotable version an agent can read.- An agent's path into your site usually runs signpost first (robots.txt and llms.txt), then clean Markdown, then, if you publish one, an OKF library at /okf/.- Google's Open Knowledge Format (OKF) is a v0.1 draft from June 13, 2026: a directory of Markdown files with YAML frontmatter. It is not a Google Search ranking signal, and nothing crawls these bundles yet.- A Gutenberg block theme gets fetched cleaner than a page builder, because semantic blocks convert to near one-to-one Markdown instead of wrapper-div noise.- You cannot improve what you cannot see. A crawler log and citation tracking tell you which agents actually fetched and quoted you, so you know if the bet paid off. Last week I watched an AI agent work through a research task on a topic I had written about. It never opened my site in a browser. It pulled a stripped-down text copy of the page, read three sentences, and quoted a competitor instead. My page ranked fine on Google. It just was not the version the agent found easiest to read and lift a quote from. That gap is the whole story of 2026. Search engines rank pages. AI agents fetch and quote them. Those are different jobs, and the second one is quietly becoming the one that decides whether your WordPress site shows up when someone asks ChatGPT, Perplexity, or Google's AI Mode a question. Google's new Open Knowledge Format (OKF) is the clearest signal yet of where this is heading. This guide walks through what actually happens when an agent visits your site, where OKF fits, and how to be the copy it quotes. 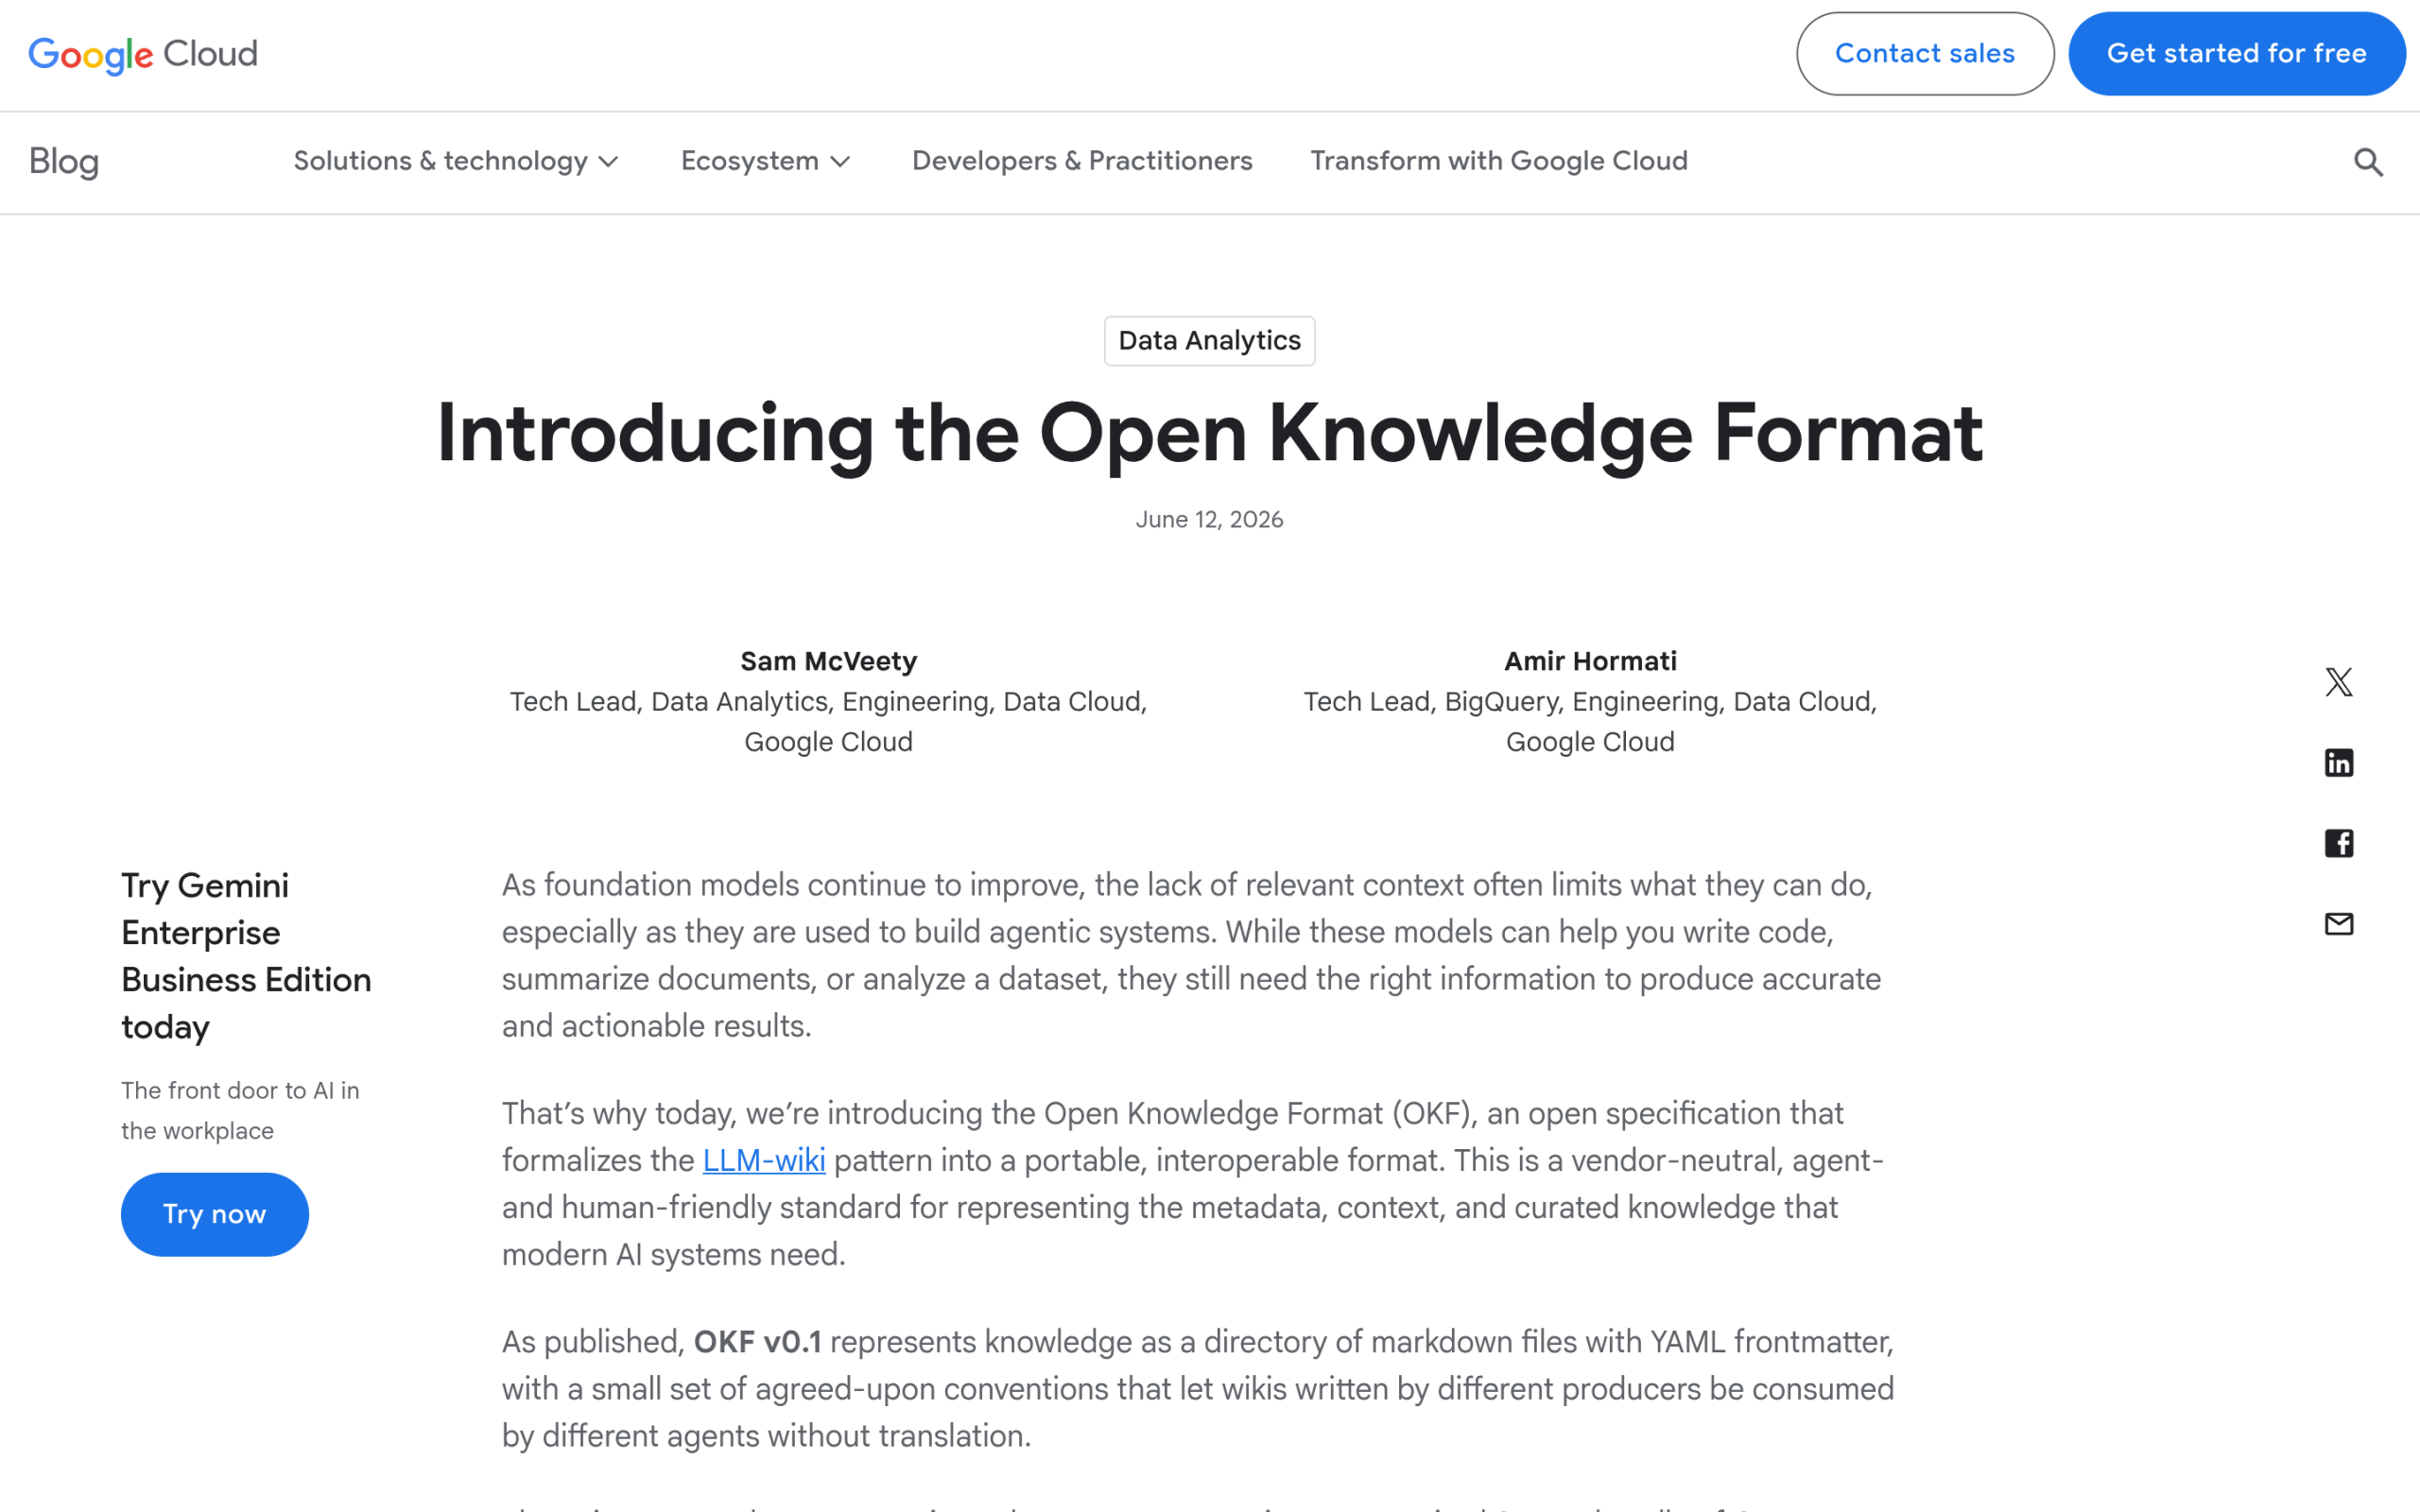Google Cloud introduced the Open Knowledge Format on June 13, 2026, as a vendor-neutral way to hand AI agents curated knowledge. Source: Google Cloud blog. ## The shift: agents do not rank your page, they fetch and quote it A search engine builds an index and orders results. You optimize a page, it earns a position, people click. An AI agent works differently. When someone asks it a question or hands it a task, it goes and reads sources in the moment, pulls the passages it trusts, and writes an answer that may quote you or may not. There is no blue link to win. There is only the question of whether your words were clear enough, self-contained enough, and easy enough to fetch that the agent used them. This is why a page can rank well and still go unquoted. Ranking rewards relevance and authority signals built over time. Getting quoted rewards something more immediate: can the agent read this passage cleanly, and does it answer the question on its own without the surrounding page? That is closer to how a good answer engine strategy already works, which is why this sits next to, not on top of, your existing SEO. ***Also Read:** [Answer Engine Optimization (AEO): The Complete WordPress Guide](https://qa.nexterwp.com/blog/answer-engine-optimization-wordpress/) for the broader strategy of ranking inside AI answers, which this fetch-and-quote view sits inside.* ## What an AI agent actually does when it lands on your site Strip away the hype and an agent's visit is a short, practical sequence. First it looks for a signpost. Your robots.txt tells it whether it is even allowed in, and a growing convention called llms.txt points it at the pages that matter most. Think of llms.txt as a hand-drawn map you leave at the front door so the agent does not have to guess. Next it wants the content in a form it can read without tripping over your design. HTML is built for browsers, full of navigation, sidebars, and scripts. Markdown is built for machines and humans both: headings, lists, and plain text with no chrome. Many AI-readability tools now serve a clean Markdown copy of each page, often at the same URL with a .md added. The agent grabs that, not your rendered page. And then, increasingly, it may look for a library: a curated set of Markdown files you publish on purpose, describing your knowledge in a format built for agents. That is what OKF is for. ***Also Read:** [llms.txt for Gutenberg WordPress](https://qa.nexterwp.com/blog/llms-txt-gutenberg-wordpress/) for how the signpost layer works on a block theme, and [OKF vs llms.txt](https://qa.nexterwp.com/blog/okf-vs-llms-txt/) for how the signpost and the library differ.* ## Where OKF fits: the library an agent reads after the signpost Google Cloud announced the Open Knowledge Format on June 13, 2026. In Google's own words it is "a directory of markdown files with YAML frontmatter," a "vendor-neutral, agent- and human-friendly standard for representing the metadata, context, and curated knowledge that modern AI systems need." Each concept is one Markdown file. OKF requires exactly one field of every file, a type, and leaves the rest to you. Optional queryable fields are title, description, resource, tags, and timestamp. Two honesty notes matter here, because skipping them would cost you trust. First, OKF is not a Google Search ranking signal. Google built it for data teams and agent builders sharing internal knowledge, not for blogs chasing positions. Second, as technical SEO Suganthan put it after shipping a bundle himself, "Nothing reads OKF yet. No major model goes looking for these bundles, the spec is a v0.1 draft a few weeks old." His advice, and ours, is to treat it as a bet: "Ship the infrastructure early, expect it to sit quiet, let it compound if the format takes." There is also a real maintenance tax, since a bundle is a second copy of what your site already says. 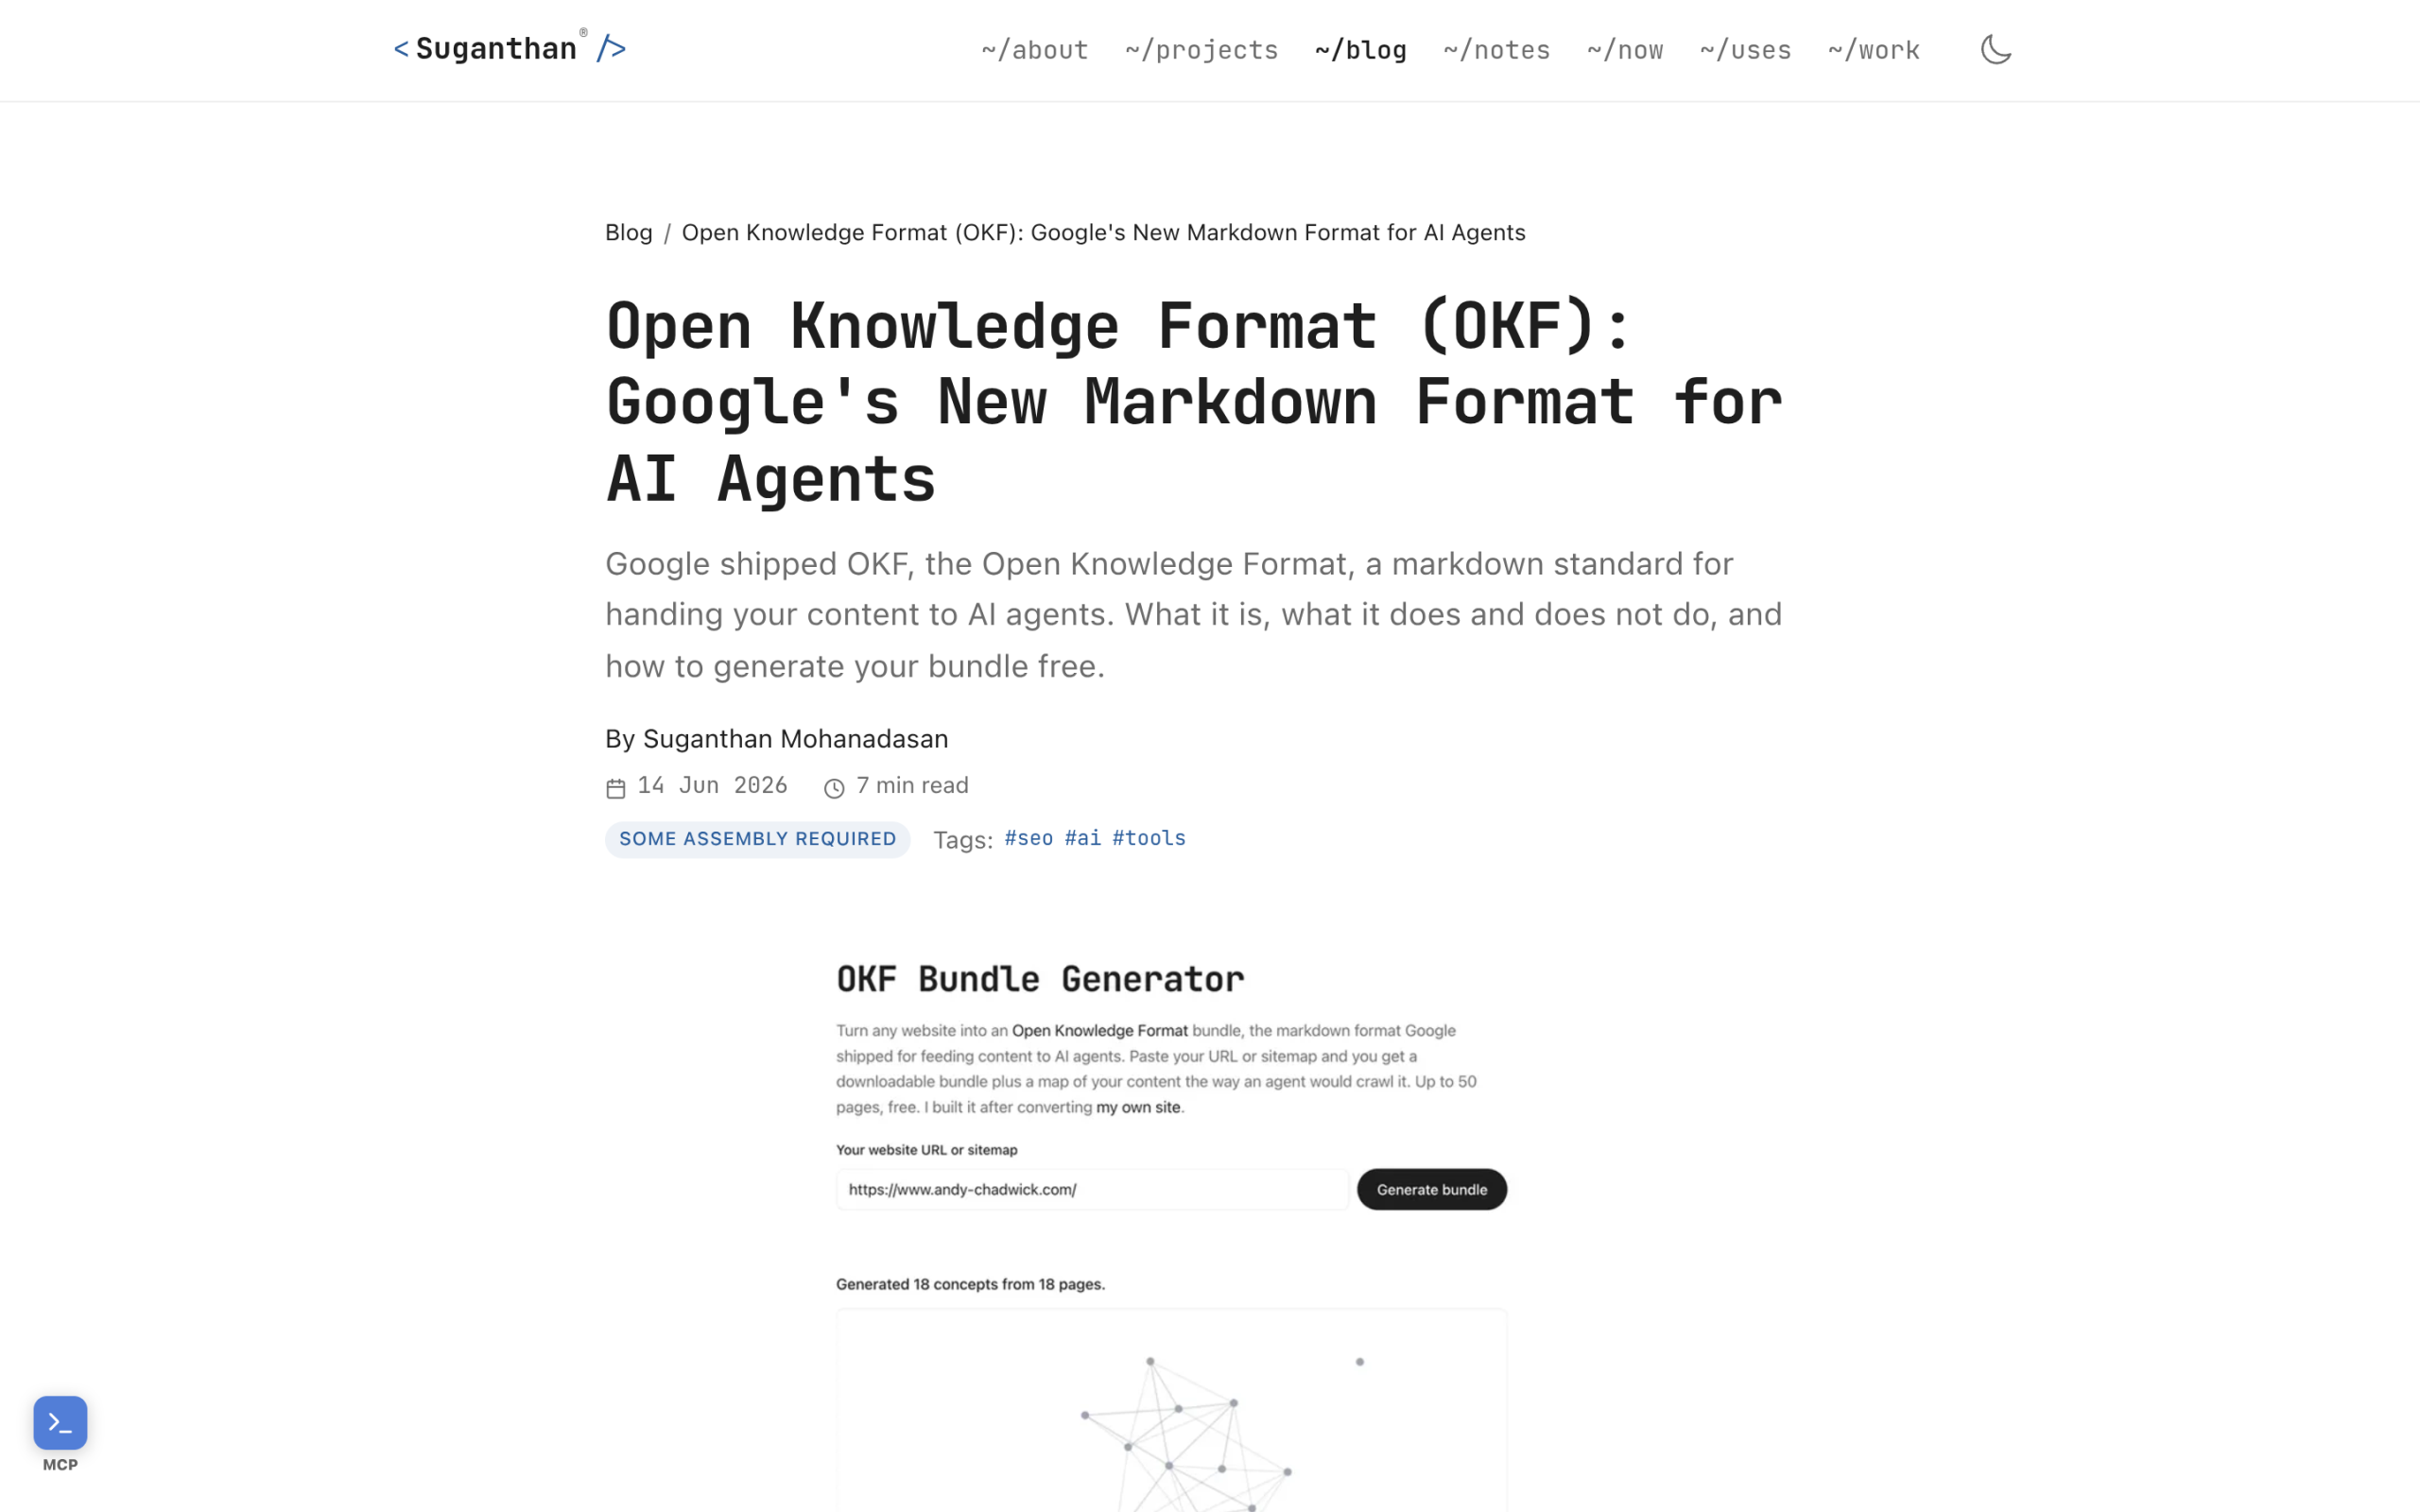An OKF bundle is a directory of Markdown files with an index, served at /okf/. Source: Suganthan's OKF explainer. So in the agent's journey, OKF is the library it can read after the signpost points the way. WordPress is well placed to serve one, because it can publish files at a custom path like /okf/. On closed platforms you often cannot do that, which is the one real wall. If you want the step-by-step, we cover it separately. ***Also Read:** [What Is Google's Open Knowledge Format](https://qa.nexterwp.com/blog/open-knowledge-format/) for the plain-English overview, and [How to Publish a Google OKF Bundle on WordPress](https://qa.nexterwp.com/blog/publish-okf-bundle-wordpress/) for the actual /okf/ how-to.* ## Why a Gutenberg block theme gets fetched cleaner Here is the part that matters if you build on WordPress. The cleaner your HTML, the cleaner the Markdown an agent can derive from it, and the more quotable your content becomes. Gutenberg block themes write semantic markup: a heading block is a real heading, a list block is a real list, a quote block is a real blockquote. Convert that to Markdown and you get something close to one-to-one. Many page builders wrap every element in nested div containers carrying layout and style data. That renders fine in a browser, but when a tool tries to reduce it to clean text, it has to strip layers of wrapper noise first, and meaning can get lost along the way. A block theme like Nexter starts from markup that is already close to what a machine wants, which gives you a quiet head start in the fetch-and-quote race without any extra work. ## The five things that decide whether an agent quotes you None of this is magic. When an agent has fetched your content, a short list of qualities decides whether it lifts your passage or someone else's. - **Clean, semantic markup** so the agent reads structure, not soup. This is where a block theme earns its keep.- **A signpost**, with an llms.txt and a sane robots.txt, so the agent finds your best pages fast.- **Self-contained passages** that answer a question on their own, without needing the three paragraphs above them for context.- **Entity clarity**, so the agent knows exactly who and what you are talking about. This is the ground that [entity SEO](https://qa.nexterwp.com/blog/entity-seo-wordpress/) and [topical authority](https://qa.nexterwp.com/blog/topical-authority-wordpress/) cover.- **Freshness and structured data**, including [schema markup](https://qa.nexterwp.com/blog/schema-markup-generator-wordpress/), so the agent can date and trust the claim it is about to repeat. Notice that four of the five are things you already do for good SEO. The OKF era does not throw your work away. It rewards the sites that made their content clear and machine-readable in the first place. ## You cannot improve what you cannot see: did an agent actually fetch and quote you? The honest problem with everything above is that it is invisible by default. You publish clean Markdown, you ship a signpost, maybe you publish an OKF bundle, and then nothing tells you whether any of it worked. Did GPTBot fetch the page? Did Perplexity send a reader? Did you get quoted, or did a competitor? This is the measurement gap, and it is where [RankReady](https://store.posimyth.com/plugins/rankready/) fits. It is a free WordPress plugin that generates your llms.txt and llms-full.txt, serves a clean .md copy of every post, and then watches what happens. Its live AI crawler log tracks 31 AI crawlers, including GPTBot, ClaudeBot, PerplexityBot, and Google-Extended, so you can see which agents actually fetched your content. Its citation candidates and AI referral tracking surface mentions and visits from ChatGPT, Perplexity, Claude, Gemini, and Copilot. A per-post readiness score from 0 to 100 flags what to fix. RankReady's AI crawler log shows which of 31 AI crawlers actually fetched your pages, so the fetch-and-quote bet stops being invisible. Source: store.posimyth.com. To be clear about what it is not: RankReady does not generate OKF bundles, and it will not promise you AI citations, because no honest tool can yet. What it does is turn the bet visible. You make your content readable and you publish the signposts; RankReady tells you whether the agents showed up and whether the work is paying off. If you are tracking the Google side of this too, pair it with [AI Overview tracking](https://qa.nexterwp.com/blog/ai-overview-tracking-wordpress/). [See which AI agents fetch your site with RankReady (free)](https://store.posimyth.com/plugins/rankready/) ## Suggested Reading - [What Is Google's Open Knowledge Format (OKF)? A Plain-English Guide for Site Owners](https://qa.nexterwp.com/blog/open-knowledge-format/)- [OKF vs llms.txt: Two Ways to Hand AI Your WordPress Site's Knowledge](https://qa.nexterwp.com/blog/okf-vs-llms-txt/)- [Answer Engine Optimization (AEO): The Complete WordPress Guide for 2026](https://qa.nexterwp.com/blog/answer-engine-optimization-wordpress/)- [How to Track Google AI Overviews and AI Citations for Your WordPress Site](https://qa.nexterwp.com/blog/ai-overview-tracking-wordpress/)- [llms.txt for Gutenberg WordPress: Why Block Themes Win the AI Citation Race](https://qa.nexterwp.com/blog/llms-txt-gutenberg-wordpress/) --- # 11+ Examples of 404 Pages for Your Website [with Design Tips] Source: https://qa.nexterwp.com/blog/examples-of-404-pages/ Frustrated with high bounce rates on your error pages? Here are the best examples of 404 pages to improve retention and experience! 404 error pages tell the user that the page they are looking for does not exist. Coming across 404 error pages can be incredibly frustrating, and most users leave the website immediately when they encounter them. This is because by default 404 pages are generic and offer little more than a basic error message. The lack of customization or any useful redirection leads to a poor user experience and visitors leave. In this article, we explore 404 error page ideas so that you can customize your error pages to create exceptional user experiences for your visitors. ## What is a 404 Page? A 404 error page is an HTTP status code that tells the user that a requested web page cannot be found on the server. It occurs when users click on a broken or incorrect link, mistype a URL, or access a page that has been moved or deleted. The 404 page informs the visitors that the content they are looking for is unavailable.  Most websites use generic 404 error pages such as the one above. While this informs the user of the issue, it can add to frustrations users feel when being able to find what they need. The default error page does not provide any solutions for the visitor. On the other hand, customizing 404 pages gives you an opportunity to improve user experience, redirect visitors to useful resources, and improve overall engagement. *Locked out of your website? Here’s how to **[fix the “Sorry You Are Not Allowed to Access This Page” Error](https://qa.nexterwp.com/blog/fix-sorry-you-are-not-allowed-to-access-this-page/)**.* ### What Are the Benefits of a Custom 404 Page? Creating a custom 404 page offers several advantages that go beyond simply informing users of an error. Here are the key benefits: 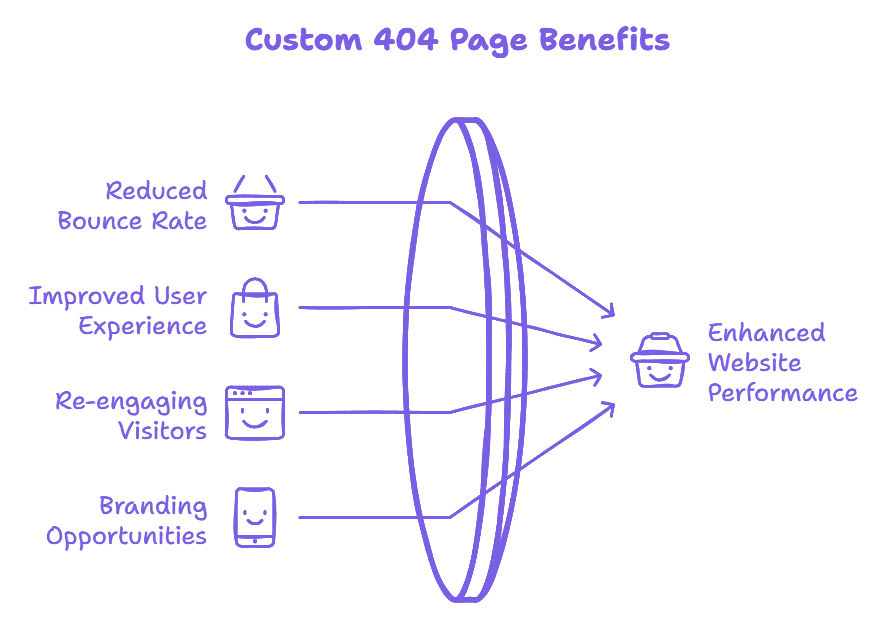 #### 1. Reduces Bounce Rate The bounce rate is the percentage of visitors who leave your site only after viewing one page. A well-designed custom 404 page can lower the bounce rate by providing them with clear navigation options, engaging and meaningful content, and helpful links. This can help keep users on your website even after they encounter an error. #### 2. Improves User Experience A good user experience helps you retain visitors to your website and ensure that the interactions they have with your brand are positive. A custom 404 error page helps you maintain a consistent aesthetic even when an error occurs. You can customize the messaging on the error page to acknowledge the error and make the user feel valued. You can also guide them to find exactly what they were initially looking for. #### 3. Provides a Chance to Re-engage Visitors A default 404 error page is often a dead end for users. However, if you customize your error page, you can use it as an opportunity to re-engage your visitors. You can do this by adding Call-to-Action buttons, interactive elements and personalized recommendations. #### 4. Promotes Branding Opportunities Every touchpoint with a user is an opportunity to reinforce your brand identity. A 404 error page is one such touchpoint that you can use to demonstrate your brand's personality. If your brand is friendly, professional, or creative, you can convey this through your 404 error page design, visuals, and language. It also helps increase brand recognition by giving users a unique and memorable experience. *Experiences frequent timeout errors? Learn **[how to fix 408 Request timeout errors](https://qa.nexterwp.com/blog/how-to-fix-408-request-timeout-error/)**.* ## Examples of 404 Pages Some brands understand that their 404 error pages have to be more than just error messages. They've used a combination of design principles, interesting messaging and thoughtful elements to create pages that are memorable and improve user experience. Here, we'll explore some of the most creative 404 page examples that you can learn from: ### 1. GitHub  GitHub's 404 page stands out for its simplicity. The page features a clean design with a clear message and intuitive navigation links that guide users back to the homepage or other essential sections of the site. The clever use of the iconic Star Wars quote, "These aren't the droids you're looking for," adds a touch of humor and familiarity, making the error less frustrating and more engaging for users. **Key Takeaways** GitHub demonstrates the power of simplicity and brand-related humor in a 404 page. Incorporating familiar phrases or cultural references can make the error experience more enjoyable. Ensure your 404 page provides clear navigation options to retain user engagement. ### 2. Airbnb  Airbnb's 404 page features an adorable illustration of a girl with spilt ice cream, evoking empathy and a sense of whimsy. The page includes several helpful links that allow users to navigate back to different parts of the website effortlessly. **Key Takeaways** Using relatable and charming visuals can soften the impact of an error. Moreover, providing multiple navigation options helps users quickly find what they need. ### 3. Marvel  Marvel's 404 page excels by deeply embedding the brand's essence into the message. The artwork features a recognizable Marvel superhero holding the mystical Eye of Uatu, instantly tying into Marvel's iconic universe. The error message, "Not even the Eye of Uatu sees your request…" cleverly references Marvel lore, specifically Uatu the Watcher, an all-seeing being in the Marvel universe. This nod appeals directly to Marvel fans, using language they appreciate and understand. **Key Takeaways** Marvel showcases how integrating brand-specific elements and humor can transform a 404 page into an enjoyable experience. Leveraging iconic characters, lore and ideas that your visitors relate to creates a connection with the audience. ### 4. Slack 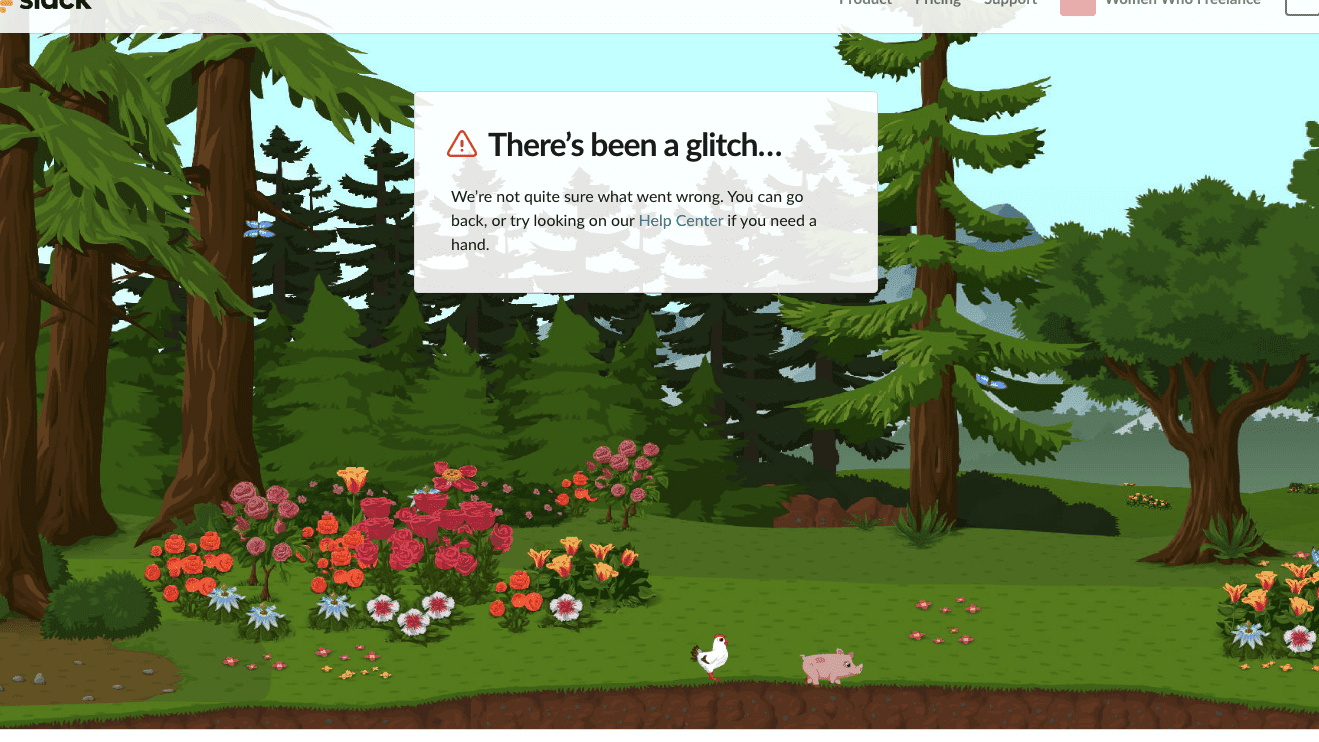 Slack's 404 page example presents a charming forest scene where elements move as users hover their cursor around the screen. The playful interaction with a little pig and chicken adds a delightful surprise, enhancing the user experience. Although the page primarily directs users to the Help Center, the engaging visuals and animations provide a moment of joy, aligning with Slack's friendly and approachable brand personality. **Key Takeaways** Slack focuses on the value of interactive and visually appealing elements on a 404 page. Even with minimal navigation options, creative animations and engaging graphics can create a memorable experience. ### 5. Starbucks 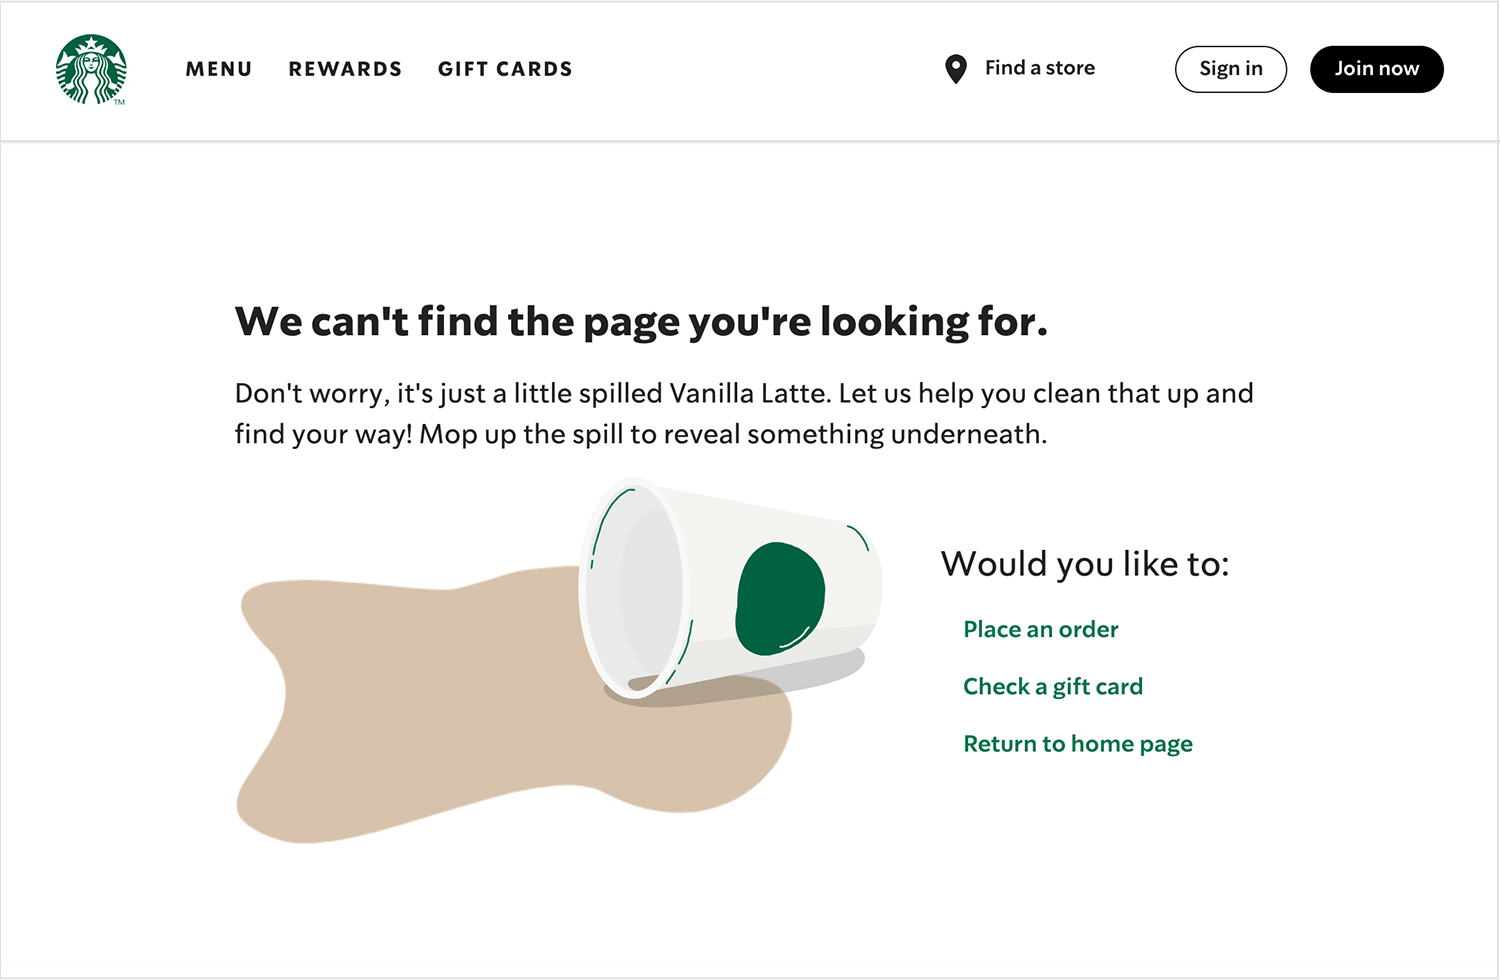 Starbucks' 404 page features a spilt coffee cup adorned with the familiar Starbucks logo, instantly connecting with the brand's core identity. The casual and light-hearted tone, describing the missing page as a "spilt Vanilla Latte," aligns perfectly with Starbucks' conversational and friendly communication style. Additionally, the page includes three call-to-action buttons, providing users with clear options to navigate back to relevant sections of the site. **Key Takeaways** Starbucks' 404-page design example shows you that selecting images or illustrations that are closely tied to your brand's products or services to reinforce brand identity. It also shows how to communicate in a friendly and approachable manner to make the error experience feel less formal and more relatable ### 6. LEGO  LEGO's 404 page aligns perfectly with its brand personality. Featuring a simple yet charming lego character, a brief line of text, and a prominent "Start Shopping" button, the page effectively redirects users without overwhelming them. The minimalist design ensures that users can quickly find their way back to the main activities, while the friendly visual element adds to the welcoming aesthetic. **Key Takeaways** Simple designs are effective as they communicate the error without unnecessary distractions. LEGO uses bright colors to make the page instantly recognizable. The prominent CTA means that users are more likely to continue into other parts of the website. *Facing server errors on your website? Here's [**how to fix 400 bad request errors in Elementor**](https://theplusaddons.com/blog/fix-400-bad-request-error-in-elementor/).* ### 7. Blizzard  Blizzard's 404 page is a creative extension of their immersive gaming universe. Visitors encountering the error are greeted by a friendly Murloc, an iconic character from their popular game, World of Warcraft. The phrase "We've dispatched a rescue Murloc to guide you back to safety" is humorous and directly relates to the rescue themes often present in Blizzard's games. The fictional "Mmmrrggrrmgmmll!" keeps it playful and thematic. Blizzard excels at world-building, and this 404 error page extends that to their website, making the error page feel like a natural part of their branding. **Key Takeaways** Incorporate playful and thematic language that resonates with your audience, making the error message entertaining. You can create a better user experience by ensuring that the visual elements of the 404 page align with your brand's overall aesthetic. ### 8. IMDB  IMDb's 404 page leverages its extensive connection to the film and TV industry by incorporating famous movie quotes adapted to fit the context. The witty and familiar quote appeals to IMDb's cinephile audience. The page's design remains clean and focused, with a bright yellow speech bubble that draws attention without overwhelming the user. Additionally, users can hit refresh to see a new quote which keeps the experience dynamic and engaging. **Key Takeaways** Use quotes or references that are well-known within your industry to create a relatable and entertaining error message. You can also incorporate features like refreshable quotes or rotating messages to keep the user experience fresh and engaging. ### 9. LinkedIn  LinkedIn’s 404 page employs a professional and symbolic approach to guide users back on track. The use of a telescope as a visual suggests that even when users get lost, LinkedIn is there to help them find their way. The tone of LinkedIn’s 404 page is professional yet approachable. Phrases like “Uh oh” add a human touch without being overly informal. The blue tones and clean design reflect LinkedIn’s consistent brand aesthetic. **Key Takeaways** Use visuals that symbolize your brand’s core values and mission to create a meaningful connection with users. The language and tone of your 404 page align with your brand’s overall voice and audience expectations. ### 10. Hubspot  HubSpot’s 404 page features a broken heart graphic that aligns with its orange branding. The simple illustration, combined with a brief line of empathetic text, conveys the error in a light-hearted manner. HubSpot’s focus on offering solutions is evident in its 404 page, which includes links to resources and demos. This speaks to their service-oriented brand, aiming to help users find what they need while keeping the tone light and supportive. **Key Takeaways** Providing actionable links and resources helps users navigate away from the error and continue their journey on your site. Like HubSpot, show your understanding and support through your messaging to create a positive user experience even during errors. ### 11. Pixar  Pixar’s 404 page uses Sadness from their hit movie Inside Out to explain the error message. The page features a beautifully designed character that immediately connects with fans of the film. The tone of Pixar’s 404 page is emotional and engaging. The message, “Awww… Don’t Cry. It’s just a 404 Error!” evokes humor. **Key Takeaways** In some cases, using emotional elements that resonate with your audience can turn a mundane error into a memorable interaction. However, ensure that your 404 page reflects the same level of visual and storytelling excellence as the rest of your brand’s content. ### 12. Mailchimp  Lastly, Mailchimp’s error page is creative yet simple. The page features a playful, quirky illustration of a creature searching underground. The tone of Mailchimp’s 404 page is friendly and informal. Phrases like “We lost this page” are simple and personable, reflecting Mailchimp’s casual and humorous communication style. This approach makes the error message feel less like a technical issue and more like a minor hiccup. **Key Takeaways** Use illustrations and design elements that reflect your brand’s unique personality. A friendly and informal tone can help the error message feel more approachable and less technical. ***Also Read***: [*Best About Us Page Examples*](https://qa.nexterwp.com/blog/examples-of-about-us-page-for-website/) for more page-design inspiration across your site. ## Wrapping Up Having looked at some of the best 404 page examples, you can now implement these design principles to create custom 404 page designs for your website. Take care that you use these pages, not find examples only as inspiration, and create pages that match your brand personality, design, and voice. Don’t let ‘Page Not Found’ be a dead end! With Nexter 404 Page Builder, you can easily customize your 404 error page to match your brand and provide helpful content that keeps visitors on your site. [Nexter Blocks](https://qa.nexterwp.com/nexter-blocks/) offers [90+ Gutenberg blocks](https://qa.nexterwp.com/wordpress-blocks/), giving you plenty of design options to create a clean, professional, and useful 404 page. Instead of losing visitors, you can guide them back to important pages and show off your brand's style. Turn a simple error page into an opportunity with Nexter! 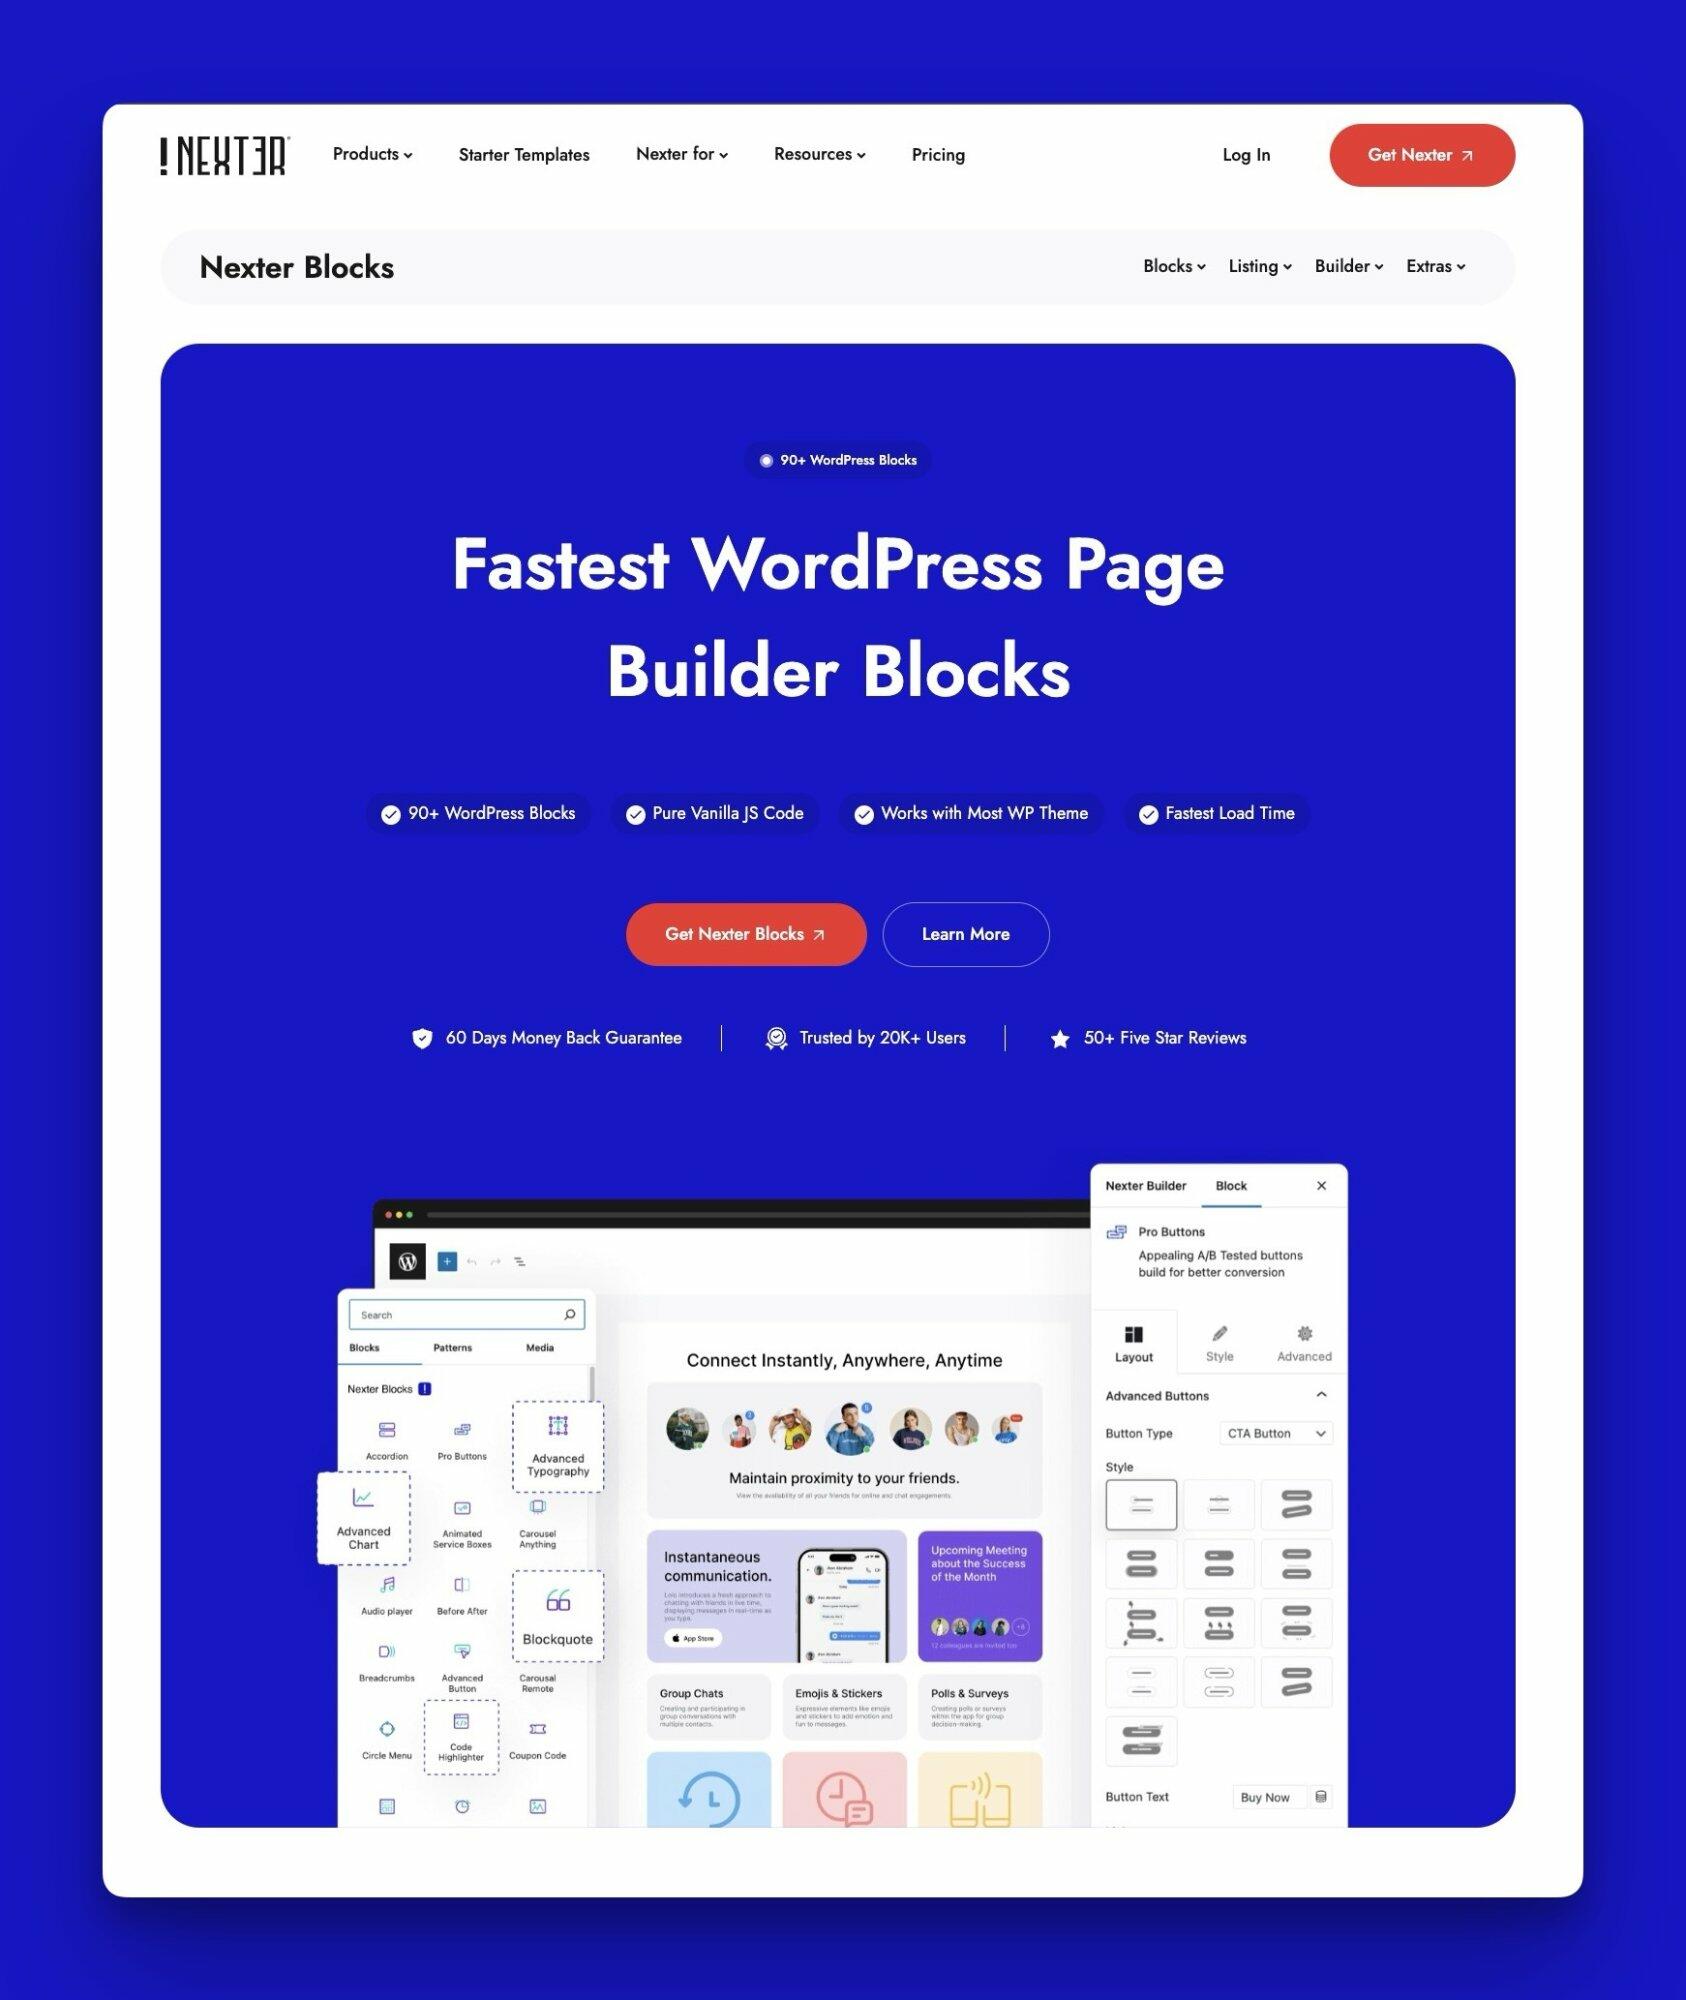 ## FAQs on 404 Page ### What’s the purpose of a 404 page? A 404 error page is an error message displayed when a user attempts to access a webpage that doesn't exist or cannot be found on the server. It prevents user frustration by acknowledging the error and providing alternatives. Creative error pages can align with the brand’s identity for a better user experience. ### How can I reduce the bounce rate on my 404 page? You can reduce bounce rates on your 404 page by creating a custom 404-page design that aligns with your brand voice and helps the visitor find what they are looking for. Adding a navigation bar, engaging content, and a CTA button are some ways to reduce bounce rates on your error pages. ### Should my 404 page include a search bar? Yes, including a search bar on your 404 page is highly beneficial. A search bar on your unique 404 pages allows users to quickly search for the content they were looking for without having to navigate back to the homepage or menu. It reduces frustration by offering a direct path to finding relevant information. ### Can a custom 404 page affect SEO? Yes, a customer 404 page can affect your SE0. A well-designed 404 page can reduce bounce rates by guiding users back to valuable content, which can indirectly benefit SEO. Using the correct 404 HTTP status code prevents search engines from indexing non-existent pages, which maintains the integrity of your site’s index. ### Can a 404 page include a call to action? Yes, a 404 page can and should include a call-to-action (CTA) to guide users towards engaging with your website further, instead of leaving it. Including a CTA can transform an error encounter into an opportunity for interaction. You can use search prompts, links to other content, or subscription options as CTAs. ### How do I track 404 errors on my site? To track 404 errors on your site, use Google Analytics by setting up custom reports or event tracking for your 404 page. You can use Google Search Console’s Coverage report to identify broken links. You can also track individual links and analyze server codes to identify HTTP 404 status codes. ### Can a 404 page help improve user retention? Yes, a well-designed 404 page improves user retention by turning a potential point of frustration into a positive experience. A helpful 404 page acknowledges the inconvenience and provides paths like links to popular content, a search bar, or the homepage to continue exploring the site, reducing the likelihood of users leaving immediately. ### Should I include links to other parts of my website on my 404 page? Yes, including links to other parts of your website on your 404 page is highly recommended. This helps users quickly find alternative content without having to return to the homepage manually. It also encourages them to explore other sections of your site and increases the time they spend on your website. ### Can a creative 404 page improve my brand image? A creative 404 page can significantly enhance your brand image by showcasing your brand’s personality and commitment to user experience, increasing your credibility as a business. Using light-hearted humor to acknowledge the situation, funny graphics and illustrations, and custom animations and messages can create a lasting impression on your visitors. ### Is it possible to track how many visitors land on my 404 page? Yes, you can track how many visitors land on your 404 page using analytics tools. First, set up a specific page view tracking for your 404 page. Then, configure goals or events in Google Analytics to count visits to the 404 page and create custom reports to track this data. --- # Best Crocoblock Alternatives [With Comparison Table] Source: https://qa.nexterwp.com/blog/crocoblock-alternatives/ Are you searching for Crocoblock alternatives, the popular WordPress plugin that enhances the Gutenberg editor? Look no further, as we bring you a detailed guide on the top three alternatives to Crocoblock. These alternatives provide a range of blocks to improve your website's functionality and design. Read on to find out which one suits your needs the best. ## 1. Nexter Blocks 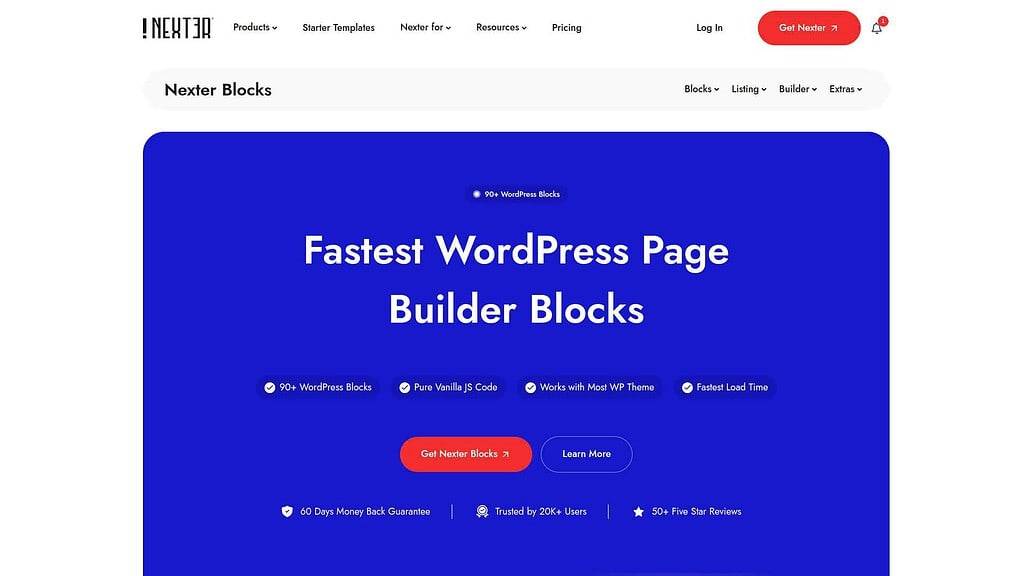 Nexter Blocks is a versatile WordPress plugin that amplifies the functionality of the Gutenberg editor. With [over 90 blocks](https://qa.nexterwp.com/nexter-blocks/blocks/), this plugin empowers users to add visually appealing elements to their web pages effortlessly. The blocks are fully responsive, ensuring seamless adaptability across various devices. Its user-friendly interface enables easy customization of colors, fonts, backgrounds, and animations, allowing for unique and professional content creation. ### Key Features of Nexter Blocks - Customizable Blog Builder for Single Page, Archive Page, Listing Page, Search Page, and more. - Cross Domain Live Copy Pasting for easy section copying between domains. - Custom WordPress Login Form Block with Password Reset, Facebook & Google Login, reCAPTCHA & Mailchimp integration. - Ajax Search Bar for Gutenberg with dropdown filters for Blog Posts, Custom Post Types & WooCommerce Products. - Vertical and Horizontal Mega Menu Builder for Gutenberg. - Advanced Carousel for Gutenberg with Carousel Slider conversion, Tab and Accordion linking, Circular Menu integration, and more. - Embed Facebook & Google Reviews and dynamic feeds from Facebook, Instagram, Vimeo, Twitter, and YouTube in responsive layouts. - High-converting Popup Builder, Modal Popup, and Off-canvas options for Sale banners, Full Screen Popups, Slide-ins, Exit Intent Popups, and more. - Global Dark Mode for WordPress Gutenberg with Global color connections. - Advanced Magic Scroll animations for interactive full-page scrolling with images and videos. - Completely White-label Plugin with SEO-friendly, A/B tested designs and mobile-friendly features. - Custom CSS & JS options for adding code anywhere on your site for customization. ## Crocoblock Alternatives Compared .tpgb-table tbody tr td:nth-child(3), .tpgb-table tbody tr td:nth-child(5), .tpgb-table tbody tr td:nth-child(6), .tpgb-table tbody tr td:nth-child(8), .tpgb-table thead th:nth-child(3), .tpgb-table thead th:nth-child(5), .tpgb-table thead th:nth-child(6), .tpgb-table thead th:nth-child(8) { display: none; } ## 2. Kadence Blocks  Kadence Blocks is a WordPress plugin that enriches the Gutenberg editor with an extensive collection of more than 15 customizable blocks. With its abundant features and user-friendly interface, this plugin empowers users to effortlessly customize their blocks, seamlessly integrating them into any website design. Whether you're looking to enhance the functionality of the Gutenberg editor or create visually captivating and engaging websites, Kadence Blocks is a valuable tool that caters to the needs of WordPress users. ### Key Features of Kadence Blocks - Get access to over 15 blocks to enhance your Gutenberg editing experience. - Enjoy seamless integration with the Gutenberg Block Editor, ensuring 100% compatibility. - Explore a collection of prebuilt templates for convenient website creation. - Benefit from regular updates to enhance performance and introduce new features. *Here's a [**detailed review of Kadence Blocks**](https://qa.nexterwp.com/blog/kadence-blocks-review/).* ***Also Read***: [*Kadence Blocks vs Crocoblock*](https://qa.nexterwp.com/blog/kadence-blocks-vs-crocoblock/) for a head-to-head comparison of the two. ## 3. Essential Blocks for Gutenberg  Essential Blocks is an all-inclusive WordPress plugin that expands the capabilities of the Gutenberg editor by incorporating a collection of more than 70 vital blocks. Each block within the plugin is highly adaptable, allowing users to finely adjust its appearance and functionality to meet their precise requirements. By utilizing Essential Blocks, users can seamlessly integrate functional and visually captivating elements into their websites. This plugin serves as an invaluable resource for WordPress users striving to enrich their Gutenberg editing experience and craft compelling, polished websites. ### Key Features of Essential Blocks for Gutenberg - Get access to 70+ blocks to enhance your Gutenberg editing experience. - Seamlessly integrate with the Gutenberg Block Editor for 100% compatibility. - Choose from 1000+ prebuilt templates for convenient website creation. - Enjoy a lightweight and responsive plugin for optimal performance. *Here's a **[detailed review of Essential Blocks](https://qa.nexterwp.com/blog/essential-blocks-for-gutenberg-review/)**.* ## Why We Recommend Using Nexter Blocks? ### Extra Resources --- # 7 Best Blogging Platforms [With Monetization Options] Source: https://qa.nexterwp.com/blog/best-blogging-platforms/ Decided to start your blogging journey but unsure which blogging platform to choose? Got you Starting out in blogging can be exciting, but choosing the wrong blogging platform can lead to significant problems. A major issue is the lack of user-friendliness; a complex, hard-to-navigate platform can make the initial setup and ongoing content management frustrating and time-consuming. Today in this article we’ll take a look at some of the best blogging platforms available. Also, you will learn 7 effective blogging tips that will help you to generate more traffic on your blog. Ready? Let’s get started. ## What is Blogging? Blogging is the act of creating and maintaining an online journal or informational website, where individuals or organizations publish regular updates in the form of blog posts.  It's a way to communicate and connect with others who are interested in the topics you write about. You can write about anything you're passionate about, whether it's travel, food, technology, fashion, or sharing tips and advice. Readers can leave comments, ask questions, and interact with you, creating a community around your content. It's a creative outlet that allows you to express yourself and share your knowledge with the world. ### What is a Blogging Platform and Why it Matters? A blogging platform is a software or service that allows you to create and publish content on the internet. When starting a blog, one of the most important decisions you'll face is selecting the right blogging platform. It allows you to focus on creating content, rather than worrying about the technical aspects of website design and development. Most blogging platforms offer a variety of templates and themes that you can use to customize the look and feel of your blog. SEO, or getting your blog to show up in search engine results, is another big reason. Some platforms, like WordPress, have tools to help your blog rank higher on Google. This means more people can find and read your posts. If you want to make money through blogging, some platforms also give you ways to earn money through ads, sponsored posts, and selling products. Now you know why a blogging platform matters so, let’s take a look at some of the best tips that will help you choose the best blogging platforms that you need. ### Tips for Choosing a Perfect Blogging Platform. - **The platform should be easy to use**: When you’re just starting, you’ll want something that’s beginner-friendly. Look for a platform that doesn’t require coding or technical skills, which means the platform should have drag-and-drop features. - **Plethora of customization options**: As you grow and learn as a blogger you will want to make your blog stand out with your own style and features right? So platforms like WordPress.org allow you to add themes, plugins, and custom designs to make your blog unique. - **Monetization Options**: If your plan is to make money from your blog (through ads, affiliate marketing, or selling products), choose a platform that allows that. **WordPress.org** is the best choice here because you have full control over how to earn. Some platforms like **Blogger** also allow monetization but with limited flexibility. - **Pocket-friendly**: Some platforms are free, but they may come with limitations, like having ads on your blog or a generic domain name e.g. yourblog.blogger.com. If you're serious about your blog, investing in a good platform can make it look more professional. - **Future Growth**: Think long-term. If you’re hoping to grow your blog into something bigger, choose a platform that will grow with you. **WordPress.org** is great for this because you can start simple but scale up as you add more content or features. Next is the list of some of the best platforms for blogging that you may consider choosing. ## Best Blogging Platforms ### 1. WordPress 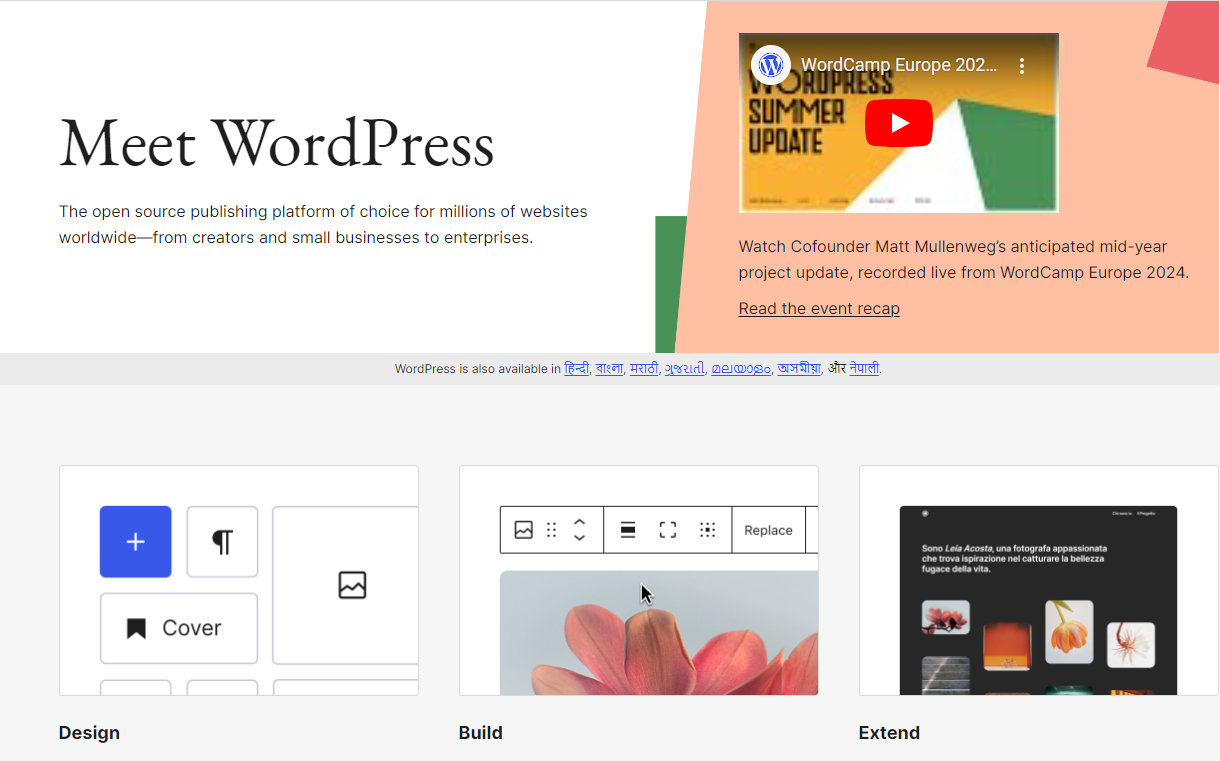 WordPress is considered as powerful website builder and [Powers over 43% of website](https://wordpress.org/about/features/) all over the web. But it doesn’t start that way. Before, WordPress began as a simple blogging tool and has since evolved into one of the most popular content management systems (CMS) in the world. The first version of WordPress, WordPress 0.7, was released on May 27, 2003. It was designed to be an easy-to-use platform for bloggers, with a focus on simplicity and user-friendliness. As it started gaining popularity it started evolving into something beyond just a blogging platform. One of the main reasons why it is considered as best blogging platform is its flexibility. Whether you're a beginner blogger or an experienced developer, WordPress can be customized to suit your needs. #### Benefits of using WordPress for Blogging - **Easy Customization and Flexibility**: With WordPress, you can easily customize your blog to look and work exactly how you want. There are thousands of themes and plugins you can use to change the design and add features. Whether you want a simple blog or a complex site with lots of functions, WordPress makes it possible. You can start small and grow your blog over time, adding new elements as you need them. - **Great Support and Community**: WordPress has a huge community of users and developers who can help you when you need it. There are lots of forums, blogs, and tutorials where you can find answers to your questions and learn new things. This means that whether you're just starting out or have been blogging for years, you can always find the help and support you need ***Also Read***: [*How to Add a Read More Button in WordPress*](https://qa.nexterwp.com/blog/wordpress-read-more-button/) to tidy up your post listings and improve blog UX. ### 2. Medium  Medium is an online publishing platform launched in 2012 by Twitter co-founder Evan Williams. It allows users to write, share, and read content across various topics. It combines elements of a social network and a blogging platform, making it easy for writers to reach a broad audience. If you want to start blogging without building a website then Medium is the best blogging platform for beginners. Because of its clean and simple editor blogging is easier and can focus on the content without getting distracted. With the help of its social features, readers can follow your profile, like, share your articles, and leave comments. Medium also has a "Publications" feature, which allows you to create your own online magazine and publish articles from other writers. If you're exploring how curated publications and content hubs are structured, our roundup of the [best news aggregator websites](https://qa.nexterwp.com/blog/best-news-aggregator-websites/) is worth a look. #### Benefits of Using Medium for Blogging - **Immediate Reach: **Medium has a large and active community of readers and writers, which means you can get your content in front of a broad audience without having to build your own following from scratch. - **Monetization Opportunities: **Medium offers the Medium Partner Program, which allows writers to earn money based on the engagement their stories receive. This can be a great way to monetize your writing without having to manage ads or seek out sponsors. ### 3. SquareSpace  Squarespace is a website building and hosting service that allows users to create and maintain websites without needing extensive technical skills. Also, it is considered as best website to build a blog. Its drag-and-drop interface makes it easy for users to create and manage their blogs. Its design tools are accessible even for those without coding experience, allowing anyone to build a professional-looking blog. Squarespace includes built-in blogging tools such as post scheduling, categorization, tags, and commenting. These features make it easy to organize content, engage with readers, and maintain a consistent posting schedule. #### Benefits of Using Squarespace for Blogging **All-in-One Platform:** Squarespace is an all-in-one platform that includes everything you need to run a successful blog. From hosting and domain management to built-in SEO tools, analytics, and e-commerce capabilities. **Reliability and Support:** It ensures that your blog is hosted on reliable, secure servers, providing excellent uptime and performance. Moreover, Squarespace offers 24/7 customer support to help you with any issues or questions. ***Read Further***: [*5 Best Table of Content Plugins for WordPress [Expert Picks]*](https://qa.nexterwp.com/blog/best-table-of-content-plugins-for-wordpress/) ### 4. Ghost 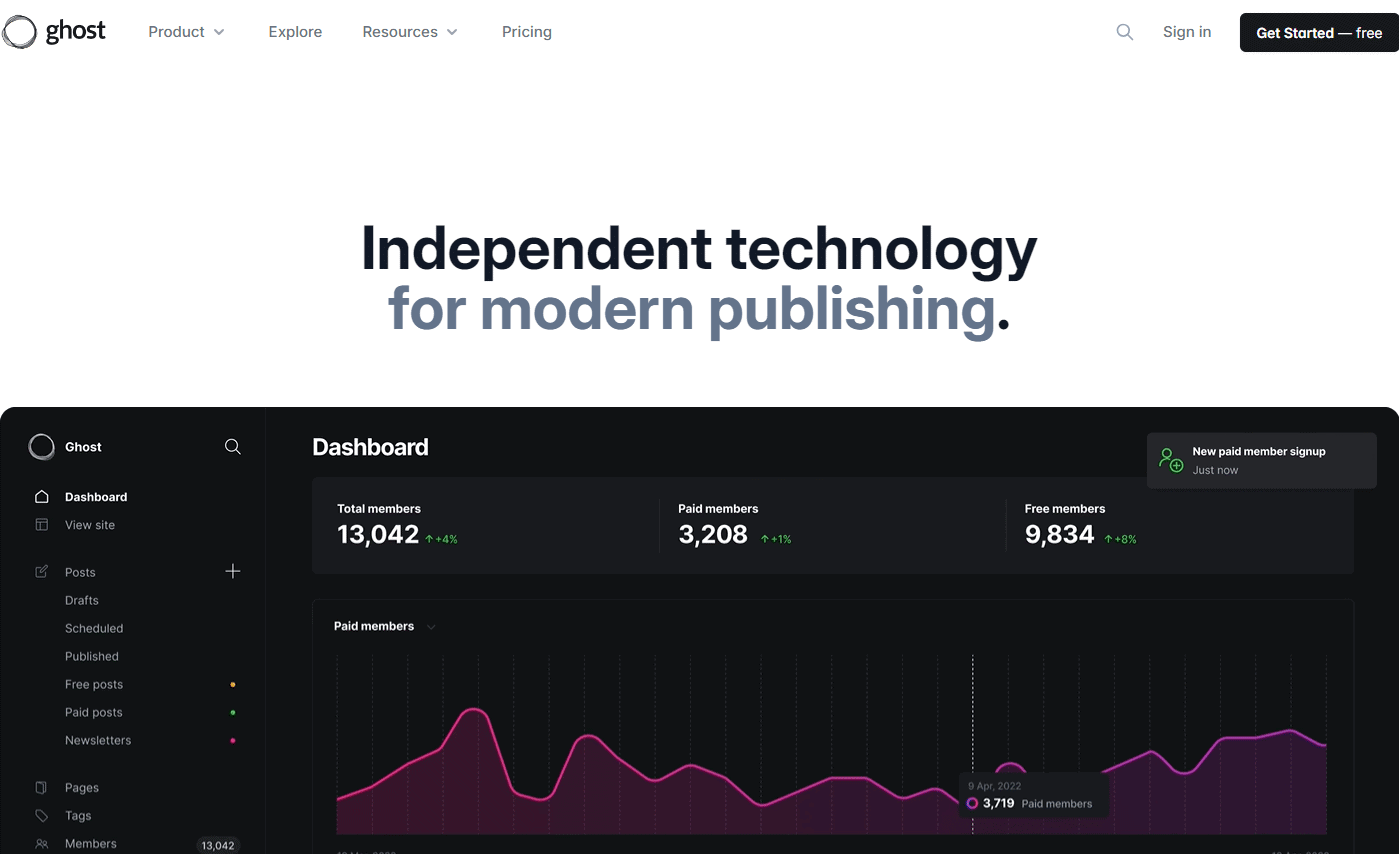 Founded in 2013, Ghost has gained popularity among bloggers and journalists for its clean and straightforward design. Ghost is the best blogging platform for professional publishers to create, share, and grow a business around content. The platform offers a distraction-free writing experience that allows you to concentrate on your work without any unnecessary clutter. Moreover, Ghost provides a range of features that make it easy to publish and distribute your content, including built-in SEO optimization and social media integration. #### Benefits of Using Ghost for Blogging - **Focused on Writing and Speed**: Ghost is designed for writers. It offers a distraction-free writing interface that prioritizes content creation. With its minimalist design and intuitive editor, you can focus more on creating stories and less on managing complex technical aspects. - **Customization and Control**: Unlike some other platforms, Ghost provides considerable customization options while maintaining simplicity. You have control over themes, code injection, and integrations with third-party services. This flexibility allows you to create your blog to reflect your brand and style effectively. ***Pro Tip****** *** Creating a stunning and engaging blog page can be a struggle if you don’t have the right tools and resources. But here is the solution, use [Blog Builder](https://qa.nexterwp.com/nexter-blocks/builder/wordpress-blog-builder/) by [Nexter Blocks](https://qa.nexterwp.com/) for creating engaging blog pages. It has top-level customization options to start a blog your own way. The best part is you don’t need to create a blog page from scratch with the help of its [cross-domain copy-paste](https://qa.nexterwp.com/nexter-blocks/extras/wordpress-cross-domain-live-copy-paste-content/) feature, you can simply copy the desired template from the demo page and paste it on your Gutenberg Editor. With just a blink of an eye, you have your own blogging page ready. ### 5. Blogger  If you have ever thought of starting a blog then Blogger.com is the first option that comes into mind. It is one of the best free platforms for blogging owned by Google. It is a straightforward platform that is easy to use, making it a great option for beginners. With a simple interface, Blogger allows you to create and publish your blog posts quickly and easily. Because of Google integrations, you can use various Google products like Google Analytics and AdSense. Which makes it easy to track and analyze your blog’s performance. In spite of being a free blogging platform, it offers a variety of customizable templates, allowing you to create a unique look for your blog, and can easily add widgets and gadgets to your blog. #### Benefits of Using Blogger for Blogging - **Perfect for beginners**: Because of its easy-to-use interface, you can start blogging without any hassle. You can quickly set up and customize your blog without needing technical expertise, allowing you to focus more on creating content and engaging with your audience. - **Google Integration**: Being a part of Google, it integrates with all the Google services like Google Analytics, and AdSense for monetization, and easy SEO optimization. This integration can help you reach a wider audience through Google's search engine. ***Recommended Reading***:[*5 Best WordPress Content Protection Plugins [Compared]*](https://qa.nexterwp.com/blog/top-wordpress-content-protection-plugins/) ### 6. Weebly  Weebly was founded in 2006 and offers a variety of tools to help you build and manage your website, including blogging features. The only reason it is included in the list of best blogging platforms is because of its beginner-friendly interface. It offers a range of attractive templates that make your blog look professional and appealing. You can customize these templates to fit your style, ensuring your blog stands out. Also, if you want to sell products through your blogs Weebly got you covered, it has e-commerce features that allow you to set up an online store and manage sales directly from your blog. Weebly also offers a range of SEO tools to help you optimize your blog for search engines eventually helping you sell more products. #### Benefits of Using Weebly for Blogging - **Quick Setup: **Setting up a blog on Weebly is straightforward and fast. You can choose a template, customize it, and start publishing posts within minutes. - **E-commerce Capabilities:** If you plan to monetize your blog, Weebly’s e-commerce integration is a significant advantage. You can easily add an online store to your blog, allowing you to sell products or services directly from your site. *Choosing the right hosting provider is important for your blog's performance and security. Check out the detailed guide on the *[6 Best WordPress Hosting Providers](https://qa.nexterwp.com/blog/best-wordpress-hosting-providers/)* to get started right*. ### 7. Substack  Lastly, Substack is the best blogging platform because of its unique subscription-based model that allows you to monetize your blogs directly from blog readers. Substack is easy to use, and it has a clean and simple interface that makes it easy to write and publish your content. It also has a directory of newsletters that users can browse and subscribe to. This can help you grow your subscriber base and reach a wider audience. #### Benefits of Using Substack for Blogging - **Simplicity and Focus on Content**: Substack simplifies the blogging process by handling technical aspects like hosting, design, and email delivery. This allows you to focus primarily on creating and sharing high-quality content without the distractions of managing a website. - **Built-in Audience Engagement**: Substack's integrated email newsletter feature helps build and maintain a direct relationship with your readers. You can easily send updates, new posts, and exclusive content directly to your subscribers' inboxes. ***Worth Reading***: [*5 Best WordPress Content Protection Plugins [Compared]*](https://qa.nexterwp.com/blog/top-wordpress-content-protection-plugins/) ## 7 Effective Blog Writing Tips to Get Started - **Start with Passion**: Choose a topic you genuinely enjoy writing about. Passion works as fuel which helps you stay motivated during the ups and downs of blogging. - **Authenticity Matters**: Write from your own perspective and voice. Readers appreciate genuine content that reflects your unique personality and insights. - **Set Realistic Goals**: Define clear goals for your blog, whether it's reaching a certain number of subscribers, publishing frequency, or monetization. Break these goals into smaller, actionable steps. - **Network and Collaborate**: Build relationships with other bloggers and influencers in your niche. Collaborate on projects, guest post exchanges, or joint webinars to expand your reach. - **Accept Feedback**: Welcome constructive feedback from your readers. It helps you improve your writing, understanding of your audience better, and build a loyal community. - **Learn from Analytics**: Use tools like Google Analytics to track what content resonates most with your audience. Adjust your topics and writing style based on what performs well. - **Be Consistent and Adaptive**: As you know, consistency is a key to success but along with that always be flexible to adapt to new trends, reader feedback, and your evolving interests. ***Suggested Reading***: [*Ultimate Blog Post Checklist [17-Step Easy Guide]*](https://qa.nexterwp.com/blog/ultimate-blog-post-checklist/) ## Which Blogging Platform Should You Choose? Blogging is a powerful medium for sharing your thoughts, experiences, and expertise with a global audience. It's an engaging way to connect with like-minded individuals and build a community around your interests. Whether you’re writing about travel, technology, food, or personal stories, blogging allows you to express yourself creatively and share valuable insights. Also, choosing the best blogging platform is important as it provides the tools and features you need to focus on creating high-quality content without worrying about technical complexities. What blogging platform to choose totally depends on personal preferences and requirements. But still, there are some factors you can consider to choose the perfect blogging platform to start your blogging journey. Firstly, the platform should be **easy to use**, which means it should be beginner-friendly so that you can get started without any hassle. Second, it should have a **strong community**, a strong community means access to forums, tutorials, and expert advice that can guide you through any challenges. Third, if in the future you want to do more than just blogging such as starting an online business or want to start an e-commerce store then the platform should have all the functionalities to help you with that so that you don’t need to change your platform and start everything from scratch. So, after going through all the factors mentioned above one blogging platform can be considered which is WordPress. It is an all-in-one platform that fulfills all the factors mentioned above and many more. Now if you have made up your mind to start blogging with WordPress and want to create an attractive blog page then we highly recommend you to use [***Nexter Blocks***](https://qa.nexterwp.com/). With its over 90 essential Gutenberg Blocks not only a blog page but you can create a fully functional and attractive website that stands apart without even writing a single line of code. Check out the complete [collection of 90+ Essential Gutenberg blocks](https://qa.nexterwp.com/nexter-blocks/) here. Happy Blogging. ## FAQs on Best Blogging Platforms ### Are blogs still relevant in 2025? Yes, blogs remain highly relevant in 2025. They serve as powerful platforms for sharing information, building communities, and improving SEO. With diverse topics and interactive content, blogs continue to engage audiences effectively, making them a valuable tool for individuals and businesses alike. ### How to start a blog for free and make money? Starting a blog for free and making money involves choosing a platform like WordPress.com or Blogger, creating engaging content, and monetizing through ads, affiliate marketing, or selling products. ### How to pick a blogging platform? To pick a blogging platform, consider your goals, technical skills, and budget. Look for user-friendly interfaces, customization options, SEO tools, and community support. ### Which blog earns more money? Blogs that earn the most money typically focus on high-demand niches such as personal finance, health and wellness, digital marketing, and technology. They combine quality content with effective monetization strategies like affiliate marketing, sponsored posts, and selling digital products or courses. Consistent traffic and audience engagement are key. ### How many blog views are needed to make money to make money? The number of blog views needed to make money varies greatly and depends on factors like niche, audience engagement, and monetization methods. Generally, having at least 10,000 monthly views can start generating income through ads, affiliate marketing, or sponsored posts, but higher traffic increases earning potential. --- # 7 Best WordPress SEO Friendly Themes [boost Organic Traffic] Source: https://qa.nexterwp.com/blog/best-wordpress-seo-friendly-themes/ Are you Looking for an SEO Friendly WordPress theme? Whether you are blogging or running an online store, choosing the right WordPress theme is Important. WordPress SEO Friendly themes can help you to get better ranking which enhances your site's visibility in search engines and your website will get a good amount of traffic. In this blog post, we'll cover the best WordPress SEO Friendly themes that can help boost the rank of your website on search engines. Let's get started! ## What are WordPress SEO Friendly Themes? WordPress SEO Friendly themes are website themes designed to be optimized for search engines, making it easier for search engines to crawl and index the website's content.  These themes often include features like clean and efficient code, fast loading times, mobile responsiveness, structured data markup, and customizable SEO settings. Using an SEO-friendly theme, you can improve the chances of your website ranking higher in search engine results pages and attract more organic traffic to your site. ### Benefits of Using WordPress SEO Friendly Themes Here are some of the benefits of using SEO Friendly Themes for your WordPress website. - **Better Search Engine Rankings**: An SEO-friendly theme helps your website rank higher on Google and other search engines. For instance, a bakery started appearing on the first page of Google, bringing in more customers. - **Faster Website Load Times**: These themes make your website load faster. For example, an online store noticed fewer people leaving quickly and more people buying products after switching to a faster theme. - **Works Well on Mobile Devices**: SEO-friendly themes look good and function well on phones and tablets. A photographer's site, for example, attract more clients because it looks great on mobile phones. - **Better User Experience**: These themes are easy to navigate, enhancing the user experience. A travel blog, for example, saw visitors staying longer and viewing more pages, leading to higher ad revenue. - **Built-in SEO Tools**: Many SEO-friendly themes come with built-in tools that help with search engine optimization. A tech review site improved its search result appearance, leading to more clicks and visitors, by using these built-in SEO tools. ## Best WordPress SEO Friendly Themes Compared Let’s take a look at some of the top WordPress SEO friendly themes that you can consider. | **S.no.** | **Themes** | **Pricing** | | --------- | ---------- | ----------- | | 1 | [Nexter](https://qa.nexterwp.com/) | Free + $39/year | | 2 | [Simple Nova](https://wordpress.org/themes/simple-nova/) | $39/year | | 3 | [GeneratePress](https://wordpress.org/themes/generatepress/) | Free + $59/year | | 4 | [Superb ECommerce](https://wordpress.org/themes/superb-ecommerce/) | $39/year | | 5 | [Minimalist Writer](https://wordpress.org/themes/minimalist-writer/) | $39/year | | 6 | [OceanWP](https://wordpress.org/themes/oceanwp/) | Free + $44/year | | 7 | [Neve](https://wordpress.org/themes/neve/) | Free + $139/year | ### 1. Nexter SEO Friendly WordPress Theme 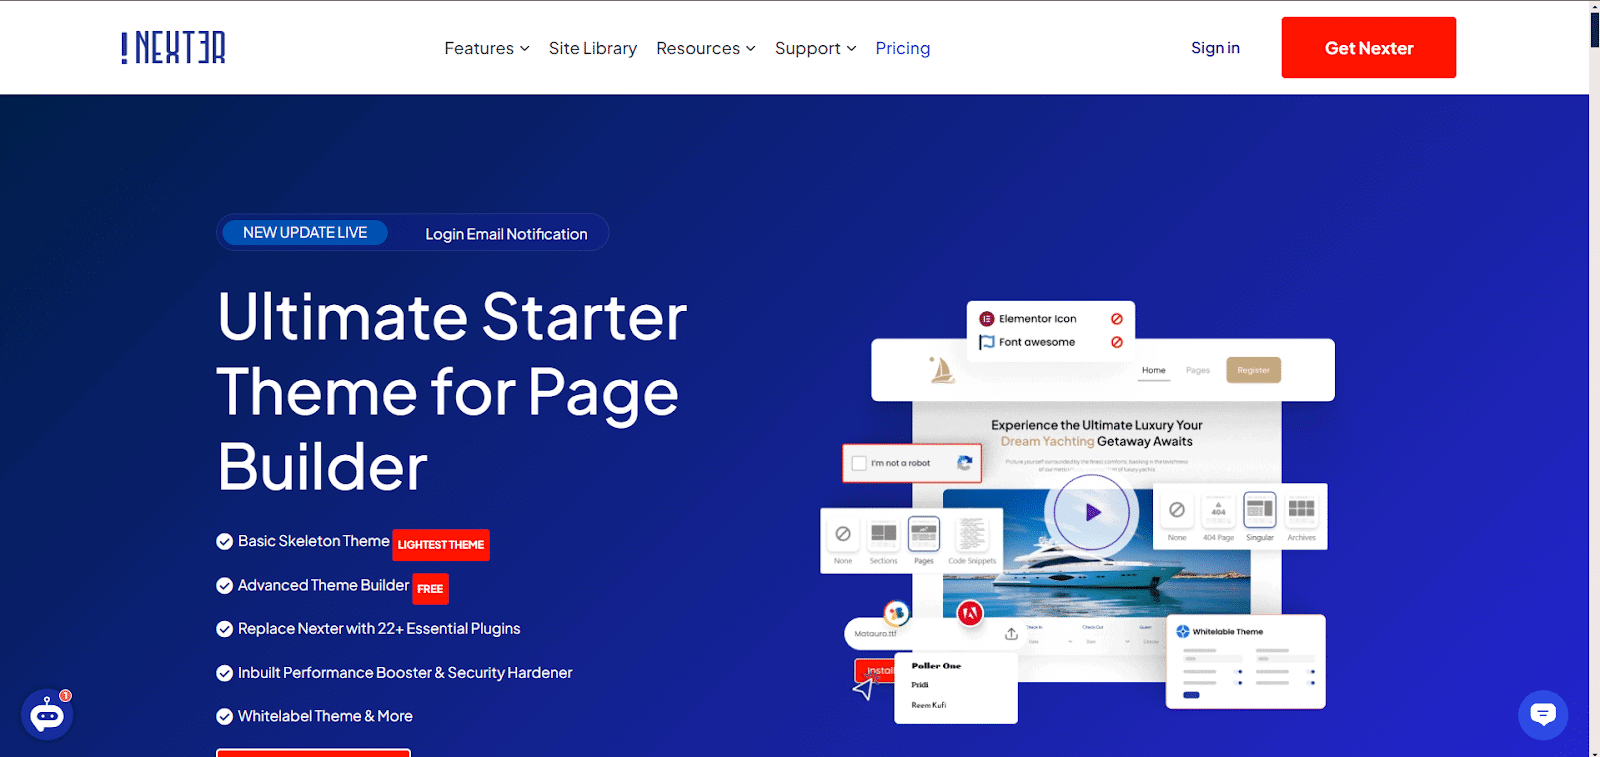 Nexter is the best WordPress SEO Friendly theme available that offers a range of features to enhance website performance and functionality. Its lightweight nature and advanced security features contribute to improving website performance and user experience, which are important factors for search engine rankings. It provides built-in features that eliminate the need for additional plugins, reducing server requests and improving website security with Google reCAPTCHA integration which improves load times, user experience and protect your website from spam and malicious activities. This theme can significantly impact your website's performance by improving search engine rankings, enhancing load times, optimizing mobile functionality, and providing Breadcrumb schema markup which helps Google crawl and index your pages more effectively. With Nexter you can achieve improved search engine rankings can significantly boost your online visibility and attract more potential customers to your website. #### Key Features of Nexter SEO Friendly WordPress Theme - **Ultra-light architecture**: Nexter is built on ultra-light architecture (less than 50 KB), making it lightweight and fast. This ensures that your website loads quickly, which is crucial for SEO and user experience. - **Inbuilt security features**: Nexter comes with inbuilt security features that protect your website from malicious attacks. This ensures that your website is safe and secure, which is important for SEO and user trust. - **SEO friendly**: Nexter is designed to be SEO friendly, ensuring that your website ranks high in search engine results pages (SERPs). It is optimized for speed, mobile responsiveness, and clean code, which are important factors for SEO. - **No need for third-party plugins**: This theme has lots of inbuilt features that reduce to installation of lots of plugins. Which reduces the load on your website and - **Regular updates**: Nexter is regularly updated with new features and bug fixes, ensuring that your website stays up-to-date and secure. This feature plays a huge role in search engine visibility. #### Pricing of Nexter SEO Friendly WordPress Theme Nexter WP theme is freely available to download from the WordPress repository. But you can upgrade to the premium version for $39/year to access additional features. You also get the premium versions of [Nexter Blocks](https://qa.nexterwp.com/nexter-blocks/) or [The Plus Addons for Elementor](https://theplusaddons.com/) as part of the deal. [Learn More](https://qa.nexterwp.com/) ### 2. Simple Nova 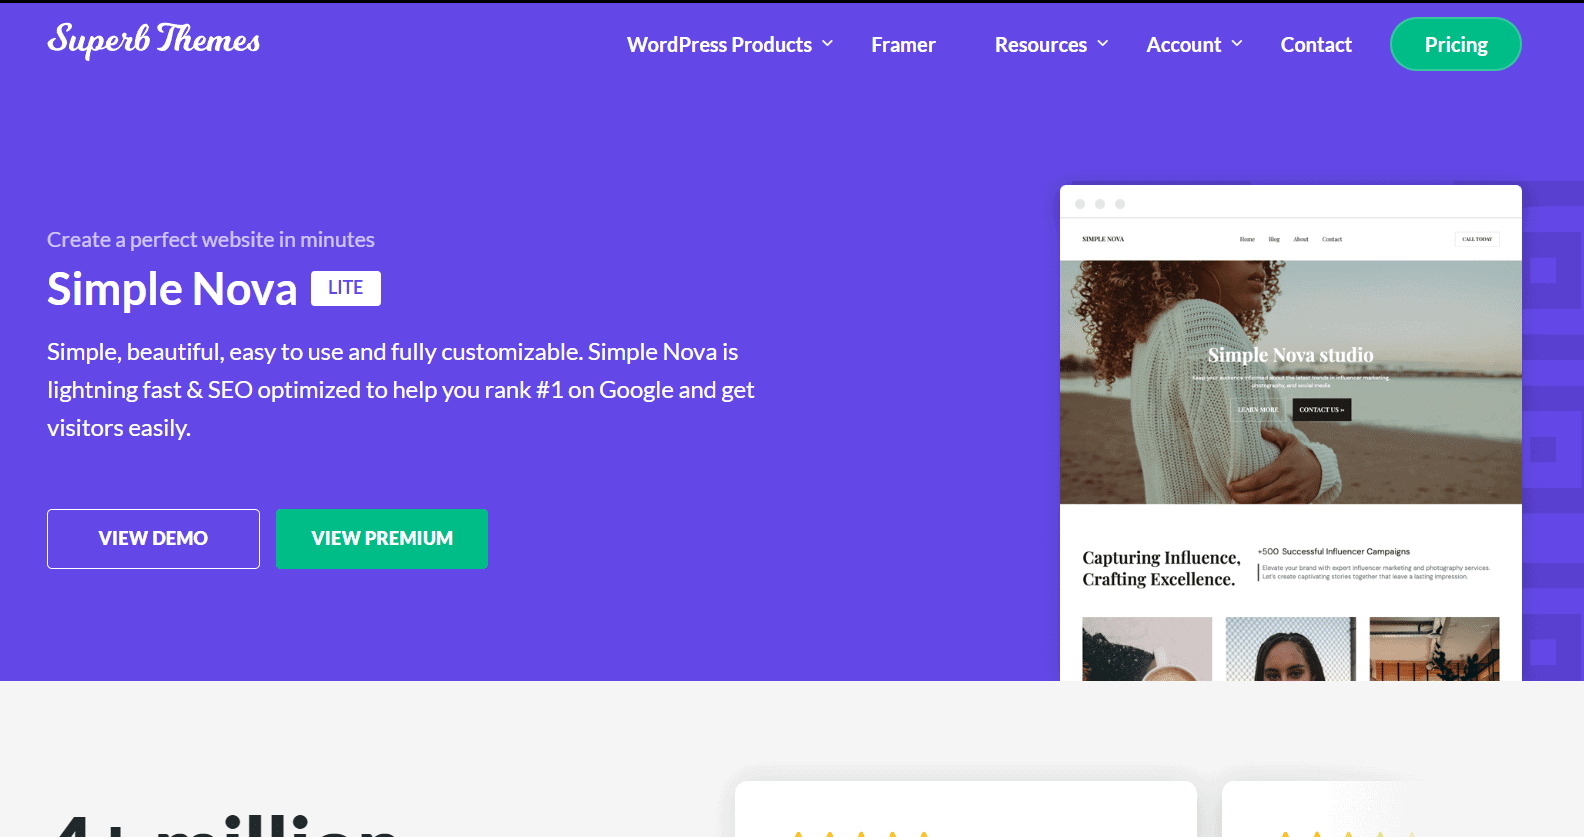 Simple Nova by SuperbThemes is a top-notch free WordPress theme that's great for everyone from bloggers to big companies. It has a sleek, modern design with a cool dark mode option that looks good while keeping things simple. The theme works well on all devices, so everyone gets a smooth experience. It's not just about looks – Simple Nova is also set up for search engines, so your content can be easily found. You can customize it easily with popular page builders like Elementor and Gutenberg, making it perfect for online stores or personal blogs. #### Key Features of Simple Nova - **Mobile-friendly and AMP-ready**: The theme is designed to be mobile-friendly and is compatible with AMP (Accelerated Mobile Pages) for fast loading on mobile devices. - **Optimized for search engines**: The theme is fully optimized for search engines, ensuring that your website is easily discoverable and ranks well in search results. - **Supports e-commerce**: The theme is compatible with e-commerce platforms, allowing you to easily set up and manage online stores. - **Easy 1-click content import**: The theme offers a simple 1-click content import feature, making it easy to set up and customize your website with pre-designed content and layouts. #### Pricing of Simple Nova You can buy the Simple Nova Premium Plan at $39 which is a one-time purchase plan, the SuperbThemes Premium Subscription Plan at $79, and the SuperbThemes Premium Lifetime Plan at $215. [Learn More](https://wordpress.org/themes/simple-nova/) ### 3. GeneratePress 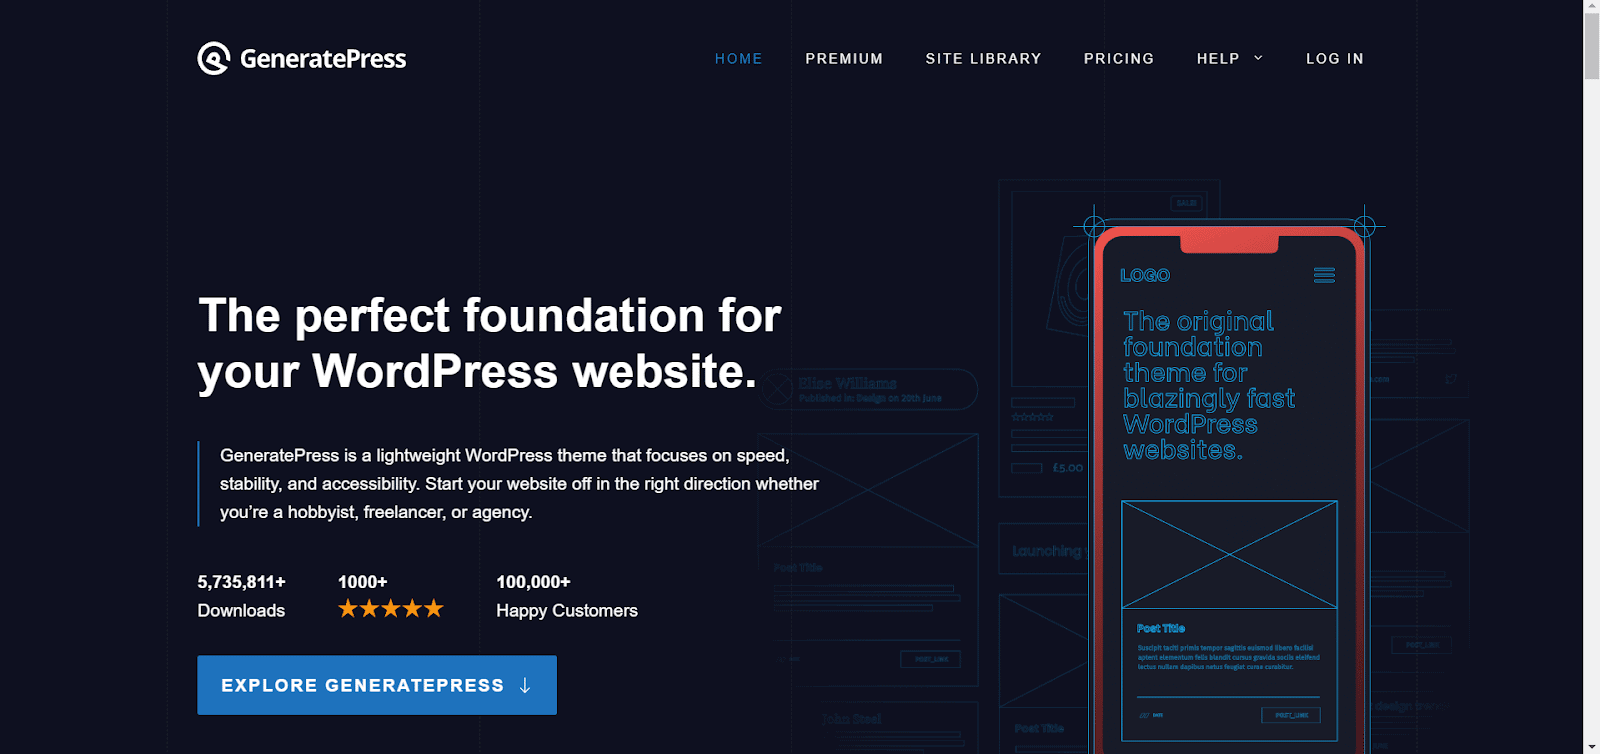 GeneratePress can be considered a powerful minimalist theme, known for its simplicity and strong performance in terms of SEO. This theme offers a plethora of customization options like colors, typography, and background images so you can customize your website in such a way that it matches your brand colors. Also, if you have a Woocommerce store then this theme helps you add more customization flexibility, and control to your store. It prioritizes performance, accessibility, and SEO best practices, ensuring proper crawling by search engines and accessibility for all web users. #### Key Features of GeneratPress - **Lightweight and Fast**: GeneratePress is a lightweight theme that loads quickly, which is important for SEO. The theme is less than 30kb in size, and it is optimized for speed. - **Mobile Responsive**: GeneratePress is a responsive theme, which means that it will look great on any device. This is important for SEO because Google now uses mobile-first indexing. - **Schema Markup**: GeneratePress includes built-in schema markup, which is important for SEO. Schema markup helps search engines understand the content on your website, which can improve your search engine rankings. - **Accessibility Ready**: GeneratePress is designed to be accessible, which means that it is easy to use for people with disabilities. This is important for SEO because Google now considers accessibility as a ranking factor. #### Pricing of GeneratePress Generate Press offers 2 types of plans yearly and lifetime plan. Its yearly or lifetime plan has the same features. Its yearly plan starts at just 59$/year and its lifetime plan 249$. [Learn More](https://wordpress.org/themes/generatepress/) Read Blog: [9 Best GeneratePress Alternatives [Build Stunning Sites]](https://qa.nexterwp.com/blog/generatepress-alternatives/) ### 4. Superb ECommerce 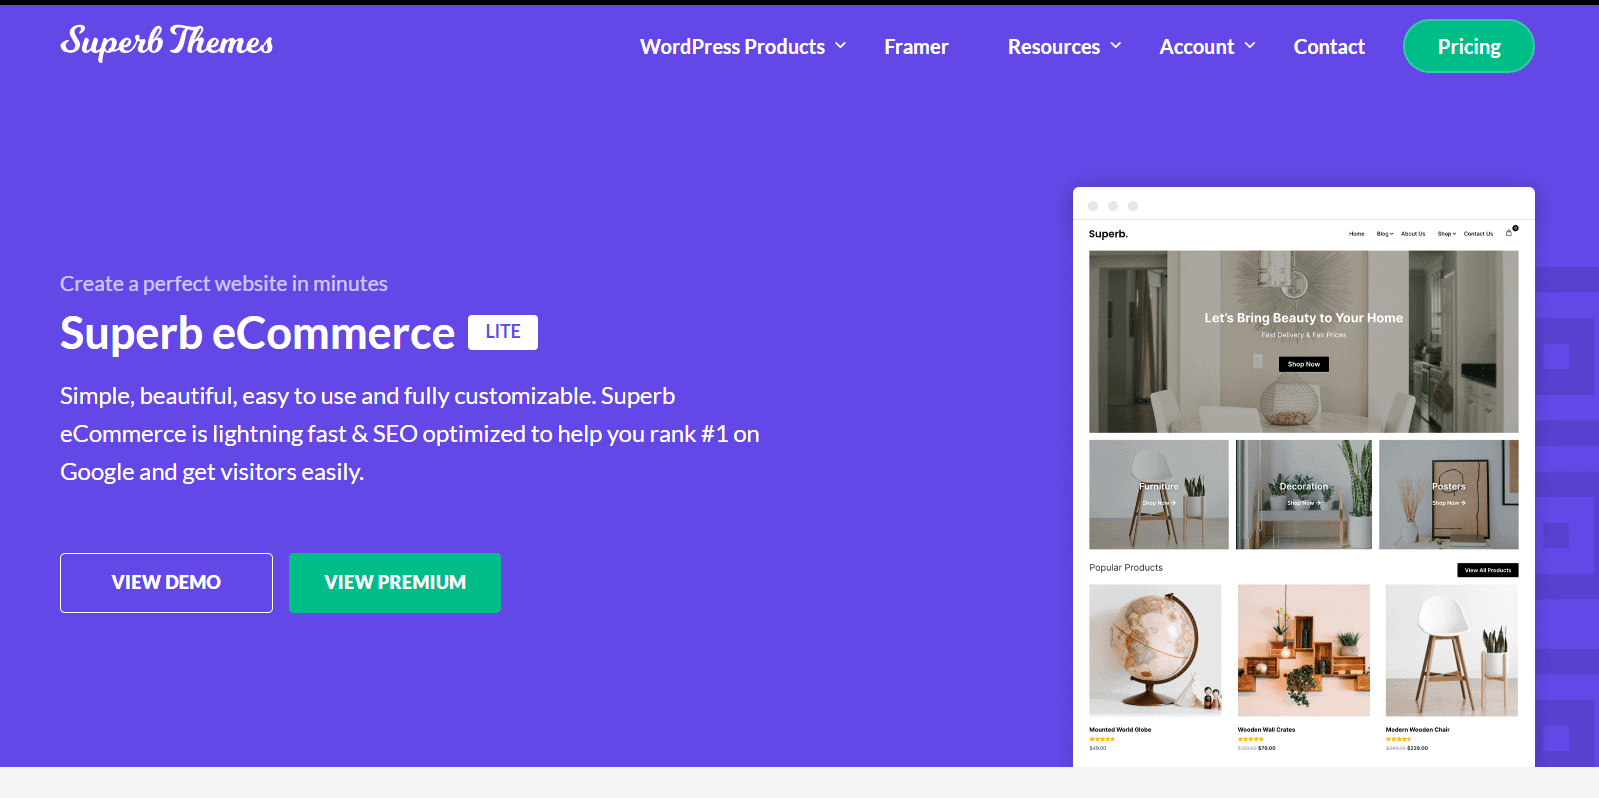 Superb eCommerce by SuperbThemes is a fresh WordPress theme designed to smoothly integrate with WooCommerce and Easy Digital Downloads, making it an excellent choice for launching your online store. This versatile theme is compatible with a wide range of blocks, page builders, and widgets, offering flexibility and ease of use. It features a clean and user-friendly blog layout, allowing for quick and hassle-free blog setup. Superb eCommerce is fully optimized for search engines and is compatible with various plugins, enabling you to enhance your website's functionality. It also ensures fast page speed, clean code, and full GDPR compliance, providing a competitive edge. With its strong features and seamless integration, Superb eCommerce is an ideal solution for creating a powerful and visually appealing online store on your WordPress website. #### Features of Superb ECommerce - **Fully SEO Optimized**: The theme is designed and structured to be search engine friendly, helping to improve the website's visibility and ranking in search results. - **Multiple Website Support**: This feature allows you to use the same theme on multiple websites or create a network of websites from a single WordPress installation. - **Customizable Fonts and Colors**: You can change the fonts and colors of your website to match your brand. - **Importable Demo Content**: Users can easily import pre-designed demo content, making it simpler to set up and customize their website with ready-made layouts and designs. #### Pricing of Superb ECommerce You can Buy the Superb ECommerce Premium Plan at $39 which is a one-time purchase plan, the SuperbThemes Premium Subscription Plan at $79, and the SuperbThemes Premium Lifetime Plan at $215. [Learn More](https://wordpress.org/themes/superb-ecommerce/) ### 5. Minimalist Writer 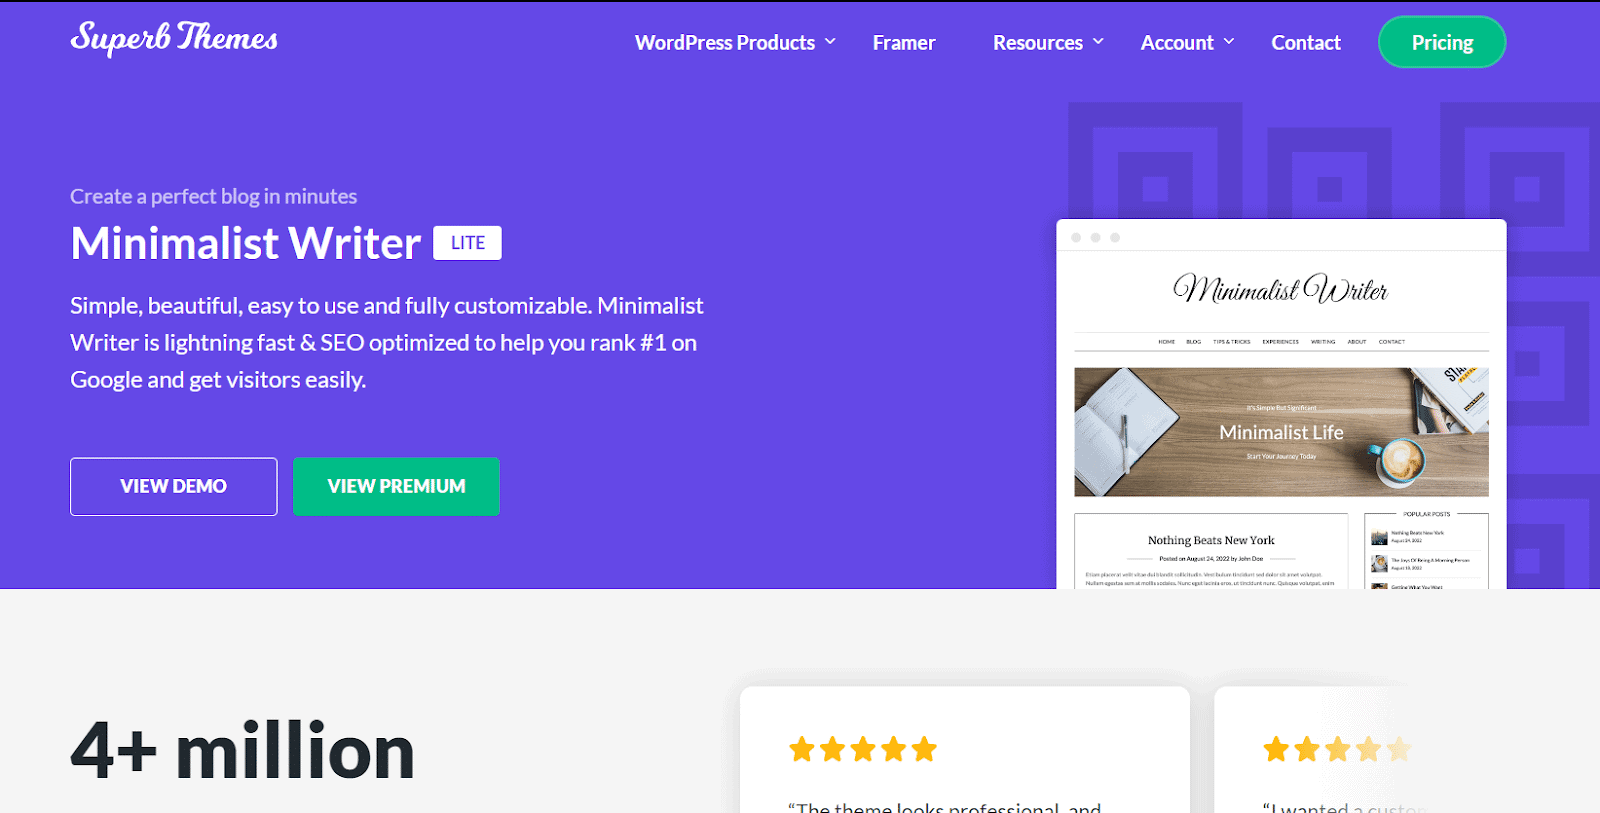 The Minimalist Writer theme is versatile and suits various content types such as reviews and affiliate posts. It is designed for high search engine visibility and offers ample space for ads. You have the flexibility to place ads wherever you prefer, and it seamlessly integrates with AdSense, enabling you to generate revenue from ads. No matter the nature of the content you intend to share on your new blog or similar platform, this theme is an ideal option for you. Its adaptability, search engine optimization, and ad-friendly layout make it a practical and profitable choice for content creators and bloggers. #### Key Features of Minimalist Writer - **Fully SEO Optimized**: The theme is structured and designed with search engine optimization in mind, ensuring that the website is easily discoverable and ranks well in search engine results. - **Translation Ready**: This feature allows the theme to be easily translated into different languages, making the website accessible to a wider audience. - **Pagespeed Plugin**: This feature indicates that the theme is compatible with a plugin designed to optimize page loading speed, which is a crucial factor for SEO and user experience. - **Elementor Compatible**: The theme is compatible with Elementor, a popular page builder plugin, allowing users to create and customize web pages with ease. #### Pricing of Minimalist Writer You can Buy the Simple Nova Premium Plan at $39 which is a one-time purchase plan, the SuperbThemes Premium Subscription Plan at $79, and the SuperbThemes Premium Lifetime Plan at $215. [Learn More](https://wordpress.org/themes/minimalist-writer/) ***Suggested Reading****: *[*Best 5 WordPress Theme Builders (Includes FREE)*](https://qa.nexterwp.com/blog/best-drag-and-drop-wordpress-theme-builders/) ### 6. OceanWP  OceanWP can be considered a great WordPress theme for SEO. This theme is specially designed for business and e-commerce websites. Renowned as one of the highest-rated WordPress themes on WordPress.org, it offers a wide array of functionalities. It is fully optimized for search engines, enhancing its visibility and accessibility. As a free theme, it provides users with a cost-effective solution for creating professional and responsive websites. Its adaptability and user-friendly features make it a popular choice for businesses and online shops looking to establish a strong online presence. With its impressive range of features and strong performance, OceanWP stands out as a reliable and versatile option for WordPress users seeking a strong and visually appealing theme. #### Key Features of OceanWP - **Lightweight and Fast**: OceanWP is designed to be lightweight and fast, which means that your website will load quickly and provide a great user experience. This is important because Google takes page speed into account when ranking websites. - **SEO-friendly**: This theme is built with SEO in mind, which means that your website will be optimized for search engines right out of the box. This includes things like clean code, fast loading times, and mobile responsiveness. - **Compatibility with page builders**: This theme is fully compatible with popular page builders like Elementor, Beaver Builder, and Divi, which means that you can easily create custom pages and layouts without having to code anything yourself. - **Translation & RTL: **With the help of the Translation and RTL feature you can allow your website visitors to translate your website content into their native language and also supports languages that are read from right to left which makes your website accessible globally. #### Pricing of OceanWP OceanWP has 4 plans for 1 site there is a Starter Plan at $44 per year, for 3 sites there is a Personal Plan at $54 per year, for 10 Sites there is a Business at $89 per year and for 300 sites there is an Agency at $159 per year. [Learn More](https://wordpress.org/themes/oceanwp/) Read more: [Best OceanWP Alternatives [With Comparison Table]](https://qa.nexterwp.com/blog/oceanwp-alternatives/) ### 7. Neve  Neve can be considered a versatile WordPress theme designed with the user in mind, This theme is ideal for e-commerce sites, small businesses, etc. Also, this theme is highly responsive and SEO-optimized. Whether you're a beginner or an experienced user, you can easily customize your pages using the intuitive drag-and-drop feature with Elementor or Beaver Builder. It provides a collection of free starter sites made for various purposes such as business, online stores, blogs, portfolios, travel, and agency websites, catering to a wide range of needs. With its focus on speed, flexibility, and user-friendly customization options, Neve empowers users to create professional and visually appealing websites without the need for extensive technical knowledge, making it a valuable asset for anyone looking to establish a strong online presence. #### Key Features of Neve - **Mobile-first approach**: Neve is built with a mobile-first approach, which means it's designed to look great on all devices, including smartphones and tablets. This is important because Google now considers mobile-friendliness as a ranking factor. - **Fast loading**: It is optimized for speed, which means your website will load quickly. This is important because site speed is also a ranking factor. - **SEO-friendly**: This theme built with SEO in mind, which means it's optimized for search engines. It has clean code, schema markup, and other SEO features that can help improve your website's visibility in search results. - **Integration with popular page builders**: Neve integrates easily with popular page builders like Elementor, Beaver Builder, and Visual Composer. This makes it easy to create custom pages and layouts without any coding knowledge. #### Pricing of Neve Neve has 3 plans the personal plan at $139/year, the business plan at 299/year, and the Agency at $519/year. [Learn More](https://wordpress.org/themes/neve/) *Do you want to automate your SEO performance with AI? Here are* the [***5 Best WordPress SEO Plugins using AI***](https://qa.nexterwp.com/blog/best-wordpress-seo-plugins-using-ai/). ## Which WordPress SEO Friendly Theme Should You Choose? Choosing the right WordPress SEO friendly theme can be a daunting task when there are a plethora of options available. Still, there are some basic factors that you may consider while choosing a perfect SEO-optimized theme for your WordPress site. Firstly, the theme should be **Highly Customizable,** which means you should be able to customize each and every corner of the theme so that it matches your brand colors. Second, it should be **Light Weight,** which means if the theme is light in weight then it will take less time to load which is important from an SEO point of view. The theme you are choosing should be **Highly compatible** with other plugins so that there are no conflicts between the plugin you are using and the theme. Lastly, the theme should be **Mobile Friendly,** As nowadays most users access the website from their mobile or tablets so it's important to provide a smooth experience to mobile users. After all, choosing the right WordPress SEO optimized theme totally depends on personal and business needs. But if you are still wondering which theme to choose, then we highly recommend you to use [Nexter Theme](https://qa.nexterwp.com/) as it fulfills all the factors mentioned above. This theme offers a plethora of inbuilt features that can replace multiple plugins like Code Snippets, Google reCAPTCHA, Google Fonts, Replace text and URL, Regenerate Thumbnail, and many more so that you don’t have to use different plugins for different purposes which makes your website lightweight and faster that eventually helps you to get higher ranking on search engines. ***Also Read:** A fast theme is only half the SEO picture, structured navigation matters too. Add the [best breadcrumb plugins for WordPress](https://qa.nexterwp.com/blog/breadcrumb-plugins-for-wordpress/) to help search engines understand your site structure.* ***Further Reading:**** Finalized your SEO friendly WordPress theme? Next up, use plugins to enhance the SEO more, check the *[***5 Best Free SEO Plugins for WordPress [Boost Traffic]***](https://theplusaddons.com/blog/best-free-seo-plugins-for-wordpress/)***.*** ## FAQs on WordPress SEO Friendly Themes ### Will I lose Google ranking if I redesign or redevelop my website? When redesigning or redeveloping your website, it's crucial to take precautions to avoid negatively impacting your SEO ranking. By adhering to best practices such as maintaining consistent site structure and URLs, implementing 301 redirects, and updating your sitemap and robots.txt files, you can preserve or potentially enhance your ranking. ### Are WordPress themes SEO-friendly by default? Not all WordPress themes are good for SEO, but many are. When picking a theme, choose one that is lightweight, loads fast, and has clean code. Also, make sure it's mobile-friendly and offers a good user experience. Check reviews and ratings to see if others have had SEO success with the theme. ### Does a website theme matter for SEO? Your website theme can impact your SEO. A poorly coded or slow-loading theme can hurt your ranking, while a fast-loading, mobile-responsive theme can help improve it. A good user experience also boosts SEO. ### Is a single-page website bad for SEO? Single-page websites can present challenges for SEO due to limited content and keyword targeting. However, strategic optimization and high-quality content can mitigate these challenges. ### Which page element carries the most weight for SEO? The title tag carries the most weight for SEO as it provides a concise and relevant description of the page's content, influencing search engine rankings and user click-through rates. ### Which font is SEO-friendly?Which font is SEO-friendly? Fonts like Arial, Verdana, and Georgia are considered SEO-friendly due to their readability and widespread support across different devices and browsers. Using web-safe fonts ensures consistent display and accessibility, positively impacting user experience and potentially SEO. ### Can too much content hurt SEO? Excessive low-quality or repetitive content can harm SEO by diluting keyword relevance, diminishing user experience, and triggering search engine penalties. However, comprehensive, high-quality content that adds value to users can positively impact SEO. ### How do I know if my content is SEO-friendly? To ensure SEO-friendly content, focus on relevance, readability, and keyword optimization. Use relevant keywords naturally, structure content with headings and subheadings, and provide valuable information. Also, consider user intent, mobile-friendliness, and page speed for a well-rounded SEO approach. --- # 7 Best WordPress Form Builder Plugins [With Free Styler] Source: https://qa.nexterwp.com/blog/best-wordpress-form-builder-plugins/ Are you looking for a WordPress form builder for your website? Then, you are at the right place. An online form is absolutely necessary if you have a business or are serious about improving your site’s user experience. That is where form builder plugins become a vital addition to your WordPress setup. A WordPress forms plugin lets you create all kinds of custom forms, whether a simple contact form, payment form, user registration form, or a user subscription form. But it can be difficult for anyone seeking a form builder plugin to pick the right option from the sea of plugins listed on the WordPress repository. That is why we have prepared a list of the best form builders to help you find the perfect form plugins. In this blog, we will look at the features and pricing of some of the best form builders on WordPress. We will also hook you up with steps to style your forms without custom CSS and HTML. Instead, we will use the Gutenberg block editor and form styler widgets. So, without further ado, let’s dive straight in. ## What Is a WordPress Form Builder Plugin? Form builder plugins for WordPress allow you to create and embed forms on your website. Depending on the input you plan to record from the visitor, you can add text boxes, fields, checkboxes, etc., to your forms. Or you can skip the manual process and pick from prebuilt templates to create forms in a few clicks. Besides, you can also create advanced forms by integrating functions like file upload, payment gateways, Google reCAPTCHA, etc. Take a look at a form created using the Contact Form 7 plugin and stylized with [Nexter Blocks'](https://qa.nexterwp.com/nexter-blocks/blocks/wordpress-contact-form-stylers/) form styler: ## Best WordPress Form Builder Plugins Here are the best form builder for WordPress: | Sr. No. | Plugin | Cost (Starting from) | | ------- | ------ | -------------------- | | 1 | Gravity Forms | $59 | | 2 | Everest Forms | Free + $69/year | | 3 | Contact Form 7 | Free | | 4 | Bit Form | $25/year | | 5 | MotoPress Booking Calendar | Free + $49/year | | 6 | Ninja Forms | Free + $99/year | | 7 | WP Forms | Free + $99/year | ### 1. Gravity Forms  If you are looking for a premium WordPress form plugin, add Gravity Forms to your wish list. It takes the first spot in our list because it is a beginner-friendly plugin with plenty of advanced features, making it worth its price. The plugin has a built-in visual form builder, so you do not need coding to create even complex forms. You can create forms within minutes using the drag-and-drop tools. There is also a preview feature to review your design before finalizing a form. Whether simple contact forms, multi-page forms, or payment forms, you can create all types of forms using Gravity Forms. Besides, you get over 30 field types to collect a wide range of form entries. #### Key Features of Gravity Forms Below are some powerful features that Gravity Forms brings to the table: - **Visual Form Builder:** The built-in visual form builder makes Gravity Forms a beginner-friendly plugin. You can easily create custom forms from scratch using drag-and-drop tools. - **Form Accessibility Controls:** The Gravity Forms plugin lets you schedule when your forms are accessible on your website. You can also limit the responses your forms can collect. - **Conditional Logic:** You can customize which form fields are shown/hidden based on user responses. As a result, your form's user experience is tailored to each individual interacting with it. - **Multi-Column Layout:** The form plugin supports multi-column form layouts. Each field in the forms can have up to three columns. - **Spam Protection:** To prevent spam responses, you can enable Google reCAPTCHA to verify a user's identity before submission. #### How to Style Gravity Forms in WordPress? 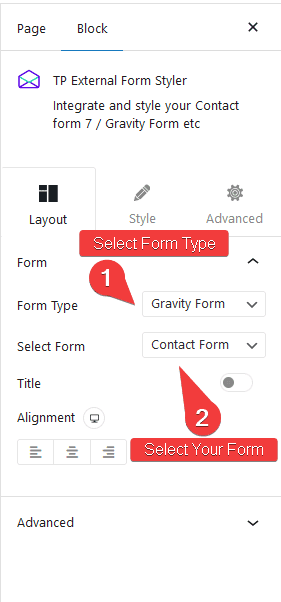 To style Gravity Forms, follow the steps given below: - Install and activate the Gravity Forms plugin on your WordPress setup. - Create a new form and select its fields. - Next, you will need the Gravity Forms block from Nexter Blocks. This addon will add a block to the Gutenberg editor you can use to create forms. - Go to Nexter Blocks settings and enable TP External Form Styler. - In the Gutenberg editor, click the "**+**" icon and select the TP External Form Styler block. Select "**Gravity Form**" in the Form Type. - To edit the look and feel of the form, head over to Block settings on the right side of your screen. You can change the form type in the Layout section. Customization options are present in the Style section.  #### Pricing of Gravity Forms As mentioned earlier, Gravity Forms is a premium plugin with a Basic license starting at $59 that provides support for a single website. The Pro license costs $159, supports up to three websites, and includes priority support and access to more add-ons. The Elite license at $259 offers unlimited site support, access to all of Gravity Forms' features and add-ons, and priority support. [Learn More](https://www.gravityforms.com/) #### Pricing of Gravity Forms Styler The Gravity Forms Styler Block is free with Nexter Blocks' core version. You can create unlimited forms and access all features without using your credit card. [Check Gravity Forms Styler](https://qa.nexterwp.com/nexter-blocks/blocks/wordpress-contact-form-stylers/) *Using Gutenberg block editor for designing your WordPress website? Then, check out the **[12 Gutenberg Addons you must have](https://qa.nexterwp.com/blog/best-gutenberg-plugins/).*** ### 2. Everest Forms  Second on our list is another beginner-friendly WordPress form builder plugin, Everest Forms. It equips users with premade templates to quickly add forms to their website. There is also a drag-and-drop builder you can use to edit forms with ease. Everest Forms also has a dedicated form designer where you can tweak the look and feel of your forms. So, each form you create is unique and in line with your brand’s design principles. Besides, you can install add-ons to add new functionalities to your forms. #### Key Features of Everest Forms These are some powerful features that you get with the Everest Forms plugin: - **Easy-to-Use Interface:** The backend of Everest Forms has a simple and easy-to-use interface, so creating a form is easier, even for a beginner. - **Premade Form Templates:** There are loads of prebuilt form templates, including contact forms, user registration forms, survey forms, payment forms, etc. - **Unlimited Forms and Multi-Column Designs:** You can create unlimited forms with the Everest Forms plugin. You can also choose between one and two-column forms. - **Customizable Forms:** You can tweak forms’ backgrounds, colors, fonts, etc., using the plugin’s designer menu. - **Premium Addons:** The premium version of the plugin gives you access to add-ons like multi-step forms, payment processing, PDF form submissions, and more. #### How to Style Everest Forms in WordPress? 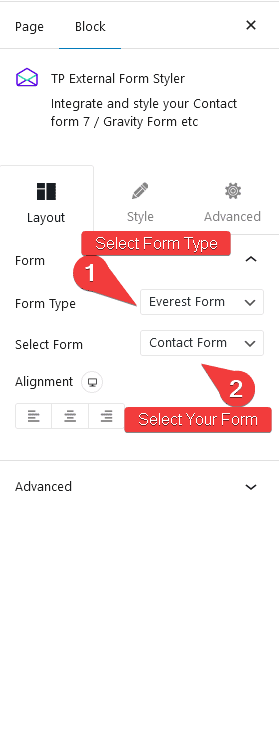 To customize Everest Forms, follow the steps mentioned below: - Make sure to install and activate the Everest Forms plugin on your WordPress setup. - Create a new form and select its entries. - Install Nexter Blocks. This addon will add an Everest Forms block to the Gutenberg editor. You can use it to create and edit forms. - Go to Nexter Blocks settings and enable TP External Form Styler. - In the Gutenberg editor, click the "**+**" icon and select the TP External Form Styler block. Select "**Everest Form**" in the Form Type. - To pick the form type form, head over to the Block settings’ Layout section. To customize the form, toggle the options available in the Style section. 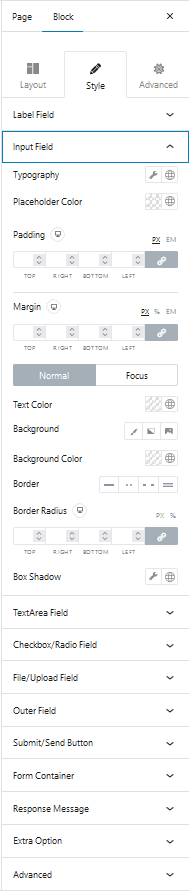 #### Pricing of Everest Forms You can download the Everest Forms core plugin for free from the WordPress directory. The premium version of the plugin starts from $69/year. [Learn More](https://wordpress.org/plugins/everest-forms/) #### Pricing of Everest Forms Styler Nexter Blocks is a freemium addon, and the Everest Form Gutenberg block is available in the free plan as a standard feature. [Check Everest Forms Styler](https://qa.nexterwp.com/nexter-blocks/blocks/wordpress-contact-form-stylers/) ### 3. Contact Form 7  If you want simple forms that get the work done without worrying too much about advanced functionalities, you will find the Contact Form 7 plugin appealing. Contact Form 7 is the best free form builder for WordPress and offers basic form functionalities. You can create contact forms and add fields for text, menus, checkboxes, radio buttons, etc. You can also integrate spam protection into your forms. The only downside to this plugin is that it is geared toward advanced users and doesn't have a visual builder. Instead, you have to use HTML and CSS to design forms. But you can overcome this issue with [Nexter Blocks’ Contact Form 7 styler](https://qa.nexterwp.com/nexter-blocks/blocks/wordpress-contact-form-stylers/). #### Key Features of Contact Form 7 - **Unlimited Forms:** You can create unlimited forms using this plugin. - **Basic Contact Form Plugin:** The plugin is the ideal choice if you only want a basic form, i.e., a contact form with text fields, multiple-choice options, menus, etc. - **Google reCAPTCHA Support:** You can integrate Google reCAPTCHA with Contact Form 7 to enable spam protection. - **Free Addons Options:** Out of the box, the Contact Form 7 plugin offers only some basic form functionalities. But there are plenty of community-developed addons to integrate advanced functions, which you can download for free. #### How to Style Contact Form 7 in WordPress? 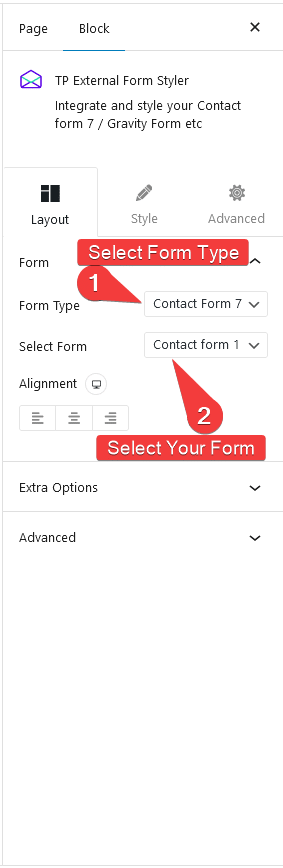 Below are the steps to stylize your forms created using Contact Form 7: - Install and activate the Contact Form 7 plugin on your website. - Create a new form and configure the entries and settings. - The next step is to install Nexter Blocks. This addon comes with a Contact Form 7 block for the Gutenberg editor. - Enable TP External Form Styler in Nexter Blocks settings. - In the Gutenberg editor, click the "**+**" icon and select the TP External Form Styler block. Select "**Contact Form 7**" in the Form Type. - Then open the Block settings and select form type in the Layout section. Access the Style section for different form styling options. 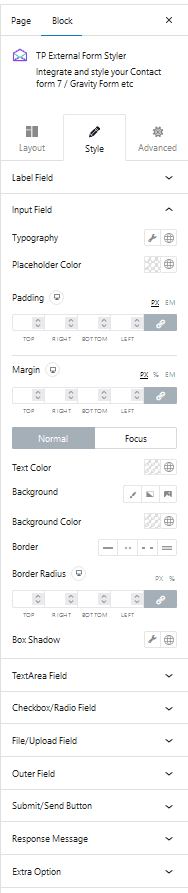 #### Pricing of Contact Form 7 You can download Contact Form 7 for free from the WordPress repository. [Learn More](https://wordpress.org/plugins/contact-form-7/) #### Pricing of Contact Form 7 Styler Contact Form 7 styler is free to use. Install the free version of Nexter Blocks and start styling forms using the Contact Form 7 styler. [Check Contact Form 7 Styler](https://qa.nexterwp.com/nexter-blocks/blocks/wordpress-contact-form-stylers/) *Did you know that Gutenberg has a dark mode? Learn how to **[enable dark mode in Gutenberg Block Editor](https://qa.nexterwp.com/blog/enable-wordpress-gutenberg-dark-mode/).*** ### 4. Bit Form 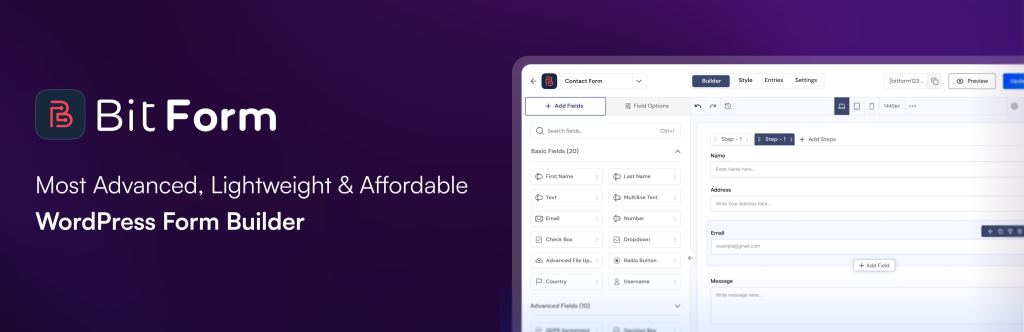 Bit Form is a modern drag-and-drop WordPress form builder plugin that helps you create simple contact forms, conditional logic forms, multi-step forms, payment forms, conversational forms, and more. With 50+ fields and pre-built templates, you can get a form live in minutes. The plugin comes with some excellent features that at present time are highly valuable, for example, pre-built templates, advanced conditional logic, form abandonment capture, customizable email templates, built-in spam protection features to prevent bot submissions, and many more. It also includes payment integrations, making it useful for donation forms, booking forms, and online payments via forms. You can also connect your form to 50+ external platforms for automated workflows. The best thing about this form builder is that it provides all these amazing functionalities without any add-ons, and it is super affordable. #### Key Features of Bit Form - **Drag-and-Drop Form Builder:** Build any form visually from a simple contact form to a multi-step job application form with 50+ Form Fields. Don't need to write a single line of code. - **Conditional Logic:** Show or hide based on what users select, creating a dynamic form that adapts to each individual. - **50+ Built-in Integrations:** Connect directly with Google Sheets, HubSpot, Mailchimp, Zapier, WooCommerce, Zoho CRM, Telegram, and more to automate your workflows without extra plugins. Also accept payments through popular payment gateways like PayPal, Stripe, Razorpay, and Mollie. - **Built-in Style Editor:** With this, you can customize form colors, borders, fonts, input fields, and button styles. Even in the free version, Bit Form gives you enough styling flexibility to match your form design with your website’s branding. - **Multi-Step & Conversational Forms:** Break long forms into manageable steps with progress indicators and transform your form into a step-by-step chat-style dialogue to reduce friction also improve completion rates so users are less likely to abandon the form halfway. - **Form Abandonment:** Capture and save partial form entries so you can recover leads who leave before hitting submit. #### Pricing of Bit Form Bit Form is available for free from the WordPress plugin directory with 38+ fields and core features included. The Pro plan starts at $25/year for a single site, with a lifetime option available at with a lifetime option available at $79 for one site. For agencies managing multiple sites, the unlimited license costs $79/year or $179 as a lifetime deal. All paid plans come with a 14-day money-back guarantee. [Learn More](https://bit-form.com/) ### 5. MotoPress Booking Calendar 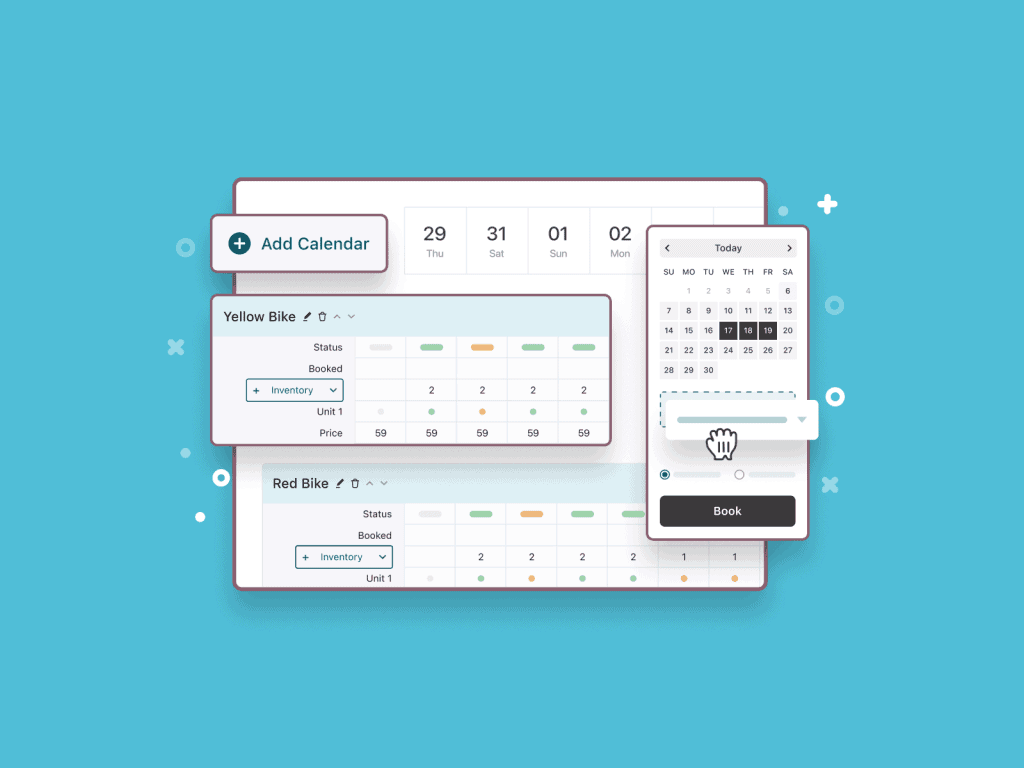 MotoPress Booking Calendar is a WordPress plugin designed for rentals and services, offering a unified system to manage availability, pricing, and inventory. Its visual, intuitive interface makes it easy for site owners to see and control inventory, time slots, and bookings, all in one place. This plugin adapts to your business needs - from nightly stays to hourly or daily bookings - and gives you full control over how bookings are handled. Beyond managing dates and inventory, MotoPress Booking Calendar also includes a sophisticated booking form builder. You can create forms with custom fields (dropdowns, checkboxes, guest counts, etc.), assign different forms to different rental types, and embed them seamlessly on your WordPress site via blocks or shortcodes. #### Key Features of MotoPress Booking Calendar - Drag-and-Drop Booking Form Builder: Design booking forms visually using checkboxes, dropdowns, input fields, and layout elements (columns, separators) via Gutenberg blocks. - Multiple Booking Units & Inventory Control: Create unlimited rental types or “units,” track how many are available at any given time. - Flexible Booking Periods: You can set up hourly rentals, daily bookings, or overnight stays. - Dynamic Pricing & Extras: Use a built-in price calculator to handle base pricing, additional charges (e.g. for extras or VIP options), and adjust pricing depending on selection. - Multiple Date Ranges in One Booking: Customers can add multiple reservations into one transaction. - Automated Email Notifications: Send confirmations to customers and admins. - Block or Shortcode Embedding: Easily insert the booking calendar or form anywhere using Gutenberg blocks or shortcodes for more flexible placement. - Unlimited Calendars & Form Templates: You can set up multiple calendars for different rental types - Stripe Payment Integration: Accept payments via Stripe, letting customers pay during booking. #### Pricing of MotoPress Booking Calendar MotoPress provides both free and premium versions. You can download the free version from the WordPress plugin directory. The premium 1 site license costs $49/year, while up to 25 sites license is priced at $149/year. [Learn More](https://motopress.com/products/booking-calendar/) ### 6. Ninja Forms  Next up is a freemium WordPress form builder plugin called Ninja Forms. It is a great choice if you need a plugin with a beginner-friendly interface. The free version of the Ninja Forms plugin comes with pre-built templates and a drag-and-drop form builder, so designing complex forms is not a hassle. In addition, you get a wide range of forms, including contact forms, payment forms, feedback forms, subscription forms, file upload forms, and others. Upgrading to the premium version of this plugin will give access to advanced features like email marketing and CRM software integration. Besides, you also get the option to add conditional logic, custom fields, and filters to your forms. #### Key Features of Ninja Forms Here are some features you get with the Ninja Forms plugin for WordPress: - **Premade Templates:** The Ninja Forms plugin offers you ready-to-use pre-built form templates to help you create forms in minutes. - **Drag-and-Drop Form Builder:** Use the drag-and-drop form maker to add different options to your forms. - **Spam Protection:** You can enable spam protection using Google reCAPTCHA. - **Ajax Form Submissions:** The Ninja Forms plugin supports Ajax form submissions sending data to the backend, so updates are visible without reloading the website. - **Advanced Features:** The advanced feature list of Ninja Forms includes conditional logic, payment gateway integration, instant notifications, etc. Third-party integrations include email automation and CRM software integration. #### How to Style Ninja Forms in WordPress? 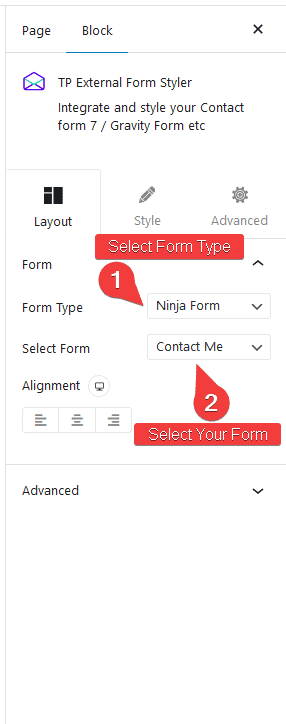 Here is how you can customize Ninja Forms using Nexter Blocks: - Install and activate Ninja Forms from the WordPress repository. - Create at least one form using the plugin. - Install Nexter Blocks to access the Ninja Forms styler widget. - Go to Nexter Blocks settings and enable TP External Form Styler. - In the Gutenberg editor, click the "**+**" icon and select the TP External Form Styler block. Select "**Ninja Form**" in the Form Type. - Then, in the block settings, pick the form type from the Layout sections and select Customizations from the Style section.  #### Pricing of Ninja Forms Ninja Forms core plugin is free to download from the WordPress repository. The premium version of the plugin starts at $99/year. [Learn More](https://wordpress.org/plugins/ninja-forms/) #### Pricing of Ninja Forms Styler Nexter Blocks' Ninja Form Styler block is included in the free plan. [Check Ninja Forms Styler](https://qa.nexterwp.com/nexter-blocks/blocks/wordpress-contact-form-stylers/) ### 7. WP Forms 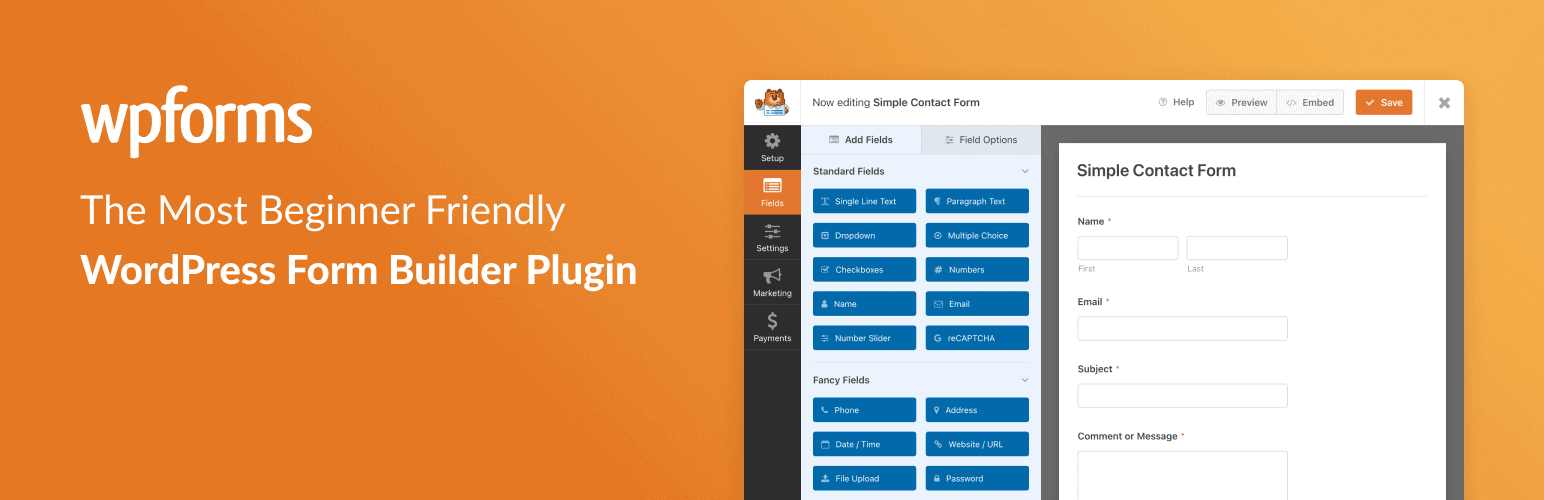 The last WordPress form builder is another freemium plugin known as WP Forms. The free version of the plugin, the WP Forms Lite, should be enough for people looking for an easy-to-use form builder with customizable designs. With WP Forms Lite, you get premade form templates and a drag-and-drop form builder. The plugin also supports unlimited form creations and unlimited responses. You can also keep track of interactions and form abandonments with email notifications. If you want to integrate a payment gateway, enable file upload, use a multi-column layout, or enable other advanced features, you can upgrade to the pro version of WP Forms. #### Key Features of WP Forms See the feature list of WP Forms below: - **Plenty of Field Options**: WP Forms comes with tons of form fields. You can add standard and fancy fields for your forms. You can also tweak form fields in the field options, like label, description, etc. - **Drag-and-Drop Form Builder:** The built-in drag-and-drop form builder makes form designing convenient for beginners. - **Conditional Logic:** You can hide/show input fields in a form based on inputs from the visitors. - **Spam Protection:** If you upgrade to the pro version, you can enable spam protection and form validation on your forms using Google reCAPTCHA. #### How to Style WP Forms in WordPress?  Follow these steps to customize WP Forms: - Make sure the WP Forms plugin is activated in your WordPress setup. - Create a form and set the form fields. - Install Nexter Blocks to use the styler block. - Then, enable TP External Form Styler in Nexter Blocks settings. - In the Gutenberg editor, click the "**+**" icon and select the TP External Form Styler block. Select "**WPForm**" in the Form Type. - Pick the form type from the Layout section of the Block settings. To customize the design, access the styling options in the Style section of the Block settings.  #### Pricing of WP Forms The Lite version of WP Forms is freely available on the WordPress directory. The premium version starts at $99/year. [Learn More](https://wordpress.org/plugins/wpforms-lite/) #### Pricing of WP Forms Styler You can use WP Forms Styler without using your credit card with the free version of Nexter Blocks. [Check WP Forms Gutenberg Styler](https://qa.nexterwp.com/nexter-blocks/blocks/wordpress-contact-form-stylers/) *Planning to add images to your website? Here is how you can **[create a WordPress Image Gallery without any coding](https://qa.nexterwp.com/blog/create-a-wordpress-image-gallery-using-gutenberg/).*** ## Which WordPress Form Builder Plugin Should You Use? Now that we have seen the top six form builders for WordPress, the most important question comes: Which one should you choose for your website? The best plugin for your website depends on how you plan to use it and what kind of forms you want. For example, you can use a free form builder if you want a plugin to create simple contact forms. However, if you plan to include payment gateways, file uploads, and other advanced features, try freemium or paid plugins. Another factor to consider is your expertise in website building. If you are an expert at HTML and CSS, you can try plugins without a drag-and-drop builder. However, if you are a beginner, use form builder plugins that offer visual builders and prebuilt form templates. As for stylizing your forms, [Nexter Blocks](https://qa.nexterwp.com/nexter-blocks/blocks/) is the only extension you need for all your WordPress form builder plugins. With Nexter Blocks, you get customizable Gutenberg blocks for all popular form plugins. You also get premade form templates along with 120+ customization options for absolutely free. ***Also Read:** Once your forms start collecting leads, the next step is email. Connect them to your mailing list with the [best Mailchimp plugins for WordPress](https://qa.nexterwp.com/blog/best-mailchimp-plugins-for-wordpress/).* ***Further Read:** Caching can help in boosting the performance of your site. Check the **[5 Best WordPress Cache Plugins](https://qa.nexterwp.com/blog/best-wordpress-cache-plugins/)**.* ## FAQs on WordPress Form Plugins ### Are there any free WordPress form builder plugins? Yes, there are several free WordPress form builder plugins available, such as Contact Form 7, WPForms Lite, and Ninja Forms. ### How do I customize the look and feel of my WordPress form builder plugin? Most WordPress form builder plugins have built-in customization options to help you design and style your forms. For further styling, you can also use CSS or custom code to customize the look and feel of your forms. However, if you are uncomfortable with coding and CSS, Nexter Blocks Form Styler block can help you style your form easily with multiple styling options. ### How can I choose the right WordPress form builder plugin for my website? When choosing a WordPress form builder plugin, consider factors such as your budget, the features you need, ease of use, compatibility with your website, and support options. ### Can I create multi-page forms with WordPress form builder plugins? Yes, many WordPress form builder plugins offer the ability to create multi-page forms, which can be useful for longer forms or forms that require conditional logic. Examples of plugins that offer this feature include Gravity Forms and WPForms. --- # 5+ Best WordPress Accordion Plugins [Interactive FAQs] Source: https://qa.nexterwp.com/blog/best-wordpress-accordion-plugins/ Yes, you heard it right that accordion helps in improving user experience by organizing content in a clean, interactive way. However, according to Search Engine Journal tabbed content, such as accordions, is treated by Google as part of your page’s content and can positively influence your SEO as well if implemented correctly. So in this article, we’ll take a look at some of the best WordPress accordion plugins that will help you add accordion to your site without coding. Let’s get started. ## What are WordPress Accordion Plugins? A WordPress Accordion plugin is a tool designed to help you display content in a structured and user-friendly manner. 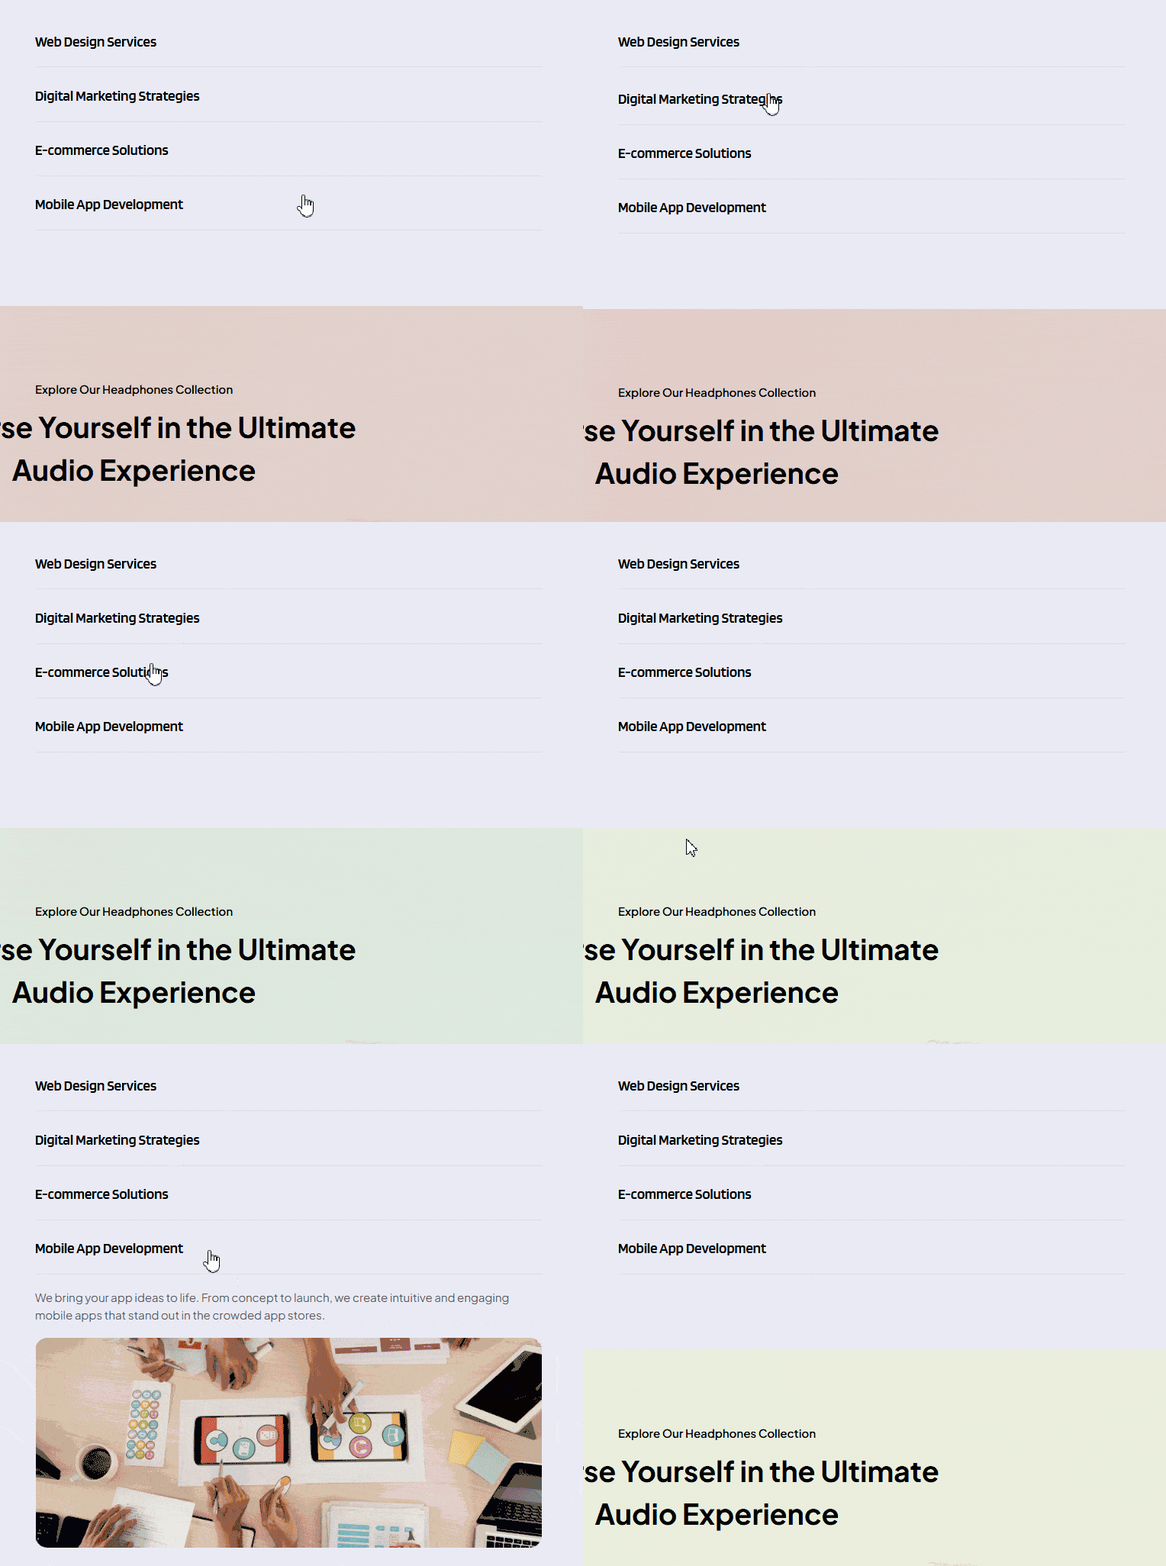 It organizes information into collapsible sections, often referred to as "accordions." When a visitor clicks on a section title, it expands to reveal the content within, and clicking again collapses it. This functionality is especially useful when you want to present a large amount of information in a compact format. Common use cases include FAQs, product specifications, or even step-by-step guides. ## Is it Important to Add Accordion to Your WordPress Site? Yes, adding an accordion to your WordPress site can greatly improve the way your content is presented. If your site has an FAQ section, content with details like product specifications, service features, case studies, or anything that makes your site look cluttered then you should use accordion. #### Use cases of Accordion - **Step-by-Step Tutorials or Guides**: Use accordions to break down lengthy instructions or tutorials into clear, sequential steps, making them easier to follow. - **Product or Service Details**: Accordions work well for displaying product specifications, features, or pricing options in a compact format, especially for complex or multi-tiered offerings. - **Policy or Legal Documentation**: Display terms and conditions, privacy policies, or other long legal texts in an accordion format to allow users to focus on specific sections without scrolling endlessly. - **Event Schedules**: Accordions are ideal for showing detailed event schedules, allowing users to expand sections for specific time slots, topics, or speakers. ## Best WordPress Accordion Plugins | SR.NO. | WordPress Accordion Plugins | Price (Starting From) | | ------ | --------------------------- | --------------------- | | 1 | [Accordion Toggle by NexterWp](https://qa.nexterwp.com/nexter-blocks/blocks/wordpress-accordion-toggle/) | Free + $39/year *(access to all 90+ Gutenberg Blocks)* | | 2 | [Helpie FAQ](https://wordpress.org/plugins/helpie-faq/) | Free + $38/year | | 3 | [Easy Accordion ](https://wordpress.org/plugins/easy-accordion-free/) | Free + $23/year | | 4 | [Accordion FAQ](https://wordpress.org/plugins/responsive-accordion-and-collapse/) | $5 to $19/year | | 5 | [Accordion](https://wordpress.org/plugins/accordions/) | Free + $9/year | | 6 | [Content Toggle Block by Ultimate Blocks](https://ultimateblocks.com/content-toggle-accordion-block/) | Free + $49/year | ### 1. Accordion Toggle for WordPress by NexterWp  The Accordion Toggle block by NexterWp is the best WordPress Accordion plugin to consider if you want to add faqs or any kind of content in an accordion format. This accordion widget is highly customizable and responsive means you can customize your accordion however you want that look great on all devices. You can add as many accordions as you want to your site using shortcode integration there’s no limit. Also, you can add a hover effect to your accordions. This means the accordion will open and close automatically when visitors move their cursor over it. You can add not only simple text accordions you can also add images in your accordion best for the WooCommerce site where you want to showcase multiple product details in an organized manner. 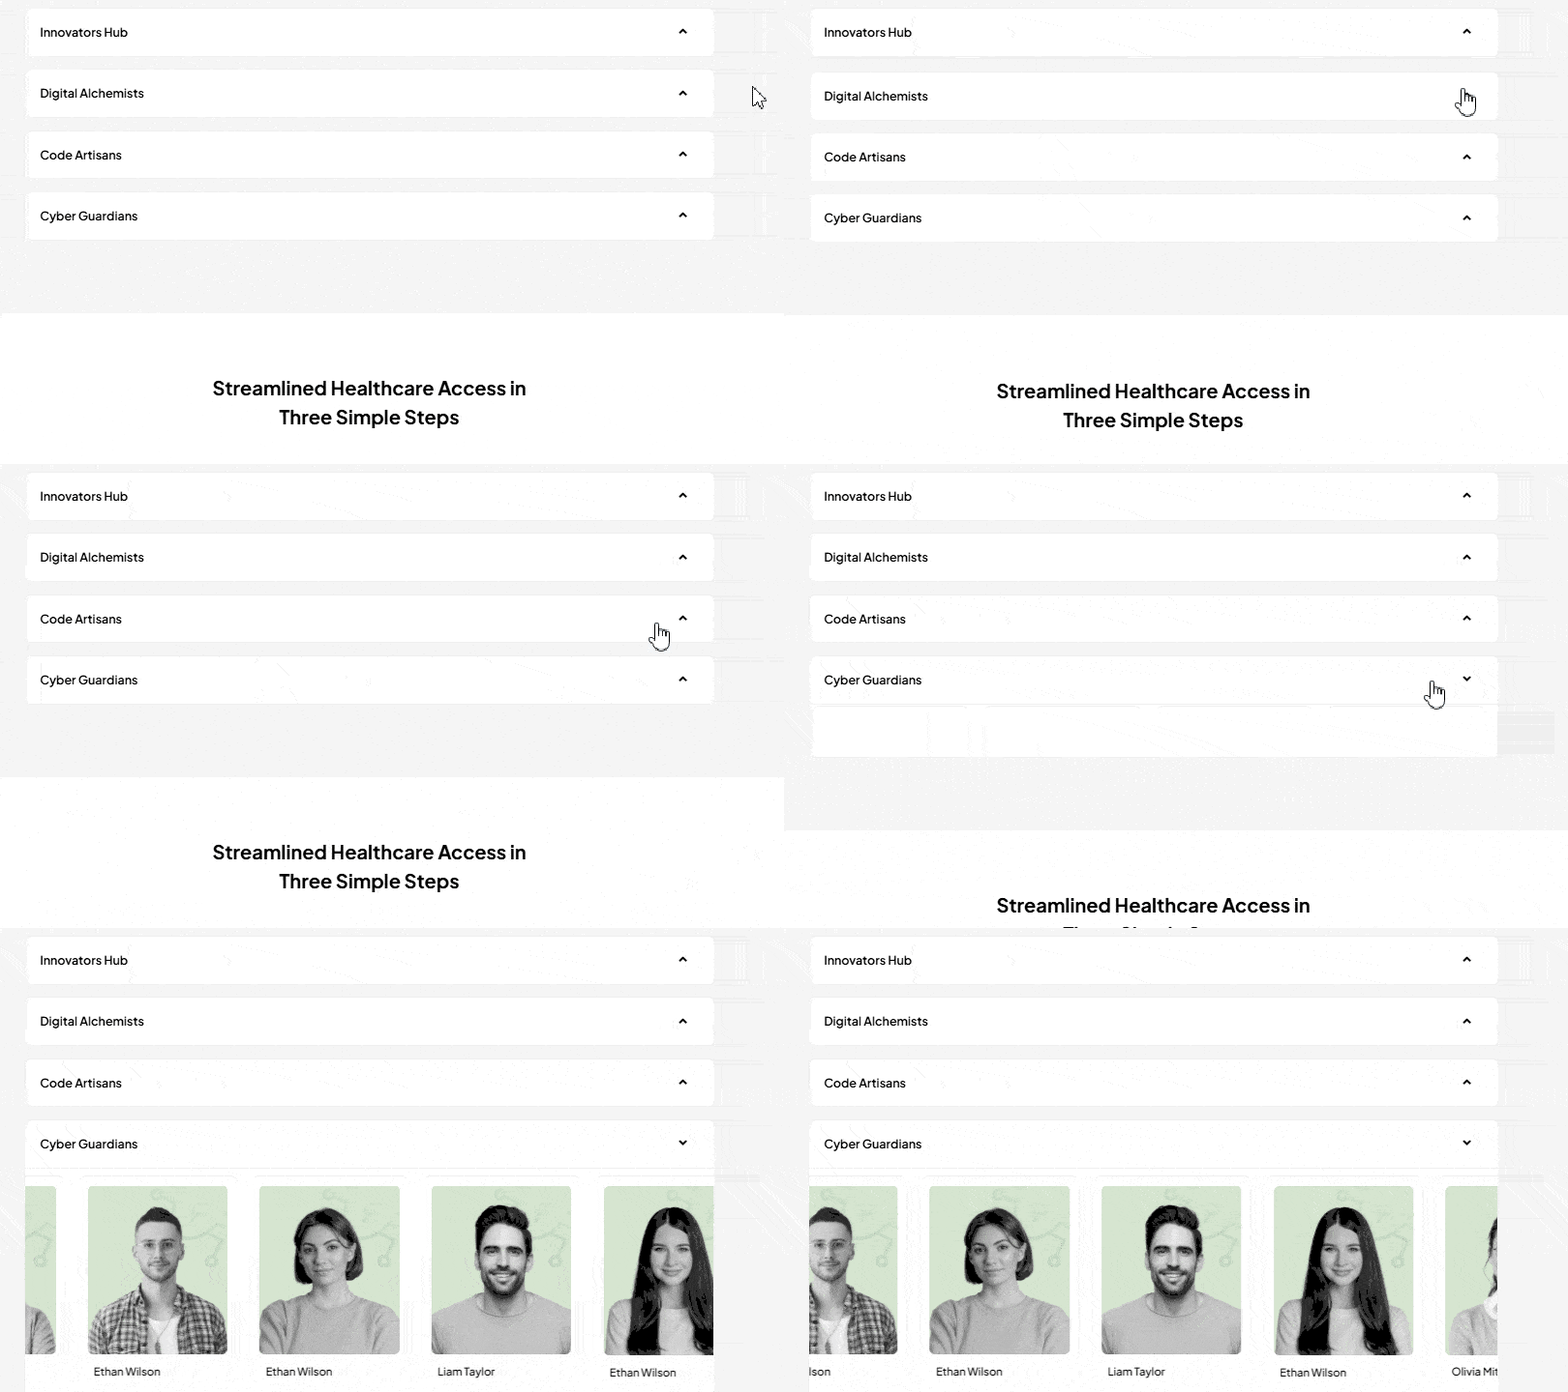 If you are lazy and don’t want to create an accordion from scratch then with the help of its [cross-domain copy-paste](https://qa.nexterwp.com/nexter-blocks/extras/wordpress-cross-domain-live-copy-paste-content/) feature you can easily copy the ready-made accordion template from the demo page and paste it on your Gutenberg Block editor. See this feature in action [here](https://qa.nexterwp.com/docs/add-cross-domain-copy-paste-for-free-in-wordpress/) #### Key Features of Accordion Toggle - **User-Friendly Design**: You can easily create FAQs or key content sections that your readers can navigate quickly. - **Hover and Click Effects: **Create dynamic user experiences with effects that open or close sections on hover or click. - **Media Integration**: Add images, videos, and other blocks under each accordion section. This flexibility helps you provide rich content. - **Customization Options**: You have various design options to personalize the appearance of your accordions to match your site's look. - **Shortcode Support**: Use shortcodes to place accordions anywhere on your site, making it convenient to integrate with different pages or posts. - **Responsive Design**: Your accordions will look good on all devices, ensuring a consistent user experience, whether on desktop or mobile. - **No Coding Required**: Easily build and manage accordions using simple settings right in the WordPress editor. #### Pricing of Accordion Toggle Accordion Toggle by NexterWp is a freemium WordPress accordion block. The paid version comes with the NexterWp package where you get access to all the other 90+ Gutenberg Blocks just for $39/year for 1 site and goes up to $99/year for unlimited sites. There is also a lifetime plan where you have to pay once. [Learn More](https://qa.nexterwp.com/nexter-blocks/blocks/wordpress-accordion-toggle/) ### 2. Helpie FAQ 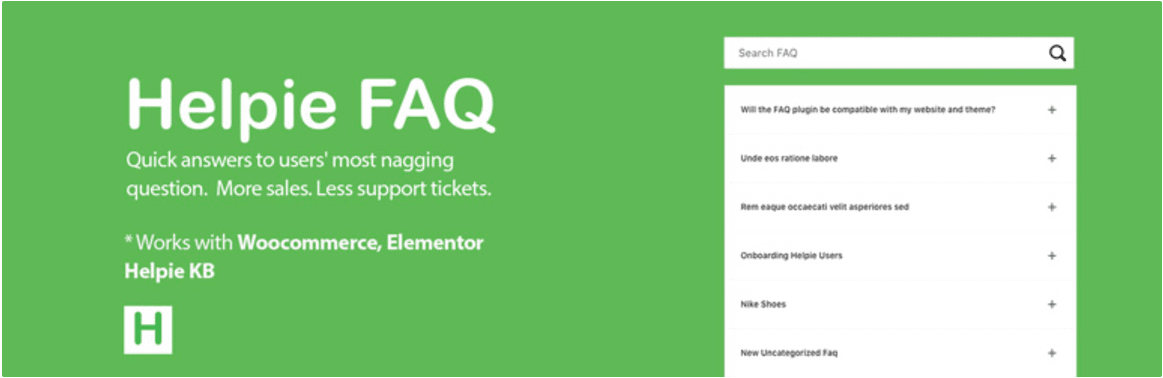 Second in our list of WordPress Accordion plugins is the Helpie FAQ. This accordion plugin easily integrates with some of the popular plugins like Elementor, Gutenberg, WooCommerce, etc. As the name suggests it is a complete faq solution if you want to add faqs on your site. Also, if you own an online store and want to solve your customers' queries regarding your product then you can add the WooCommerce Q&As and FAQs to your online store. You can customize the FAQs however you want to match them with your brand style and color. There is also a search functionality that allows users to find particular questions they are looking for. #### Key Features of Helpie FAQ - **Category and Tag Support: **Group similar questions together to help users find answers quickly - **Accordion and Toggle Layouts: **Keep your FAQs neat and professional with collapsible designs that improve readability and save space on your pages. - **Customizable Styles: **Match your FAQs to your website’s design by customizing colors, fonts, and layouts. - **Search Integration: **A built-in search feature allows users to type in their queries and instantly get the answers they’re looking for. #### Pricing of Helpie FAQ Helpie FAQ is a freemium WordPress accordion plugin. The pricing plan starts from $38/yr for 1 site and goes up to $149/yr for 100 sites. [Learn More](https://wordpress.org/plugins/helpie-faq/) ***Suggested Reading***: *[5 Best WordPress Audio Player Plugins [Popular Picks]](https://qa.nexterwp.com/blog/wordpress-audio-player-plugins/)* ### 3. Easy Accordion 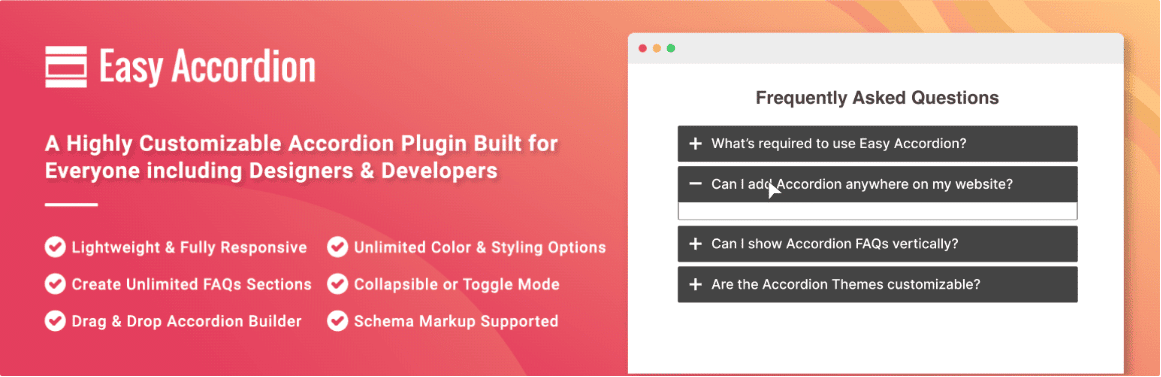 Easy Accordion is a user-friendly accordion plugin for WordPress. Because of its drop-and-drop functionality, you can showcase multiple FAQs on your site by writing a single line of code. This plugin is compatible with many WordPress translation plugins such as WPML, Polylang, etc that help you to display different language versions of your accordions according to user preferences. Moreover, this plugin is very responsive and looks good on all sorts of devices along with that it is designed to work with all the popular WordPress plugins so no compatibility conflicts will arise. #### Key Features of Easy Accordion - **Drag and Drop Builder**: You can easily create and customize accordions without any coding knowledge. This feature makes it user-friendly for everyone. - **Customization Options**: You have various customization choices. You can change colors, fonts, and styles to match your website's theme. - **Translation Support**: This plugin supports translation into different languages. You can reach a wider audience by making your content accessible to non-English speakers. - **Fast Set-Up**: You can quickly add multiple accordions to your pages or posts. The plugin saves you time and effort in setting up FAQ sections. #### Pricing of Easy Accordion Easy accordion is free with basic features. Also, it has paid plans starting from $23/yr [Learn More](https://wordpress.org/plugins/easy-accordion-free/) ***People Also Read***: [*5 Best *](https://qa.nexterwp.com/blog/wordpress-ecommerce-plugins/s/)*[WordPress eCommerce Plugins](https://qa.nexterwp.com/blog/wordpress-ecommerce-plugins/)*[* [Boost Online Sales]*](https://qa.nexterwp.com/blog/wordpress-ecommerce-plugins/s/) ### 4. Accordion FAQ 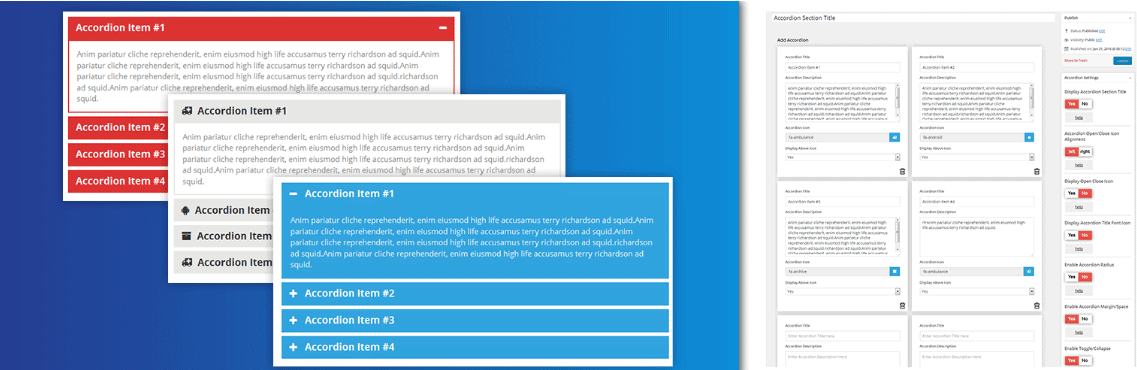 Accordion FAQ is considered a great Faq builder for WordPress. You can create unlimited accordions and can place them anywhere on your website using shortcode. With its responsive design accordion tab looks good on every device and it also its ha 500+ font supports to show your accordion content in different fonts. Also, there are 30+ animation styles to choose from. This plugin also comes with a color picker so that you can pick any color that matches your brand. #### Key Features of Accordion FAQ - **Fast and Lightweight: **This WordPress accordion plugin is built for speed, ensuring your site remains quick and user-friendly even with tabs. - **Vertical and Horizontal Tabs: **Choose between vertical or horizontal layouts to fit your content and design needs. - **Hover Effect**: You can create an accordion tab that opens whenever anyone hovers over it which makes simple accordion attractive. - **Shortcode Support: **Easily insert tabs anywhere on your site with a simple shortcode. #### Pricing of Accordion FAQ The pricing of the Accordion FAQ starts from $5 to $19 where you can choose your desired plugin and goes up to $119/yr for a lifetime. [Learn More](https://wordpress.org/plugins/responsive-accordion-and-collapse/) ### 5. Accordion 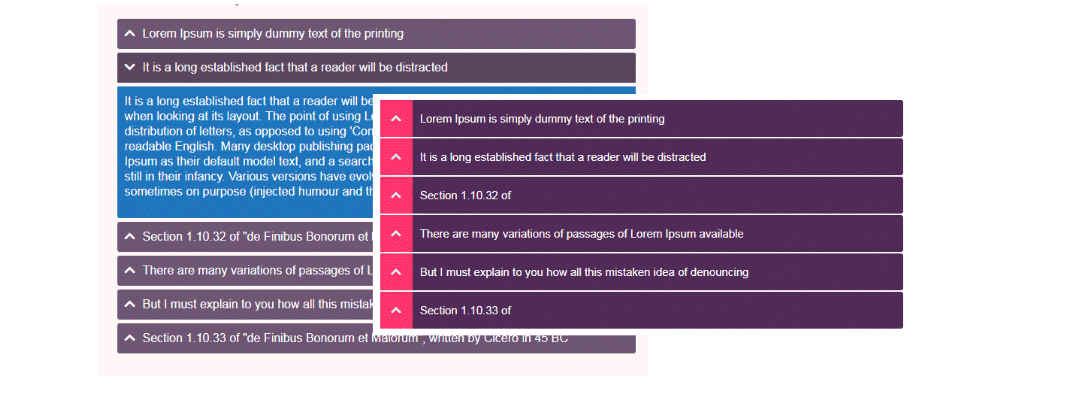 Last but not least, this accordion plugin helps you to add simple yet attractive FAQs, accordion, tab content, knowledge base, and more. This plugin purely works with HTML and CSS3 and it is a very responsive plugin that will look great on all devices also you can showcase unlimited accordion on your site using a shortcode. To improve your site’s user experience and speed there is an option for lazy load so that not all the accordions load at once it will only load when the user scrolls which leads to better page speed. For more ease of use, there is also a search functionality that allows users to search their particular queries using the search bar. #### Key Features of Accordion - **Easy Customization**: Most accordion plugins allow you to use a drag-and-drop interface. This makes it simple to create and organize content without needing coding skills. - **Responsive Design**: Accordions automatically adjust to different screen sizes. This ensures your content looks good on both desktop and mobile devices. - **Shortcode Support**: This feature lets you easily insert accordions into your pages or posts. Shortcodes simplify the placement of collapsible content. - **Lazy Load**: This feature improves your site’s loading speed by loading accordion content only when needed. It enhances performance without sacrificing user experience. #### Pricing of Accordion Accordion is a freemium WordPress Accordion plugin. The paid plan starts from $9/yr for 3 sites and goes up to $129/yr for 500 sites. Also, they have lifetime plans where you have to pay once. [Learn More](https://wordpress.org/plugins/accordions/) ### 6. Content Toggle Block by Ultimate Blocks  Ultimate Blocks is a WordPress plugin with 25+ blocks to boost content engagement. Its Content Toggle block lets you create accordions, collapsible sections, and FAQs with ease—complete with custom icons, colors, smooth animations, and layout controls. #### Key Features - **Custom Panel Titles** – Set panel titles as paragraphs or sub-headings for better content structuring. - **Flexible Toggle States** – Control whether toggles are open or closed by default and customize behavior for mobile devices. - **SEO-Optimized FAQ Schema** – Enable or disable FAQ schema to boost visibility in search results. - **Search Functionality** – A built-in search bar helps users find specific content within the toggle sections. - **Custom Icons & Alignment** – Choose toggle icons and position them on the left or right. #### Pricing Ultimate Blocks offers a free version with essential features, while the premium version costs $49 per year for a single site, unlocking advanced customization and additional functionalities. [Learn More](https://ultimateblocks.com/content-toggle-accordion-block/) ***Read More***: [*5 Best WordPress Button Plugins [Improve Conversions]*](https://qa.nexterwp.com/blog/wordpress-button-plugins/) ## Which WordPress Accordion Plugin Should You Choose? There is no proper definition of the right WordPress accordion plugin it depends on one’s website needs and personal preferences. Still, if you are confused about which accordion plugin to choose for your site then you should consider some factors like: The plugin you choose should be very** easy to use** means that if you are not that technically sound then also you would be able to use it without hindrance. Second, it should have plenty of **customization options** so that you can match it with your brand’s identity and also it should be highly responsive so that it looks good on all sorts of devices. Third, it should have **shortcode integration**, which means if you don’t want to create the same accordion design again and again then you can use the shortcode to add the same accordion wherever you want. Lastly, it should be **budget-friendly** so that fits your budget, and in that it should provide all the accordion functionalities that you are looking for. So if you also have the same points in mind then we highly recommend you to use the **Accordion Toggle block** by NexterWp. This block fulfills all the factors mentioned above and many more. Moreover, the Accordion Toggle is one of the key blocks by [NexterWp](https://qa.nexterwp.com/). It has 90+ Gutenberg Blocks that help you take your boring Gutenberg website to next level. 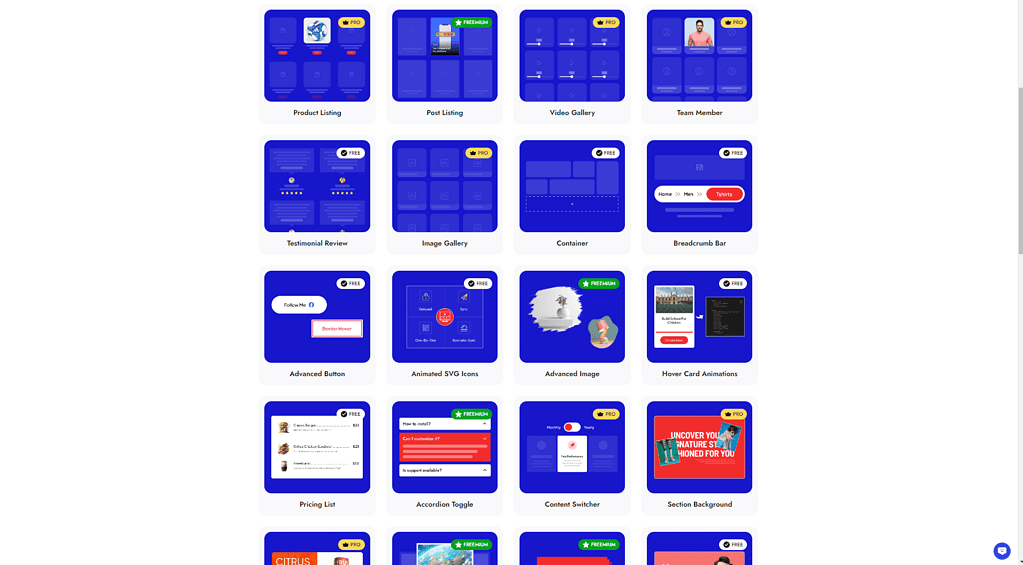 Check out the complete [collection of 90+ Gutenberg Blocks](https://qa.nexterwp.com/nexter-blocks/) here. Start creating a site beyond your imagination. ***Also Read:** Accordions stack content vertically, while tabs switch between panels in the same space. See the [best tab plugins for WordPress](https://qa.nexterwp.com/blog/best-tab-plugins-for-wordpress/) to decide which layout suits your content.* ## FAQs on WordPress Accordion Plugins ### How do I add a link to my WordPress accordion? To add a link to your WordPress accordion, edit the accordion block or widget. In the content area, highlight the text you want linked, click the "Insert/Edit Link" icon, and paste your URL. Save changes, and your link will be clickable within the accordion when users expand it. ### What is the default accordion in WordPress? WordPress doesn’t include a default accordion feature in its core. However, you can add accordions using plugins or custom code. Many WordPress themes and page builders like Elementor or Nexter Blocks offer built-in accordion functionality to help you organize content in a compact, user-friendly format. ### Is accordion content bad for SEO? No, the accordion content is not bad for SEO if implemented correctly. Search engines like Google index content within accordions, treating it as part of the page. Ensure the content is relevant, valuable, and user-friendly. ### How to add an accordion in WordPress without a plugin? To add an accordion in WordPress without a plugin, use custom HTML and CSS. Write the HTML structure for the accordion and style it with CSS for interactivity. Optionally, add JavaScript for advanced functionality like smooth transitions. Use the WordPress editor or a code block to embed the code. --- # 5 Best Preloader Plugins for WordPress Compared Source: https://qa.nexterwp.com/blog/best-preloader-plugins-for-wordpress/ Want to improve your site’s first impression and keep visitors engaged while pages load? The Best Preloader Plugins for WordPress help you add stylish loading animations that enhance user experience. In this guide, you’ll discover the top options compared so you can choose the right one with ease. ## What is a Preloader in WordPress? A preloader in WordPress is the animation or loading screen you see while your site’s content is still loading. It keeps your visitors engaged and creates a smoother first impression before your page fully appears. ## Best Preloader Plugins for WordPress Compared | Sl No | Preloader Plugin | Rating | | ----- | ---------------- | ------ | | 1 | Preloader by Nexter | ★★★★★ | | 2 | Preloader for Website | ★★★★ | | 3 | BH Custom CSS3 Preloader | ★★★ | | 4 | Preloader | ★★★ | | 5 | WP Smart Preloader | ★★★ | ### 1. Preloader by Nexter 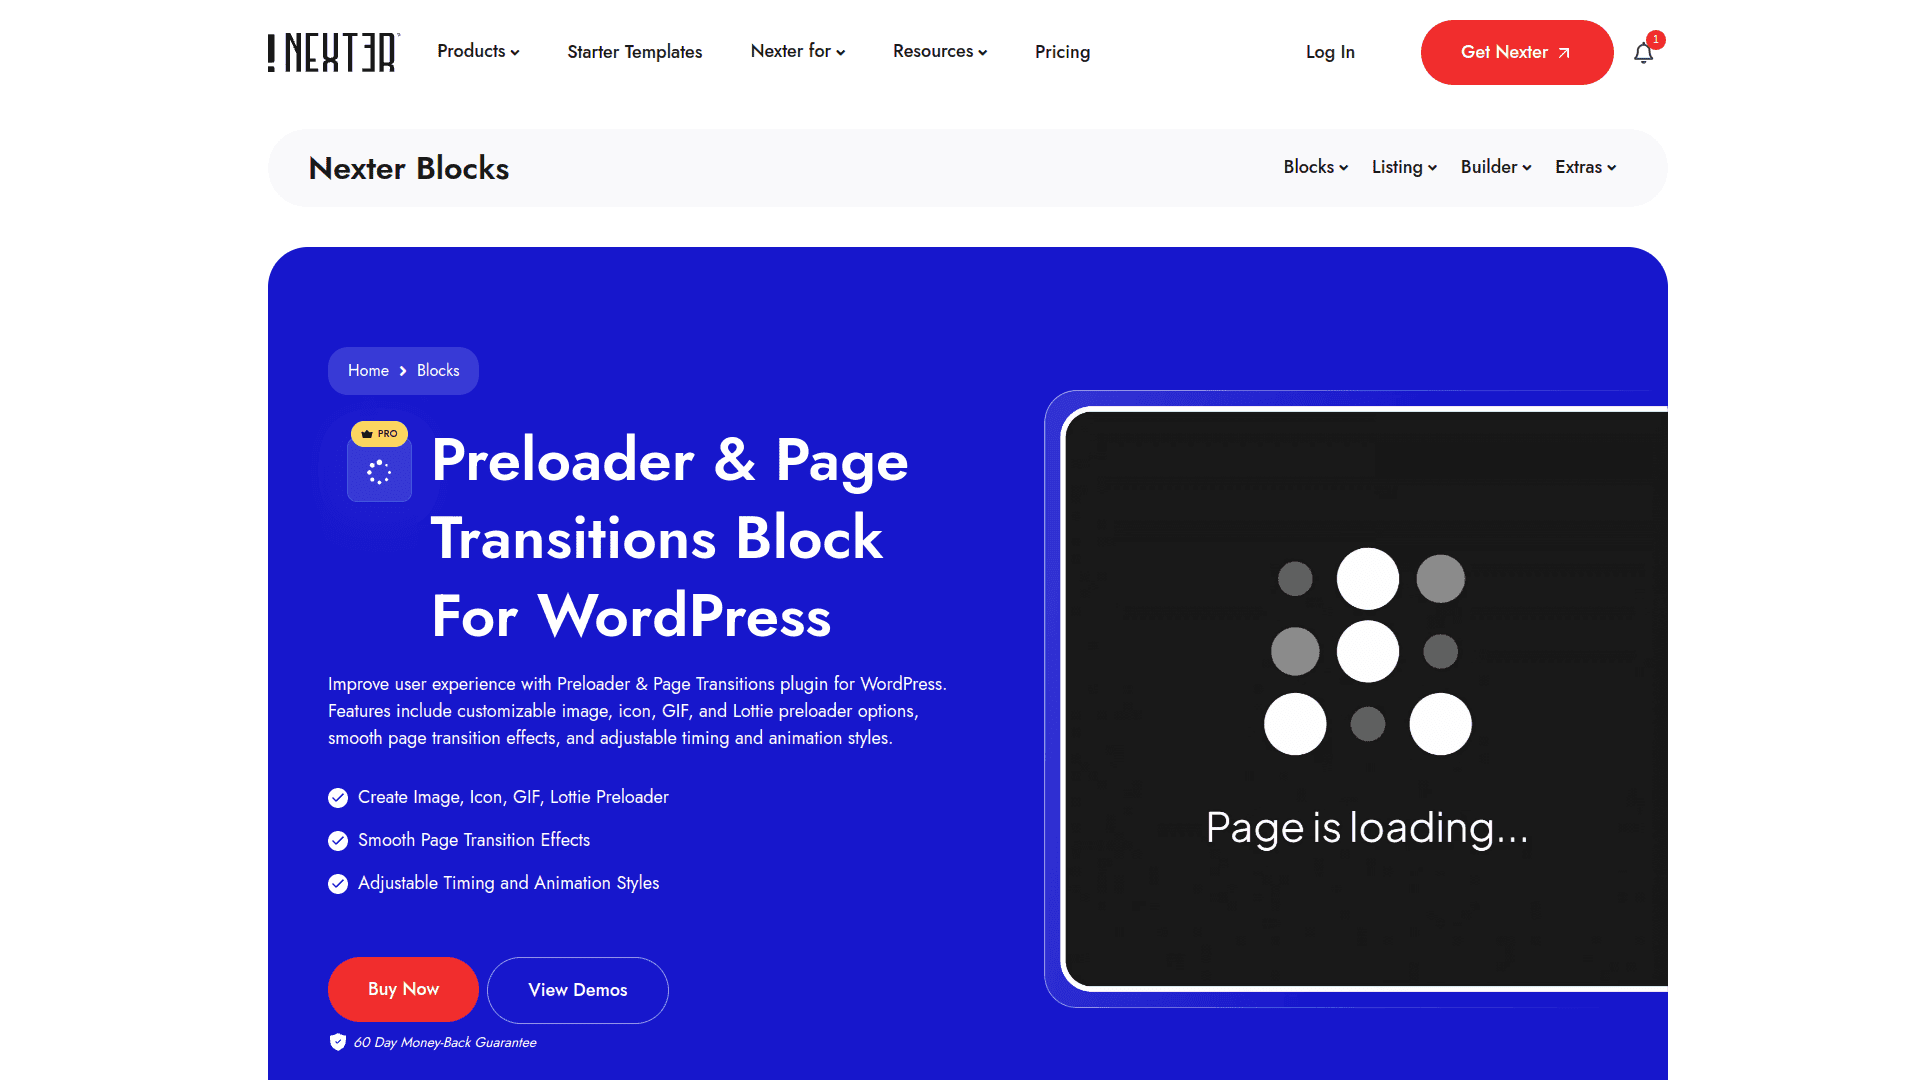 You can enhance your WordPress site with the Nexter Preloader & Page Transitions plugin, offering customizable preloaders like images, GIFs, and Lottie animations plus smooth page transition effects. It’s built for speed and compatibility, working seamlessly with Gutenberg and Elementor, while letting you enable only the features you need. #### Key Features of Preloader by Nexter - Enhances website speed and performance by only loading what’s needed, ensuring your site runs smoothly without slowdowns. - Offers easy-to-use, customizable preloader animations that keep visitors engaged while your pages load. - Supports unlimited use on local and staging sites, making it simple to test and develop without extra costs. - Provides reliable updates and premium support to keep your site secure and up-to-date effortlessly. [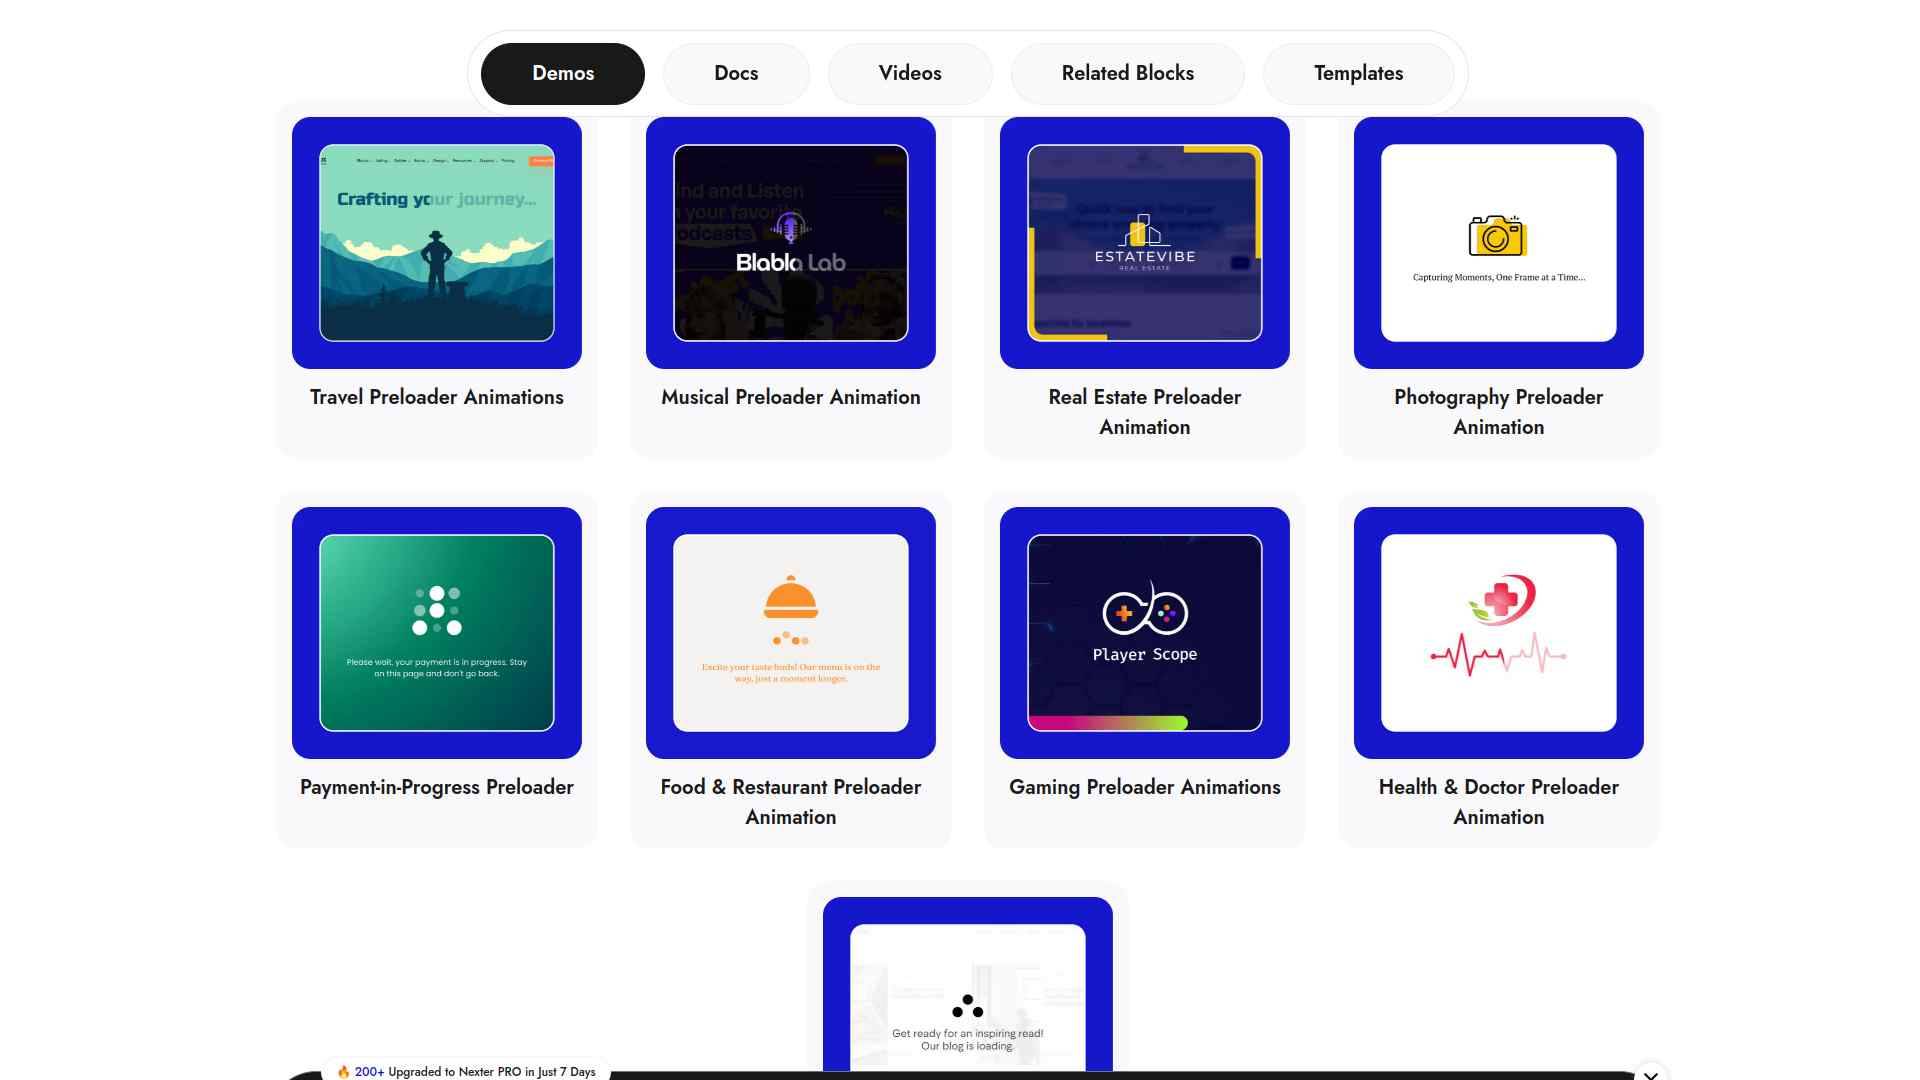](https://qa.nexterwp.com/nexter-blocks/blocks/wordpress-preloader-animation-and-page-transitions/#demo) [Learn More](https://qa.nexterwp.com/nexter-blocks/blocks/wordpress-preloader-animation-and-page-transitions/) ### 2. Preloader for Website 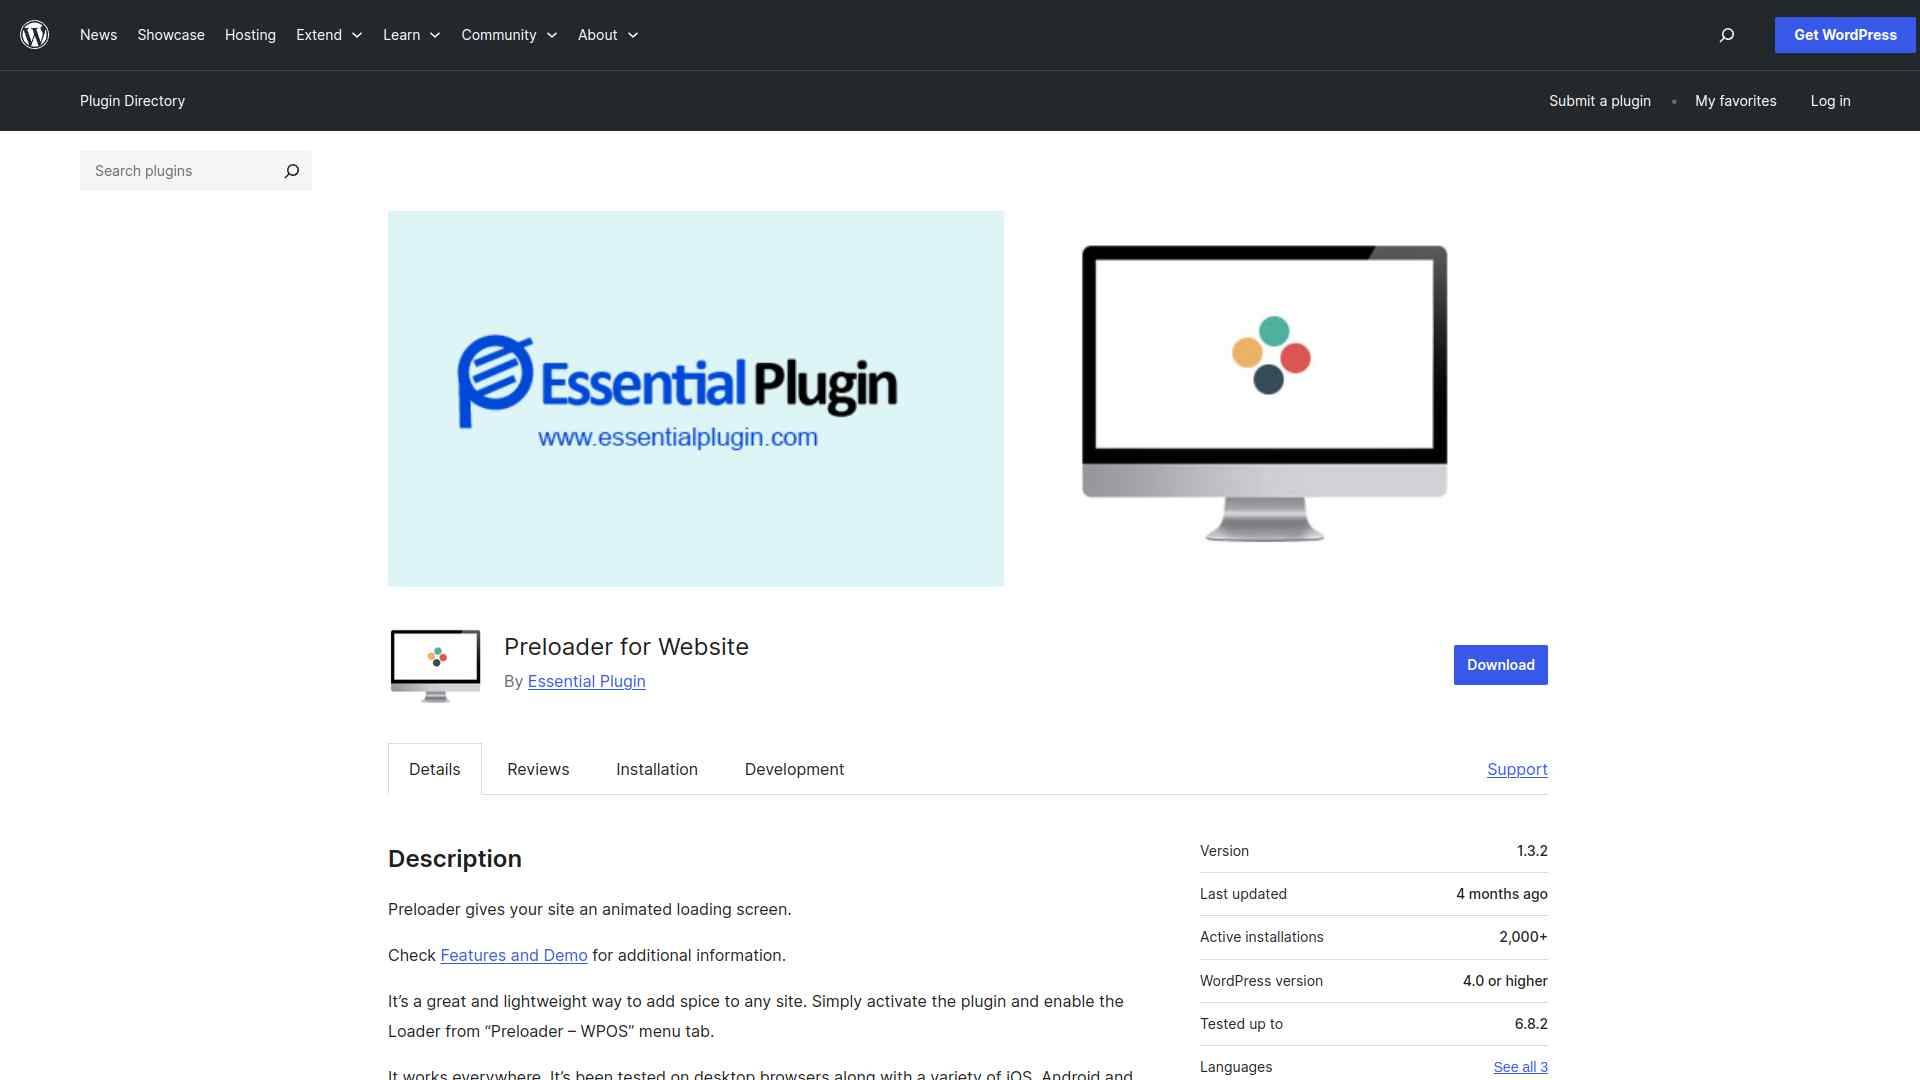 You can easily add an animated loading screen to your site with the lightweight Preloader plugin. Just activate it, choose your spinner or custom content, and enhance your visitors’ experience instantly. #### Key Features of Preloader for Website - Adds a smooth animated loading screen to keep visitors engaged while your site loads. - Easy to set up and use, just activate and select your preferred loader without any hassle. - Works well on all devices and browsers, ensuring a consistent experience for all visitors. - Allows customization of loader style, colors, and content to match your website’s look and feel. [Learn More](https://wordpress.org/plugins/preloader-for-website/) ### 3. BH Custom CSS3 Preloader 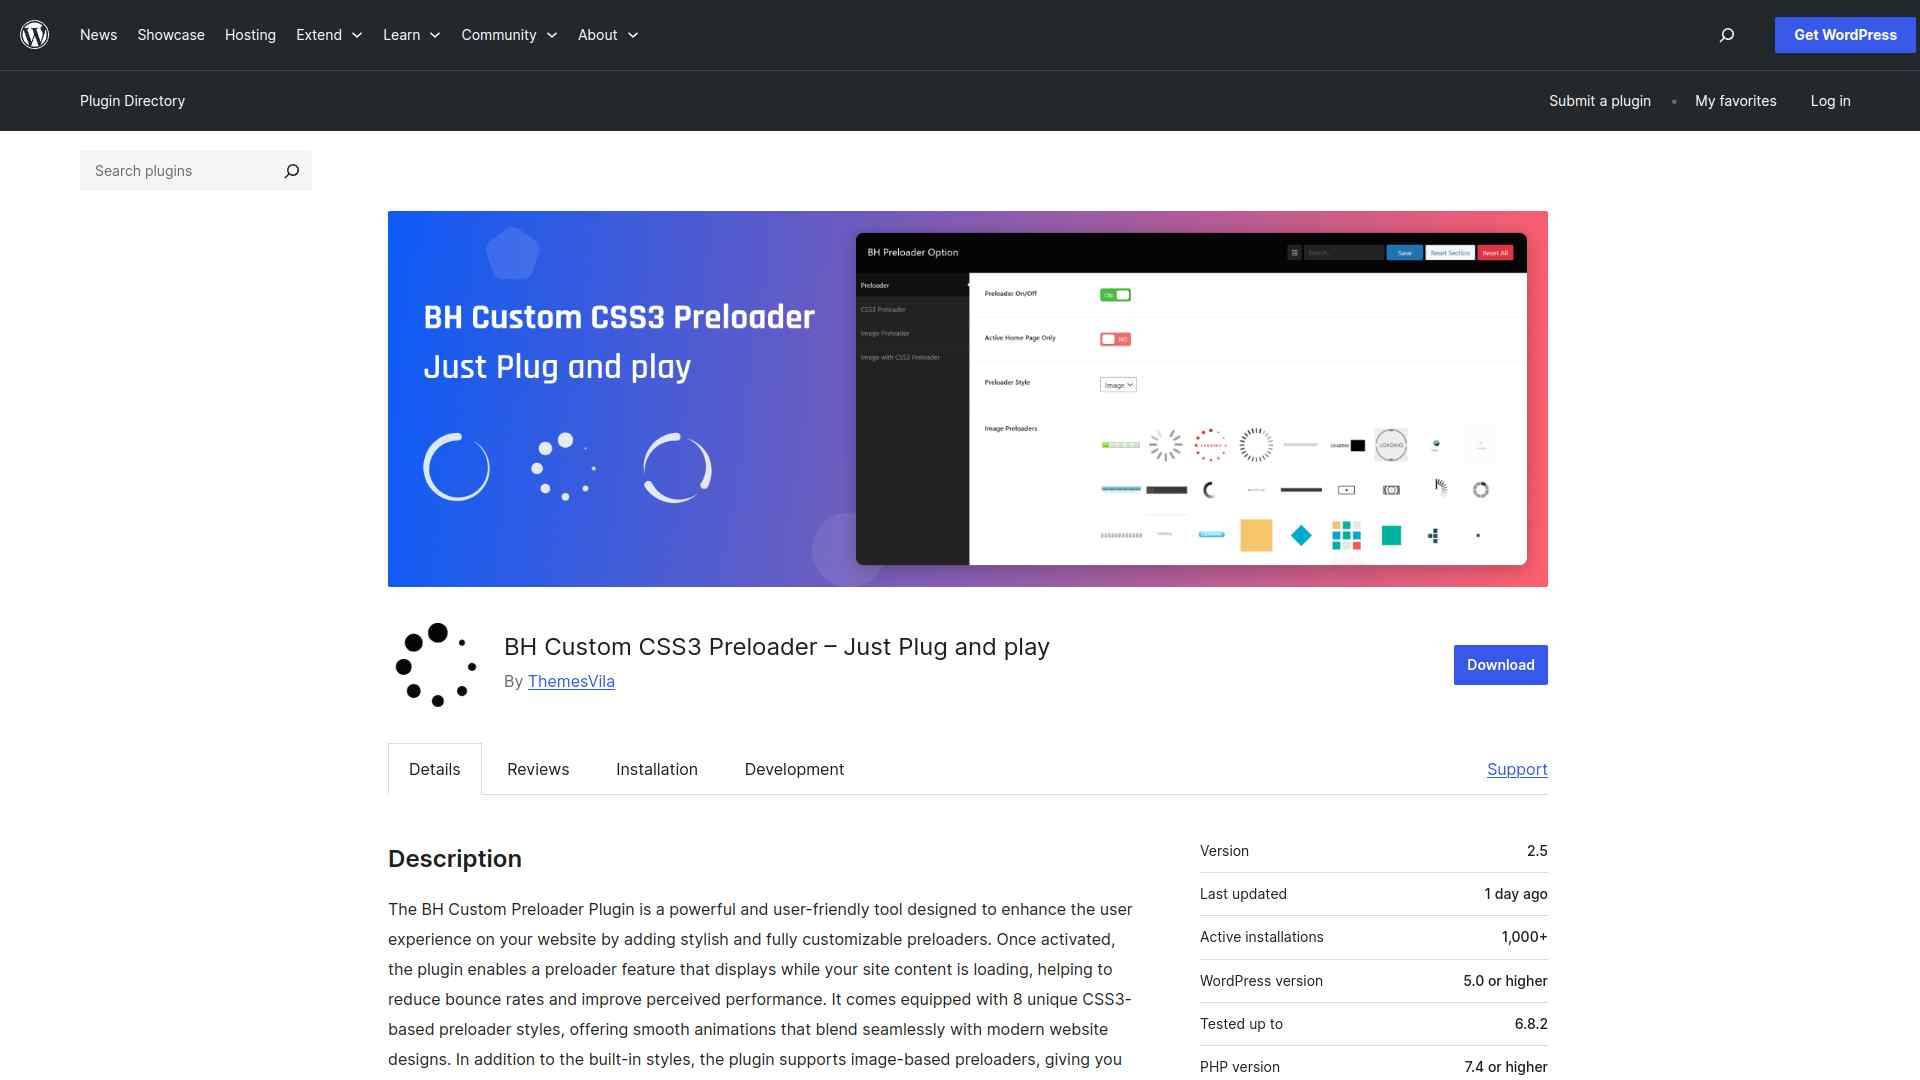 You can enhance your website’s loading experience with the BH Custom Preloader plugin, which offers stylish, customizable preloaders including CSS3 animations and image-based options. Easily configure colors, animation types, and durations through its intuitive settings panel without any coding. #### Key Features of BH Custom CSS3 Preloader - Enhances your website’s user experience by showing a stylish loading animation while pages load, keeping visitors engaged. - Helps reduce bounce rates by making your site look professional and polished from the very first second. - Offers easy customization with color, animation style, and image/logo options, so your preloader matches your brand perfectly. - Simple to set up and control through an intuitive settings panel, no coding skills needed to create a great impression. [Learn More](https://wordpress.org/plugins/bh-custom-preloader/) ### 4. Preloader 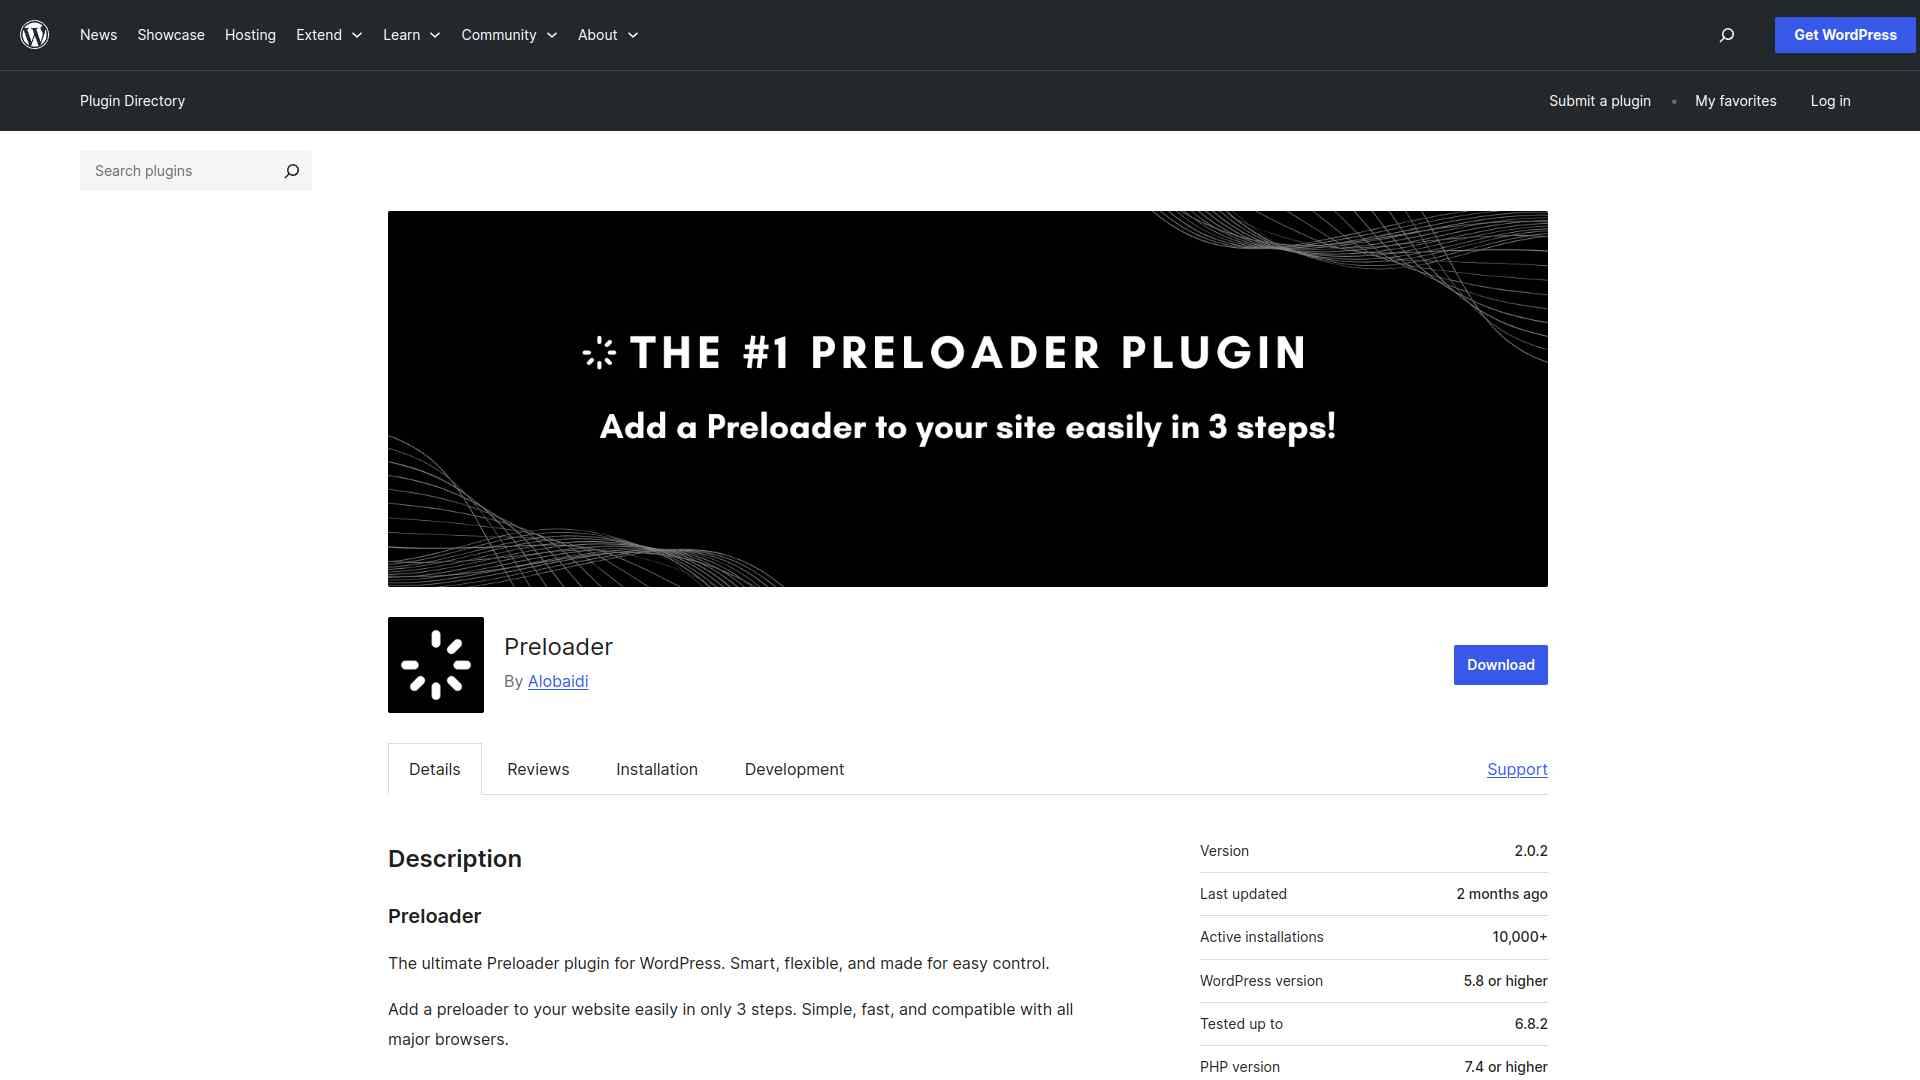 You can easily add a customizable preloader to your WordPress site in just 3 steps with the Preloader plugin. It lets you upload your own GIF or choose from free templates, control where and who sees the preloader, and works seamlessly with any theme. #### Key Features of Preloader - Easily add a stylish loading screen to your website in just a few simple steps, improving visitor experience while your site loads. - Customize the preloader’s look and where it appears, so it fits your site’s style and only shows up where you want it. - Works smoothly with any WordPress theme and all major browsers, so you don’t have to worry about compatibility issues. - Lightweight and fast, ensuring your site’s loading speed stays quick without slowing down visitors. [Learn More](https://wordpress.org/plugins/the-preloader/) ### 5. WP Smart Preloader 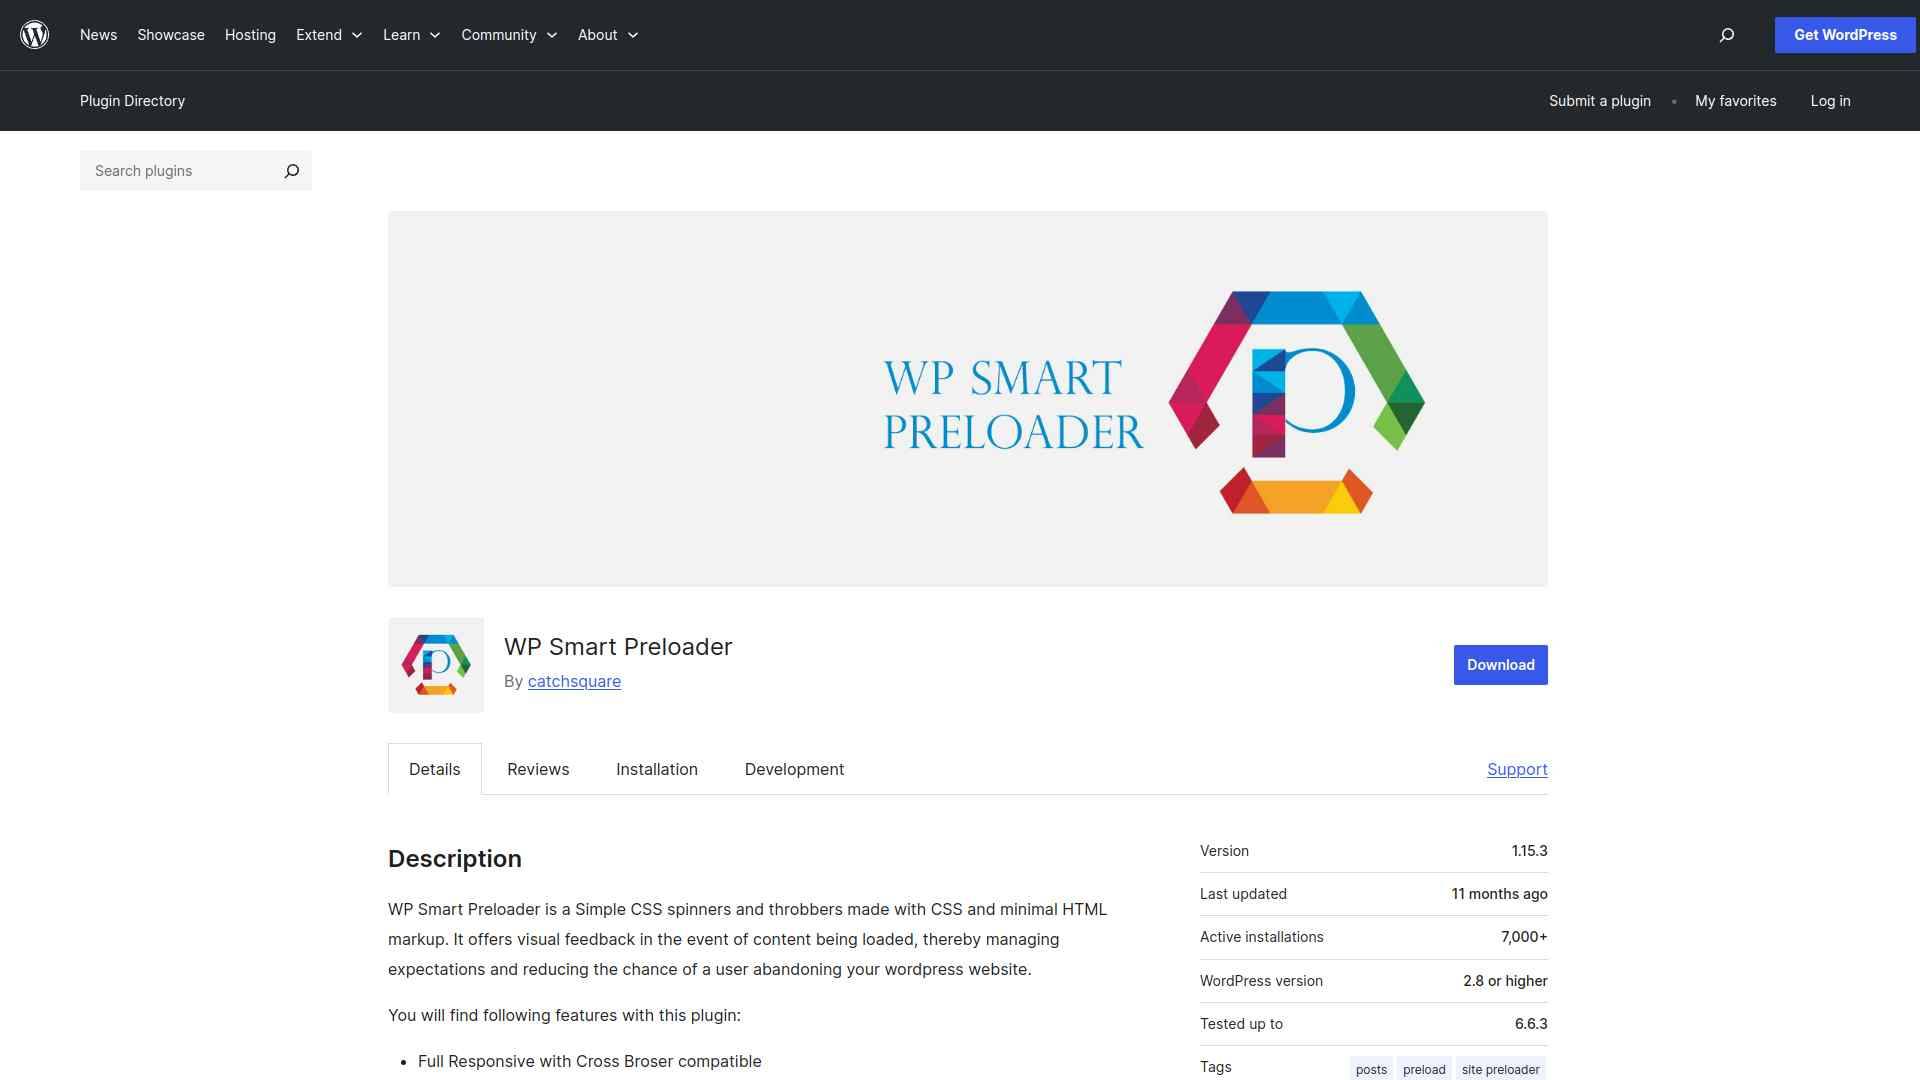 You can use WP Smart Preloader to add simple, customizable CSS spinners that give your visitors visual feedback while your content loads. It’s easy to set up with no coding needed, helping reduce user abandonment on your WordPress site. #### Key Features of WP Smart Preloader - Provides a smooth visual loading spinner that keeps visitors engaged while your site content loads, reducing the chance they leave early. - Easy to customize and activate without any coding, so you can quickly improve your website’s user experience. - Works smoothly across all browsers and devices, ensuring every visitor sees a professional loading animation. - Helps your site feel faster and more polished by showing a clean preloader instead of a blank or partially loaded page. [Learn More](https://wordpress.org/plugins/wp-smart-preloader/) ## Which WordPress Preloader Plugin Should You Use? When choosing a preloader plugin, focus on speed, customization, and how smoothly it integrates with your theme. You should pick one that keeps visitors engaged without slowing down your site. [](https://qa.nexterwp.com/nexter-blocks/blocks/wordpress-preloader-animation-and-page-transitions/#demo) For the perfect balance of performance and design flexibility, go with [Preloader by Nexter](https://qa.nexterwp.com/nexter-blocks/blocks/wordpress-preloader-animation-and-page-transitions/). ***Also Read:** A preloader covers the wait, but to show real download or reading progress on the page, see the [best progress bar plugins for WordPress](https://qa.nexterwp.com/blog/best-progress-bar-plugins-for-wordpress/).* ## FAQs on Best Preloader Plugins for WordPress ### Do preloader plugins slow down my website? No, preloader plugins don’t slow down your site if you choose a lightweight option. They only display an animation while your site loads in the background, improving user experience without affecting actual performance. ### Can I customize the look of a preloader? Yes, most preloader plugins let you change colors, animations, and styles. You can match the preloader design with your brand so visitors see a consistent look while waiting for your site to load. ### Do preloaders work on mobile devices? Yes, preloaders work across devices, including mobiles and tablets. A responsive preloader ensures users on smaller screens also see smooth animations while your site finishes loading. ### Will a preloader hide slow loading issues? A preloader doesn’t fix speed problems, it only masks them. You should still optimize images, caching, and hosting to make your site faster. The preloader simply keeps users engaged during the wait. ### Can I remove a preloader anytime? Yes, you can disable or remove a preloader plugin whenever you want. Once removed, your site will load normally without showing any animation before the content appears. --- # 5 Best Tooltip Plugins for WordPress Compared Source: https://qa.nexterwp.com/blog/best-tooltip-plugins-for-wordpress/ Looking to enhance user experience on your site? The Best Tooltip Plugins for WordPress help you display extra details, definitions, or tips without cluttering your content. In this guide, you’ll discover the top options to make your website more engaging and user-friendly. ## What is a Tooltip in WordPress? A tooltip in WordPress is a small popup box that appears when you hover or click on a word, icon, or element. It helps you give your readers extra details, like text, images, or links, without cluttering your page. ## Best Tooltip Plugins for WordPress Compared | Sl No | Tooltip Plugin | Rating | | ----- | -------------- | ------ | | 1 | Tooltip by Nexter | ★★★★★ | | 2 | WordPress Tooltips | ★★★★ | | 3 | CM Tooltip Glossary | ★★★ | | 4 | Tooltipy | ★★★ | | 5 | ACF Tooltip | ★★★ | ### 1. Tooltip by Nexter 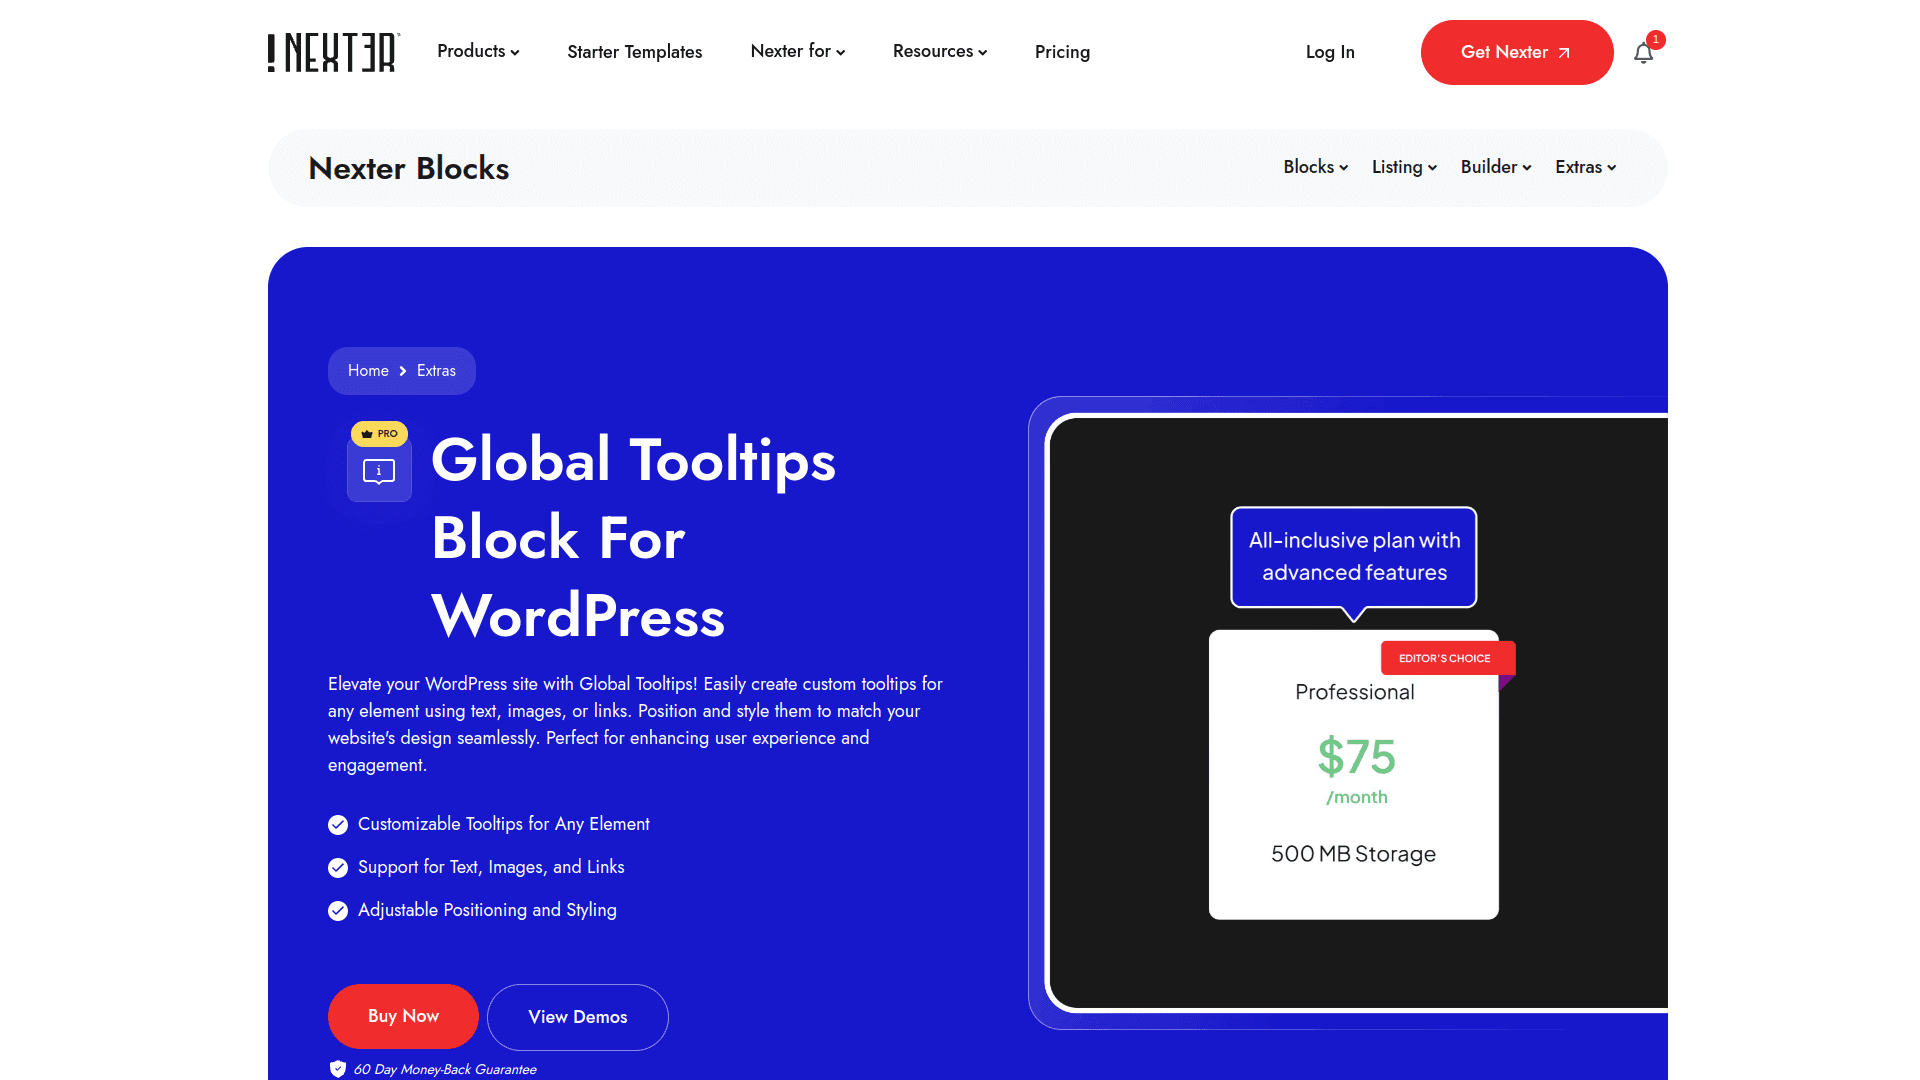 You can easily create custom tooltips for any element on your WordPress site using the Global Tooltips plugin, enhancing user engagement with text,images, or links. It seamlessly matches your website design and works smoothly with Elementor and Gutenberg editors. #### Key Features of Tooltip by Nexter - Easily create custom tooltips with text, images, or links to make your website more engaging and informative. - Position and style tooltips to perfectly match your site’s design, enhancing the overall user experience. - Improve visitor interaction by adding helpful hints or extra context without cluttering your content - Keep your site fast and smooth since the plugin is built for performance and only loads what you use. [](https://qa.nexterwp.com/nexter-blocks/extras/wordpress-global-tooltip/#demo) [Learn More](https://qa.nexterwp.com/nexter-blocks/extras/wordpress-global-tooltip/) ### 2. WordPress Tooltips  The WordPress Tooltips plugin lets you easily add rich, multimedia tooltips to your posts, pages, menus, and more. You can customize each tooltip with text, images, videos, and other content toenhance user engagement and site navigation. #### Key Features of WordPress Tooltips - Easily add helpful popup tooltips to words, images, menus, and more, making your content clearer and more engaging for visitors. - Show rich media like videos, audio, images, and maps inside tooltips to provide extra information without cluttering your pages. - Automatically highlight and display tooltips for keywords across your site, saving you time and effort in manual setup. - Customize tooltip styles and behavior to match your site’s look and improve user experience on both desktop and mobile devices. [Learn More](https://wordpress.org/plugins/wordpress-tooltips/) ### 3. CM Tooltip Glossary 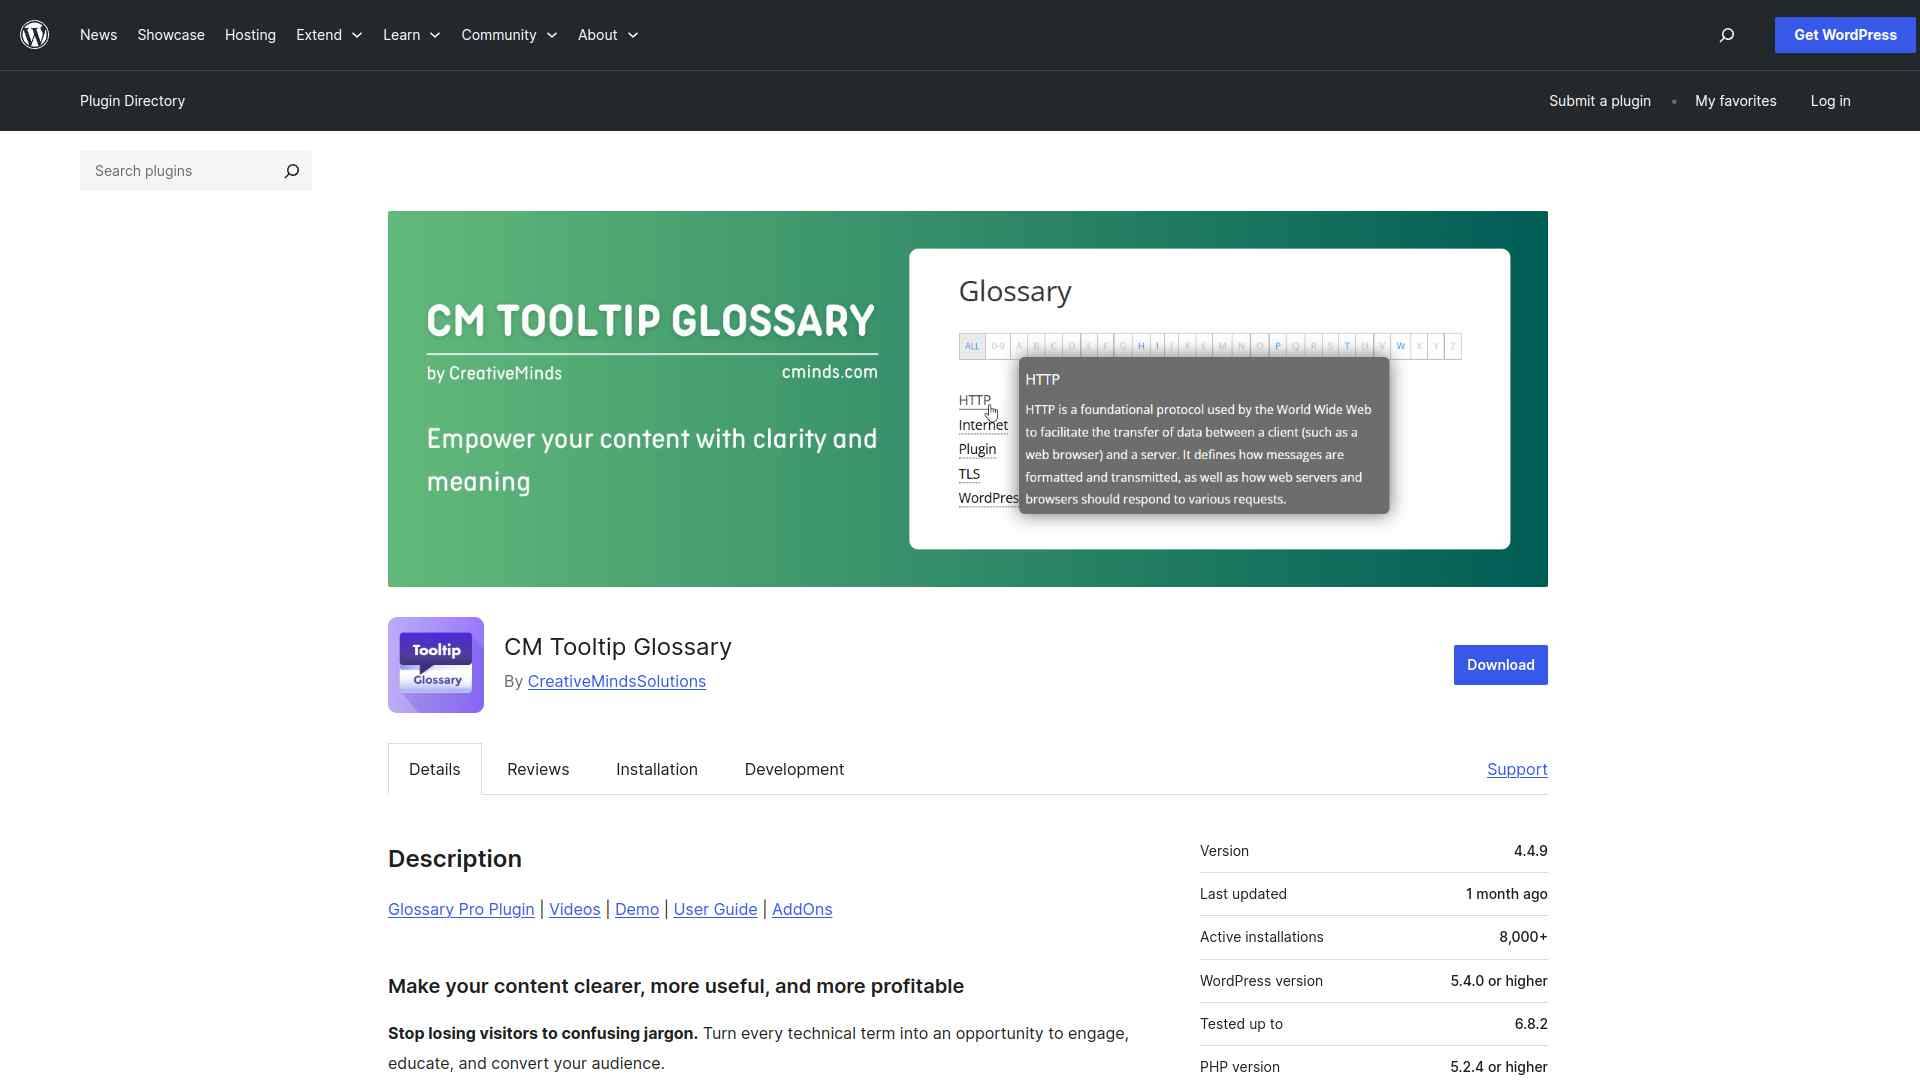 The CM Tooltip Glossary plugin helps you turn technical terms into interactive tooltips that boost SEO and user engagement. You can easily create a comprehensive glossary with rich multimedia, AI-generated definitions, and seamless internal linking to enhance your website’s authority. #### Key Features of CM Tooltip Glossary - Helps your visitors easily understand complex terms by showing instant definitions when they hover over words, keeping them engaged on your site longer. - Boosts your website’s SEO by creating lots of internal links and dedicated pages for glossary terms, making your site easier to find on search engines. - Makes your site look professional and trustworthy by providing clear, well-organized explanations for industry-specific words and phrases. - Saves you time by automatically linking glossary terms throughout your content and giving you flexible options to customize how the glossary appears and works. [Learn More](https://wordpress.org/plugins/enhanced-tooltipglossary/) ### 4. Tooltipy  The Tooltipy plugin lets you automatically create responsive tooltip boxes for your technical keywords, enhancing your visitors' browsing experience. You can easily customize styles, add synonyms, and display tooltips anywhere on your site, including headers, footers, and widgets. #### Key Features of Tooltipy - Automatically adds helpful tooltips to keywords on your site, making it easier for visitors to understand technical terms without leaving the page. - Works everywhere on your site, including posts, pages, headers, footers, and widgets, ensuring consistent user experience. - Fully customizable tooltips with style options, animations, and responsive design for a polished look on any device. - Includes a glossary feature and keyword management tools to organize terms and improve site navigation for your visitors. [Learn More](https://wordpress.org/plugins/bluet-keywords-tooltip-generator/) ### 5. ACF Tooltip 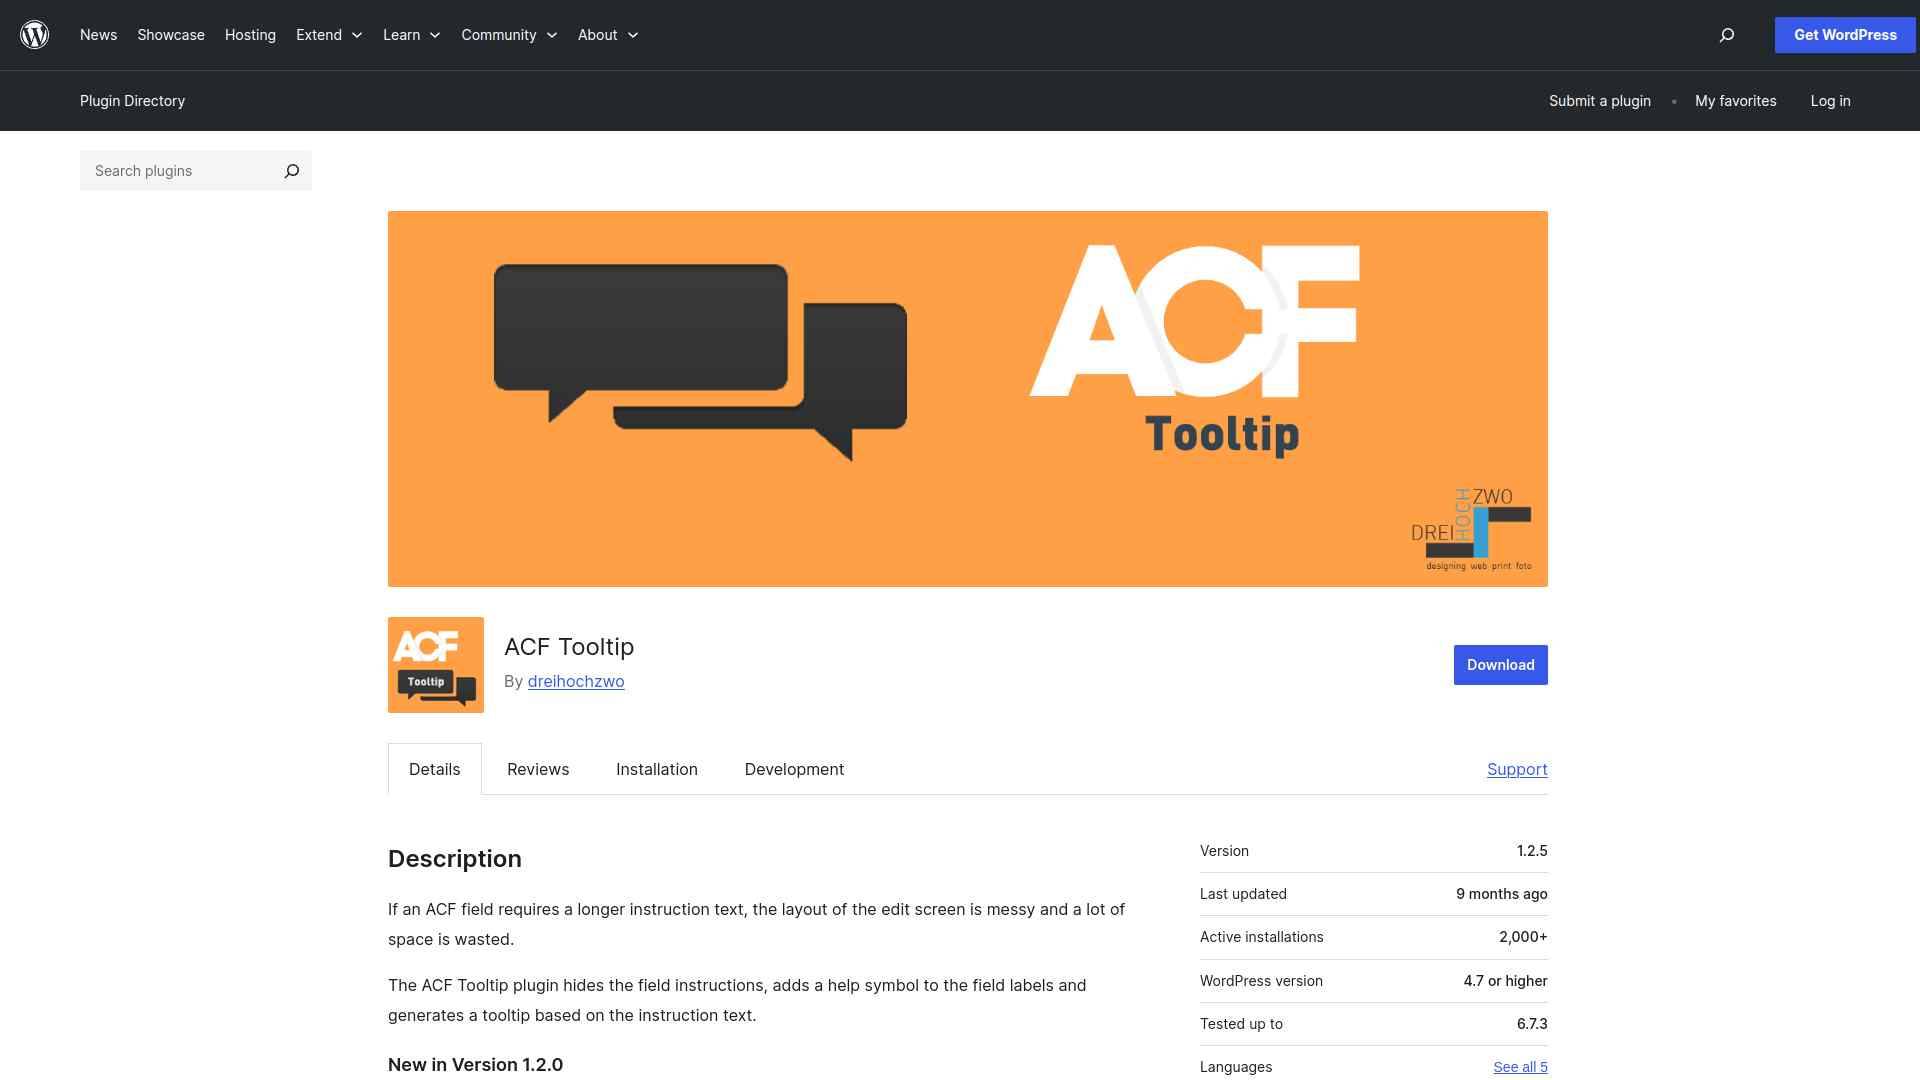 The ACF Tooltip plugin hides lengthy field instructions and adds a help icon to your ACF PRO field labels, showing tooltips based on the instructions. You can customize its design, behavior, and positioning using filters to fit your editing needs. #### Key Features of ACF Tooltip - Keeps your ACF edit screens neat by hiding long instruction texts and showing them only as helpful tooltips. - Makes it easy to add clickable links inside tooltips without them disappearing when hovered over. - Lets you customize the look and position of tooltips to fit your website’s style perfectly. - Allows you to control which fields show tooltips, giving you flexibility to highlight only important instructions. [Learn More](https://wordpress.org/plugins/acf-tooltip/) ## Which WordPress Tooltip Plugin Should You Use? When choosing a tooltip plugin, focus on ease of use, customization options, and performance. Pick one that matches your site’s design and enhances user interaction without slowing things down. [](https://qa.nexterwp.com/nexter-blocks/extras/wordpress-global-tooltip/#demo) If you want a lightweight, flexible, and reliable solution, [Tooltip by Nexter](https://qa.nexterwp.com/nexter-blocks/extras/wordpress-global-tooltip/) is your best choice. ***Also Read:** Tooltips reveal details on hover, but if you want that information visible at all times, compare them with the [best infobox plugins for WordPress](https://qa.nexterwp.com/blog/best-infobox-plugins-for-wordpress/) to see which style fits your layout better.* ## FAQs on Best Tooltip Plugins for WordPress ### Do tooltip plugins slow down my WordPress site? If you choose a lightweight tooltip plugin, it won’t noticeably affect your site speed. Always test performance after installation and deactivate unused features to keep your site running smoothly. ### Can I customize the design of tooltips? Yes, most tooltip plugins let you change colors, fonts, and styles to match your website’s branding. You can usually do this through simple settings without needing to code. ### Are tooltip plugins mobile‑friendly? Modern tooltip plugins are responsive, so they adapt to different screen sizes. Always test tooltips on smartphones and tablets to ensure they display clearly and remain easy to tap. ### Do tooltips improve SEO? Tooltips don’t directly boost SEO, but they improve user experience by making content easier to understand. Better engagement and lower bounce rates can indirectly support your site’s search performance. ### Can I add images or links inside tooltips? Yes, many tooltip plugins let you insert images, links, or even multimedia. This helps you provide extra context or direct users to related resources without cluttering your main content. --- # 5 Best Popup Plugins for WordPress Compared Source: https://qa.nexterwp.com/blog/best-popup-plugins-for-wordpress/ Want to boost conversions and grow your email list? The Best Popup Plugins for WordPress help you capture attention, collect leads, and drive sales without slowing down your site. In this guide, you’ll discover the top tools compared so you can pick the perfect one for your website. ## What is a Popup in WordPress? A popup in WordPress is a small window that appears on your site to grab your visitors’ attention. You can use it to promote offers, grow your email list, or share important updates without disrupting the browsing experience. ## Best Popup Plugins for WordPress Compared | **Sl No** | **Popup Plugin** | **Rating** | | --------- | ---------------- | ---------- | | 1 | Popup by Nexter | ★★★★★ | | 2 | Popup Box by AYS | ★★★★ | | 3 | OptiMonk | ★★★★ | | 4 | Icegram Engage | ★★★ | | 5 | WP Popups | ★★★ | | 6 | MailOptin | ★★★ | ### 1. Popup by Nexter 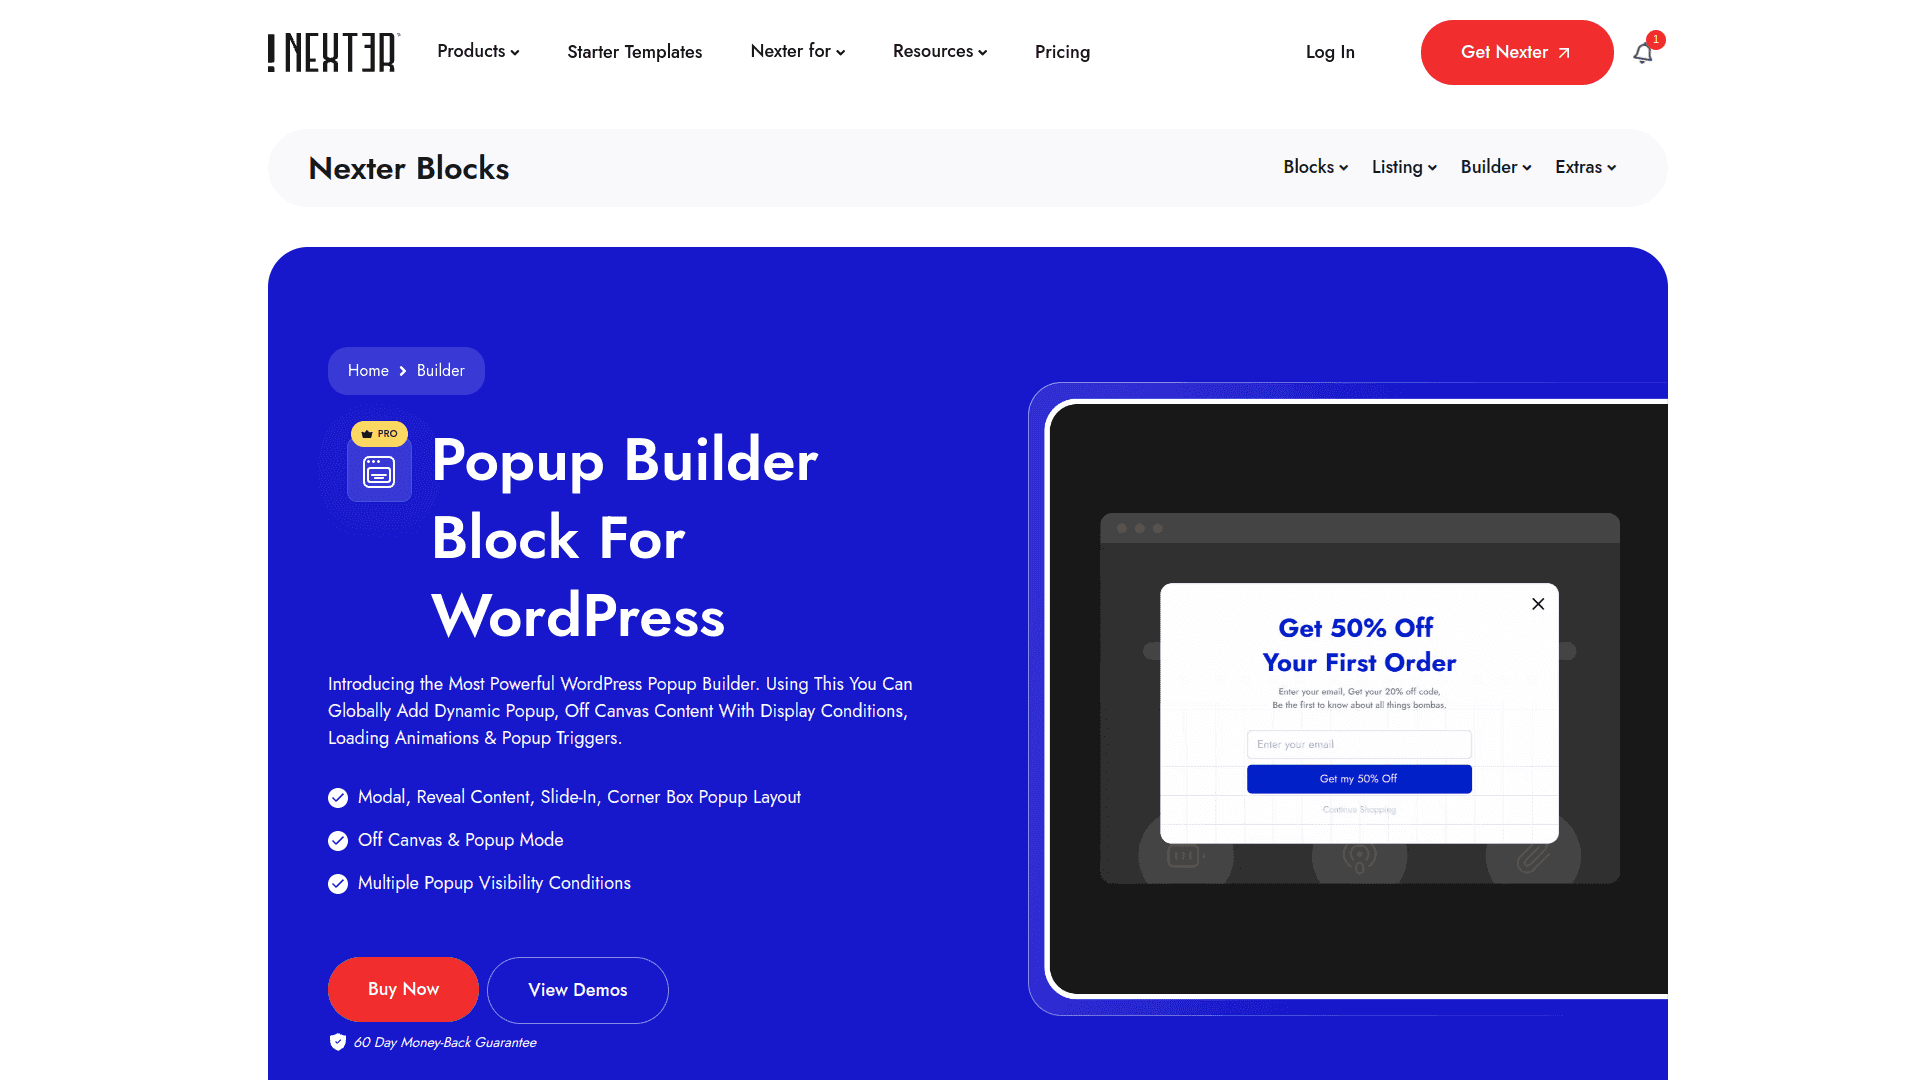 The Nexter Blocks Popup Builder plugin lets you easily create fast, customizable popups directly within the WordPress Gutenberg editor. It’s built with pure Vanilla JS for optimal speed and works smoothly with most themes, ensuring your site stays lightweight and responsive. #### Key Features of Popup by Nexter - Easily create eye-catching popups that boost your website’s conversions and engage visitors. - Enjoy fast website performance since the plugin only loads features you use, keeping your site speedy. - Use the plugin confidently with automatic license renewal reminders and flexible license transfers between sites. - Get reliable support and peace of mind with multiple help options and a 60-day money-back guarantee. [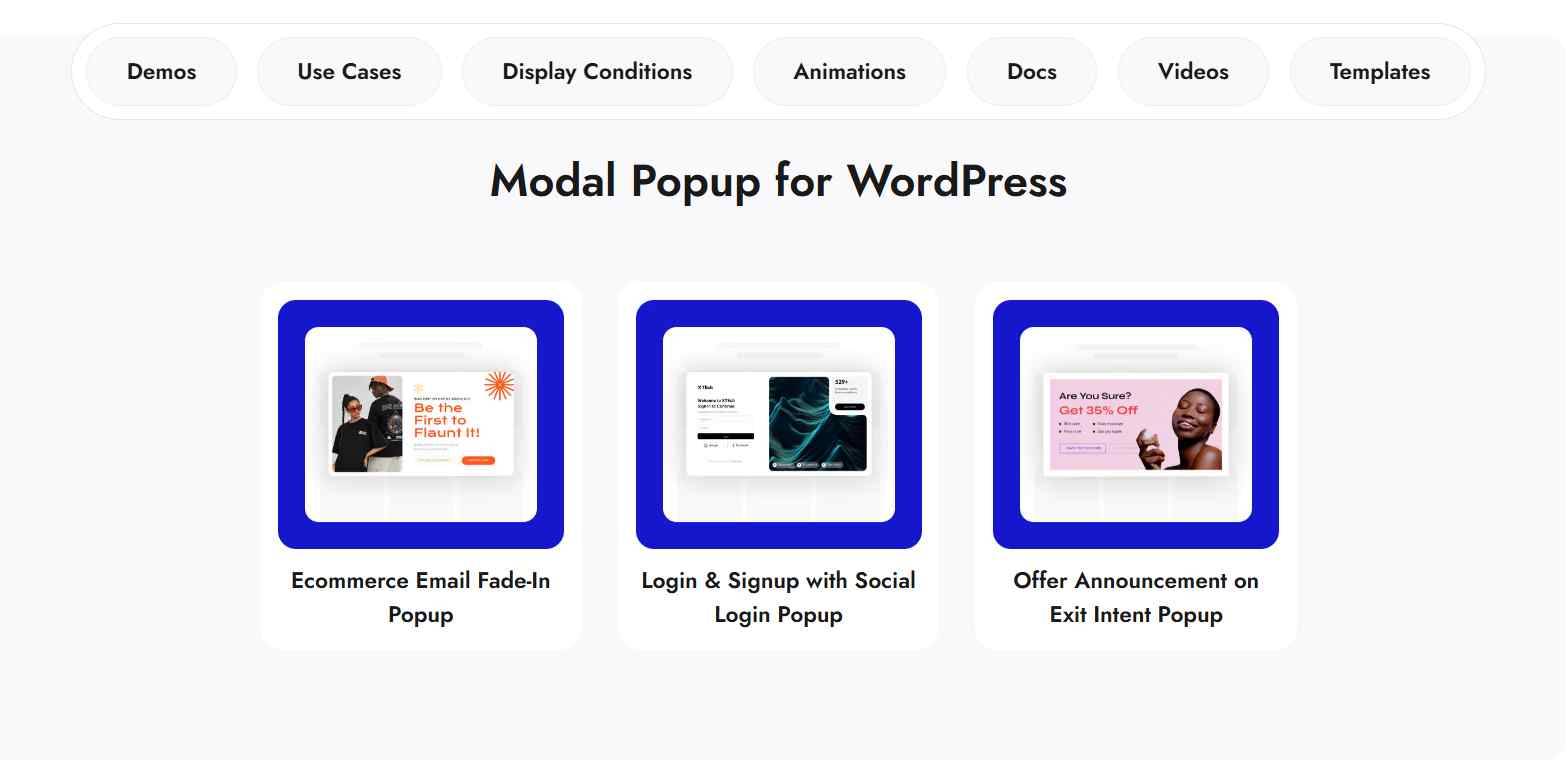](https://qa.nexterwp.com/nexter-blocks/builder/wordpress-popup-builder/#demo) [Learn More](https://qa.nexterwp.com/nexter-blocks/builder/wordpress-popup-builder/) ***Also Read:** Adding urgency to your offers? Pair your popup with one of the [best countdown timer plugins for WordPress](https://qa.nexterwp.com/blog/best-countdown-timer-plugins-for-wordpress/).* ### 2. Popup Box by AYS 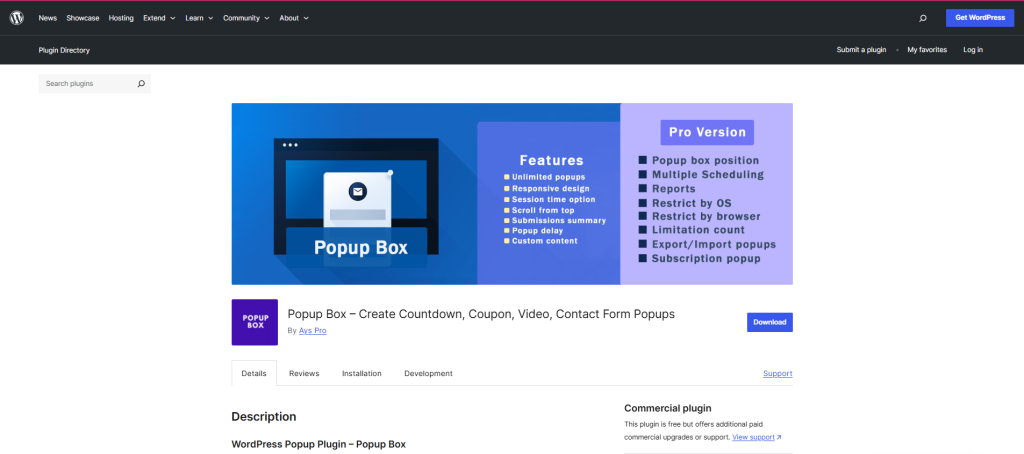 The PopupBox plugin provides ready-made templates for each type of quiz, allowing you to easily customize and deliver the message you want to display on your website. You’ll enjoy creating popups with PopupBox, as everything is easy to understand and no coding skills are required. #### Key Features of Popup Box by AYS - Design and customize popups quickly without any coding, making it simple to share important messages or special offers. - Display your popups to the right visitors using advanced targeting options, ensuring your message appears at the right time. - Expand your email list with visually appealing popups and signup forms that capture visitors’ attention. [Learn More](https://popup-plugin.com/) ### 3. OptiMonk 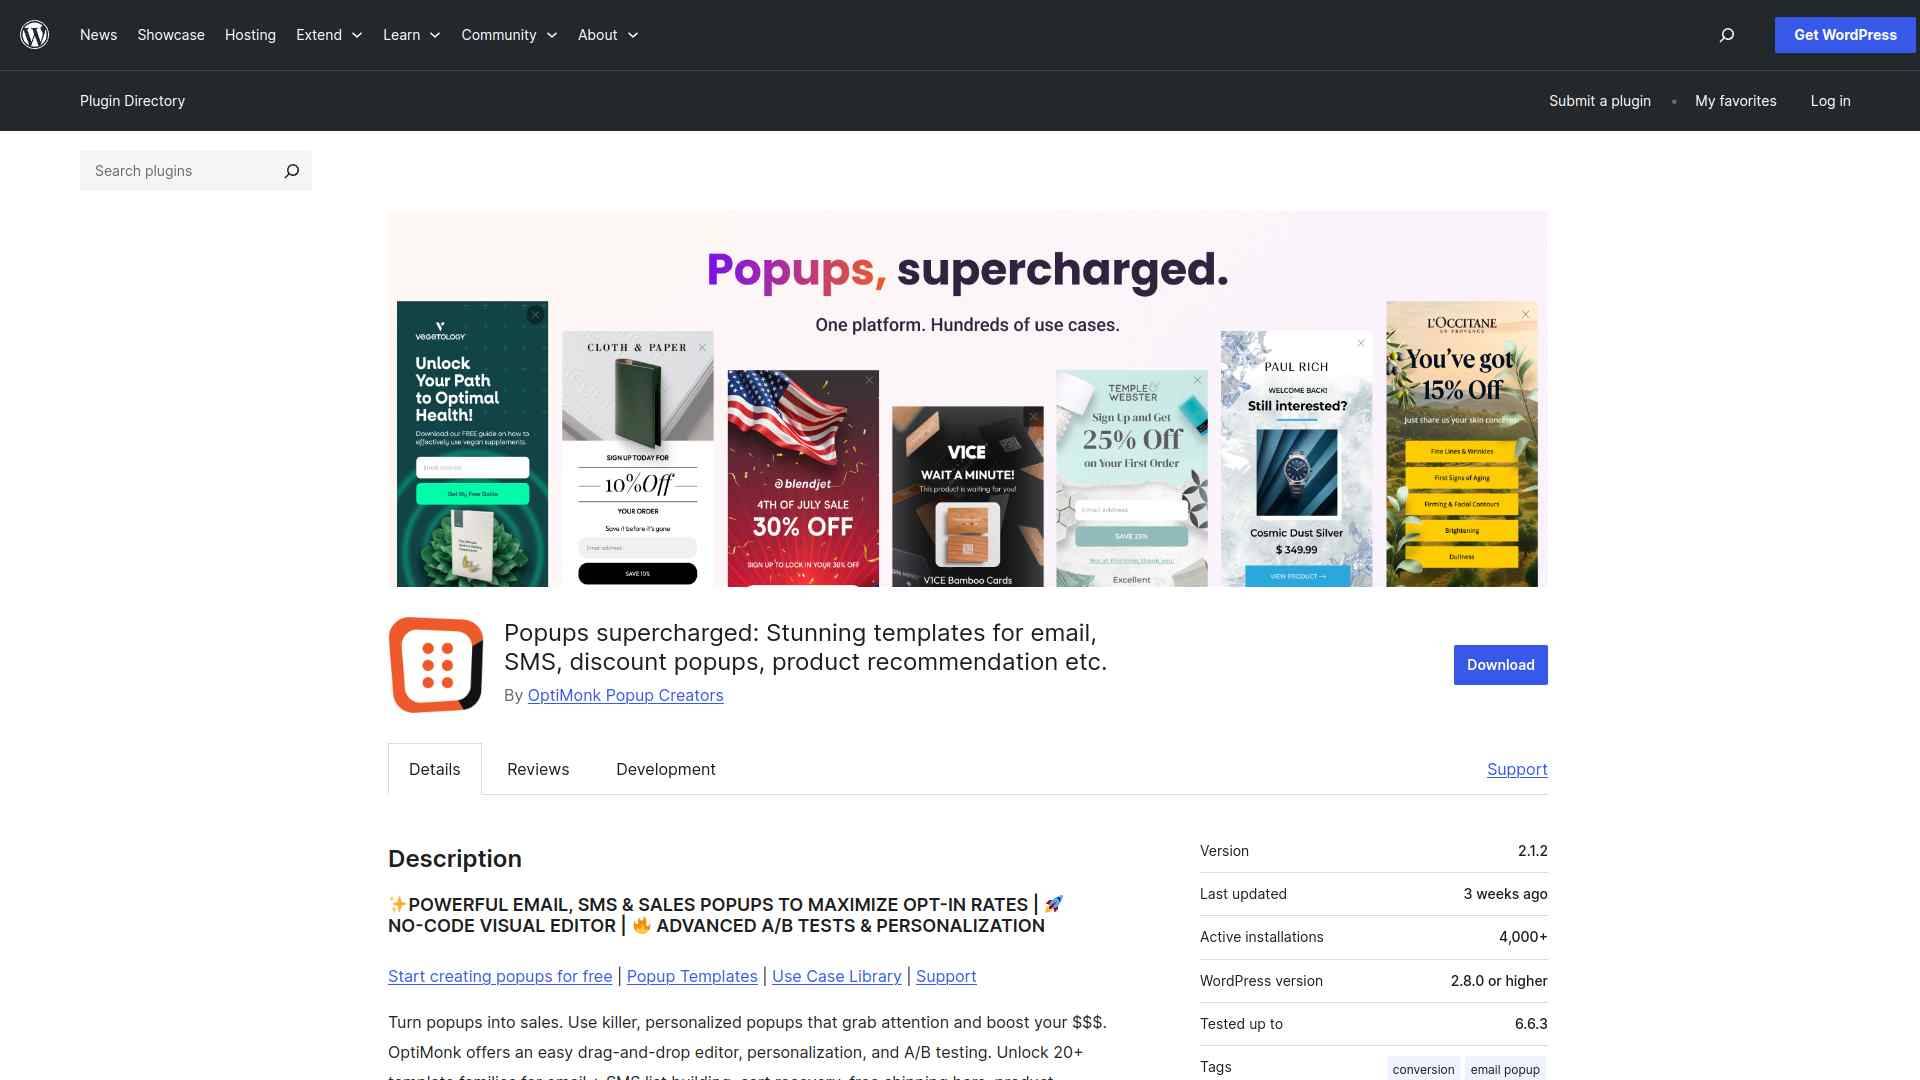 The Exit-Intent Popups by OptiMonk plugin lets you create personalized, mobile-optimized popups that capture visitors’ attention just before they leave your site. You can easily boost sales and grow your email and SMS lists using its drag-and-drop editor and advanced targeting features. #### Key Features of OptiMonk - Easily create eye-catching popups that help capture more emails and boost sales without needing design skills. - Use smart targeting and triggers (like exit-intent) to show popups at the perfect moment, increasing chances visitors stay or buy. - Get detailed insights on how your popups are performing so you can improve and grow your business effectively. - Enjoy mobile-friendly popups that look great on any device, ensuring you don’t miss out on potential customers browsing on phones or tablets. [Learn More](https://wordpress.org/plugins/exit-intent-popups-by-optimonk/) ### 4. Icegram Engage  Icegram Engage helps you effortlessly create high-converting popups, opt-ins, and CTAs to grow your email list and boost conversions without any coding. You’ll enjoy advanced targeting, mobile-responsive templates, and seamless integration with popular email platforms, all for free. #### Key Features of Icegram Engage - Easily turn website visitors into loyal subscribers and customers with eye-catching popups and call-to-action messages. - Reach the right audience at the right time using smart targeting to boost your email list and sales. - Use ready-made templates and simple tools to create professional marketing campaigns without any coding skills. - Save time and increase engagement with automated email campaigns and detailed performance tracking. [Learn More](https://wordpress.org/plugins/icegram/) ### 5. WP Popups  WP Popups lets you easily create and customize popups on your WordPress site without any coding. You can target specific users and trigger popups based on many conditions to boost engagement and conversions. #### Key Features of WP Popups - Easily create and customize popups without any coding skills, helping you quickly share important messages or offers. - Target your popups to the right visitors with smart display options, so your message reaches the right audience at the right time. - Boost your email list and social followers by adding popular form integrations like Mailchimp and WPForms directly into your popups. - Improve user engagement and conversions with features like exit intent triggers, A/B testing, and customizable popup designs. [Learn More](https://wordpress.org/plugins/wp-popups-lite/) ### 6. MailOptin  With MailOptin, you can easily create eye-catching popups and optin forms to grow your email list and boost sales on your WordPress site. It also automates sending email newsletters and new post notifications to keep your subscribers engaged. #### Key Features of MailOptin - Easily grow your email list by creating attractive popups and signup forms that grab visitors' attention. - Automatically send email newsletters and new blog post updates to keep your audience engaged without extra effort. - Target the right visitors with personalized messages and forms based on their behavior, device, or page they visit for better results. - Save time and increase conversions with built-in tools like A/B testing, spam protection, and seamless integration with popular email services. [Learn More](https://wordpress.org/plugins/mailoptin/) ## Which WordPress Popup Plugin Should You Use? When choosing a popup plugin, focus on speed, ease of use, and conversion features that match your goals. You want a tool that helps you capture leads without slowing down your site. [](https://qa.nexterwp.com/nexter-blocks/builder/wordpress-popup-builder/#demo) For the perfect balance of performance and flexibility, go with [Popup by Nexter](https://qa.nexterwp.com/nexter-blocks/builder/wordpress-popup-builder/), it’s your best choice. ## FAQs on Best Popup Plugins for WordPress ### Do popup plugins slow down my WordPress site? Yes, some can. Always choose a lightweight plugin and optimize images or scripts. You’ll keep your site fast while still using engaging popups. ### Can I show popups only on certain pages? Absolutely. Most popup plugins let you target specific pages, posts, or categories. This way, you control where visitors see your offers. ### Are popup plugins mobile-friendly? Yes. Modern popup plugins adapt to mobile screens. You can also customize settings to ensure popups don’t interrupt the mobile browsing experience. ### Do I need coding skills to use a popup plugin? No. Most plugins come with drag‑and‑drop builders and templates. You can design and publish popups without writing a single line of code. ### Can popups help grow my email list? Definitely. Popups capture visitor attention and encourage sign‑ups. By offering value, like discounts or free resources, you can turn casual visitors into subscribers. --- # 5 Best Message Box Plugins for WordPress Compared Source: https://qa.nexterwp.com/blog/best-message-box-plugins-for-wordpress/ Looking for the Best Message Box Plugins for WordPress to grab your visitors’ attention? The right plugin helps you highlight important updates, promotions, or alerts without slowing down your site. In this guide, you’ll discover the top options to boost engagement and improve communication effortlessly. ## What is a Message Box in WordPress? A message box in WordPress lets you highlight important information, alerts, or updates directly on your site. You can use it to grab your visitors’ attention and guide them toward key actions or messages. ## Best Message Box Plugins for WordPress Compared | Sl No | Message Box Plugin | Rating | | ----- | ------------------ | ------ | | 1 | Message Box by Nexter | ★★★★★ | | 2 | Alert Box Block | ★★★★ | | 3 | Alerts DLX | ★★★ | | 4 | Alertify Blocks | ★★★ | | 5 | Simple Alert Blocks | ★★★ | ### 1. Message Box by Nexter 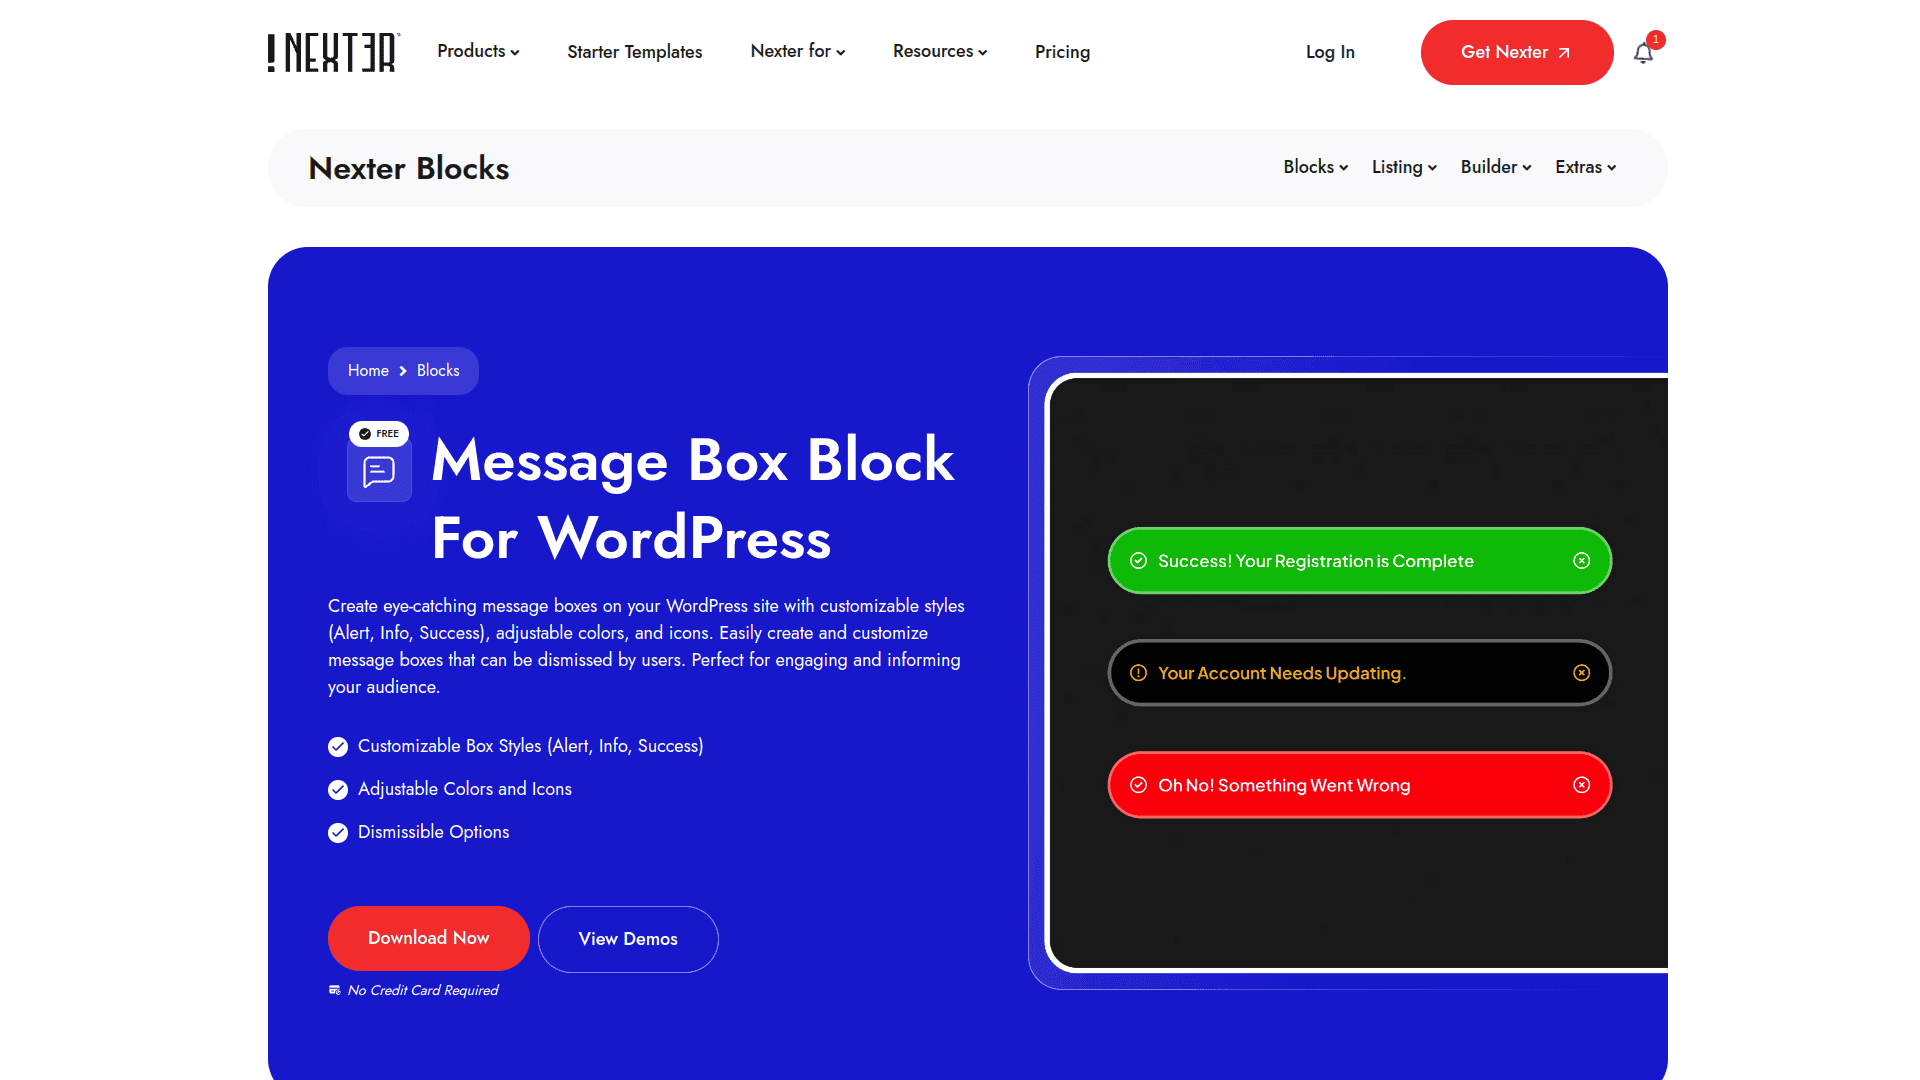 You can create eye-catching, customizable message boxes on your WordPress site with the Nexter Message Box block, perfect for alerts, info, and success notifications. It lets you adjust colors, icons, and allows users to dismiss messages easily. #### Key Features of Message Box by Nexter - Easily create eye-catching message boxes to grab your visitors' attention and improve communication on your site. - Customize colors, icons, and styles to match your brand and make important messages stand out. - Allow users to dismiss message boxes, keeping your site clean and user-friendly. - Quickly add alerts, info, or success notifications to guide and engage your audience effectively. [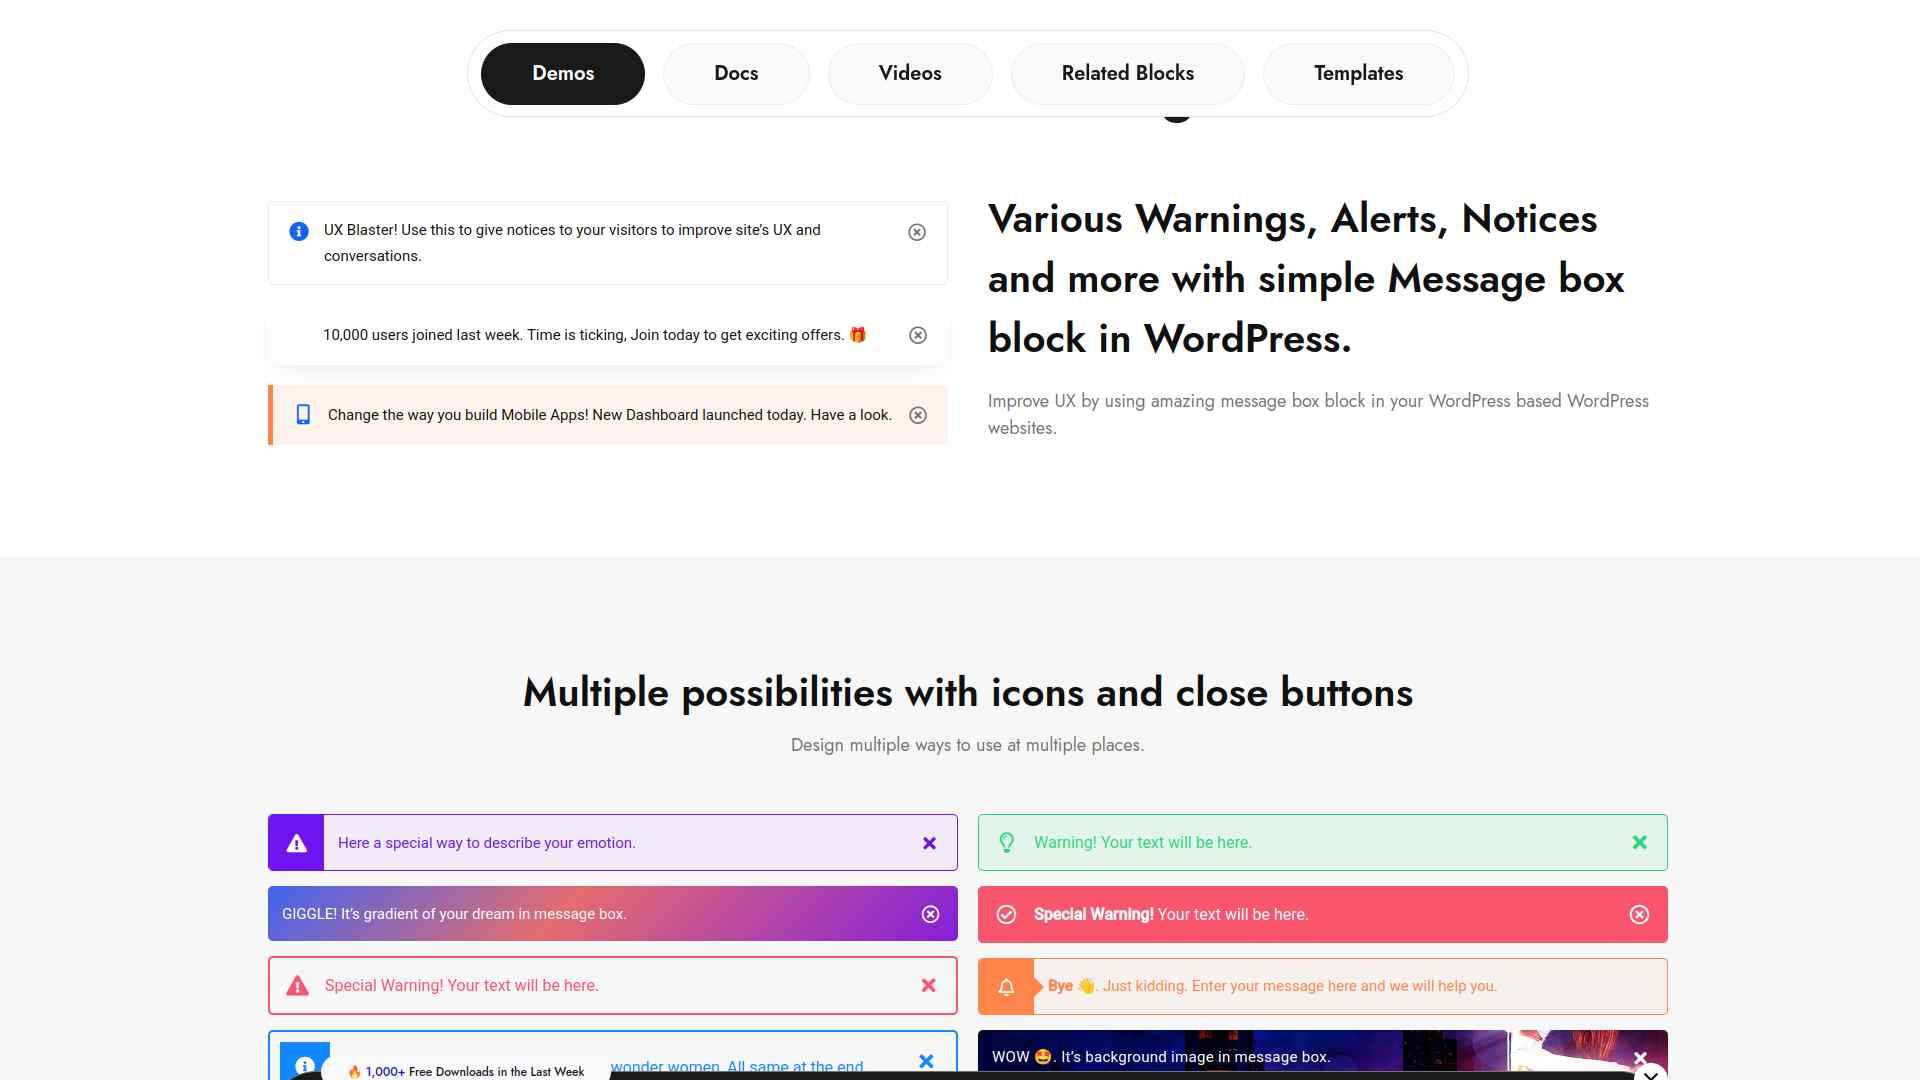](https://qa.nexterwp.com/nexter-blocks/blocks/wordpress-message-box/#demo) [Learn More](https://qa.nexterwp.com/nexter-blocks/blocks/wordpress-message-box/) ***Also Read:** Want to highlight quoted text rather than alerts? See the [best blockquote plugins for WordPress](https://qa.nexterwp.com/blog/best-blockquote-plugins-for-wordpress/).* ### 2. Alert Box Block  You can easily create and display customizable alert boxes on your WordPress site using the Alert Box Block plugin. It integrates seamlessly with the Gutenberg editor, letting you design and manage notices to enhance your user experience. #### Key Features of Alert Box Block - Easily create and display attention-grabbing alerts or notices on your website to improve communication with visitors. - Customize the look of alert boxes to match your site’s style, making messages clear and visually appealing. - Quickly add ready-to-use alert types without extra setup, saving you time while enhancing user experience. - Use the plugin freely and as many times as you want, with simple controls directly in the WordPress block editor. [Learn More](https://wordpress.org/plugins/alert-box-block/) ### 3. Alerts DLX 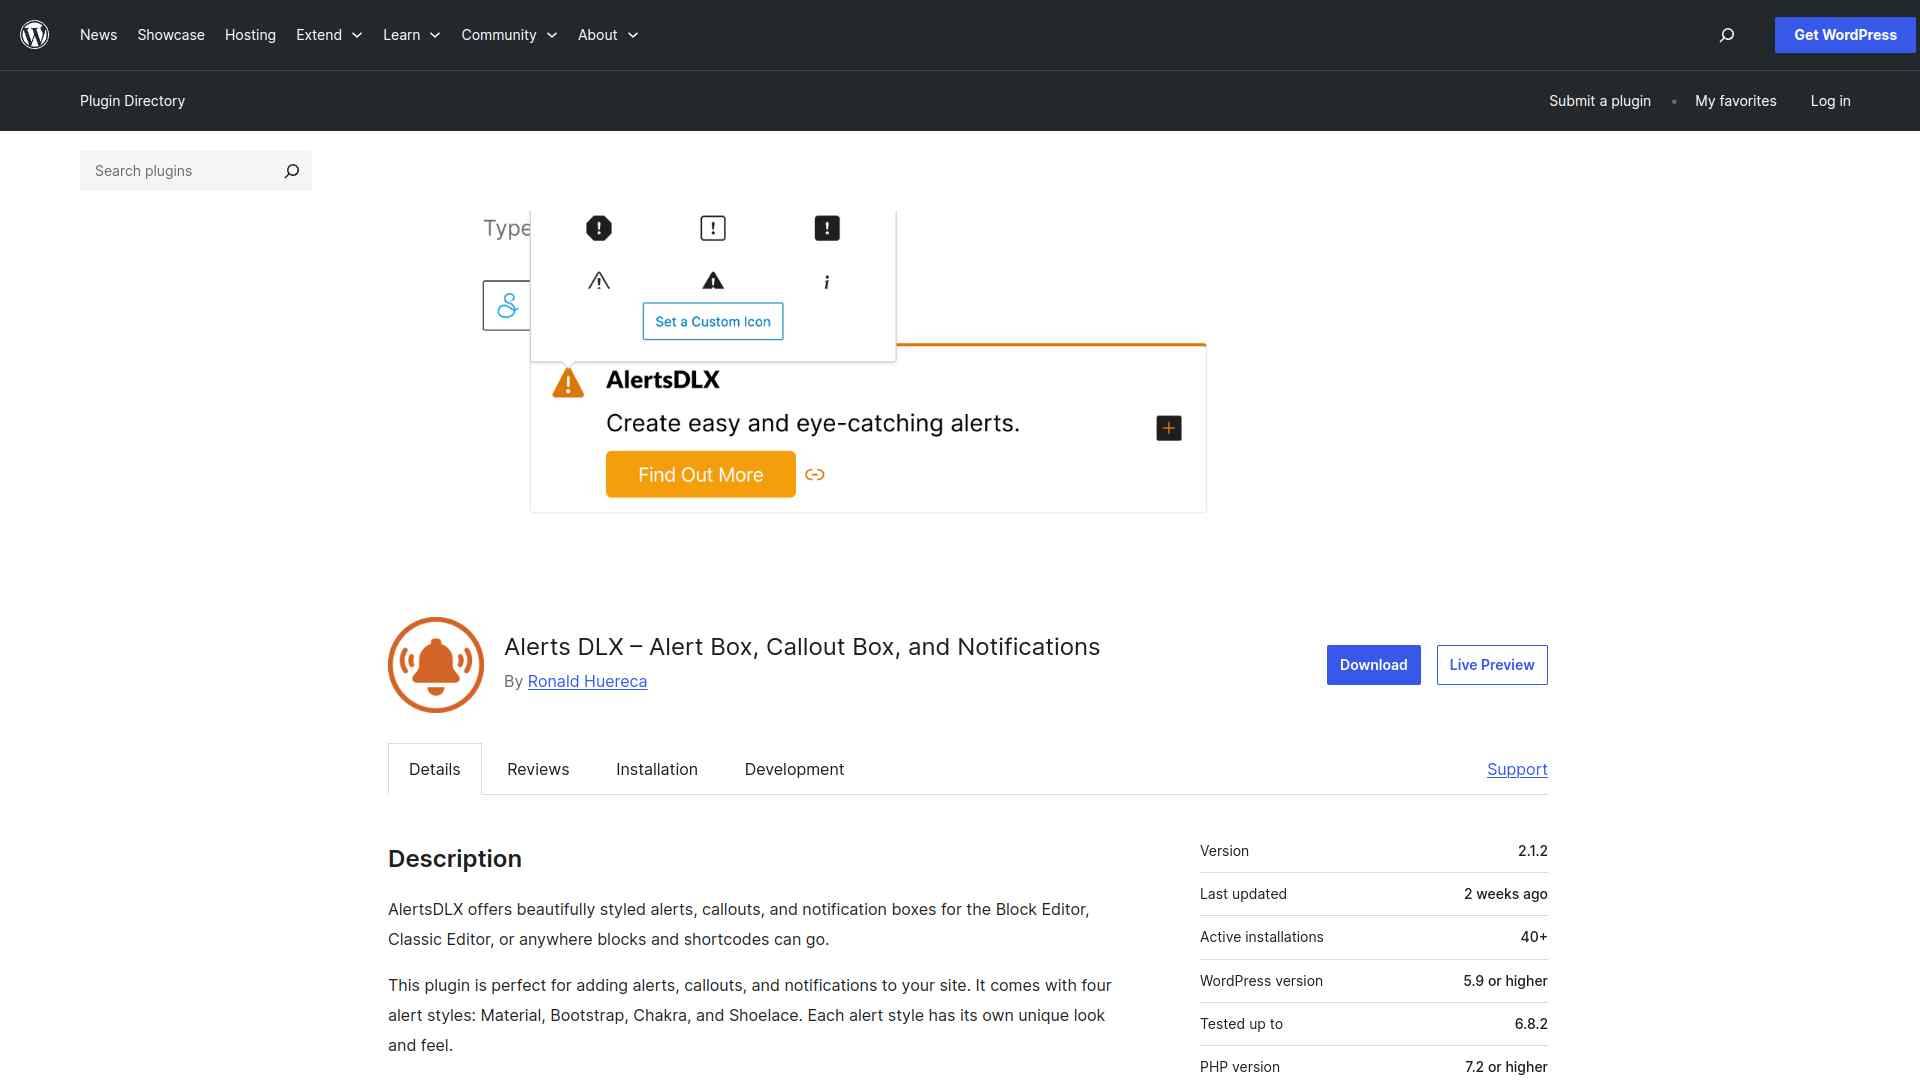 You can easily add stylish alerts, callouts, and notifications to your WordPress site using AlertsDLX. It offers four unique alert styles, Material, Bootstrap, Chakra, and Shoelace with customizable colors, icons, and dismissible options to enhance your content. #### Key Features of Alerts DLX - Easily add stylish and eye-catching alerts, callouts, and notifications to your website to grab visitors' attention. - Choose from four unique alert styles (Material, Bootstrap, Chakra, Shoelace) to match your site's look and feel perfectly. - Customize colors, icons, and content easily to create alerts that fit your brand and message without hassle. - Include dismissible alerts that remember user actions,i mproving user experience by avoiding repeated messages. [Learn More](https://wordpress.org/plugins/alerts-dlx/) ### 4. Alertify Blocks 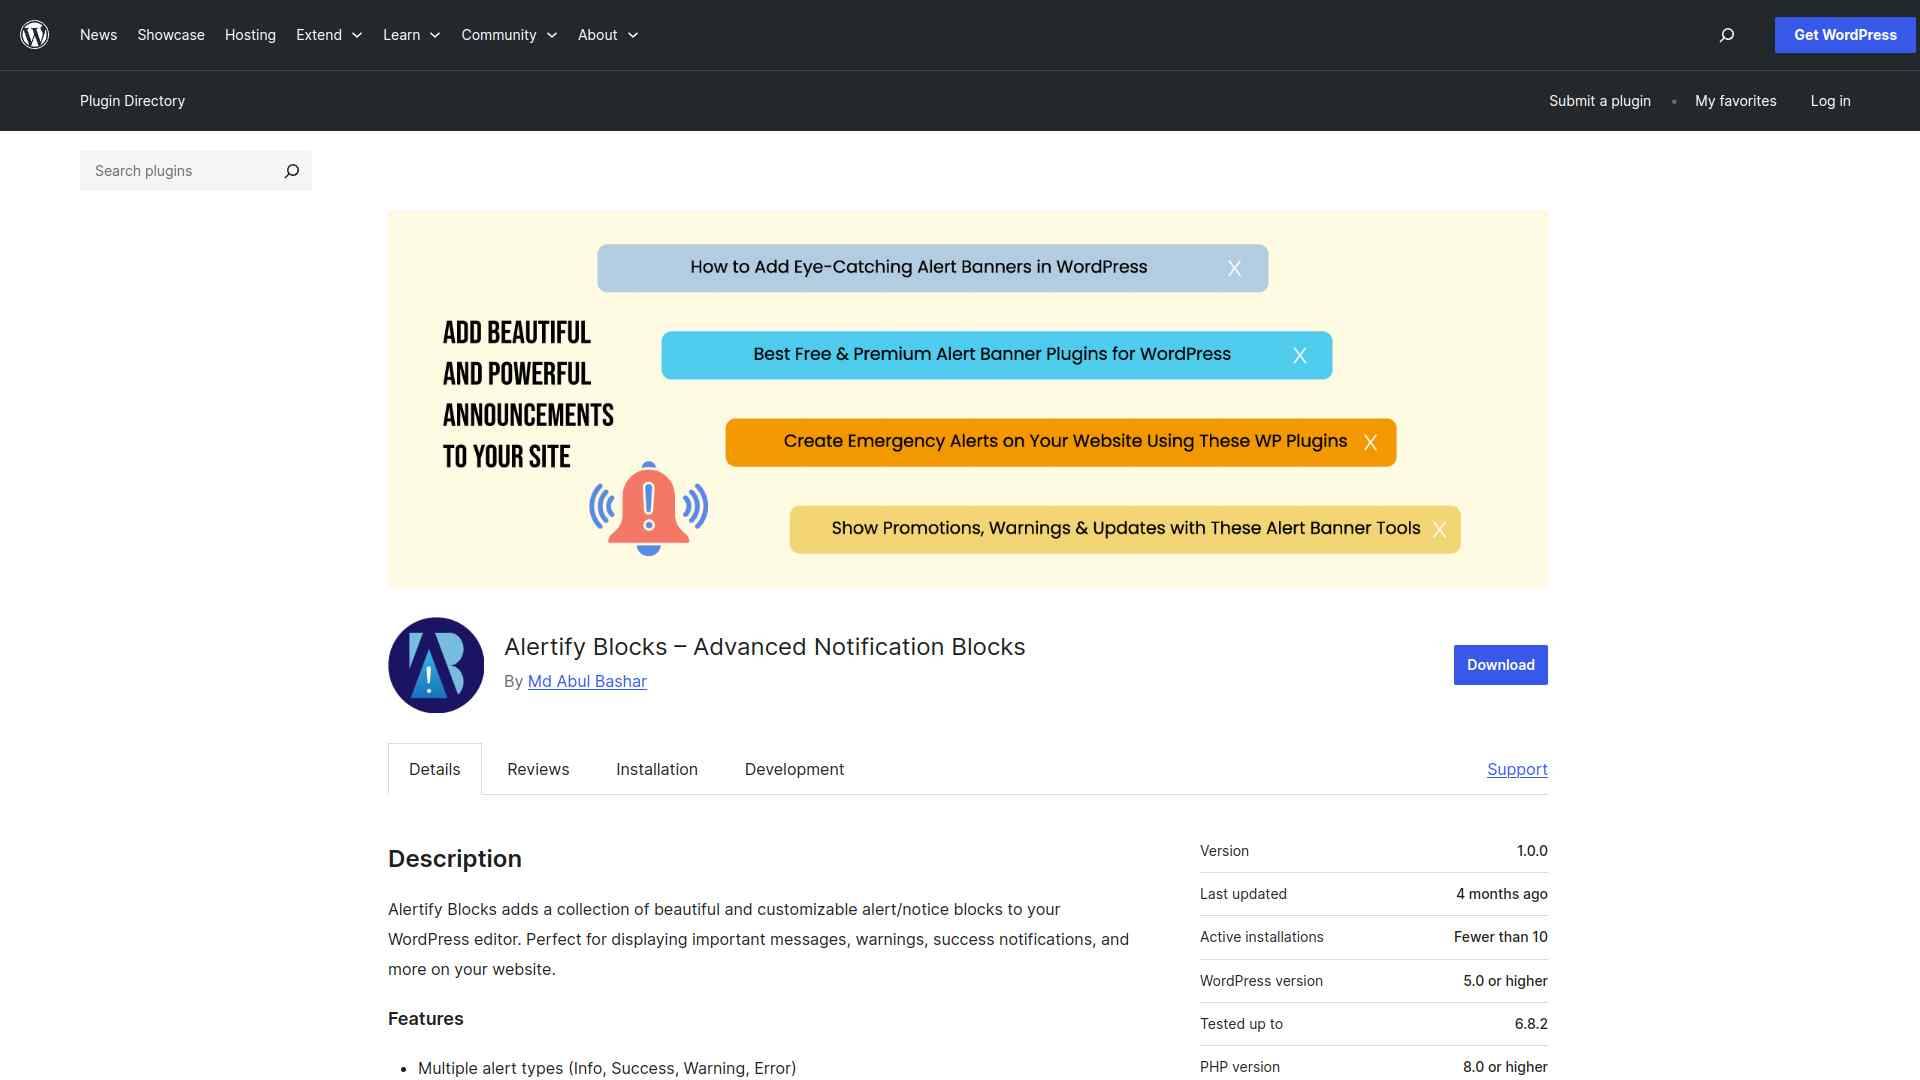 Alertify Blocks lets you add beautiful, customizable alert and notice blocks to your WordPress editor for important messages like info, success, warnings, and errors. You can easily customize colors, typography, and make notices dismissible for your visitors. #### Key Features of Alertify Blocks - Easily add eye-catching alert messages to your website to grab visitors’ attention and highlight important information. - Customize colors, fonts, and spacing to match your site’s style, making alerts look professional and on-brand. - Let visitors dismiss notices with a simple click, improving user experience by keeping your site clean and uncluttered. - Ensure your alerts look great and work smoothly on all devices, so your messages reach everyone clearly. [Learn More](https://wordpress.org/plugins/alertify-blocks/) ### 5. Simple Alert Blocks 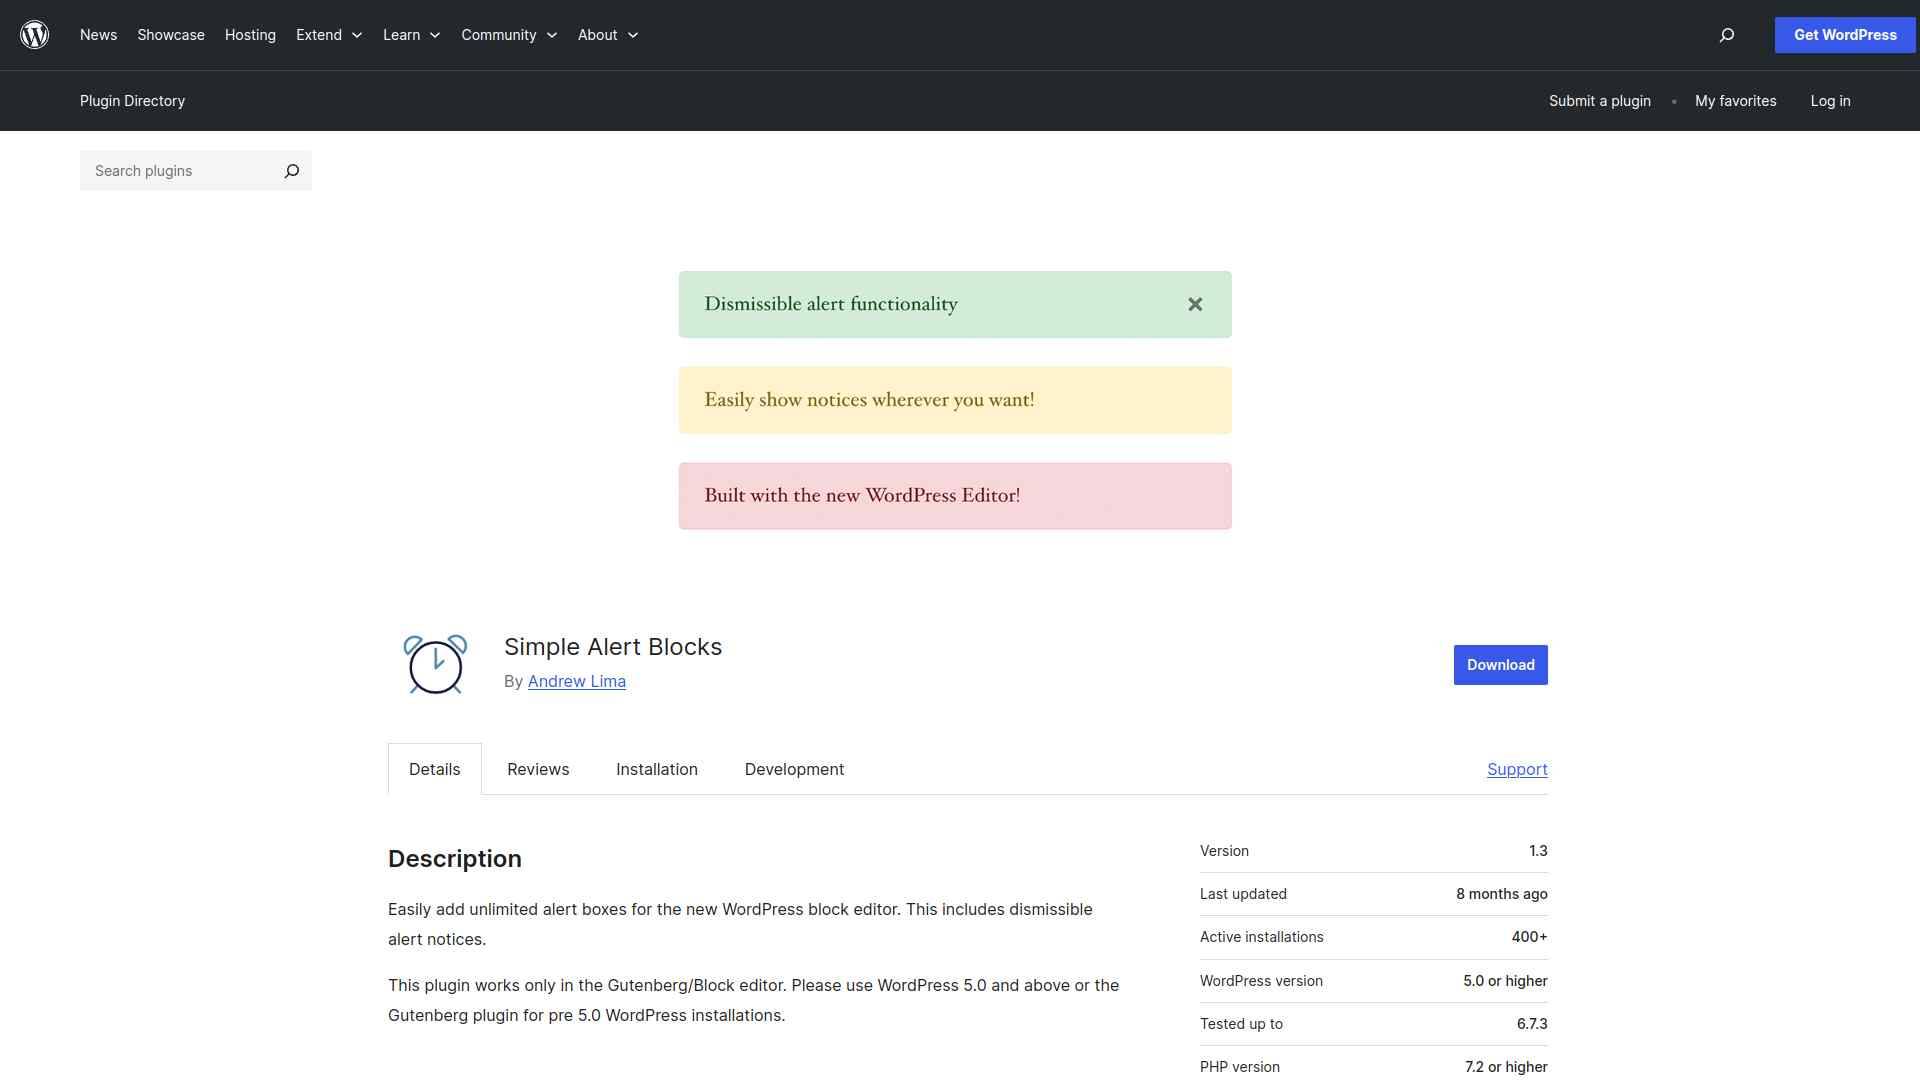 You can easily add unlimited alert boxes with the Simple Alert Blocks plugin using the WordPress block editor. It lets you create dismissible alerts quickly, but it works only with WordPress 5.0+ or the Gutenberg plugin. #### Key Features of Simple Alert Blocks - Easily add unlimited alert boxes directly within the WordPress block editor to highlight important information in your posts. - Includes dismissible alerts, allowing readers to close notifications for a cleaner reading experience. - Simple and lightweight design keeps your content looking neat without overwhelming options or complicated settings. - Helps you quickly create stylish alerts without needing any coding knowledge, saving you time while writing. [Learn More](https://wordpress.org/plugins/simple-alert-blocks/) ## Which WordPress Message Box Plugin Should You Use? When choosing a message box plugin, focus on one that is easy to use, customizable, and blends seamlessly with your site’s design. You should also ensure it enhances user engagement without slowing down your website. [](https://qa.nexterwp.com/nexter-blocks/blocks/wordpress-message-box/#demo) If you want a powerful, flexible, and reliable solution, [Message Box by Nexter](https://qa.nexterwp.com/nexter-blocks/blocks/wordpress-message-box/) is your best choice. ## FAQs on Best Message Box Plugins for WordPress ### How do message box plugins improve my WordPress site? They help you highlight important information, alerts, or updates in a clear and attractive way. By using them, you guide visitors’ attention to key details without disrupting their browsing experience. ### Can I customize the design of message boxes? Yes, most plugins let you adjust colors, icons, text styles, and layouts. You can match the design to your site’s branding so the message boxes look consistent and professional. ### Do message box plugins slow down websites? Lightweight plugins won’t noticeably affect performance. Always choose well‑coded plugins, update them regularly, and avoid overusing message boxes to keep your site fast and user‑friendly. ### Are message box plugins mobile‑friendly? Most modern plugins are responsive, meaning the message boxes automatically adapt to different screen sizes. This ensures your alerts and notices remain clear on desktops, tablets, and smartphones. ### Do I need coding skills to use message box plugins? No, you can usually create and customize message boxes using simple visual editors. These plugins are designed for beginners, so you can add messages without writing any code. --- # 10 Common WordPress Mistakes to Avoid [With Solutions] Source: https://qa.nexterwp.com/blog/common-wordpress-mistakes-to-avoid/ Are you wondering about common WordPress mistakes and curious to know how to avoid them? This blog is for you. WordPress is an extremely versatile Content Management System that lets you create, design, and edit feature-rich, professional websites. Thanks to its intuitive and user-friendly interface, it is a great tool for beginners as it is easy to manage even for those with no technical knowledge. However, whether you're a beginner or an experienced professional, you might get hung up on a few common mistakes that can later prove critical for your website's performance. From not picking the right plugins to ignoring SEO optimization or security best practices, many such errors can affect the functionality of your WordPress website. In this blog, we'll take a closer look at the common WordPress mistakes to avoid and, in case you do them, what you can do to solve them. ## Common WordPress Mistakes to Avoid Let's look at ten common WordPress mistakes you need to avoid and how to solve them- ### 1. Ignoring WordPress Back Up One of the most common and worst mistakes to make with your WordPress website is ignoring regular data backups. Like it or not, your website is prone to theft, hacking attempts, and accidents. Automated backups are your best bet to protect your website data against that. Without a backup, you risk losing all your WordPress data, including pages, posts, settings, and so on, in case your host deactivates the account, you accidentally delete something, or the website is hacked. Fortunately, setting up WordPress backup is extremely easy, with various WordPress backup plugins available in the market. You can quickly set up a backup plugin like UpdraftPlus, Jetpack, or Duplicator, which would automatically create a backup for you. 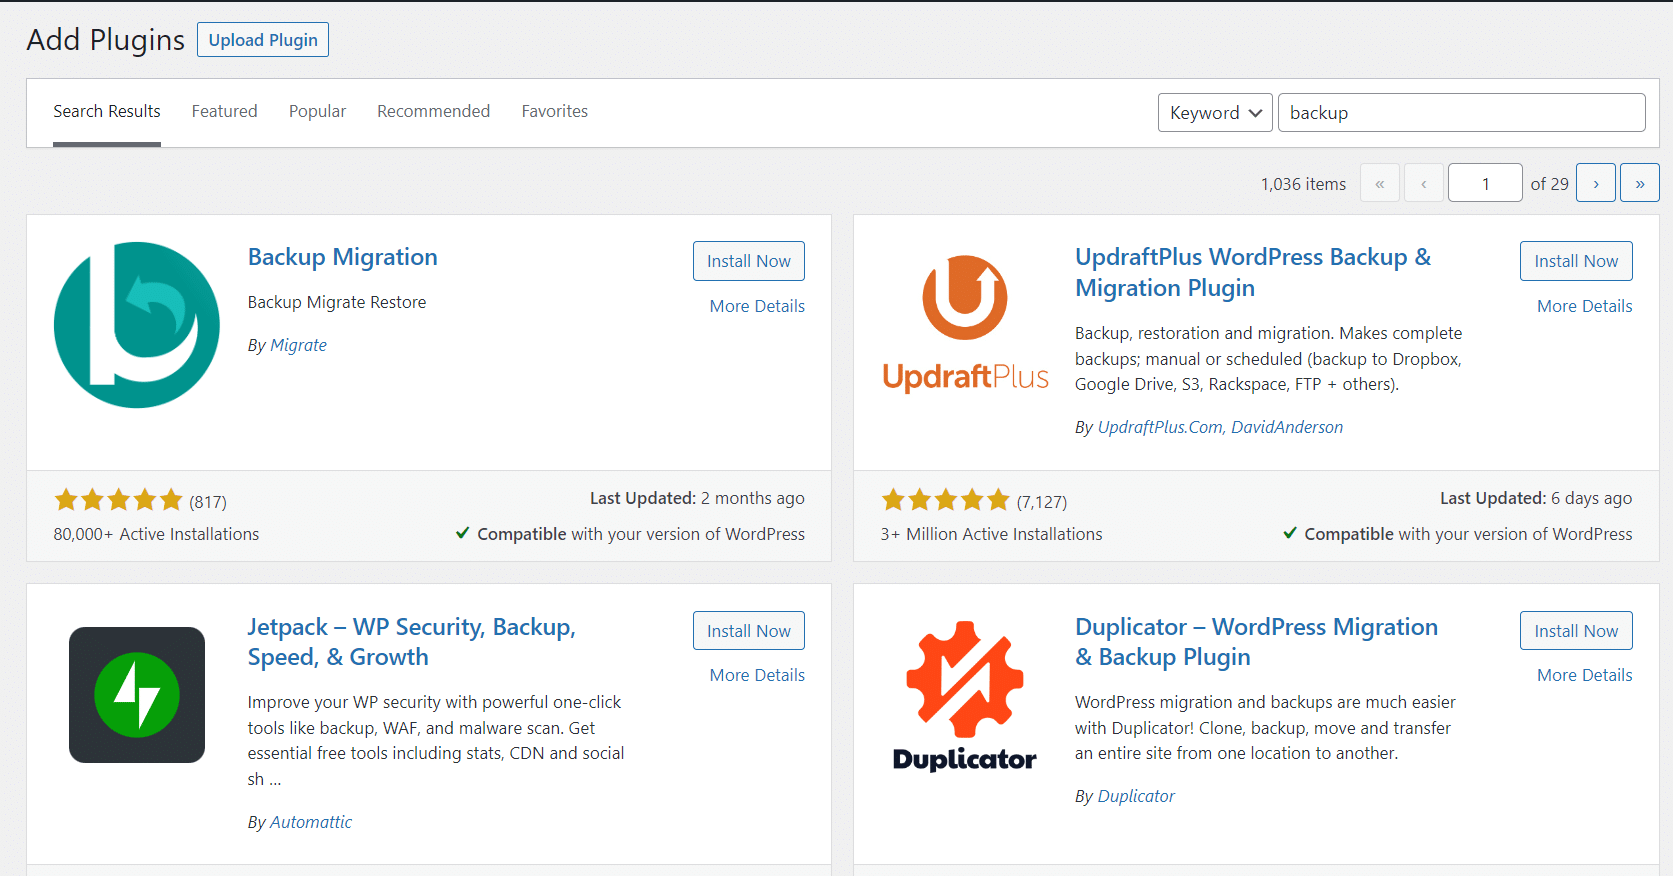 It is also important to store your backup file in a remote location or cloud storage service like Dropbox or Google Drive to avoid losing your files in case of an issue with the host. ### 2. Using Too Many Plugins What makes WordPress popular and flexible is its extensive library of plugins to help you enhance the functionality of your website. You have a unique plugin for virtually every feature or function you could think of – whether you want to add a custom table of contents, display a video gallery, or include login forms. Safe to say, you'd be tempted to install a plugin for every little thing you want. But this comes with a cost. Installing too many plugins means each plugin will load a bunch of CSS files, scripts, and images, which will slow down the website's speed and performance. So, it makes sense to deactivate any unused plugins and install only the most essential ones. Stick to reputed plugins and check for compatibility with your WordPress version to ensure faster performance. What if you could get a single plugin that replaces the need for other multiple plugins? Sounds great, right? Check out Nexter Blocks plugin, it includes 85+ blocks that have the capability to replace multiple plugins for various functionalities for your site. 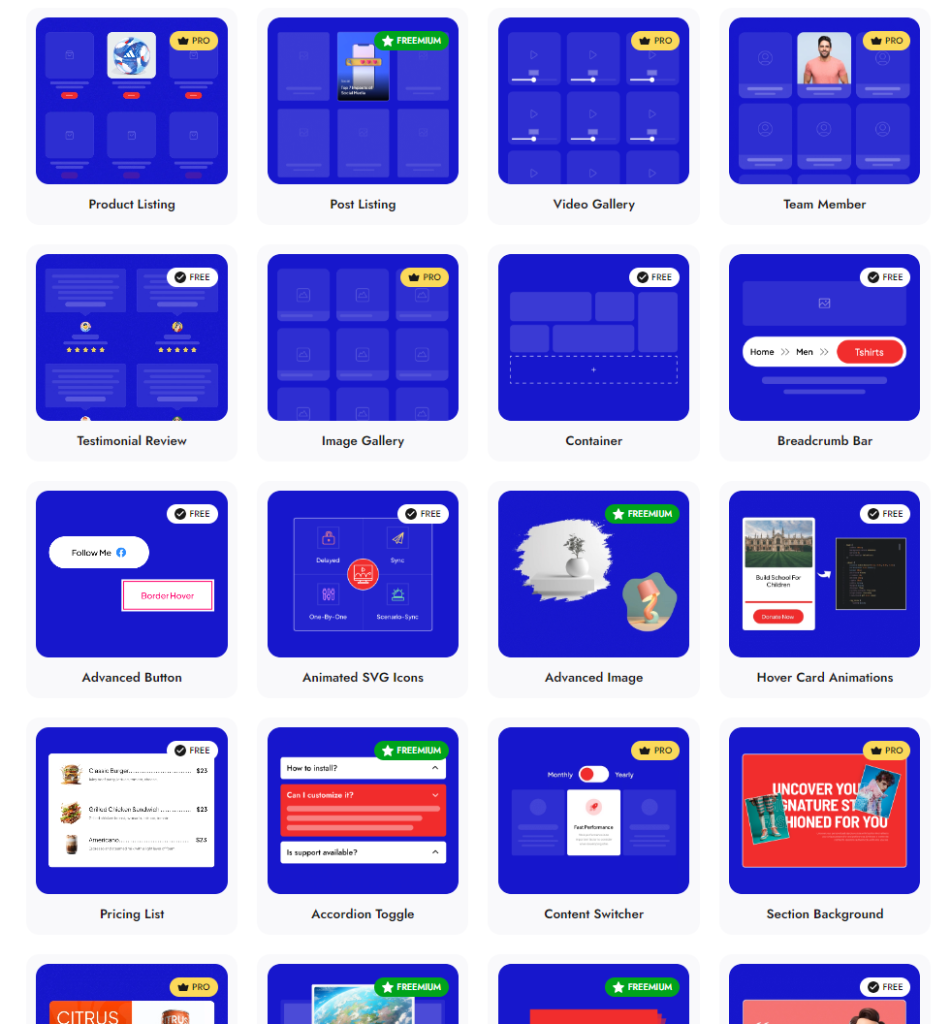 *These are just a few blocks. *[*Check the entire list of 85+ Gutenberg Blocks Library from Nexter Blocks*](https://qa.nexterwp.com/nexter-blocks/) ***Also Read:** If resource-heavy plugins start triggering memory-exhausted errors, learn [how to increase your WordPress memory limit](https://qa.nexterwp.com/blog/how-to-increase-wordpress-memory-limit/).* ### 3. Not Updating Plugins As you build your website and add more plugins and themes, you run the risk of an outdated website code. Outdated plugins can cause various problems, such as slow site loading speed, site crashes, or worse, a website that is vulnerable to attacks. For this reason, developers roll out regular updates to fix any bugs or security issues in the plugin. It is always a good idea to update plugins as soon as they are released. You can check the ***Updates*** section on the WordPress dashboard to keep up with the updates. 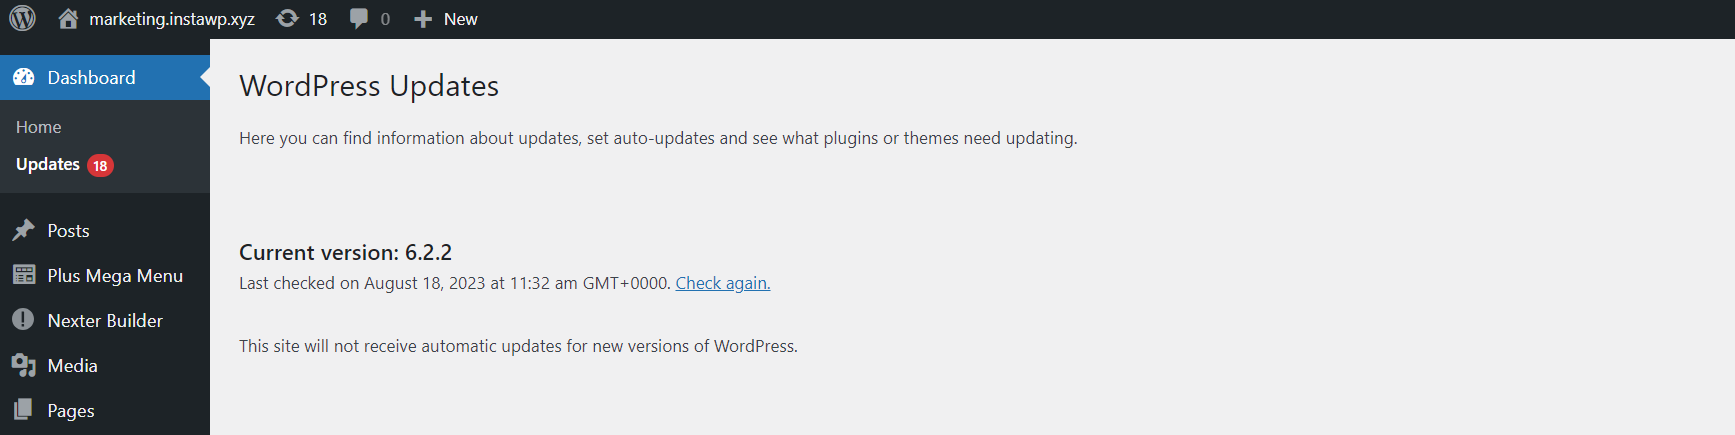 *Want to enhance the functionality of your WordPress website? Check out the *[***12 Best Gutenberg Addons You Must Have**.*](https://qa.nexterwp.com/blog/best-gutenberg-plugins/) ### 4. Opting for a Cheap WordPress Hosting Provider Choosing a free or inexpensive hosting server might help you save money when building your website, but it's not the best choice for a quality website. This is because it may not offer you the level of security, features, and support that a pricier alternative can offer. Not to mention, shared hosting plans might have too many websites sharing the same resources, which can affect your website speed and performance. That is why it is crucial to do your research to consider the key features, technical support, security, reliability, and backup options provided by the hosting provider. This will help you ensure website protection against data loss or hacking attempts. Also, pay attention to the website load times offered by your hosting plan, as it will impact the performance of your website. We understand you might be looking for reasonable alternatives. In that case, we would recommend you check out [Hostinger](https://go.posimyth.com/recommends/hostinger/); their plans are comparatively inexpensive and offer good hosting services. *Looking to take your new WordPress website live? Learn *[***How to Migrate WordPress Website Local to Live Server Website Domain**.*](https://qa.nexterwp.com/blog/how-to-migrate-wordpress-site-local-to-live-server-website-domain/) ### 5. Choosing the Wrong WordPress Theme Another common error that WordPress users typically make is choosing the wrong theme. The WordPress theme you pick not only determines the look and aesthetic of your website but also how well your website will perform. There are thousands of attractive themes available in the WordPress repository, which means you can easily end up with the wrong theme if you do not pay attention. A poorly coded theme with a lack of developer support or regular updates can affect the performance of your website. So, when choosing a theme for your WordPress website, ask yourself- - Does a reputed developer offer the theme? - Does it offer regular updates? - Does it offer good customer support? You want a theme that is unique, clean-coded, and offers fast website performance. You can also check out the customer reviews before picking a theme or even developing your custom theme. 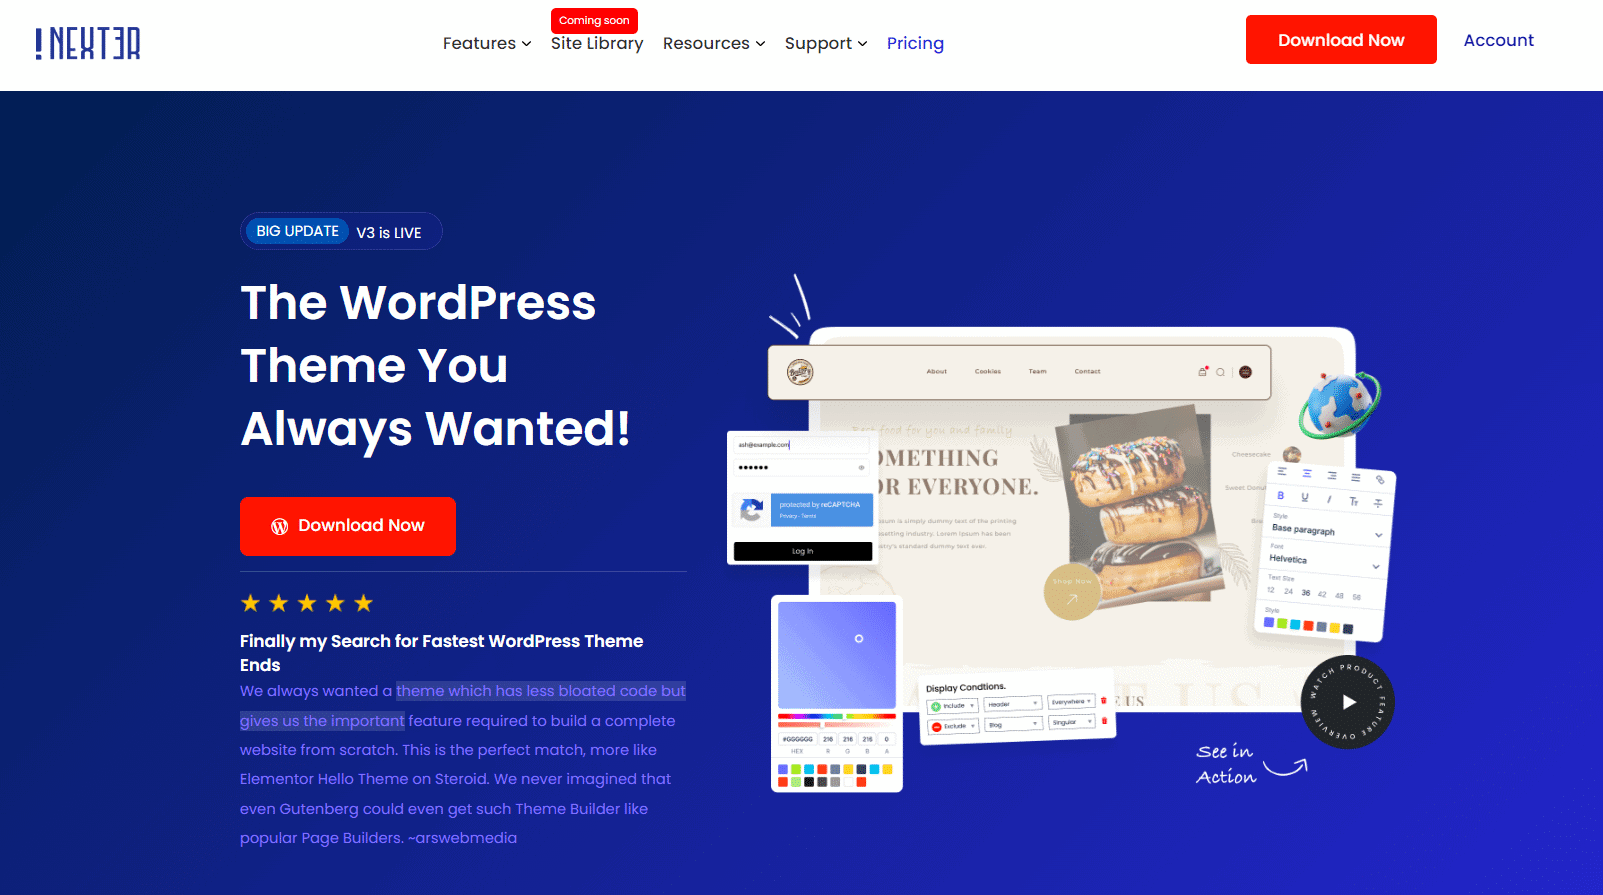 [Nexter](https://qa.nexterwp.com/) by POSIMYTH Innovations is one such lightweight, minimal WordPress theme that offers you an amazing design experience for your website. It features tons of customizations and functionalities and is compatible with popular page builders like Gutenberg and Elementor, making it perfect for your website. ### 6. Neglecting WordPress Core Updates 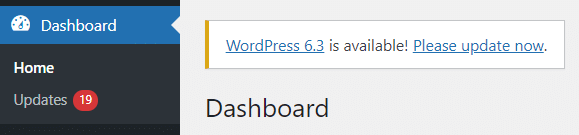 When it comes to WordPress security and performance, ignoring WordPress core updates is the worst mistake you can make. The WordPress core comprises the files and data you download from WordPress.org to operate your website, such as access to the admin dashboard, media files, tags, categories, and more. WordPress sends regular core updates to deal with any security threats or functionality issues, as well as offer you new exciting features. Here, failing to update your WordPress core makes your website outdated, slow, and vulnerable to security issues. This makes it critical to update your WordPress core as soon as a new update is released to ensure hacking prevention and good performance. ### 7. Failing to Modify the Default "Admin" Username When you install WordPress, the username for your account is set as "Admin" by default, which must be changed as it poses serious security threats. Being the default username, it is easy to guess and thus leaves your data vulnerable to attack. If you're starting your new website, you can set a unique username during installation. However, if you have an existing website, you cannot change your WordPress username within the admin area. Instead, you'll have to create a new administrator account on your WordPress dashboard with the new username and password as an *administrator* and delete the old account. 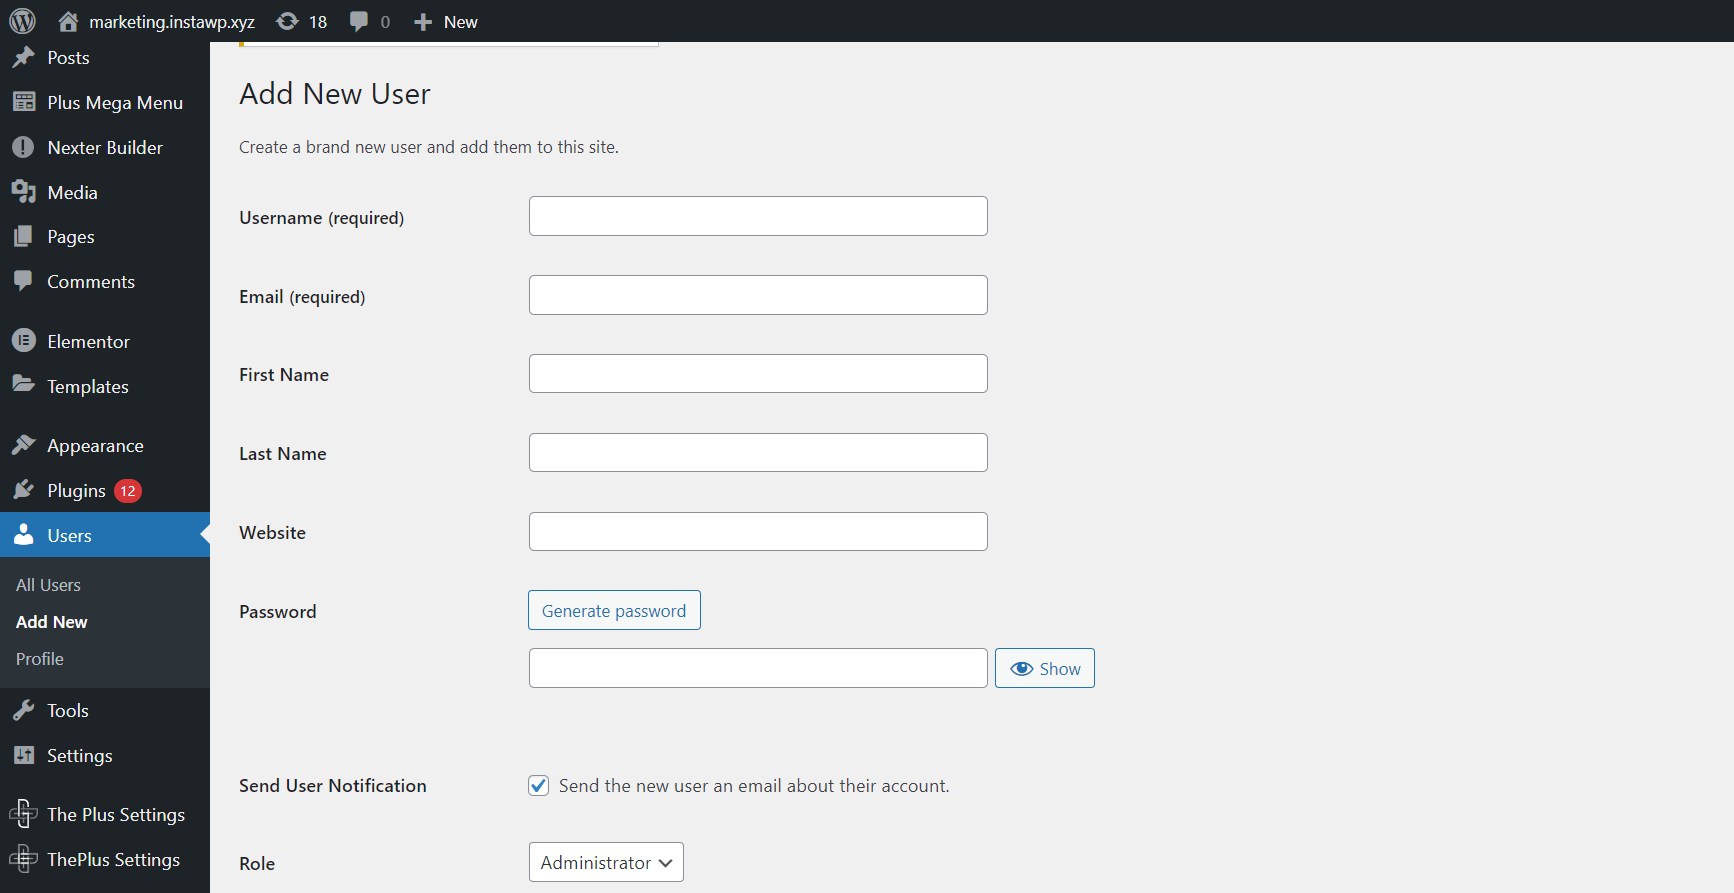 ### 8. Inadequate Security Measures for Your WordPress Site We've already discussed the security implications of having outdated WordPress core, themes, and plugins and using default usernames. But WordPress security is more than that. You must take additional security measures to protect your website against hackers and data loss. You can do this by: - **Installing a security plugin** At any time, your website is vulnerable to attacks if not configured properly. Installing a security plugin on WordPress is a good way to address your website's security concerns. Such plugins actively monitor your WordPress for suspicious activity, scan for outdated themes and plugins, and stop automated attacks to keep your website secure. - **Limiting login attempts** You can also install a plugin to block login attempts after a certain number of failed attempts are made from a particular IP address. This is an easy way to enhance your website security. **Suggestion**: Worried about your WordPress site’s security? Watch this quick video to learn how to block IP addresses in WordPress in minutes. https://youtu.be/w7yhRANUUvc?si=5HO-6SaK2CpBE21o - **Enabling two-factor authentication** Relying on two-factor authentication is also a great way to protect your WordPress from unauthorized logins. With two-factor authentication enabled, you will receive a security code to your device that you must enter to log in. There are plenty of plugins available to add this function to your WordPress. ### 9. Missing Out on Using a Cache Plugin for Your WordPress Site A cache is a static file of your website data stored in a temporary storage location. When a visitor lands on your website, their browser sends data requests to your hosting server for HTML files, JavaScript, text, images, and more. The server builds these resources, sends them to the browser, and the resulting webpage is then displayed to the visitor. Using caching is a simple and effective way to store this website data locally to reduce data requests to the server, minimize resource use, and make your website faster. So, when you don't use caching for your website, it leads to a slow-loading website, which can affect the user experience. Instead, using a caching plugin can help you optimize your website for faster performance and loading time and reduce the load on your server. In addition, it is an SEO best practice as faster websites typically rank higher on Google. WordPress caching plugins like [WP Rocket](https://go.posimyth.com/recommends/wprocket/) create and store static website files and load them locally whenever someone visits your website. 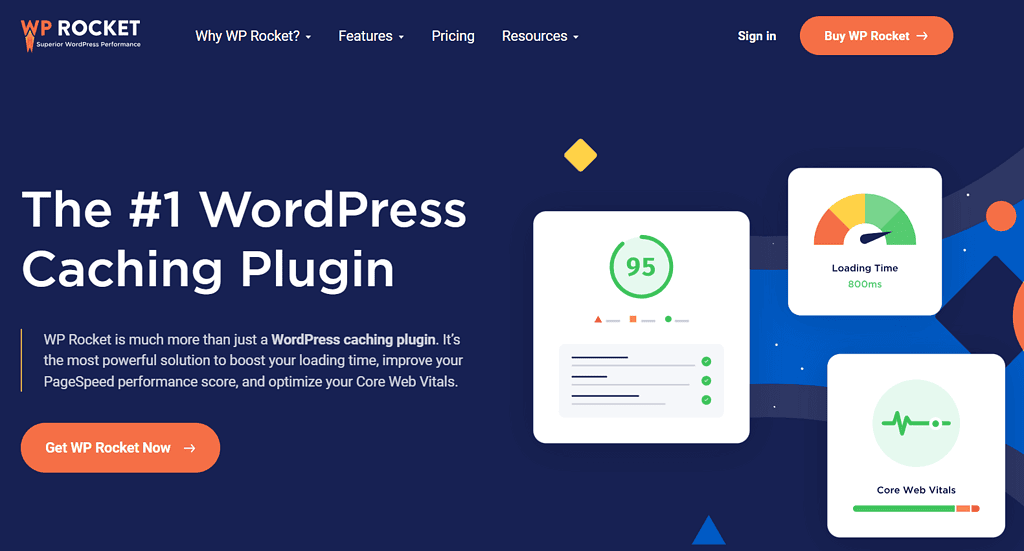 ### 10. Poor Image Optimization Including images and videos is an excellent way to level up your website's engagement factor, but they are also heavier in size than text. If you add media content to your website without optimizing it for speed, it can affect the performance of your website, take forever to load, and ultimately result in a poor user experience. This is another key WordPress mistake to avoid. You can compress your media files to make the file size smaller and optimize them for faster loading times. For this, you can use Photoshop or similar image editing software. In addition, there are plenty of image compression plugins available on WordPress, such as [EWWW Image Optimizer](https://wordpress.org/plugins/ewww-image-optimizer/), [Imagify](https://wordpress.org/plugins/imagify/), or [Optimole](https://wordpress.org/plugins/optimole-wp/), which will automatically optimize media for your website. ## How to Enhance Your WordPress Editor Experience? Creating a website with WordPress is extremely easy, thanks to its intuitive, user-friendly interface. But once you've created your basic website structure while keeping in mind the abovementioned common WordPress errors, you need to enhance the website functionality for better editing as well as user experience. This is because WordPress, by default, offers you only limited features and extensions to help you do more with your WordPress editor. In this case, installing an all-in-one plugin, like [Nexter Blocks](https://qa.nexterwp.com/nexter-blocks/), will give you and your visitors an unforgettable website experience. 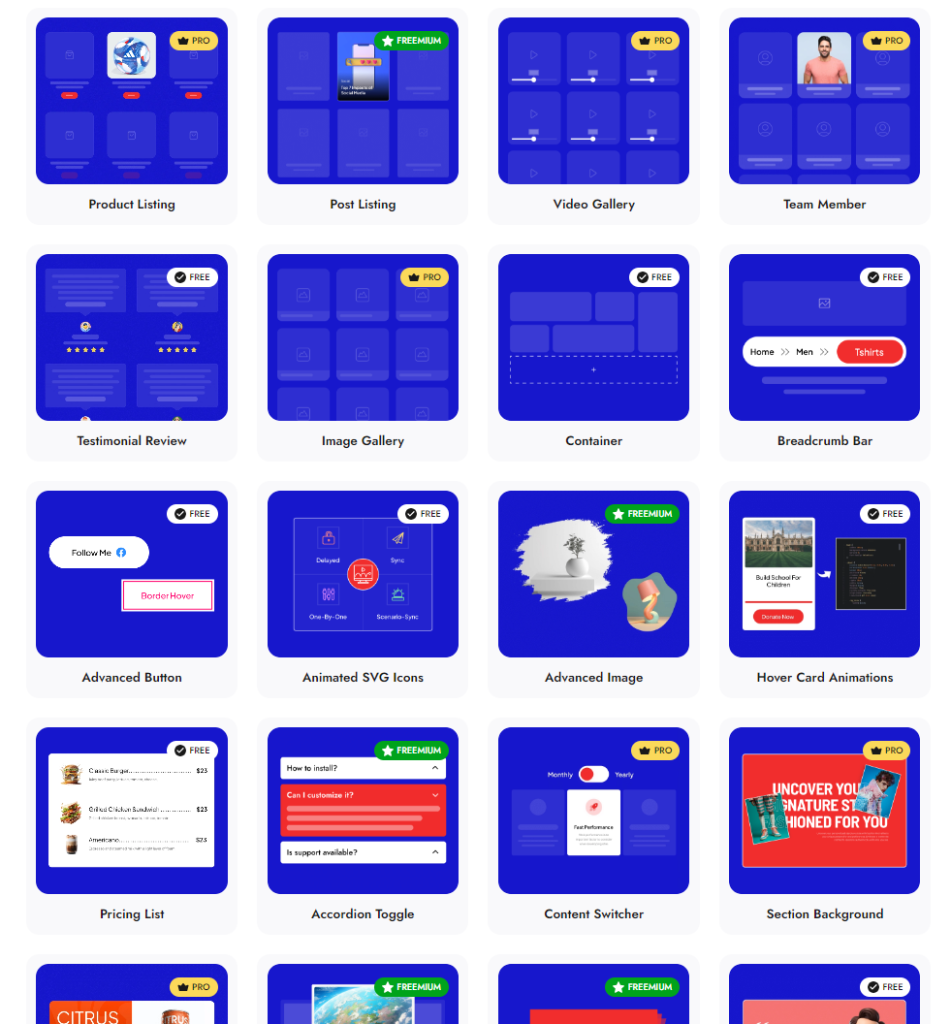 [Nexter Blocks](https://qa.nexterwp.com/nexter-blocks/) is a complete set of 85+ blocks optimized for your Gutenberg editor for blazing-fast performance. It is an optimized plugin with a clean code and offers you access to a range of unique blocks for your website. So whether you want to add interactive tables, create product listings, build a navigation menu, or add popups, animations, dark mode, and so on – you can do this and much more with Nexter Blocks. The best part? It is highly compatible with popular themes like [Nexter](https://qa.nexterwp.com/), [Kadence](https://qa.nexterwp.com/blog/kadence-theme-review/), or [OceanWP](https://qa.nexterwp.com/blog/oceanwp-review/) and brings you a ton of amazing customization options to help you design a website that aligns with your business. You can access the unique features and functions that come with Nexter Blocks at a starting price of [$39/year](https://qa.nexterwp.com/pricing/). You can also check out the lifetime plan if you wish to pay once. ## Wrapping Up If you're beginning to build your new WordPress website, keeping in mind these common WordPress mistakes will help you avoid them and enhance the quality and performance of your website. It's important to update your core WordPress regularly, maintain a backup of your WordPress files, and take the necessary security measures to avoid the risk of data loss or hacking attempts. Plus, make sure to use quality-coded themes and plugins, pick a reliable hosting provider, and install a caching plugin to enhance the performance of your website. When you've taken all the necessary steps, install [Nexter Blocks](https://qa.nexterwp.com/nexter-blocks/) to add a range of interesting features and functions to your website. ***Further Read:*** *Getting started with your website in the default Gutenberg editor? Learn *[***How to Create High-Converting Landing Page with Gutenberg**.*](https://qa.nexterwp.com/blog/create-landing-page-with-gutenberg/) ## FAQs about Common WordPress Mistakes ### What are some common WordPress mistakes beginners make? Some of the most common WordPress mistakes that people make are avoiding updating WordPress core and plugins, ignoring regular backups, and installing too many plugins, among other things. These mistakes not only impact your website's security and performance but can result in a poor user experience. ### How do I avoid choosing the wrong WordPress theme? To avoid choosing the wrong WordPress theme for your website, consider the features most important to you. When looking for a theme, consider factors like support, developer reliability, code quality, available customizations, file size, flexibility, and so on. [Nexter](https://qa.nexterwp.com/) is one such theme that covers all these factors and helps you develop an interactive website easily. ### How can I secure my WordPress website against hacking attempts? To safeguard your website from hacking, consider using a security plugin for spotting suspicious activities, scanning threats, and updating the system. Opt for a secure hosting provider, use plugins/themes from trusted developers, and change your default WordPress username to enhance protection. ### How do I prevent content duplication issues in WordPress? Content duplication is a serious issue that affects your SEO practices and website ranking on Google. One good way to prevent content duplication issues is to [disable right-clicking on your site](https://qa.nexterwp.com/blog/how-to-disable-right-click-on-wordpress/) so that no one can copy it. --- # Crocoblock Review [With Pros & Cons] Source: https://qa.nexterwp.com/blog/crocoblock-review/ In this article, we will conduct a detailed Crocoblock review, a set of powerful WordPress plugins that provides addons for the Gutenberg editor. We will explore its pros and cons and help you decide if it fits your website. Whether you're a beginner or an experienced WordPress user, read on to find out everything you need to know about Crocoblock. ## What is Crocoblock? 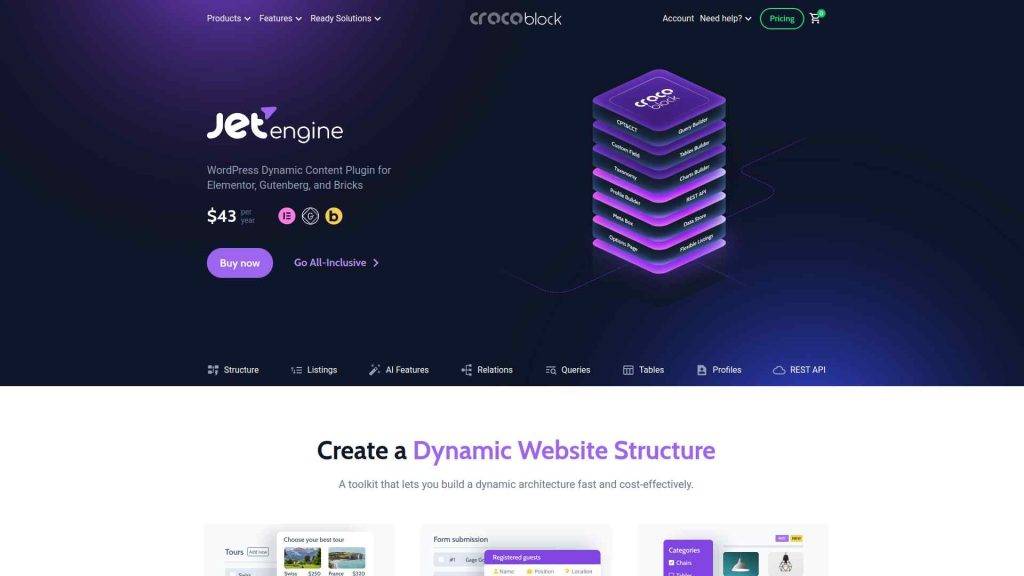 Crocoblock for Gutenberg is a comprehensive package of powerful WordPress plugins that enhance the functionality of the Gutenberg editor. It introduces many useful blocks, providing users access to over 60 advanced blocks and features to enhance their website creation process. For WordPress users aiming to elevate the power and interactivity of their websites using the Gutenberg editor, Crocoblock for Gutenberg is an excellent choice. It offers an array of tools and features that enable users to create more dynamic and engaging websites with ease. ### Pros of Crocoblock - Included Kava WordPress theme for enhanced website design and functionality. - Abundance of prebuilt blocks and templates for efficient and visually appealing web page creation. - Seamless integration with WooCommerce for enhanced e-commerce capabilities. ### Cons of Crocoblock - Users have reported performance issues and slow site speed. - Templates may require additional plugins to function fully. - The pricing can be expensive due to purchasing separate plugins for different functionalities. - Some users have experienced poor and unprofessional support. - There are compatibility issues with the latest WordPress releases for many of its plugins. - Fatal errors and crashes have been reported with every update. *Not satisfied with Crocoblock? Here are the **[Best Crocoblock Alternatives](https://qa.nexterwp.com/blog/crocoblock-alternatives/)** you should consider.* ***Also Read:** Weighing it against another Gutenberg suite? See our [Cwicly vs Crocoblock](https://qa.nexterwp.com/blog/cwicly-vs-crocoblock/) feature-by-feature comparison.* ### Nexter Blocks vs Crocoblock Gutenberg Blocks Compared ## Why We Recommend Using Nexter Blocks? --- # 5 Best Video Player Plugins for WordPress Compared Source: https://qa.nexterwp.com/blog/best-video-player-plugins-for-wordpress/ Looking to boost engagement on your website with smooth, customizable video playback? The Best Video Player Plugins for WordPress help you deliver high-quality streaming, advanced controls, and a seamless user experience. In this guide, you’ll discover the top options compared side by side to find the perfect fit for your site. ## What is a Video Player in WordPress? A video player in WordPress lets you easily embed and play videos directly on your website. It gives your visitors a smooth viewing experience without needing to leave your site. ## Best Video Player Plugins for WordPress Compared | Sl No | Video Player Plugin | Rating | | ----- | ------------------- | ------ | | 1 | Video Player by Nexter | ★★★★★ | | 2 | Easy Video Player | ★★★★ | | 3 | All-in-One Video Gallery | ★★★ | | 4 | Embeds for YouTube | ★★★ | | 5 | Videopack | ★★★ | ### 1. Video Player by Nexter 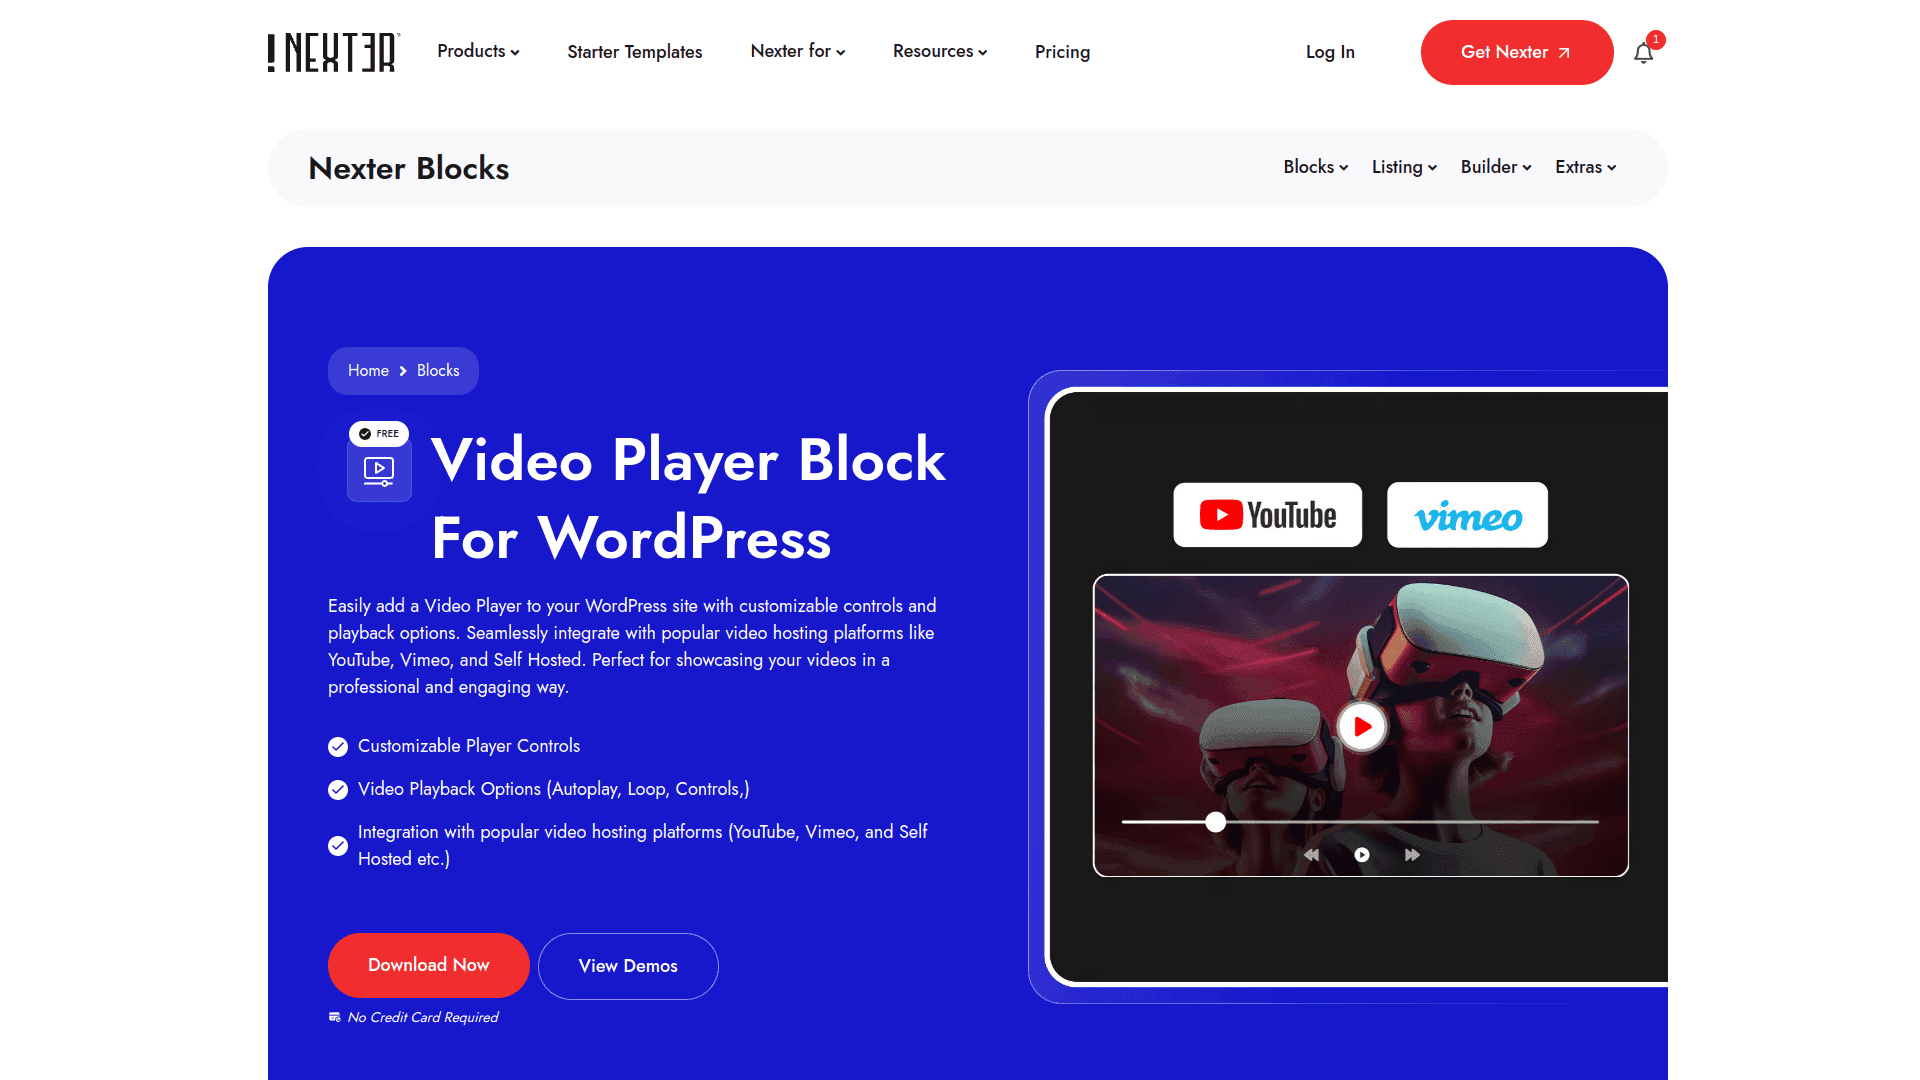 You can enhance your WordPress site with the Nexter Video Player plugin, designed for seamless compatibility with Gutenberg and Elementor. It offers fast, modular performance without jQuery, ensuring your videos load quickly and smoothly. #### Key Features of Video Player by Nexter - Easily add and customize video players on your WordPress site to showcase videos professionally. - Supports popular platforms like YouTube, Vimeo, and self-hosted videos, giving you flexible video options. - Designed for fast loading and smooth performance, so your site stays quick and user-friendly. - Get helpful updates, support, and easy license management to keep your video player running smoothly. [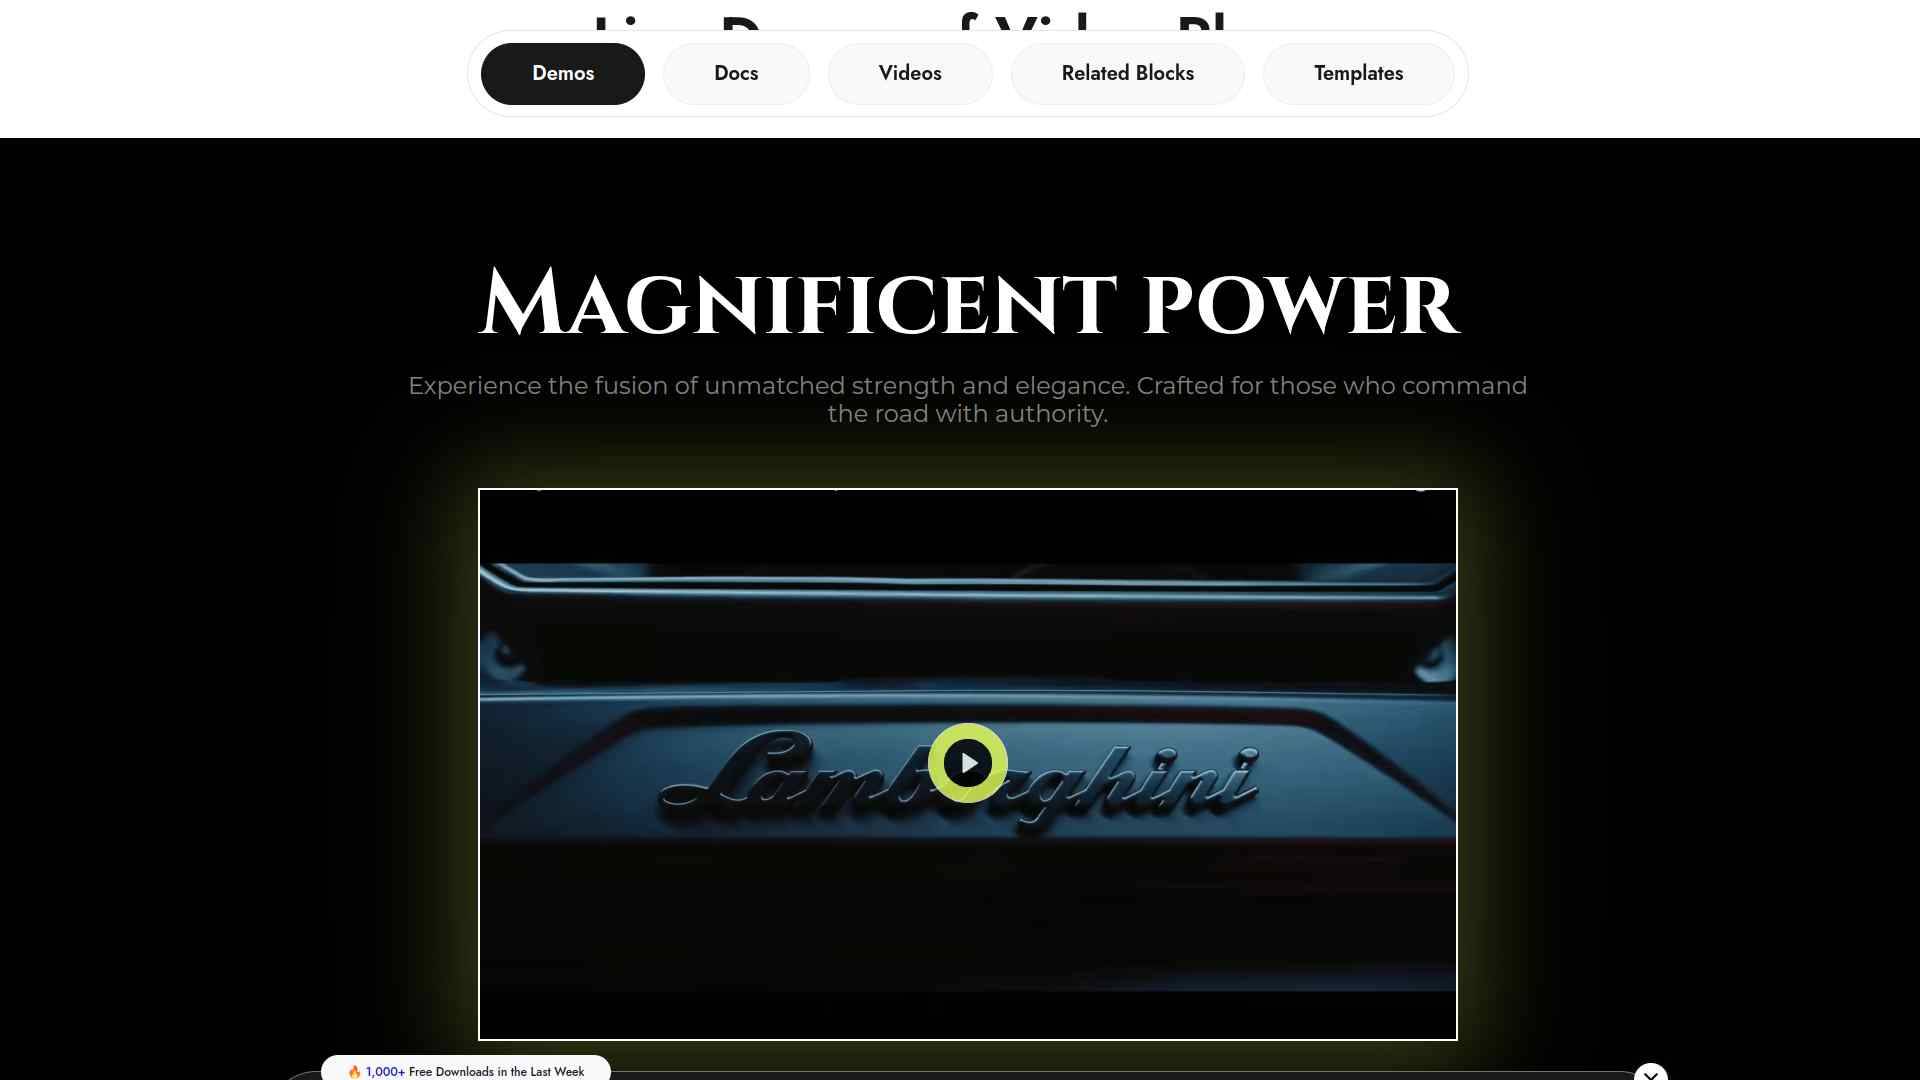](https://qa.nexterwp.com/nexter-blocks/blocks/wordpress-video-player/#demo) [Learn More](https://qa.nexterwp.com/nexter-blocks/blocks/wordpress-video-player/) ### 2. Easy Video Player 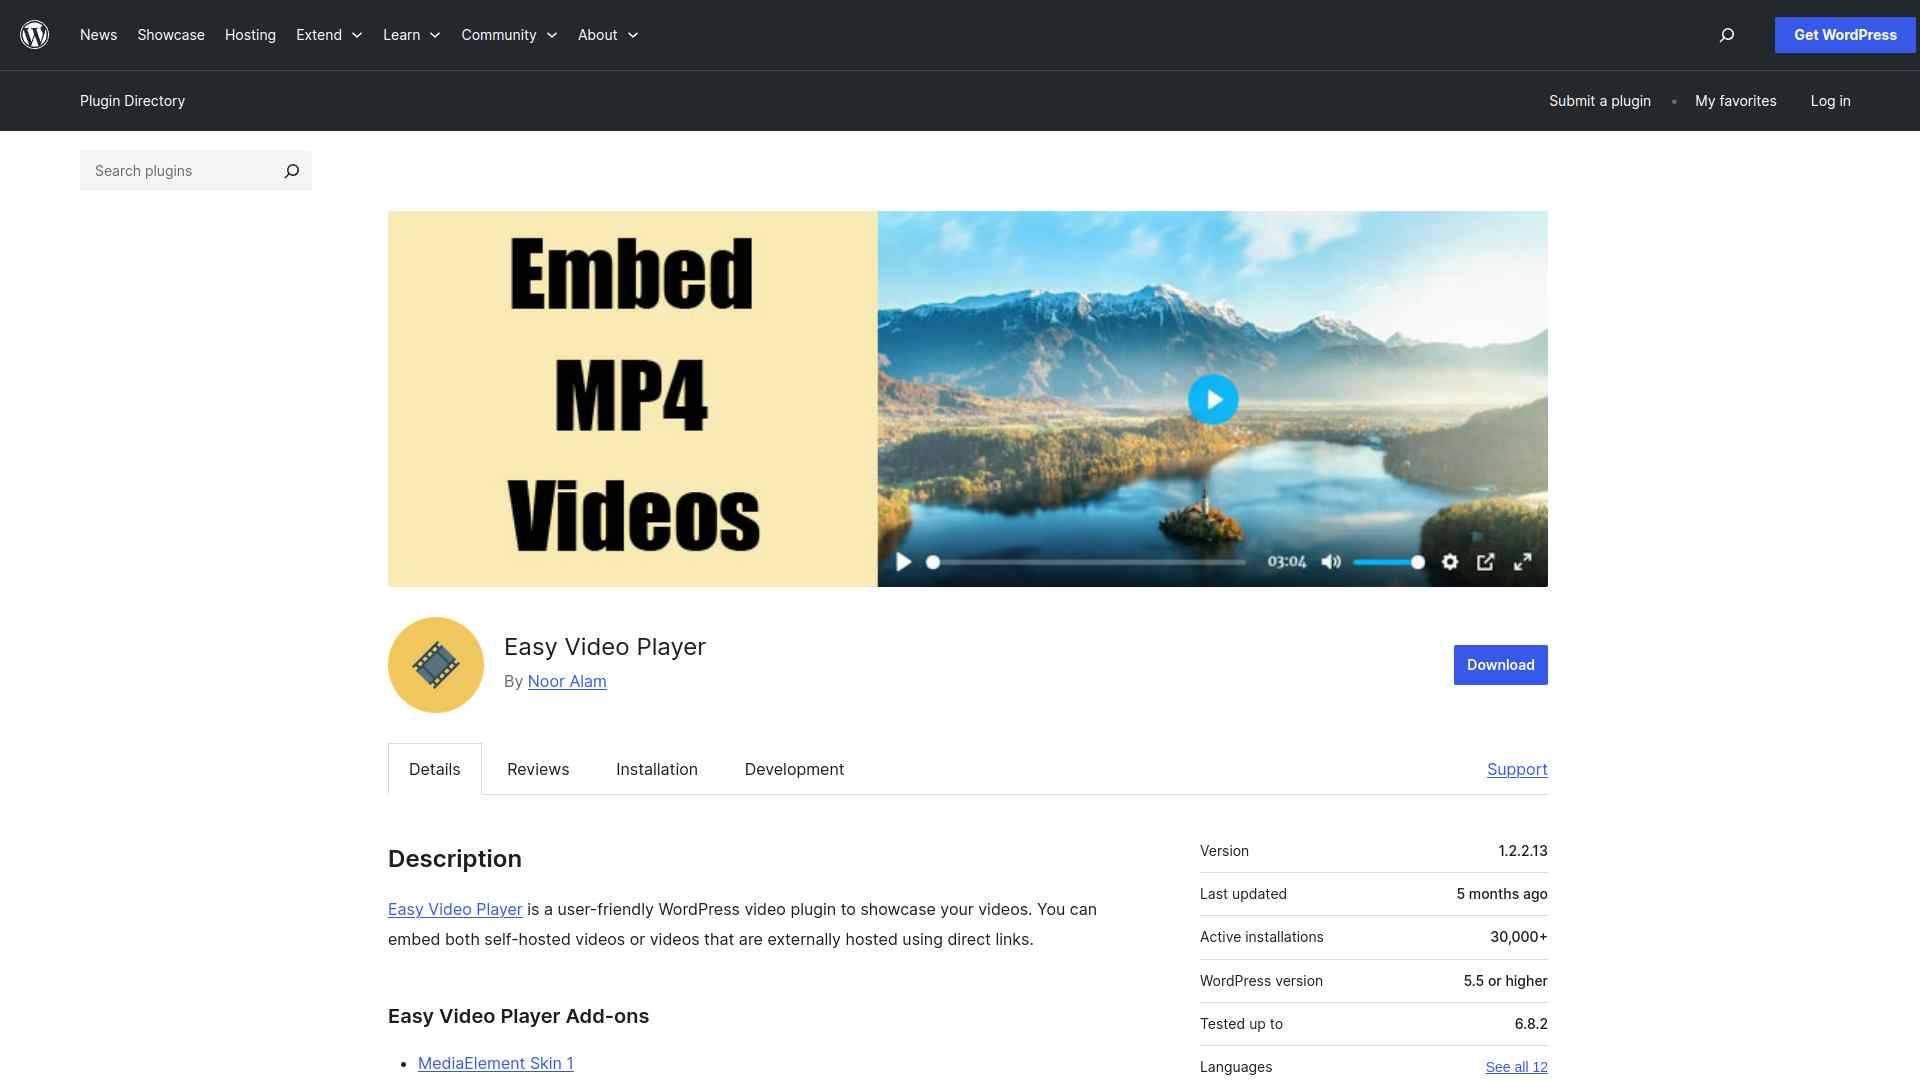 Easy Video Player lets you easily embed and customize responsive videos on your WordPress site using simple shortcodes. You can showcase both self-hosted and externally hosted videos with options like autoplay, loop, and custom player templates. #### Key Features of Easy Video Player - Easily add videos to your WordPress site to engage visitors without complicated setup. - Supports both your own videos and videos hosted elsewhere, giving you flexibility. - Automatically adjusts video size for mobile devices, ensuring a smooth viewing experience. - Lets you customize video playback options like autoplay and looping to keep visitors interested. [Learn More](https://wordpress.org/plugins/easy-video-player/) ### 3. All-in-One Video Gallery 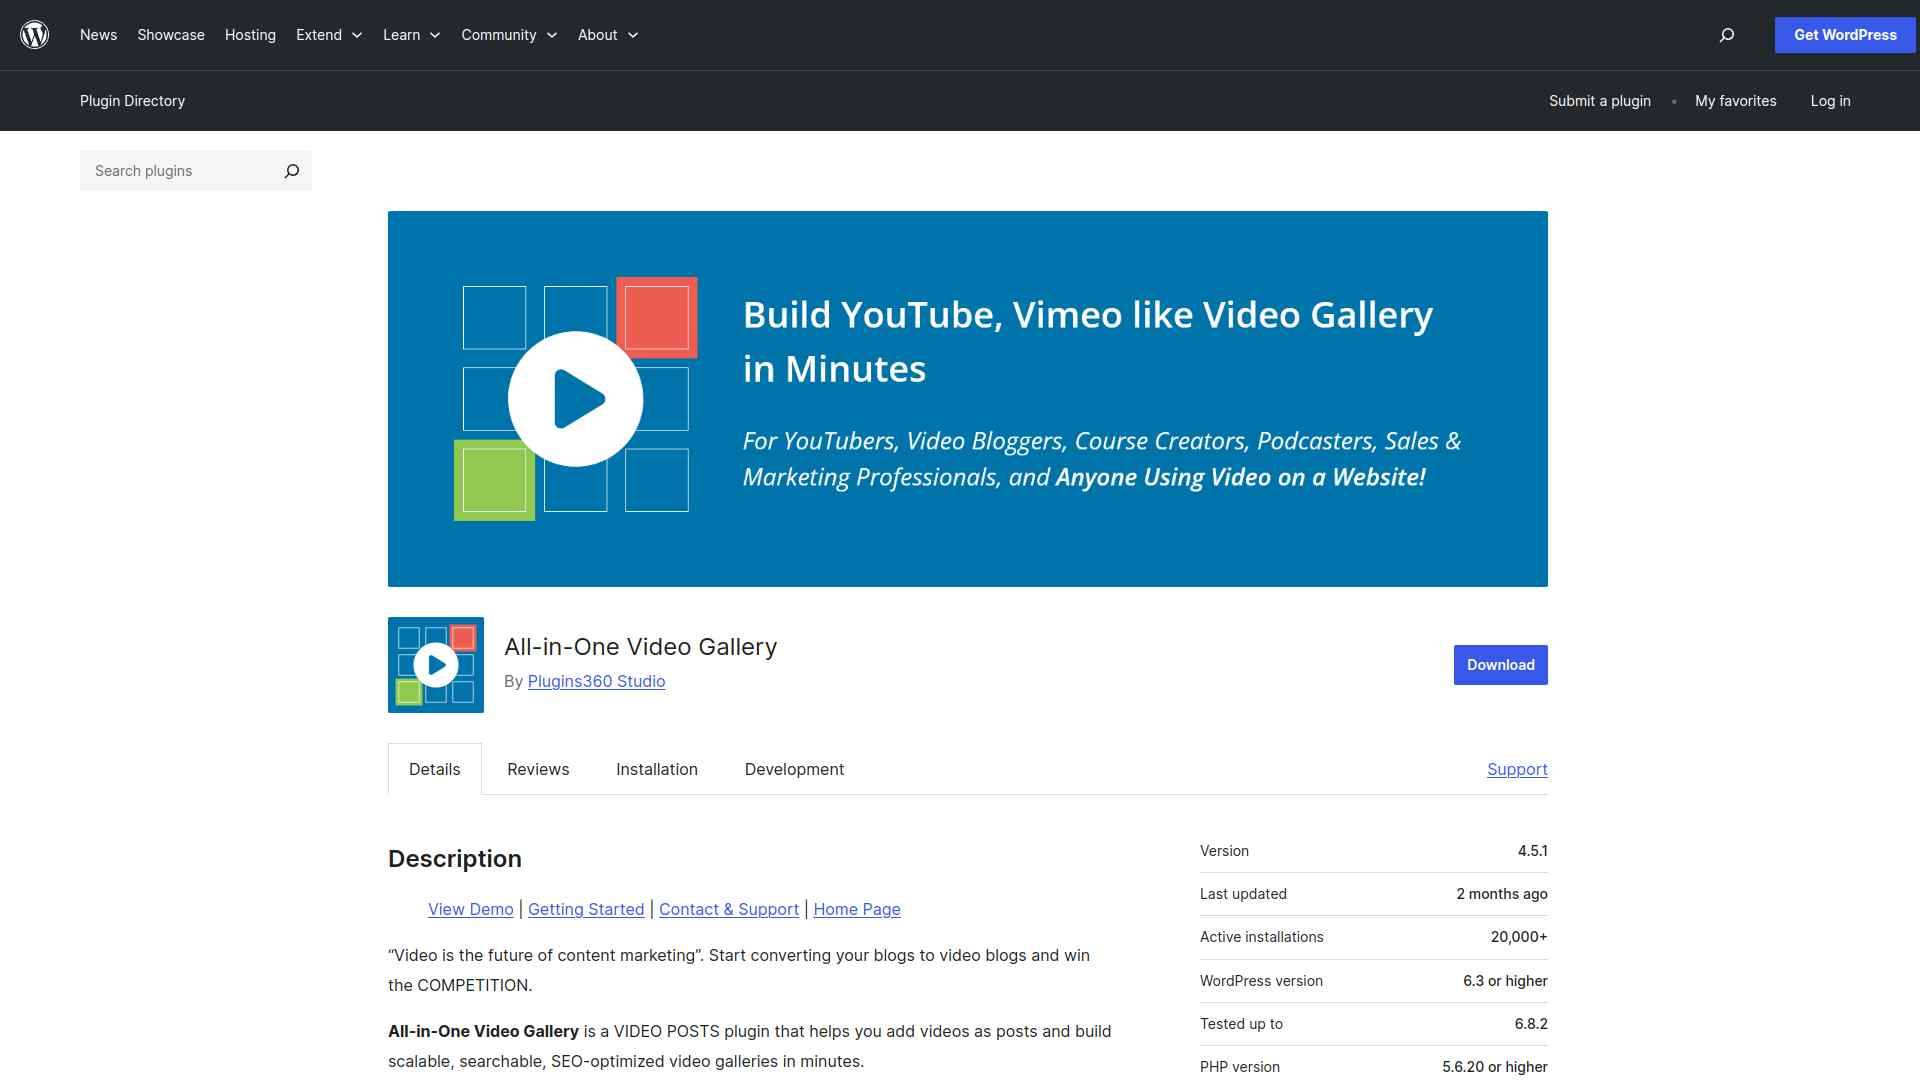 The All-in-One Video Gallery plugin lets you easily add and manage SEO-optimized, searchable video galleries on your WordPress site without any coding. You can customize layouts, filter videos, and even restrict access based on user roles for a professional video experience. #### Key Features of All-in-One Video Gallery - Easily create and organize video galleries on your website without any coding, making your content more engaging and professional. - Improve your site's visibility on search engines with built-in SEO optimization for videos, helping you attract more visitors. - Offer a smooth and enjoyable video watching experience with a modern, responsive player that works well on all devices. - Control who can watch your videos by restricting access based on user roles, enhancing your content security and customization. [Learn More](https://wordpress.org/plugins/all-in-one-video-gallery/) ***Also Read:** If you want to display multiple clips in a grid or carousel rather than a single player, see our roundup of the [best video gallery plugins for WordPress](https://qa.nexterwp.com/blog/best-video-gallery-plugins-for-wordpress/).* ### 4. Embeds for YouTube  You can easily embed YouTube videos and playlists into your WordPress site with the Embeds for YouTube plugin, using simple shortcodes or widgets. It offers powerful features like automatic playlist generation, responsive sizing, and SEO-friendly metadata to enhance your video display. #### Key Features of Embeds for YouTube - Easily add YouTube videos and playlists to your WordPress site with simple shortcodes or widgets, making your content more engaging. - Automatically create and customize video playlists to keep visitors watching longer without extra effort. - Videos resize smoothly on all devices, so your site looks great on phones, tablets, and desktops. - Boost your site’s SEO by adding Google-friendly video metadata, helping more people find your videos through search. [Learn More](https://wordpress.org/plugins/youtube-embed/) ### 5. Videopack 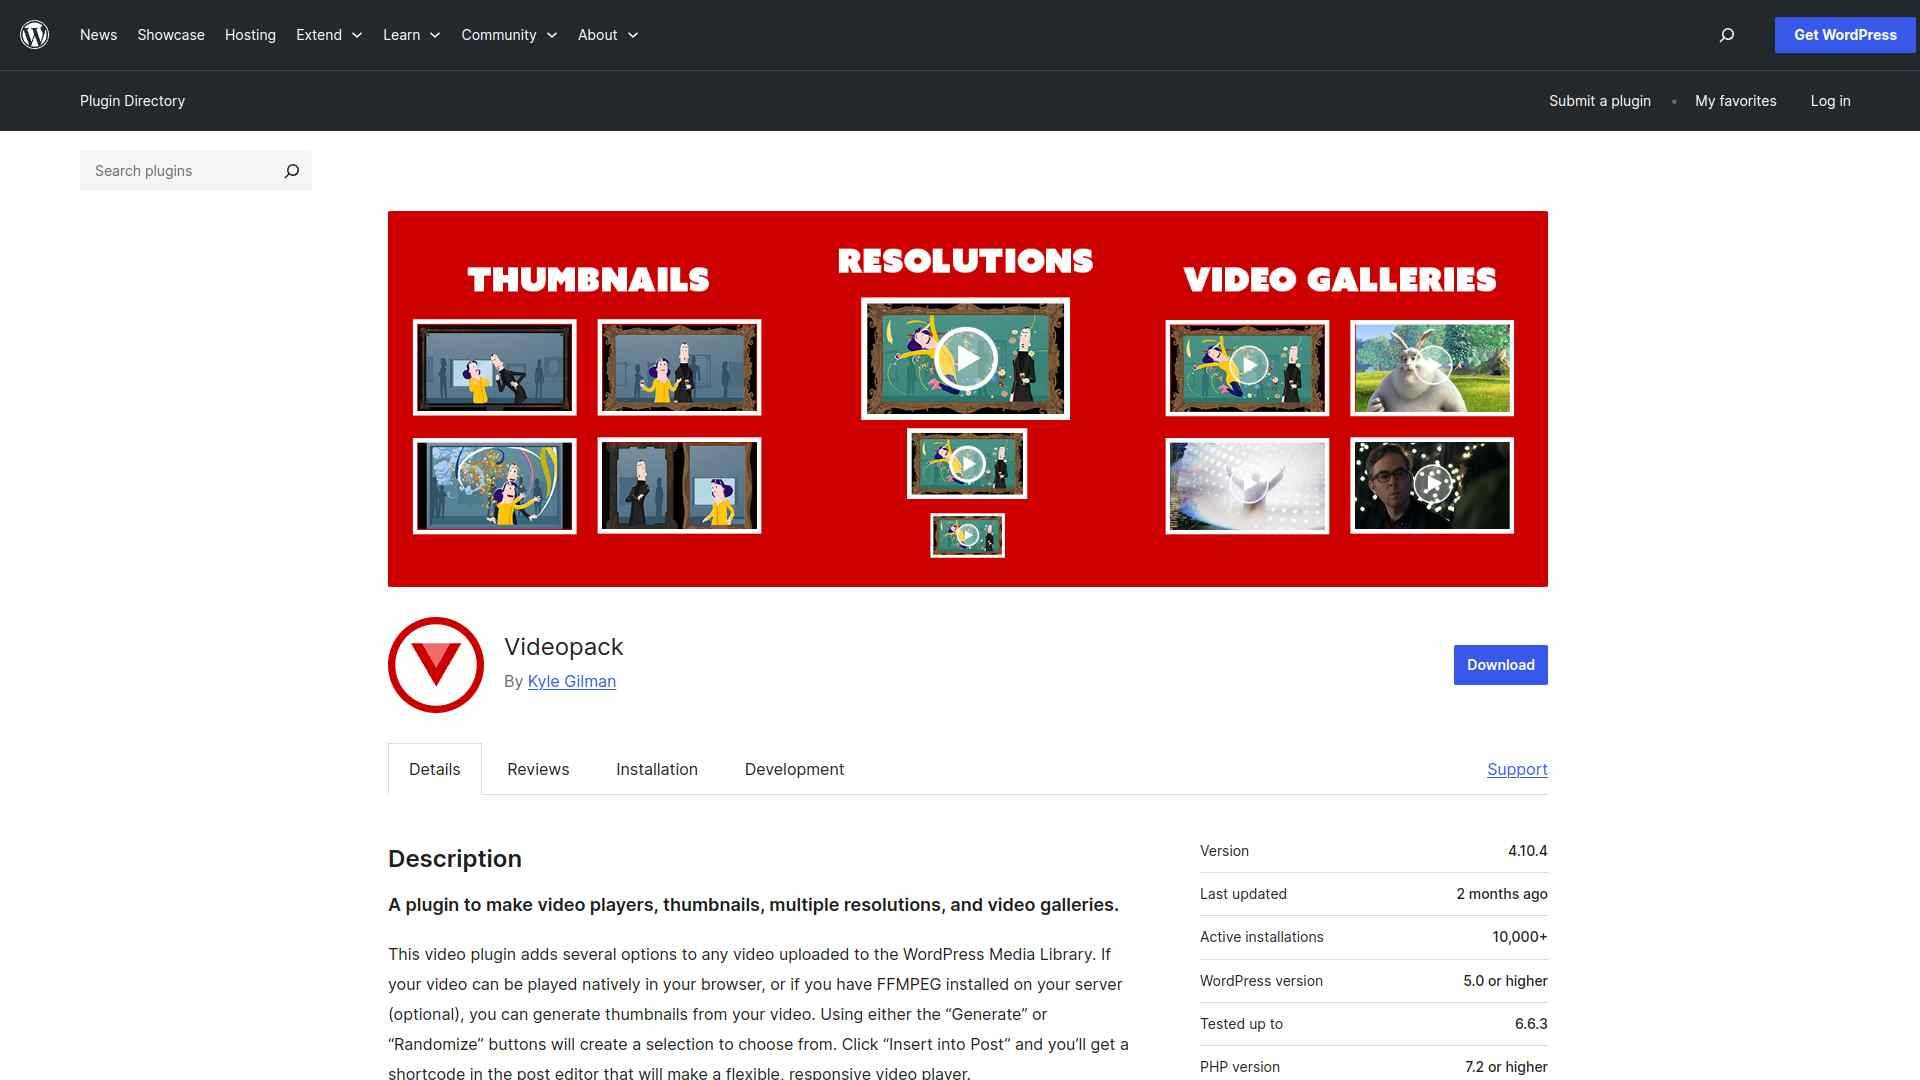 You can easily generate thumbnails and create responsive video players for your WordPress site with the Videopack plugin. It also supports multiple video resolutions, encoding with FFMPEG, and popup video galleries to enhance your video content. #### Key Features of Videopack - Easily create attractive video thumbnails to make your videos look more engaging and professional on your site. - Automatically adjust video quality so viewers get the best experience based on their device or connection. - Quickly embed responsive videos and video galleries that work well on both desktop and mobile devices. - Save time with simple thumbnail generation and video embedding, even if you don’t have advanced technical skills. [Learn More](https://wordpress.org/plugins/video-embed-thumbnail-generator/) ## Which WordPress Video Player Plugin Should You Use? You should choose a video player plugin that matches your site’s needs, whether it’s customization, speed, or advanced controls. Focus on a solution that enhances user experience and keeps visitors engaged. [](https://qa.nexterwp.com/nexter-blocks/blocks/wordpress-video-player/#demo) If you want an all-in-one, lightweight, and powerful option, go with [Video Player by Nexter](https://qa.nexterwp.com/nexter-blocks/blocks/wordpress-video-player/). ## FAQs on Best Video Player Plugins for WordPress ### How do video player plugins improve my WordPress site? They let you embed and control videos easily, customize the player’s look, and enhance user experience. You can add features like playlists, captions, and responsive design without touching code. ### Can I use video player plugins with YouTube or Vimeo? Yes, most plugins support popular platforms like YouTube, Vimeo, and Dailymotion. You can embed videos directly and still customize the player’s design and controls to match your website’s style. ### Do video player plugins slow down my website? Not if you choose lightweight plugins and optimize your videos. Use lazy loading, compressed files, and a reliable hosting setup to keep your site fast while streaming videos smoothly. ### Can I play self‑hosted videos with these plugins? Yes, many plugins support self‑hosted videos in formats like MP4 or WebM. This gives you full control over your content, though you should ensure your hosting plan can handle video bandwidth. ### Are video player plugins mobile‑friendly? Most modern plugins are responsive, meaning your videos adjust automatically to different screen sizes. This ensures visitors can watch your content seamlessly on smartphones, tablets, and desktops. --- # How to Publish a Google OKF Bundle on WordPress (the /okf/ Way) Source: https://qa.nexterwp.com/blog/publish-okf-bundle-wordpress/ #### Key Takeaways - OKF (Open Knowledge Format) is Google's v0.1 spec: a directory of Markdown files with YAML frontmatter, served at `/okf/`. Google built it for data teams, not blogs.- Publishing an OKF bundle will not move your rankings or AI visibility this week. Nothing crawls these bundles yet. Treat it as a low-cost bet on where the machine-readable web is heading.- WordPress can serve files at a custom `/okf/` path, which closed platforms like Wix and Squarespace often cannot. That is a real, quiet advantage.- The structure is simple: one concept per `.md` file with a required `type` field, plus an `index.md` that lists them all.- A Gutenberg block theme exports to clean Markdown almost one to one, so your content is already close to OKF-ready. RankReady then tells you whether AI agents actually fetch it. Last week I added an `/okf/` folder to a small block-theme site we run, mostly to see what would break. The answer was nothing, and that turned out to be the interesting part. Google had just published the Open Knowledge Format, the SEO crowd on X was calling it the next big thing, and I wanted to know what it actually took to ship one on WordPress before repeating anyone's hot take. This is the honest version of that walkthrough. You will see exactly what an OKF bundle is, the three steps to publish one on WordPress, why a block theme makes it easier, and the part most posts skip: what this does and does not do for you right now. No promises that it gets you cited by ChatGPT tomorrow, because that is not how any of this works yet. ## What an OKF bundle actually is Google Cloud announced the Open Knowledge Format in June 2026, currently at v0.1. In Google's own words it is "an open specification that formalizes the LLM-wiki pattern into a portable, interoperable format," described as "a vendor-neutral, agent- and human-friendly standard." Strip the spec language and a bundle is three plain things: just Markdown, just files, and just YAML frontmatter for the few fields that need to be queryable. Google Cloud announced the Open Knowledge Format in June 2026. Source: cloud.google.com Concretely, OKF v0.1 "represents knowledge as a directory of markdown files with YAML frontmatter." Each concept gets its own `.md` file. The only field OKF strictly requires is `type`; the queryable frontmatter fields are `type`, `title`, `description`, `resource`, `tags`, and `timestamp`. Everything else is left to you. If you have ever written a Markdown file with a few lines of frontmatter at the top, you already know 90 percent of the format. ***Also Read:** [What Is Google's Open Knowledge Format (OKF)?](https://qa.nexterwp.com/blog/open-knowledge-format/) for the plain-English explainer before you build one.* ## Why publishing one is easy on WordPress (and walled on Wix or Squarespace) An OKF bundle lives at a custom path on your domain, `yoursite.com/okf/`, starting with `/okf/index.md`. That sounds trivial until you try it on a closed platform. As technical SEO Suganthan Mohanadasan put it, "on closed platforms like Wix or Squarespace you often cannot serve files at a custom path, which is the one real wall." WordPress does not have that wall. You control the filesystem, you can drop a folder in your web root, and you can map a pretty permalink to it. So the question on WordPress is never "can I serve this," it is only "is it worth the maintenance." We will get to that. First, the three steps. ## Step 1: Write one concept per Markdown file Start with a single concept, usually one post or one page, and write it as a Markdown file with frontmatter on top. Here is the shape, using the structure Suganthan ships verbatim, adapted to a blog URL: `--- type: Article title: How to Publish an OKF Bundle on WordPress description: The three steps, the /okf/ path, and what it does not do yet. resource: https://yoursite.com/blog/publish-okf-bundle-wordpress/ tags: [okf, wordpress] --- # How to Publish an OKF Bundle on WordPress Your clean Markdown body goes here, the same words a human reads, minus the theme chrome, ads, and navigation.` The OKF frontmatter structure, shown in Suganthan Mohanadasan's walkthrough. Source: suganthan.com The `resource` field points back to the live human page, which is how an agent knows the canonical source. Repeat this for each concept you want in the bundle. Do not try to mirror your whole site on day one. A handful of your most-referenced pages is a sensible start. ## Step 2: Build an index.md that lists every file An agent should be able to see what is in the bundle before opening every file. That is the job of `index.md`. As the format describes it, you "add an index.md that lists the files so an agent can see what is there before opening everything, and that is the format." A simple list of links with one-line descriptions is enough. Think of it as a table of contents for machines. llms.txt is OKF's single-file sibling: one signpost file instead of a folder. Source: llmstxt.org ***Also Read:** [OKF vs llms.txt](https://qa.nexterwp.com/blog/okf-vs-llms-txt/) so you understand why the index file matters and how it differs from a single llms.txt signpost.* ## Step 3: Serve the folder at /okf/ Now make the folder reachable. The simplest route is the manual one: create an `/okf/` directory in your site root, upload your `.md` files and `index.md`, and confirm `yoursite.com/okf/index.md` loads in a browser. Because OKF is "just files," there is no runtime, no SDK, and nothing to configure beyond the path being public. Be careful with one expectation here. There is no mature, widely shipped WordPress plugin that auto-builds an OKF bundle for you yet. Some technical SEOs are tidying scripts into free tools, but as of now this is early. If you want it live today, the manual folder is the reliable path, and you will be regenerating those files by hand whenever the underlying posts change. That maintenance cost is the real tax on doing this now. ## Where a Gutenberg block theme gives you a head start This is where the WordPress story gets better on a block theme specifically. Gutenberg stores content as clean semantic blocks rather than the nested wrapper divs a page builder leaves behind. Clean blocks export to clean Markdown almost one to one, which is exactly the format an OKF file wants. The closer your source is to plain structured text, the less hand-cleaning each `.md` file needs. If you run Nexter Theme with Nexter Blocks, you are already authoring in that clean-block world, so the gap between "published post" and "OKF concept file" is mostly copy, paste, and add frontmatter. Pair that with proper [schema markup](https://qa.nexterwp.com/blog/schema-markup-generator-wordpress/) and an [llms.txt file](https://qa.nexterwp.com/blog/llms-txt-gutenberg-wordpress/) and you have the machine-readable basics covered. ## The honest part: what an OKF bundle does and doesn't do today Here is the line worth tattooing on every OKF take. Suganthan, who has actually shipped one, says plainly: "A bundle will not move your rankings or your AI visibility this week." Nothing crawls these bundles yet, the spec is v0.1, and Google built it for data teams sharing tables and metrics, not for blogs chasing citations. So why do it at all? Because, in his words, "the win is a site the systems sitting between your writing and your reader can actually understand." It is the same shape of bet that schema markup was a decade ago: low cost now, possibly meaningful later, and you are early if you ship it. Just go in with eyes open. This is a hedge on the direction of the [answer engine era](https://qa.nexterwp.com/blog/answer-engine-optimization-wordpress/), not a tactic that earns AI citations this quarter. ## How to tell if it's working If you ship a bundle, the obvious next question is whether any AI agent ever touches it. You answer that in your server logs or with a tool that reads them for you. This is the layer the free RankReady plugin handles: a live AI crawler log that names 31-plus bots, a citation-candidates view showing which of your pages AI crawlers fetched, and AI referral tracking from ChatGPT, Perplexity, Claude, Gemini, and Copilot. RankReady shows which AI agents actually fetched your content. Source: store.posimyth.com/plugins/rankready/ RankReady does not generate OKF bundles, and I am not going to pretend it does. What it does is generate your `llms.txt` and `llms-full.txt`, add a `.md` version to any post URL, score each post 0 to 100 for AI readiness, and then show you whether the machines are actually showing up. Publishing is the bet; measurement is how you decide whether to keep paying the maintenance tax. It is free, GPL-2.0-or-later, and runs on WordPress 6.0+ with PHP 7.4+. [See if AI agents are fetching your content with RankReady →](https://store.posimyth.com/plugins/rankready/) ## Suggested Reading - [What Is Google's Open Knowledge Format (OKF)?](https://qa.nexterwp.com/blog/open-knowledge-format/) The plain-English explainer for site owners.- [OKF vs llms.txt](https://qa.nexterwp.com/blog/okf-vs-llms-txt/) How the two machine-readable formats differ and when to use each.- [Does OKF Matter for WordPress SEO?](https://qa.nexterwp.com/blog/does-okf-matter-wordpress-seo/) An honest 2026 take on whether to bother.- [The 2026 AI-Readiness Stack for WordPress](https://qa.nexterwp.com/blog/ai-readiness-stack-wordpress/) Where OKF fits with llms.txt, schema, and MCP.- [Turn Your WordPress Content Into an AI-Readable Knowledge Base](https://qa.nexterwp.com/blog/ai-readable-knowledge-base-wordpress/) The broader workflow around bundles. --- # Markdown Is Becoming the Language of AI Agents (and Your Block Theme Already Speaks It) Source: https://qa.nexterwp.com/blog/markdown-for-ai-agents/ #### Key Takeaways - The new machine-facing formats keep landing on the same humble file type: llms.txt is Markdown, and Google's Open Knowledge Format is a directory of Markdown files.- Markdown wins for machines because it is maximum signal with minimum noise: structure without scripts, ad chrome, or layout markup to wade through.- A Gutenberg block theme has a quiet edge here. Clean semantic block markup converts to clean Markdown almost one to one, while page-builder div soup does not.- The practical move is to serve a clean Markdown version of each page alongside the normal one. It removes a barrier for machines. It is not a guarantee of a citation. A reader emailed me last week with a fair question: every other week there is a new AI file format, so which one should a WordPress site actually adopt? I went back through the formats that landed this year, and the surprise was not how different they are. It was how similar. llms.txt is Markdown. Google's Open Knowledge Format is Markdown. Documentation sites are quietly adding a plain Markdown version of every page for AI tools. Different teams, different goals, same plain file format. Markdown is becoming the language machines use to read the web, and on a block-theme WordPress site that turns out to be good news. **What you'll learn:** why Markdown won for machine reading, where you are already seeing it, why a Gutenberg block theme has the edge, and the one practical move it suggests for your content. ## Why Markdown, of All Things? Markdown is plain text with a little structure: headings, lists, links, and not much else. There is no rendering engine to run, no scripts, and no ad chrome to wade through. For a language model, that is close to ideal, because it is maximum signal with minimum noise. It is also readable by people and machines at the same time, which is exactly why the new AI formats keep choosing it instead of inventing something more complicated. When a format has to be produced by humans and consumed by agents, plain Markdown is the path of least resistance. ## You Are Already Seeing It Everywhere Once you notice the pattern, it is hard to unsee. - An [llms.txt file](https://qa.nexterwp.com/blog/llms-txt-gutenberg-wordpress/), and its larger llms-full.txt cousin, are Markdown.- Google's [Open Knowledge Format](https://qa.nexterwp.com/blog/open-knowledge-format/) is a directory of Markdown files with YAML frontmatter.- Documentation platforms increasingly expose a `.md` version of each page for AI tools to fetch.- The same thread runs through the whole [AI-readiness stack](https://qa.nexterwp.com/blog/ai-readiness-stack-wordpress/): give machines clean, structured text. llms.txt and OKF both chose Markdown as the format machines read. ***Also Read:** [OKF vs llms.txt](https://qa.nexterwp.com/blog/okf-vs-llms-txt/) breaks down how these two Markdown formats differ and which one fits a block-theme site.* ## Why a Gutenberg Block Theme Has the Edge Here This is where the format you build with starts to matter. When the web converges on Markdown, the question becomes how cleanly your pages can turn into it. A Gutenberg block theme stores your content as structured blocks. A heading block is a heading, a list block is a list, a paragraph is a paragraph. That maps to Markdown almost one to one, because the meaning is already in the markup. A page-builder layout, by contrast, wraps the same words in nested container divs, column wrappers, and styling hooks. The text is in there, but a machine has to dig it out of the scaffolding first. So the cleaner your blocks, the cleaner the Markdown that comes out the other side. A block theme like Nexter Theme paired with Nexter Blocks gives you semantic structure by default, which is the same reason block themes already do well at structured data and [entity SEO](https://qa.nexterwp.com/blog/entity-seo-wordpress/). You are not adding a new discipline. You are reusing the clean foundation you already have. 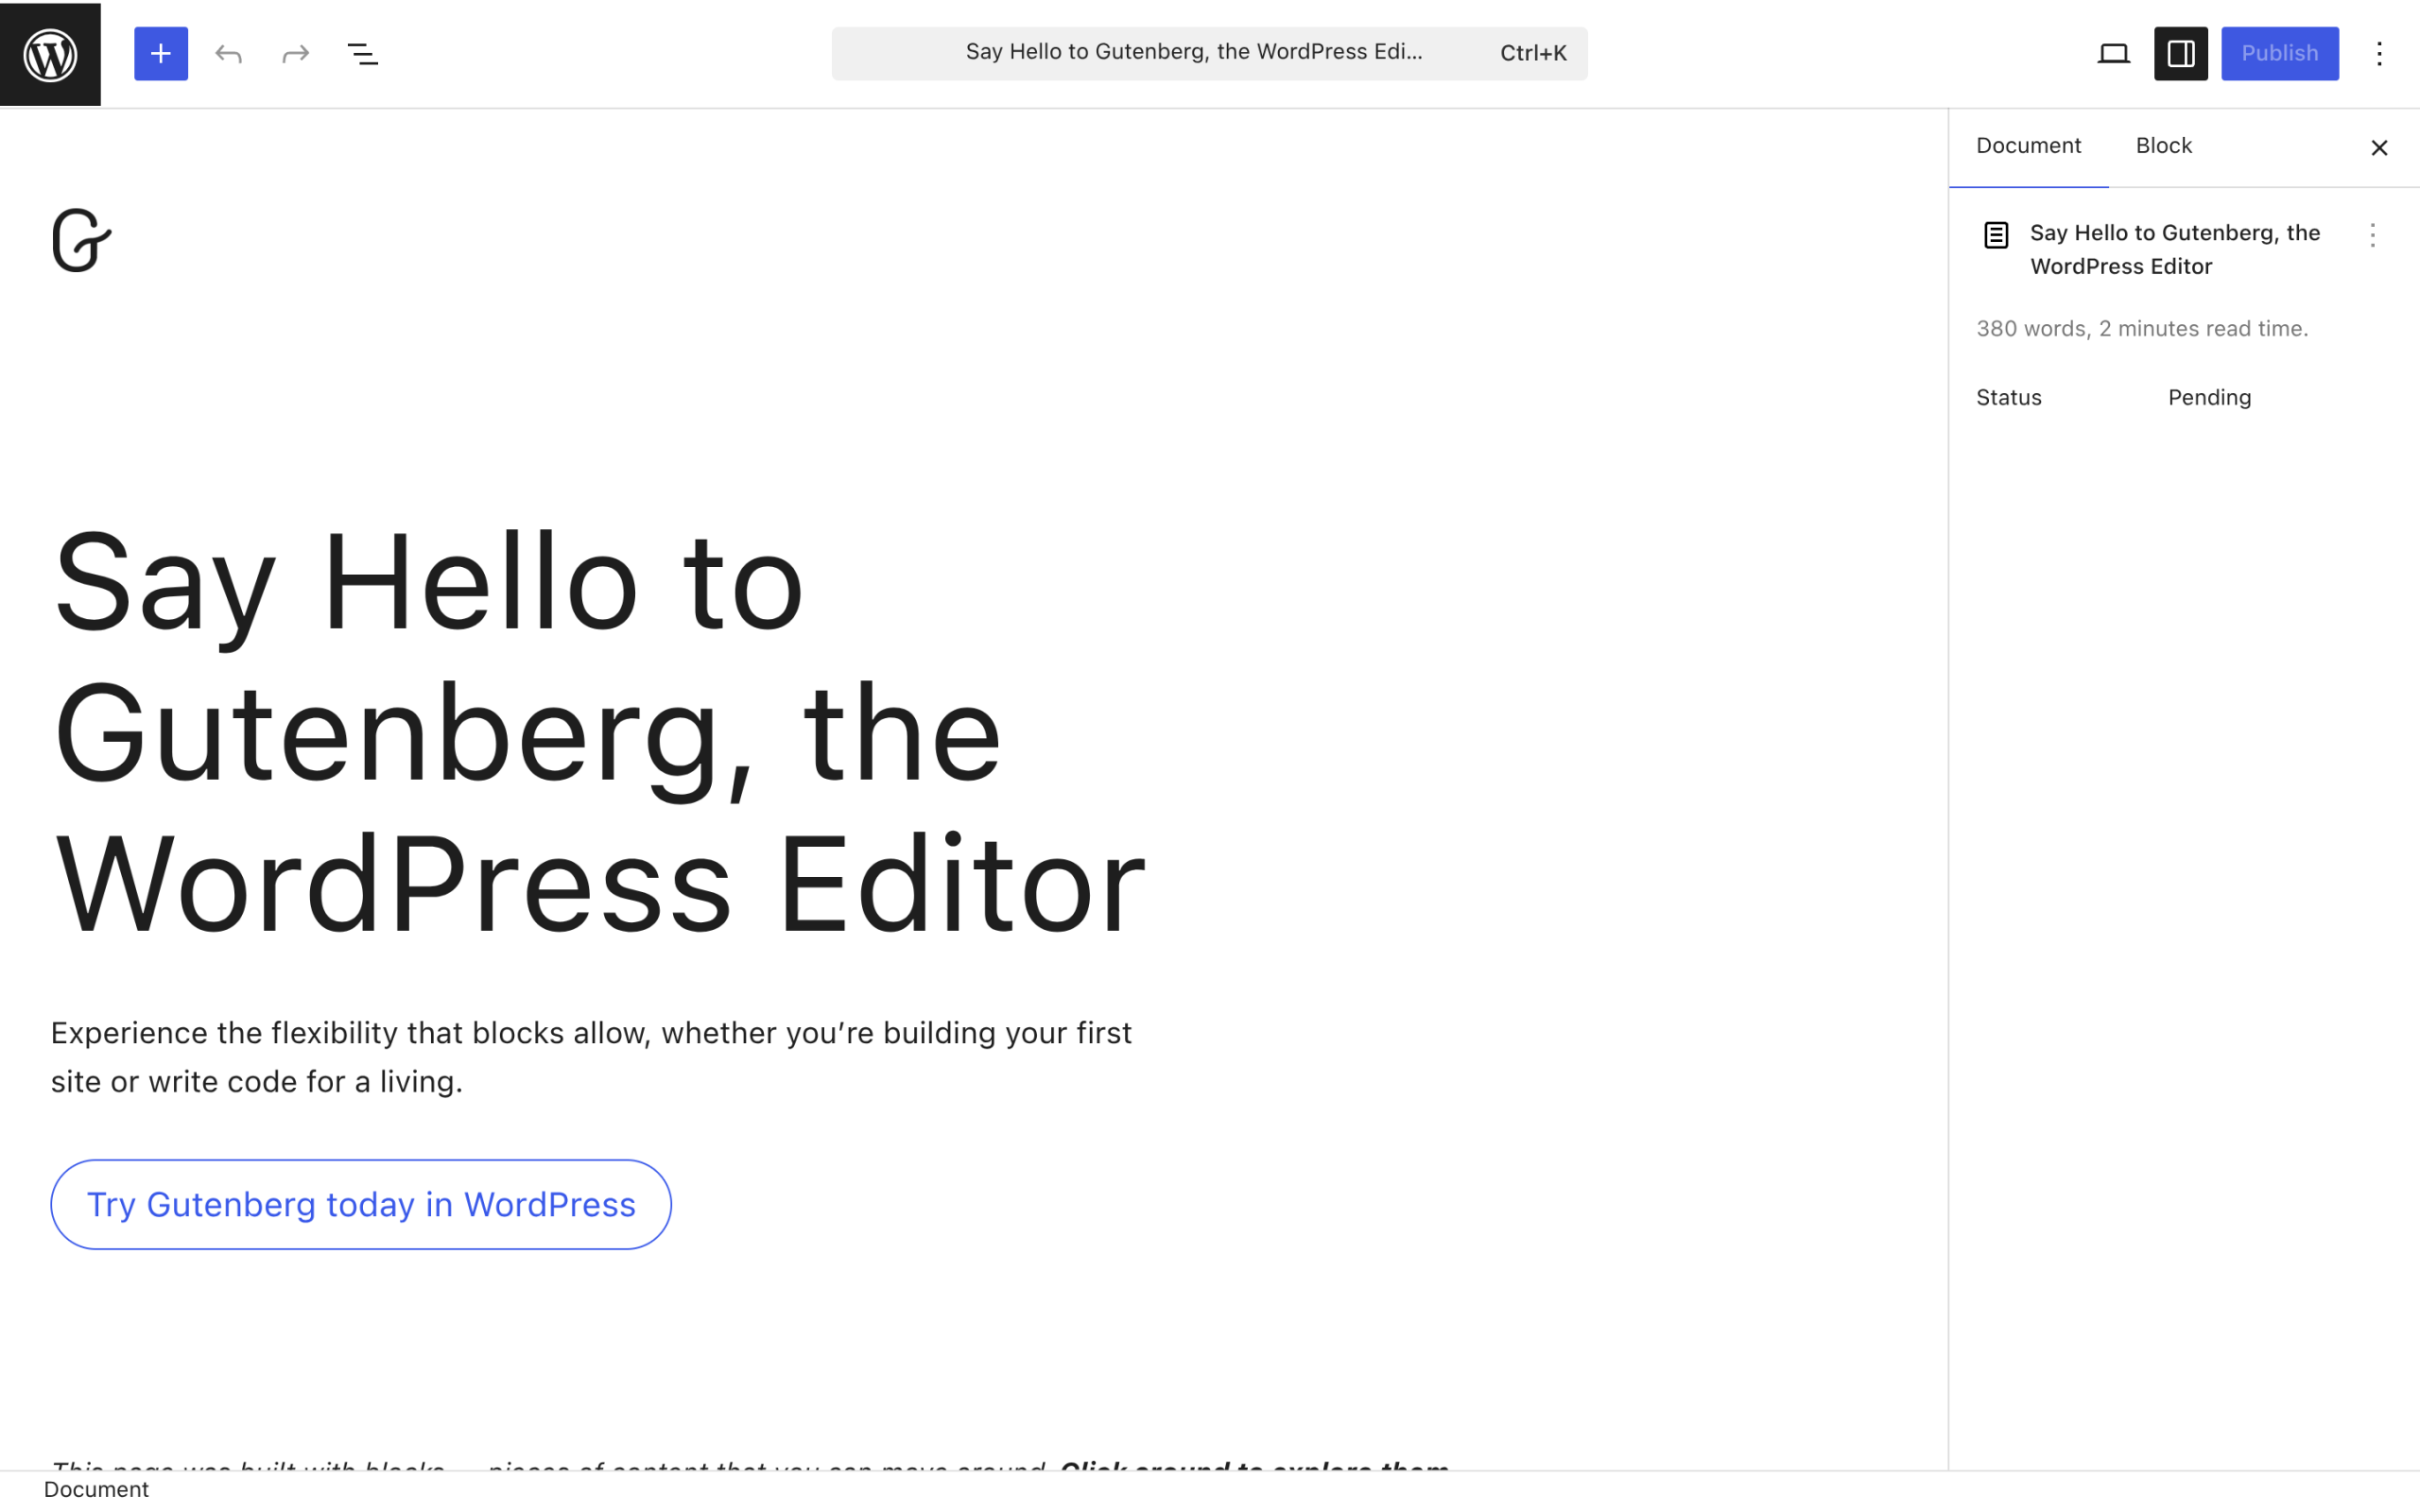Block markup carries meaning, so it converts to clean Markdown with little loss. ***Also Read:** [llms.txt for Gutenberg WordPress](https://qa.nexterwp.com/blog/llms-txt-gutenberg-wordpress/) explains why block themes win the AI citation race over page-builder sites.* ## What It Means for Your WordPress Site Your content lives as rendered HTML, built for browsers, wrapped in menus, sidebars, and scripts. That is fine for human visitors and harder for machines. To meet the Markdown shift, the move is simple: make a clean Markdown version of each page available alongside the normal one. You can export pages by hand, which gets tedious fast, or use a plugin that adds a Markdown endpoint automatically and keeps it in sync as you publish. The honest caveat is the one we keep repeating across this whole topic: this is a bet on where the machine-readable web is heading, not a tactic that earns you a citation today. No major model promises to fetch these files yet. You are removing a barrier so that the day an agent does come looking, it reads the clean version instead of fighting your theme. If you want the broader context, our guide to [answer engine optimization](https://qa.nexterwp.com/blog/answer-engine-optimization-wordpress/) covers where this fits. ## The Easy Way on a Block-Theme Site [RankReady](https://store.posimyth.com/plugins/rankready/) handles the Markdown side for you. Add `.md` to any post URL and you get a clean Markdown version with the correct Content-Type. It generates your `/llms.txt` and `/llms-full.txt` and keeps them current, outputs Article, Speakable, FAQPage, HowTo, and ItemList schema, and scores each post from 0 to 100 for AI readiness based on schema, freshness, content depth, and author signals. It also keeps a live AI crawler log so you can see which citation-style bots actually fetched your pages. A Markdown version does not promise you a citation, but if an agent does come to read your page, it gets the clean version instead of the rendered theme. RankReady is free, GPL-2.0-or-later, runs on WordPress 6.0 and PHP 7.4 or higher, and merges into the schema graph of whatever SEO plugin you already run, including Rank Math, Yoast, AIOSEO, and SEOPress. If you want the full picture of how it fits with schema and llms.txt, see our [AI-readable knowledge base guide](https://qa.nexterwp.com/blog/ai-readable-knowledge-base-wordpress/) and the [schema markup generator](https://qa.nexterwp.com/blog/schema-markup-generator-wordpress/) walkthrough. 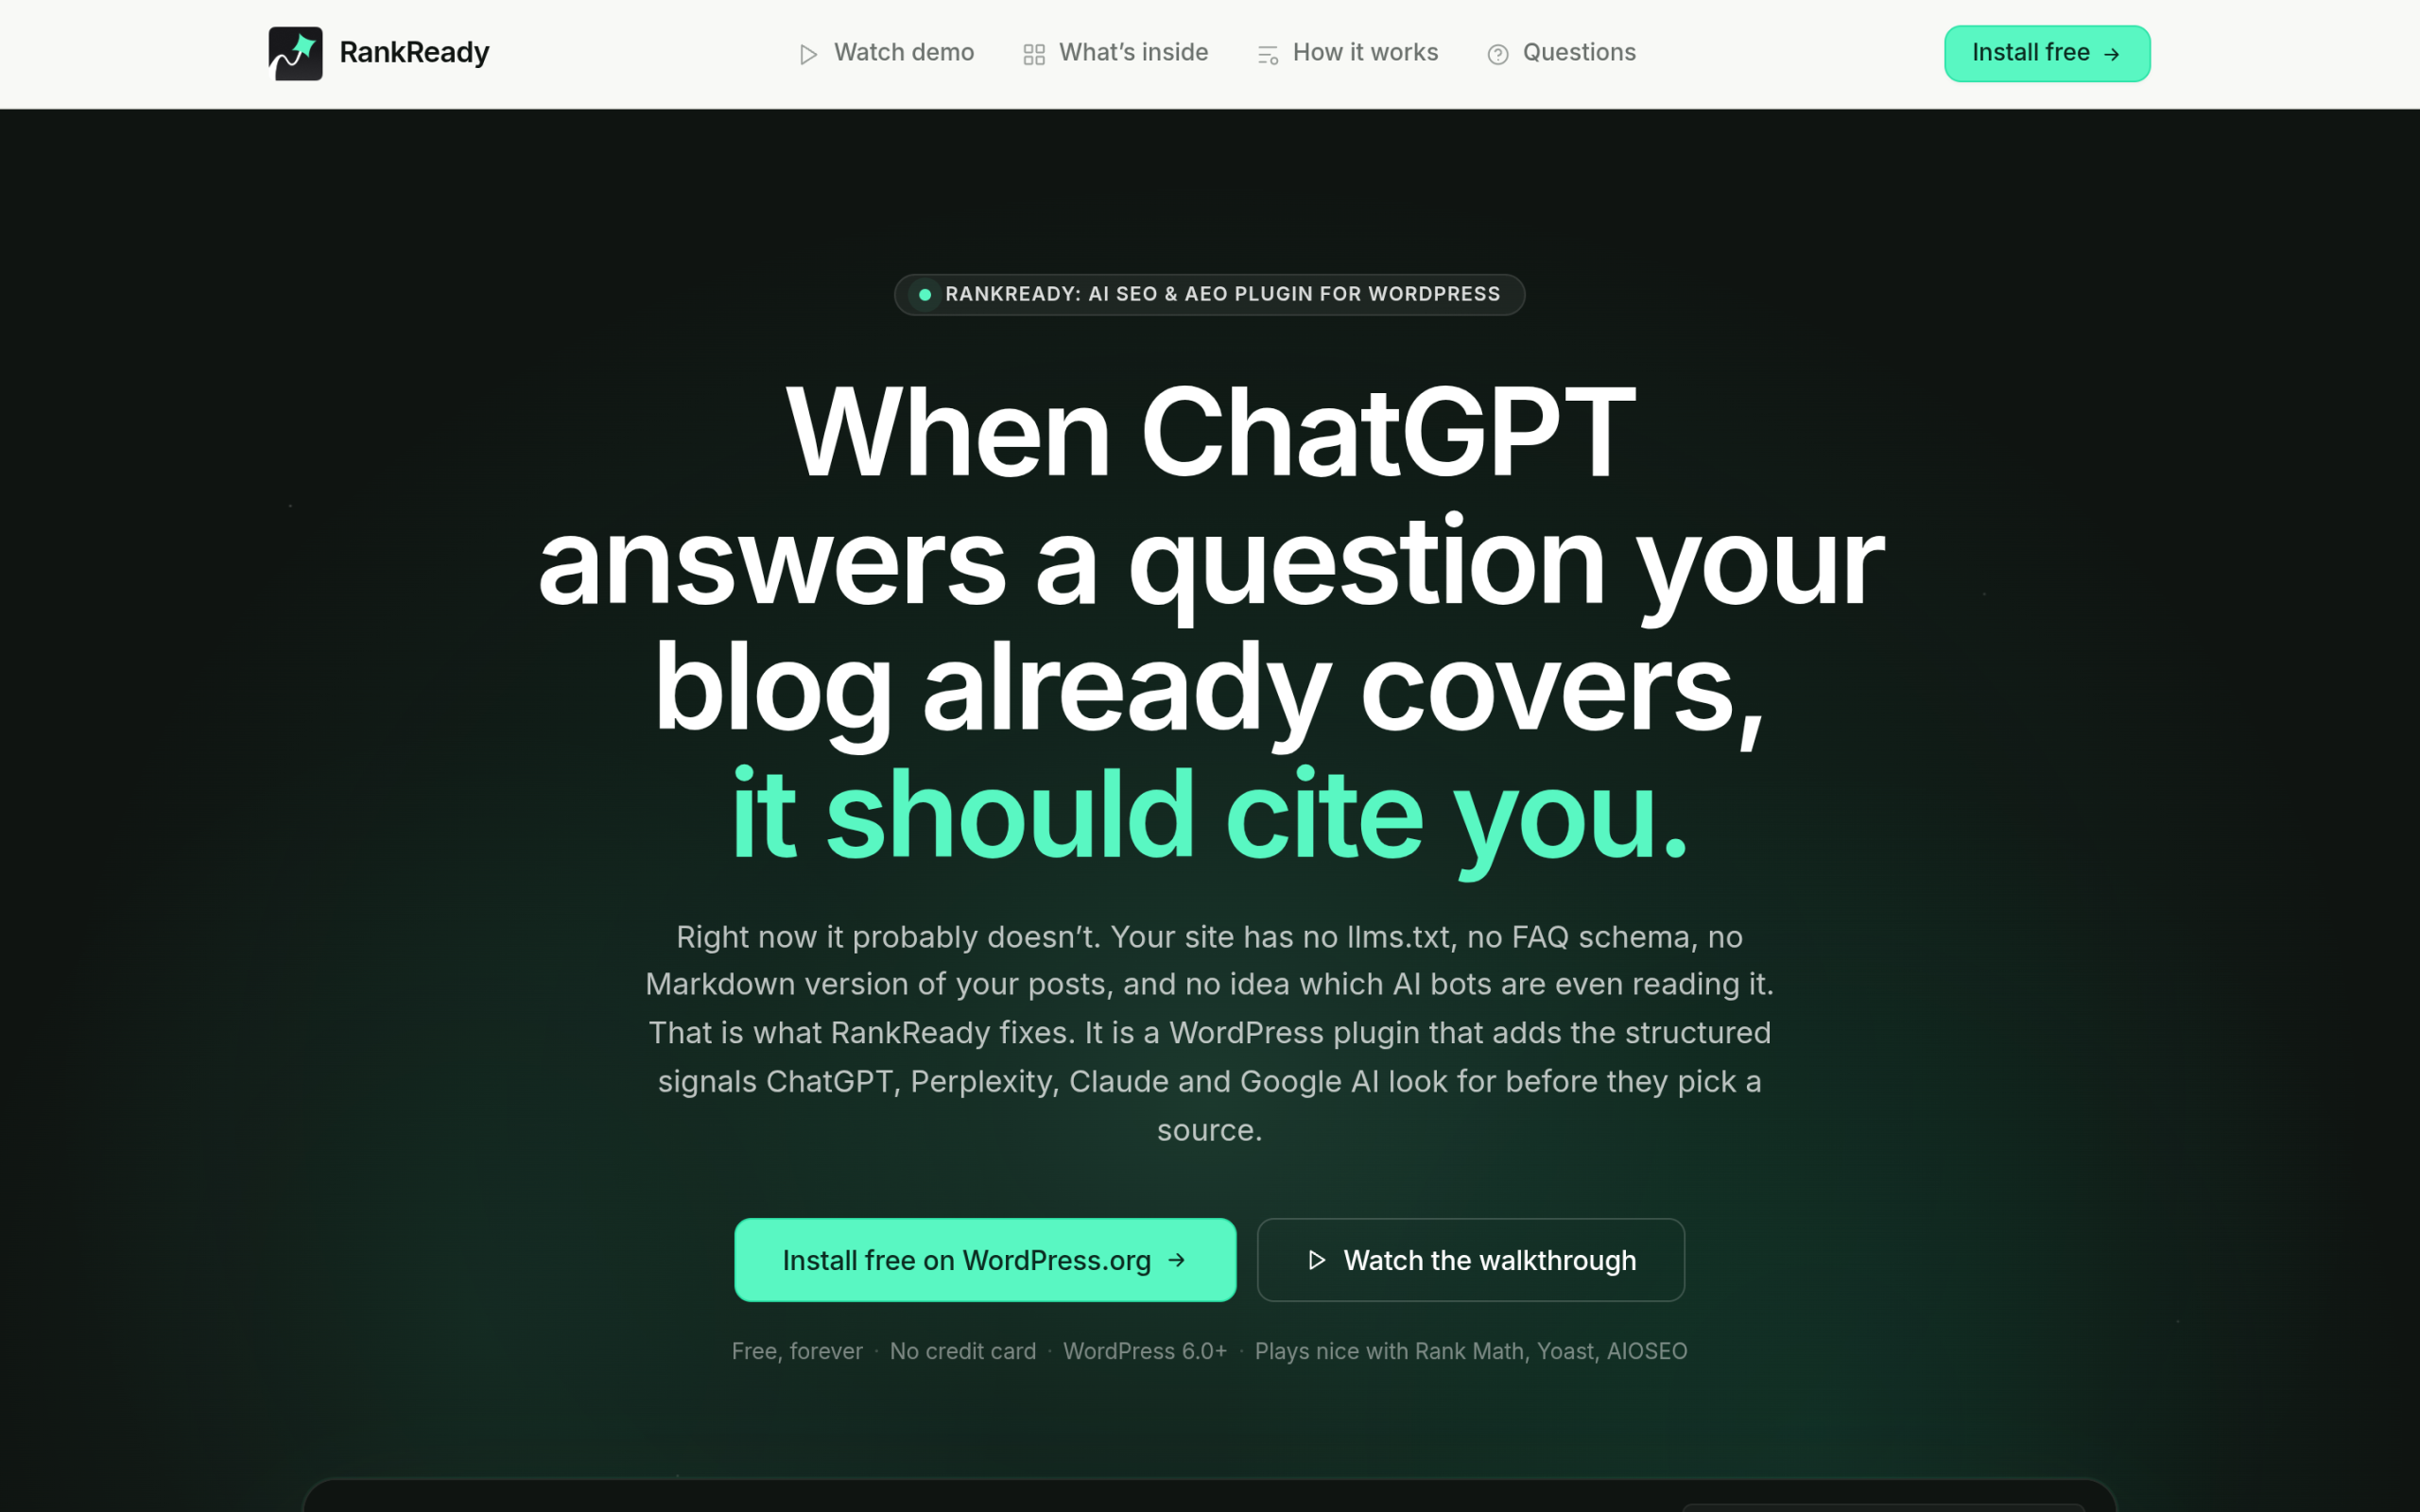RankReady adds a clean Markdown version to any post and generates your llms.txt. [Get RankReady Free](https://store.posimyth.com/plugins/rankready/) ## The Bottom Line Markdown is not a trend to chase, it is the format machines are converging on. You do not have to rewrite anything. If you build on a block theme, you are already most of the way there. Make a clean Markdown version of your content available, keep it current, and your site is ready for whatever reads it next, whether that is ChatGPT today or an agent standard that does not exist yet. Want the honest read on whether any of this moves rankings? Our take on [whether OKF matters for WordPress SEO](https://qa.nexterwp.com/blog/does-okf-matter-wordpress-seo/) says it plainly. ## Suggested Reading - [llms.txt for Gutenberg WordPress: Why Block Themes Win the AI Citation Race](https://qa.nexterwp.com/blog/llms-txt-gutenberg-wordpress/)- [What Is Google's Open Knowledge Format (OKF)?](https://qa.nexterwp.com/blog/open-knowledge-format/)- [OKF vs llms.txt: Two Ways to Hand AI Your Site's Knowledge](https://qa.nexterwp.com/blog/okf-vs-llms-txt/)- [The 2026 AI-Readiness Stack for WordPress](https://qa.nexterwp.com/blog/ai-readiness-stack-wordpress/)- [What Is Answer Engine Optimization (AEO)?](https://qa.nexterwp.com/blog/answer-engine-optimization-wordpress/) --- # The 2026 AI-Readiness Stack for WordPress: llms.txt, Schema, MCP & OKF Source: https://qa.nexterwp.com/blog/ai-readiness-stack-wordpress/ #### Key Takeaways - llms.txt, schema, MCP, and Google's OKF are not four competing standards. They are four layers of one AI-readiness stack, and each does a different job.- Helpful content plus schema markup is the foundation. For most WordPress sites it is the only high-priority layer.- llms.txt is a low-cost hedge, not a guaranteed win: no major AI engine has committed to using it, and Google has said it does not.- OKF is Google's Markdown knowledge format, built for internal and enterprise AI agents. It is optional for a public blog today.- MCP connects AI agents to live tools and data. It matters for apps and integrations, not for publishing an article. A reader emailed me last week with four browser tabs open and one question: which one do I actually need? The tabs were llms.txt, schema markup, Model Context Protocol, and Google's brand-new Open Knowledge Format. Every one of them had a blog post somewhere promising it was the key to getting found by AI. He runs a block-theme WordPress site, writes a few posts a month, and just wanted to know where to spend a Saturday afternoon. The honest answer is that none of these is a race you win by picking the right one. They are layers of a single stack, and they do not all deserve the same effort. Here is what each layer actually is, who it is really for, and how much it should matter to a normal WordPress site in 2026. ## The AI-readiness stack at a glance | Layer | What it is | Mainly for | Priority for a public WP site | | ----- | ---------- | ---------- | ----------------------------- | | Content + schema | Well-structured content with markup machines can read | Everyone | High | | llms.txt | A signpost file at your site root | The public web | Medium (cheap hedge) | | OKF | A Markdown knowledge bundle for AI agents | Internal / enterprise | Low | | MCP | A protocol that connects agents to tools and data | Apps and agents | Situational | The four layers are not competitors. Each one sits at a different point between your content and the machines reading it. ## Layer 1: helpful content and schema (the foundation) Everything else in this stack rests on one thing: content a machine can parse without guessing. Schema markup is the part that labels what your content actually is, so a search engine or an AI model reads a recipe as a recipe and an author as an author instead of inferring it from the layout. This is the groundwork for [answer engine optimization](https://qa.nexterwp.com/blog/answer-engine-optimization-wordpress/), and it is the single highest-priority layer here. Skip every other layer on this page and you will be fine. Skip this one and nothing downstream can save you. Block themes have a quiet advantage here. A Gutenberg block site outputs clean, semantic HTML by default, which is exactly what machines want to read. Nexter Blocks lean into that: structured headings, proper lists, and markup that does not bury the meaning under a pile of nested divs. If you want a deeper walkthrough of getting the structured-data part right, our [schema markup generator for WordPress](https://qa.nexterwp.com/blog/schema-markup-generator-wordpress/) guide covers the JSON-LD side in full. ***Also Read:** [What Is Entity SEO?](https://qa.nexterwp.com/blog/entity-seo-wordpress/) Schema and entities are how AI learns not just what your pages say, but how they connect.* ## Layer 2: llms.txt (the public signpost) An llms.txt file is a plain Markdown file you place at your site root. The idea, proposed in 2024, is to hand AI tools a curated map of your most important pages instead of making them crawl your whole site. It is genuinely low-effort to publish. 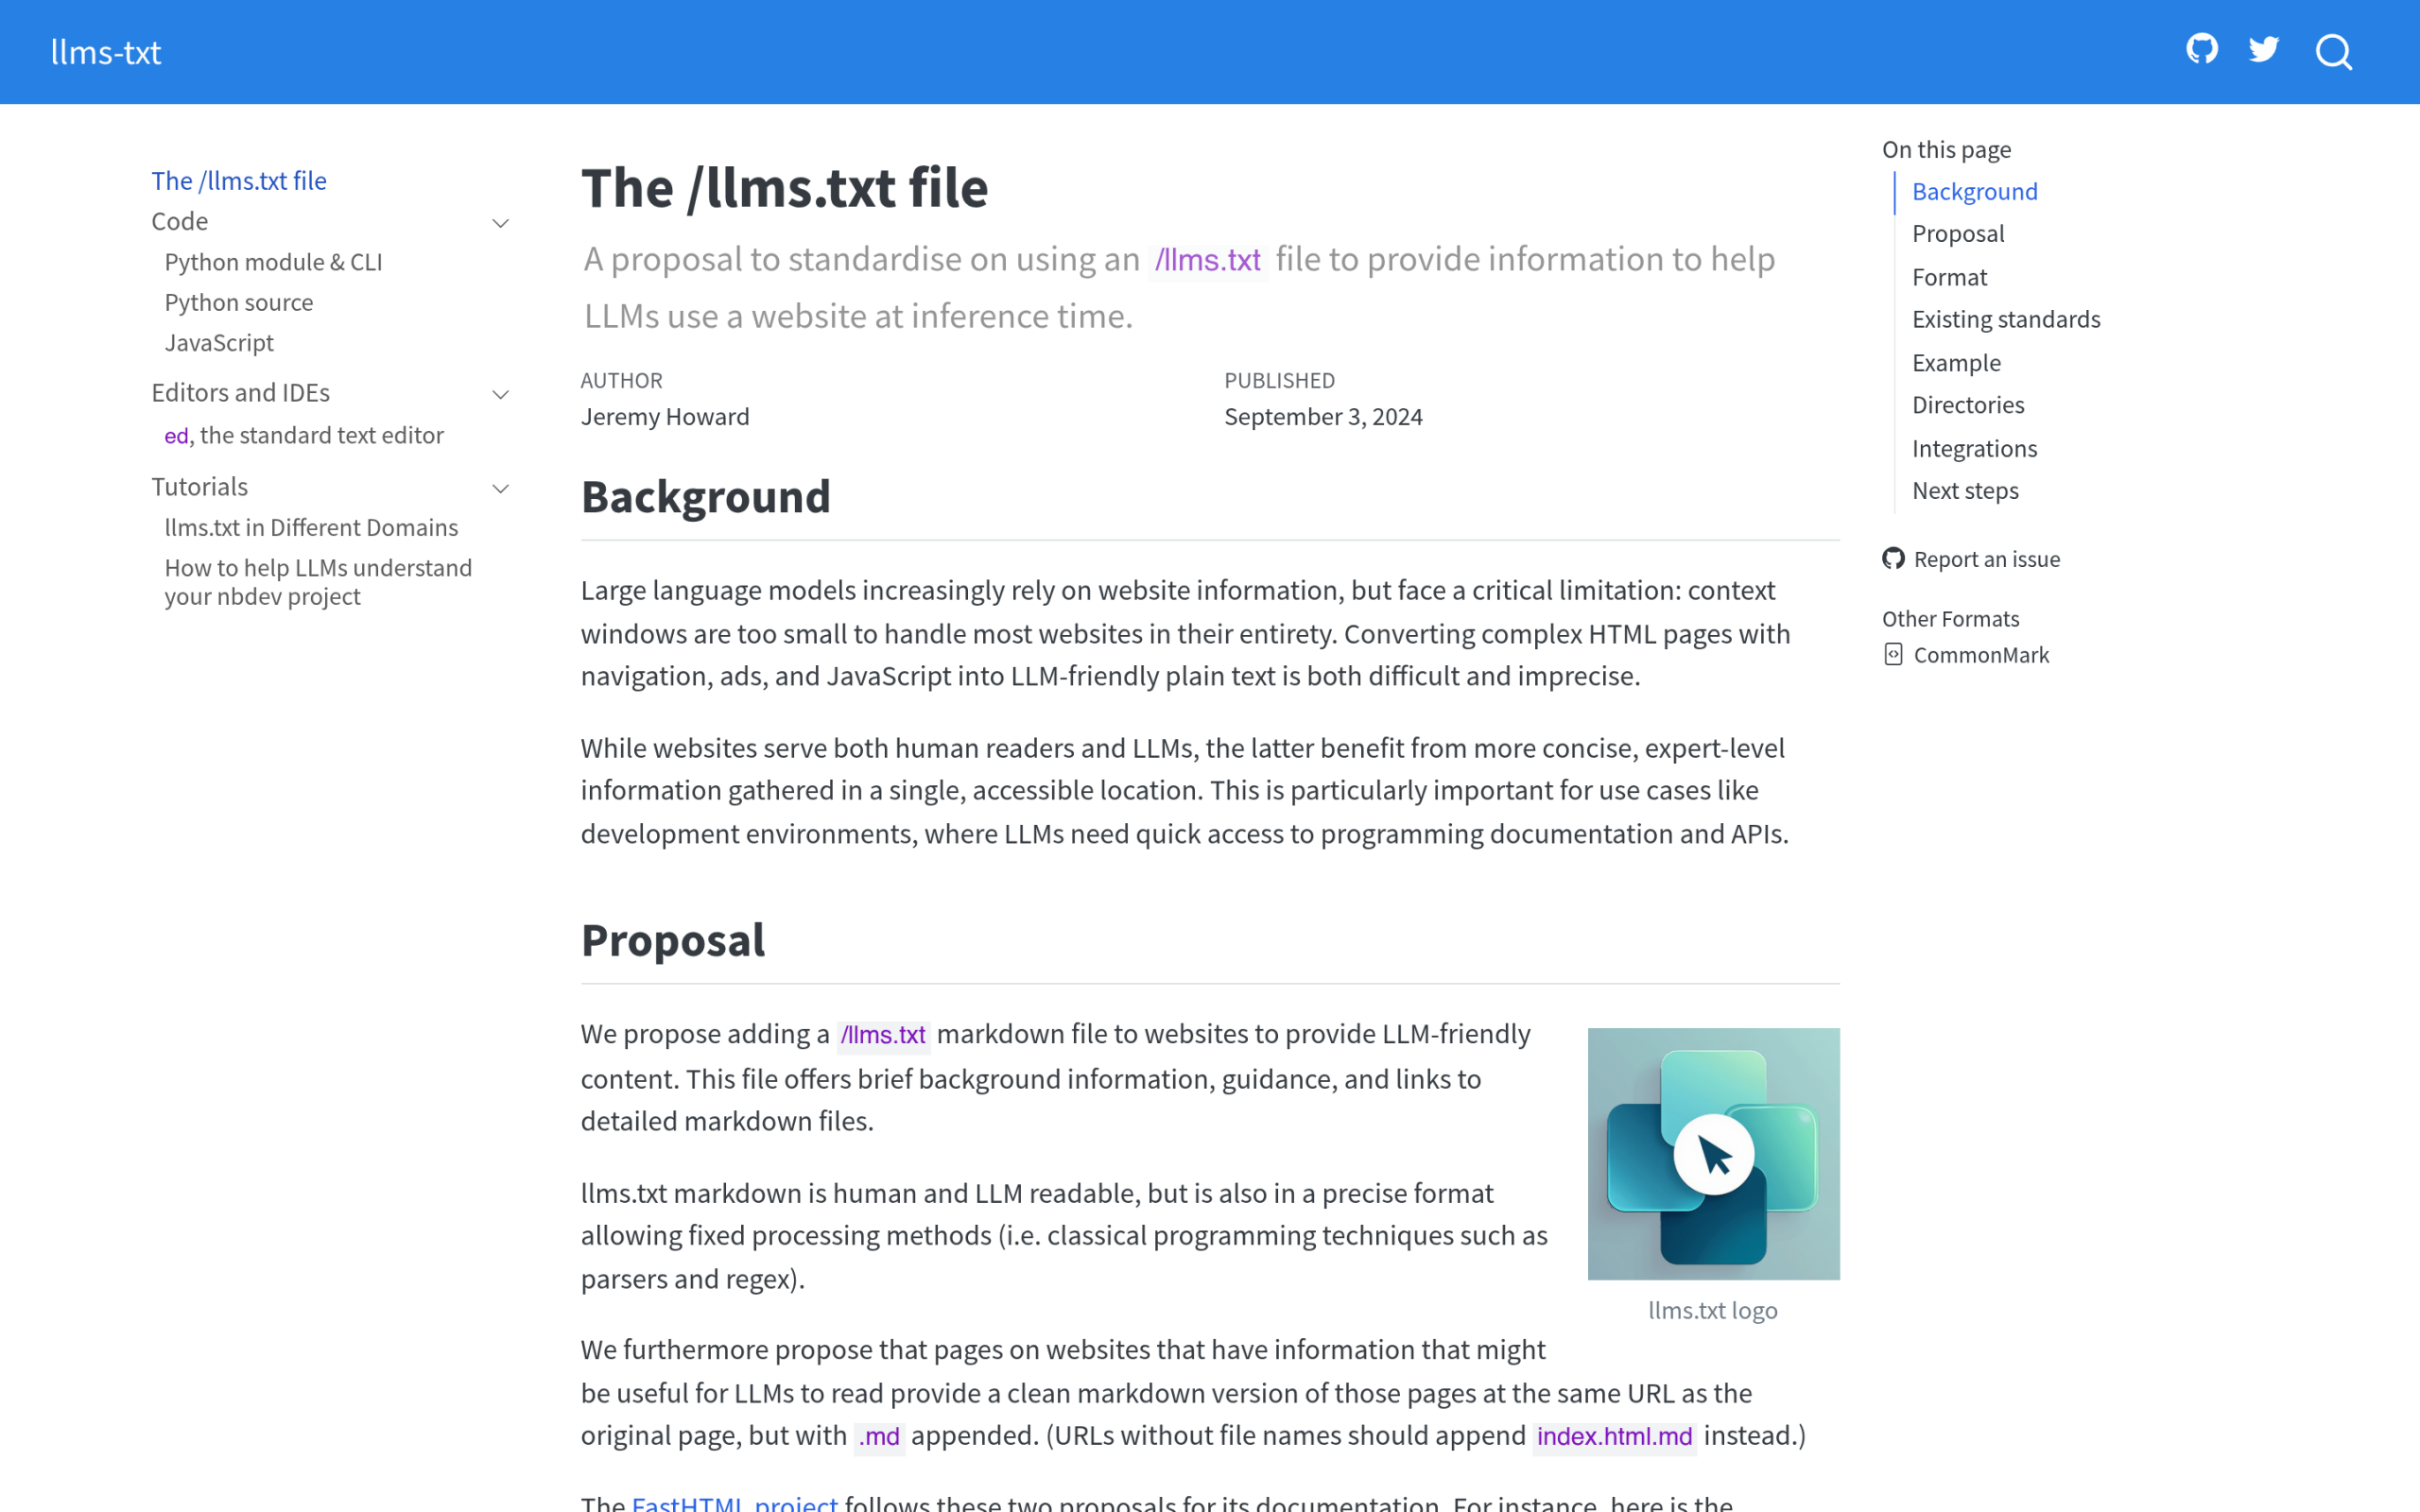The llms.txt spec at llmstxt.org. Easy to publish, but no major AI engine has committed to reading it yet. Here is the part most posts leave out. As of early 2026, no major AI engine has committed to using llms.txt, and Google has publicly said it does not. Independent audits show AI crawlers almost never fetch the file. So treat llms.txt as a low-cost, low-risk hedge on where the machine-readable web might be heading, not as a tactic that earns you AI citations today. Publish one because it is cheap and harmless, not because it is a guaranteed win. We go deeper on the trade-off in our [OKF vs llms.txt](https://qa.nexterwp.com/blog/okf-vs-llms-txt/) comparison. ## Layer 3: OKF (the internal library) Google's [Open Knowledge Format (OKF)](https://qa.nexterwp.com/blog/open-knowledge-format/), announced in June 2026, packages curated knowledge as a directory of Markdown files with YAML frontmatter so AI agents can consume it in one agreed shape. It is a vendor-neutral, version 0.1 draft, and Google built it for data teams and internal agents sharing tables, metrics, and tribal knowledge, not for blogs. 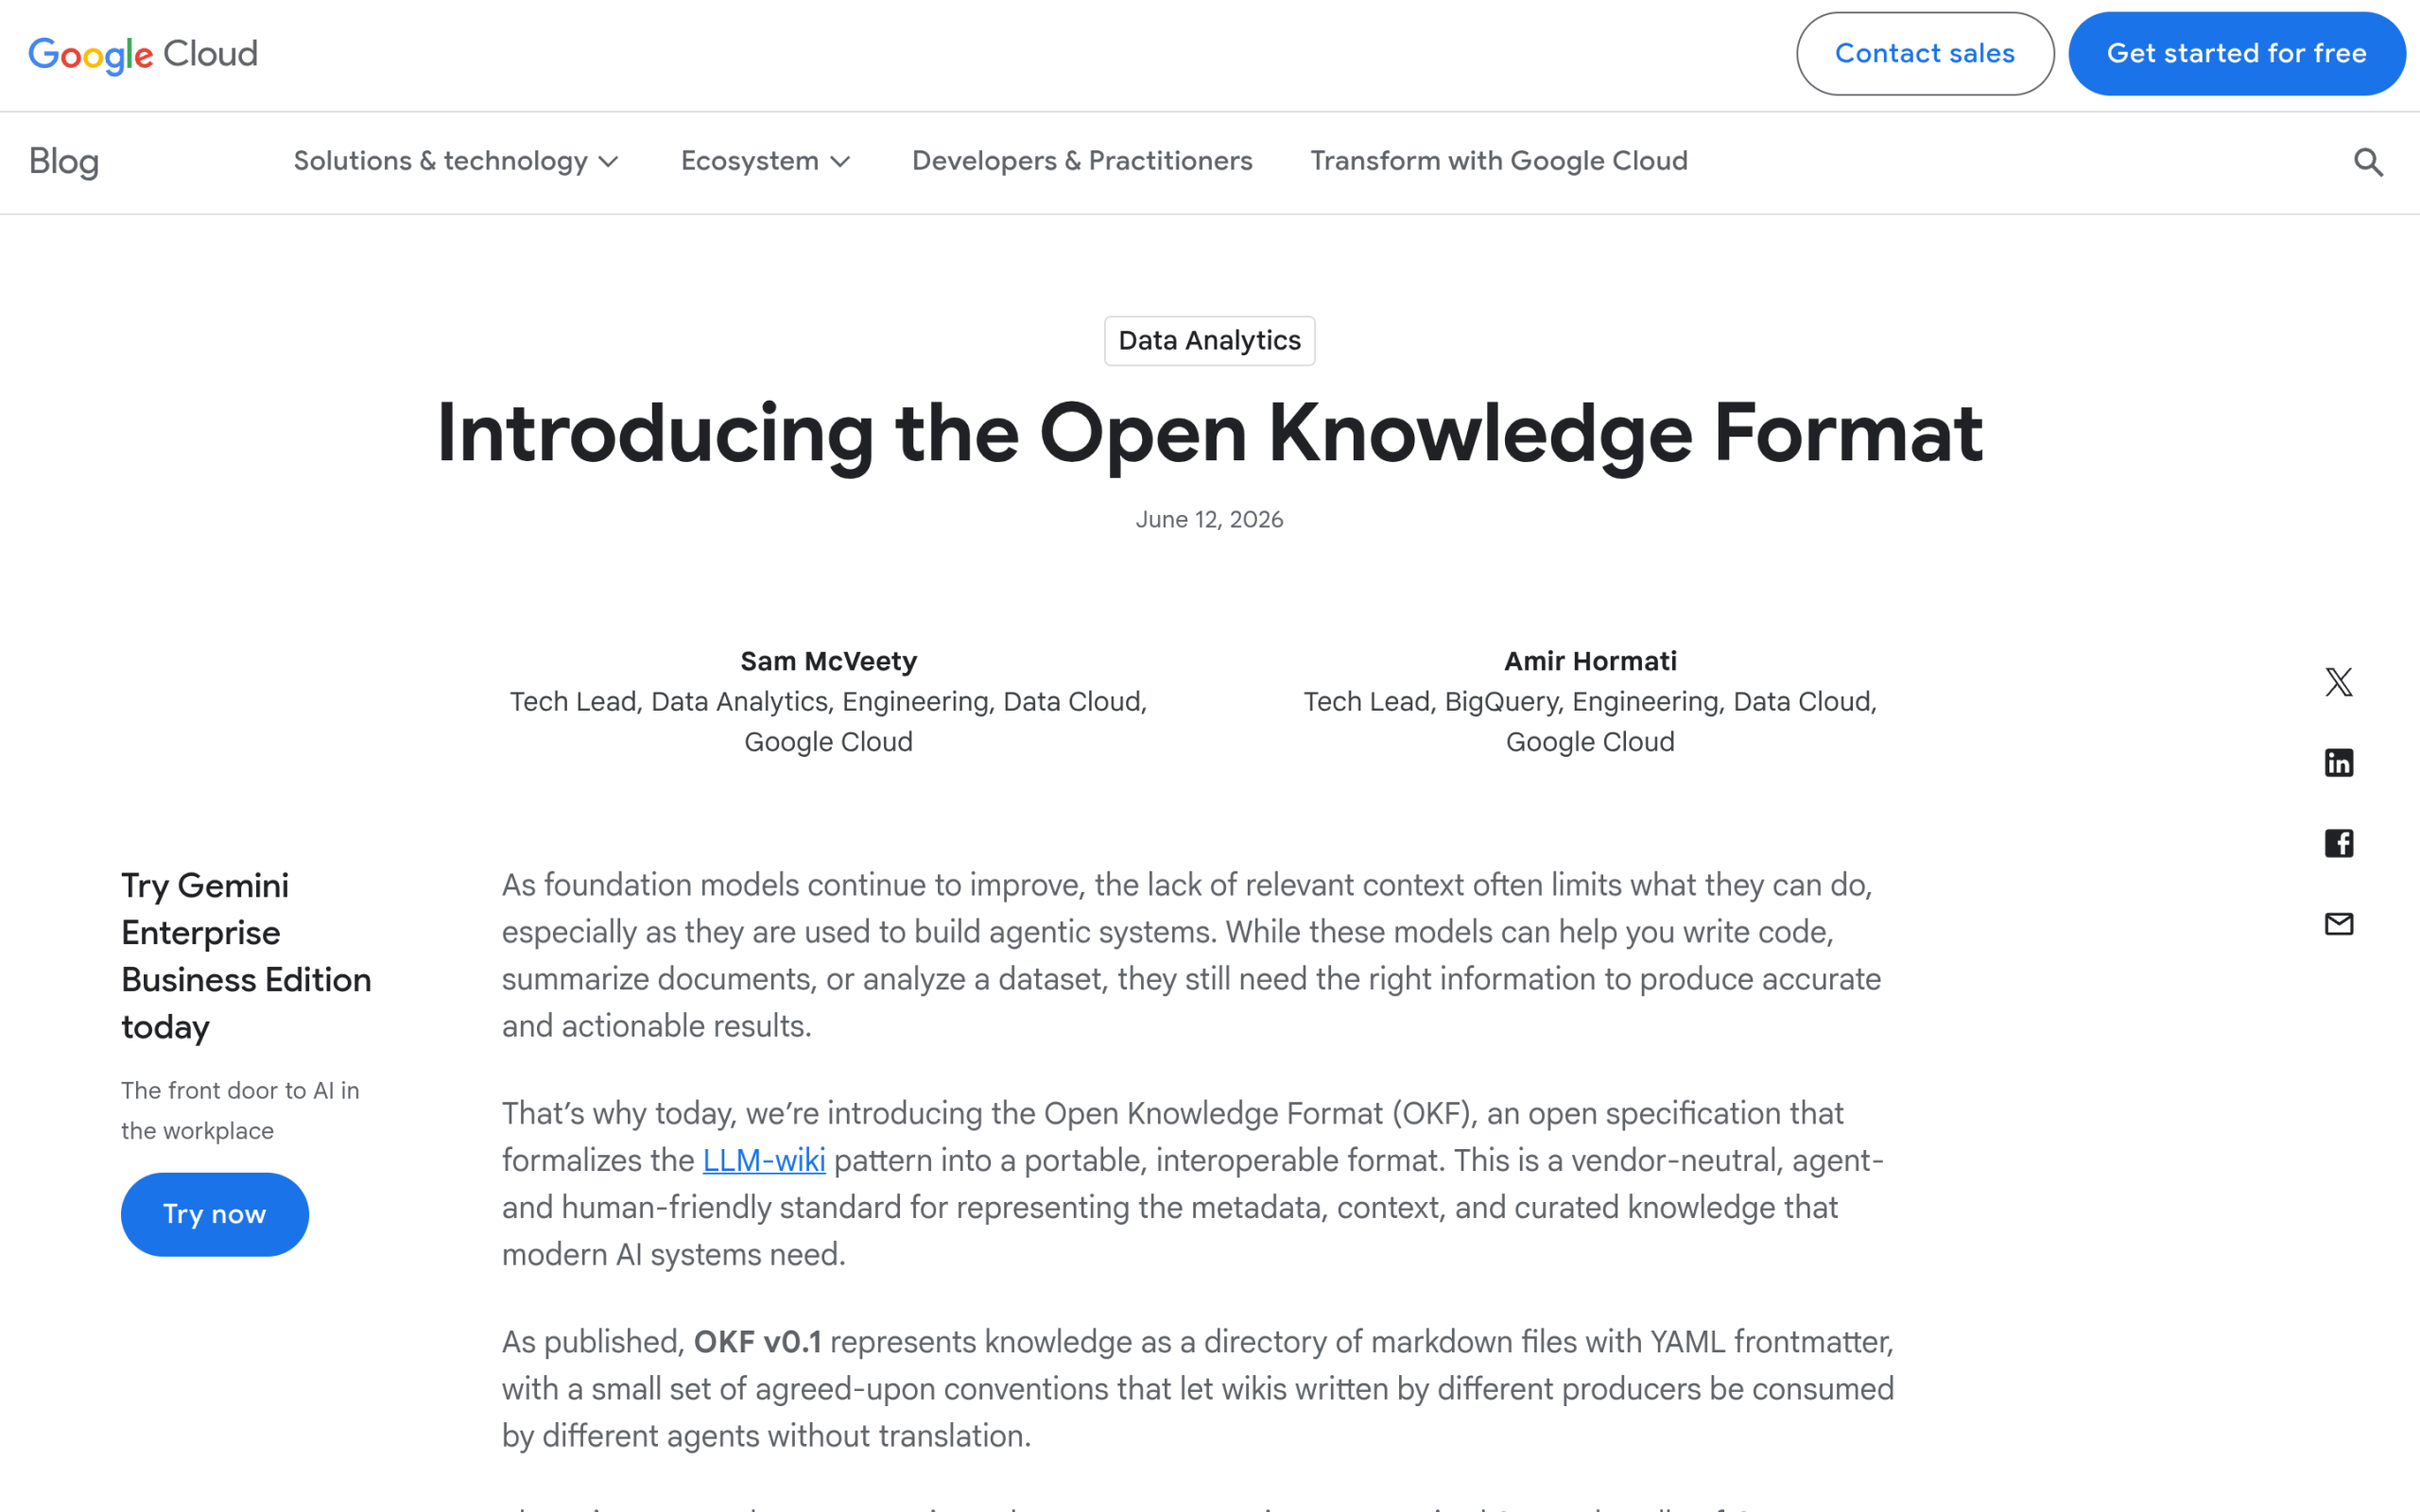Google Cloud's OKF announcement. The format targets internal and enterprise AI agents, not public blogs. For most public WordPress sites this layer is optional today. A bundle is essentially a second copy of what your site already publishes, which is a maintenance cost with no proven payoff yet. If you want the full honest assessment of whether it is worth your time, we wrote one. Otherwise, file OKF under watch, not do. ***Also Read:** [Does Google's OKF Matter for WordPress SEO?](https://qa.nexterwp.com/blog/does-okf-matter-wordpress-seo/) An honest take on whether to act on it now or wait.* ## Layer 4: MCP (the live connection) The Model Context Protocol is, in its own words, an open-source standard for connecting AI applications to external systems. It lets AI apps like Claude or ChatGPT reach data sources, tools, and workflows so they can do things, not just read things. The project describes it as a USB-C port for AI: one standard way to plug an agent into your stuff. 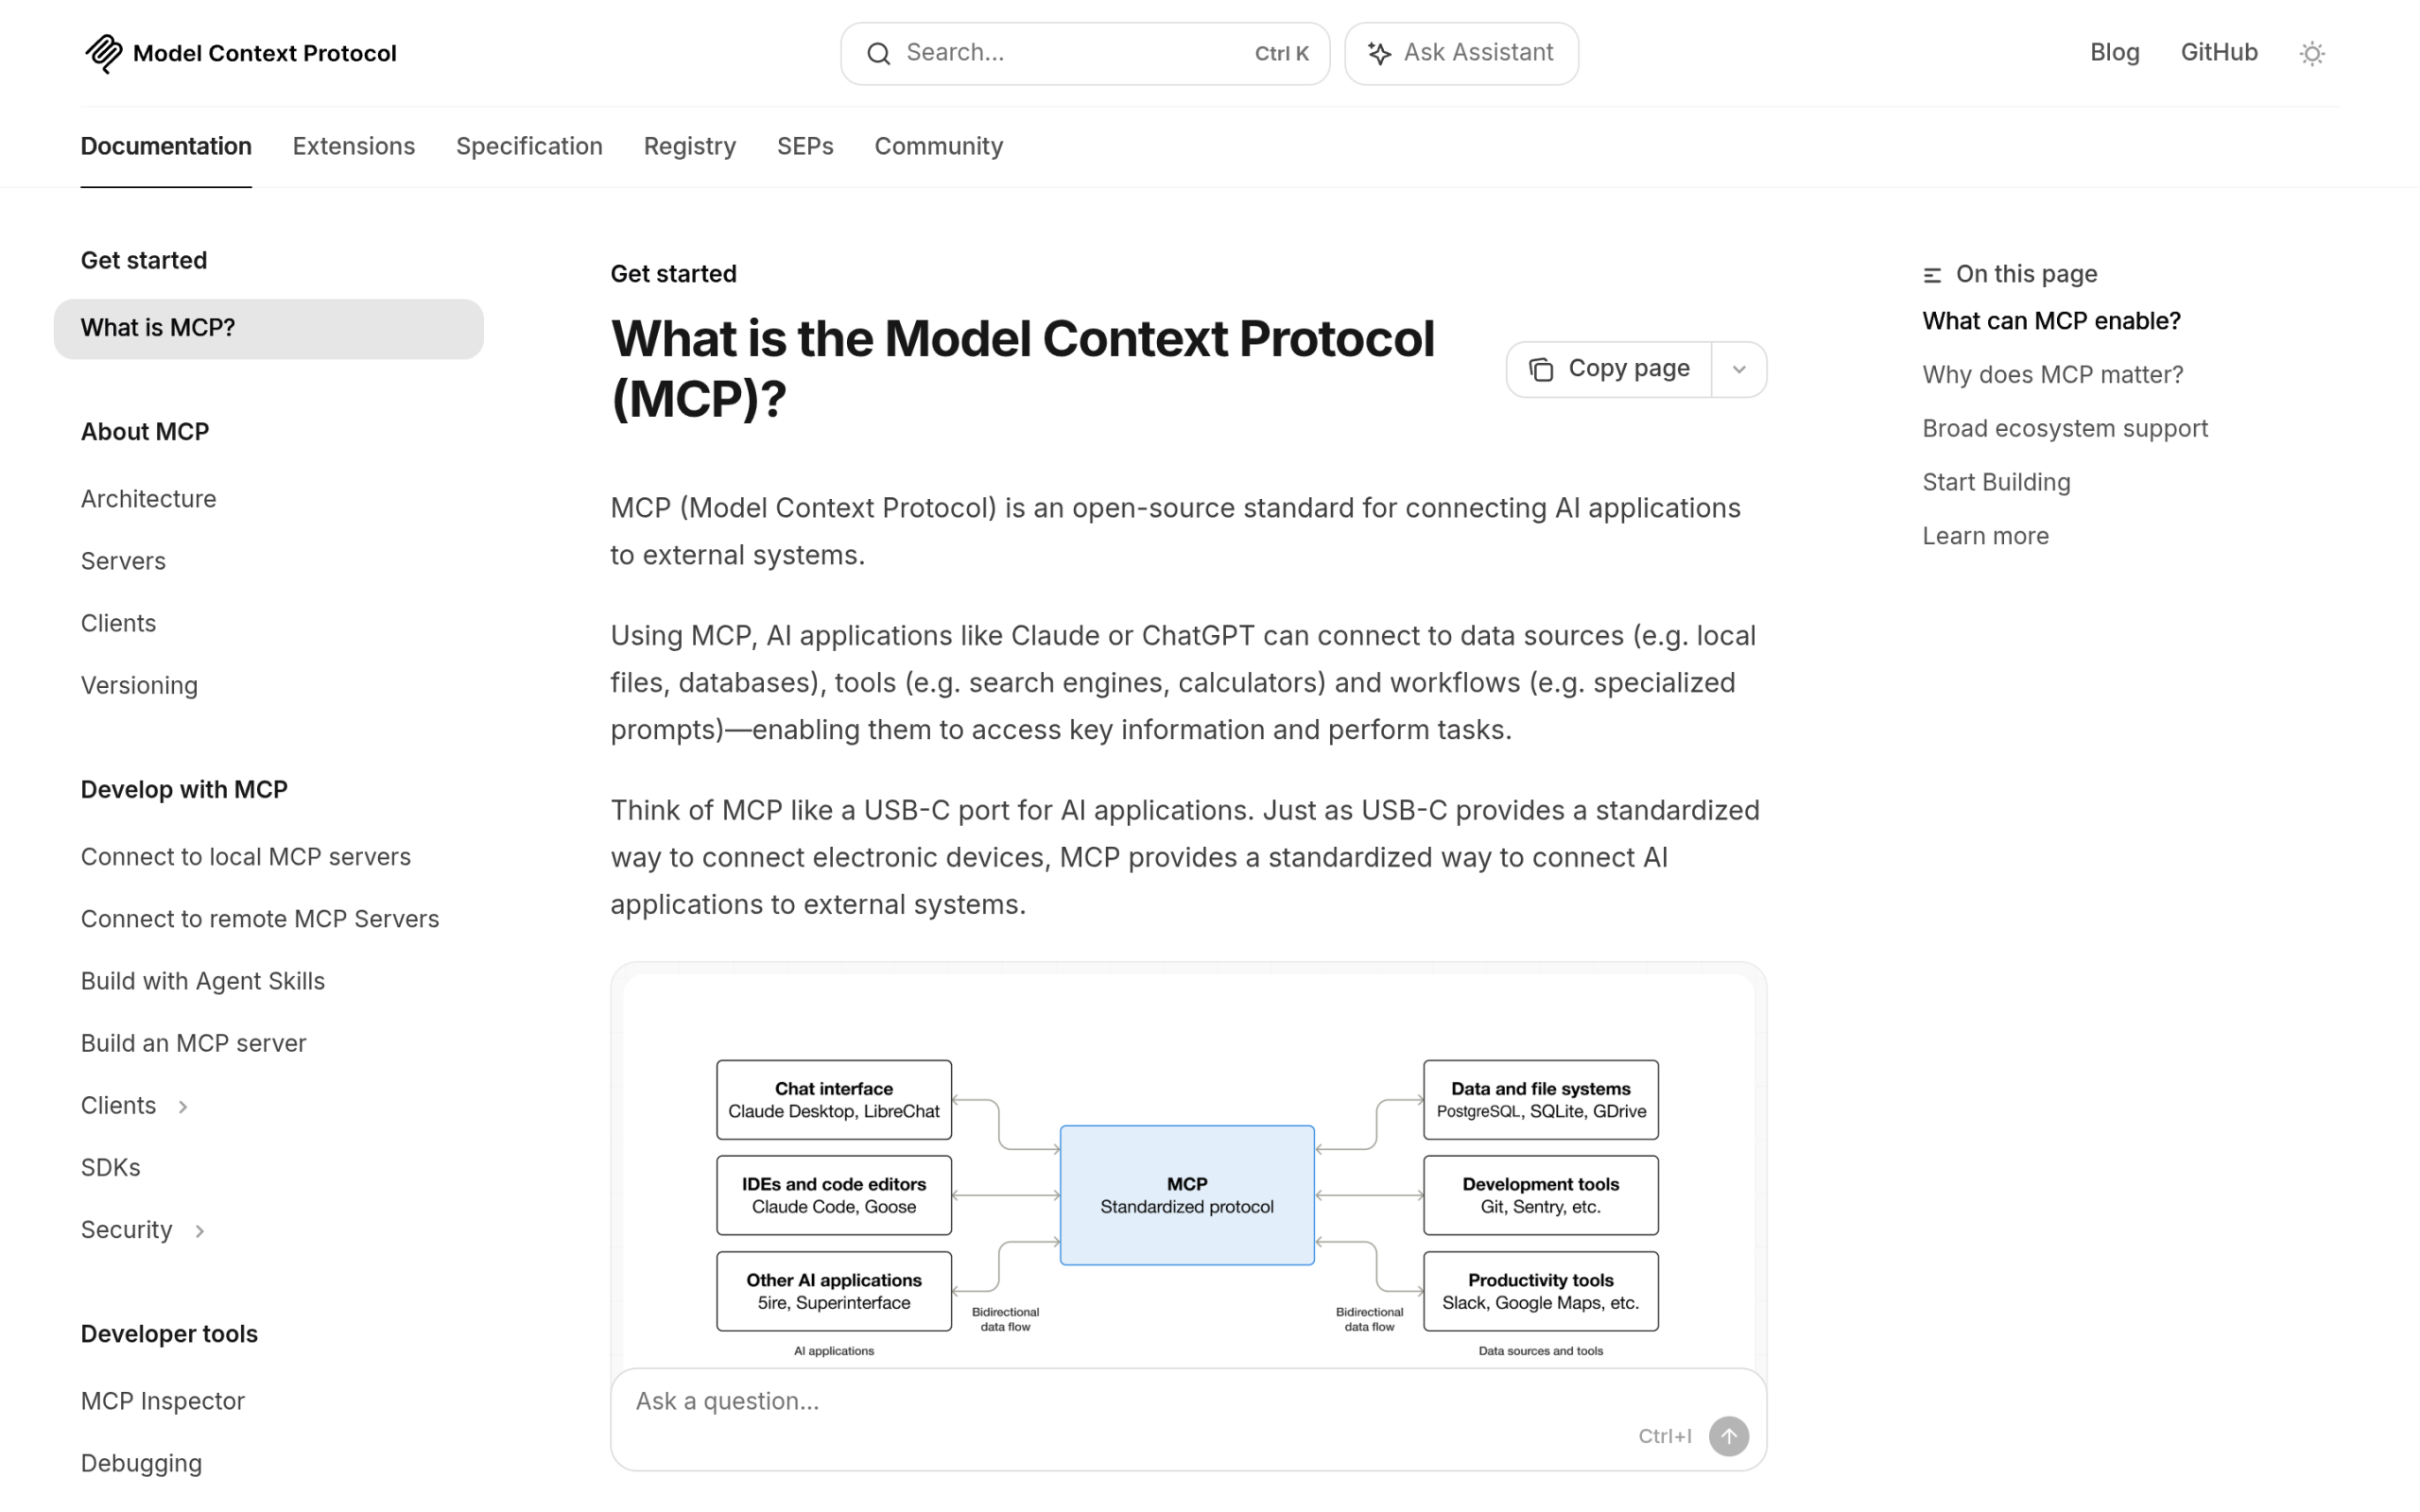The Model Context Protocol describes itself as a USB-C port for AI applications. This is the layer least relevant to publishing an article. MCP matters when you want an AI agent to take actions against your data, such as querying a store or running a workflow, rather than simply citing your blog post. If that is on your roadmap, our [MCP vs API guide](https://qa.nexterwp.com/blog/mcp-vs-api-wordpress/) explains when a WordPress site actually needs each one. ## How to run the stack on a block-theme site You do not need four plugins and a spreadsheet. The work splits cleanly in two. Your theme handles structure, and one tool handles the AI-readiness signals on top. On the structure side, a clean block theme like Nexter already gives machines semantic HTML to read. On the signals side, [RankReady](https://store.posimyth.com/plugins/rankready/) acts as the control panel for three of the four layers. It outputs Article, Speakable, FAQPage, HowTo, and ItemList schema; generates your llms.txt and llms-full.txt files and keeps them current as you publish; adds a clean Markdown version of any post when you append .md to the URL; and scores each post from 0 to 100 on schema, freshness, content depth, and author signals. It also logs every AI crawler that hits your site (GPTBot, ClaudeBot, PerplexityBot, Google-Extended, and more) so you can see who is actually reading you. It is free, GPL-2.0-or-later, runs on WordPress 6.0+ and PHP 7.4+, and merges with whichever SEO plugin you already run. RankReady handles the schema, llms.txt, and Markdown layers, and logs which AI crawlers actually fetch your pages. One honest boundary: RankReady covers the content, schema, llms.txt, and Markdown layers. It does not build OKF bundles or run an MCP server, and you do not need it to. For a normal publishing site, those two layers stay in watch-and-wait. If you want to measure the layers that do matter, that is the gap a tool like [an AI SEO tool](https://qa.nexterwp.com/blog/ai-seo-tool-wordpress/) is built to close. [Get RankReady Free](https://store.posimyth.com/plugins/rankready/) ## The bottom line Stop treating llms.txt, schema, MCP, and OKF as four separate races to win. Get your content and schema right first, because that is the layer every AI system actually uses. Publish an llms.txt because it is cheap, while being clear-eyed that no major engine has committed to it. Keep an eye on OKF without rushing a bundle. And reach for MCP only when you genuinely need an agent to act on your data. That is the whole stack, in priority order, for a site that publishes for humans first and machines second. ## Suggested reading - [What Is Google's Open Knowledge Format (OKF)? A Plain-English Guide](https://qa.nexterwp.com/blog/open-knowledge-format/)- [OKF vs llms.txt: Two Ways to Hand AI Your Site's Knowledge](https://qa.nexterwp.com/blog/okf-vs-llms-txt/)- [How to Turn Your WordPress Content Into an AI-Readable Knowledge Base](https://qa.nexterwp.com/blog/ai-readable-knowledge-base-wordpress/)- [Answer Engine Optimization (AEO): The Complete WordPress Guide](https://qa.nexterwp.com/blog/answer-engine-optimization-wordpress/)- [What Is Topical Authority? How WordPress Sites Build It](https://qa.nexterwp.com/blog/topical-authority-wordpress/) --- # How to Turn Your WordPress Content Into an AI-Readable Knowledge Base Source: https://qa.nexterwp.com/blog/ai-readable-knowledge-base-wordpress/ #### Key Takeaways - AI-readable means structuring your content so machines, not just people, can parse it: clean headings, schema, and a plain-text copy an agent can fetch.- Most WordPress pages are built for browsers. An AI agent has to dig your few hundred useful words out of navigation, scripts, and styling.- The work is four moves: structure the content, add schema, publish a machine-readable copy (llms.txt and .md), then measure whether agents actually fetch it.- No format guarantees an AI citation today. Treat llms.txt and Google's Open Knowledge Format as a bet on where the machine-readable web is heading.- RankReady is a free way to measure the result: it logs which AI crawlers fetched each post and scores every post 0 to 100 for AI readiness. A while back I was reading the raw access log for one of our sites at POSIMYTH, looking for something else entirely, when I noticed how often GPTBot, ClaudeBot, and PerplexityBot were showing up. They were fetching pages constantly. And then it hit me that everything those bots were pulling had been written and built for a person sitting in a browser. The markup, the menus, the sidebars, the scripts. None of it was arranged for a machine that just wants the facts. That gap is what AI content optimization is really about. It is the work of turning a normal WordPress site into something an AI agent can read, understand, and quote without guessing. Think of it less as another SEO checklist and more as building a knowledge base that both humans and machines can use. This guide walks through what AI-readable content actually means and the four steps to get your WordPress content there. ## What "AI-readable" actually means A web page and a knowledge base are not the same thing. A page is a visual document. It assumes a reader with eyes, a screen, and the patience to scroll past a header, a cookie notice, and a related-posts grid to reach the part they wanted. A knowledge base is the opposite. It is the underlying facts, stripped of presentation, organized so anything querying it can find an answer fast. AI agents want the second thing. When ChatGPT or Perplexity considers your content for an answer, it is not admiring your layout. It is trying to extract clean statements it can trust and attribute. AI-readable content simply means you have done that extraction work in advance: the structure is clear, the meaning is labeled, and a plain copy of the words exists somewhere an agent can grab. This is the same idea behind every machine-facing format that has landed lately. Google's [Open Knowledge Format (OKF)](https://qa.nexterwp.com/blog/open-knowledge-format/) describes knowledge as a directory of markdown files. The llms.txt convention points agents at your important pages. They are all circling the same ground: give machines a clean version of what you know, instead of making them reverse-engineer it from a styled web page. [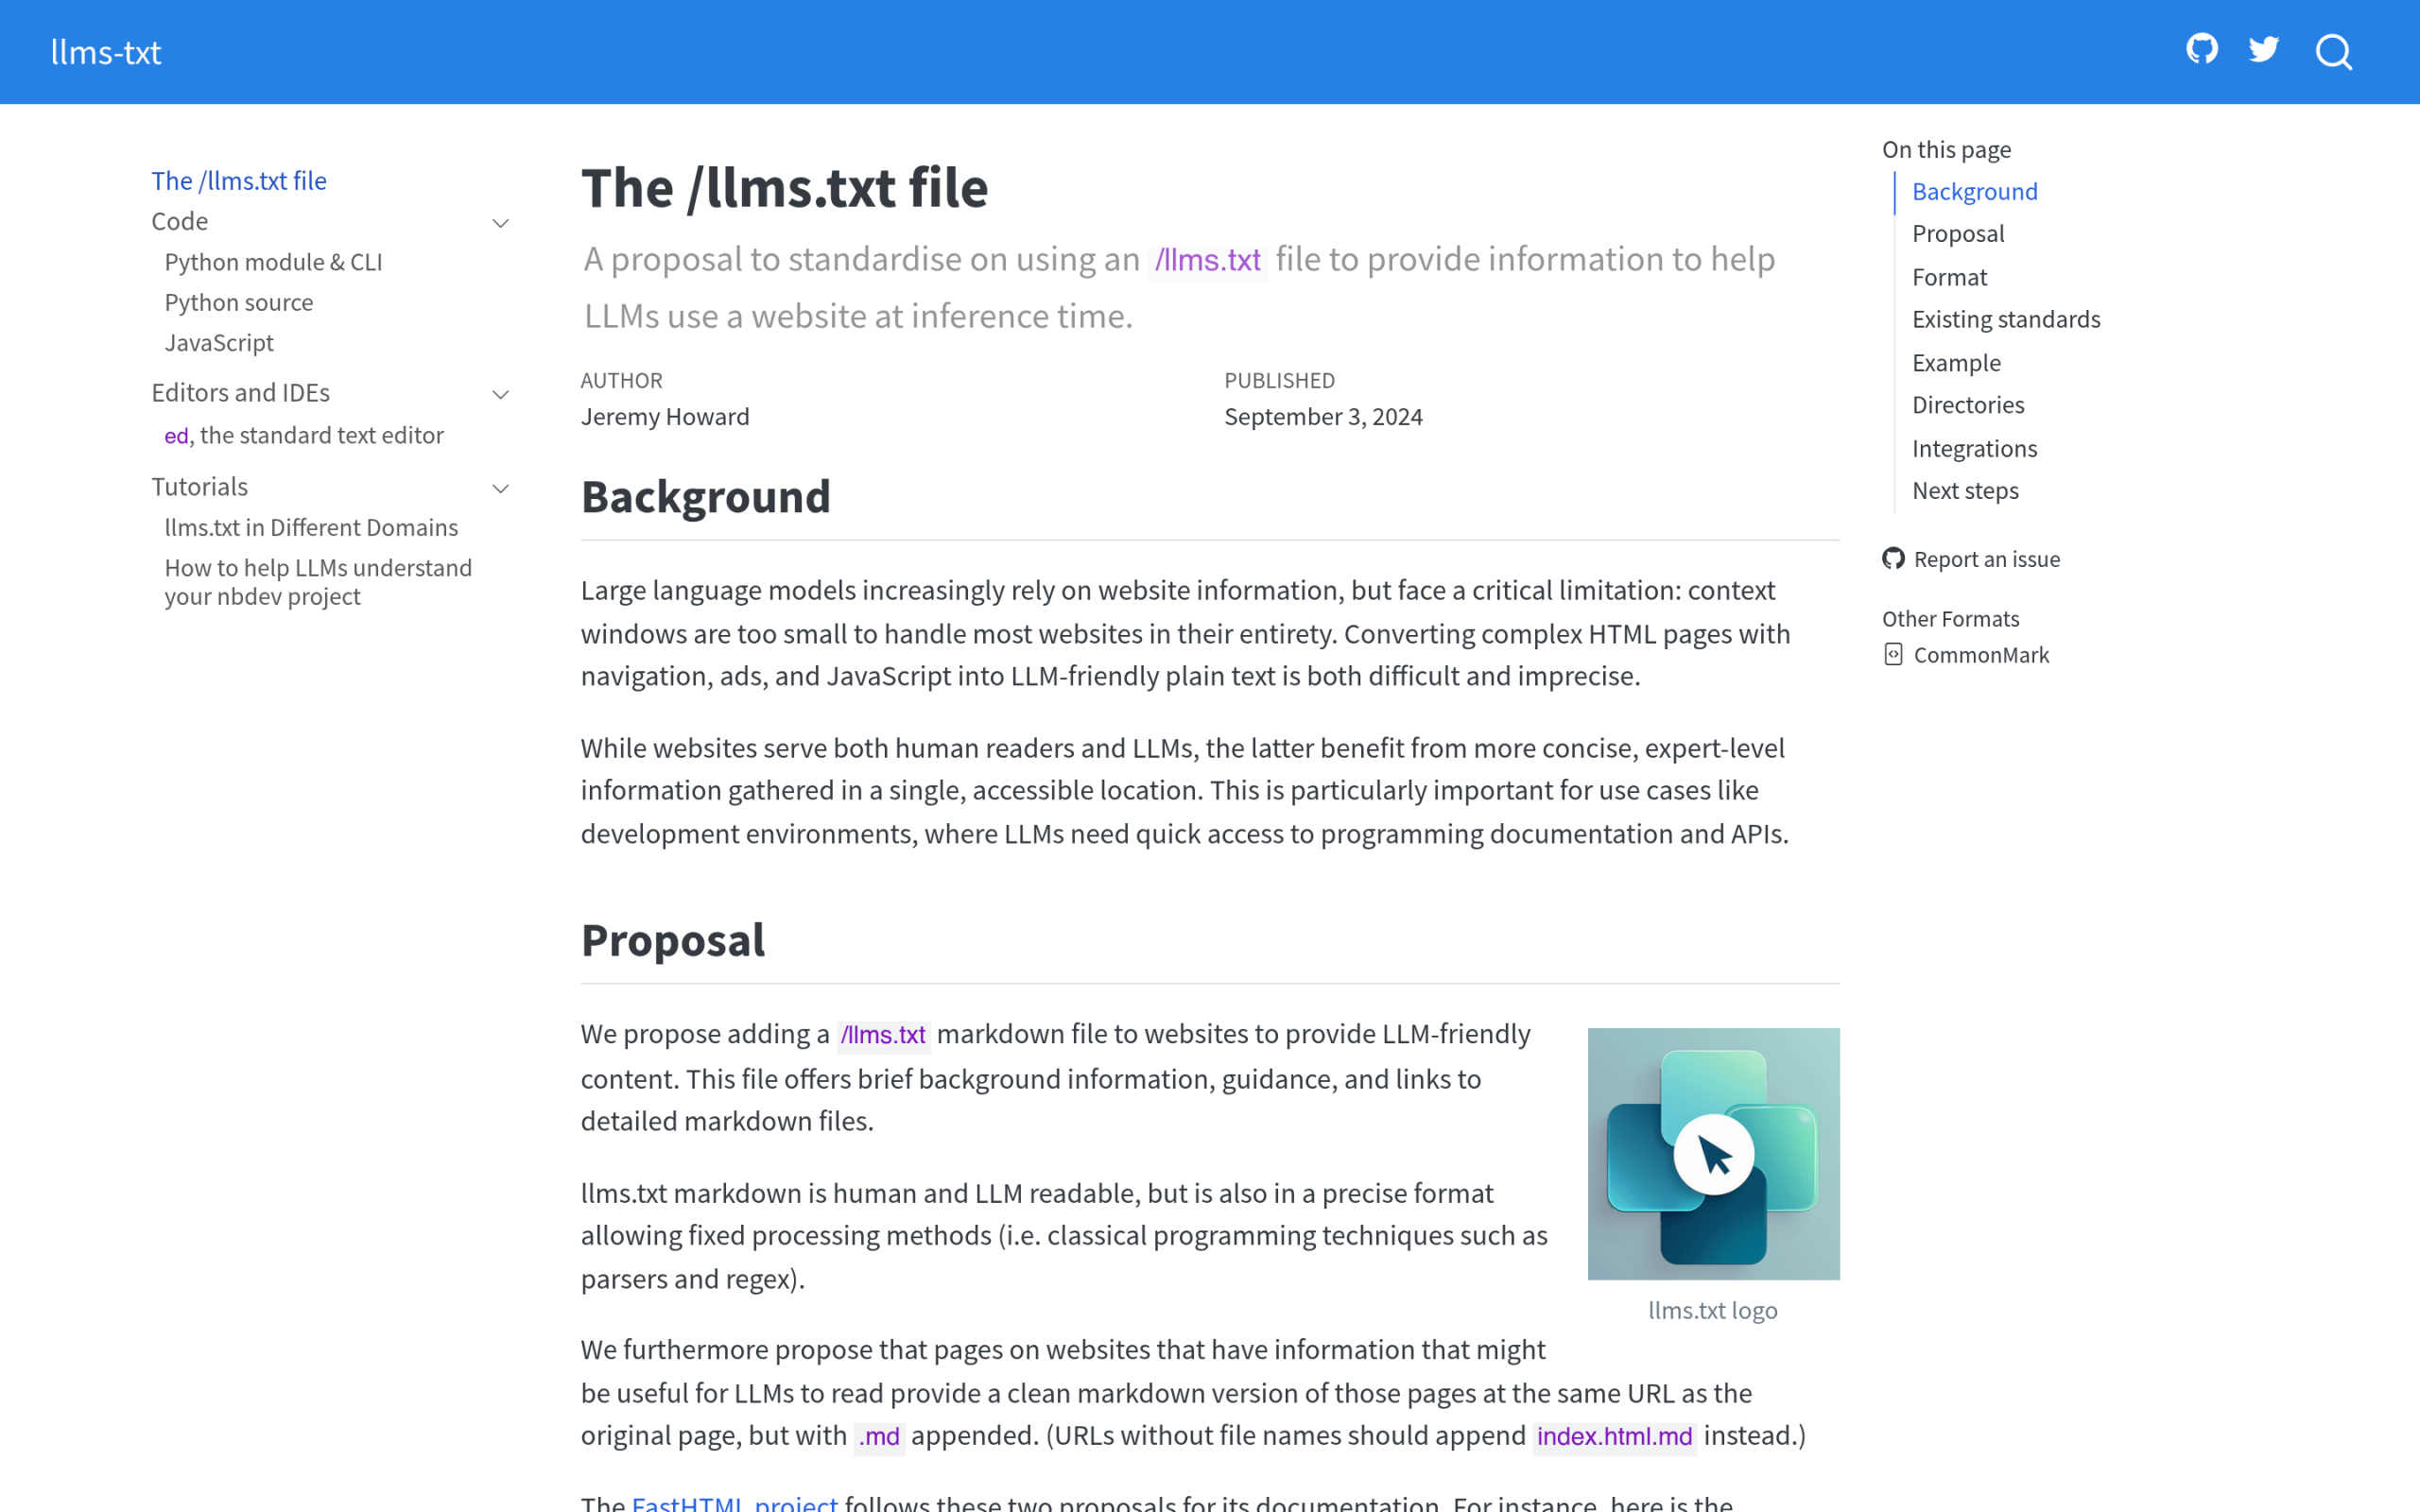](https://llmstxt.org/)The llms.txt convention is one of several machine-facing formats asking sites to publish a clean copy of their content for AI. ## Why your current WordPress content is hard for AI to use Open the source of almost any WordPress post and look at the ratio. A long article might carry a thousand words of real content wrapped in many times that in theme markup, inline scripts, tracking tags, widget HTML, and styling. A human browser hides all of that. An agent fetching the page has to wade through it and decide what counts. There are three common problems. First, structure is often flat or inconsistent. Headings get used for visual size rather than meaning, so the document has no clear outline a machine can follow. Second, the meaning is not labeled. A price, an author, a step-by-step process, and a frequently asked question all look like the same plain paragraph unless you tell the machine otherwise. Third, there is usually no clean copy. The only version of your knowledge that exists is the full HTML page, noise and all. None of this means your content is bad. It means it was built for one audience, the human reader, and the second audience showed up later. The next four steps close that gap without you rewriting a single article from scratch. ## Step 1: Structure your content so machines can follow it Structure is the cheapest, highest-impact move, and it helps human readers too. The goal is a document whose outline makes sense even if you strip every bit of styling away. - Use one H1 (your title), then H2s for main sections and H3s for points inside them. Keep the hierarchy honest, so a machine reading only the headings gets a true table of contents.- Give each section one job. A reader, or an agent, should be able to lift a single section out and have it still make sense as a self-contained answer.- Front-load the answer. State the conclusion in the first sentence or two of a section, then explain. This is how AI engines like to quote.- Use real semantic blocks. Lists, tables, and headings carry meaning that a wall of paragraphs does not. Block themes and a block library such as Nexter Blocks make this the default rather than something you fight the editor to do. ***Also Read:** [Answer Engine Optimization (AEO): The Complete WordPress Guide](https://qa.nexterwp.com/blog/answer-engine-optimization-wordpress/) for the broader strategy this build sits inside.* ## Step 2: Add the schema that AI parsers look for Schema markup is how you label meaning. It is a small block of structured data, usually JSON-LD, that tells a machine "this is an article, this is the author, these are the steps, this is the question and its answer." Instead of inferring all of that from your styling, a parser reads it directly. [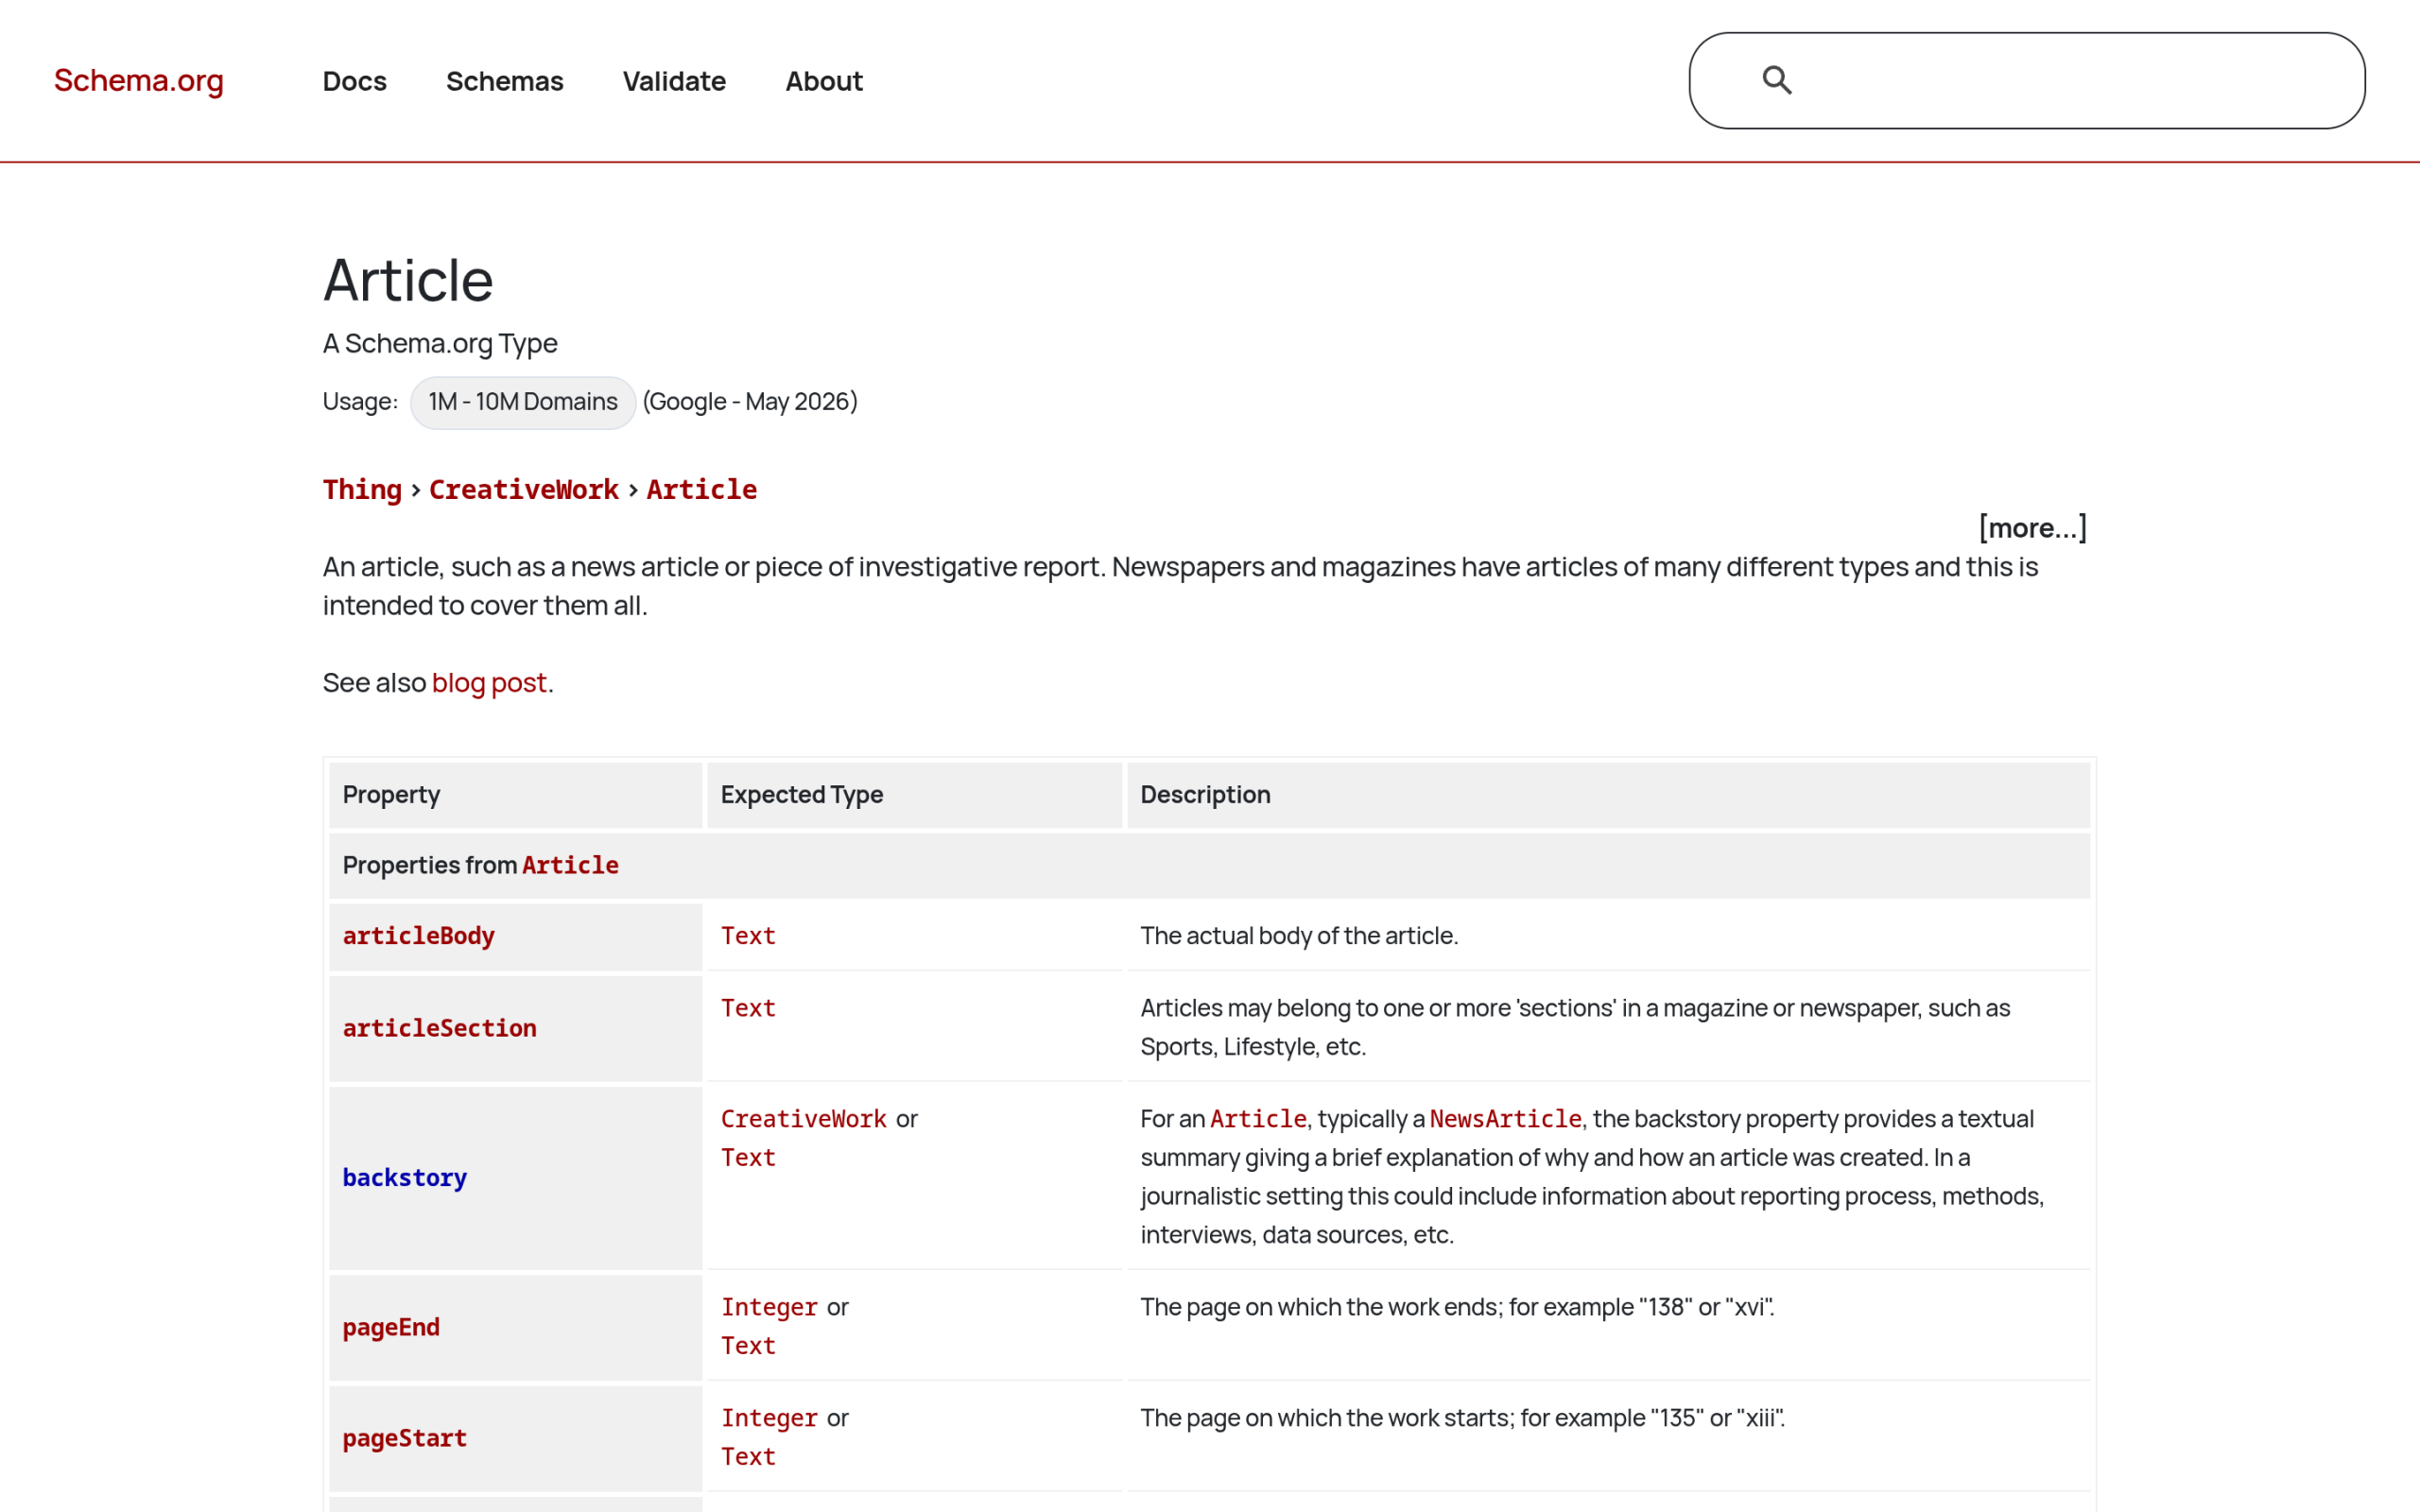](https://schema.org/Article)Schema.org defines the vocabulary, such as the Article type, that lets machines understand what a page actually contains. For a content site, a few types do most of the work. Article (or its Speakable extension) marks up the post itself and its author. FAQPage marks a question-and-answer block. HowTo marks a numbered process. Each one removes a guess the machine would otherwise have to make. Schema is also the bridge to entity recognition: it connects the names and concepts on your page to known entities, which is how search engines and AI start to trust that you mean the specific thing you say you mean. ***Also Read:** [What Is Entity SEO?](https://qa.nexterwp.com/blog/entity-seo-wordpress/) and [E-E-A-T for AI Search](https://qa.nexterwp.com/blog/e-e-a-t-ai-search-wordpress/), the two trust signals schema feeds into.* ## Step 3: Publish a machine-readable copy Even a well-structured page is still an HTML page. Step 3 is giving agents a clean copy with the presentation removed. Two conventions matter here. The first is llms.txt: a single file at the root of your site that works like a sitemap written for language models. It points agents at your most important pages in plain markdown. The second is per-post markdown, often exposed by adding `.md` to a post URL, which serves a clean text version of that one article. Together they give an agent your knowledge without the navigation and scripts in the way. [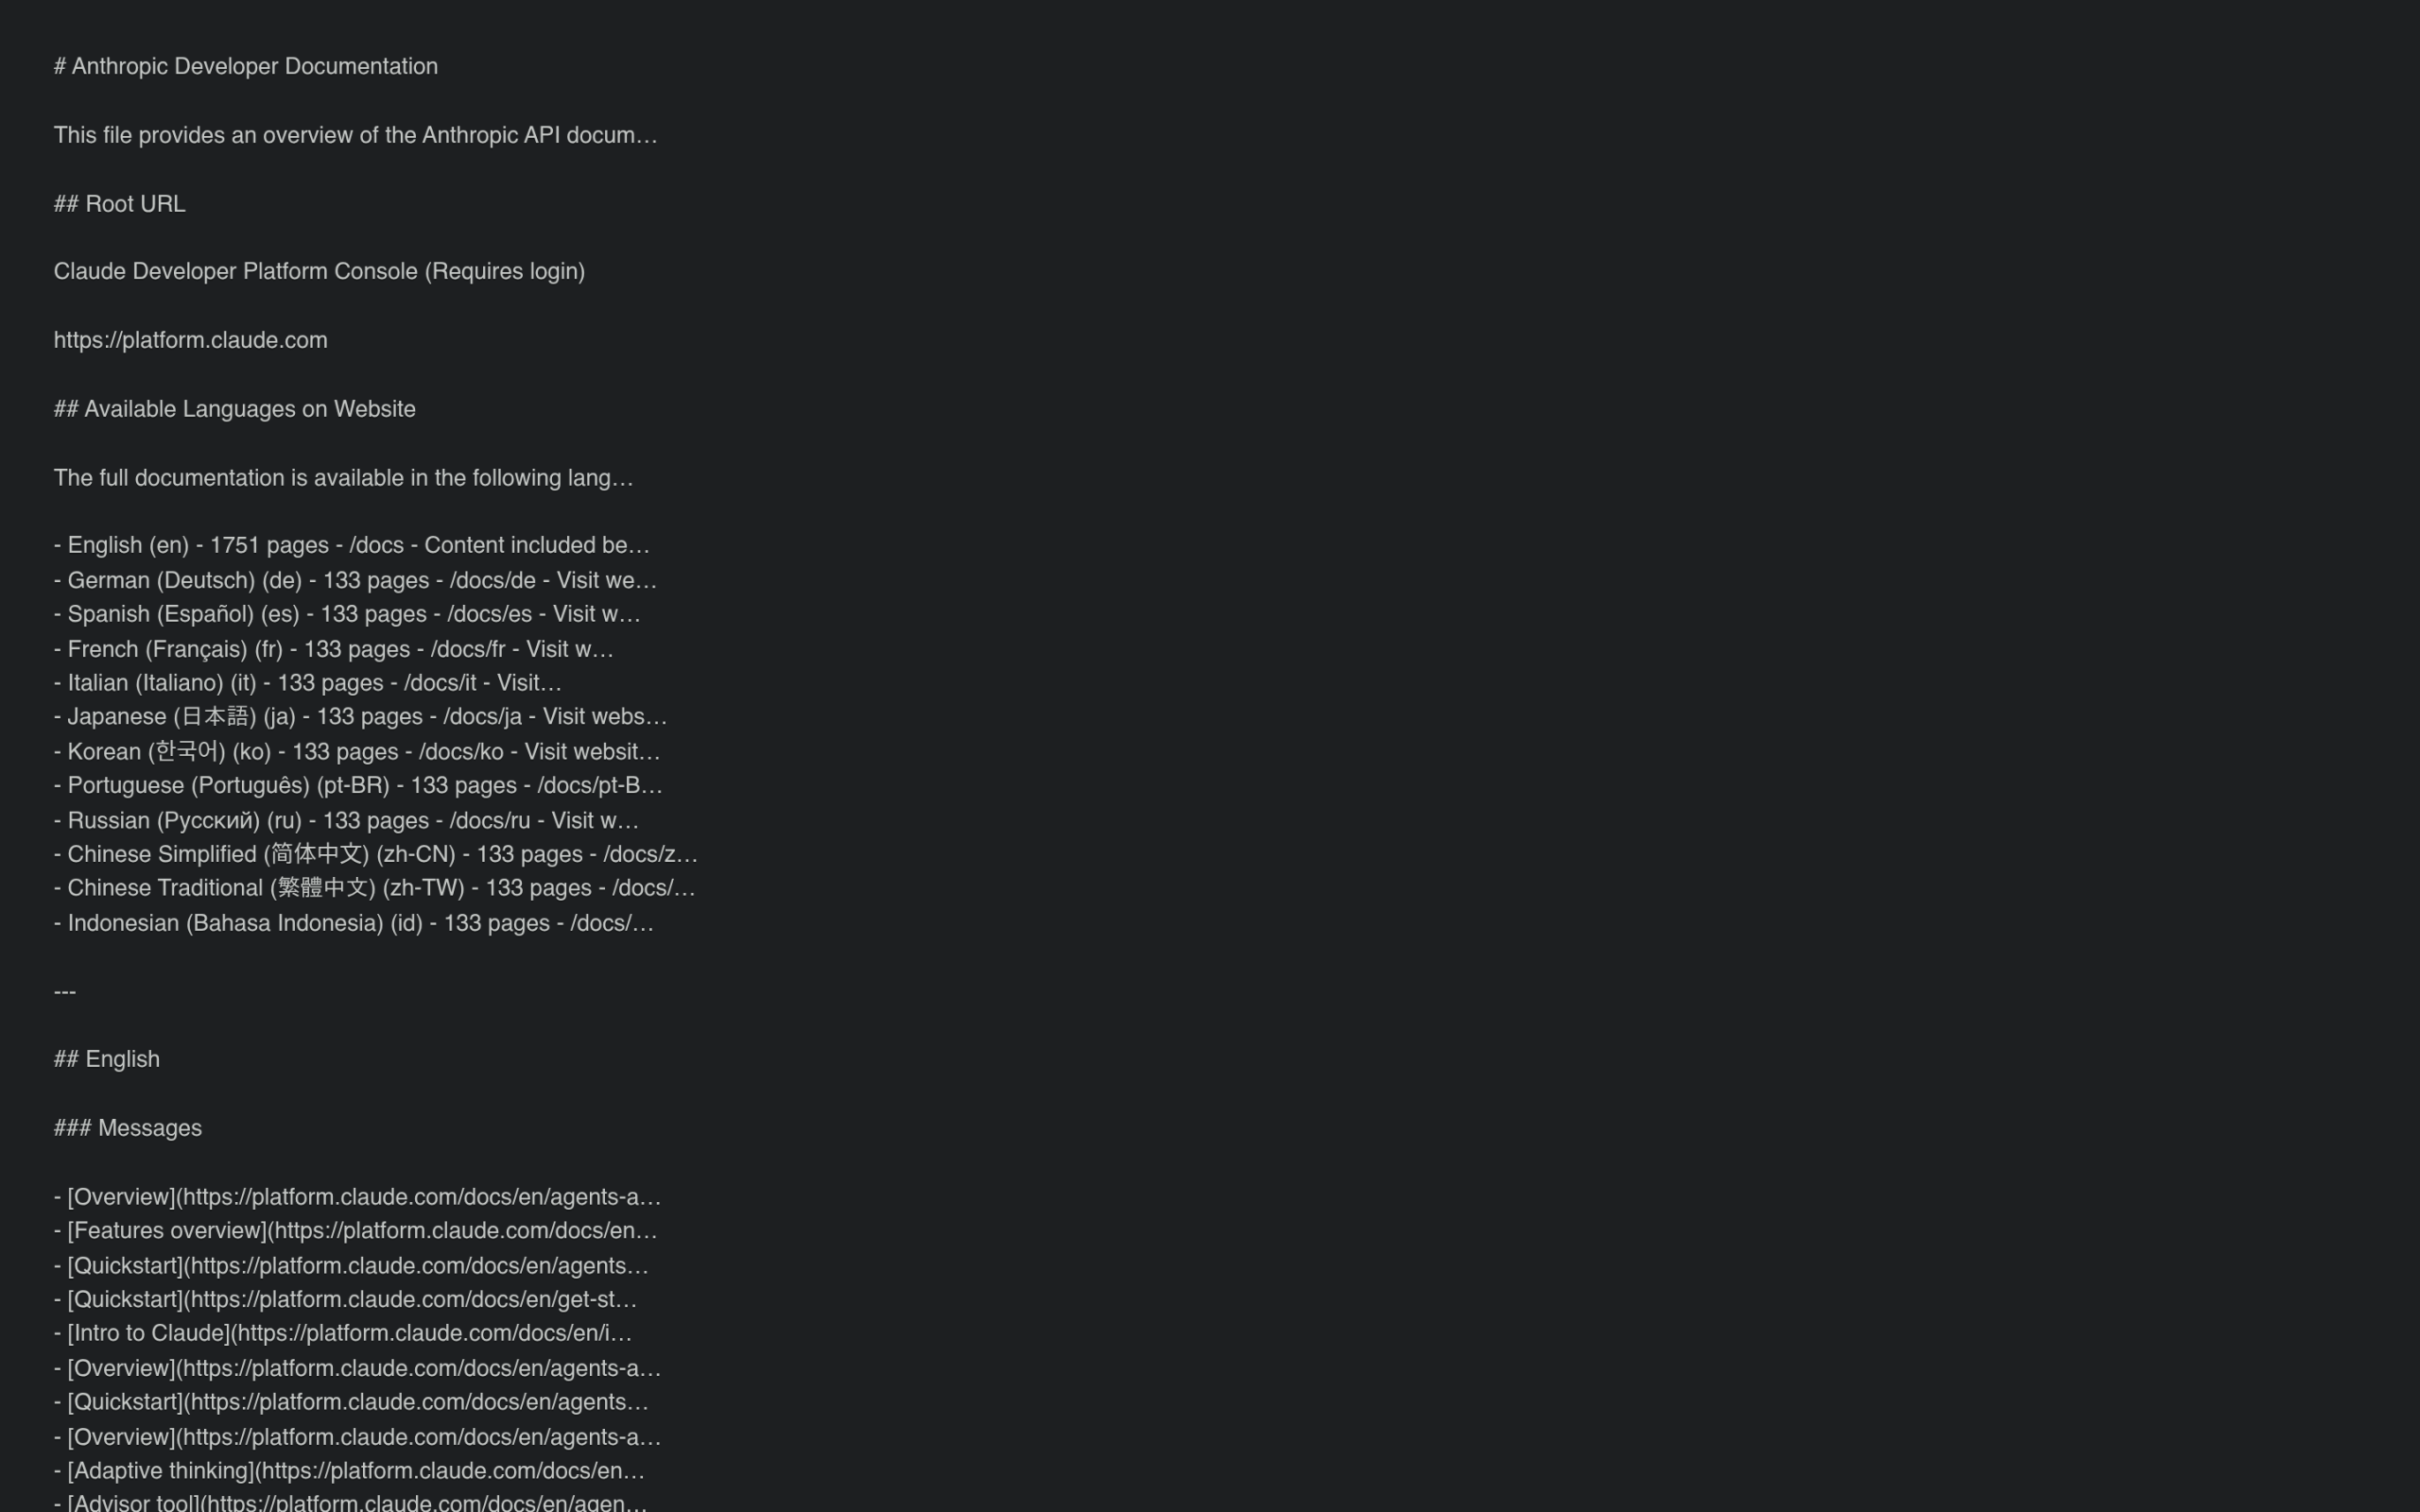](https://docs.anthropic.com/llms.txt)A real llms.txt file: Anthropic publishes a plain markdown index of its documentation for AI agents. Here is the honest part, and it matters. No major AI model has committed to honoring llms.txt yet, and Google built OKF for internal data teams, not for ranking blogs. So none of this is a guaranteed citation tactic. The reason to do it anyway is the same reason people shipped schema years before it paid off: machine-readable formats keep landing on the same idea, and serving your content in that shape early is a low-cost bet on where the web is going. If you want the full argument before committing, the comparison below lays it out. ***Also Read:** [OKF vs llms.txt](https://qa.nexterwp.com/blog/okf-vs-llms-txt/) and the honest take in [Does Google's OKF Matter for WordPress SEO?](https://qa.nexterwp.com/blog/does-okf-matter-wordpress-seo/)* On WordPress this is easier than on closed platforms. Because you control your own files and URLs, you can actually serve an llms.txt and markdown copies. A plugin can generate and keep them current, or you can build the [llms.txt for a Gutenberg site](https://qa.nexterwp.com/blog/llms-txt-gutenberg-wordpress/) by hand. The point is that the option is open to you, where a hosted site builder might block it entirely. ## Step 4: Measure whether AI agents actually fetch it You can structure, mark up, and publish a clean copy of every post and still be guessing about whether it worked. Measurement is the step most guides skip, and it is the one that turns this from faith into feedback. The question to answer is simple: are AI crawlers actually fetching your pages, and which ones are they pulling most? This is where [RankReady](https://store.posimyth.com/plugins/rankready/) fits. It is a free, GPL-licensed WordPress plugin that handles both the production and the measurement side of an AI-readable knowledge base. On the production side it generates your llms.txt and llms-full.txt, adds a clean `.md` copy to any post URL, and writes Article, Speakable, FAQPage, HowTo, and ItemList schema. On the measurement side it keeps a live log of AI crawler activity across 31 known crawlers, including GPTBot, ClaudeBot, and PerplexityBot, and surfaces a citation-candidates view of which posts those bots fetched in the last 30 days. [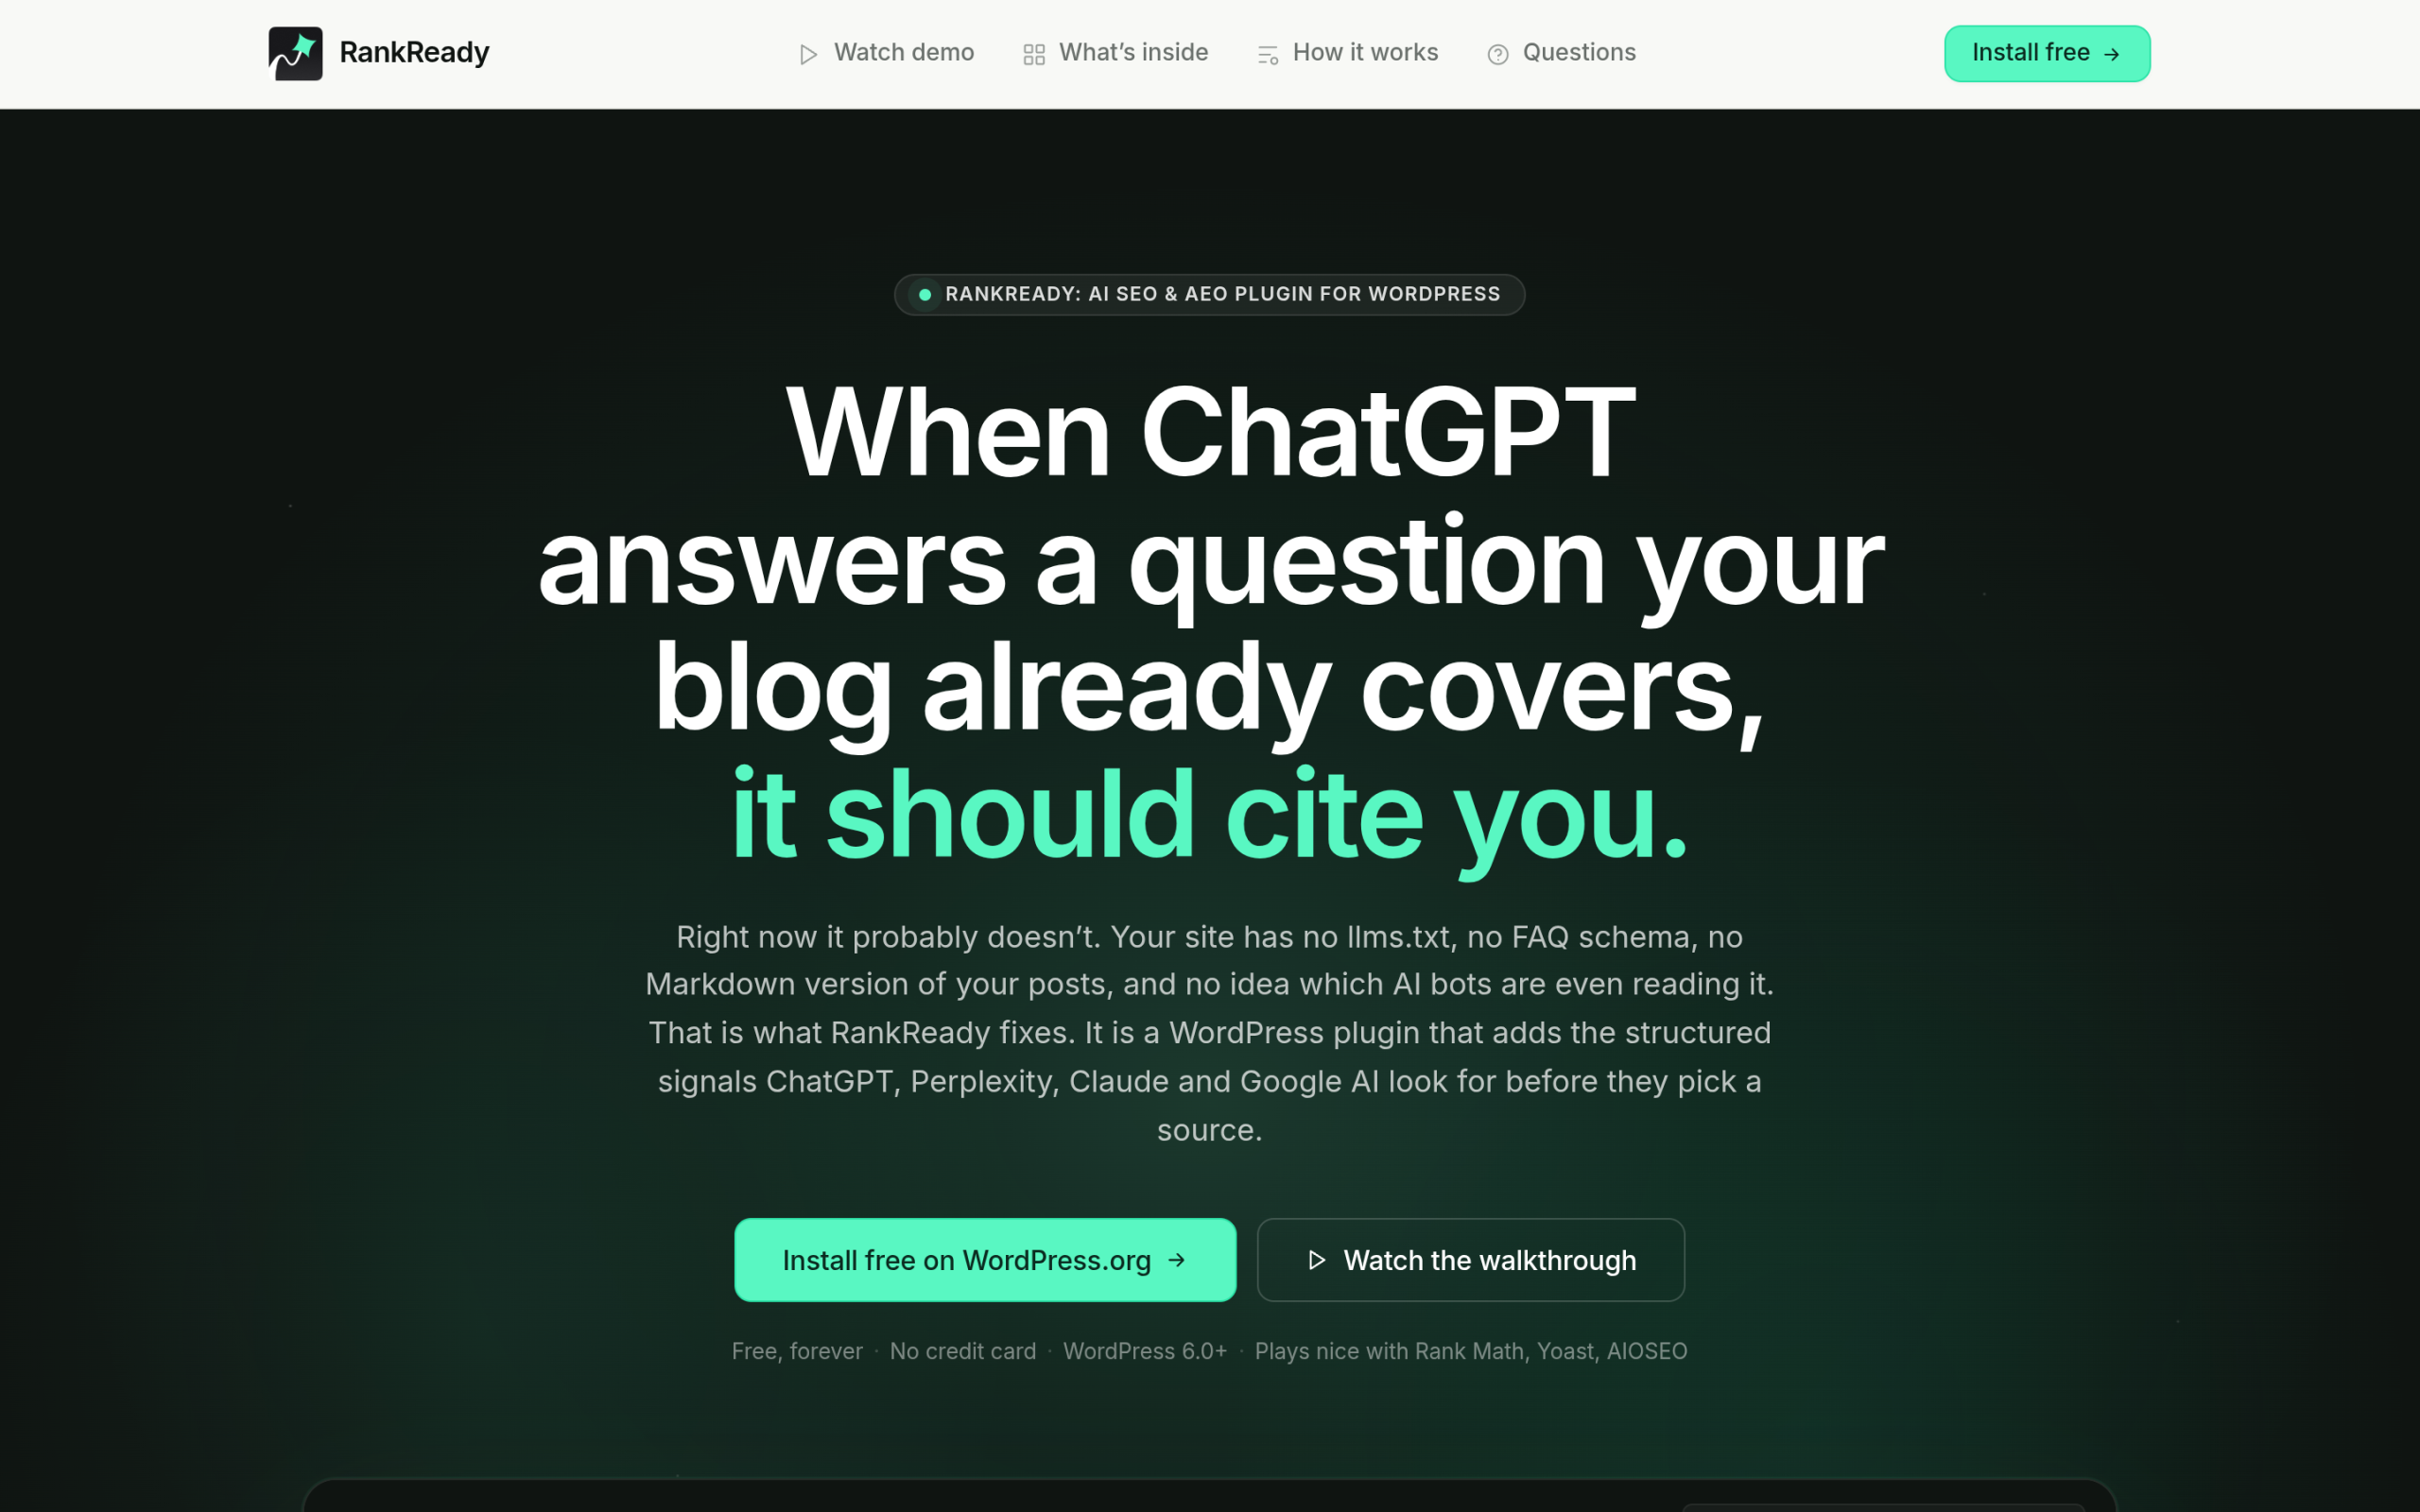](https://store.posimyth.com/plugins/rankready/)RankReady generates the machine-readable layer and then logs which AI crawlers fetch your posts. It also scores each post 0 to 100 for AI readiness, based on schema, freshness, content depth, and author signals, and rolls those into one agentic-readiness percentage broken into 22 specific signals. That score is the practical to-do list: it tells you which posts in your knowledge base are ready to be cited and which still need one of the first three steps. To be clear about what the tool does and does not do, it does not write your content or promise you a citation. It tells you whether the content you built is actually being fetched and is in a state to be quoted. [See how RankReady measures AI readiness](https://store.posimyth.com/plugins/rankready/) ## Your AI-readable knowledge base checklist Pulling the four steps together, here is the short version you can work through one post at a time. - Fix the structure: one H1, honest H2 and H3 hierarchy, one job per section, answer first.- Label the meaning: Article and author schema everywhere, FAQPage and HowTo where they apply.- Publish a clean copy: an llms.txt index plus a markdown version of each post.- Measure it: confirm AI crawlers are fetching your pages and track an AI-readiness score over time. You do not have to do all of this at once, and you do not have to believe any single format will win. Start with structure, because it helps your human readers today, and add the machine-readable layers as a hedge on a web that is clearly moving toward agents reading on people's behalf. The sites that are easy to read when that day fully arrives will not have to scramble. ## Suggested Reading - [Answer Engine Optimization (AEO): The Complete WordPress Guide for 2026](https://qa.nexterwp.com/blog/answer-engine-optimization-wordpress/)- [llms.txt for Gutenberg WordPress: Why Block Themes Win the AI Citation Race](https://qa.nexterwp.com/blog/llms-txt-gutenberg-wordpress/)- [What Is Google's Open Knowledge Format (OKF)? A Plain-English Guide](https://qa.nexterwp.com/blog/open-knowledge-format/)- [What Is Entity SEO? How WordPress Sites Get Recognized by Google and AI](https://qa.nexterwp.com/blog/entity-seo-wordpress/)- [E-E-A-T for AI Search: How WordPress Sites Earn Trust from Google AI, ChatGPT and Perplexity](https://qa.nexterwp.com/blog/e-e-a-t-ai-search-wordpress/) --- # How to Host Google Fonts Locally in WordPress (3 Proven Ways) Source: https://qa.nexterwp.com/blog/host-google-fonts-locally/ A client emailed me last spring with one line: "Our compliance review flagged the site for sending data to Google." Nothing was broken. No tracker, no ad pixel. The culprit was the fonts. Every page load was quietly calling Google's servers to fetch the typeface, and in the process it was handing each visitor's IP address to Google. The fix was not a redesign. It was hosting the Google Fonts locally, on the same server as the rest of the site. If you are reading this, you probably hit the same wall: a PageSpeed warning about render-blocking font requests, a privacy review, or a slow first paint you traced back to `fonts.googleapis.com`. The good news is that self-hosting Google Fonts in WordPress is easier in 2026 than it has ever been, and one of the three methods below needs no plugin at all. ## The 30-second answer Pick the method that matches how your site is built: - **On a block theme?** Use the built-in WordPress Font Library. No plugin, no code.- **On a classic theme, Elementor, or another page builder?** Install OMGF. It finds your Google Fonts and self-hosts them automatically.- **Comfortable with code?** Download the files with google-webfonts-helper and drop in the @font-face CSS yourself. 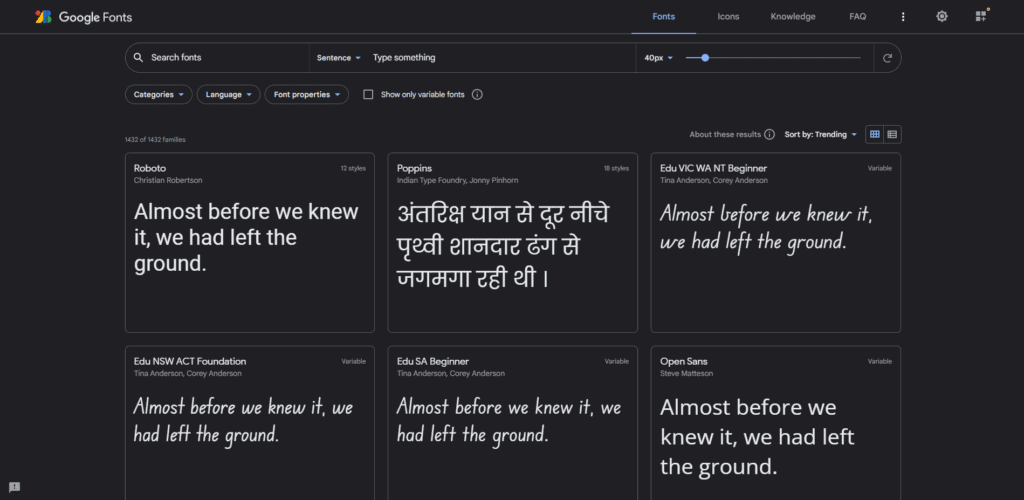Google Fonts is free to use, but loading it from Google's CDN is what creates the privacy and speed issues this guide fixes. ## Why host Google Fonts locally? By default, when WordPress loads a Google Font it links to Google's CDN. The visitor's browser then requests the font files straight from Google. That convenience comes with three costs worth fixing. ### 1. Privacy and GDPR When a browser fetches a font from Google, it sends the visitor's IP address along with the request. In February 2022, a German court ruled that a website using the Google Fonts API this way violated the EU's GDPR by passing a visitor's IP address to Google without consent. The ruling did not ban Google Fonts. It said you should not leak visitor data to a third party to load them. Self-hosting removes the third party entirely: the fonts come from your server, so no visitor IP ever reaches Google. ### 2. Speed and Core Web Vitals Every external font request is a separate DNS lookup and connection to a domain your visitor has not contacted yet. That adds latency before any text can render, and swapping fonts mid-load contributes to Cumulative Layout Shift. Hosting the files locally cuts the extra DNS lookups and lets the font load on the same connection as the rest of your page. If speed is your main reason for being here, it is worth reading our deeper guide on [Core Web Vitals on a block theme](https://qa.nexterwp.com/blog/gutenberg-core-web-vitals-block-theme/) alongside this one. ***Also Read:** [What Is a WordPress Block Theme?](https://qa.nexterwp.com/blog/what-is-a-wordpress-block-theme/) The Font Library method below only works on block themes, so it helps to know what counts as one.* ### 3. Reliability and control If Google's CDN is slow, blocked in a visitor's region, or changes how it serves a font, your typography is at the mercy of someone else's infrastructure. Local files always load with your site and never disappear on you. ## Method 1: The built-in WordPress Font Library (no plugin) This is the method most older guides miss. WordPress 6.5, released on April 2, 2024, shipped a native Font Library. In WordPress's own words, it lets you "effortlessly install, remove, and activate local and Google Fonts across your site for any Block theme." When you install a Google Font through it, WordPress downloads the font files to your server and serves them locally. There is no CDN call and no plugin involved. WordPress 6.5 "Regina" introduced the Font Library, which installs and self-hosts Google Fonts on any block theme. Here is how to use it: - Make sure you are on WordPress 6.5 or newer and running a block theme.- Go to **Appearance > Editor > Styles**, then open the **Styles** menu and choose **Typography**.- Click the **Manage fonts** icon, then the **Install Fonts** tab.- Search the Google Fonts collection, tick the weights and styles you actually use, and click **Install**. WordPress downloads the files to your `wp-content/uploads/fonts` folder.- Activate the font in your typography settings and save. The one limit: the Font Library is a block-theme feature. If you are on a classic theme or build with a page builder, use Method 2 instead. ## Method 2: The OMGF plugin (best for classic themes and page builders) OMGF is the set-and-forget option. The plugin (full name "OMGF | GDPR/DSGVO Compliant, Faster Google Fonts. Easy.") has more than 300,000 active installations and a 4.7-star rating on WordPress.org, and is tested up to WordPress 7.0. It automatically detects the Google Fonts your theme and plugins are loading, downloads them, hosts them locally, and removes the original requests to Google's CDN. 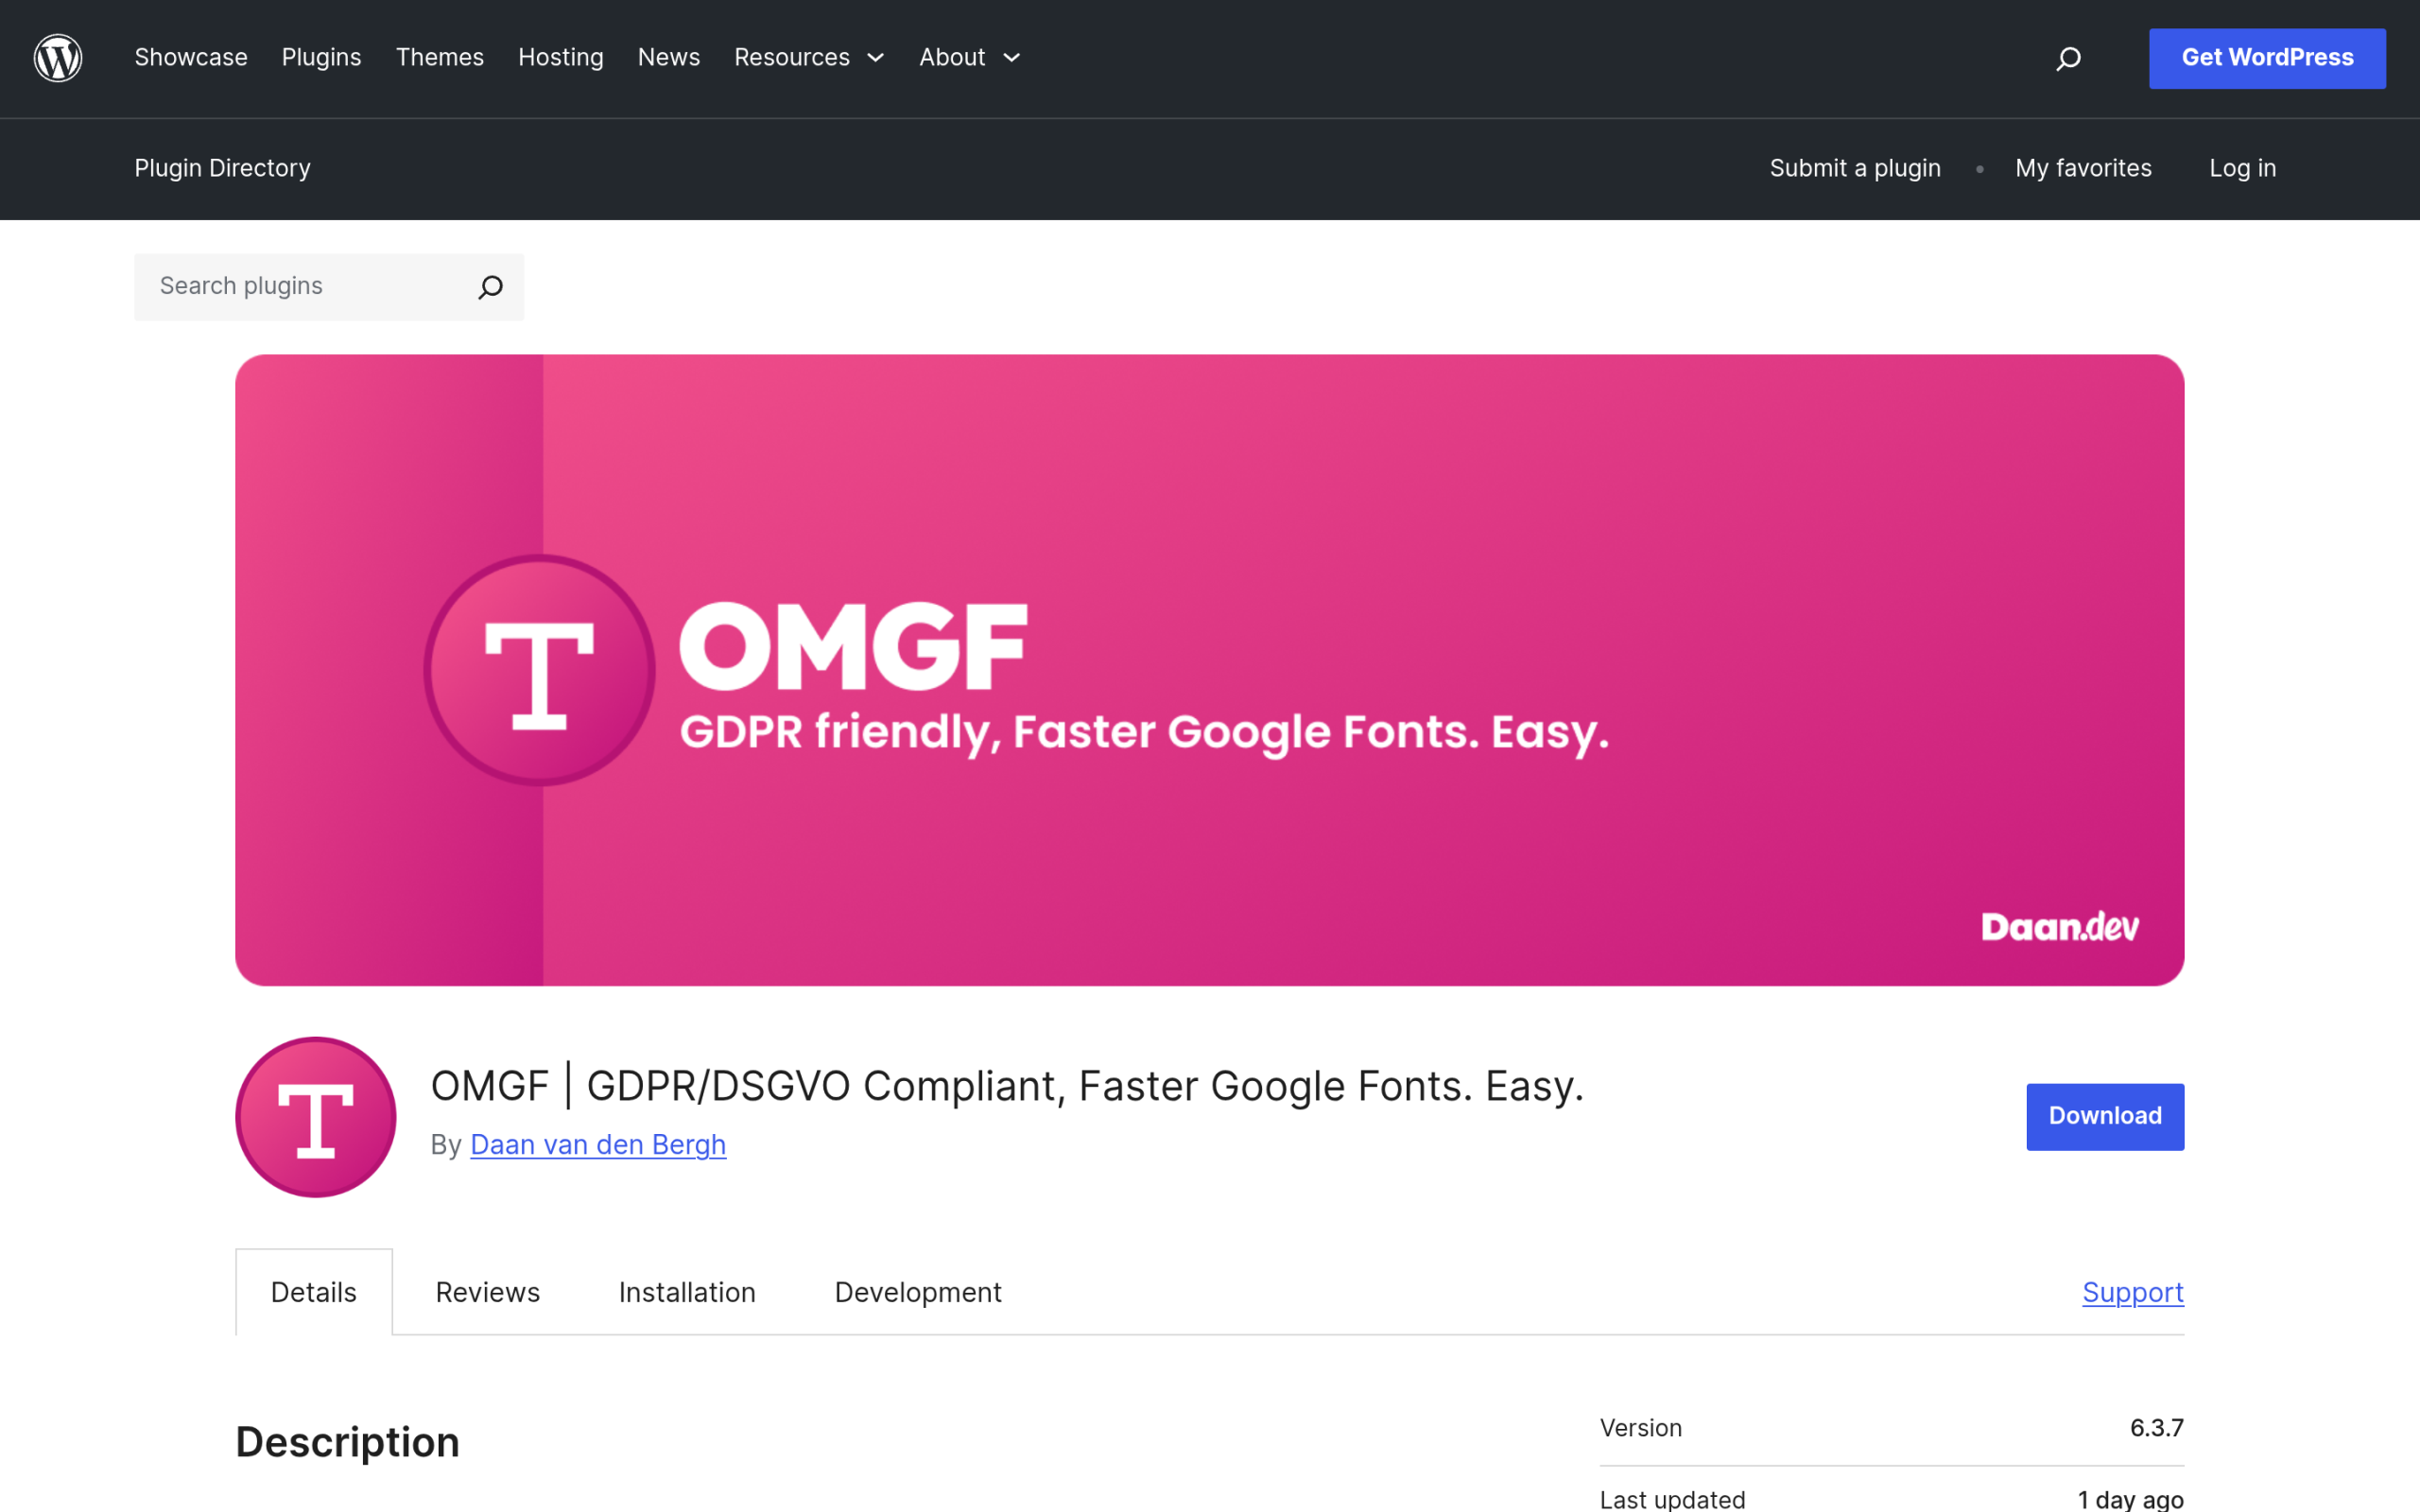OMGF detects the Google Fonts your site loads and self-hosts them automatically, with no code required. - Install and activate **OMGF** from **Plugins > Add New**.- Open **Settings > Optimize Google Fonts**. Let the plugin scan your site so it can see which fonts are in use.- Save and optimize. OMGF downloads the detected fonts to your server and generates a local stylesheet.- Turn on the option to remove the original Google Fonts requests so nothing still calls the CDN. Because OMGF works at the request level rather than inside the editor, it is the right pick for classic themes, Elementor, and any setup where fonts are pulled in by several plugins at once. ***Also Read:** [Gutenberg vs Elementor](https://qa.nexterwp.com/blog/gutenberg-vs-elementor/) if you are weighing a block-based build against a page builder, which decides whether Method 1 or Method 2 fits you.* ## Method 3: Download and host the fonts yourself with CSS If you want full control and do not mind editing CSS, you can host the files by hand. The easiest way to get them is google-webfonts-helper, a free tool that lets you pick a Google Font, choose the weights and character sets you need, download the font files, and copy a ready-made @font-face stylesheet. 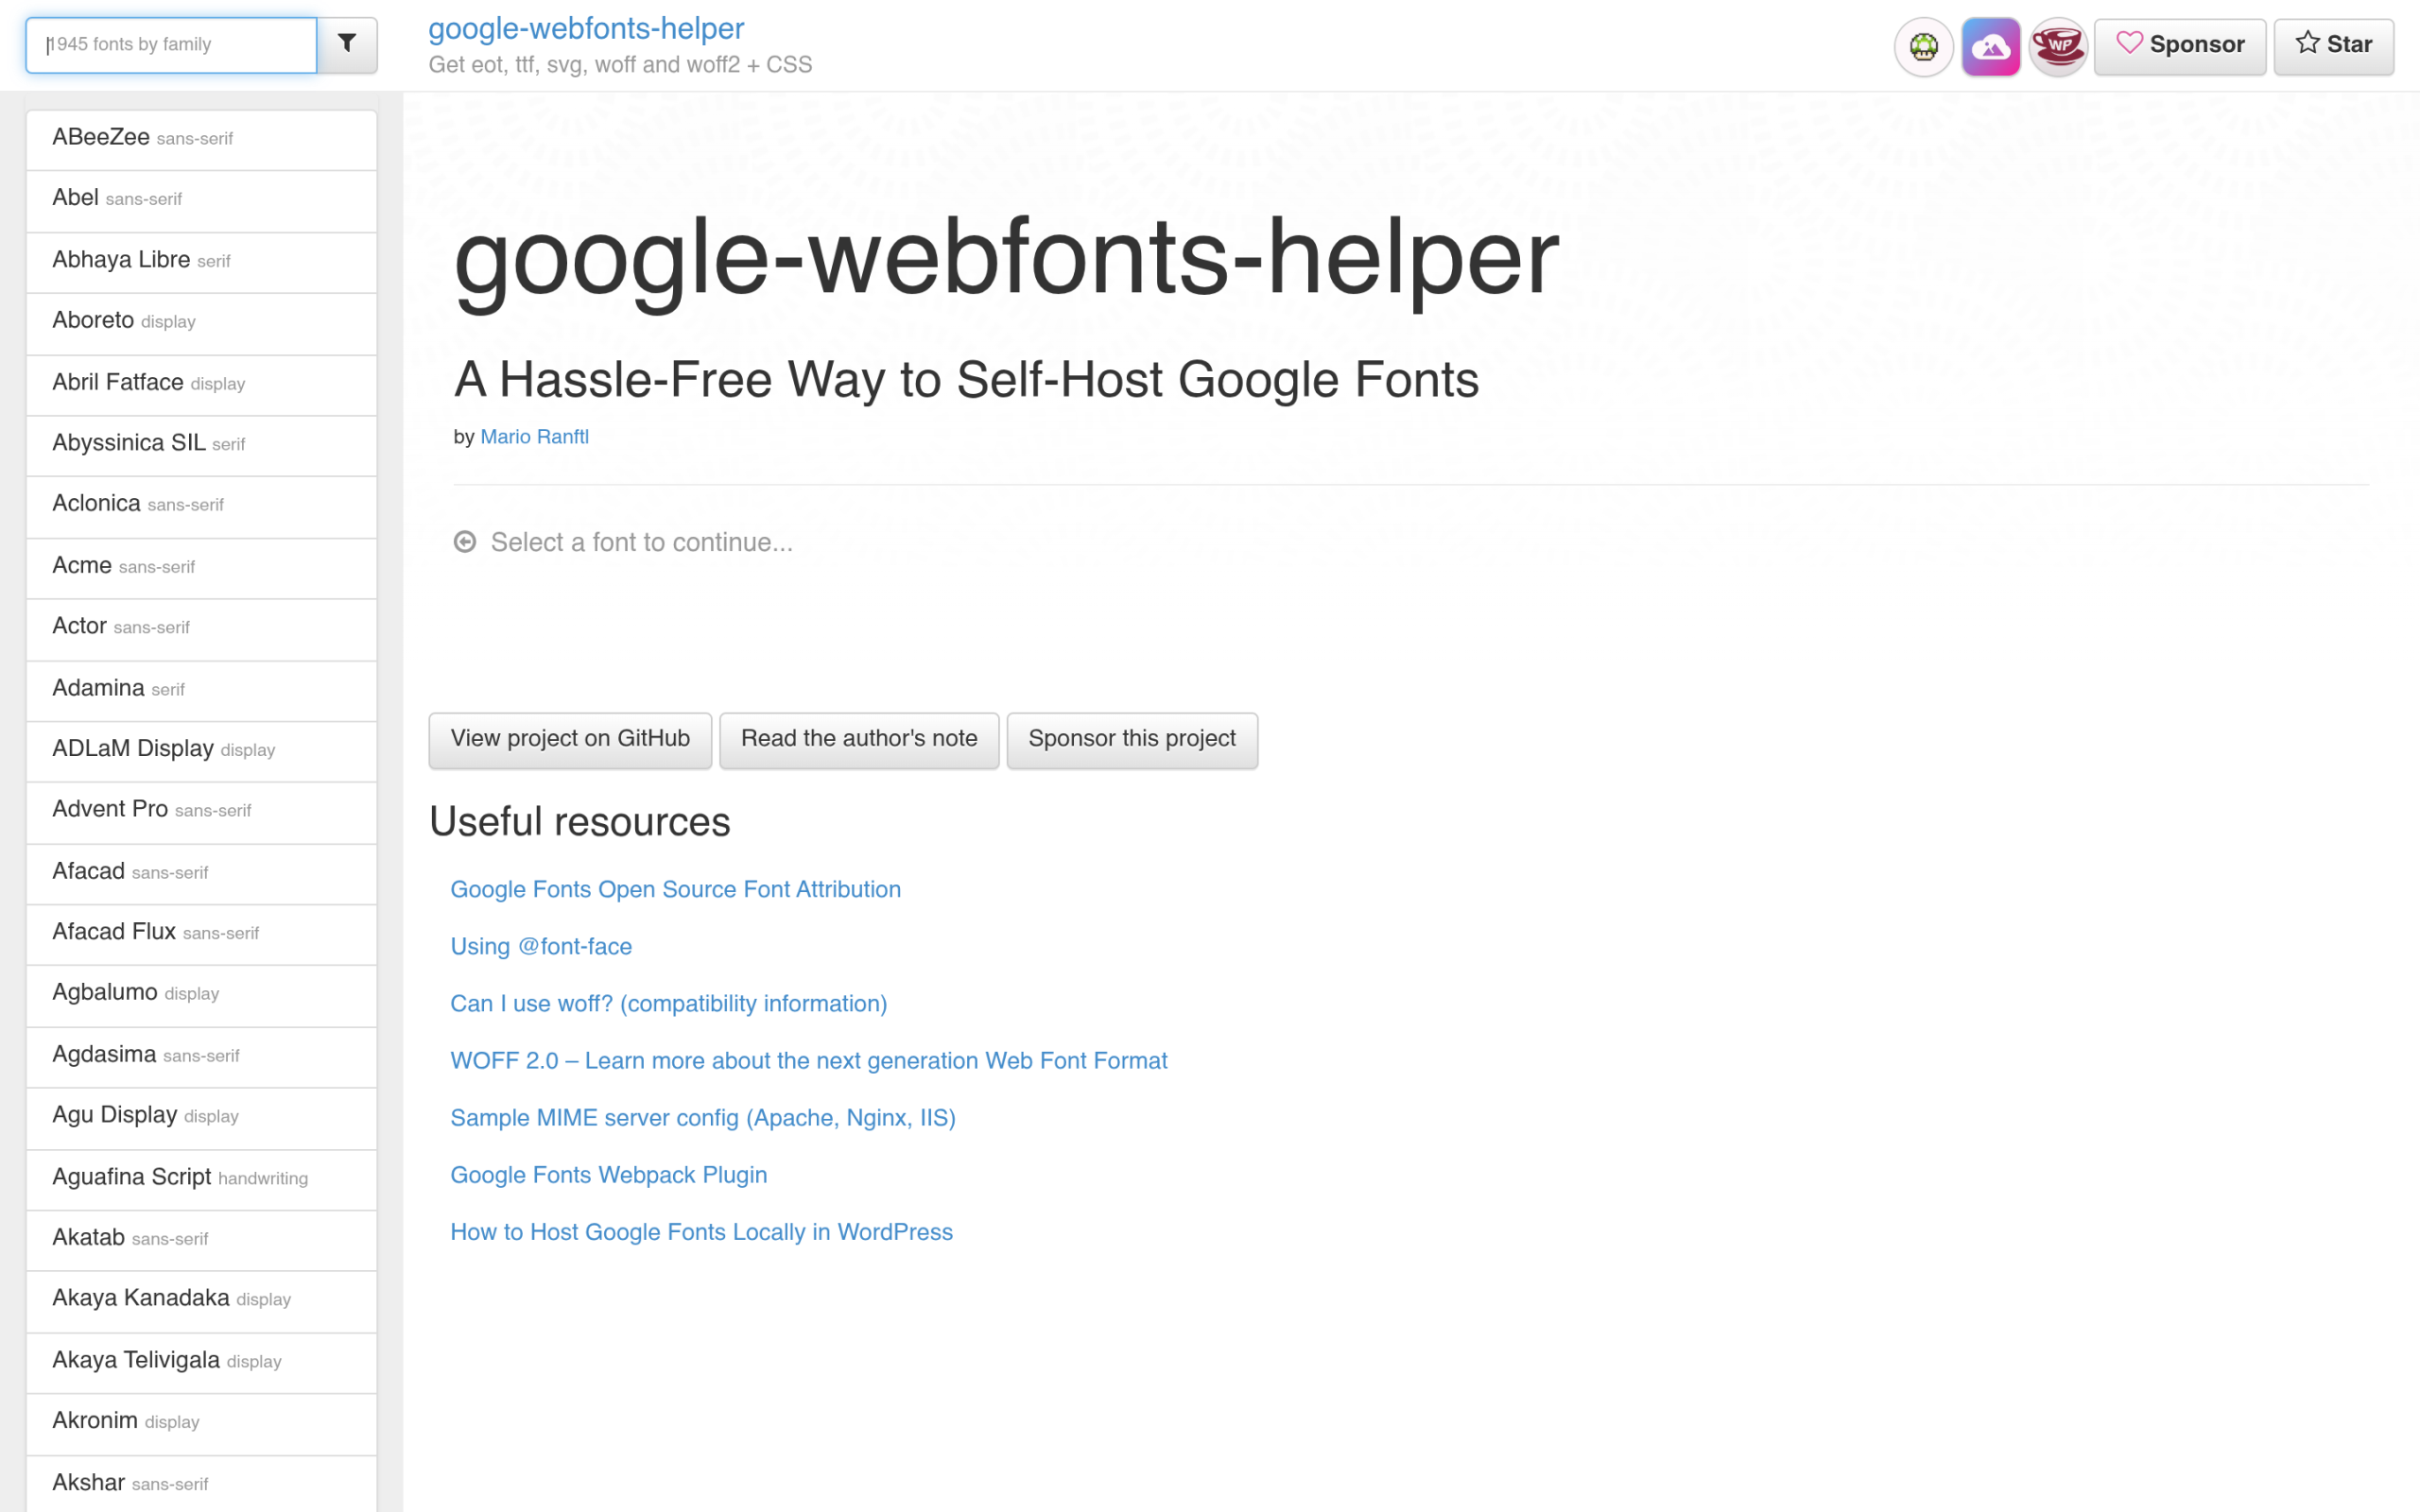google-webfonts-helper packages the font files and generates the @font-face CSS for you. - On google-webfonts-helper, search for your font and select the styles and weights you use.- Download the zip of font files and upload them to a folder on your server, for example `wp-content/themes/your-child-theme/fonts/`.- Copy the generated @font-face CSS, fix the file paths to match where you uploaded the fonts, and add it to your theme's stylesheet.- Remove any existing enqueue or link tag that still loads the font from Google so the local copy is the only one in play. 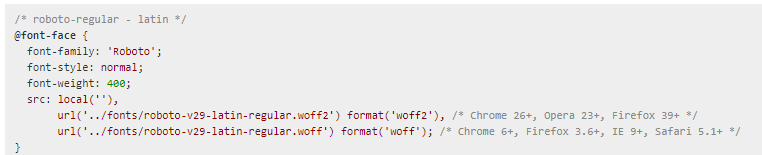Point the @font-face src at your local font files instead of Google's CDN. Use a child theme so a theme update never wipes your custom CSS or font files. ## A shortcut: start with a lightweight, font-friendly theme If you are building or rebuilding a site, the cleanest fix is to start on a theme that does not force a CDN font call in the first place. [Nexter](https://qa.nexterwp.com/) is a lightweight block theme built for performance, and because it is a block theme it works directly with the Font Library from Method 1. Pair it with [Nexter Blocks](https://qa.nexterwp.com/nexter-blocks/) (90-plus Gutenberg blocks) and you get full design control without piling on render-blocking requests. There is a free version on WordPress.org, and paid plans start at $39 per year, with lifetime plans from $139. 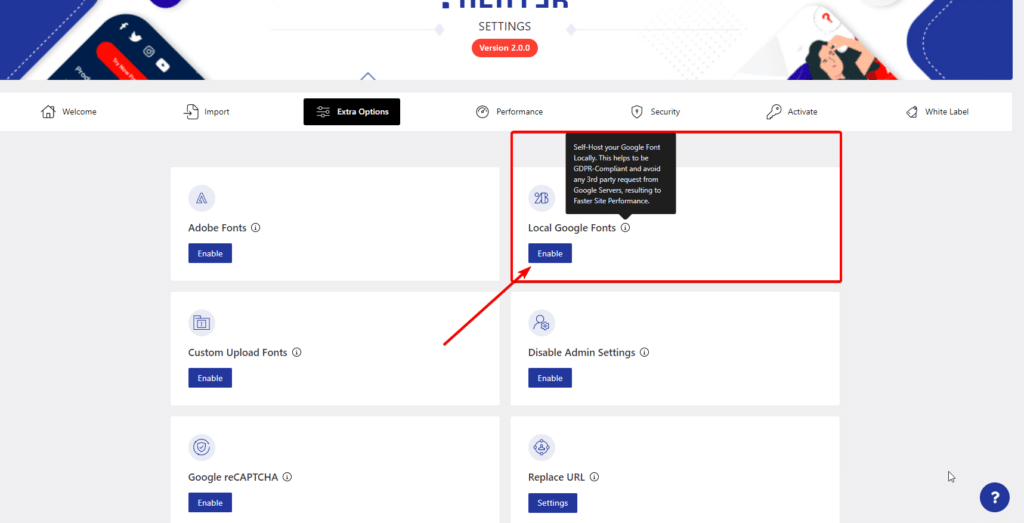A block theme like Nexter lets you manage locally hosted fonts straight from the editor. ## How to confirm your fonts are actually loading locally Do not assume it worked. Verify it: - **Browser DevTools:** open your page, press F12, go to the **Network** tab, filter by **Font**, and reload. Every font file should come from your own domain, not `fonts.gstatic.com` or `fonts.googleapis.com`.- **PageSpeed Insights:** run your URL and check that the "reduce DNS lookups" or third-party Google Fonts warnings are gone.- **View source:** search the page HTML for `fonts.googleapis.com`. If there are no matches, nothing is still calling Google. ## Frequently asked questions ### Is it legal to self-host Google Fonts? Yes. Google Fonts are open source and licensed for free use, including downloading and hosting them on your own server. Self-hosting is the approach privacy regulators in the EU effectively pushed sites toward after the 2022 GDPR ruling. ### Isn't Google's CDN faster than my own server? Not in practice for fonts. Modern browsers no longer share a cached Google font across different sites, so the old CDN caching benefit is gone. A local file avoids a separate DNS lookup and connection, which is usually the faster path to first paint. ### Which method should I use? Block theme on WordPress 6.5 or newer: use the Font Library (Method 1). Classic theme or page builder: use OMGF (Method 2). Developer who wants full control: download and host with CSS (Method 3). ### Will self-hosting break my fonts? No, as long as you load the same weights and styles you were using before and remove the old Google CDN request. The Network-tab check above confirms nothing is missing. ## Wrapping up Hosting Google Fonts locally is one of the rare changes that improves privacy and speed at the same time, and it takes minutes. If you run a block theme, the Font Library makes it a no-plugin job. If you do not, OMGF handles it automatically. And if you build on a lightweight block theme to begin with, you sidestep the CDN font call entirely. Whichever route you pick, run the Network-tab check at the end so you know the fonts are truly coming from your own server. ## Suggested reading - [Gutenberg Core Web Vitals: How to Speed Up a Block-Theme WordPress Site](https://qa.nexterwp.com/blog/gutenberg-core-web-vitals-block-theme/)- [What Is a WordPress Block Theme? The Build-and-Choose Guide](https://qa.nexterwp.com/blog/what-is-a-wordpress-block-theme/)- [Gutenberg vs Elementor: An Honest Block-Builder Comparison](https://qa.nexterwp.com/blog/gutenberg-vs-elementor/)- [Headless CMS and WordPress: What It Means in 2026](https://qa.nexterwp.com/blog/headless-cms-wordpress/)- [What Is Topical Authority and How WordPress Sites Build It](https://qa.nexterwp.com/blog/topical-authority-wordpress/) --- # 5 Best Elementor Page Builder Alternatives Source: https://qa.nexterwp.com/blog/elementor-page-builder-alternatives/ A client emailed me last month with a question I hear all the time: "The site you built is great, but Elementor keeps asking me to renew, and the pages feel heavy on mobile. Is there something else we can use?" It is a fair question. Elementor earned its spot as the default WordPress page builder, and for a lot of sites it is still the right call. But it is not the only good option, and in 2026 the alternatives are genuinely strong. So this is the honest version of the list. No filler entries. I dropped the builders that have gone quiet and added the two that real developers keep recommending in r/Wordpress threads this year. For each one you get what it is good at, who it suits, what it actually costs today, and where it falls short. Let's get into it. ## What Is Elementor, and Why Look for an Alternative? Elementor is a visual, drag-and-drop page builder plugin for WordPress. It lets you design pages on a live canvas instead of writing code, and its free version plus Elementor Pro cover most of what a small business or freelancer needs. That popularity is exactly why so many tutorials, themes, and [addons](https://theplusaddons.com/) assume you are running it. None of that makes it perfect for every project. The reasons people start shopping around are pretty consistent: - **Performance.** Elementor wraps content in extra div markup, which can add page weight and hurt Core Web Vitals if you are not careful.- **Recurring cost.** [Elementor Pro](https://go.posimyth.com/recommends/elementor/) is a yearly subscription, and the price climbs as you add sites.- **Lock-in.** Pages built in one visual builder do not move cleanly to another, so switching later takes work.- **You may not need a builder at all.** The native block editor has come a long way, and for a lot of sites it is now enough on its own. If any of those hit home, here are the five alternatives worth your time right now. ## Best Elementor Alternatives for WordPress in 2026 ### 1. Gutenberg (plus Nexter Blocks) 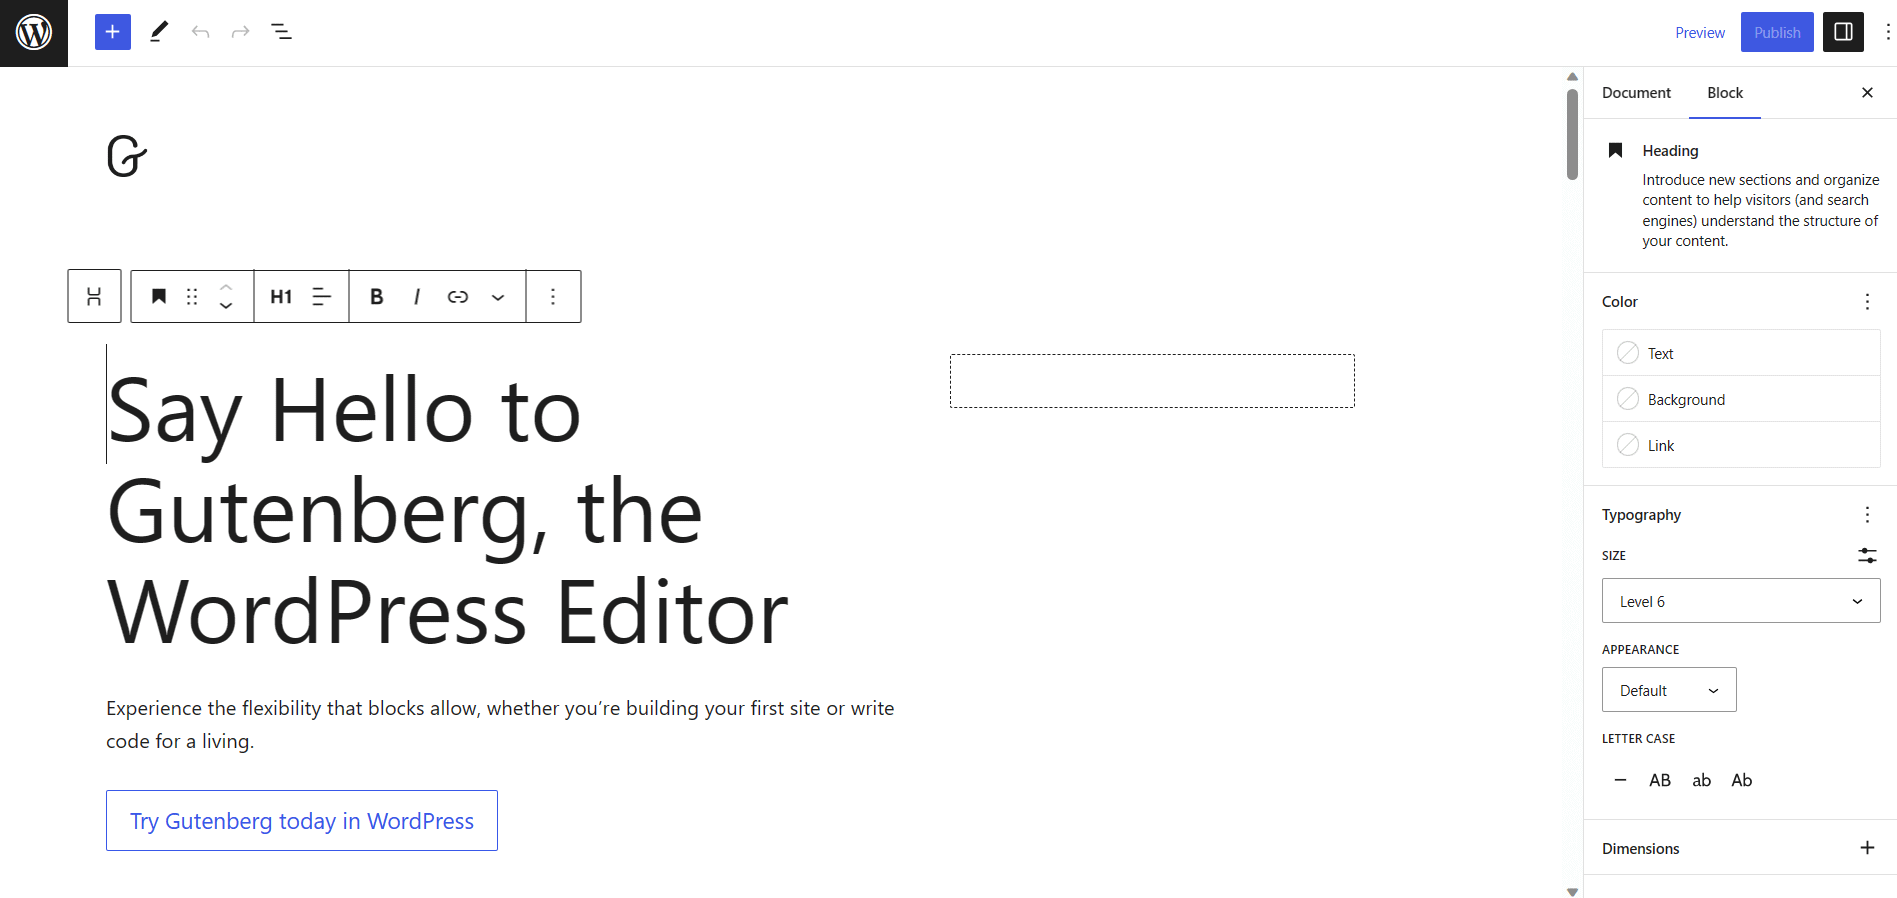Gutenberg is the block editor built into WordPress core, so there is nothing extra to install. The most overlooked Elementor alternative is the one already sitting in your dashboard. Gutenberg is the block editor built into WordPress core. There is no separate plugin, no license, and no extra script loading on the front end beyond what your blocks use. With full-site editing you can now build headers, footers, and templates with the same block interface, apply global styles, and drop in block patterns for full layouts. The honest catch is that core blocks are deliberately basic. You will quickly want sliders, advanced grids, tabs, popups, and dynamic content that Gutenberg does not ship with. That is the gap a block library fills, and it is where I point most clients. #### Adding power to Gutenberg with Nexter Blocks 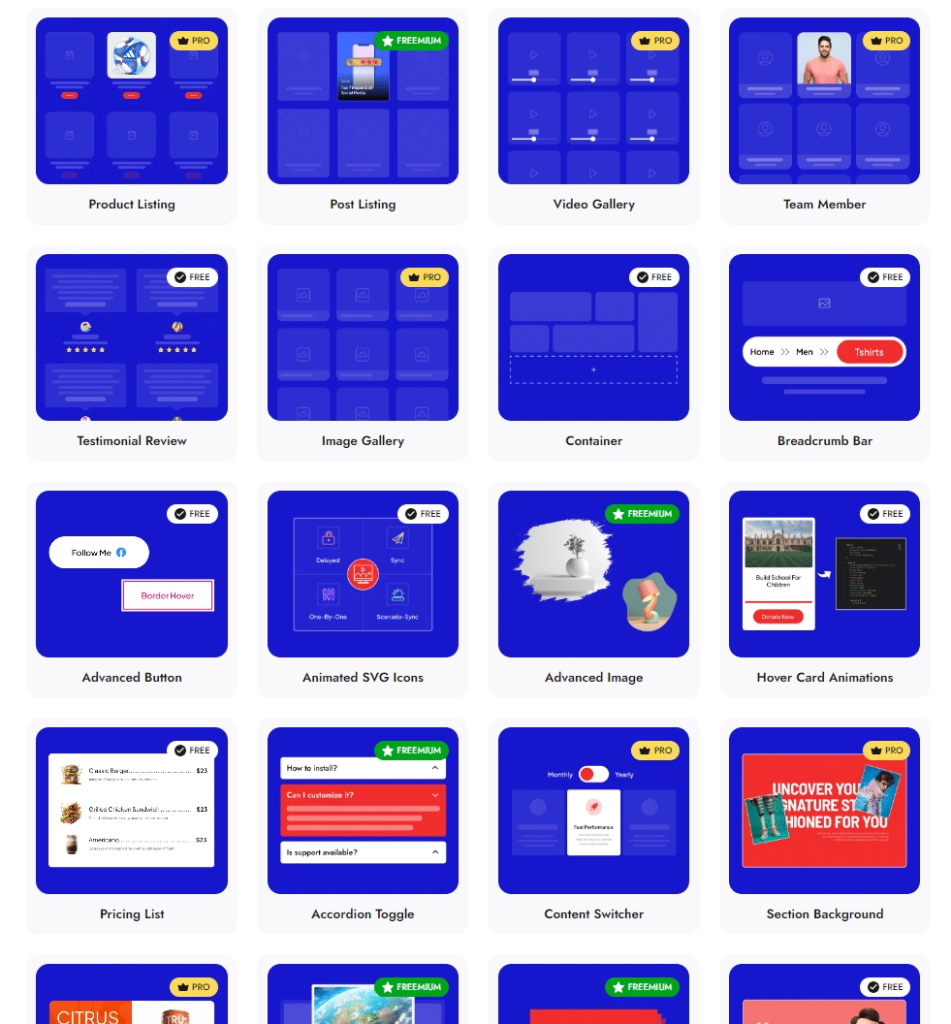Nexter Blocks adds 90+ blocks to the native editor without switching builders. [Nexter Blocks](https://qa.nexterwp.com/nexter-blocks/) turns Gutenberg into a full design toolkit while keeping everything inside the native editor. It adds 90+ blocks across the categories most sites actually need: the [entire list of Essential Blocks](https://qa.nexterwp.com/nexter-blocks/#Essentials) for layout and content, the [entire list of Creative Blocks](https://qa.nexterwp.com/nexter-blocks/#Creative) for carousels, timelines, and animations, all the [Nexter Blocks' marketing widgets here](https://qa.nexterwp.com/nexter-blocks/#Marketing), and the [social web page elements here](https://qa.nexterwp.com/nexter-blocks/#Social). 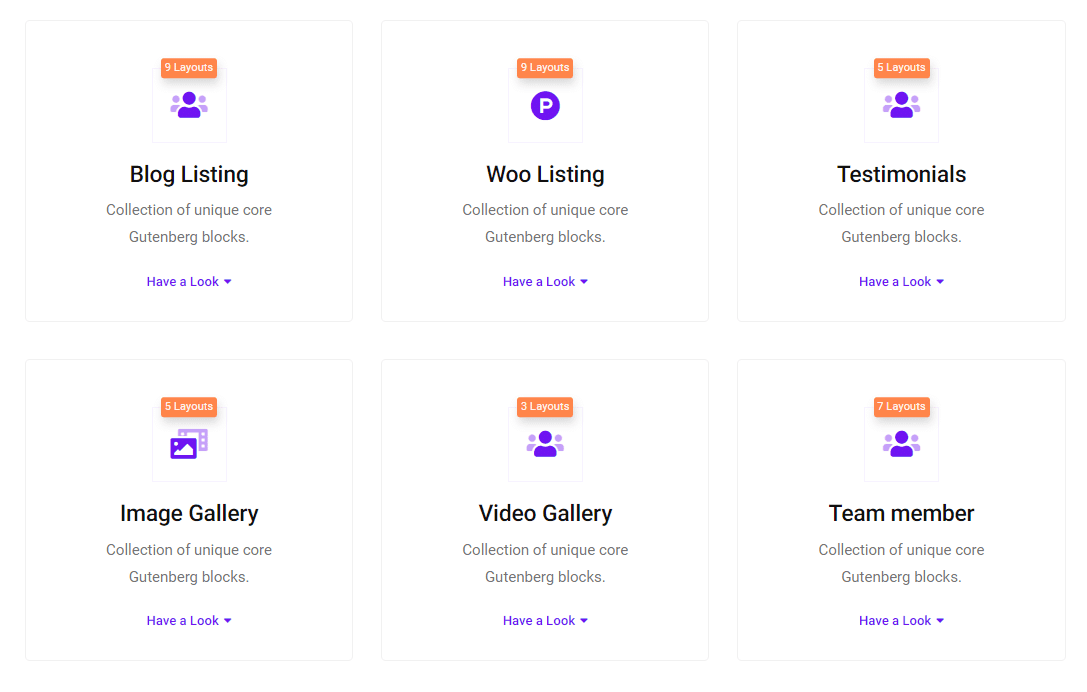Listing blocks build post grids, product displays, and team or testimonial sections. For dynamic sites it goes further. You can see [Nexter Blocks' listing elements here](https://qa.nexterwp.com/nexter-blocks/listing/) for post grids and product loops, browse the [complete blog builder catalog here](https://qa.nexterwp.com/nexter-blocks/builder/) for headers, footers, and single templates, and check [the complete list of Extensions here](https://qa.nexterwp.com/nexter-blocks/extras/) for display conditions, effects, and AI content tools. Builder blocks cover header, blog, popup, and form building inside Gutenberg. Because it builds on native blocks rather than wrapping them, the output stays lighter than a traditional builder, and there is even an [unused block scanner](https://qa.nexterwp.com/docs/will-blocks-slow-down-my-website/) so you only load what you use. 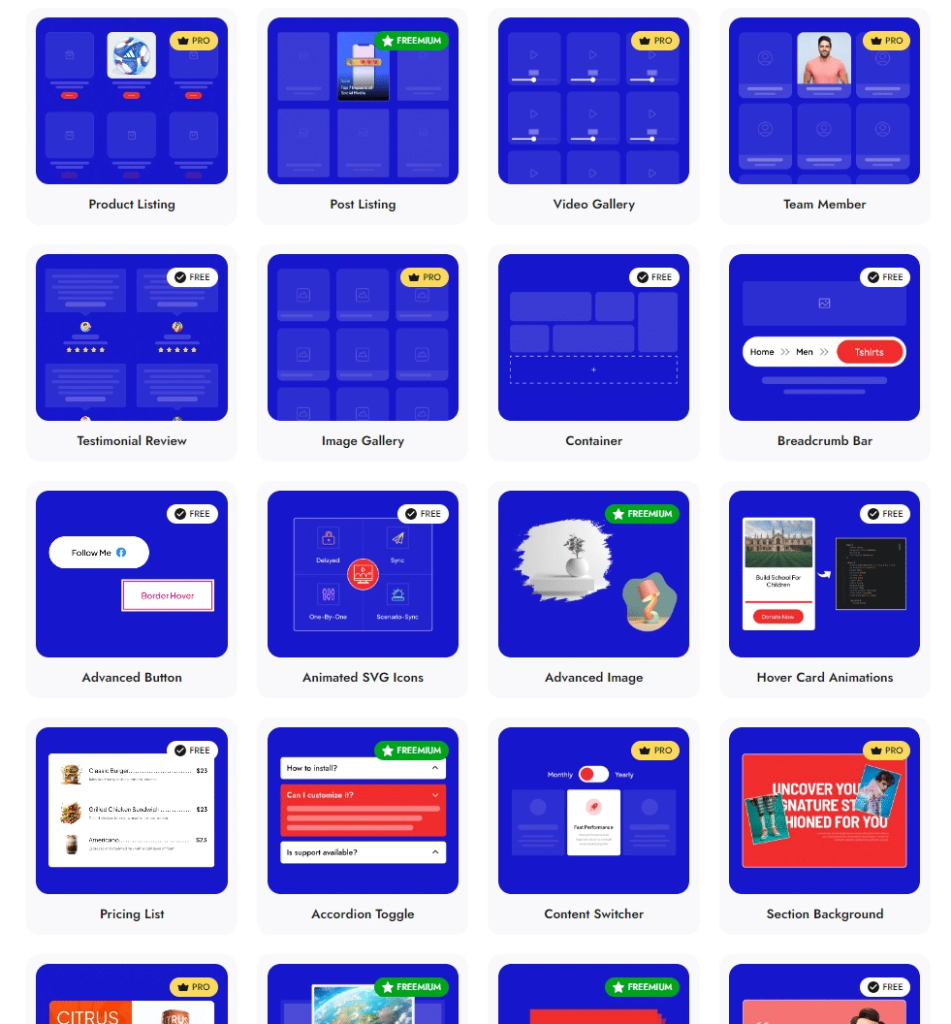Controls live in the standard block sidebar, so there is no second interface to learn. **Pricing:** Gutenberg is free and built into WordPress. Nexter Blocks has a free version on WordPress.org. Paid plans start at [$39/year](https://qa.nexterwp.com/pricing/) for one site (or $139 one-time), and the unlimited-site Studio plan is $129/year. **Best for:** anyone who wants a fast, future-proof site without leaving the native editor or paying a builder subscription forever. ***Also Read:** [Gutenberg vs Elementor: an honest comparison](https://qa.nexterwp.com/blog/gutenberg-vs-elementor/) if you are weighing the native editor against a full builder.* ### 2. Bricks 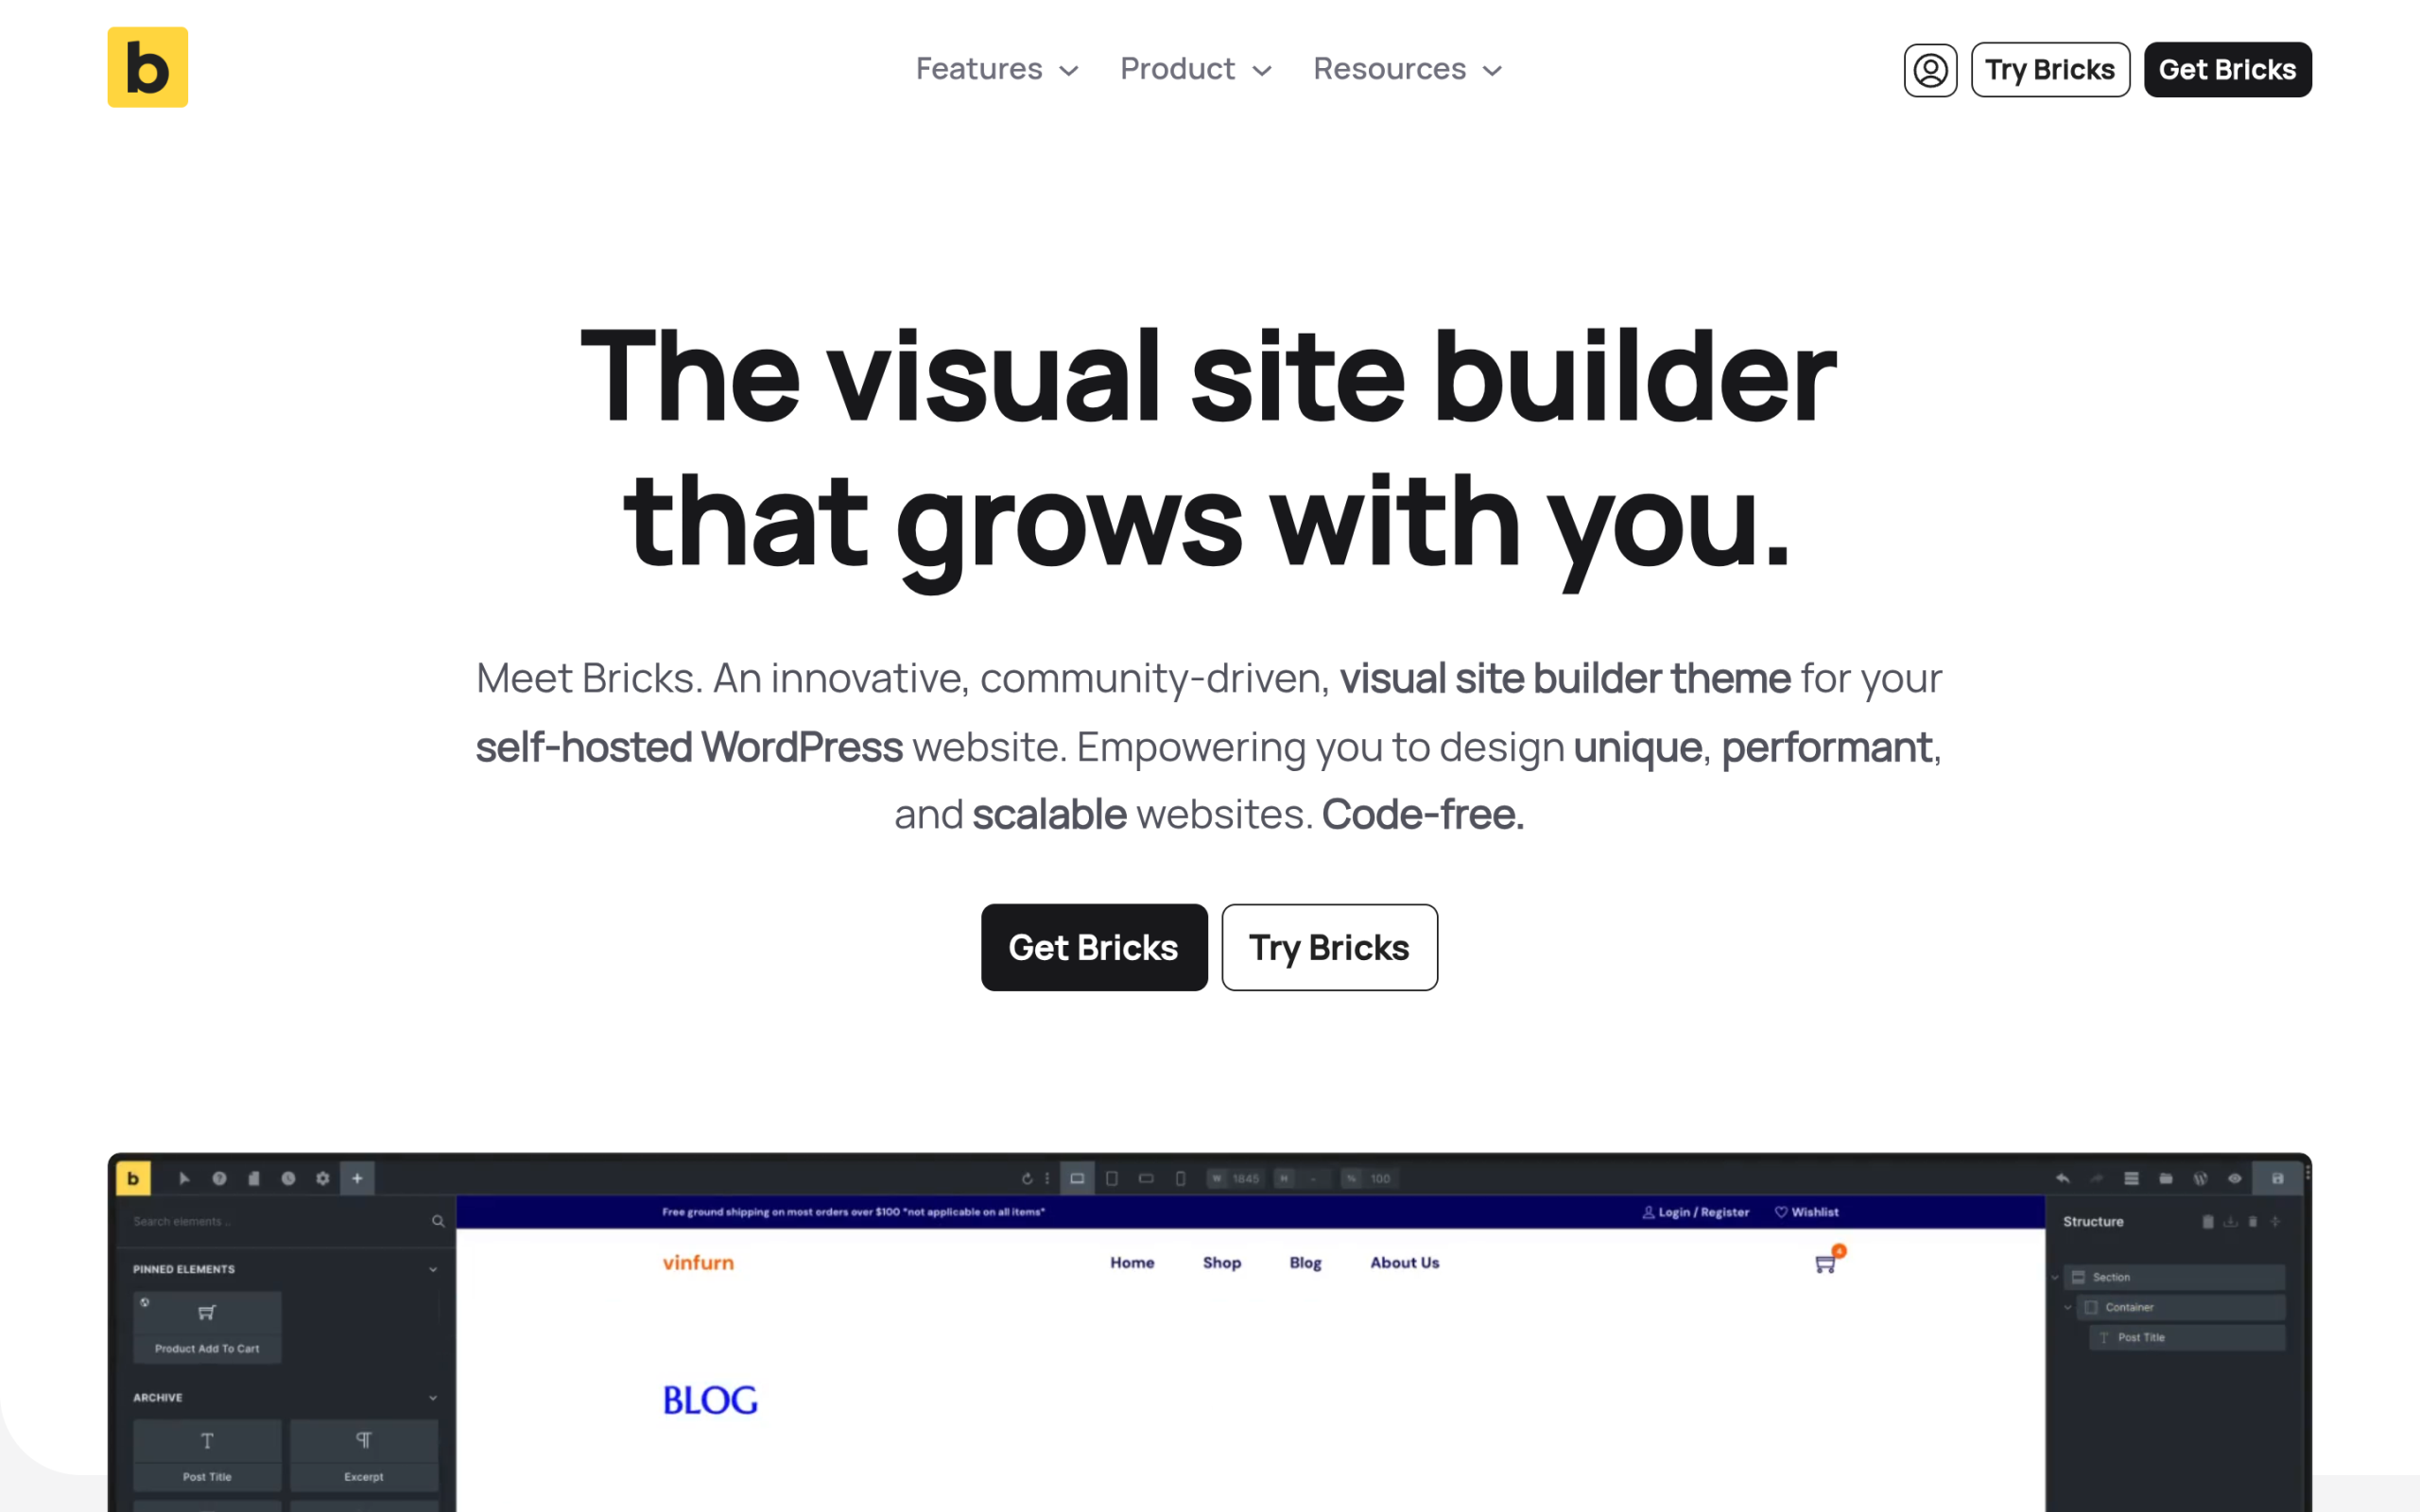Bricks is a theme and builder in one, built around clean markup and speed. Bricks is the alternative developers actually switch to. It calls itself a "visual site builder theme" for self-hosted WordPress, which means it is both your theme and your builder in one package. The selling point is clean output and a workflow built for people comfortable with CSS. You get visual full-site editing, Flexbox and CSS Grid layouts, custom breakpoints, a query loop builder with custom PHP support, dynamic data with conditions, and a WooCommerce builder for shop and product pages. The trade-off is the learning curve. Bricks rewards users who understand structure, classes, and responsive design, so a true beginner may find it less forgiving than Elementor or Brizy. There is no permanently free plugin version, though you can test the full builder for free at try.bricksbuilder.io before buying. **Pricing:** Starter is $79/year for one site, Business is $149/year for three sites, and Agency is $249/year for unlimited sites. There is also an Ultimate Lifetime plan at $599 one-time for unlimited sites, and every plan includes a 60-day money-back guarantee. **Best for:** developers and agencies who want lightweight, fast, scalable sites and are comfortable with a more technical builder. ***Also Read:** [WordPress 7.0: what's actually changing for block builders](https://qa.nexterwp.com/blog/wordpress-7-block-builders/) so you know how core is closing the gap.* ### 3. Breakdance 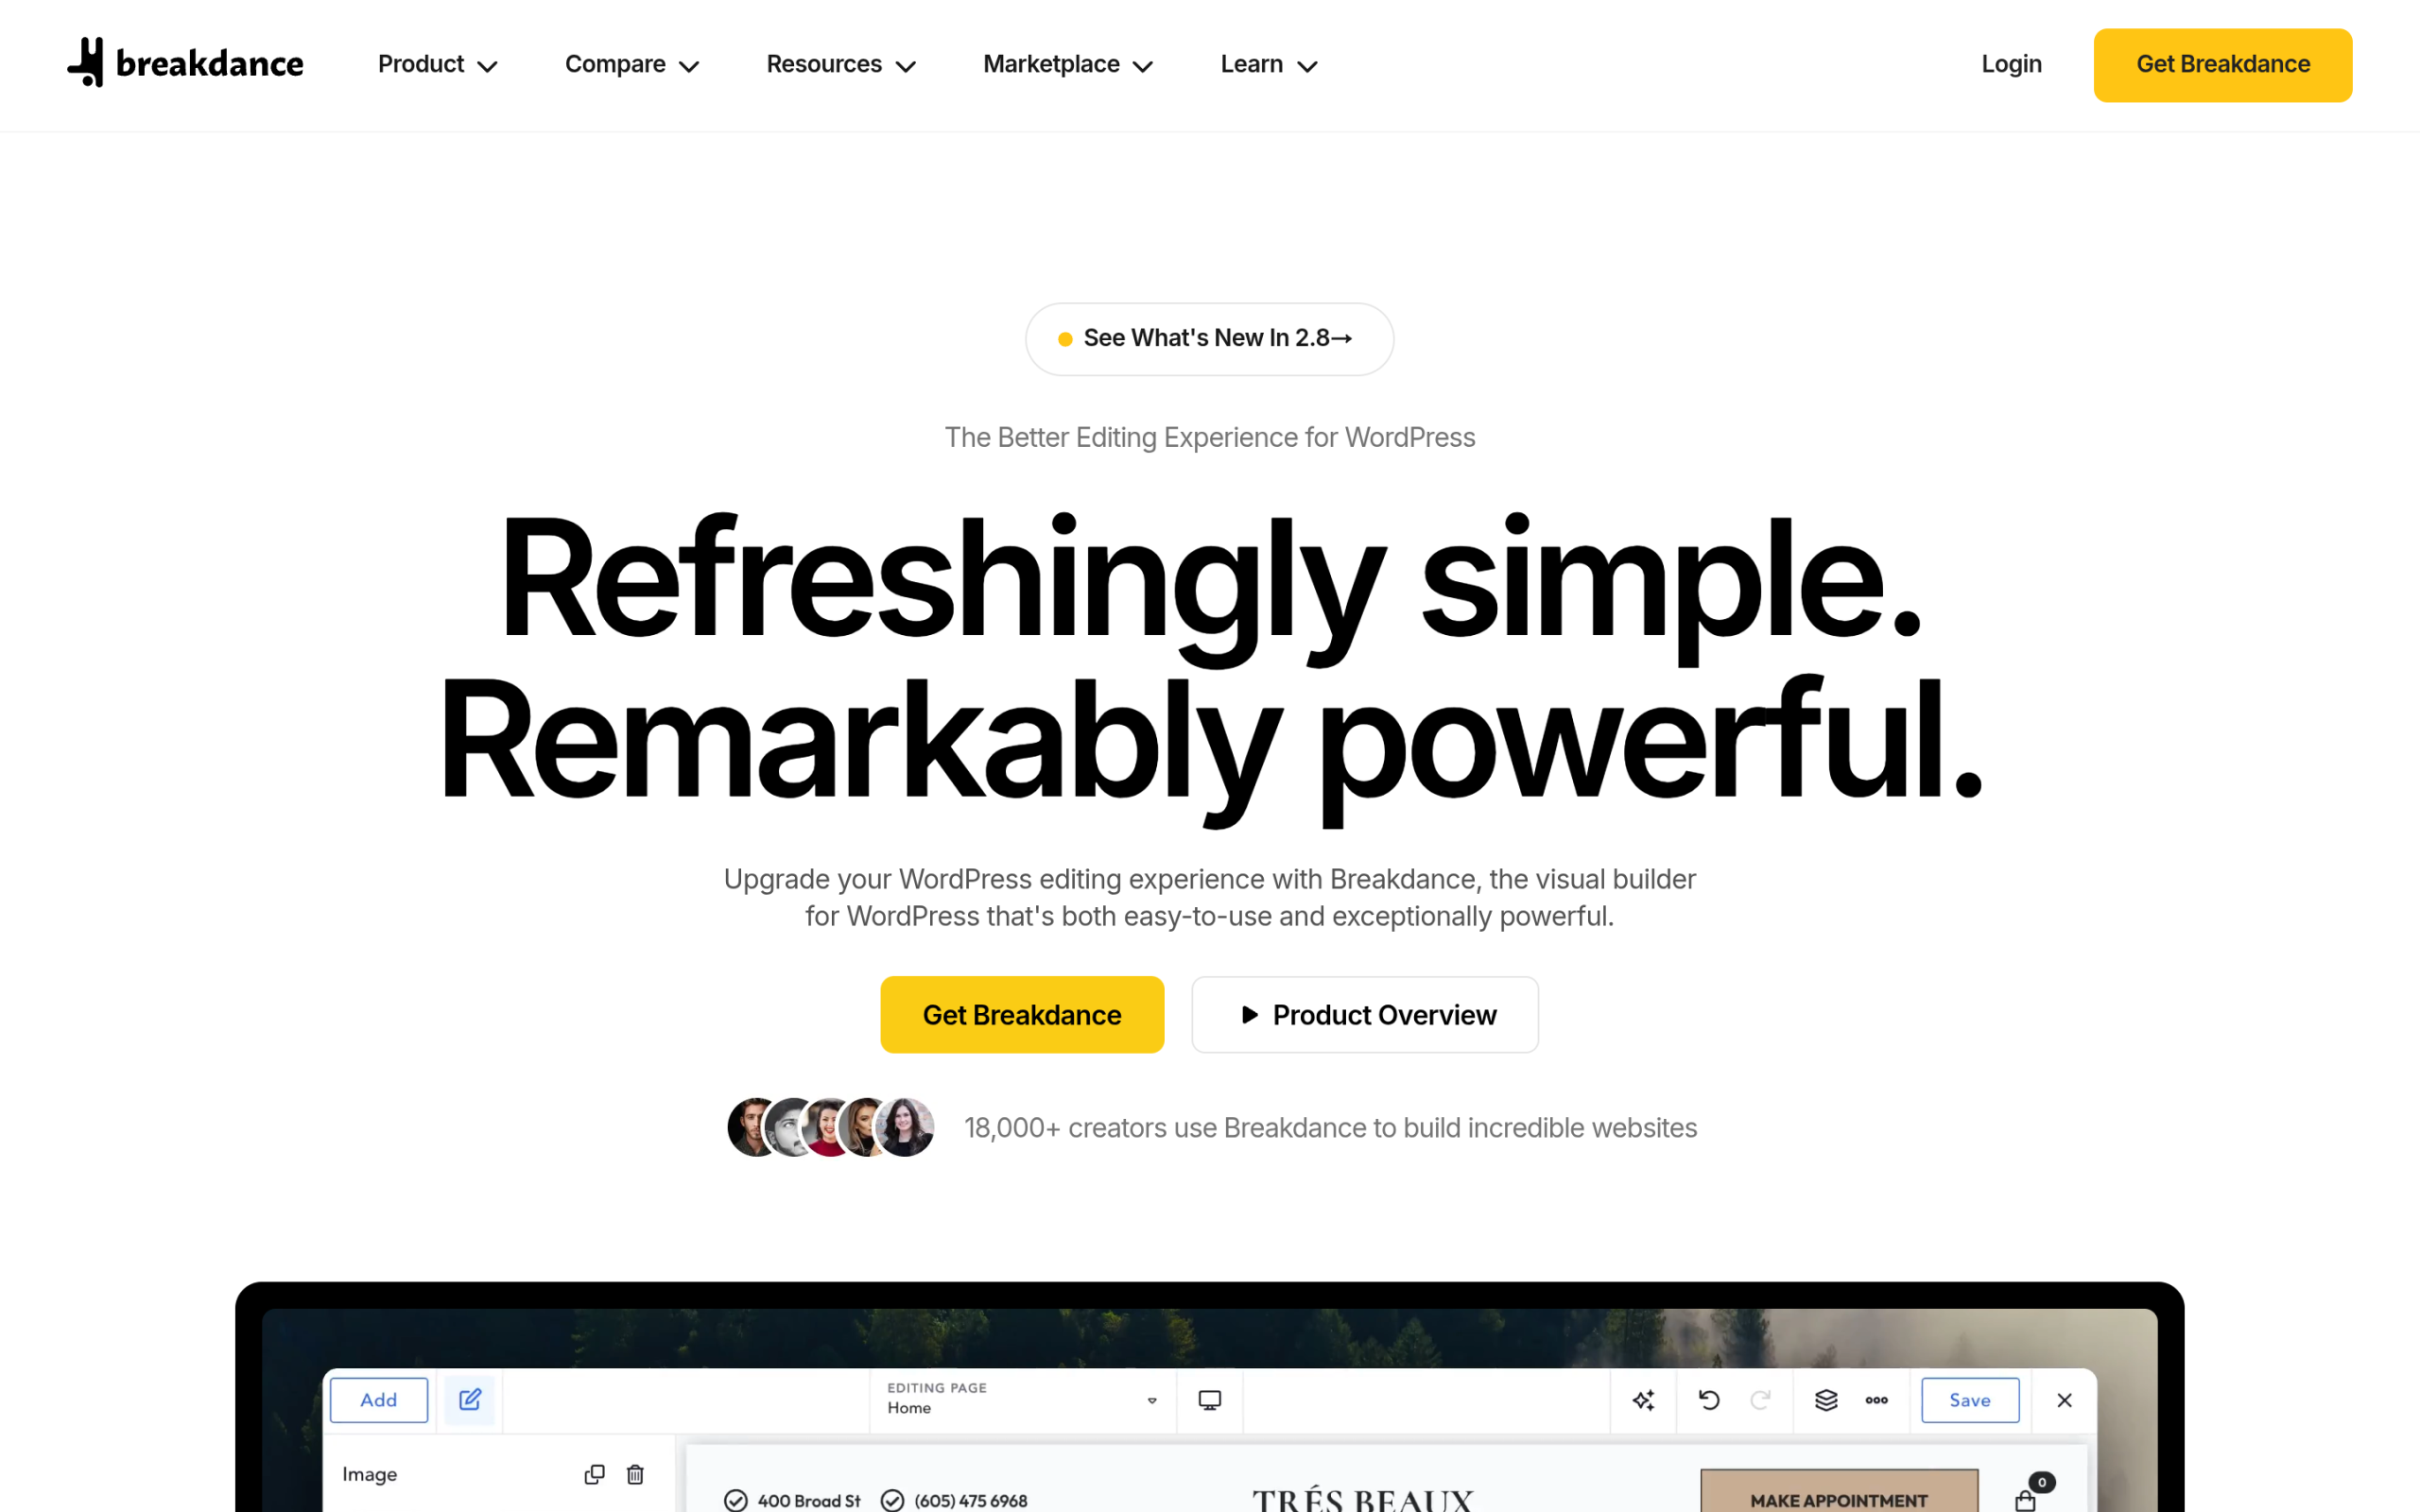Breakdance, built by Soflyy, aims for power without the steep technical barrier. Breakdance, built by Soflyy, sits between Elementor's friendliness and Bricks' developer focus. It ships with 145 built-in elements, a multi-step form builder with conditional fields, a visual popup creator, dynamic data with loops and repeaters, and a Client Mode that limits what clients can edit. Two features stand out: Element Studio, a built-in tool for creating your own custom builder elements, and Breakdance AI for content help. It is a strong fit if you want serious capability but do not want to hand-write CSS the way Bricks expects. The element count is large enough that most sites never need add-ons. **Pricing:** Breakdance has a free version called Breakdance Free. The paid plan is listed at $199.99/year for unlimited sites with unlimited domain activations, noted as a limited-time offer. **Best for:** freelancers and agencies who manage many sites and want an unlimited-site license without per-site costs. ### 4. Divi Divi 5 is a ground-up rebuild focused on performance and modern design systems. Divi, from Elegant Themes, is the long-standing all-in-one theme and builder, and the current Divi 5 is a complete rebuild. Elegant Themes describes it as rebuilt "from the ground up, focusing on performance and advanced design systems." That matters, because performance was the old Divi's weak spot. Divi 5 adds customizable breakpoints, global styles, and Flexbox and CSS Grid layout controls on top of the things Divi was always known for: 200+ elements, 2,000+ pre-built layouts, a Theme Builder for global templates, a Loop Builder for dynamic content, and Divi AI. The catch is that the sheer number of options can overwhelm new users, and that big template library only pays off if you use it. For people who want maximum design control out of the box, though, few builders match it. **Pricing:** Divi is $89/year and Divi Pro is $277/year. There is also a Divi Lifetime plan at $249 one-time, and a Divi Lifetime + Pro option at $297 one-time. All plans include unlimited website usage. **Best for:** users who want one purchase that covers a theme, a builder, and a huge template library, with a lifetime option. You can [Learn More](https://www.elegantthemes.com/gallery/divi/) on the Divi site. ### 5. Brizy Brizy is built for non-developers who want a clean, no-code editing experience. Brizy is the easiest entry point on this list. It describes itself as "a next-gen website builder that anyone can use," with no designer or developer skills required. The free WordPress plugin ships with 500+ pre-made blocks, 4,000+ icons across 27 categories, global styling, dedicated responsive editing modes, and a smart in-place text editor. With 70,000+ active installs and a 4.7 out of 5 rating on WordPress.org, it has a solid track record. The honest note is that Brizy has moved some elements, including Forms, from the free tier into Pro in recent updates, so check that the features you need are in the version you choose. If you want to add forms beyond what Brizy includes, our roundup of the [top 5 WordPress form builder plugins](https://qa.nexterwp.com/blog/best-wordpress-form-builder-plugins/) can help. **Pricing:** Brizy is free on WordPress.org, and a paid Pro upgrade unlocks the rest of its features. **Best for:** beginners, bloggers, and small business owners who want to launch a clean site quickly without touching code. You can [Learn More](https://www.brizy.io/) on the Brizy site. ## Elementor Alternatives Compared at a Glance | Builder | Best for | Free version | Starting paid price | | ------- | -------- | ------------ | ------------------- | | Gutenberg + Nexter Blocks | Lightweight, core-native sites | Yes | $39/year (Nexter Blocks) | | Bricks | Developers and agencies | Free online trial only | $79/year | | Breakdance | Multi-site freelancers | Yes | $199.99/year (unlimited sites) | | Divi | All-in-one theme + builder | No | $89/year or $249 lifetime | | Brizy | Beginners and bloggers | Yes | Paid Pro upgrade | Prices verified on each vendor's site in June 2026. Always confirm current pricing before buying. ## Which Elementor Alternative Should You Choose? There is no single winner, only the right fit for your situation. Here is how I would decide: - **You want fast pages and no forever-subscription:** stay in the native editor and add [Nexter Blocks](https://qa.nexterwp.com/nexter-blocks/). It is the lightest path and the cheapest over time.- **You are a developer or agency:** Bricks for clean markup and control, or Breakdance if you want power with a gentler curve and an unlimited-site license.- **You want one tool that does everything:** Divi 5, especially with the lifetime plan.- **You are a beginner:** Brizy, then upgrade only if you hit a wall. Whatever you pick, test it on a staging site first, watch your Core Web Vitals, and make sure the builder fits how you actually work. A builder you understand will always beat a more powerful one you fight with. For a deeper primer on the layout system most modern builders share, our [beginner's guide to Elementor Flexbox containers](https://theplusaddons.com/blog/ultimate-guide-to-elementor-flexbox-containers/) is a good next read. ## FAQs About Elementor Alternatives ### Is Elementor a theme or a plugin? Elementor is a plugin, not a theme. It works on top of your existing WordPress theme to give you visual, drag-and-drop editing. Some alternatives, like Bricks and Divi, combine the theme and the builder into one product. ### Is the Gutenberg block editor free? Yes. Gutenberg is the block editor built into WordPress core, so it is completely free and already active on your site. You only pay if you add a block library like Nexter Blocks for advanced design features. ### Are there free alternatives to Elementor? Yes. Gutenberg is free in core, and Nexter Blocks, Brizy, and Breakdance all offer free versions on WordPress.org or their own sites. Bricks has no permanently free plugin, but you can try the full builder online for free before buying. ### Is Gutenberg better than Elementor? It depends on the project. Gutenberg is lighter and free, which is better for performance and cost, but core blocks are basic on their own. Paired with a block library like Nexter Blocks, it can match most of what people use Elementor for while keeping pages lean. ## Suggested Reading - [Gutenberg vs Elementor: An Honest Comparison](https://qa.nexterwp.com/blog/gutenberg-vs-elementor/)- [WordPress 7.0: What's Actually Changing for Block Builders](https://qa.nexterwp.com/blog/wordpress-7-block-builders/)- [Top 5 WordPress Form Builder Plugins](https://qa.nexterwp.com/blog/best-wordpress-form-builder-plugins/)- [How to Generate AI Images in WordPress](https://qa.nexterwp.com/blog/how-to-generate-ai-images-in-wordpress/)- [Explore the Full Nexter Blocks Library](https://qa.nexterwp.com/nexter-blocks/) --- # Does Google’s OKF Matter for WordPress SEO? An Honest 2026 Take Source: https://qa.nexterwp.com/blog/does-okf-matter-wordpress-seo/ #### Key Takeaways - Google's Open Knowledge Format (OKF) will not change your WordPress rankings. It is a markdown format for feeding AI agents curated knowledge, announced June 13, 2026, not a Search ranking signal.- llms.txt has almost no real AI uptake. Google's Gary Illyes said Google has no plans to use it, and John Mueller compared it to the long-dead meta keywords tag.- The WordPress SEO signals machines actually read today are structured data (schema), clean and parseable content, internal links, and freshness.- Treat llms.txt as a cheap hedge on where the machine-readable web is heading, not a tactic that earns you AI citations now.- RankReady generates llms.txt and clean Markdown, then shows which AI crawlers actually fetched your pages, so you measure real behaviour instead of guessing. The morning after Google announced the Open Knowledge Format, three different people sent me the same link before I had finished my coffee. The question underneath every message was identical: do we need to add this to the WordPress sites, and will it help us rank? It is a fair thing to ask when the company that runs the index ships a new format with the word "knowledge" in the name. So here is the honest answer, before the hedging and the nuance: no, OKF does not matter for your WordPress rankings, and that is completely fine. What it signals about the direction of the web does matter, and there are a few cheap things worth doing. Let me walk through why. ## The short answer: no, not for rankings OKF is not a Google Search feature. Google Cloud did not describe it as a ranking factor, an SEO tag, or anything a publisher adds to climb the results page. It is a way for AI agents and data teams to share curated knowledge in a consistent shape. Nothing in the announcement points at your blog's position in the ten blue links. If a tool, plugin, or consultant tells you OKF is a must-have ranking play for your site this quarter, they are selling you something. A version 0.1 draft built for enterprise data sharing is not a mandatory checkbox for a WordPress blog. ## What OKF actually is, in one minute Google Cloud published OKF on June 13, 2026, describing it as "an open specification that formalizes the LLM-wiki pattern into a portable, interoperable format." In plain terms, it is a directory of markdown files with a little structured metadata at the top of each one, written so an AI agent can read your knowledge without scraping a styled web page. The point Google makes is about context for agents. As foundation models get used to build agentic systems, the limiting factor is often the lack of relevant, well-organised context. OKF gives teams a vendor-neutral way to package that context so any agent builder can consume it. That is the whole job. It is an internal knowledge format wearing a public spec, not a growth channel. Google Cloud framed OKF as a vendor-neutral format for AI agents, not a Search ranking feature. Source: cloud.google.com. ***Also Read:** [What Is Google's Open Knowledge Format (OKF)?](https://qa.nexterwp.com/blog/open-knowledge-format/) for the plain-English breakdown of the spec and its frontmatter fields.* ## Why llms.txt and OKF do not earn AI citations yet OKF sits in the same family as llms.txt, the markdown file site owners have been adding to point AI tools at their important pages. It is worth being blunt about how that experiment has gone, because it tells you what to expect from OKF. As of mid-2026, no major AI company has confirmed it consumes llms.txt. Google's Gary Illyes said at Search Central Live in July 2025 that Google has no plans to use llms.txt as an input. John Mueller compared it to the meta keywords tag, the SEO relic everyone abandoned. Traffic studies of hundreds of millions of AI bot requests show the big crawlers, GPTBot, ClaudeBot, and PerplexityBot, touch the file a statistically negligible amount. 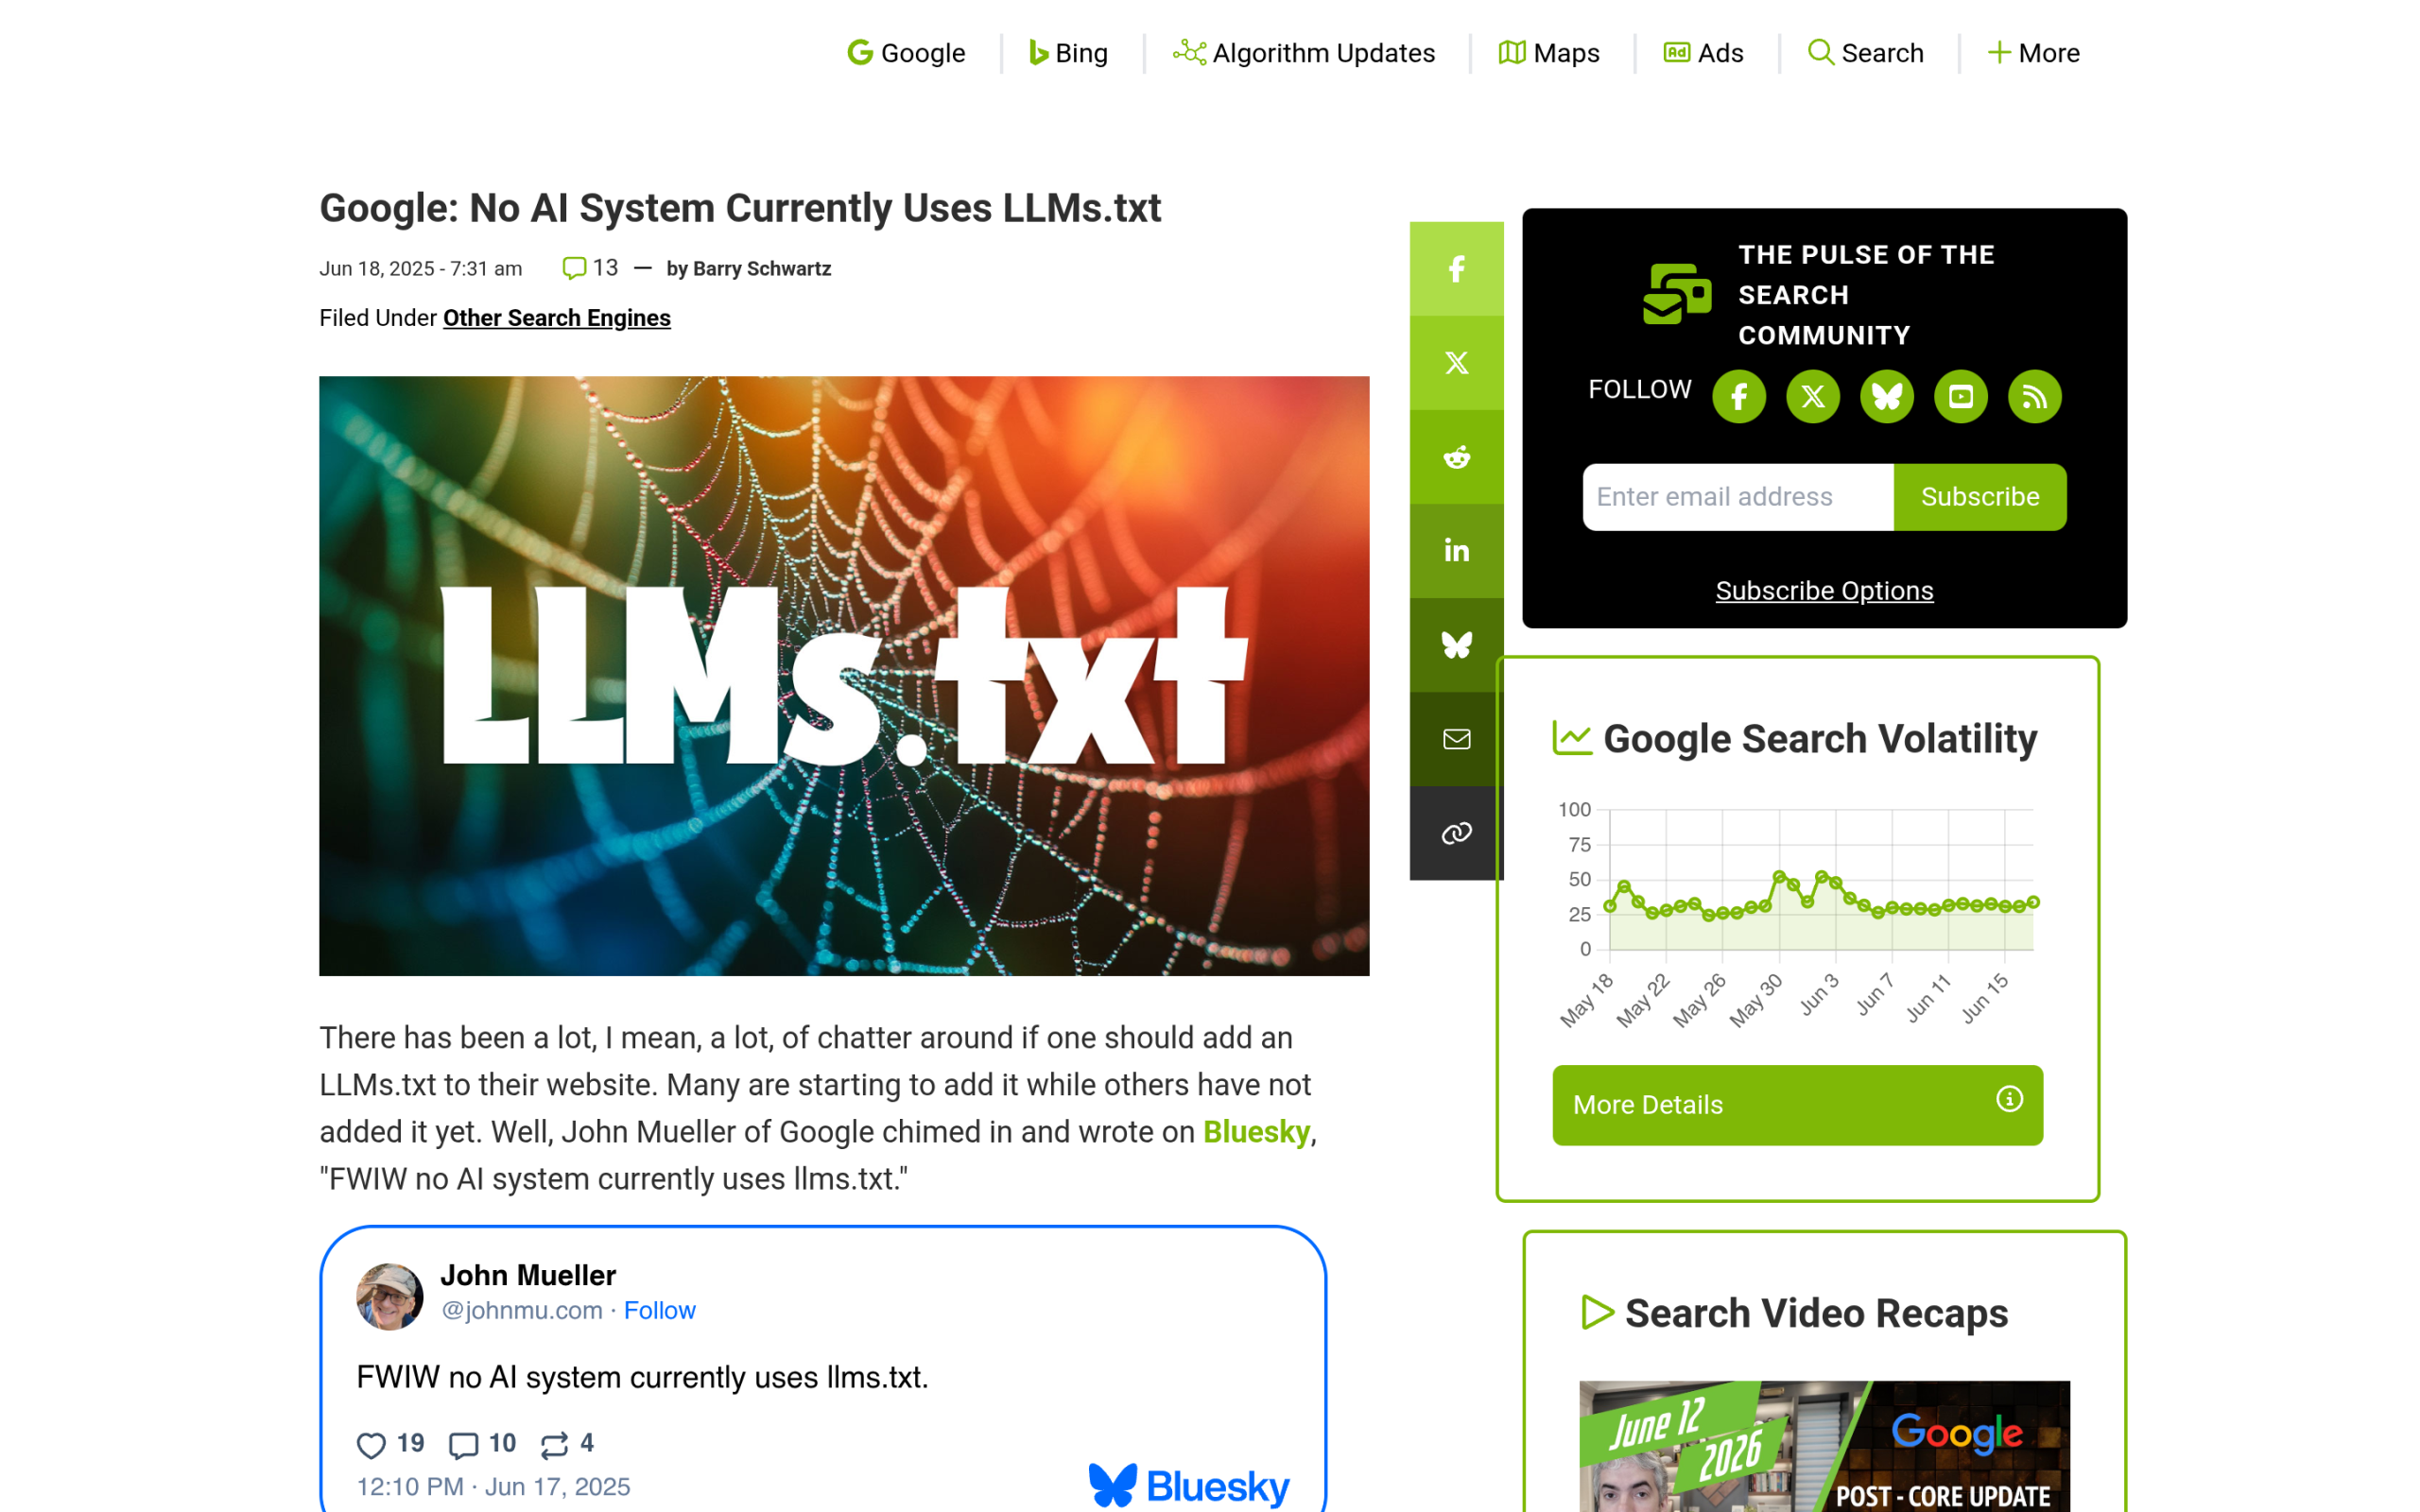Google has stated no AI system currently uses llms.txt, which sets a realistic bar for OKF too. Source: Search Engine Roundtable. OKF is newer and built for a different audience, but the lesson carries: a format only matters once the systems on the other side commit to reading it. Right now nothing crawls the open web for OKF bundles. So the honest framing for any site owner is that these formats are a bet on where the machine-readable web is heading, not a switch that turns on AI citations. ## What WordPress SEO signals machines do use right now This is where the attention should go. While llms.txt and OKF wait for adoption, there are signals that search engines and AI answer systems already read off your WordPress pages today. | Signal machines read today | Why it matters | | -------------------------- | -------------- | | Structured data (schema) | Article, FAQ, HowTo, and Person schema tell engines what your content is and who wrote it, in a format they already parse. | | Clean, parseable content | Semantic markup that converts cleanly to Markdown is easier for any model to read than a div-heavy page-builder wrapper. | | Internal links | Clear linking shows how your pages relate, which both crawlers and retrieval systems use to understand topical depth. | | Freshness and authorship | Updated dates and a real author identity feed the trust signals engines weight. | The machine-readable signals that already influence visibility, versus formats still waiting for adoption. None of this is exotic. It is the same structured, well-organised content that has always helped, now doing double duty for AI systems that read pages the way a careful librarian would. If you want a single project this quarter, make your schema correct and your content clean before you touch any agent format. ***Also Read:** [Answer Engine Optimization for WordPress](https://qa.nexterwp.com/blog/answer-engine-optimization-wordpress/) for the full playbook on getting surfaced by AI answer systems.* ## The honest 2026 move: hedge cheaply, measure what matters So should you do anything with OKF or llms.txt at all? A measured yes. Publishing an llms.txt file costs almost nothing and does no harm, so treat it as a low-cost, low-risk hedge in case adoption arrives. The same logic will apply to an OKF bundle if and when crawlers start reading them. Just do not budget time as if either one is a proven citation source, because the evidence says it is not. The part worth real attention is measurement. There is a maintenance cost to any of these bundles, since a markdown copy is a second version of what your site already says. That tradeoff only makes sense if you can see whether it changes anything. Otherwise you are maintaining files in the dark. ## Where RankReady fits This is the gap [RankReady](https://store.posimyth.com/plugins/rankready/) is built to close. It handles the readable layer and the measurement layer in one free plugin, so the honest strategy above is actually doable on a WordPress site. On the readable side, RankReady generates your llms.txt and llms-full.txt files and serves a clean Markdown version of any post by adding .md to the URL. It also outputs Article, Speakable, FAQPage, HowTo, and ItemList schema, the signals machines actually use, and it merges into the schema graph of Rank Math, Yoast, AIOSEO, SEOPress, The SEO Framework, or Slim SEO rather than fighting them. RankReady pairs llms.txt and schema generation with a live AI crawler log, so you can see what bots actually fetch. Source: store.posimyth.com. On the measurement side, it gives you a live AI crawler log showing which of 31 AI bots hit which page and when, a citation candidates leaderboard, AI referral traffic from ChatGPT, Perplexity, Claude, Gemini, and Copilot, and a per-post readiness score out of 100 with a 22-signal agentic readiness scorecard. That answers the only question that matters: did handing AI your content change anything. RankReady is free, GPL-2.0-or-later, and runs on WordPress 6.0+ with PHP 7.4+. Put simply: OKF and llms.txt make your content easier for machines to read, on the bet that they will. RankReady ships those formats for you and then tells you whether the machines actually showed up. [Get RankReady free and see who is reading your site](https://store.posimyth.com/plugins/rankready/) ## Suggested Reading - [What Is Google's Open Knowledge Format (OKF)?](https://qa.nexterwp.com/blog/open-knowledge-format/) The plain-English guide to the spec and what it is for.- [OKF vs llms.txt](https://qa.nexterwp.com/blog/okf-vs-llms-txt/) How the two markdown formats differ and which to use on a WordPress site.- [Answer Engine Optimization for WordPress](https://qa.nexterwp.com/blog/answer-engine-optimization-wordpress/) How to get surfaced by AI answer engines.- [Do You Actually Need an AI SEO Tool?](https://qa.nexterwp.com/blog/ai-seo-tool-wordpress/) What these tools do and how to choose one honestly.- [Schema Markup Generator for WordPress](https://qa.nexterwp.com/blog/schema-markup-generator-wordpress/) Adding the structured data machines actually read. --- # OKF vs llms.txt: Two Ways to Hand AI Your WordPress Site’s Knowledge Source: https://qa.nexterwp.com/blog/okf-vs-llms-txt/ #### Key Takeaways - llms.txt is a single Markdown file at your site root that points AI to your priority pages. OKF is a whole directory of Markdown files that hands over a curated body of knowledge.- They are not rivals. llms.txt is built for the public web; OKF version 0.1 is built for internal and enterprise knowledge that feeds AI agents.- For a normal block-theme WordPress site, start with llms.txt today. You do not need to build an OKF bundle for a public blog yet.- A Gutenberg block theme has an edge here: clean semantic block markup converts to clean Markdown, which is exactly what both formats want.- An OKF bundle will not move your rankings this week. Treat both as a bet on where the machine-readable web is heading, not a guaranteed citation tactic. The week Google Cloud shipped the Open Knowledge Format, a familiar question started landing in our inbox. People who had just gotten their llms.txt file working on a Nexter block-theme site wanted to know whether OKF replaces it, whether they now need both, or whether they had backed the wrong horse. The short answer is that llms.txt and OKF are not rivals. They solve different problems, and once you see the split it is easy to decide what to actually do on your WordPress site. **What you'll learn:** what llms.txt and OKF each are in plain terms, where they overlap and where they do not, why a Gutenberg block theme has a quiet advantage with both, which one actually matters for a public WordPress site today, and how to generate llms.txt without maintaining it by hand. ## What llms.txt Is (the short version) Jeremy Howard of Answer.AI proposed llms.txt on September 3, 2024. It is a single Markdown file that lives at your site root, at `/llms.txt`. The spec keeps it deliberately simple: an H1 with the name of the site or project is the only required part, followed by an optional blockquote summary and H2 sections that list links to your key pages. Its stated purpose is "to help LLMs use a website at inference time." Think of it as a curated menu you hand an AI, so it does not have to guess which of your pages actually matter. You will also see `llms-full.txt` in the wild. That is a related convention that grew up alongside the original spec, where the file inlines the full text of your priority pages rather than just linking to them. Our guide to [llms.txt on a Gutenberg block theme](https://qa.nexterwp.com/blog/llms-txt-gutenberg-wordpress/) goes deeper on the format itself. 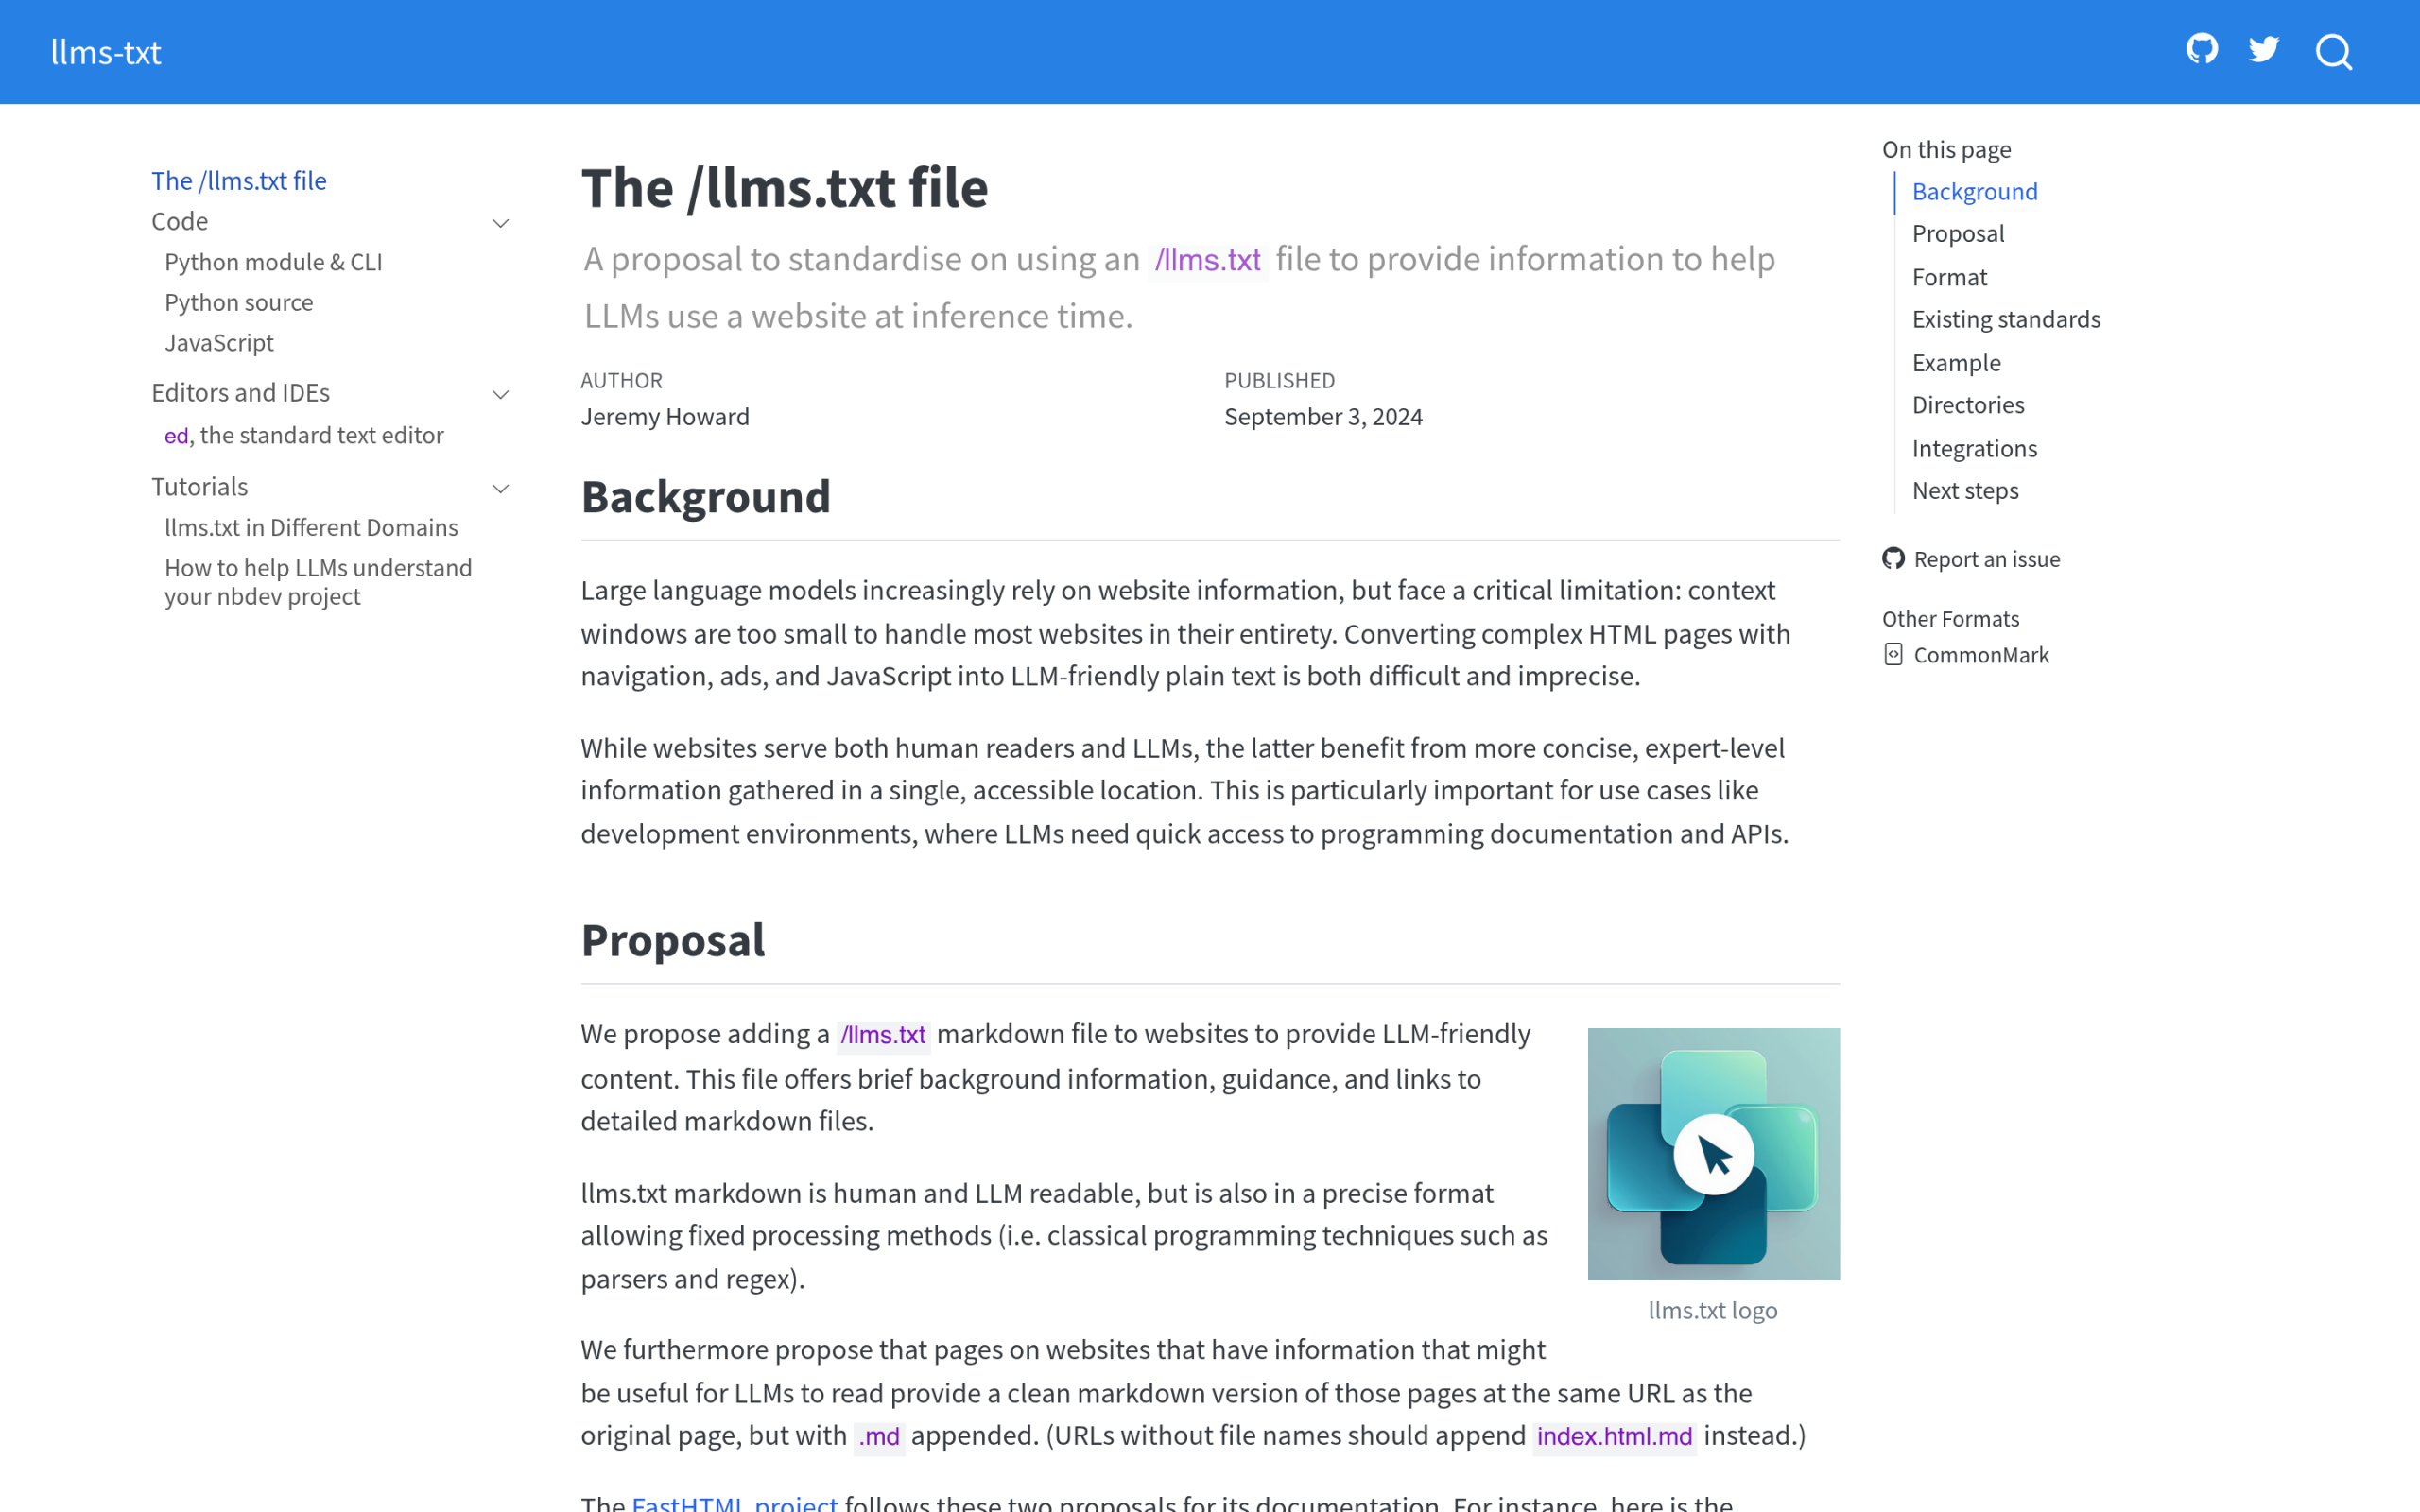The official llms.txt spec, proposed by Jeremy Howard of Answer.AI in 2024. ## What OKF Is (the short version) Google Cloud published the Open Knowledge Format on June 13, 2026. Instead of one signpost file, OKF is a whole bundle: a directory of Markdown files, each with a small block of YAML frontmatter, and it can include an `index.md` that enumerates the contents. The only required field on a file is `type`; everything else is optional. It was built for internal organizational knowledge, the kind that explains how a company's data, metrics, and processes work, so that AI agents can read it without a custom integration. For the full picture, see our [plain-English guide to the Open Knowledge Format](https://qa.nexterwp.com/blog/open-knowledge-format/). Google Cloud's Open Knowledge Format, published June 2026. ## OKF vs llms.txt: The Core Difference The cleanest way to hold the two apart: llms.txt is a signpost, and OKF is the library. One points an AI toward your best content; the other hands over a curated body of knowledge in full. | | llms.txt | OKF | | --- | -------- | --- | | Shipped by | Jeremy Howard / Answer.AI, 2024 | Google Cloud, 2026 | | Shape | One file at /llms.txt | A directory of Markdown files | | Its job | Point AI to your priority pages | Hand over a curated body of knowledge | | Mainly for | Public websites | Internal and enterprise agent knowledge | | Maturity | Widely adopted | Version 0.1 draft | llms.txt and OKF compared at a glance. ## Where They Overlap, and Where They Don't The overlap is real. Both are Markdown-first, both are open, and both exist for the same underlying reason: AI systems work with your content better when you give it to them in a clean, structured form instead of making them parse a page built for browsers. That is the shared instinct behind this whole wave, the same one driving [answer engine optimization](https://qa.nexterwp.com/blog/answer-engine-optimization-wordpress/). The difference is audience. llms.txt is aimed at the public web and the AI crawlers that visit it. OKF is aimed mostly at knowledge that lives inside an organization. They are not mutually exclusive, and they are not competing for the same slot. With the [Model Context Protocol](https://qa.nexterwp.com/blog/model-context-protocol-wordpress/) handling how agents call tools and fetch live data, the three stack into a fuller picture rather than canceling each other out. ***Also Read:** [MCP vs API for WordPress](https://qa.nexterwp.com/blog/mcp-vs-api-wordpress/) breaks down how agents actually reach your site, which is the layer that sits next to llms.txt and OKF.* ## Why a Gutenberg Block Theme Has the Edge Here Here is the part that matters if you build on Gutenberg. Both llms.txt and OKF want clean Markdown. A block theme stores your content as structured blocks, a heading is a heading, a list is a list, a quote is a quote, with very little of the wrapper-div noise that page builders leave behind. That structure converts to tidy Markdown almost one to one, so the file an AI reads is faithful to what you wrote. A site built on nested builder containers has to be untangled first, and detail gets lost in the translation. The same semantic markup that makes a Nexter block-theme page fast and accessible is what makes it cheap for a machine to read. Pair that with clear [schema markup](https://qa.nexterwp.com/blog/schema-markup-generator-wordpress/) and strong [entity SEO](https://qa.nexterwp.com/blog/entity-seo-wordpress/), and the gap between your published page and the version an AI consumes gets very small. That is the whole game both formats are playing. ***Also Read:** [llms.txt for Gutenberg WordPress](https://qa.nexterwp.com/blog/llms-txt-gutenberg-wordpress/) shows why block themes win the AI citation race over page-builder sites.* ## Which One Should You Use on WordPress? For a normal WordPress site or blog, the honest answer is to start with llms.txt. It is the standard built for public content, it is widely supported, and it is the one AI tools actually look for today. OKF is worth understanding, but in its current version 0.1 form it is aimed at internal and enterprise knowledge bases, not at getting a blog post cited in an AI answer. You do not need to build an OKF bundle for a public site yet. Watch it, and act on llms.txt now. Treat either one as a bet on where the machine-readable web is heading rather than a switch that earns you AI citations this week. ## How to Generate llms.txt on WordPress Doing this by hand means writing the file, listing your priority URLs, and updating it every time you publish, which gets old quickly. This is where [RankReady](https://store.posimyth.com/plugins/rankready/) helps. It generates both your `/llms.txt` and `/llms-full.txt` and keeps them current as you publish, lets you add `.md` to any post URL for a clean Markdown version with the right Content-Type, and outputs Article, Speakable, FAQPage, HowTo, and ItemList schema. It then scores every post from 0 to 100 on schema, freshness, content depth, and author signals, so you can see what is actually ready for AI rather than guessing. RankReady generates and maintains llms.txt and llms-full.txt on WordPress. RankReady is free, released under the GPL-2.0 license, runs on WordPress 6.0 and PHP 7.4 or higher, and works alongside Rank Math, Yoast, AIOSEO, and SEOPress by merging into their schema graph rather than replacing them. It also keeps a live AI crawler log, so you can see which bots actually fetched your content rather than guessing whether any of this is working. [Get RankReady Free](https://store.posimyth.com/plugins/rankready/) ## The Bottom Line llms.txt and OKF answer the same instinct from different angles: give machines a clean version of your knowledge. For a public WordPress site, llms.txt is the practical move today, and OKF is the enterprise cousin worth watching. If you build on a Gutenberg block theme, you are already most of the way there, because your content is structured the way both formats want it. Get your llms.txt, Markdown, and schema in order, and you are ready for whichever standard the AI tools your audience uses end up leaning on next. ## Suggested Reading - [What Is Google's Open Knowledge Format (OKF)? A Plain-English Guide for Site Owners](https://qa.nexterwp.com/blog/open-knowledge-format/) - [llms.txt for Gutenberg WordPress: Why Block Themes Win the AI Citation Race](https://qa.nexterwp.com/blog/llms-txt-gutenberg-wordpress/) - [What Is the Model Context Protocol (MCP)? A WordPress Guide](https://qa.nexterwp.com/blog/model-context-protocol-wordpress/) - [Answer Engine Optimization (AEO): The Complete WordPress Guide](https://qa.nexterwp.com/blog/answer-engine-optimization-wordpress/) - [Schema Markup Generator for WordPress: Auto-Generate JSON-LD for AI Search](https://qa.nexterwp.com/blog/schema-markup-generator-wordpress/) --- # What Is Google’s Open Knowledge Format (OKF)? A Plain-English Guide for Site Owners Source: https://qa.nexterwp.com/blog/open-knowledge-format/ #### Key Takeaways - The Open Knowledge Format (OKF) is a Google Cloud specification, released at v0.1 on June 13, 2026, that stores knowledge as a directory of markdown files with YAML frontmatter so AI agents can read it without custom integrations.- OKF is not a search ranking signal and not a Google Search feature. Google built it for data teams and AI agents sharing internal knowledge.- A useful way to picture it: llms.txt is the signpost that points agents to your important pages, and OKF is the library that actually holds the content.- Nothing crawls OKF bundles yet, so treat it as a bet on where the machine-readable web is heading, not a tactic that earns AI citations this week.- WordPress can serve an /okf/ folder at a custom path, which closed platforms often cannot. That makes it a low-risk place to experiment early. On the morning of June 13, I opened my laptop to a feed full of the same screenshot. Google Cloud had published a spec called the Open Knowledge Format, and half of my SEO contacts were calling it the next big thing while the other half were quietly asking what on earth it actually was. So I did the boring thing and read the announcement instead of the hot takes. This guide is the plain-English version I wish I had found first, written for the person who owns a website and just wants to know whether any of this matters to them. ## What Google's OKF actually is OKF stands for Open Knowledge Format. Google Cloud describes it as "an open specification that formalizes the LLM-wiki pattern into a portable, interoperable format," and as "a vendor-neutral, agent- and human-friendly standard for representing the metadata, context, and curated knowledge that modern AI systems need." The current release is v0.1, which is Google's own way of saying this is an early draft, not a finished product. The structure is refreshingly simple. OKF represents knowledge as "a directory of markdown files with YAML frontmatter." Each file is one concept, and the frontmatter holds a small set of queryable fields: type, title, description, resource, tags, and timestamp. Here is roughly what one file looks like: `--- type: Article title: How OKF Works description: A short explainer of the Open Knowledge Format. resource: https://yoursite.com/blog/open-knowledge-format/ tags: [okf, ai, wordpress] timestamp: 2026-06-17T10:00:00Z --- # The body of the concept goes here, in plain markdown.` That is the whole idea. It is just markdown, so it renders on GitHub and reads fine to a human. It is just files, so you can ship a folder of them and host them anywhere. There is no SDK to install and no runtime to run. Anyone can produce a bundle, and in theory any agent can consume it without a custom integration. Google Cloud's own announcement of OKF v0.1, the source for every claim in this guide. ## What OKF is not (the honest part) This is where most of the early hot takes went sideways. OKF is not a Google Search ranking signal, and it is not a new Search feature. Google positions it as an internal knowledge format for data teams and AI agents, the kind of thing that helps a foundation model understand a company's tables, metrics, and documentation. The example in Google's own post is a BigQuery table, not a blog post. Just as important: nothing crawls OKF bundles yet. The technical SEO Suganthan Mohanadasan, who built one of the first bundles for his own site, put it bluntly when he said "Nothing reads OKF yet." The spec is days old. So if anyone tells you that publishing an OKF folder will get you cited by ChatGPT or ranked by Google this week, they are selling you something. The honest frame is that this is infrastructure for a future that may or may not arrive. ***Also Read:** [Answer Engine Optimization for WordPress](https://qa.nexterwp.com/blog/answer-engine-optimization-wordpress/) covers the actual tactics that influence AI answers today, while OKF sits one layer further out.* ## OKF vs llms.txt: the signpost and the library If you have read about llms.txt, the cleanest way to place OKF next to it is this: llms.txt is a signpost that points an agent toward the pages on your site that matter, and OKF is the library that actually holds the content those signposts describe. One says "look over here," the other hands over the books. Both ideas share the same honesty problem, though. No major AI model reliably honors llms.txt yet, which is why thoughtful SEOs treat it as an early bet rather than a guaranteed win. OKF inherits that same uncertainty. What both formats really signal is a direction: the web is slowly growing a machine-facing layer, and markdown keeps showing up as the language of that layer. ***Also Read:** [How to add an llms.txt file in WordPress](https://qa.nexterwp.com/blog/llms-txt-gutenberg-wordpress/) if you want to set up the signpost layer before you think about the library.* Independent technical SEOs were quick to map OKF onto the existing llms.txt conversation. ## Does OKF matter for your WordPress site? Here is my honest read for site owners. Measured today, an OKF bundle changes nothing about your traffic or your AI visibility, because nothing reads it. But formats like this have a way of compounding quietly. Schema markup took years to feel worth it, and plenty of people who shipped it early are glad they did. OKF is the same shape of bet, except this time it has Google's name on it. WordPress also happens to be well suited to the experiment. Serving a folder of files at a custom path like /okf/ is straightforward on WordPress, whereas on closed platforms such as Wix or Squarespace you often cannot serve files at an arbitrary path at all. That is the one real wall other site owners hit, and you do not have it. The cost to weigh on the other side is a maintenance tax: an OKF bundle is essentially a second copy of what your site already says, so it only stays useful if you keep it in sync. ## What you can actually do today You do not need to chase a v0.1 spec to be ready for the machine-readable web. The work that pays off regardless of which format wins is the same work that already helps AI engines understand you: keep your content cleanly structured, ship accurate [schema markup](https://qa.nexterwp.com/blog/schema-markup-generator-wordpress/), decide deliberately how you handle [AI crawlers in your robots.txt](https://qa.nexterwp.com/blog/robots-txt-generator-wordpress/), and make sure bots like [OpenAI's OAI-SearchBot](https://qa.nexterwp.com/blog/oai-searchbot-wordpress/) can reach the pages you want surfaced. If you are weighing tools for this, our roundup of [AI SEO tools for WordPress](https://qa.nexterwp.com/blog/ai-seo-tool-wordpress/) is a sensible starting point. The piece most people skip is measurement. Producing machine-readable files is easy. Knowing whether any AI agent actually fetched them is the hard part, and it is where a tool like [RankReady](https://store.posimyth.com/plugins/rankready/) earns its place. RankReady is a free, GPL-licensed WordPress plugin that generates your llms.txt and a markdown copy of every post, manages 31 AI crawlers, and then shows you a live AI crawler log, a 30-day list of citation candidates, and the AI referral traffic actually arriving from ChatGPT, Perplexity, Claude, Gemini, and Copilot. It does not write your content or promise you a ranking. It tells you whether the systems sitting between your writing and your reader can find you, which is the only honest way to judge a bet like OKF over time. RankReady focuses on the measurement layer: which AI agents fetch and cite your content. So should you ship an OKF bundle right now? You can, and on WordPress it is low risk. But you do not have to, and nothing breaks today if you wait. The sane move is to keep your site genuinely readable to machines, watch whether anything starts fetching these bundles, and decide from real signals rather than a launch-day headline. ## Suggested Reading - [How to add an llms.txt file in WordPress](https://qa.nexterwp.com/blog/llms-txt-gutenberg-wordpress/)- [Answer Engine Optimization for WordPress: the complete guide](https://qa.nexterwp.com/blog/answer-engine-optimization-wordpress/)- [Schema markup generator for WordPress](https://qa.nexterwp.com/blog/schema-markup-generator-wordpress/)- [Robots.txt generator for WordPress and AI crawlers](https://qa.nexterwp.com/blog/robots-txt-generator-wordpress/)- [The best AI SEO tools for WordPress](https://qa.nexterwp.com/blog/ai-seo-tool-wordpress/) --- # What Is Entity SEO? How WordPress Sites Get Recognized by Google and AI Source: https://qa.nexterwp.com/blog/entity-seo-wordpress/ #### Key Takeaways - Entity SEO is the work of getting Google and AI engines to recognize your brand, your people, and your topics as distinct things, not just strings of matching keywords.- Google describes entities as the "people, places, organizations, things" that live in its Knowledge Graph and power knowledge panels.- The building blocks are an entity home (one authoritative page), Organization and Person schema, and sameAs links that point to reference pages like Wikipedia, Wikidata, and your official profiles.- Entity recognition is the identity layer of search. It sits next to E-E-A-T (trust) and topical authority (coverage), and the three reinforce each other.- On WordPress, clean structured data, consistent author signals, and an llms.txt do most of the work. RankReady automates that layer for free. A few months ago I asked Perplexity a simple question about a brand I had helped build, and it confidently described a completely different company with a similar name. The facts it returned were not wrong, exactly. They just belonged to someone else. Google had the same confusion in its knowledge panel. Two businesses, one name, and the search engines could not tell us apart. That is an entity problem, and it is the part of SEO most WordPress site owners never think about. You can rank for your keywords and still be invisible as a recognized thing. Entity SEO is how you fix that. It is the practice of making search engines and AI models understand who you are, what you are known for, and how you connect to everything else they already know. This guide walks through what entity SEO actually means, why it matters more now that AI engines answer questions directly, and the practical steps to build it on a WordPress site. ## What entity SEO actually means An entity is a thing that exists on its own, independent of the words used to describe it. A person, a company, a product, a place, a concept. Google has been organizing search around entities since it launched the Knowledge Graph, the database that connects those things to each other and to the facts about them. In its own documentation, Google explains that knowledge panels "appear on Google when you search for entities (people, places, organizations, things) that are in the Knowledge Graph." 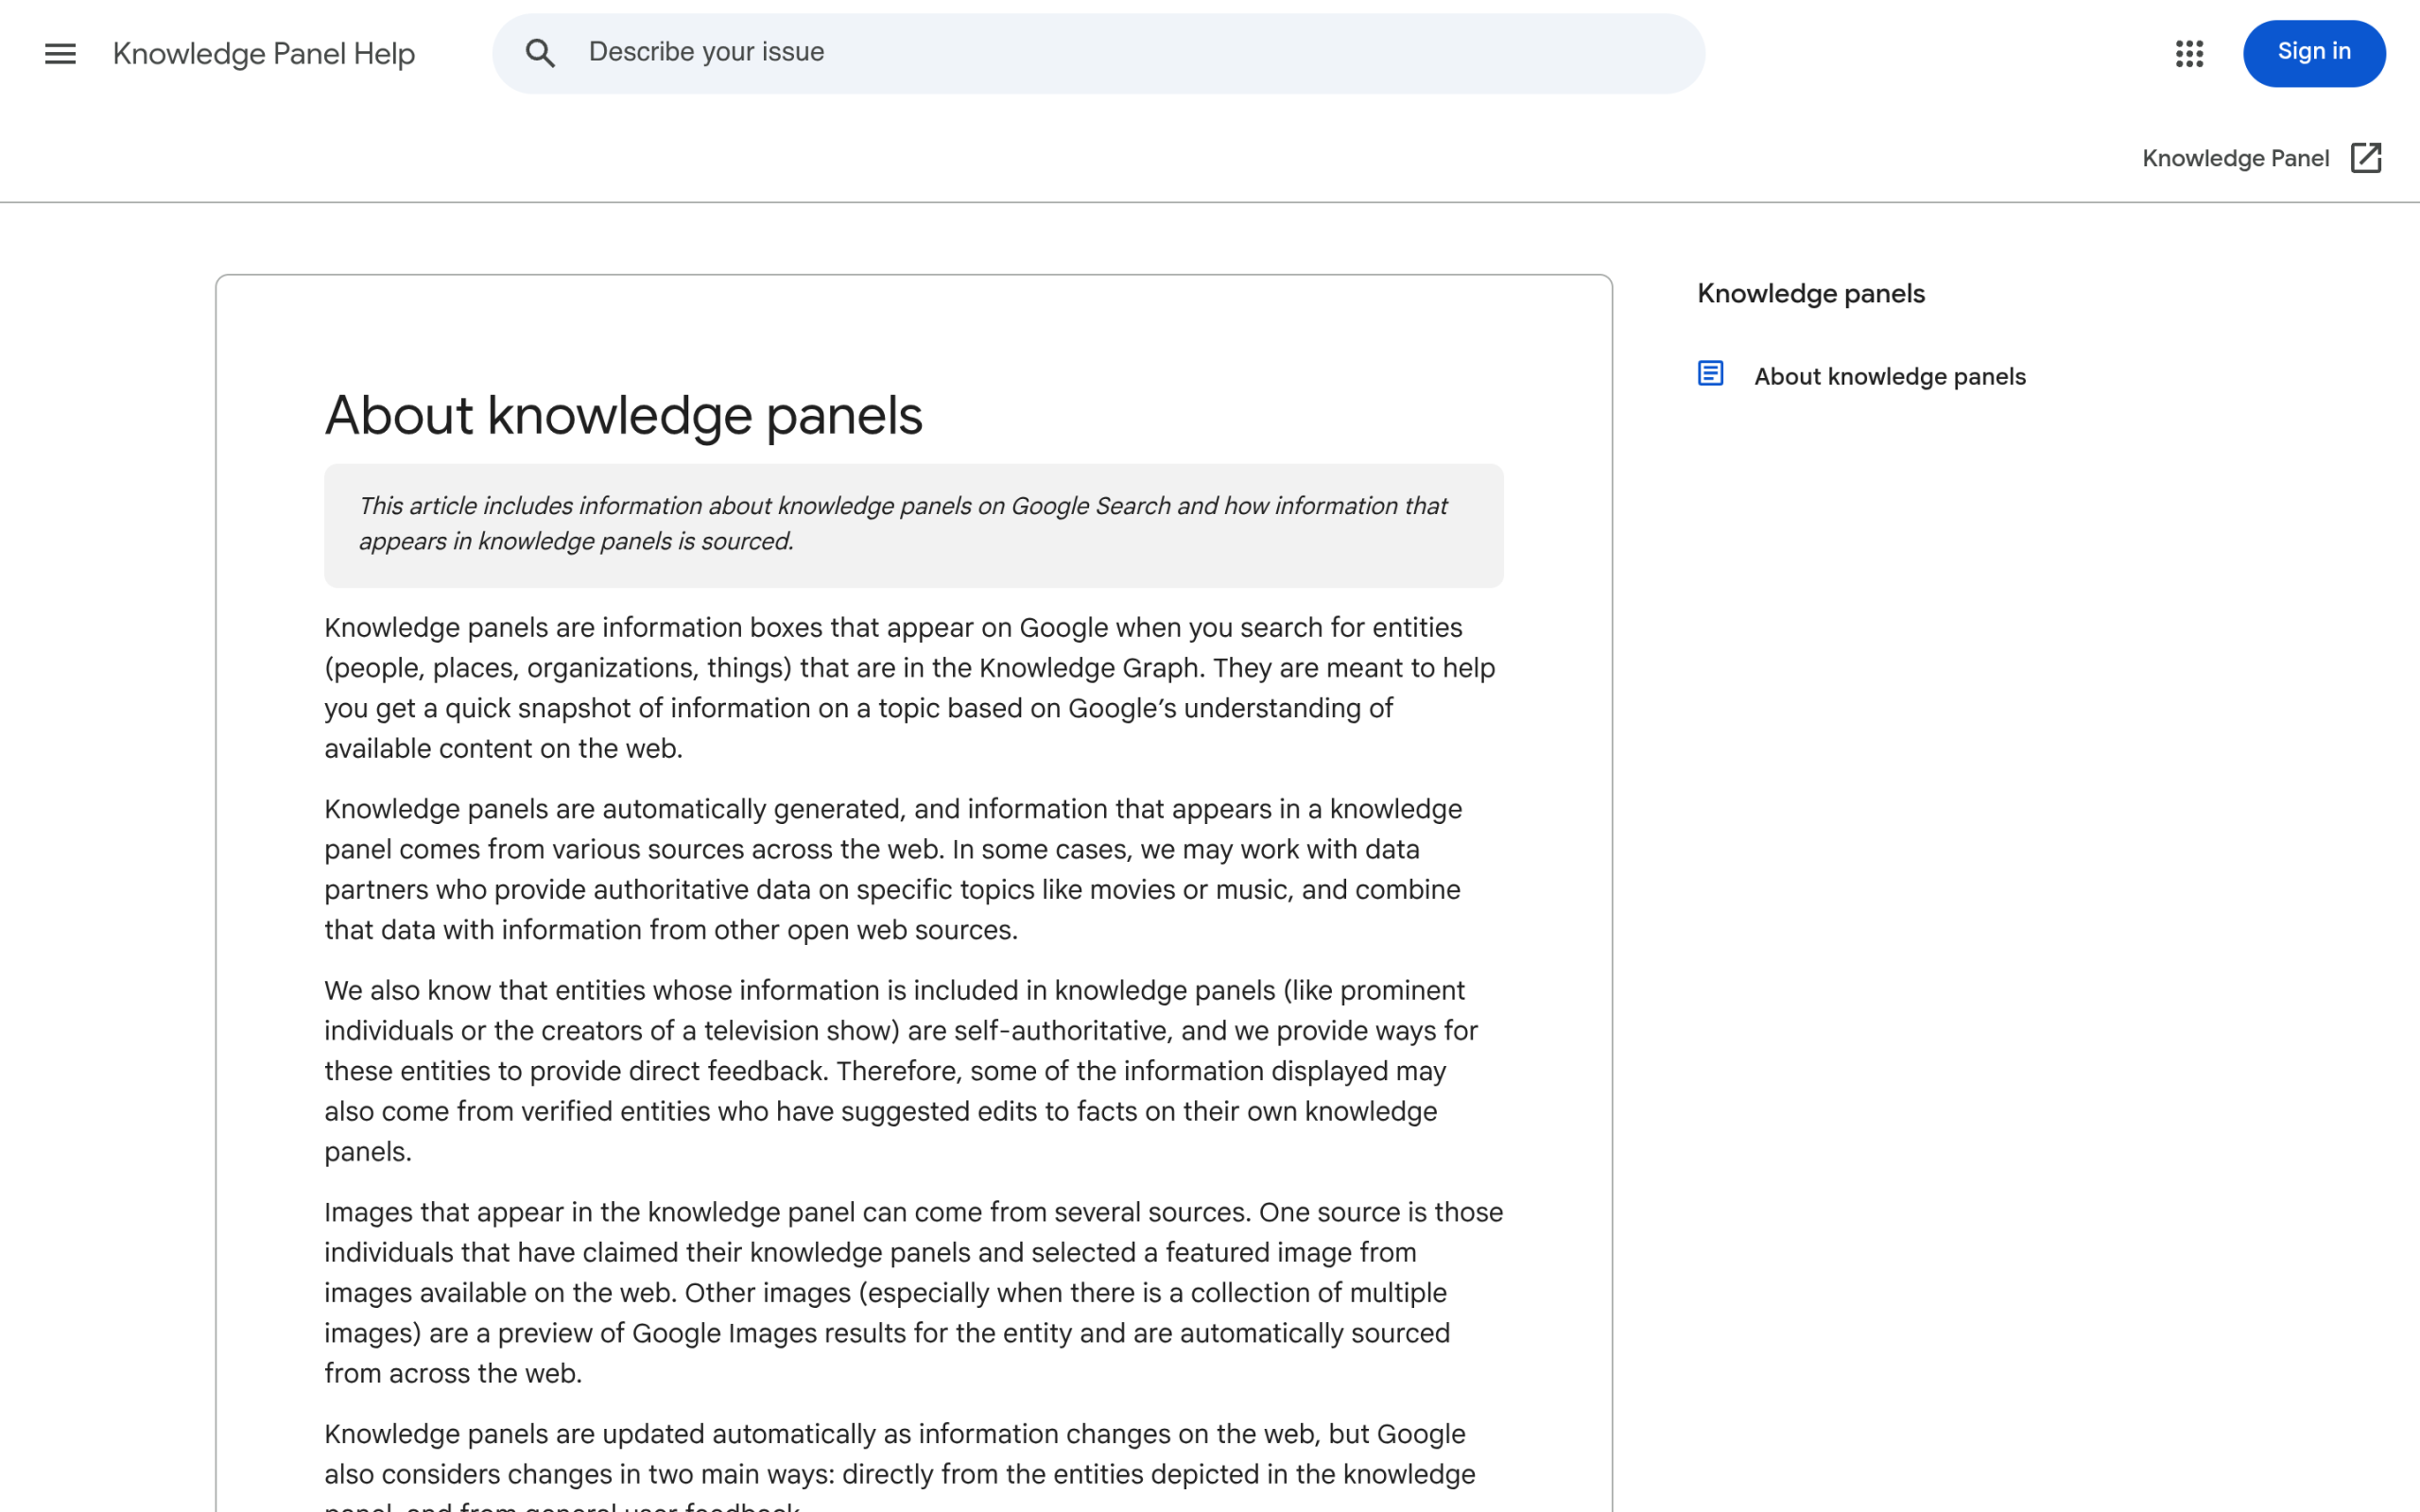Google defines entities as the people, places, organizations, and things that live in its Knowledge Graph. Source: Google knowledge panel help. The shift is from strings to things. Traditional keyword SEO treats a query as a string of characters to match against your page. Entity SEO treats it as a reference to a specific thing the engine already understands. When you search for a well-known author, Google does not just find pages containing those words. It pulls up the person, their books, their birthplace, and related authors, because it has modeled that author as an entity with relationships. Your job in entity SEO is to become one of those clearly defined things rather than a loose bag of keywords. ## Why entities matter more in AI search than blue links Large language models reason over entities and relationships, not over ten ranked links. When someone asks ChatGPT or Google AI Mode "who makes the best block theme for WordPress," the model is matching the question to brands and products it recognizes, then deciding which ones to name. If the model does not have a clear picture of who you are, you do not get mentioned, no matter how good your page is. Being a recognized entity is the price of admission to an AI answer. This is also where disambiguation earns its keep. If two companies share a name, or your founder shares a name with a celebrity, the engine has to decide which entity the query is about. Clear entity signals tell it. That is why two brands with identical content quality can get wildly different treatment in AI answers: one has resolved its identity and the other has not. ***Also Read:** [Answer Engine Optimization for WordPress](https://qa.nexterwp.com/blog/answer-engine-optimization-wordpress/) covers the wider playbook for showing up in AI-generated answers, with entity SEO as one pillar.* ## How Google builds your entity Google does not take your word for who you are. It corroborates. It looks for an entity home, a single authoritative page that represents the thing (usually your homepage or an About page for a brand, an author page for a person), then it cross-checks the claims on that page against the rest of the web. Google says knowledge panel information "comes from various sources across the web," including authoritative data partners and the open web, plus edits suggested by verified entities about their own panels. The connective tissue is the schema.org `sameAs` property. Schema.org defines it as the "URL of a reference Web page that unambiguously indicates the item's identity. E.g. the URL of the item's Wikipedia page, Wikidata entry, or official website." When your Organization markup links via sameAs to your LinkedIn, your Wikidata entry, and your verified social profiles, you are handing Google a corroboration trail that resolves which thing you are. 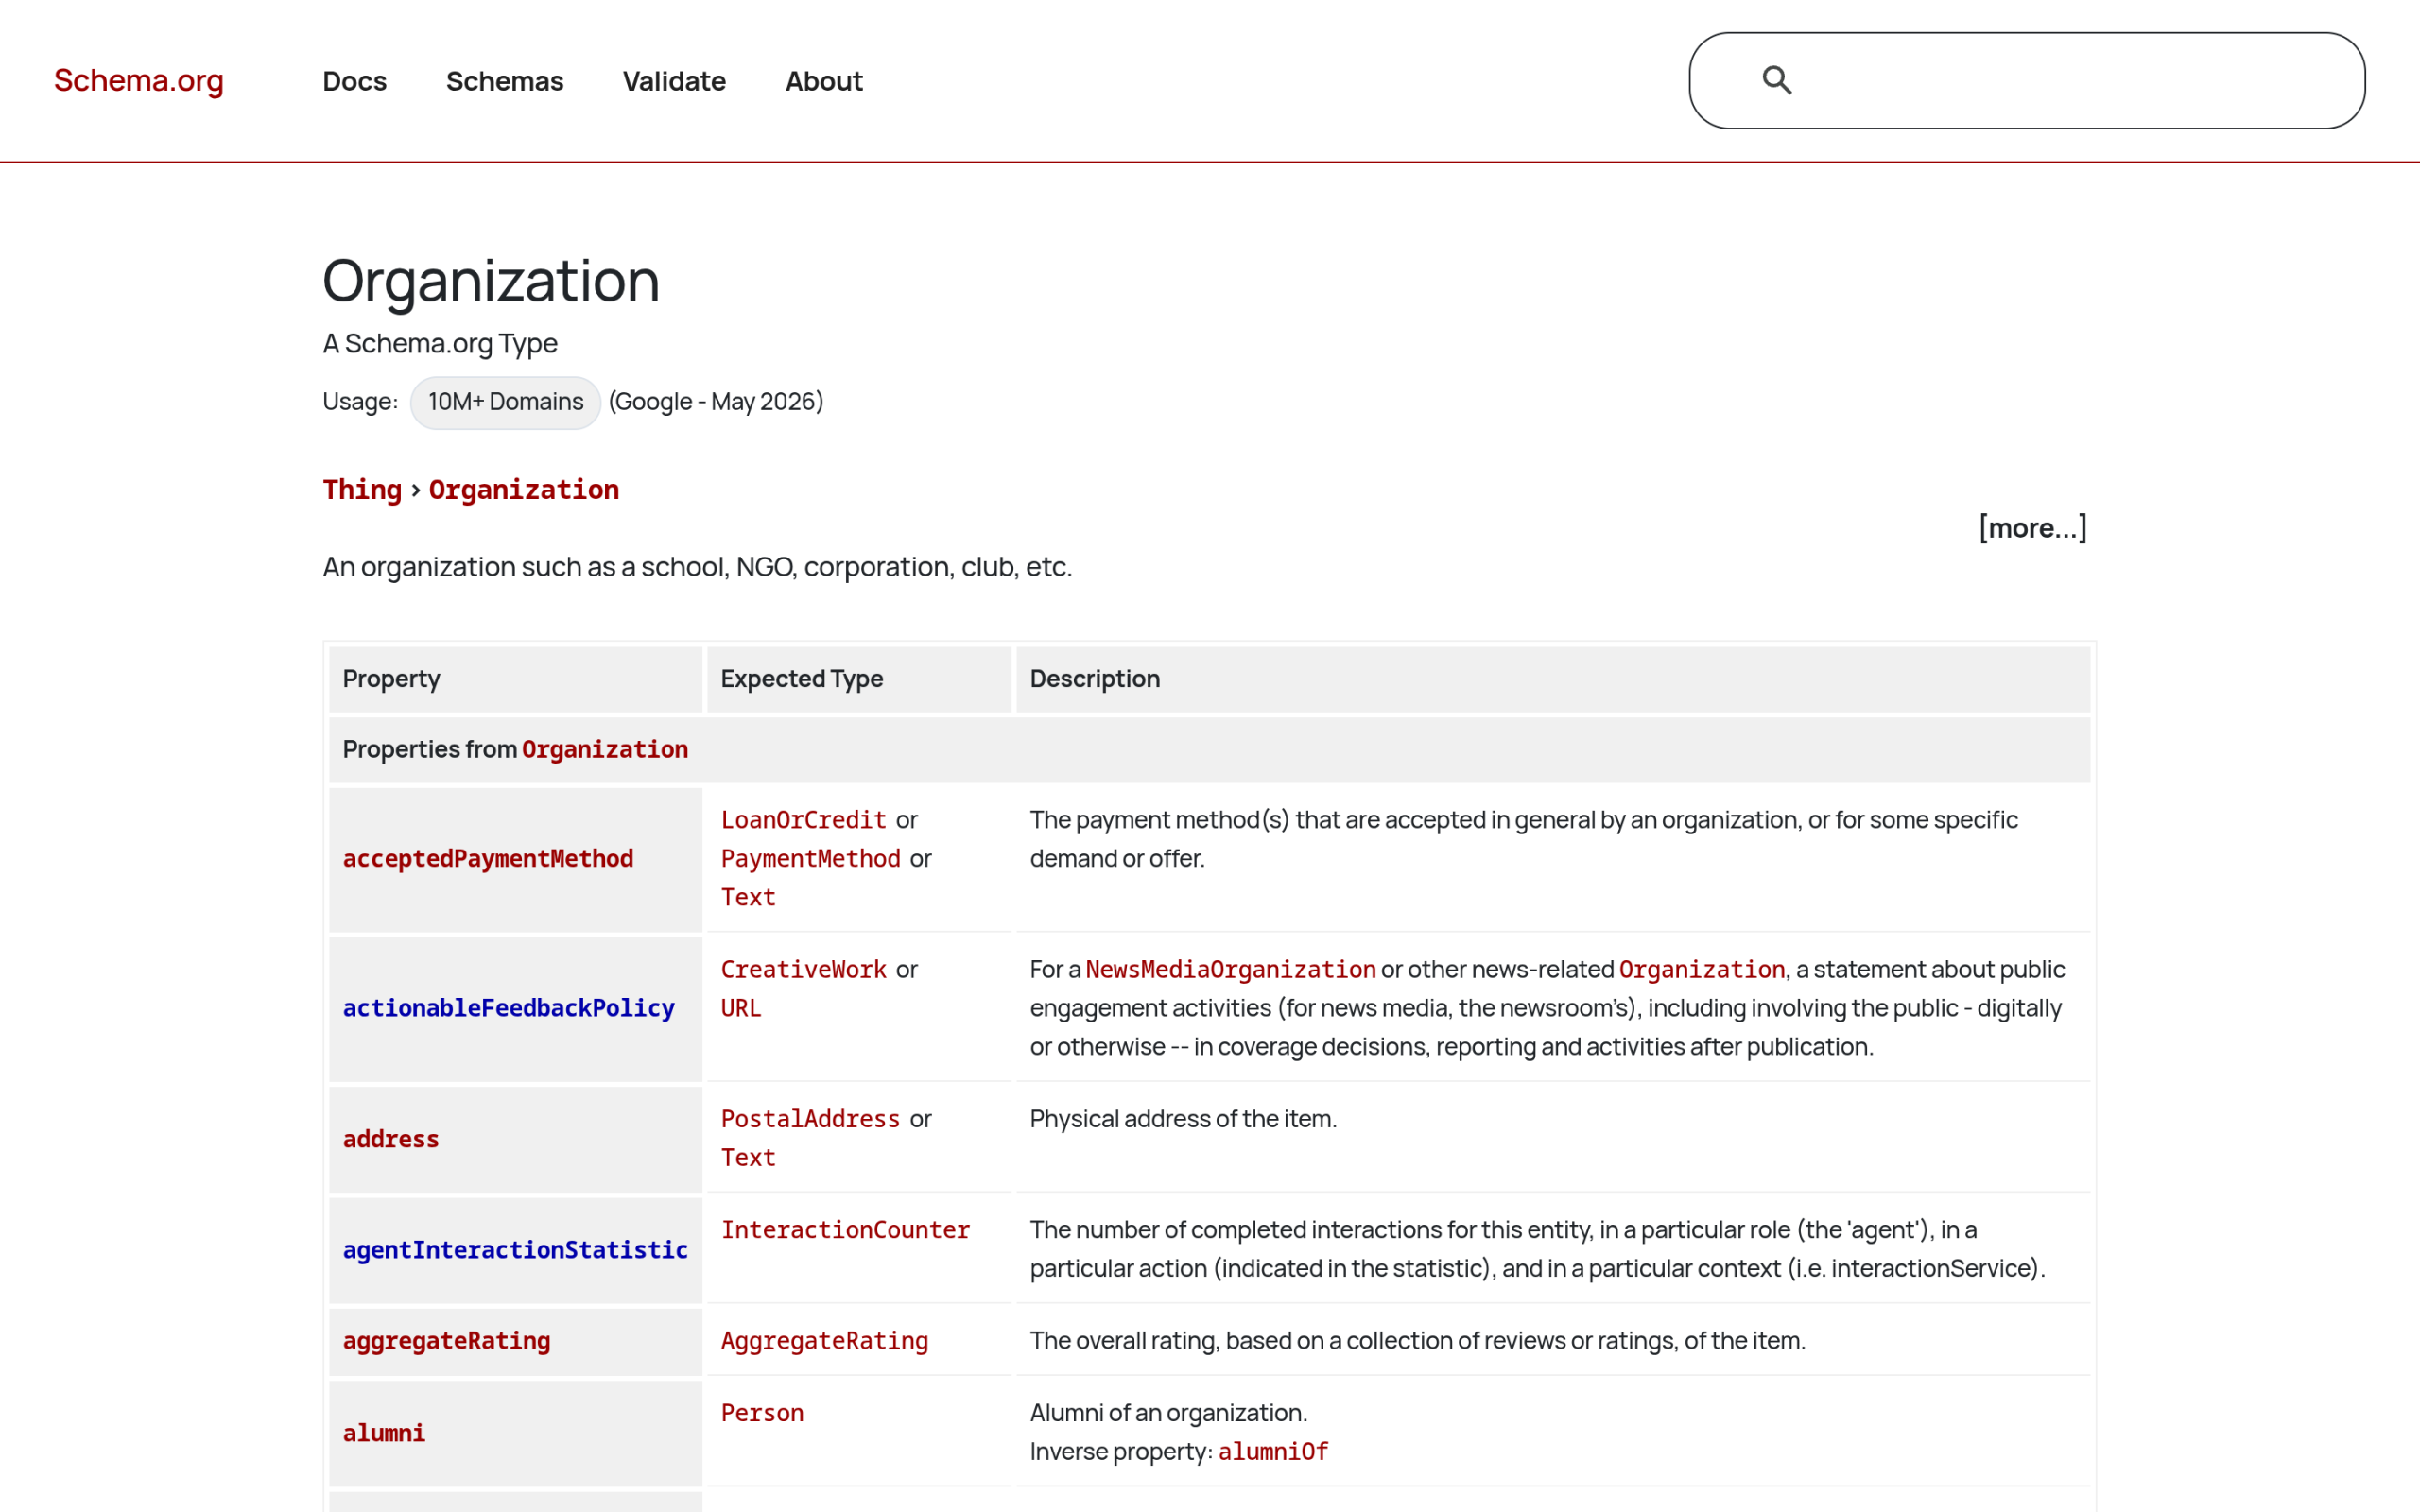The schema.org Organization type, with properties like sameAs, is how you describe your brand as a machine-readable entity. ## 6 ways to build entity SEO on WordPress None of this requires custom development. Here is the practical checklist for a WordPress site. - **Pick one entity home.** Choose the single page that represents your brand (your homepage or About page) and make it the canonical answer to "what is this company." Do not spread the definition across five thin pages.- **Add Organization schema.** Mark up your brand with the Organization type: legal name, logo, founding details, and contact points. This is the structured statement of who you are.- **Add Person schema for your authors.** Real people writing real content is an entity signal. A Person entity with a bio, photo, role, and topics ties your content to a known author.- **Use sameAs links everywhere it fits.** Connect your Organization and Person entities to Wikipedia or Wikidata where they exist, plus official LinkedIn, X, YouTube, and other verified profiles.- **Keep names and details consistent.** Use the exact same brand name, spelling, and contact details across your site, your profiles, and any directory listing. Inconsistency reads as two different things.- **Internally link to define your topics.** Link concept terms to the page that explains them, so the engine learns which topic entities you own. This is also how you build topical depth around your core subject. ***Also Read:** [E-E-A-T for AI Search](https://qa.nexterwp.com/blog/e-e-a-t-ai-search-wordpress/) explains how author and trust signals work alongside your entity, since a recognized entity still has to be a trusted one.* ## Entity SEO vs E-E-A-T vs topical authority These three get blurred together, but they answer different questions. Entity SEO answers "who are you." [E-E-A-T](https://qa.nexterwp.com/blog/e-e-a-t-ai-search-wordpress/) answers "can we trust you." [Topical authority](https://qa.nexterwp.com/blog/topical-authority-wordpress/) answers "how deeply do you cover this." You want all three, and they feed each other: a clearly recognized entity makes your trust signals legible, and deep topical coverage tells the engine which topics your entity owns. | Layer | Question it answers | Main signals | | ----- | ------------------- | ------------ | | Entity SEO | Who are you? | Entity home, Organization/Person schema, sameAs, consistent naming | | E-E-A-T | Can we trust you? | Author expertise, citations, reviews, real-world reputation | | Topical authority | How well do you cover this? | Breadth and depth of content, internal linking, content clusters | Entity SEO, E-E-A-T, and topical authority are three separate layers that reinforce one another. ## Doing it faster with RankReady Most of the entity layer comes down to structured data and clean signals, and that is exactly the kind of work worth automating. [RankReady](https://store.posimyth.com/plugins/rankready/) is a free WordPress plugin that handles the markup side of entity SEO so you are not hand-writing JSON-LD. It ships Author and Person schema from a Gutenberg block or Elementor widget, carrying the bio, photo, title, topics, and social links that define your author entity. It writes Article schema with Speakable sentences flagged, and adds FAQPage, HowTo, and ItemList markup automatically based on your content. It also generates your [llms.txt and llms-full.txt files](https://qa.nexterwp.com/blog/llms-txt-gutenberg-wordpress/) and serves a clean Markdown version of any post when you add `.md` to the URL, which is the format AI agents prefer. A per-post readiness score and a 22-signal agentic readiness scorecard tell you how machine-legible your site actually is. It is GPL licensed, runs on WordPress 6.0+ and PHP 7.4+, and keeps your data on your own server. RankReady automates the structured-data and author-signal layer that entity SEO depends on. To be clear about scope: RankReady produces the signals on your WordPress layer. It does not get you into the Knowledge Graph by itself, and nothing can guarantee a knowledge panel. What it does is make sure that when Google and AI engines come looking for who you are, the answer is sitting there in clean, consistent, machine-readable form. The schema generates the statement; you still have to earn the corroboration across the web. ## Suggested Reading - [Answer Engine Optimization (AEO): The Complete WordPress Guide](https://qa.nexterwp.com/blog/answer-engine-optimization-wordpress/)- [E-E-A-T for AI Search: How WordPress Sites Earn Trust](https://qa.nexterwp.com/blog/e-e-a-t-ai-search-wordpress/)- [What Is Topical Authority? How WordPress Sites Build It](https://qa.nexterwp.com/blog/topical-authority-wordpress/)- [Schema Markup Generator for WordPress](https://qa.nexterwp.com/blog/schema-markup-generator-wordpress/)- [Google AI Mode and AI Overviews: How to Show Up](https://qa.nexterwp.com/blog/google-sge-ai-overviews-wordpress/) --- # What Is GPTBot? Should You Allow or Block OpenAI’s Crawler on WordPress Source: https://qa.nexterwp.com/blog/gptbot-wordpress/ #### Key Takeaways - GPTBot is OpenAI's training crawler. It identifies itself with the user agent GPTBot/1.3 and collects web content to train future foundation models.- Blocking GPTBot stops your content from feeding model training. It does not stop ChatGPT from citing you, because live answers are served by two different bots: OAI-SearchBot and ChatGPT-User.- You control GPTBot with two lines in robots.txt, but robots.txt is voluntary. Verify real visits against OpenAI's published IP list at openai.com/gptbot.json.- Allow or block is a brand-strategy call, not an SEO one. Allowing bets on presence inside the model. Blocking protects your work from training.- A plugin like RankReady shows in real time which AI bots hit your site and which posts they fetch, so the decision rests on your own logs instead of guesswork. The first time GPTBot caught my attention, it was sitting in a client's access log at the bottom of an otherwise quiet Tuesday. Thousands of hits, all from one polite-looking user agent, all reading blog posts we had spent two years writing. My first instinct was the same one most site owners have: block it. Then I stopped and asked the question almost nobody answers properly. If I block this bot, what do I actually lose, and what do I actually protect? That question turns out to matter a lot, because GPTBot is the most misunderstood crawler on the web right now. People block it hoping to stay out of ChatGPT, or allow it hoping to get cited there, and both groups are often wrong about what the bot does. This guide clears that up: what GPTBot is, what allowing or blocking it really changes, and how to make the call on your own WordPress site instead of copying a robots.txt snippet you found on a forum. 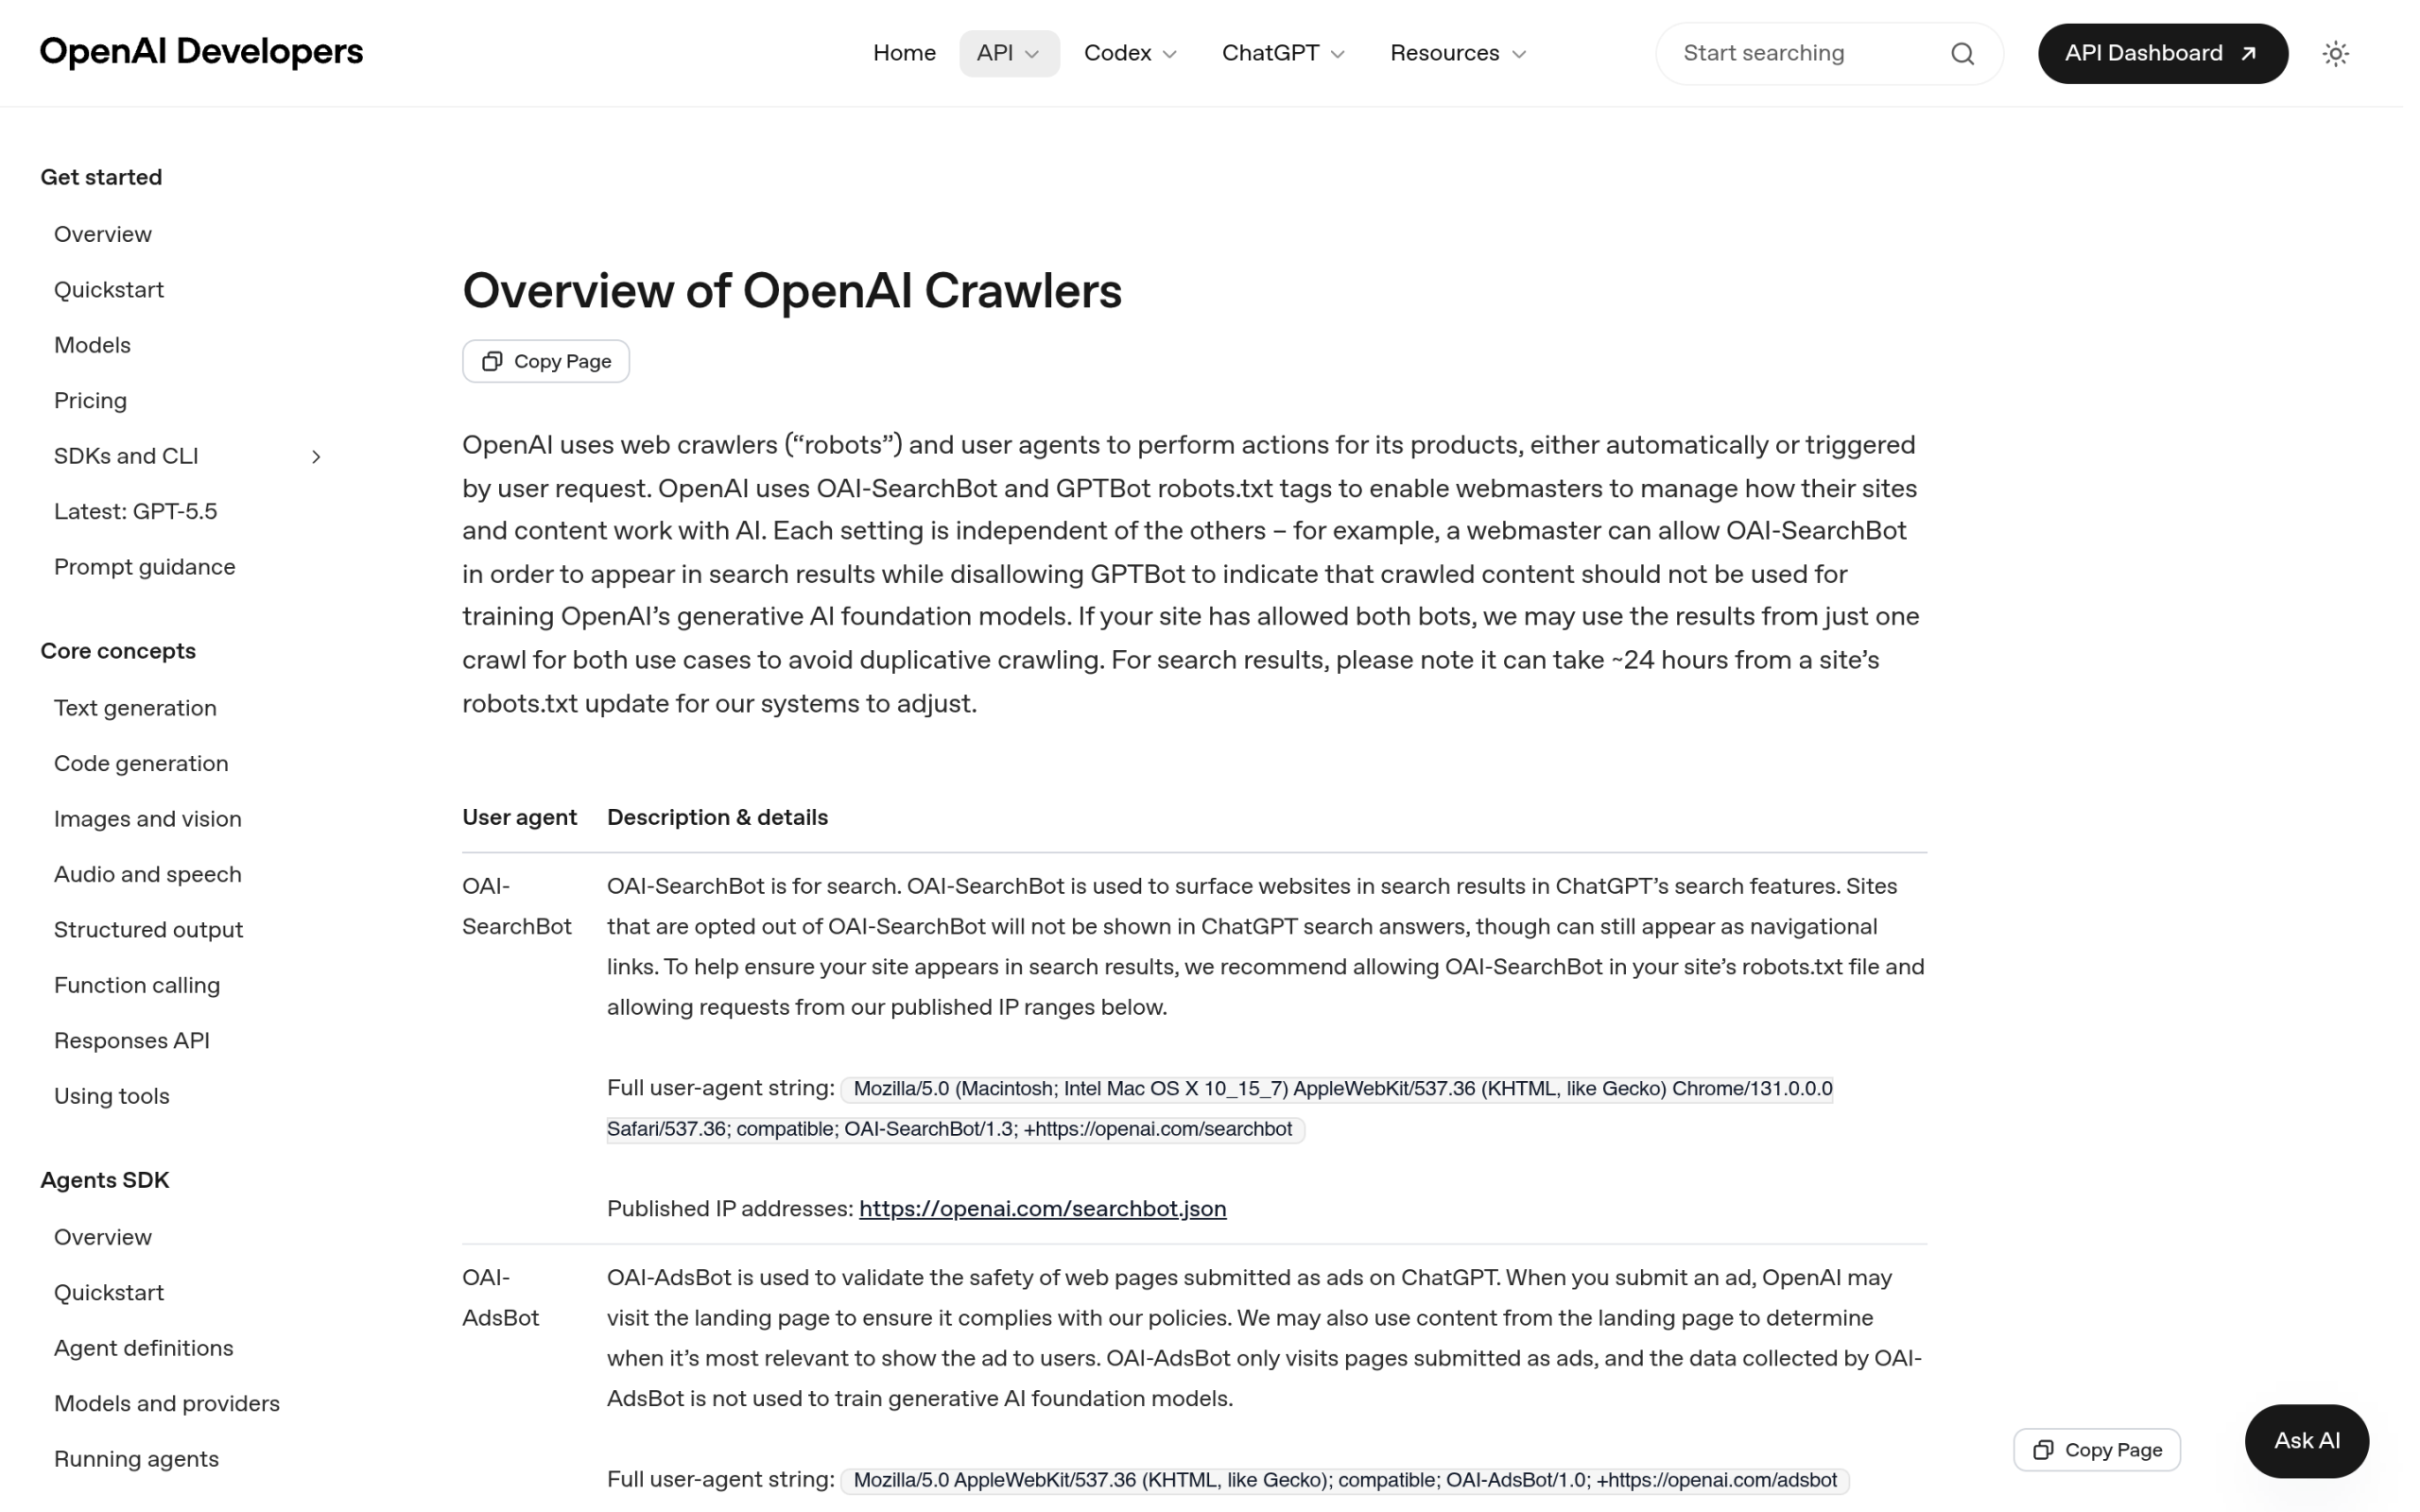OpenAI documents each of its crawlers separately. GPTBot, OAI-SearchBot and ChatGPT-User do three different jobs. Source: developers.openai.com ## What GPTBot actually is GPTBot is OpenAI's web crawler. According to OpenAI's own crawler documentation, its job is to crawl content "for training generative AI foundation models." In plain terms, it reads public web pages so that the next generation of GPT models has something to learn from. It is not the thing that answers a live ChatGPT question, and it is not the thing that pulls your page into a search result. It is the bot that gathers training material. You can spot it in your logs by its user agent. The current token is `GPTBot/1.3`, and the full string OpenAI publishes is: `Mozilla/5.0 AppleWebKit/537.36 (KHTML, like Gecko); compatible; GPTBot/1.3; +https://openai.com/gptbot` OpenAI also publishes the exact IP address ranges GPTBot crawls from in a machine-readable file at `openai.com/gptbot.json`. That file matters more than it looks, and we will come back to it when we talk about verifying that a block is actually working. ## The part everyone gets wrong: GPTBot is not how ChatGPT cites you Here is the confusion that drives almost every bad GPTBot decision. People assume that blocking GPTBot means disappearing from ChatGPT, and that allowing it is how you earn a citation. Neither is true, because OpenAI runs three separate bots and they do not share jobs. | OpenAI bot | User agent | What it actually does | | ---------- | ---------- | --------------------- | | GPTBot | GPTBot/1.3 | Crawls content to train future foundation models. Not live, not citations. | | OAI-SearchBot | OAI-SearchBot/1.3 | Surfaces websites in ChatGPT's search features. This is the one tied to being found. | | ChatGPT-User | ChatGPT-User/1.0 | Handles user-initiated actions in ChatGPT and Custom GPTs. Fires when a person asks ChatGPT to fetch your page, not on a schedule. | OpenAI's three crawlers, straight from its published documentation. Only the first one trains models. So if you block GPTBot, you are opting out of training. You are not removing yourself from ChatGPT's live search, and you are not stopping a user from asking ChatGPT to read your URL. Those run through [OAI-SearchBot](https://qa.nexterwp.com/blog/oai-searchbot-wordpress/) and [ChatGPT-User](https://qa.nexterwp.com/blog/chatgpt-user-wordpress/), which are governed by their own robots.txt rules. Block the wrong one and you can quietly cut yourself out of AI search while still feeding training, which is the exact opposite of what most people intend. ***Also Read:** [OAI-SearchBot on WordPress: the bot that actually decides if ChatGPT can find you](https://qa.nexterwp.com/blog/oai-searchbot-wordpress/), the companion to this guide.* ## Should you allow or block GPTBot? Once you know GPTBot only affects training, the decision gets simpler and a lot less emotional. There is no SEO penalty for blocking it and no ranking reward for allowing it. It is a strategy choice about whether you want your content inside the models OpenAI trains next. **Reasons to allow GPTBot.** If your brand, your product names, or your point of view being absorbed into future models is a win, allow it. A how-to publisher, a documentation site, or a brand that wants to be the default answer when someone asks a model about your category all benefit from being in the training set. You are making a long-term presence bet. **Reasons to block GPTBot.** If your content is your product, paywalled, licensed, or simply something you do not want reused without credit, block it. News archives, premium research, original photography, and course material are common cases. Blocking costs you nothing in search visibility, because, again, search runs on a different bot. A reasonable middle path exists too. Plenty of sites allow OAI-SearchBot and ChatGPT-User so they stay eligible for live AI answers, while blocking GPTBot so their archive is not swept into training. That combination is coherent, and it is only possible once you stop treating the three bots as one thing. ## How to block or allow GPTBot on WordPress GPTBot honors robots.txt, so the control lives there. To block it from your whole site, add these two lines: `User-agent: GPTBot Disallow: /` To allow it everywhere, either leave it out of robots.txt entirely (no rule means allowed) or be explicit: `User-agent: GPTBot Allow: /` You can also block only part of the site, which is often the smarter move. The rule below lets GPTBot read your public guides but keeps it out of members content: `User-agent: GPTBot Disallow: /members/ Disallow: /courses/` On WordPress you rarely edit robots.txt by hand. If you run Rank Math or Yoast, both ship a robots.txt editor under their settings, and your rules go in there. If you want a cleaner workflow, a [WordPress robots.txt generator](https://qa.nexterwp.com/blog/robots-txt-generator-wordpress/) lets you build and validate the file without touching code, and the wider question of which bots belong in that file is covered in our guide to [managing AI crawlers in your robots.txt](https://qa.nexterwp.com/blog/wordpress-robots-txt-ai-crawlers-gutenberg/). One honest caveat. robots.txt is a request, not a wall. Well-behaved bots like GPTBot obey it, and OpenAI states GPTBot respects it, but a directive in a text file is not enforcement. If you need a hard block, you do it at the server or firewall level using the published IP ranges, not robots.txt alone. ***Also Read:** [The full list of web crawlers hitting WordPress sites](https://qa.nexterwp.com/blog/web-crawlers-list/), so you know who else is in your logs besides GPTBot.* ## How to verify GPTBot is really hitting you, and that your rule works 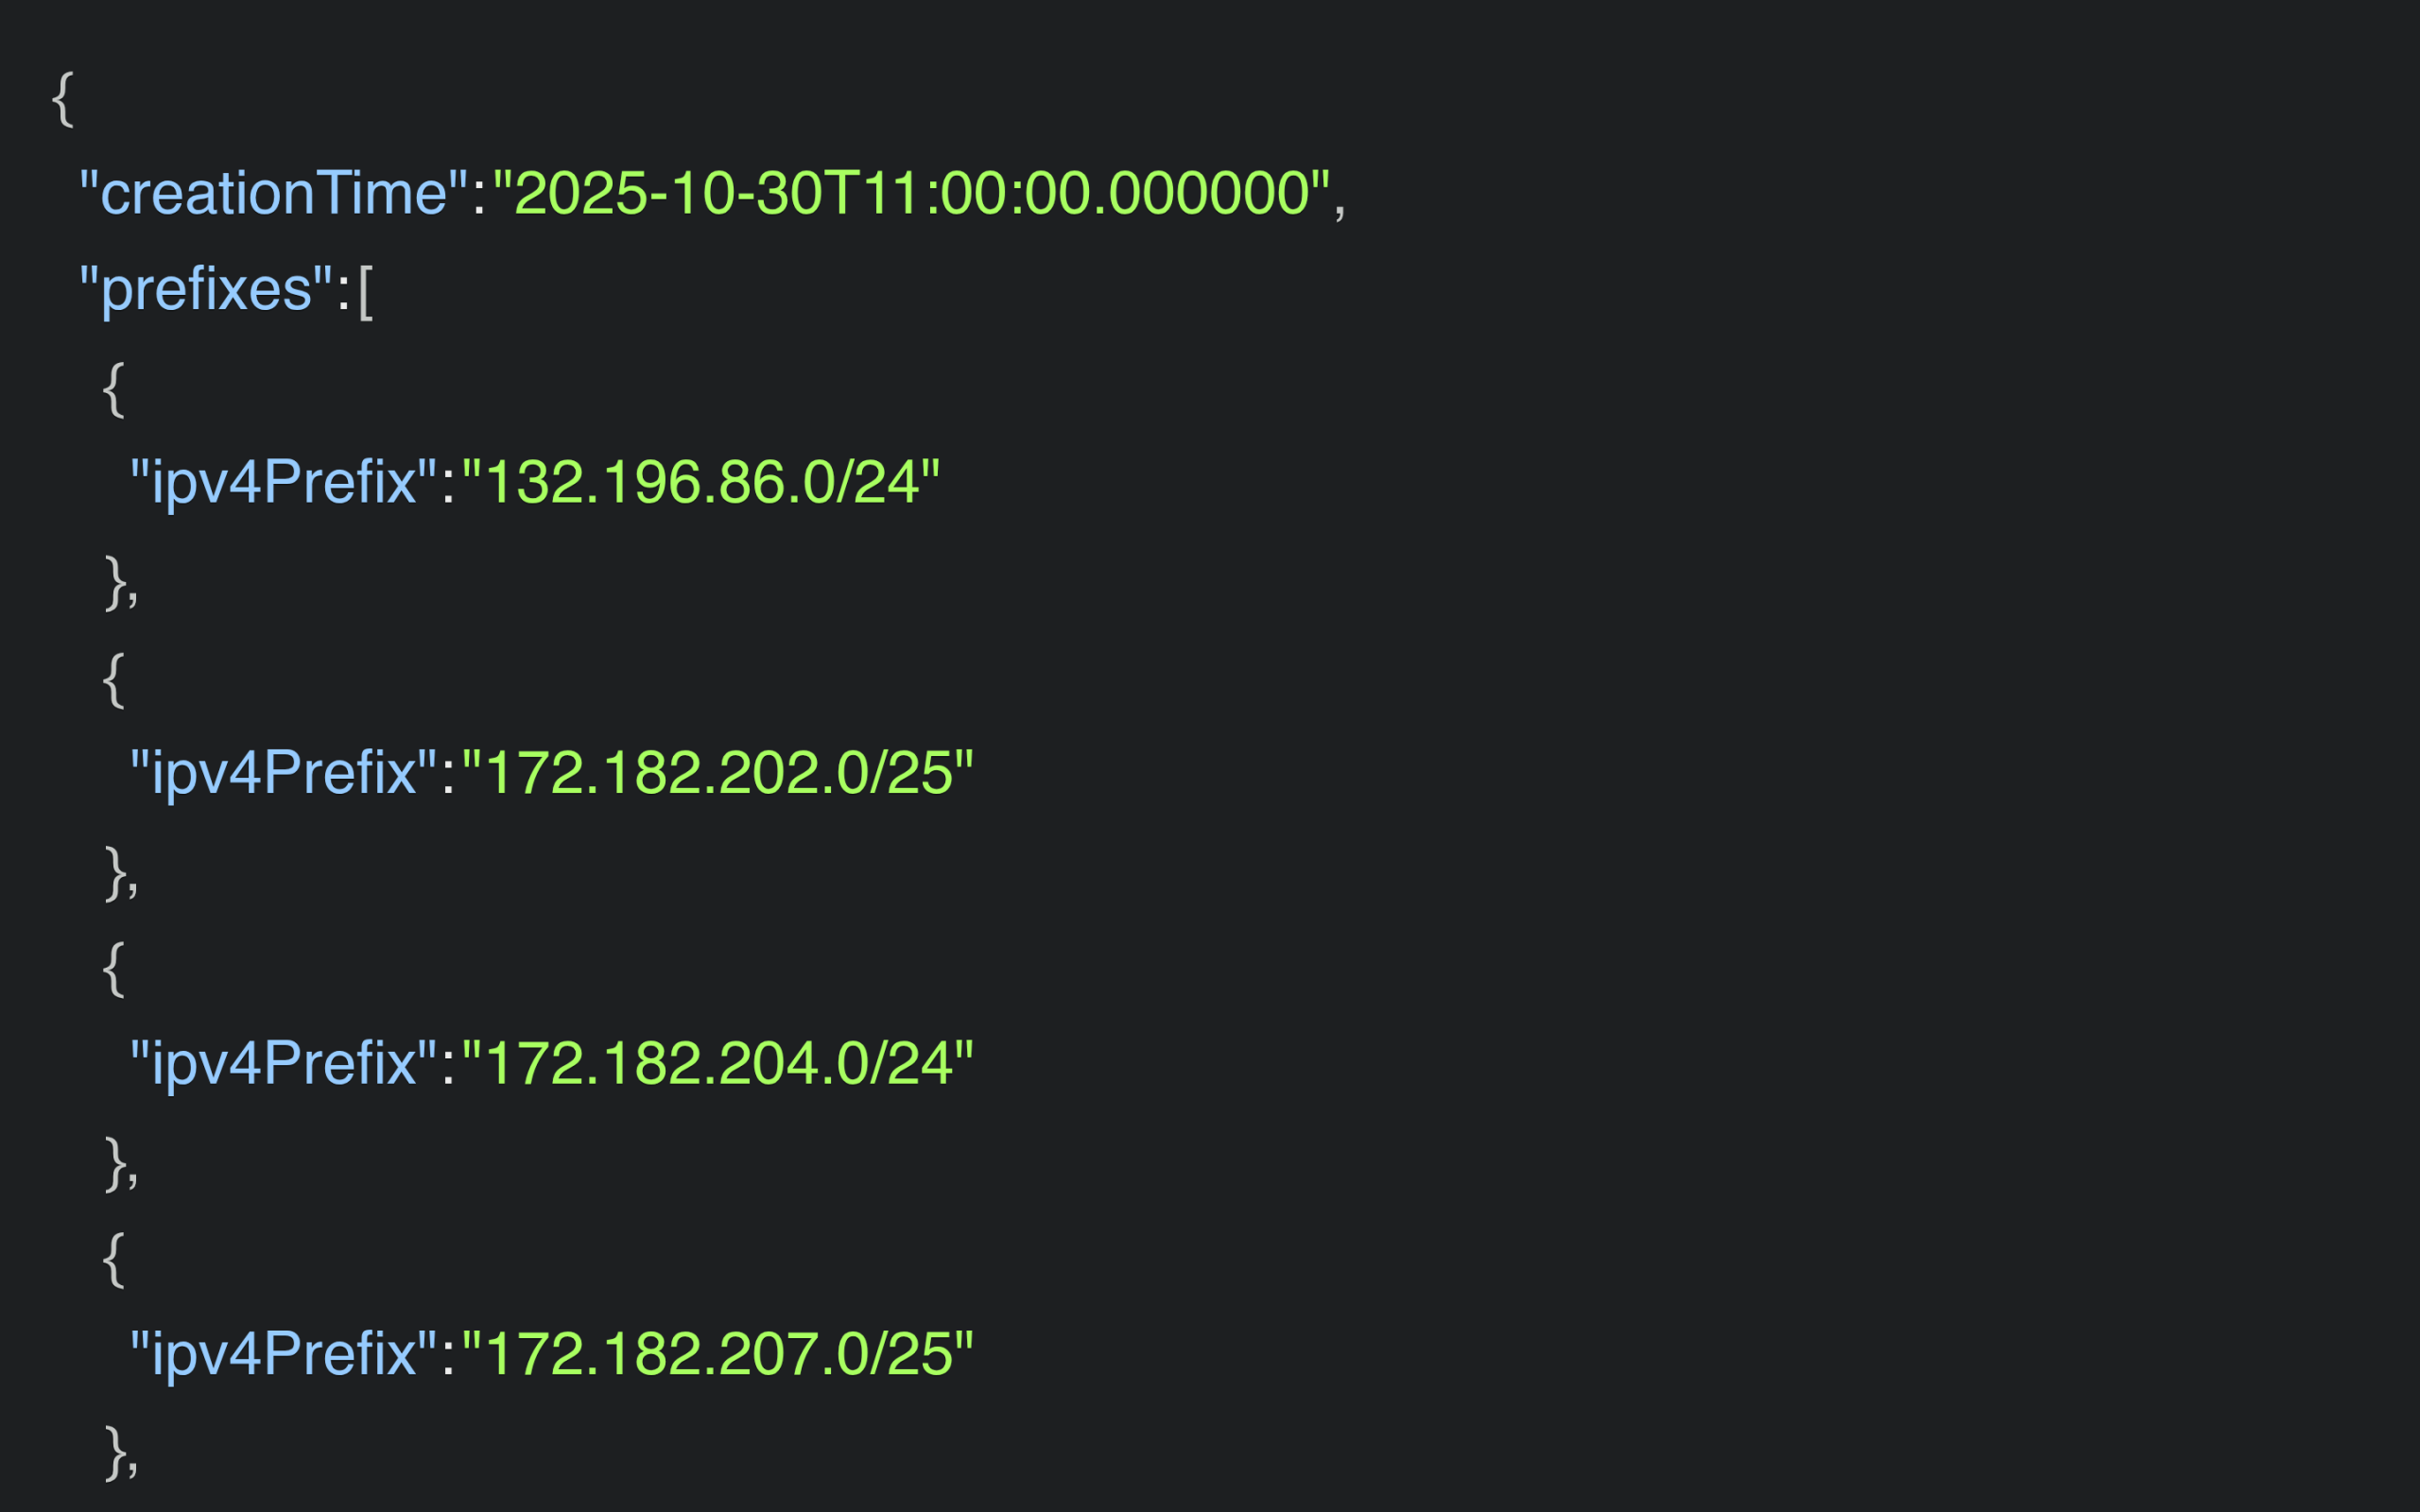OpenAI publishes GPTBot's exact IP ranges at openai.com/gptbot.json. Use it to confirm a hit is genuine. Setting a rule is easy. Knowing it worked is the part people skip. Two checks tell you the truth. First, confirm the visitor is actually GPTBot and not something wearing its name. Anyone can fake a user agent string, so cross-check the request's IP against OpenAI's published list at `openai.com/gptbot.json`. If the IP is in that file, it is the real crawler. If it claims to be GPTBot but the IP is not on the list, it is an impostor and your robots.txt rule will not stop it anyway. Second, watch your logs after you change the rule. If you blocked GPTBot, real visits from those IP ranges should taper off within a few days as the crawler re-reads your robots.txt. If they keep coming from verified OpenAI IPs, your rule is not being served correctly, often because a caching plugin or CDN is serving a stale robots.txt. Reading a raw access log for one user agent across thousands of lines is miserable by hand, which is exactly where a tool earns its place. ## Watch GPTBot in real time with RankReady RankReady's live AI Crawler Log records every AI bot hit with timestamp, page and bot name. Source: store.posimyth.com [RankReady](https://store.posimyth.com/plugins/rankready/) is a free WordPress plugin built for exactly this problem. Its live AI Crawler Log shows you, in its own words, every time an AI bot hits your site: the timestamp, the page, the bot name, and what it was likely doing. It tracks 31 AI crawlers, including GPTBot, ClaudeBot, PerplexityBot and Google-Extended, and gives you an allow-or-block control for each one, so you can make the GPTBot decision from your actual traffic rather than a forum guess. It also closes the loop the other bots open. Because GPTBot only handles training, the thing you really want to know is whether the citation bots are fetching you and whether ChatGPT, Perplexity and Google AI are actually pulling your posts. RankReady's citation candidates view is a 30-day leaderboard of your own posts that citation-style bots fetched, alongside AI referral traffic and a per-post readiness score. It also generates an llms.txt and llms-full.txt file plus a Markdown copy of every post, which is how you make your content easy for those engines to read in the first place. It is free, forever, with no credit card, released under the GPL-2.0-or-later license, and runs on WordPress 6.0 or newer with PHP 7.4 or newer. If your goal is to be [found and cited by answer engines](https://qa.nexterwp.com/blog/answer-engine-optimization-wordpress/) rather than just scraped for training, seeing the bots is the first step. ## The bottom line on GPTBot GPTBot is a training crawler, nothing more. Blocking it protects your content from being used to train future models and costs you zero search or citation visibility. Allowing it is a bet that being inside the model is worth more than keeping your archive out of it. The mistake is treating that single bot as your whole relationship with ChatGPT, when OAI-SearchBot and ChatGPT-User are the ones that decide whether you show up in answers. Make the GPTBot call on purpose, set it in robots.txt, verify it against the published IP list, and keep an eye on your logs so the decision stays a decision instead of a guess. ## Suggested Reading - [OAI-SearchBot on WordPress: how OpenAI decides if ChatGPT can find you](https://qa.nexterwp.com/blog/oai-searchbot-wordpress/)- [ChatGPT-User on WordPress: the bot that fires when someone shares your link](https://qa.nexterwp.com/blog/chatgpt-user-wordpress/)- [The web crawlers list: every bot reading your WordPress site](https://qa.nexterwp.com/blog/web-crawlers-list/)- [WordPress robots.txt for AI crawlers: what to allow and block](https://qa.nexterwp.com/blog/wordpress-robots-txt-ai-crawlers-gutenberg/)- [Answer engine optimization for WordPress: getting cited by AI](https://qa.nexterwp.com/blog/answer-engine-optimization-wordpress/) --- # Rank Math vs Yoast SEO: Which WordPress SEO Plugin Wins in 2026? Source: https://qa.nexterwp.com/blog/rank-math-vs-yoast/ #### Key Takeaways - Rank Math and Yoast SEO are the two most-installed WordPress SEO plugins. Both handle titles, meta, schema, XML sitemaps, and content analysis well, so you will rank fine on Google with either one.- Rank Math packs more into its free version (unlimited focus keywords, a redirection manager, 24 schema types, Search Console built in) and wins on features per dollar. PRO starts at $5.99/month billed annually.- Yoast SEO is the simpler, more guided experience with a large support ecosystem. Premium is $118.80 per year and adds redirects, internal linking suggestions, and optimization for up to 5 keywords.- Neither plugin is built to get your content read and cited by AI answer engines like ChatGPT, Perplexity, and Google AI Overviews. That is the gap RankReady fills, free.- For most sites in 2026: pick Rank Math or Yoast for on-page SEO based on preference, then add RankReady for AI citations. They run together without conflict. The first plugin I ever installed on a fresh WordPress site was an SEO plugin, and the first real argument I had with a teammate was about which one. He swore by Yoast because that is what he learned on. I had switched to Rank Math the year before and did not want to go back. We were both right, which is the annoying part. Years later the question still lands in my inbox most weeks: Rank Math or Yoast? Here is the honest answer up front. For ranking on Google, both are excellent and the choice mostly comes down to taste. What almost nobody asks, and what actually matters more in 2026, is a third question: once you have picked one, is your content ready to be found and cited by AI answer engines? Neither Rank Math nor Yoast was built for that. Let us compare the two properly, then deal with the part they both leave out. ## Rank Math vs Yoast at a glance Both plugins do the core job: they let you control titles and meta descriptions, output structured data, generate XML sitemaps, and score your content as you write. The differences are in how much sits behind a paywall and how the experience feels. Here is the side by side. | Feature | Rank Math | Yoast SEO | | ------- | --------- | --------- | | Focus keywords (free) | Unlimited | 1 (up to 5 in Premium) | | Schema / structured data | 24 types free, 840+ in PRO | Automated default schema graph | | Redirection manager | Free (301/302/307/410/451 + regex) | Premium only | | 404 monitor | Free | Not included | | Internal linking suggestions | Free + AI Link Genius in PRO | Premium only | | Search Console integration | Built in (free) | Via integration | | Readability analysis | Yes | Yes (a Yoast signature) | | Free version | Generous | Solid | | Entry paid price | PRO from $5.99/mo (annual) | $118.80/year | Both cover the SEO fundamentals. Rank Math puts more in the free tier; Yoast leans on a simpler, more guided experience. ## What Rank Math does well Rank Math has grown into the feature-heavy choice, with more than 4 million users and a 4.8 satisfaction rating across 7,439 reviews on WordPress.org. Its pitch is simple: put as much as possible in the free version. That free version includes a full redirection manager with 301, 302, 307, 410, and 451 types plus regex, a 404 monitor, 24 schema types, unlimited focus keywords, a role manager, and Google Search Console integration right inside the dashboard. The setup wizard walks you through configuration step by step, and the on-page analysis checks your content against 30 known ranking factors as you write. If you like seeing every dial and toggle, Rank Math gives you the most surface area for nothing. PRO then adds 840+ schema types, advanced analytics with GA4, a keyword rank tracker, and AI features like AI Link Genius. Rank Math: 4 million+ users and a 4.8 rating across 7,439 reviews. Source: rankmath.com. ***Also Read:** [Rank Math vs RankReady](https://qa.nexterwp.com/blog/rank-math-vs-rankready/) covers the traditional-SEO versus AI-citation split if Rank Math is the plugin you already run.* ## What Yoast SEO does well Yoast SEO is the original mainstream WordPress SEO plugin and still one of the most widely installed. Its strength is not feature count, it is guidance. The traffic-light readability and SEO analysis is the clearest in the category, which is why so many writers and smaller teams learn SEO on Yoast and never feel lost. The free version covers real-time SEO and readability analysis, XML sitemaps, automated schema markup, technical SEO error detection, and keyword optimization guidance. Yoast SEO Premium, at $118.80 per year for one site, adds optimization for up to 5 keywords plus synonyms and related terms, a redirect manager, internal linking suggestions, AI-generated titles and descriptions, a social preview, 24/7 expert support, and bundled Local, Video, and News SEO plugins. If you want a plugin that holds your hand and a support line when you are stuck, Yoast is the safer pick. Yoast SEO: guided analysis and a large support ecosystem; Premium is $118.80/year. Source: yoast.com. ## Setup and ease of use This is where personal taste decides it. Yoast leans on a guided configuration and famously readable green-yellow-red scoring, so a first-time user gets to a sensible setup quickly and always knows what to fix next. Rank Math also ships a setup wizard, but it exposes far more options along the way. Power users love that; beginners can find it busy. If you manage one site and write your own content, Yoast feels calmer. If you run several sites or want maximum control without paying, Rank Math rewards the extra clicks. Neither is wrong. Migration between them is also straightforward, since both can import the other's data, so you are not locked in. ## Pricing compared Both are free to start, and for many sites the free version is genuinely enough. The split shows up when you need premium features. - **Rank Math:** PRO from $5.99/month billed annually (1,000 tracked keywords), Business at $19.99/month annually (20,000 keywords, 200 client sites), and Agency at $44.99/month annually (75,000 keywords, 750 sites). A Rank Math + WP Rocket bundle runs $10.99/month annually.- **Yoast SEO:** Premium is $118.80 per year (ex VAT) for one website, with the Local, Video, and News add-ons bundled in. On raw price, Rank Math's entry PRO tier is cheaper and its free version does more, including redirects that Yoast keeps behind Premium. Yoast's value is the bundled add-ons and the support. For a single content site, Rank Math free or PRO usually costs less for the same job. 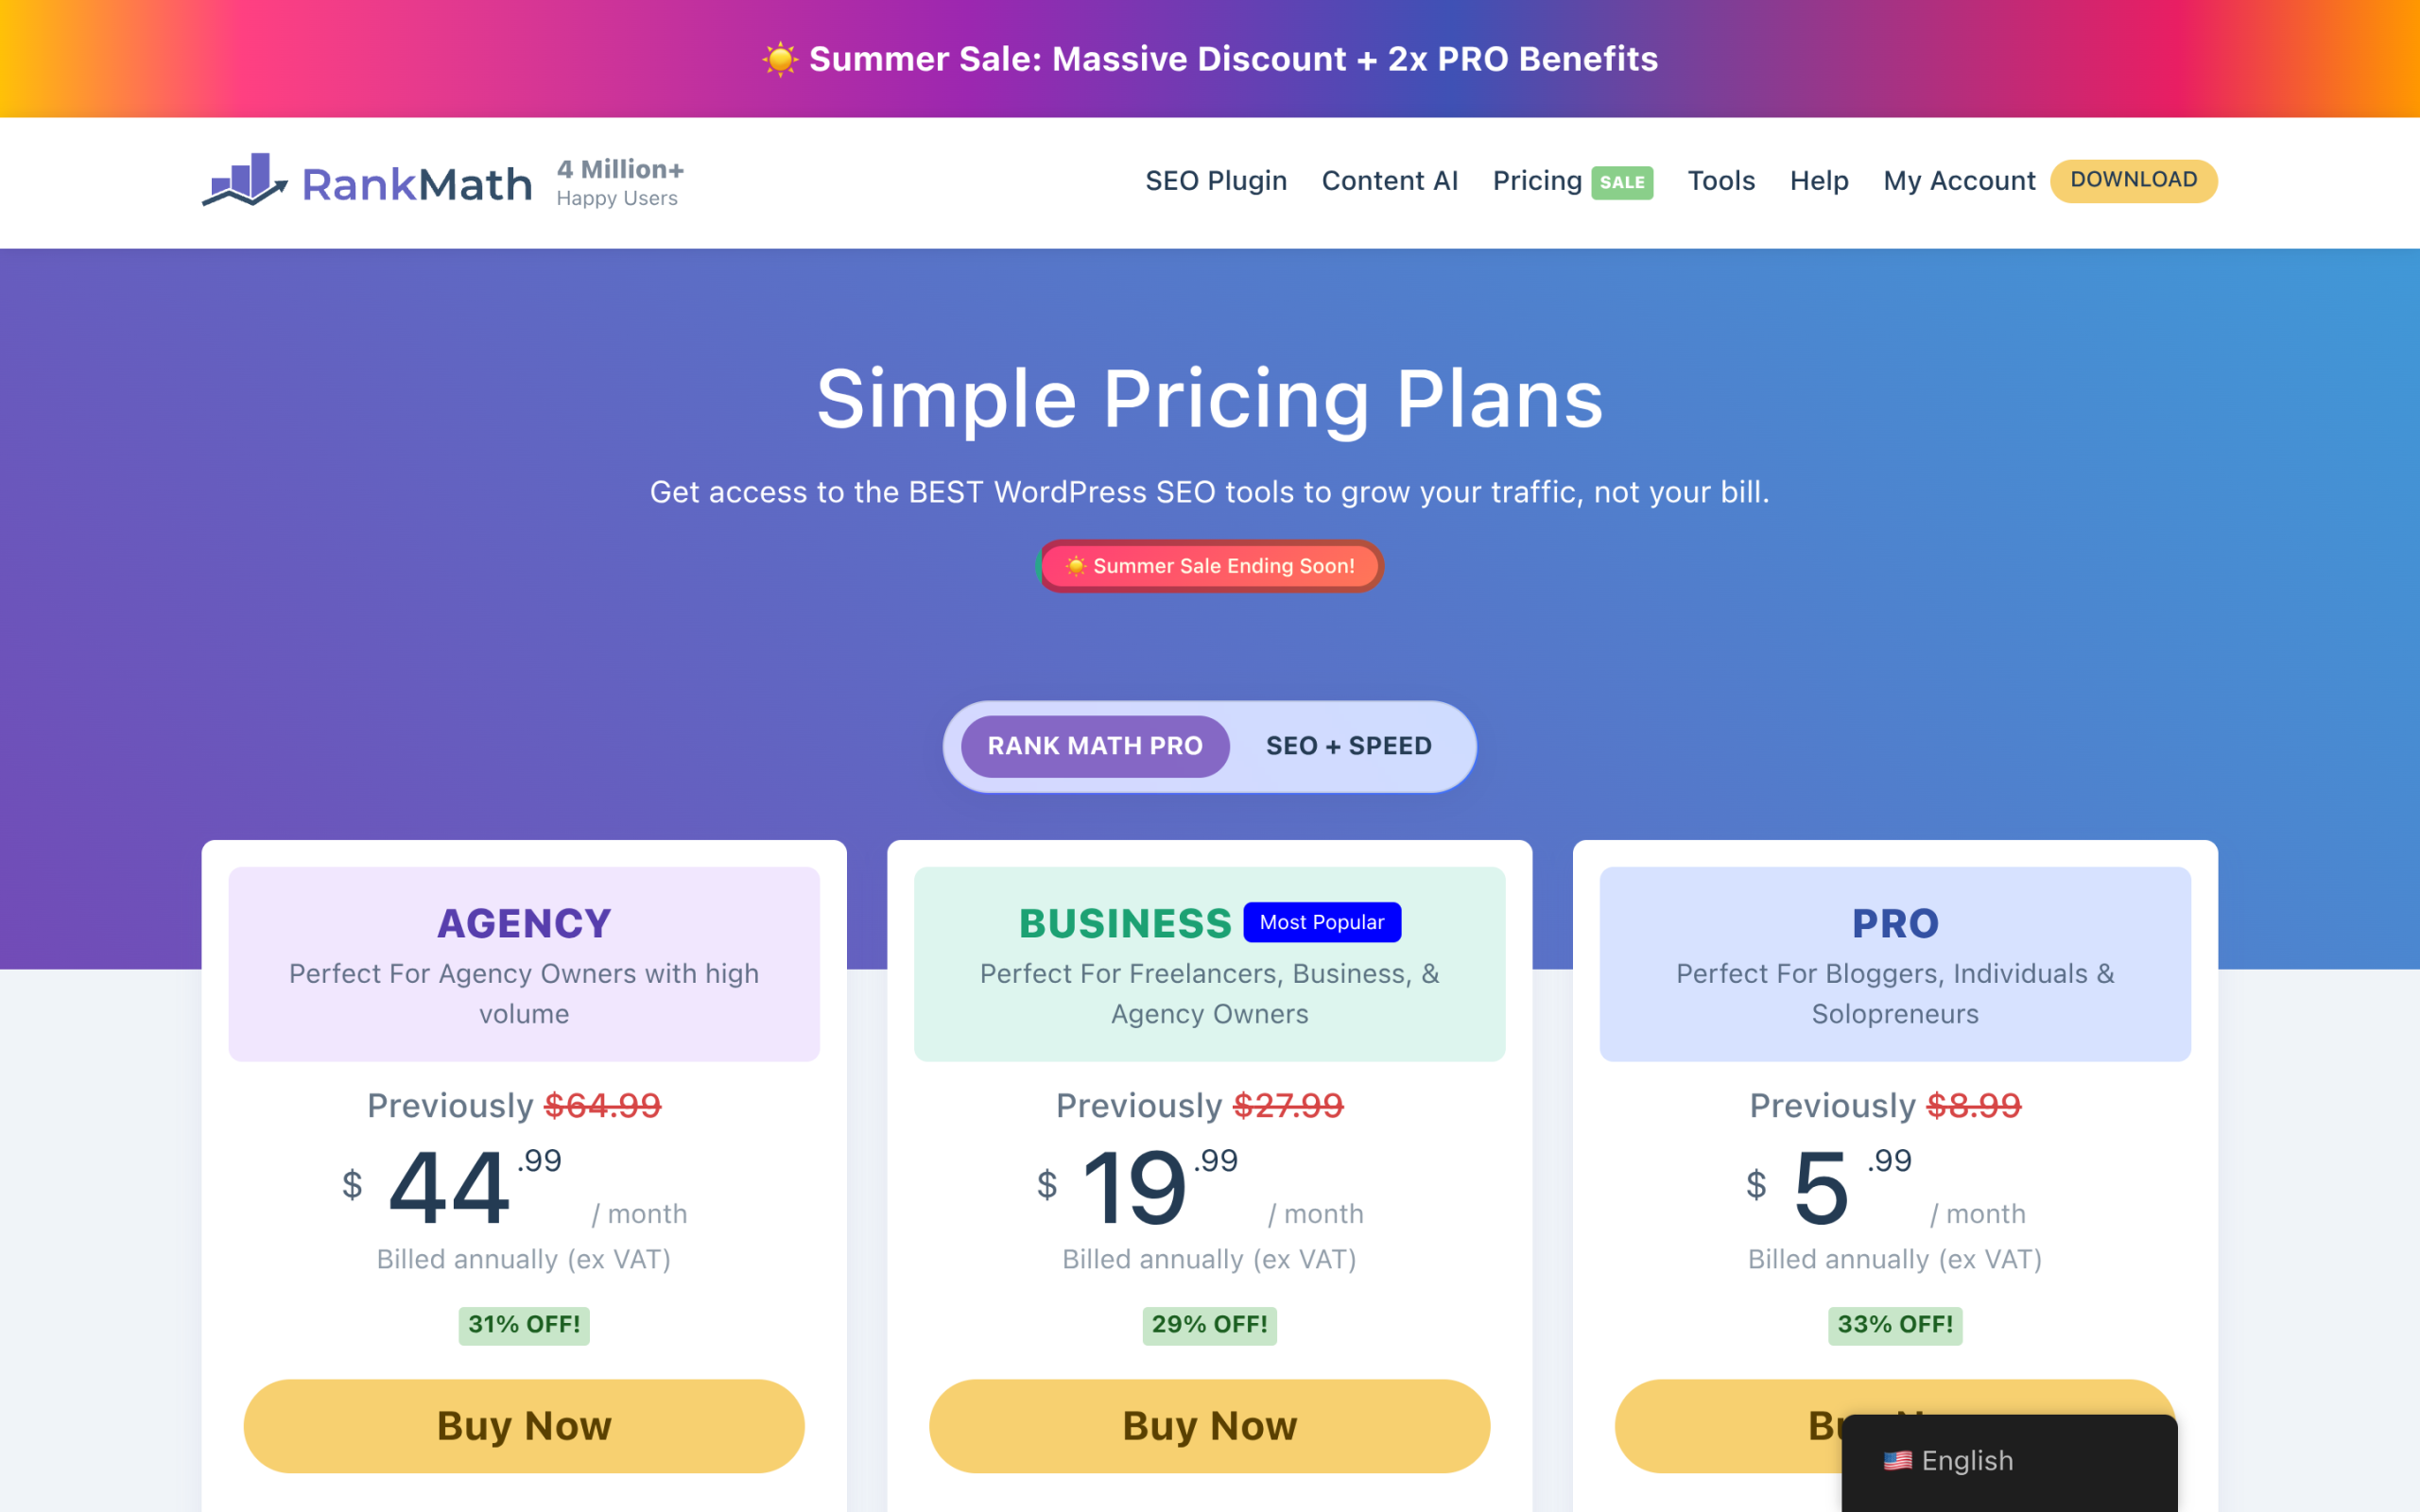Rank Math pricing: PRO from $5.99/mo billed annually, up to Agency at $44.99/mo. Source: rankmath.com/pricing. ## The gap both Rank Math and Yoast leave open Here is the part the usual comparison posts skip. Rank Math and Yoast are both excellent at one thing: helping Google rank your page. Both have started bolting on AI writing helpers, and Yoast Premium will generate titles and descriptions for you. But generating text with AI is not the same as being optimized to be cited by AI. That second job, answer engine optimization, needs three things a title-and-meta plugin does not provide. - **Crawler access control:** the ability to allow or block individual AI crawlers like GPTBot, ClaudeBot, and PerplexityBot, rather than one blanket switch.- **Machine-readable delivery:** an llms.txt file and a clean Markdown copy of each post, so a model can fetch your content without parsing a themed HTML page.- **Measurement:** a way to see which AI bots actually fetched which pages, which posts get pulled as citation candidates, and how much referral traffic ChatGPT or Perplexity sent you. That last one is the gap that stings. A green SEO score tells you Google should like your page. It tells you nothing about whether ChatGPT read it last week or whether your answer made it into an AI Overview. You cannot improve what you cannot see, and neither Rank Math nor Yoast shows you AI behavior. ***Also Read:** [Answer Engine Optimization: The Complete WordPress Guide](https://qa.nexterwp.com/blog/answer-engine-optimization-wordpress/) walks through the full AEO playbook if the idea is new to you.* ## Where RankReady fits RankReady is a free, GPL-2.0 plugin from POSIMYTH Innovations built for exactly that missing layer. It does not replace Rank Math or Yoast, and it is documented to run alongside both (plus AIOSEO, SEOPress, The SEO Framework, and Slim SEO) without emitting duplicate schema. It needs WordPress 6.0+ and PHP 7.4+. - **AI crawler control:** individual allow or block toggles for 31 AI crawlers.- **llms.txt generation:** automatic `/llms.txt` and `/llms-full.txt` files, plus a Markdown version of every post.- **AI-ready schema:** Article, Speakable, FAQPage, HowTo, ItemList, and Person schema that merges into your existing graph.- **Live AI crawler log:** a timestamped record of which AI bots fetched which pages.- **Citation candidates and AI referral tracking:** a leaderboard of fetched posts plus referral traffic from chatgpt.com, perplexity.ai, claude.ai, and more.- **Per-post readiness score:** a 0 to 100 score and an agentic readiness scorecard for each post. RankReady: a free GPL-2.0 plugin that adds the AI-citation layer Rank Math and Yoast do not cover. Source: store.posimyth.com/plugins/rankready. So the cost comparison is not really plugin against plugin. It is: keep the SEO plugin you prefer, and add a free AEO layer on top. That is the stack most sites land on once AI traffic starts showing up in their analytics. ## The verdict: which should you choose? - **You want the most features for free, or you manage multiple sites:** Rank Math. The free version does more, including redirects and unlimited keywords, and PRO is cheaper at entry.- **You want the simplest, most guided experience with strong support:** Yoast SEO. The analysis is the clearest in the category and Premium bundles useful add-ons.- **You care about AI search, not just Google:** whichever traditional plugin you pick, add RankReady. It fills the answer-engine gap both leave open, and it is free. The Rank Math versus Yoast debate my teammate and I had years ago never really had a loser, and it still does not. Pick the on-page tool that fits how you work. The real change in 2026 is the second decision: ChatGPT, Perplexity, and Google AI Overviews are now a genuine discovery channel, and they read your site differently than Googlebot does. The free move is to add the AEO layer and start measuring whether the machines can see you. [Get RankReady free →](https://store.posimyth.com/plugins/rankready/) ## Suggested Reading - [Rank Math vs RankReady](https://qa.nexterwp.com/blog/rank-math-vs-rankready/): traditional SEO versus the AI-citation layer, head to head.- [SEOPress vs RankReady](https://qa.nexterwp.com/blog/seopress-vs-rankready/): the same comparison with SEOPress as the traditional plugin.- [5 Best WordPress SEO Plugins Using AI](https://qa.nexterwp.com/blog/best-wordpress-seo-plugins-using-ai/): where Rank Math, Yoast, and RankReady sit in the wider field.- [Answer Engine Optimization for WordPress](https://qa.nexterwp.com/blog/answer-engine-optimization-wordpress/): the full AEO method, step by step.- [Do You Actually Need an AI SEO Tool?](https://qa.nexterwp.com/blog/ai-seo-tool-wordpress/): what these tools do and how to choose. --- # 7 Best News Aggregator Websites to Follow in 2026 Source: https://qa.nexterwp.com/blog/best-news-aggregator-websites/ A while back I counted the browser tabs open on my second monitor. Fifteen. Every one was a news site or a blog I was supposed to be keeping an eye on, and I was actually reading maybe two of them. The rest were just guilt with a favicon. That is the exact problem a news aggregator solves. Instead of visiting fifteen sites, you point one tool at all of them and read the headlines in a single feed. Less tab clutter, less time lost, and a much better chance you actually see the story that matters. Below are seven news aggregator websites worth using in 2026, sorted by who each one is really for. After the tools, I will show you how to build your own aggregator on WordPress if you want a feed for one specific topic or community. ## What Is a News Aggregator? A news aggregator is a website or app that collects stories from many publishers and shows them in one place. Instead of opening each site on its own, you get headlines, summaries, and links pulled together into a single feed you can scan in a few minutes. Most aggregators work from RSS feeds, which are simple files that sites publish every time they post something new. The aggregator checks those feeds, grabs the fresh items, and groups them by topic, source, or popularity. You are also likely to hear them called feed readers or content aggregators, which mean the same thing. ## How to Choose a News Aggregator The right tool depends on how you actually read. Before you sign up for anything, decide which of these you are: - **The casual reader.** You want a clean feed of the day's big stories with zero setup. Google News and Flipboard are made for you.- **The RSS power user.** You follow dozens of niche blogs and want filters, folders, and search. Feedly, Inoreader, and NewsBlur fit here.- **The bias-checker.** You want to see how different outlets frame the same story and avoid an echo chamber. Ground News is built for exactly this.- **The niche follower.** You only care about one field, like design or startups. A focused reader like Panda saves you the noise. Keep that profile in mind as you read. It is the fastest way to skip the six tools that are wrong for you and commit to the one that is right. ## The 7 Best News Aggregator Websites in 2026 ## 1. Google News 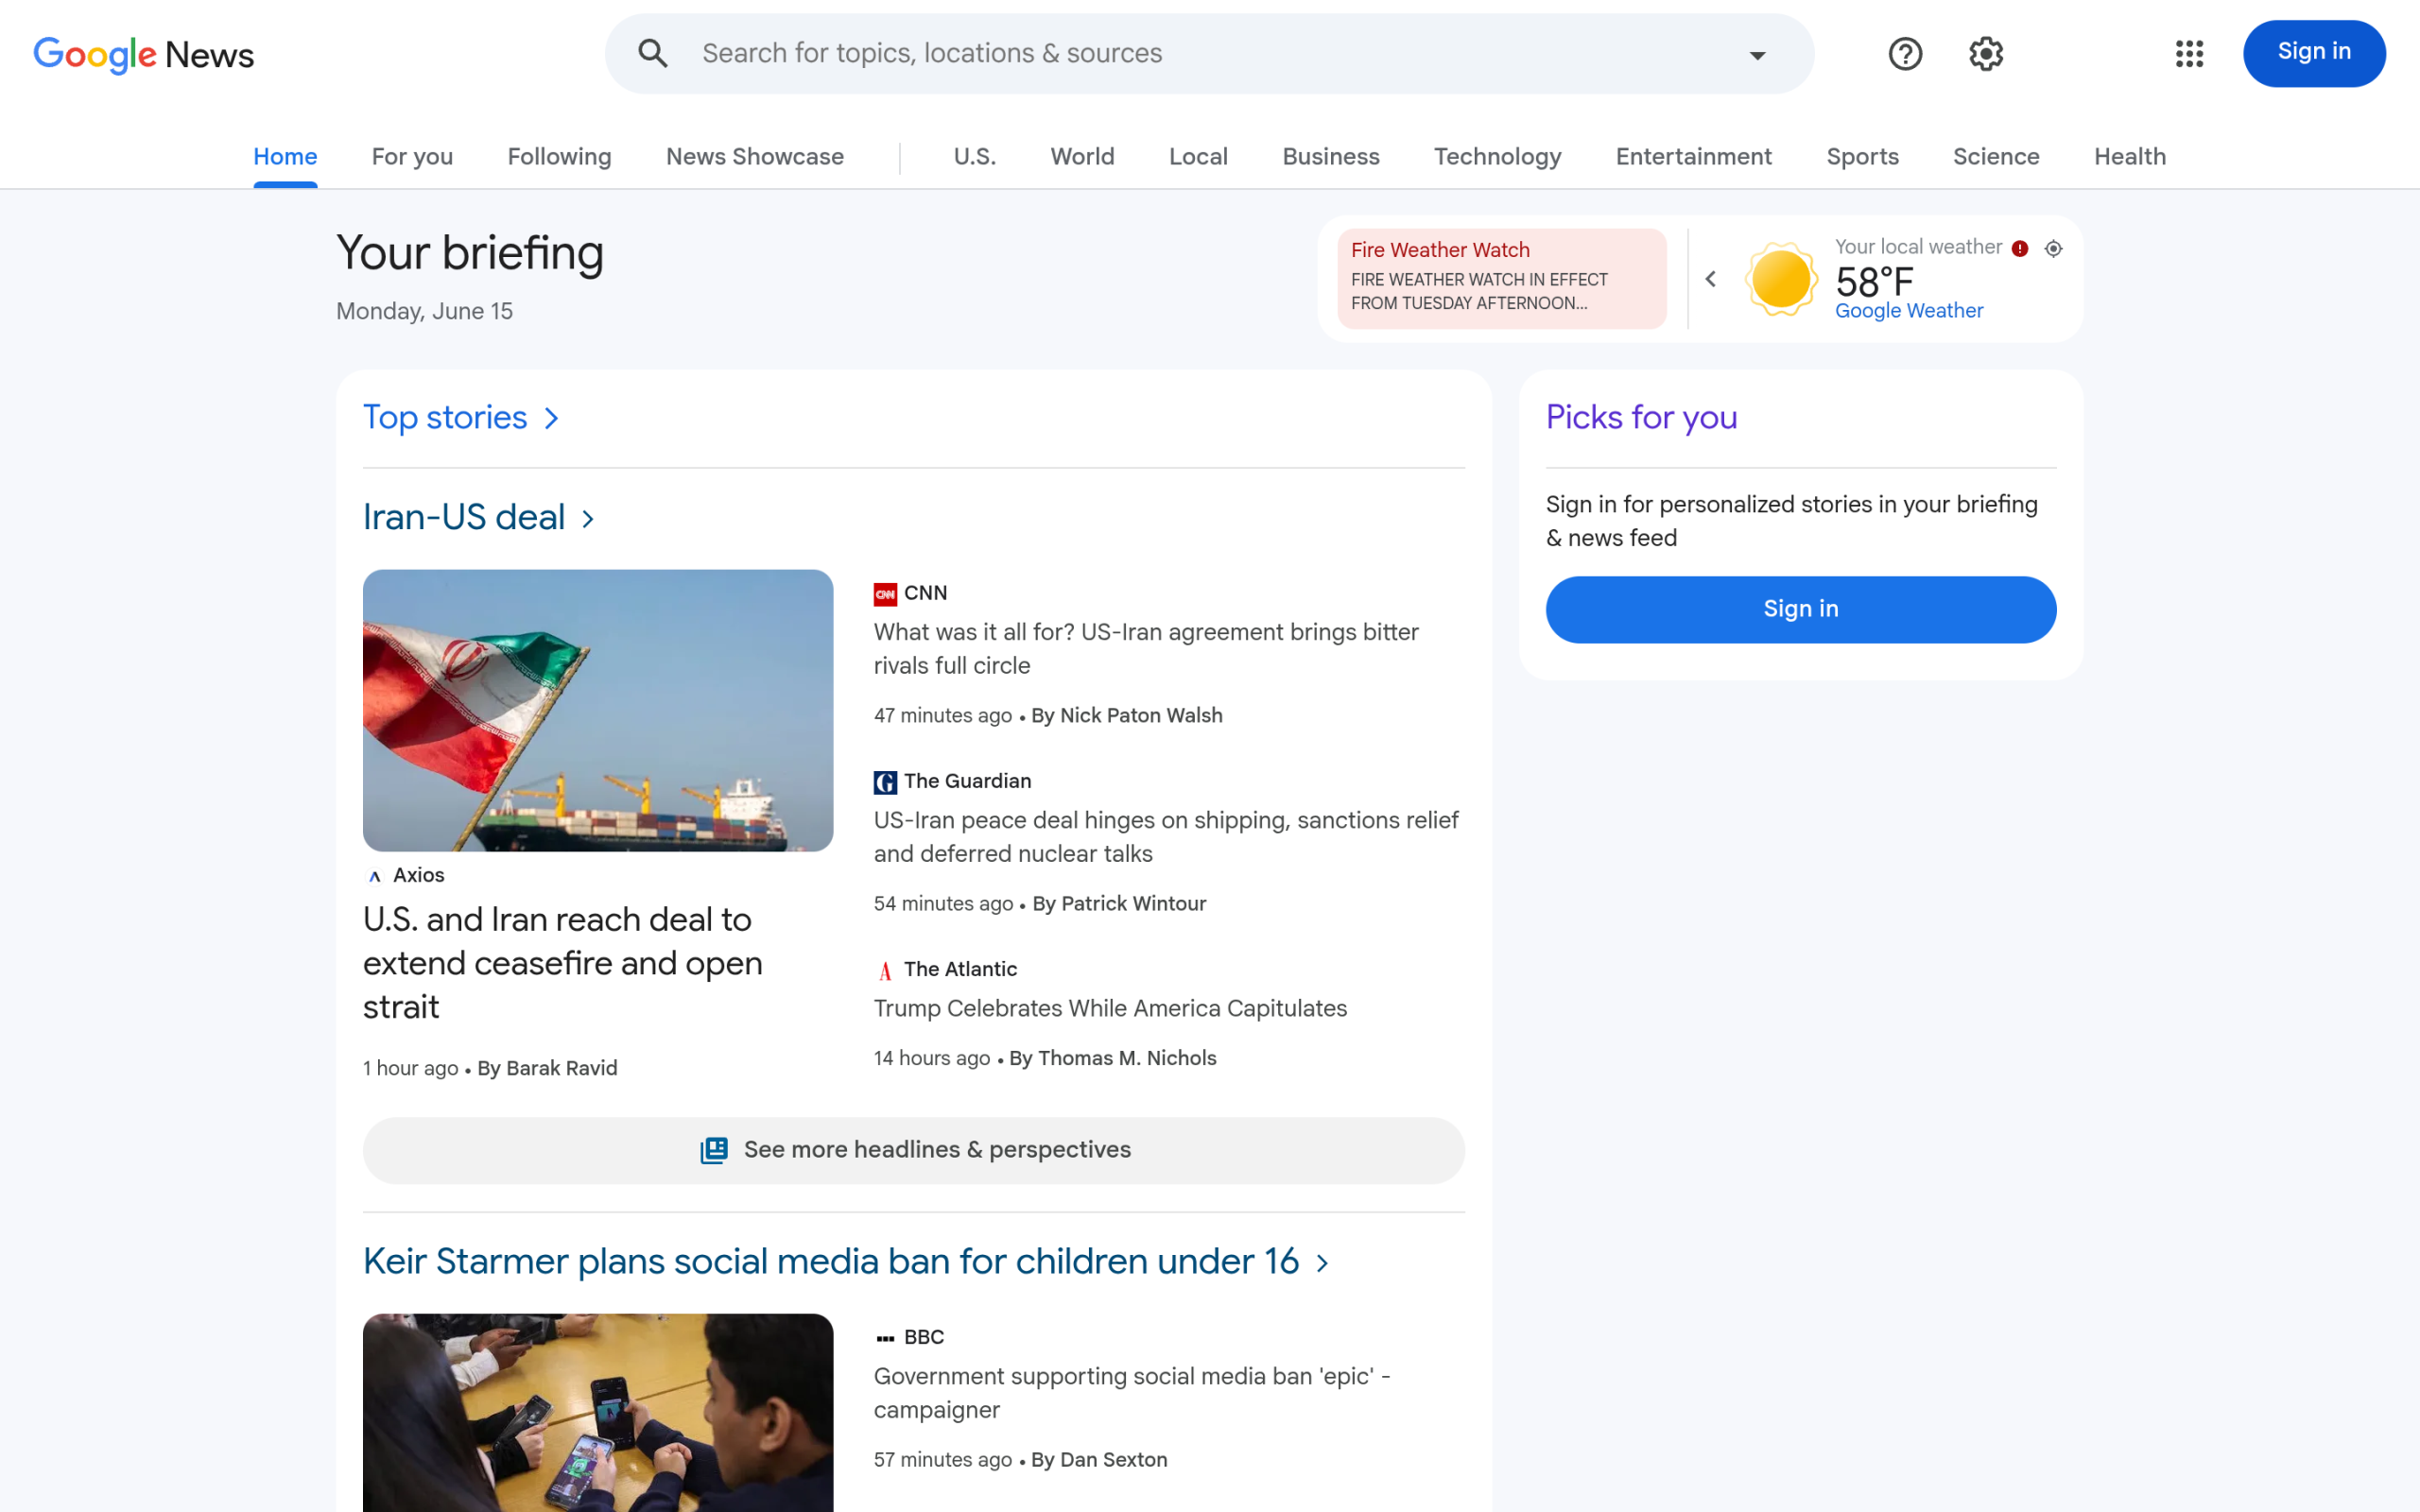Google News organizes headlines from thousands of sources by topic. Source: news.google.com [Google News](https://news.google.com/) is the default starting point for most people, and for good reason. It gathers stories from sources worldwide and sorts them by topic, so you can scan world, business, tech, or sports in seconds without following anything manually. The feed personalizes itself based on your location and what you read, and it often shows the same story from several outlets so you get more than one angle. It is free, works on the web and mobile, and supports many languages. **Best for:** casual readers who want a reliable daily feed with no setup. **Price:** free. ## 2. Feedly 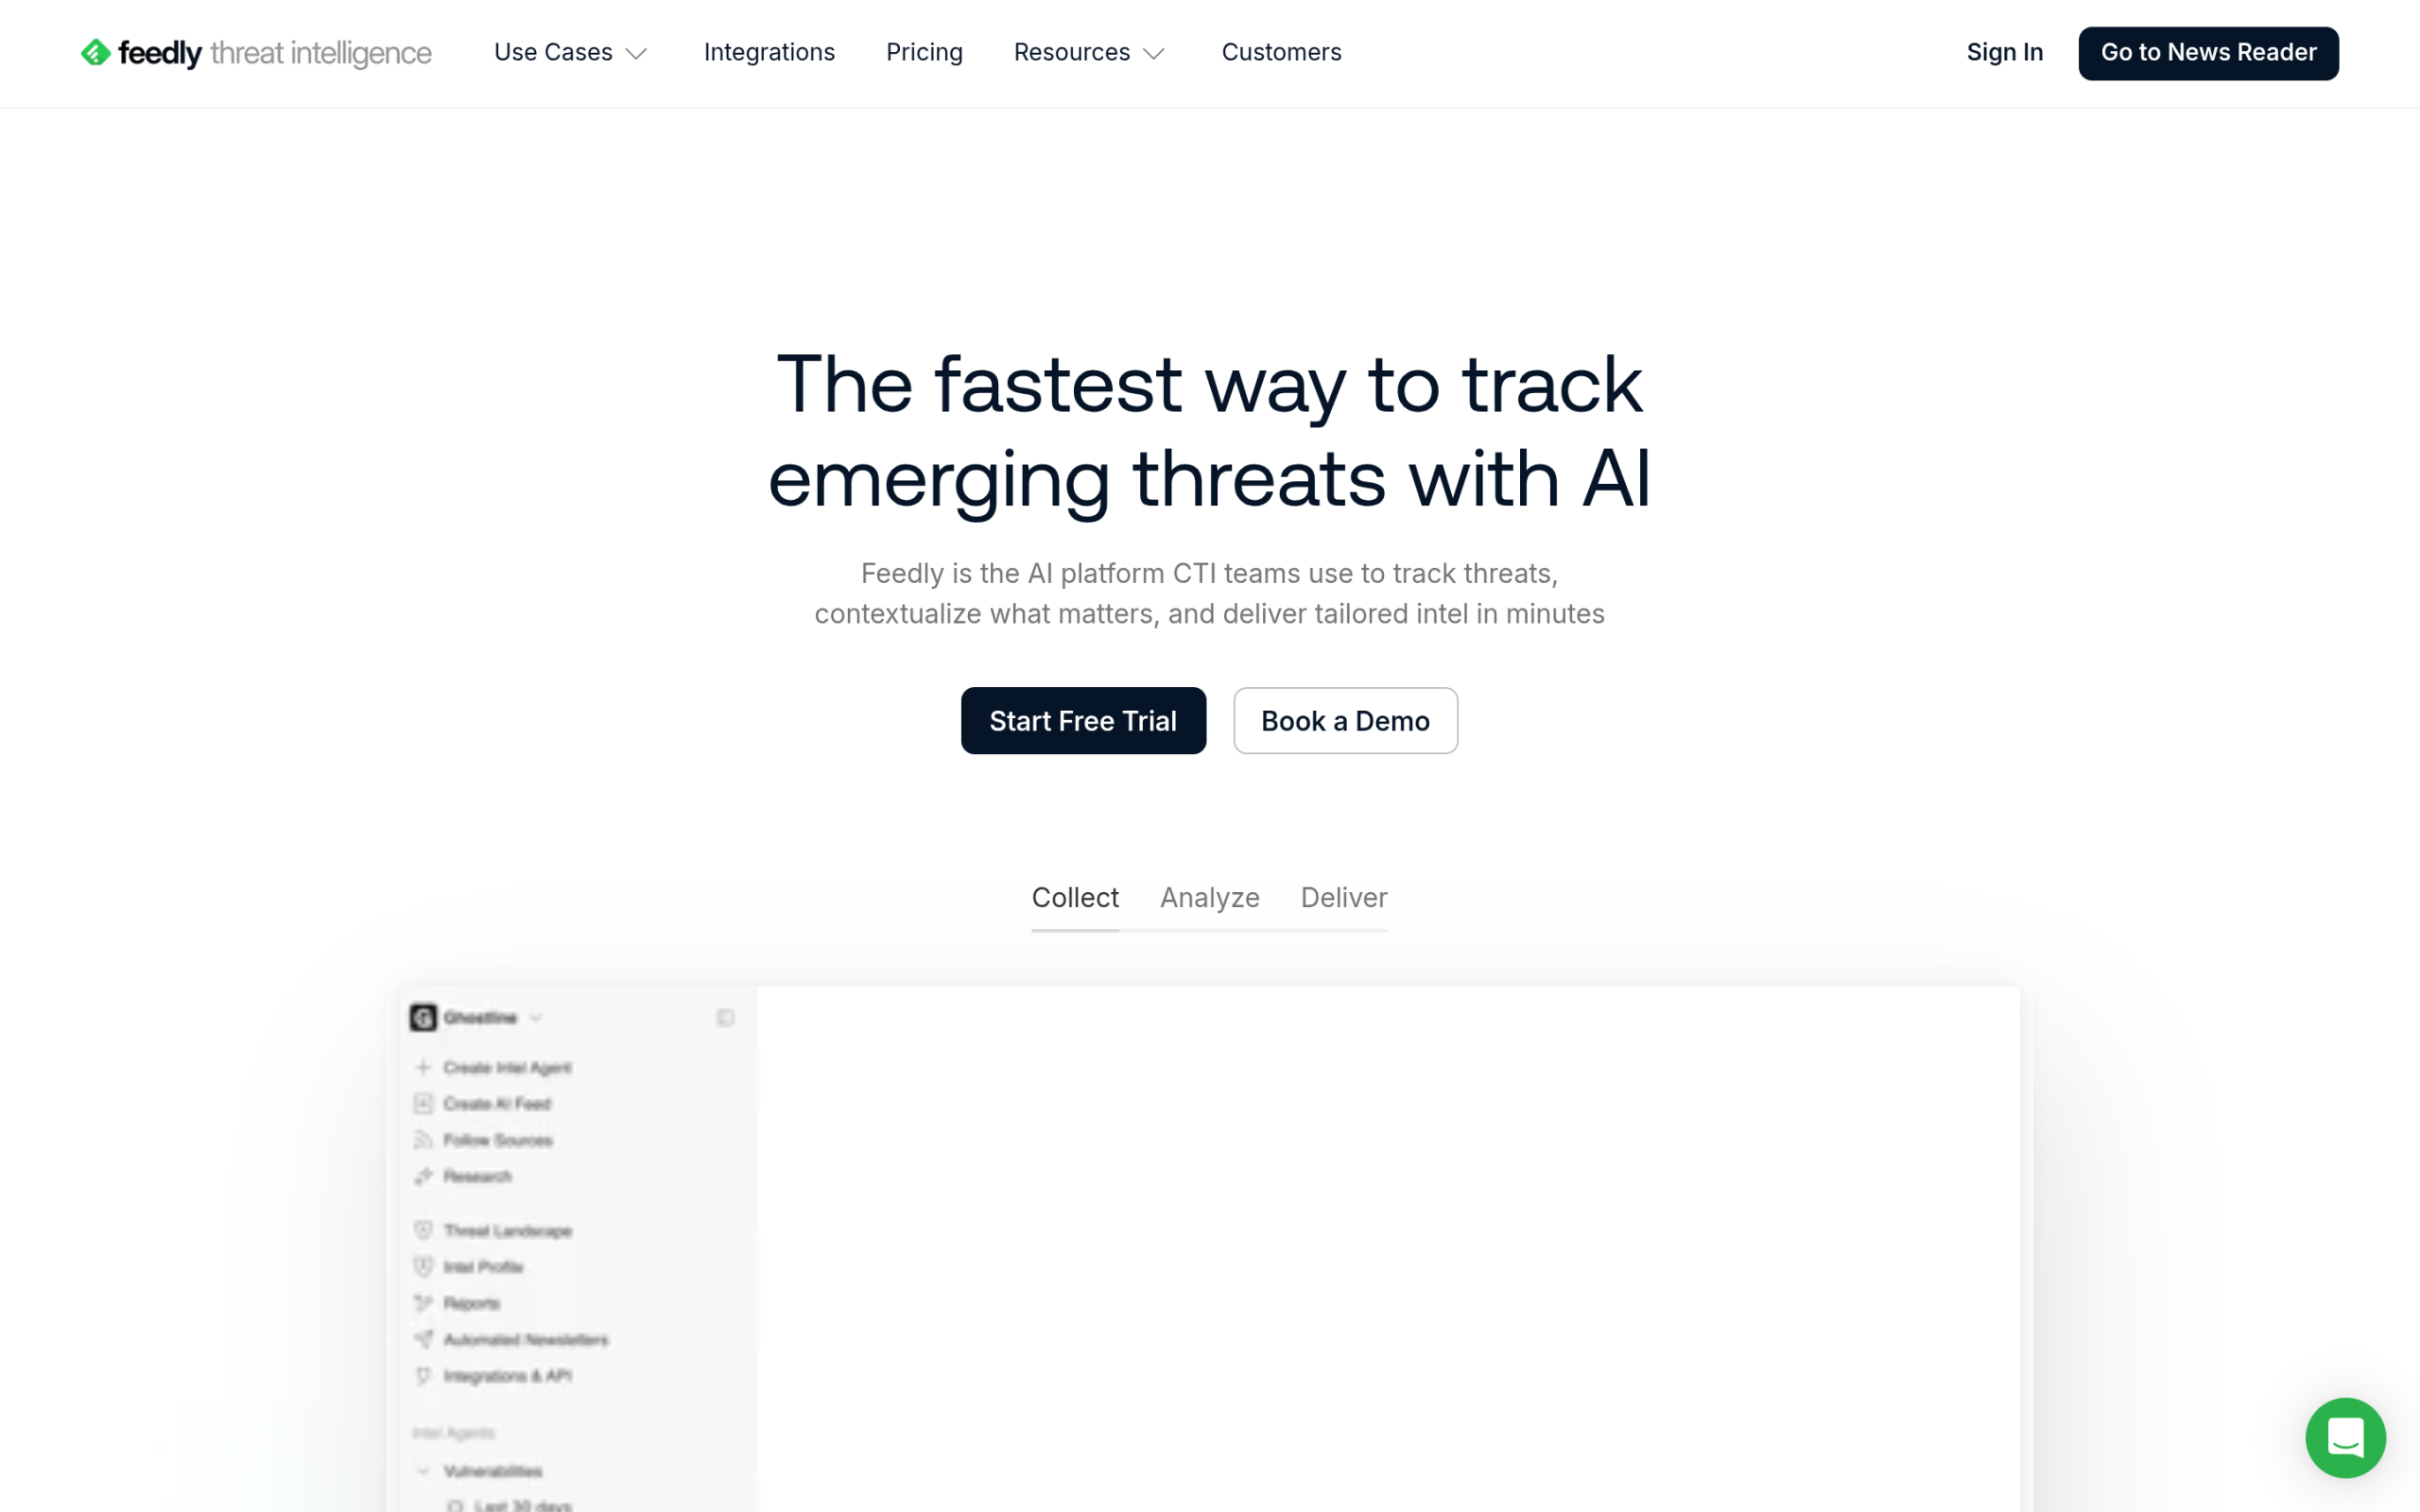Feedly lets you follow sites, blogs, and topics in organized feeds. Source: feedly.com [Feedly](https://feedly.com/) is one of the best known RSS readers. You follow websites, blogs, and topics, and group them into collections so related sources sit together. The feed updates in real time, and its AI assistant can prioritize the articles that match your interests and filter out the noise. Worth knowing: Feedly has put a lot of its energy into a separate enterprise product for security teams, but the reader most people came for is still here and still works well. There is a free plan for following a limited number of feeds, with paid tiers that unlock more sources and the AI features. **Best for:** RSS power users who want AI filtering and clean organization. **Price:** free tier plus paid plans. ## 3. Flipboard Flipboard presents stories in a swipeable, magazine-style layout. Source: flipboard.com [Flipboard](https://flipboard.com/) takes a more visual approach. It lays your news out like a digital magazine, and you flip through stories by swiping. You follow topics such as technology, sports, or politics, and Flipboard pulls in matching stories from a mix of sources. You can also build your own magazines by saving articles into themed collections, which is handy for research or for sharing a reading list. It works across phones, tablets, and the web, so your saved stories follow you everywhere. **Best for:** visual readers who enjoy browsing over a strict feed. **Price:** free. ## 4. Inoreader 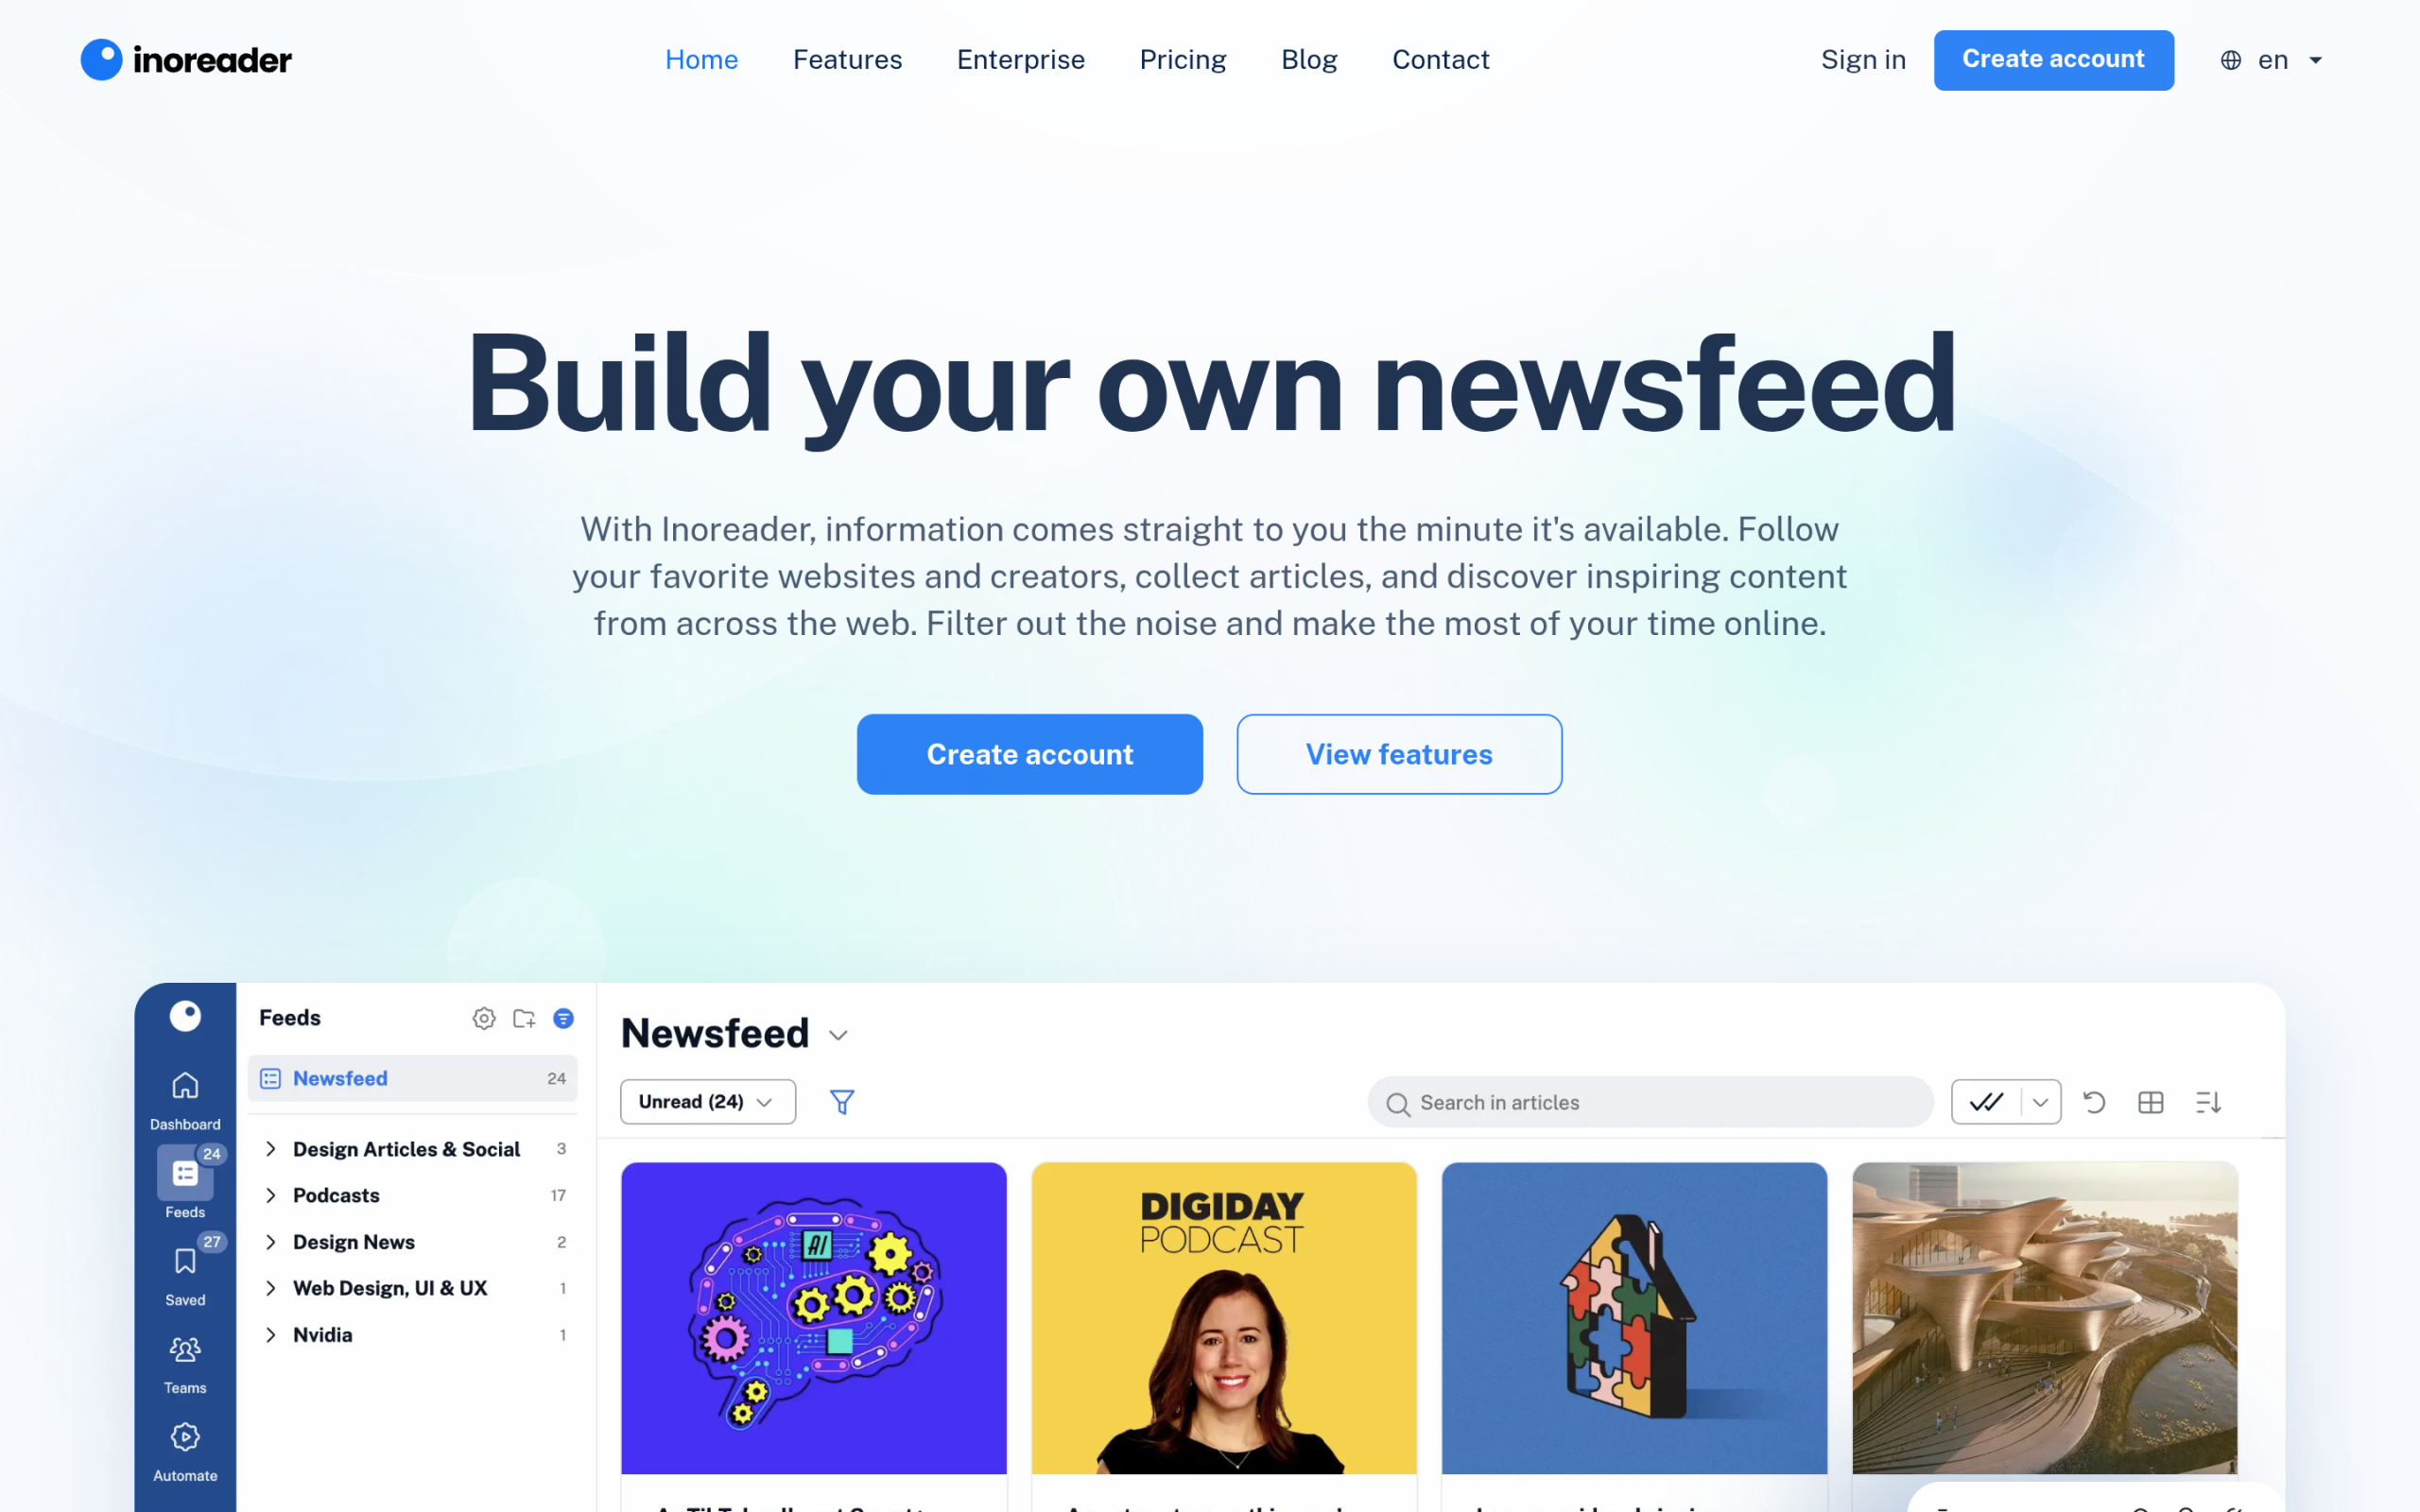Inoreader follows RSS feeds plus social and newsletter sources in one place. Source: inoreader.com [Inoreader](https://www.inoreader.com/) is the reader for people who treat news as research. On top of standard RSS, it can follow social sources like Reddit, Mastodon, Telegram, and YouTube, plus podcasts and newsletters, so everything lands in one feed. Its strongest feature is monitoring. You can set keyword feeds that surface every new mention of a topic across many languages, then use rules, filters, tags, and folders to keep it all organized. There is an AI layer called Inoreader Intelligence that summarizes articles and answers questions about what you are reading. A free plan covers the basics, with paid tiers for heavier use. **Best for:** researchers and teams who monitor topics and keywords. **Price:** free tier plus paid plans. ***Also Read:** want to build the site you will host all this on? Start with our guide on *[***how to make a WordPress website for free***](https://qa.nexterwp.com/blog/how-to-make-a-wordpress-website-for-free/)*.* ## 5. Ground News 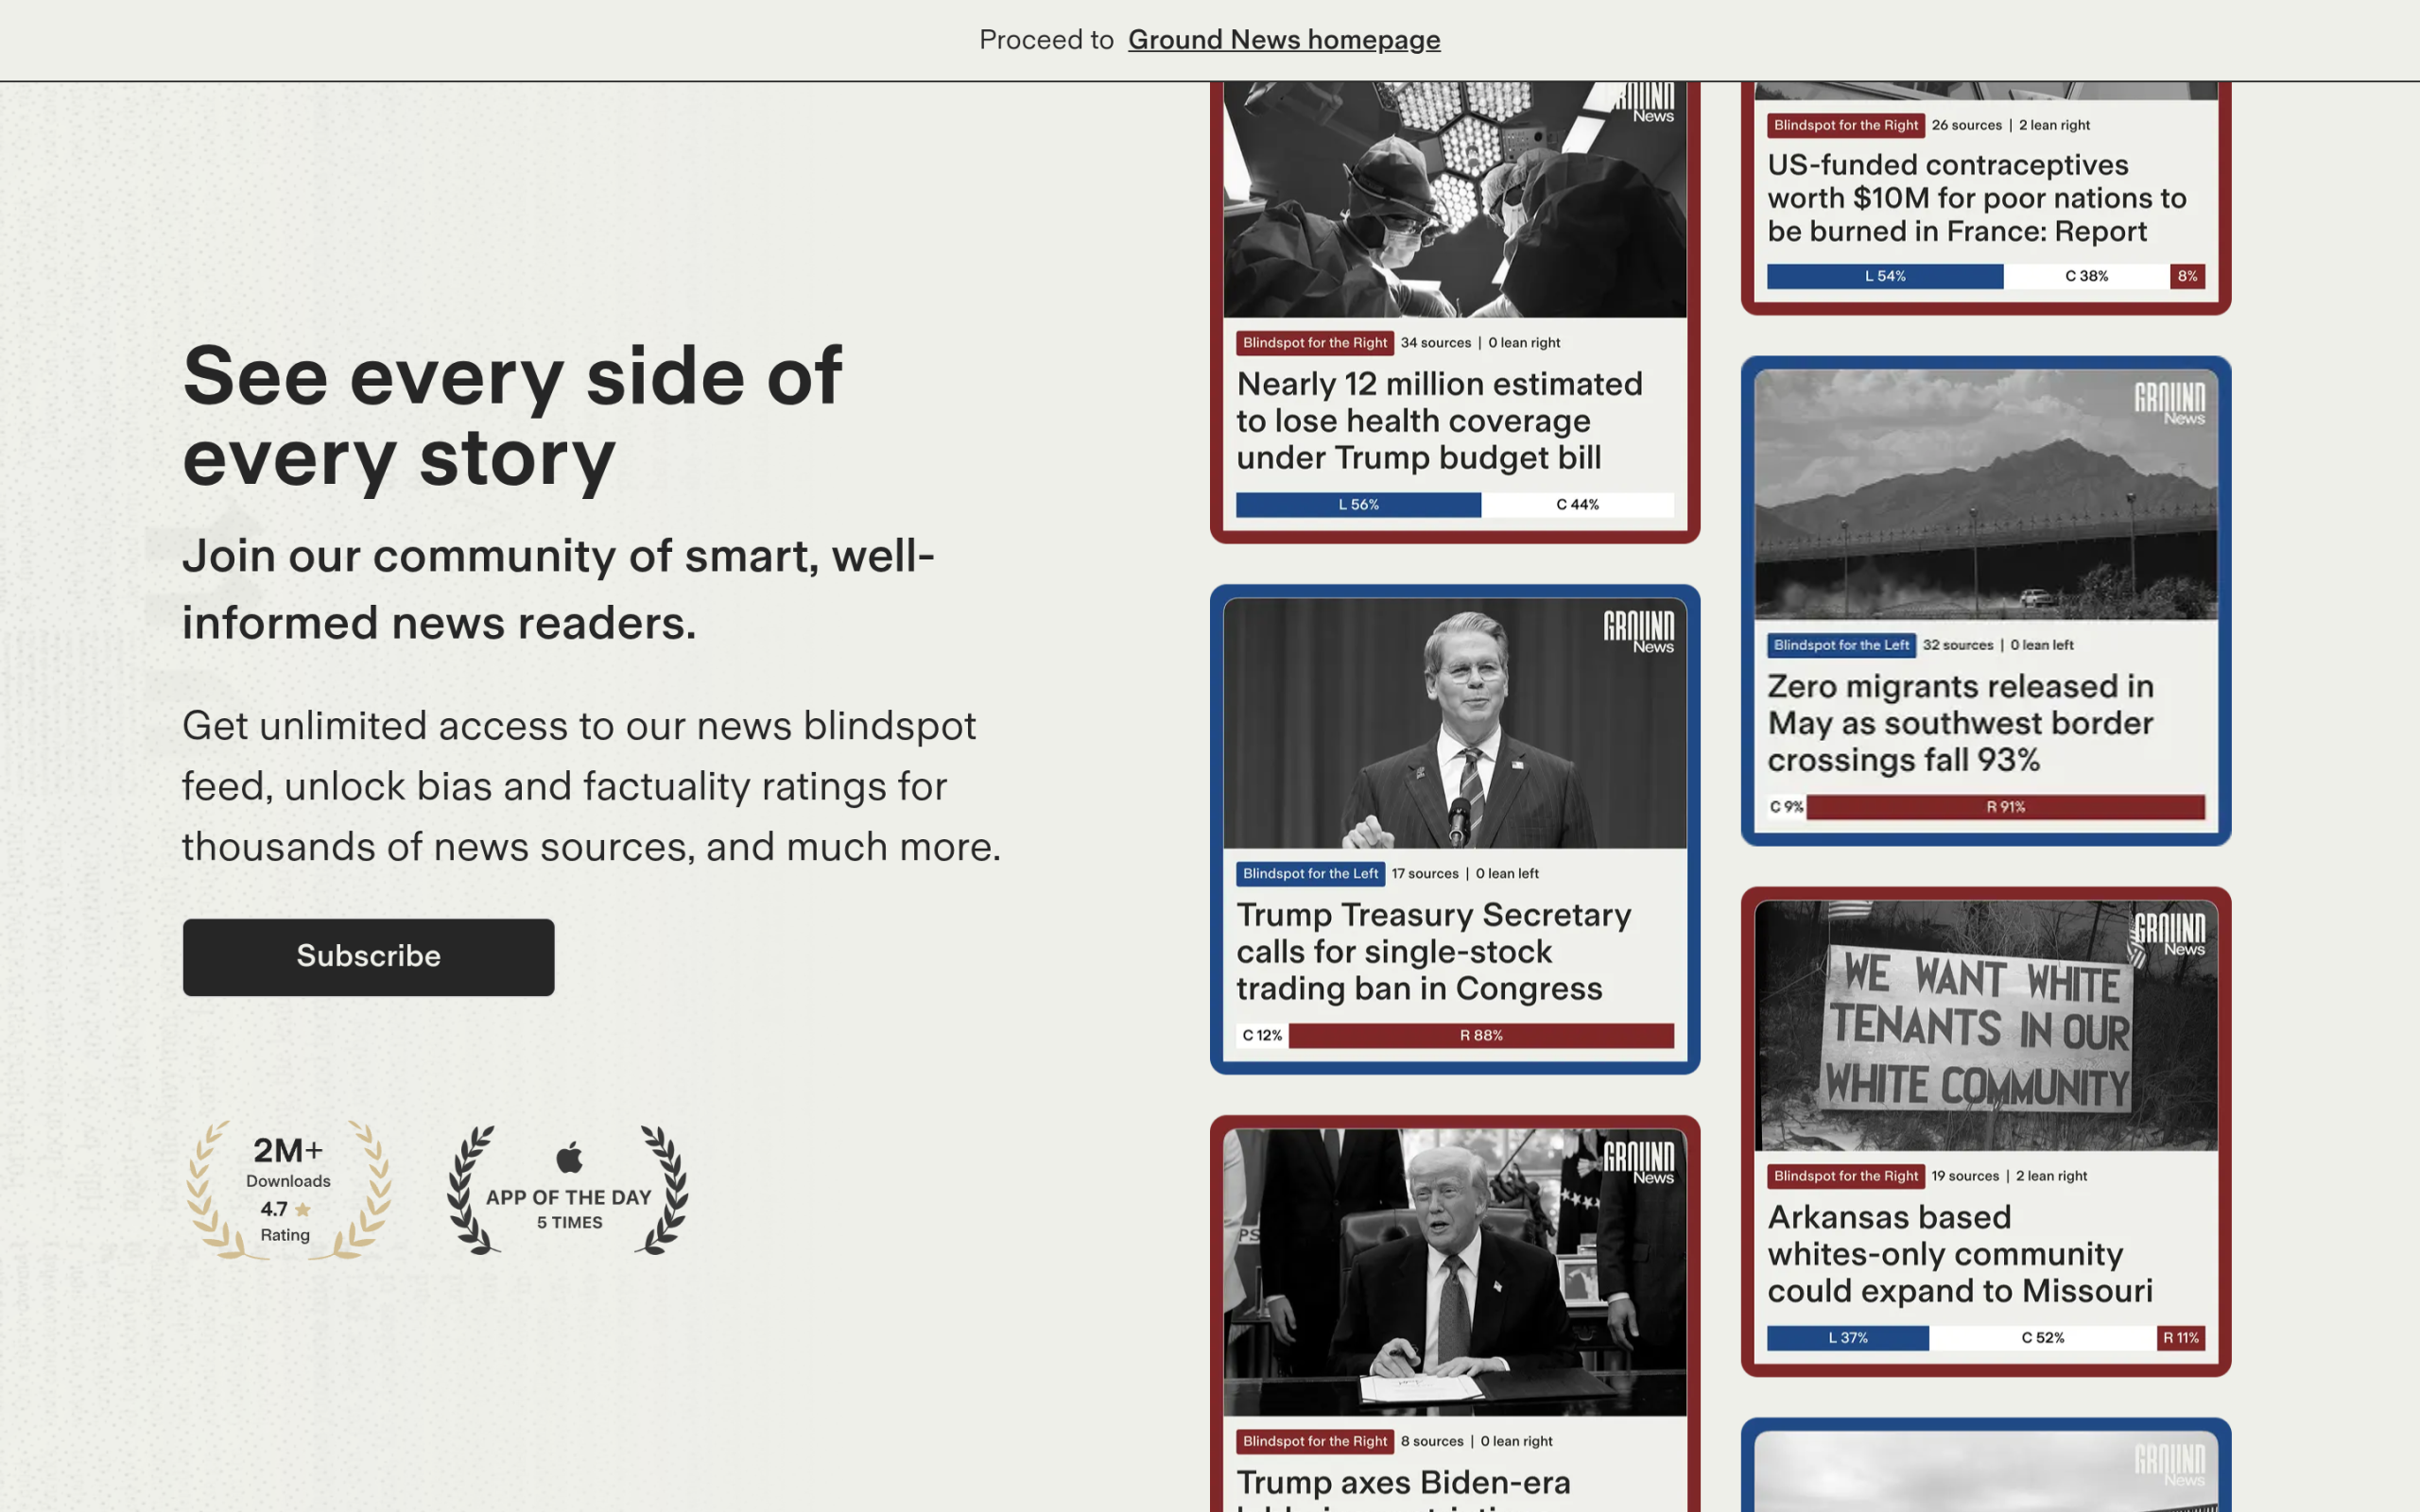Ground News shows how outlets across the spectrum cover the same story. Source: ground.news [Ground News](https://ground.news/) does something the others do not. For each story, it shows you how outlets across the political spectrum are covering it, with Media Bias Ratings plus ownership and factuality ratings for each source. You see the same event reported by left, center, and right outlets side by side. Its standout feature is the Blindspot feed, which surfaces stories that one side of the spectrum is underreporting. If you are tired of only seeing news that already agrees with you, this is the tool that breaks the bubble. It comes with apps, a browser extension, and a newsletter, and the deeper bias tools sit behind its paid Vantage plan. **Best for:** readers who want to compare bias and escape the echo chamber. **Price:** free tier plus the paid Vantage plan. ## 6. NewsBlur NewsBlur is an open-source RSS reader you can even self-host. Source: newsblur.com [NewsBlur](https://newsblur.com/) is the choice for readers who want control and no lock-in. It is a fully open-source RSS reader under the MIT license, which means you can even run your own copy with Docker if you want to. The code is on GitHub. Its training feature lets you teach each feed which stories to highlight and which to hide, and it adds full-text search, story clustering, tagging, and native iOS and Android apps. The free plan lets you follow up to 64 sites, which is plenty for most people. Premium is 36 dollars a year, with a Premium Archive tier at 99 dollars a year for unlimited history. **Best for:** tinkerers who want an open-source reader they can shape or self-host. **Price:** free up to 64 sites; Premium from 36 dollars a year. ## 7. Panda Panda pulls design and tech sources into one simple reader. Source: usepanda.com [Panda](https://usepanda.com/) calls itself the simple free news reader, and it has served the tech community since 2014. Instead of trying to cover everything, it focuses on design, tech, and startups, pulling from sources like Designer News, Product Hunt, Dribbble, Medium, Reddit, and Y Combinator. You add the feeds you want, pick a layout, and bookmark articles to read later. It runs as a web app and a Chrome extension, and it is free. If your reading is mostly about what is shipping in design and startups, Panda cuts out everything else. **Best for:** designers, developers, and startup followers who want a focused feed. **Price:** free. ### A quick note on Pocket If you have read an older list, you have probably seen Pocket recommended as a save-for-later tool. Skip it. Mozilla shut Pocket down in 2025, with the official note saying the team made the difficult decision to phase out the read-it-later app. If you used it, NewsBlur and Inoreader both cover the save-and-read-later habit well. ## How News Aggregator Websites Work Under the hood, every aggregator does two jobs: it collects content automatically, then it decides what to show you first. ### Content curation algorithms Aggregators scan many sources through RSS feeds, then group the fresh stories by topic or popularity. Some rank items by relevance, date, or how reliable the source is. Others watch what is trending across the web and push the stories lots of people are reading to the top. That automation is what saves you the manual checking. ### User personalization features On top of that, you steer the feed. Most tools let you pick favorite topics, sources, or keywords, and they learn from what you open over time. Read-later lists, saved boards, and breaking-news alerts then keep your feed focused on what you actually care about rather than everything at once. ## How to Build Your Own News Aggregator With WordPress The seven tools above are great for reading. But if you want to own a feed for one topic or community, say a curated page of WordPress news, local sports, or design links, you can build your own aggregator on WordPress without writing code. It comes down to two pieces. First, a feed plugin to pull stories in. Popular options include WP RSS Aggregator, Feedzy RSS Feeds, and CyberSEO Lite, which fetch items from the RSS feeds of the sources you choose. Second, a fast theme and a flexible way to display those posts so the page looks like a real publication and not a wall of links. That display layer is where [**Nexter Theme**](https://qa.nexterwp.com/nexter-theme/) and [**Nexter Blocks**](https://qa.nexterwp.com/nexter-blocks/) earn their place. Nexter is a lightweight block theme, so your aggregator stays fast even when the feed grows. Nexter Blocks adds 90+ Gutenberg blocks, including Post Grid, Post Carousel, Post Masonry, and Post Metro layouts that turn your collected posts into a clean, magazine-style front page. There is a free version on WordPress.org, and paid plans start at 39 dollars a year. One rule before you launch: respect the sources. Summarize and link out with clear attribution rather than republishing full articles, and add your own angle so the page offers something of its own. That keeps you on the right side of both copyright and search engines. ***Also Read:** not sure which theme foundation to use? See *[***what a WordPress block theme is***](https://qa.nexterwp.com/blog/what-is-a-wordpress-block-theme/)* and why it matters for a content-heavy site.* ## Wrapping Up Keeping up with the news does not have to mean fifteen open tabs. Pick the tool that matches how you read: Google News or Flipboard for an easy daily scan, Feedly, Inoreader, or NewsBlur for serious RSS reading, Ground News when you want to check bias, and Panda if you live in design and tech. And if no tool quite fits the niche you care about, build your own. With a feed plugin and a fast, flexible setup like Nexter Theme and Nexter Blocks, you can launch a focused news feed of your own in an afternoon. ## Suggested Reading - [How to Make a WordPress Website for Free](https://qa.nexterwp.com/blog/how-to-make-a-wordpress-website-for-free/)- [What Is a WordPress Block Theme?](https://qa.nexterwp.com/blog/what-is-a-wordpress-block-theme/)- [Gutenberg Core Web Vitals: Speed Up a Block-Theme Site](https://qa.nexterwp.com/blog/gutenberg-core-web-vitals-block-theme/)- [Headless CMS and WordPress: What It Means in 2026](https://qa.nexterwp.com/blog/headless-cms-wordpress/)- [What Is Topical Authority and How to Build It](https://qa.nexterwp.com/blog/topical-authority-wordpress/) ## FAQs on Best News Aggregator Websites ### How do news aggregator websites make money? They often monetize through display ads, affiliate marketing, sponsored content, or premium subscriptions. ### Can I create a news aggregator site without coding? Absolutely! With WordPress and the right plugins, you can build a fully functional news aggregator without writing any code. ### What plugins do I need to create a news aggregator in WordPress? Popular options include **WP RSS Aggregator**, **Feedzy RSS Feeds**, and **CyberSEO Lite**. These plugins help pull content from other sites into yours. ### Will Google penalize my site for using content from other websites? Not if you use proper attribution, don’t scrape full articles, and add your own commentary or summaries. Make sure your content offers some unique value. ### Do I need a specific theme to build a news aggregator in WordPress? No, but choosing a fast, clean, and content-focused theme like Nexter Theme can help you create a better user experience. ### Is a news aggregator the same as a blog? Not exactly. While both display content, a blog usually features original content, whereas a news aggregator curates content from other sources. --- # Headless CMS and WordPress: What It Means for Getting Cited by AI in 2026 Source: https://qa.nexterwp.com/blog/headless-cms-wordpress/ #### Key Takeaways - A headless CMS splits your content management from your front end. WordPress keeps the dashboard and database, while a separate app (often Next.js or another JavaScript framework) renders the site visitors see.- WordPress works as a headless CMS through its built-in REST API and the WPGraphQL plugin, which expose your content as JSON for any front end to consume.- Going headless quietly changes how AI engines find you. SEO and AEO plugins generate schema, meta tags, and llms.txt on the WordPress back end, but a decoupled front end may never render any of it.- To stay citable in AI answers, serve llms.txt and markdown copies from the WordPress origin, port your structured data into the front-end markup yourself, and confirm AI crawlers can reach the rendered HTML.- Headless is a real architecture choice with real trade-offs. For most content sites, the AI-visibility cost is higher than the performance win. The first time I watched a team take their WordPress site headless, the launch looked flawless. A quick React front end, content still managed in the familiar WordPress dashboard, performance scores in the green. Then someone opened the page source on the live front end, and the structured data was gone. The article schema, the FAQ markup, the llms.txt file the SEO plugin had generated, none of it was on the page that real visitors and crawlers loaded. It was all still sitting on the WordPress back end, on a domain nobody pointed a browser at. That gap is the part of the headless conversation almost nobody writes about. Most guides explain the architecture and then list platforms. Very few stop to ask what splitting your front end off does to your visibility in ChatGPT, Perplexity, and Google's AI answers. With AI search now sending real referral traffic, that question matters more than the Lighthouse score. Here is what a headless CMS actually is, how WordPress fits, and what you have to do differently to stay cited once you decouple. ## What a headless CMS actually is A traditional content management system does two jobs in one place. It stores and manages your content, and it renders that content into the HTML pages people see. WordPress, in its default setup, is exactly this. You write a post in the dashboard, and the theme turns it into a web page on the same domain. A headless CMS keeps the first job and drops the second. The "head" is the front end, the part that renders pages. Cut it off, and you are left with a back end that manages content and hands it out as raw data, usually as JSON, through an API. A separate application then fetches that data and builds the actual pages. The content team still works in a familiar editor. The visitor sees a front end built with something like Next.js, Nuxt, or Astro. Purpose-built headless platforms like Contentful, Strapi, and Sanity were designed this way from day one. They have no front end at all. You always bring your own. WordPress is different, because it started as a traditional CMS and gained the ability to run headless later, which is why the decision is more nuanced for WordPress users. Purpose-built headless platforms like Strapi ship with no front end at all. Source: strapi.io ## Why teams go headless, and who should not The pull toward headless is real. A decoupled front end can be very fast, because it ships a lean JavaScript app instead of a full WordPress theme stack. Developers get to build with modern frameworks and component libraries instead of PHP templates. And one back end can feed many front ends at once, a website, a mobile app, a smart display, all pulling the same content. The cost is just as real. You now run and maintain two systems instead of one. Features that worked out of the box in WordPress, preview, forms, comments, and most of the SEO plugin ecosystem, need to be rebuilt or rewired on the front end. For a large product team shipping a web app and a native app from shared content, that cost is worth paying. For a blog, a marketing site, or a small business that mostly publishes articles, it usually is not. You take on engineering overhead and, as the next sections show, a quiet hit to your AI search visibility, in exchange for speed you could often get with good caching on a normal WordPress site. ***Also Read:** [How to fix Core Web Vitals on a Gutenberg block theme](https://qa.nexterwp.com/blog/gutenberg-core-web-vitals-block-theme/) covers the performance wins you can get without going fully headless.* ## Using WordPress as a headless CMS WordPress can run headless because it already speaks data, not just HTML. The WordPress REST API, built into core, "provides an interface for applications to interact with your WordPress site by sending and receiving data as JSON objects," and it is designed to "bring your WordPress content into completely separate applications," per the official developer handbook. Hit an endpoint like /wp-json/wp/v2/posts and you get your posts back as structured JSON that any front end can read. 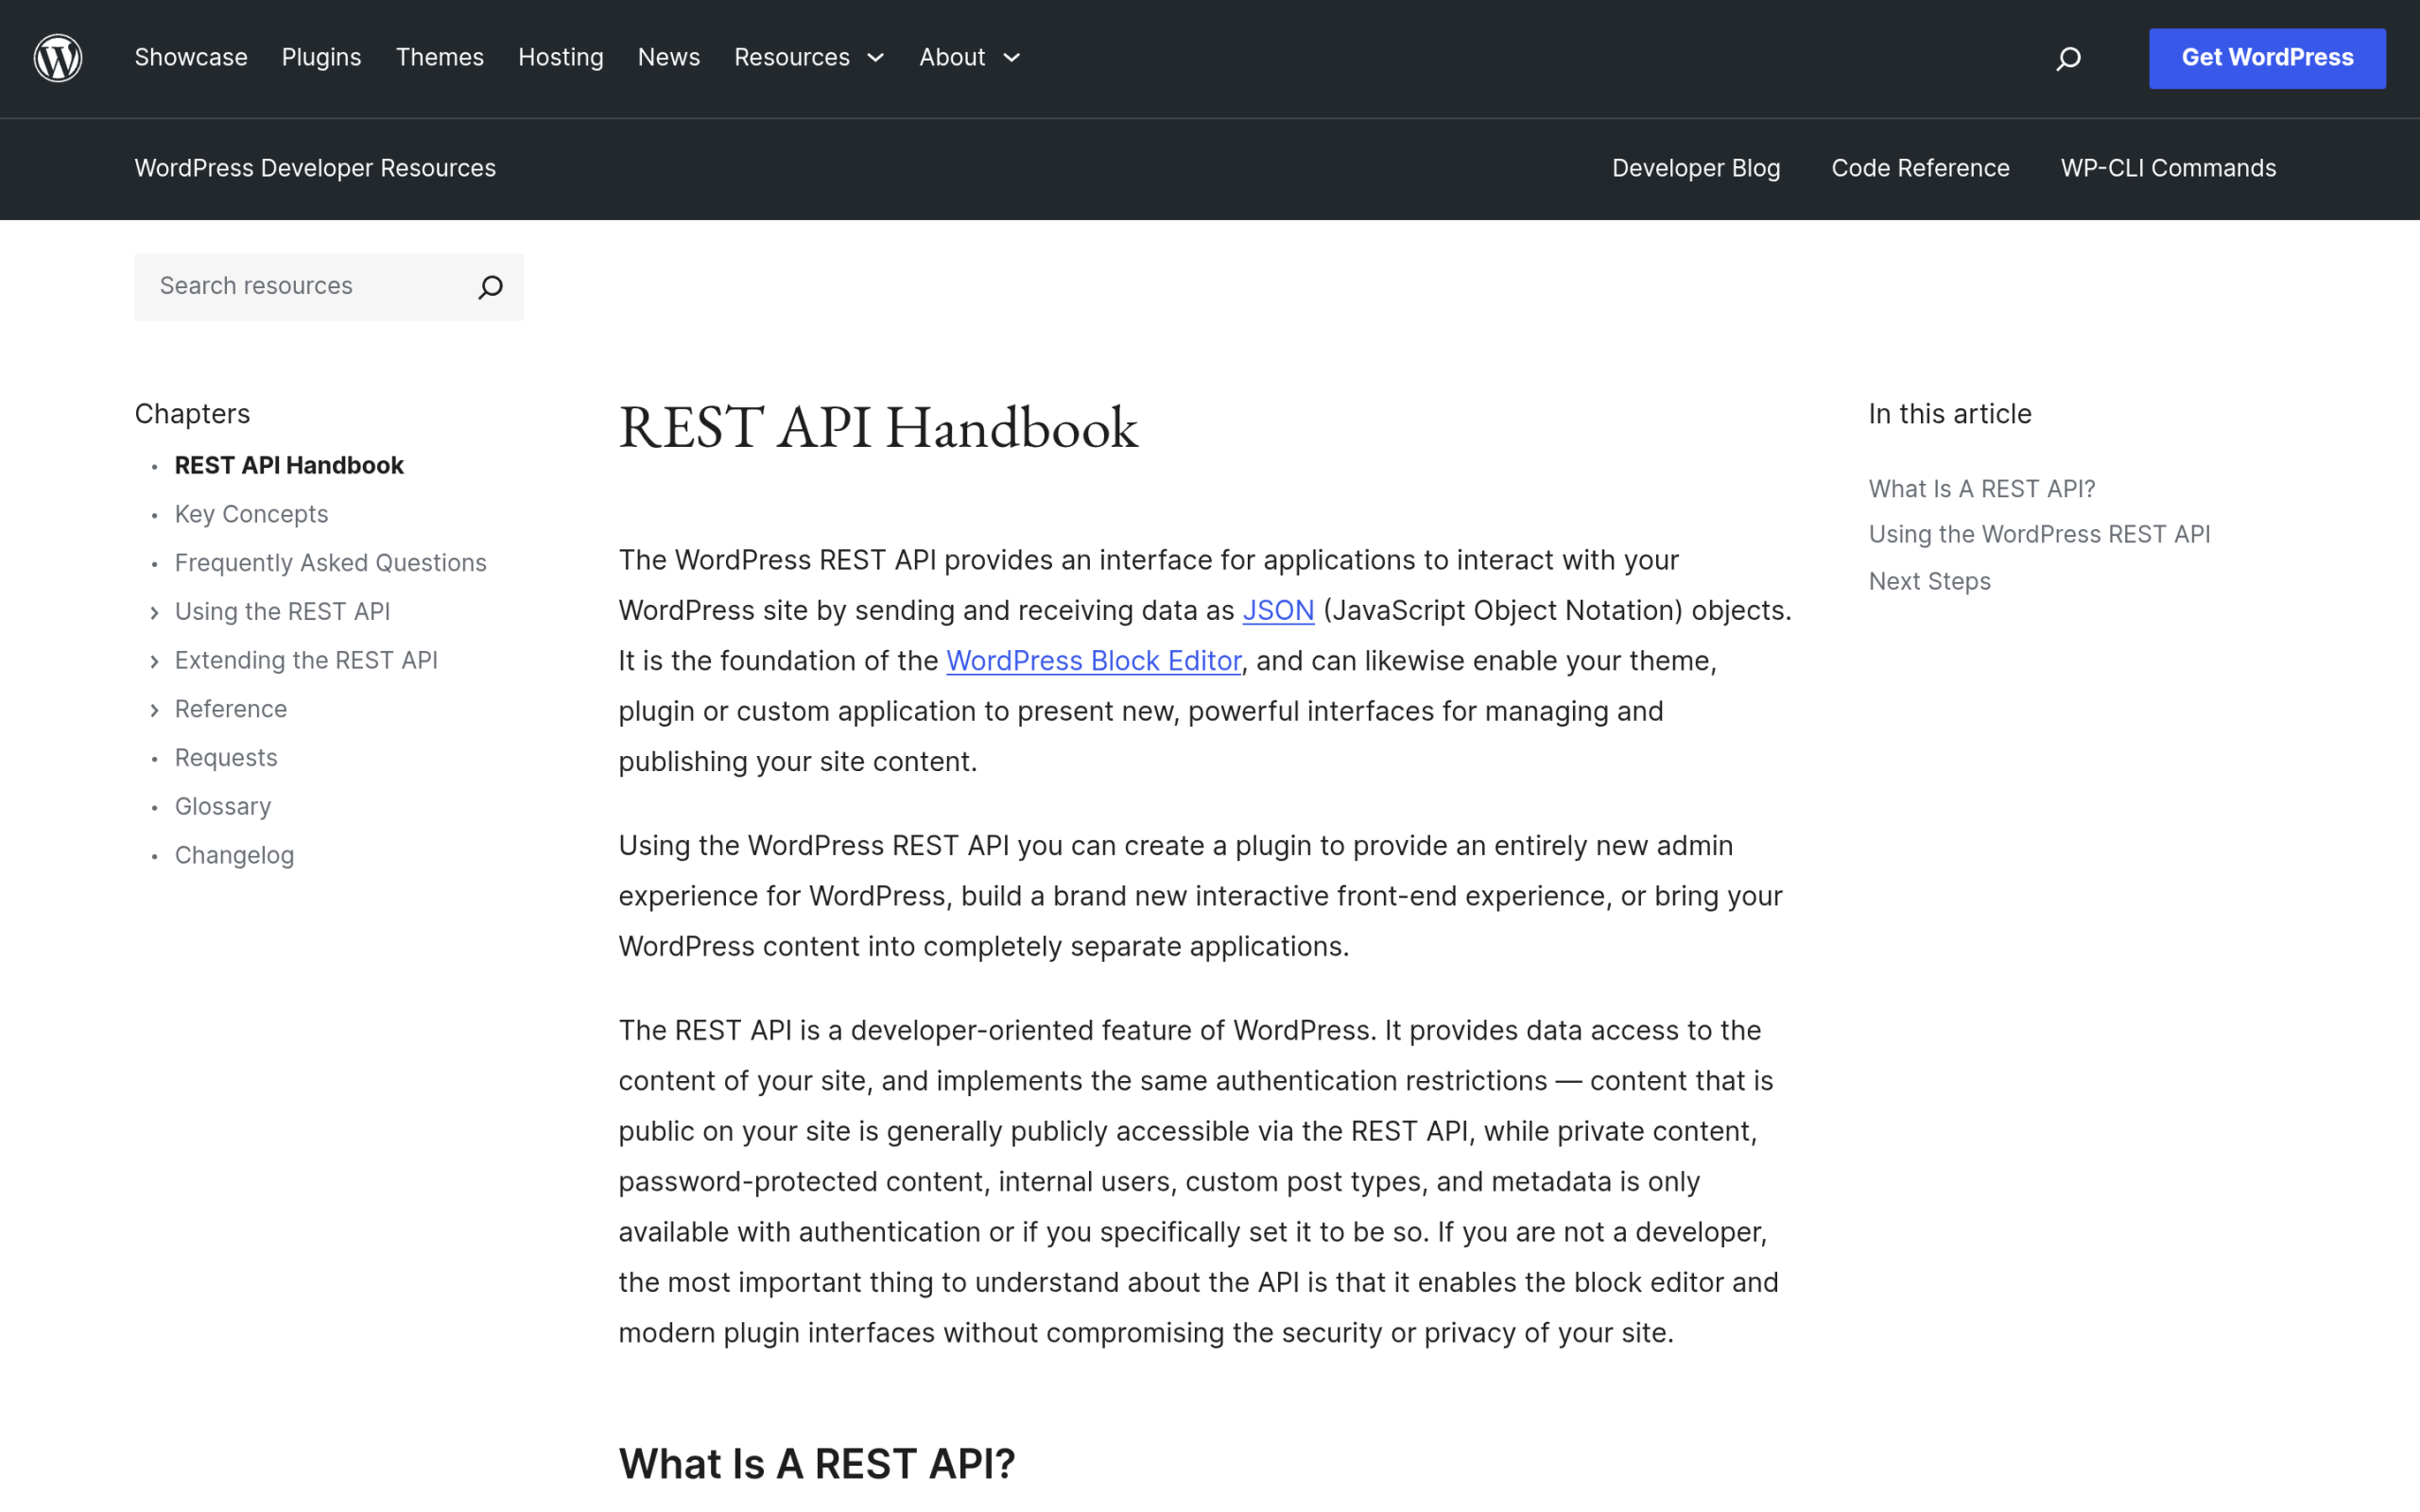WordPress ships a built-in REST API that lets any front end pull content as JSON. Source: developer.wordpress.org Many headless WordPress builds use GraphQL instead, through the popular WPGraphQL plugin, which lets a front end ask for exactly the fields it needs in a single request. Either way, the pattern is the same. WordPress becomes the editing and storage layer. A framework like Next.js fetches content over the API and renders the pages. Your editors never leave the dashboard they know. This is genuinely powerful, and it is why "is WordPress a headless CMS" is one of the most common questions in the space. The honest answer: WordPress is a traditional CMS that can be used as a headless one. The moment you do, though, the rules for being found change. ***Also Read:** [MCP vs API for WordPress](https://qa.nexterwp.com/blog/mcp-vs-api-wordpress/) breaks down how AI agents and apps actually pull content from your site.* ## The part nobody mentions: what headless does to AI visibility Here is the catch that surprises teams after launch. AI engines and search crawlers do not read your WordPress database. They read the rendered page on your public front end, the same HTML a browser receives. In a traditional WordPress site, that rendered page is built by WordPress itself, so everything your SEO and AEO plugins add, title tags, meta descriptions, JSON-LD schema, the llms.txt file, is right there in the response. Go headless, and that rendered page is now built by your separate front-end app. WordPress is no longer in charge of what crawlers see. Unless your front end explicitly fetches and injects those SEO signals, they simply do not appear on the live page. Your content is intact, but the machine-readable layer that tells an AI engine what the page is, who wrote it, and whether it can be quoted is missing from the place it actually gets read. This matters because AI answer engines lean heavily on structured, clearly attributed content when they decide what to cite. Google's own guidance for AI features says there are no special files or markup required to appear, but structured data and clean rendered HTML still help engines understand and trust a page. If your schema lives on a back-end domain nobody crawls, you are invisible to the part of that process you can control. 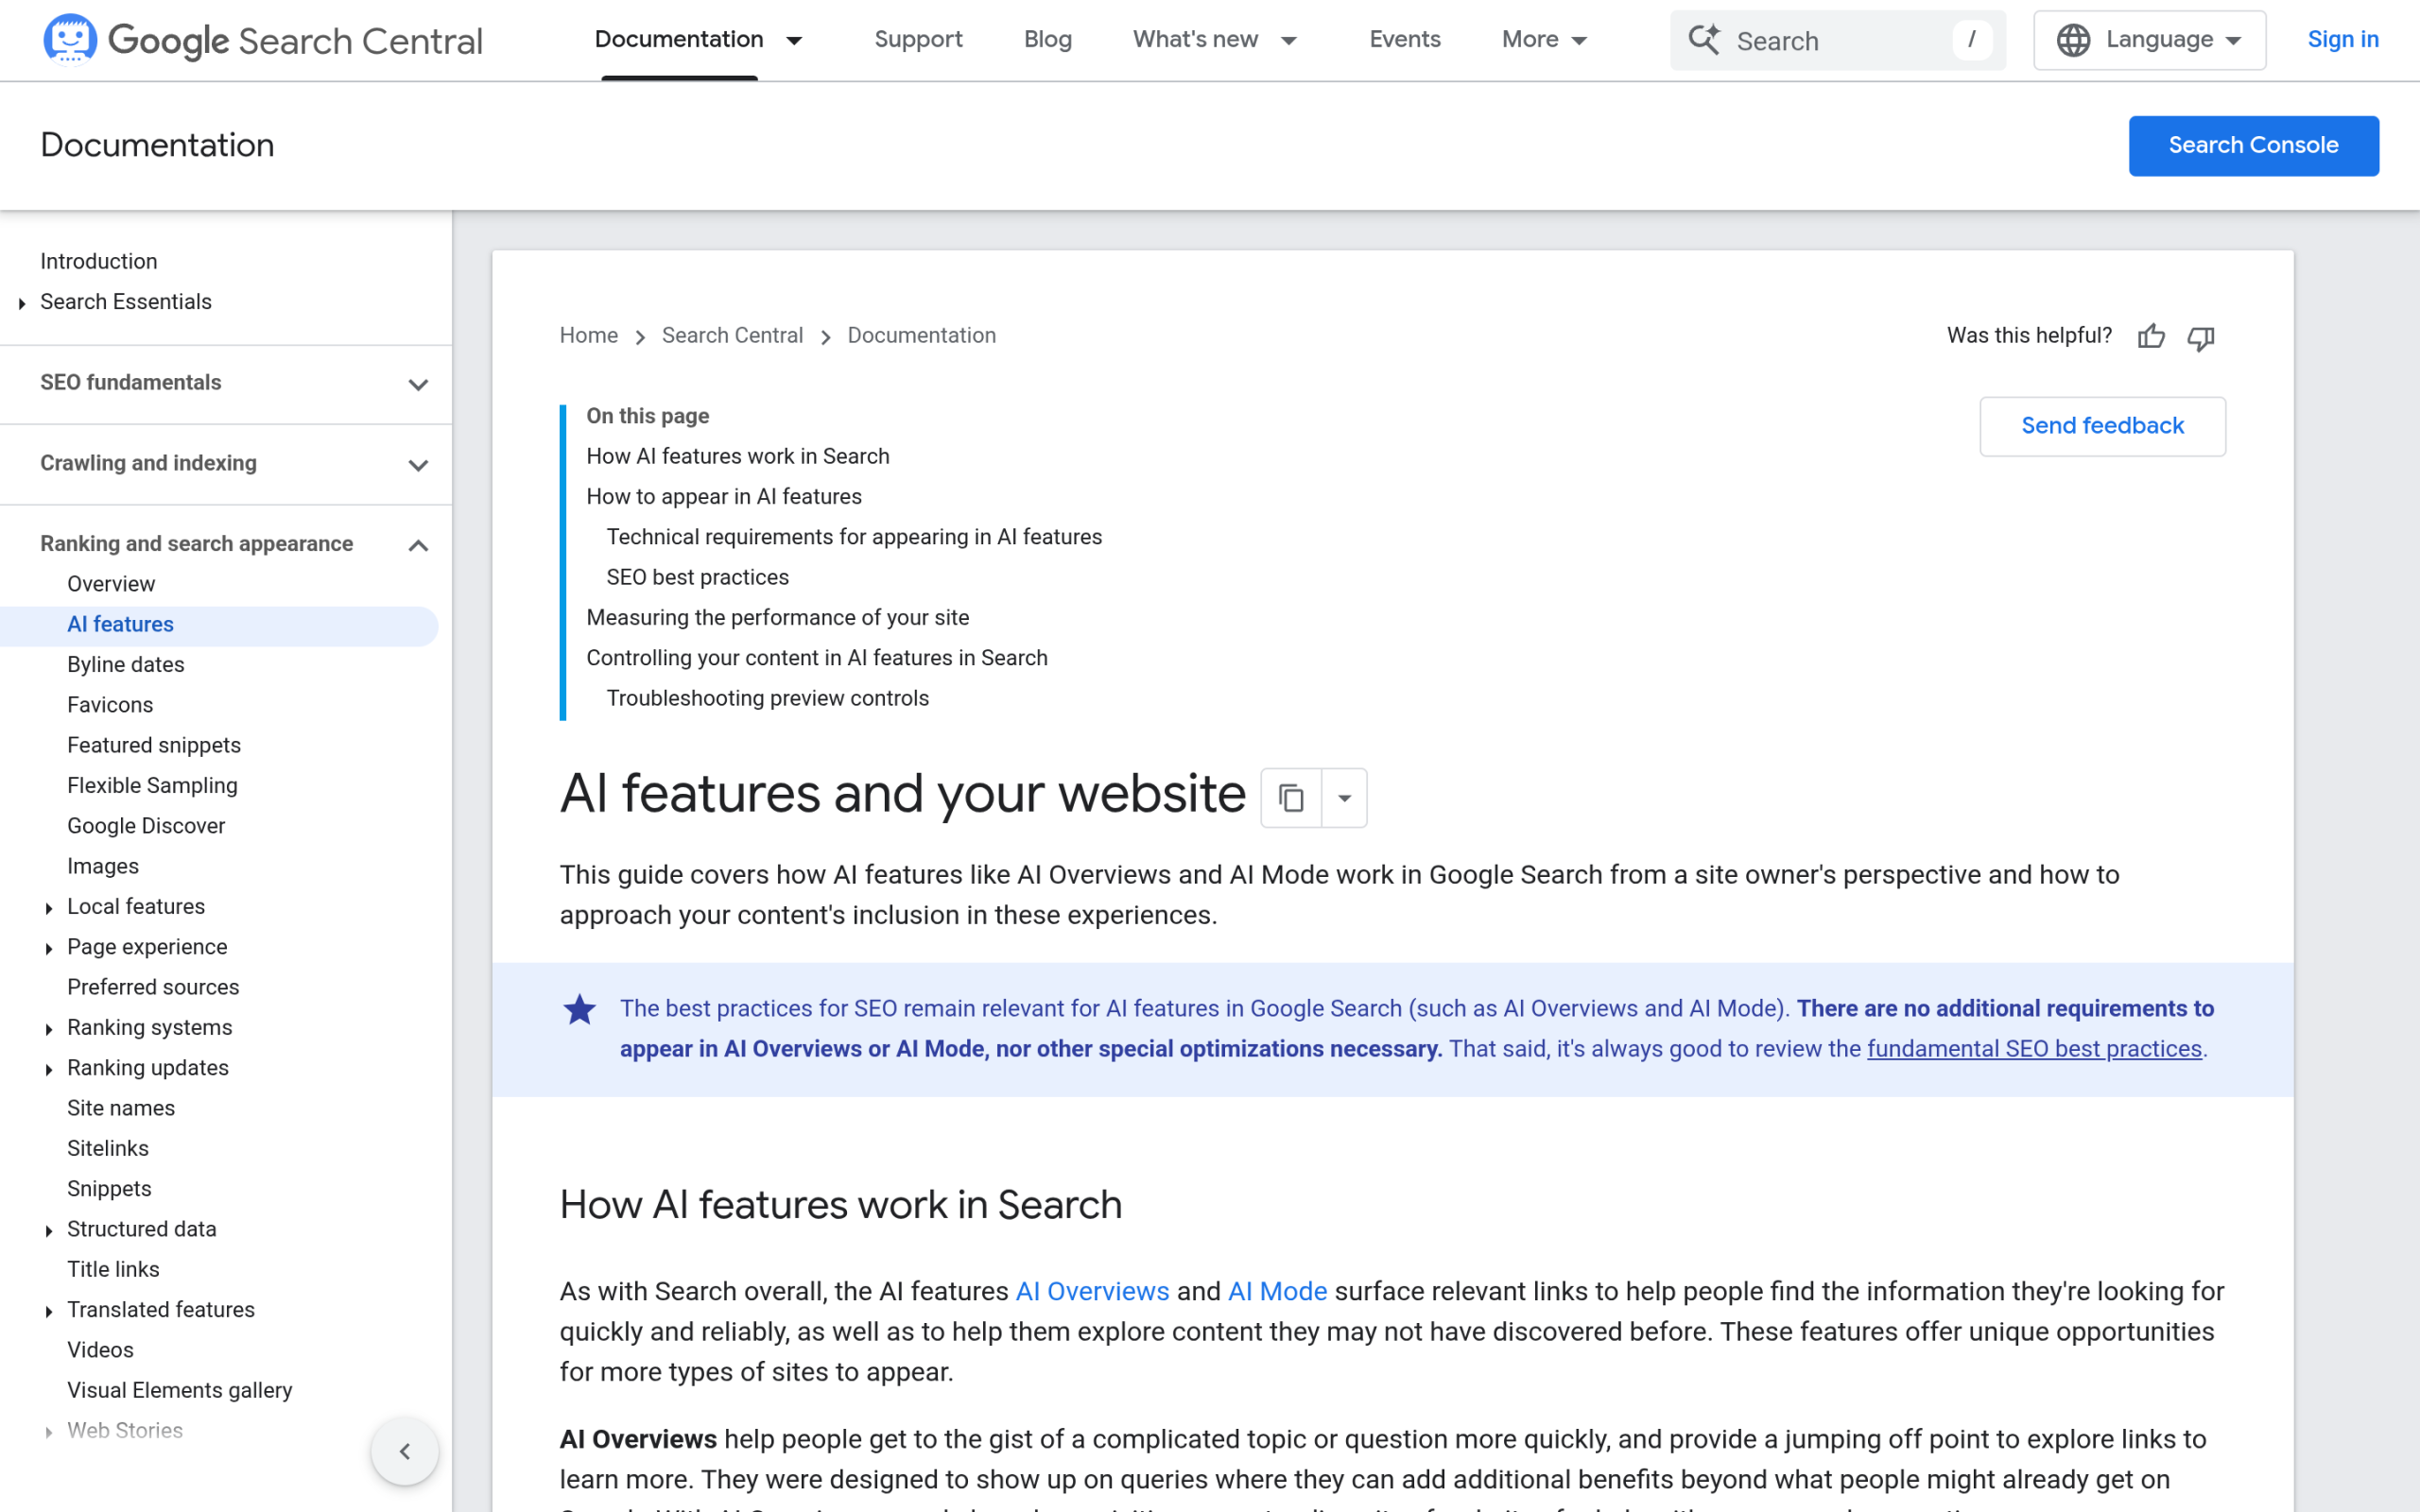Google states no special files or markup are required to appear in AI features, but clean rendered HTML still helps. Source: developers.google.com ## Where your SEO plugins stop working when you decouple This is the single most important thing to understand before going headless. Plugins like Rank Math, Yoast, and RankReady do their work by hooking into how WordPress renders a page. They inject meta tags into the document head, output JSON-LD schema into the markup, and serve files like llms.txt and markdown copies from the WordPress site. All of that assumes WordPress is rendering the page. When a Next.js or Astro front end renders instead, those hooks never fire on the page visitors load. The plugin still generates everything correctly, but it generates it on the WordPress origin, not on your decoupled front end. RankReady, for example, is built for traditional WordPress and page builders such as Gutenberg, Elementor, and Bricks, and its store page does not list a headless or decoupled mode. That is not a flaw, it is the reality of how every WordPress SEO plugin works. The fix is not a setting. It is an architecture decision you have to make yourself. ## How to keep a headless WordPress site citable in AI answers If you are committed to headless, you can still stay visible. It just takes deliberate work that a normal WordPress install would have done for you. - **Port your structured data to the front end.** Pull the schema and meta fields from the WordPress API and render them into the head of every page your front end builds. If you use WPGraphQL, request the SEO fields alongside the content so each page ships its own JSON-LD and meta tags.- **Serve llms.txt and markdown from the origin that crawlers can reach.** Files like llms.txt and clean markdown copies of posts are exactly what AI crawlers look for. RankReady generates both on the WordPress site, along with a live log of which AI crawlers visited. Keep that origin reachable and pointed at, or replicate those files on the public domain, so the AI-facing layer is not stranded.- **Render content on the server, not only in the browser.** If your front end renders content client-side only, some crawlers may receive an empty shell. Server-side rendering or static generation puts the real text and markup in the first HTML response.- **Confirm AI crawlers are allowed.** Your robots rules and crawler controls have to live on the domain that is actually served. Check that bots like GPTBot, ClaudeBot, and PerplexityBot are not blocked at the front-end edge. The pattern is consistent. Treat the AI-readable layer, schema, llms.txt, crawler access, as something you now own at the front end, not something a plugin handles invisibly. RankReady generates llms.txt, markdown copies, and schema on the WordPress origin. Source: store.posimyth.com ## Headless vs traditional WordPress: which stays visible in AI search? For a pure content site, traditional WordPress is the safer bet for AI visibility, because the tools that make you citable work out of the box. A plugin like RankReady can generate llms.txt, markdown copies, Article and Speakable schema, and a live AI crawler log, and all of it ships on the page automatically. You get the AI-facing layer for free. Headless earns its place when you genuinely need one content source feeding several front ends, or when a product team is already living in a JavaScript framework. In that case the speed and flexibility are worth it, as long as you budget the engineering time to rebuild the AI-visibility layer the plugins used to handle. The wrong move is going headless for the performance bragging rights and discovering months later that your traffic from AI answers quietly never arrived. Decide based on what your team actually ships, not on what sounds modern. ## Suggested Reading - [How to add an llms.txt file to WordPress](https://qa.nexterwp.com/blog/llms-txt-gutenberg-wordpress/)- [Schema markup generator for WordPress](https://qa.nexterwp.com/blog/schema-markup-generator-wordpress/)- [Robots.txt and AI crawlers on WordPress](https://qa.nexterwp.com/blog/wordpress-robots-txt-ai-crawlers-gutenberg/)- [E-E-A-T for AI search](https://qa.nexterwp.com/blog/e-e-a-t-ai-search-wordpress/)- [How to track AI Overview visibility](https://qa.nexterwp.com/blog/ai-overview-tracking-wordpress/) --- # MCP vs API: What’s the Difference, and When Your WordPress Site Needs Each Source: https://qa.nexterwp.com/blog/mcp-vs-api-wordpress/ #### Key Takeaways - An API is a direct interface that a developer writes code against. MCP (Model Context Protocol) is an open standard that lets AI agents discover and use tools and data without a custom integration per model.- MCP does not replace APIs. An MCP server usually wraps existing APIs so an AI client can call them in a standard way. The official analogy is a "USB-C port for AI applications."- WebMCP is a separate, browser-based proposal. It turns a web page into an in-page MCP server using client-side JavaScript and DOM actions, rather than a backend server.- Most WordPress sites already have a REST API. You only need an MCP server when you want AI agents to take actions on your site. WebMCP is still early and not a formal standard.- Before exposing tools to agents, the higher-impact work for most publishers is being discoverable and cited by AI in the first place, which is where RankReady fits. In a standup a few weeks back, someone asked a question that stalled the room: "For the AI feature, do we actually need MCP, or is a normal API enough?" Three developers gave three different answers. The confusion was not about either technology on its own. It was about where one ends and the other begins, and which problem each is really solving. That mix-up is everywhere right now, partly because "MCP vs API" reads like a head-to-head when it is closer to a layering question. This guide draws the line cleanly: what each one is, how they relate, where the newer WebMCP proposal fits, and when a WordPress site genuinely needs any of them. ## What an API Actually Does An API, or application programming interface, is a defined way for one piece of software to talk to another. When your WordPress site exposes its REST API, an external program can request a list of posts, create a draft, or update a setting by calling a specific URL with a specific format. The key detail is that a developer has to read the documentation and write code for each endpoint they want to use. APIs are precise and powerful, but they assume a human developer is in the loop, deciding what to call and wiring it up ahead of time. That assumption is exactly what changed when AI agents entered the picture. ## What MCP Is and Why It Appeared The Model Context Protocol, almost always called MCP, is an open standard for connecting AI applications to external systems. Its own documentation describes it as a way for AI applications like Claude or ChatGPT to connect to data sources, tools, and workflows so they can access information and perform tasks. The analogy the project uses is memorable: MCP is "a USB-C port for AI applications," a standardized way to plug an AI model into outside systems. MCP works on a client-server model. An MCP server exposes a set of tools and data. An MCP client, which is the AI application, connects to that server and can discover what is available and call it. The point of the standard is "build once, integrate everywhere": instead of writing a bespoke integration for every AI model, you expose your capability through MCP once, and any MCP-aware client can use it. 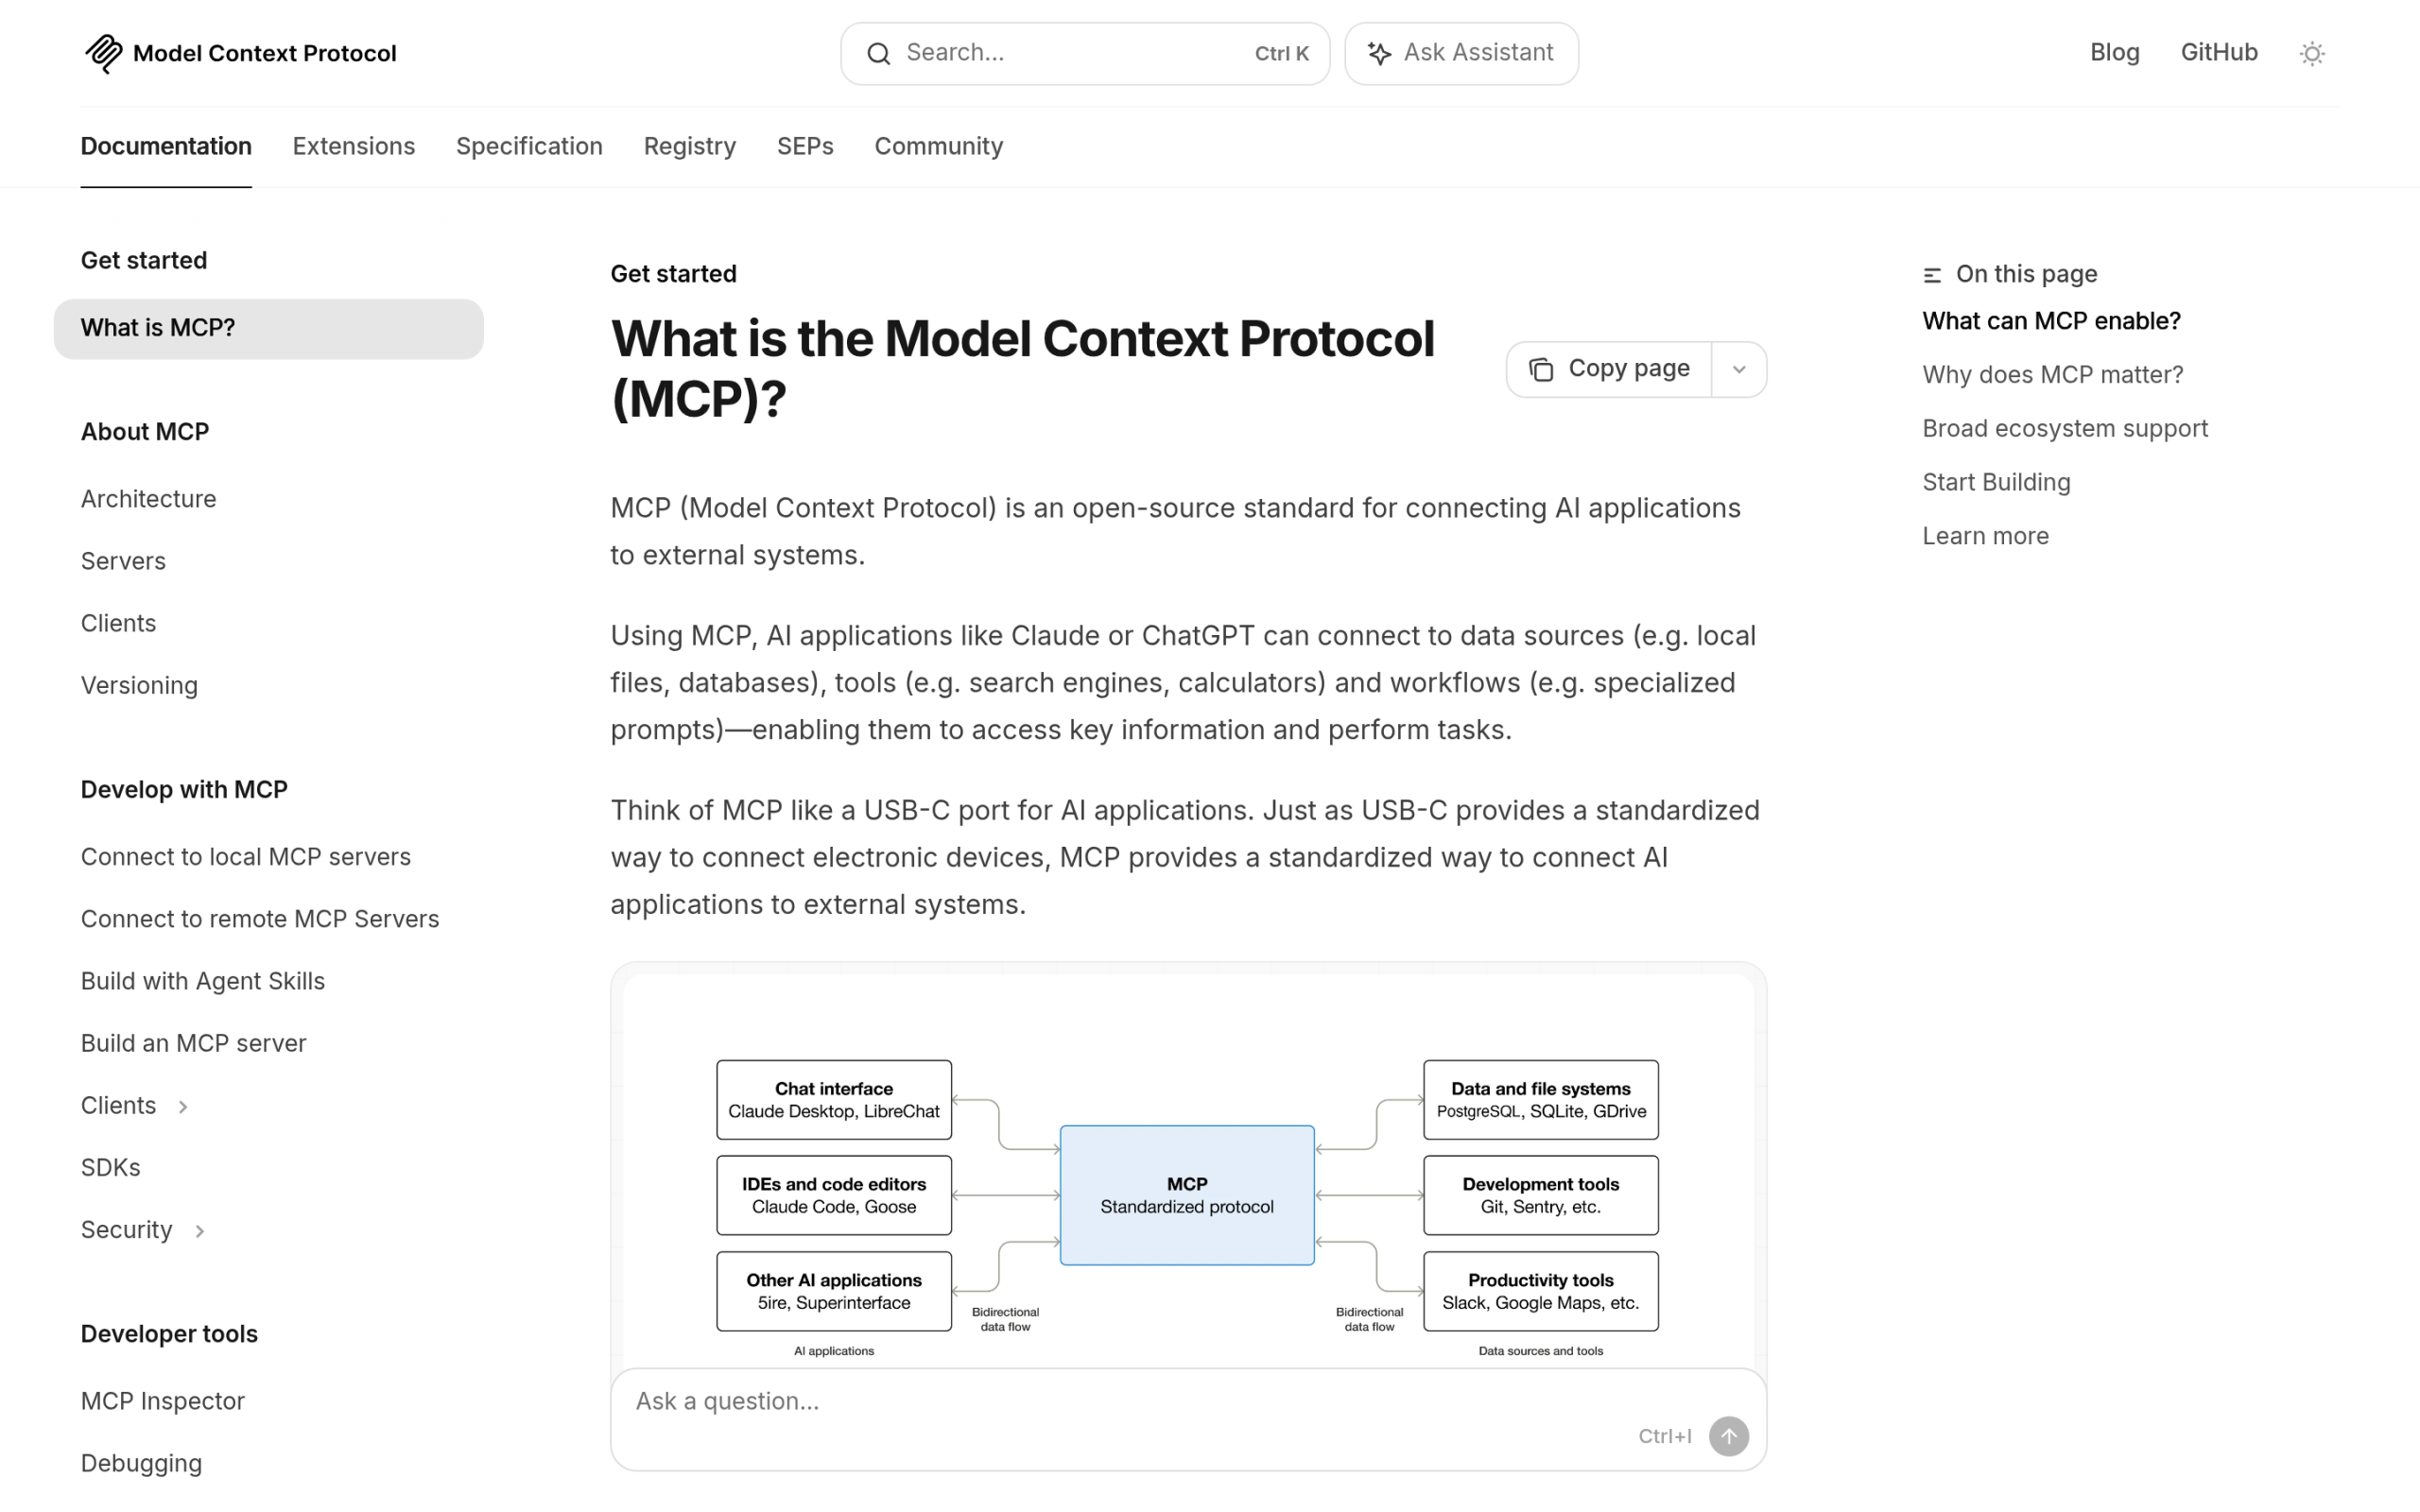The Model Context Protocol describes itself as a "USB-C port for AI applications," a standard way to connect AI clients to tools and data. Source: modelcontextprotocol.io. ***Also Read:** [What Is the Model Context Protocol in WordPress?](https://qa.nexterwp.com/blog/model-context-protocol-wordpress/) for a full explainer on MCP servers and how they work.* ## MCP vs API: The Core Difference Here is the cleanest way to hold both in your head. An API is the interface. MCP is a standard way for an AI agent to find and use interfaces. They operate at different levels. | | Traditional API | MCP | | ------ | --------------- | --- | | **Who uses it** | A developer writing code ahead of time | An AI agent, at runtime | | **Tool discovery** | Manual: read docs, hard-code each call | Built in: the client asks the server what tools exist | | **Standardization** | Every API is shaped differently | One protocol across all MCP servers and clients | | **Integration effort** | Custom work per service and per app | Expose once, any MCP client can connect | | **Best for** | Predictable software-to-software calls | Letting AI agents act across many systems | MCP and an API solve related but different problems. One defines an interface; the other standardizes how AI agents reach interfaces. ## So Is MCP Just an API With Extra Steps? No, and this is the part that clears up most of the confusion. MCP does not replace APIs. In most real setups, an MCP server sits in front of existing APIs and exposes them to AI clients in a consistent shape. The API still does the actual work of reading and writing data. MCP is the standard layer that lets an agent discover that capability and call it without a hand-built integration. So the honest framing is not "MCP or API." It is "an API for the underlying capability, and MCP when you want AI agents to use that capability on their own." If no AI agent is involved, a plain API is usually all you need. ## Where WebMCP Fits WebMCP is a newer idea that often gets lumped in with MCP, but it is a different thing. It is a client-side browser API that lets a web page expose its own functions and forms as tools for AI agents. Its specification puts it plainly: pages that use WebMCP can be thought of as "in-page Model Context Protocol (MCP) servers that implement tools exposing client-side logic and DOM interaction rather than server-side APIs." In other words, where a normal MCP server runs on the backend, WebMCP runs inside the browser tab, turning the page itself into the toolset. One caveat worth stating clearly: WebMCP is a proposal under development by the Web Machine Learning Community Group. It is not a finalized web standard yet, and it is moving fast. Treat it as something to watch, not something to build a production strategy on today. The WebMCP proposal: web pages act as in-page MCP servers using client-side JavaScript and DOM actions. Source: github.com/webmachinelearning/webmcp. ## When Your WordPress Site Needs an API vs MCP vs Neither For a WordPress site specifically, the decision is usually simpler than the hype suggests. - **You already have an API.** WordPress ships with a REST API. If you are integrating your site with another app or service, that is typically the tool for the job.- **You need MCP when agents should act on your site.** If you want an AI assistant to create posts, fetch data, or run workflows on your WordPress site on its own, an MCP server is the standard way to expose that safely.- **You need WebMCP for in-page agent actions, eventually.** If you want an agent operating inside a visitor's browser to use your page's own controls, that is the WebMCP use case, once it matures.- **Most publishers need none of the above yet.** If your goal is traffic and visibility, exposing tools to agents is not the first move. For the agent-action path, our guide to [setting up MCP on WordPress](https://qa.nexterwp.com/blog/model-context-protocol-wordpress/) covers the server side. And if you are connecting models directly, the [guide to using the Gemini API in WordPress](https://qa.nexterwp.com/blog/gemini-api-wordpress/) shows the plain-API route. ## What Most WordPress Owners Actually Need First Here is the reframe that matters for most site owners. Before you let AI agents act on your site, the bigger question is whether AI engines can find and cite your site at all. An MCP server is useless to your traffic if ChatGPT and Google's AI answers never surface your content. Discovery comes before action. That groundwork is mostly content and structure: helpful pages, accurate schema, clean crawlability, and a way to measure whether AI engines are picking you up. A free WordPress plugin like [RankReady](https://store.posimyth.com/plugins/rankready/) handles the measurement side, logging AI crawler hits, tracking AI referral traffic, and scoring how ready each post is to be cited. Get discovered first. Worry about exposing tools to agents when you actually have agents knocking. RankReady tracks whether AI engines actually find and cite your WordPress content. Source: store.posimyth.com. ***Also Read:** [Answer Engine Optimization for WordPress](https://qa.nexterwp.com/blog/answer-engine-optimization-wordpress/) for the on-site playbook that gets your pages cited by AI in the first place.* ## So, MCP or API? Use an API when software needs to talk to software in a predictable way. Reach for MCP when you want AI agents to discover and use that software on their own, and remember it usually wraps an API rather than replacing it. Keep an eye on WebMCP for in-browser agent actions, but do not bet on it yet. And if you run a content site, get discoverable by AI before you worry about any of it. ## Suggested Reading - [What Is the Model Context Protocol in WordPress?](https://qa.nexterwp.com/blog/model-context-protocol-wordpress/)- [How to Use the Gemini API in WordPress](https://qa.nexterwp.com/blog/gemini-api-wordpress/)- [Answer Engine Optimization (AEO): The Complete WordPress Guide](https://qa.nexterwp.com/blog/answer-engine-optimization-wordpress/)- [How to Add an llms.txt File in WordPress](https://qa.nexterwp.com/blog/llms-txt-gutenberg-wordpress/)- [The Web Crawlers List: Bots Visiting Your Site](https://qa.nexterwp.com/blog/web-crawlers-list/) --- # Google SGE Is Now AI Mode and AI Overviews: What Changed and How to Show Up in 2026 Source: https://qa.nexterwp.com/blog/google-sge-ai-overviews-wordpress/ #### Key Takeaways - Google SGE (Search Generative Experience) is no longer a separate product. It graduated out of Search Labs and became AI Overviews, which began rolling out to everyone in the United States on May 14, 2024.- Google later added AI Mode for longer, exploratory questions that need reasoning and side-by-side comparison.- Google states there are no special files, markup, or "AI text files" required to appear in AI Overviews or AI Mode. Standard Search eligibility is the bar.- The 2023 "optimize for SGE" checklists are outdated. The real work now is helpful content, accurate structured data, crawlability, and demonstrated experience and expertise.- You can measure whether AI engines actually cite you using AI referral tracking and a per-post readiness score, which is where RankReady fits. A few weeks ago someone on our team typed "how to optimize for Google SGE" into Search, opened the top three guides, and realized every one of them was describing a product that does not exist anymore. The screenshots showed a colored box labeled "Search Generative Experience." The advice talked about joining a Labs waitlist. None of it matched what Google actually shows in 2026. That gap is the whole problem with the term "Google SGE" today. The name stuck around in blog posts and checklists long after Google moved on. If you are still chasing SGE, you are optimizing for a label Google retired. This guide clears that up: what SGE was, what it turned into, and what genuinely moves the needle for getting your WordPress site surfaced in Google's AI answers now. ## What Google SGE Actually Was Search Generative Experience, almost always shortened to SGE, was Google's 2023 experiment in putting a generative AI answer at the top of the results page. It launched inside Search Labs, which meant you had to opt in to see it. Early on it sat behind a waitlist, and the AI answer appeared in a shaded panel above the regular blue links. Because it was an experiment, SGE changed constantly. The panel got shorter, the sources moved around, and the queries that triggered it shifted from week to week. That churn is exactly why so much "how to rank in SGE" advice from 2023 reads as guesswork today. People were reverse-engineering a moving target that Google had explicitly labeled a test. ## What Happened to SGE: It Became AI Overviews and AI Mode SGE did not get shut down. It graduated. At Google I/O in May 2024, Google announced that the feature people had "already used billions of times through our experiment in Search Labs" was rolling out to everyone in the United States as **AI Overviews**, starting May 14, 2024. The shaded experiment became a permanent, default part of Search, with Google projecting access for over a billion people by the end of that year. So the practical translation is simple. When a 2023 article says "SGE," the 2026 equivalent is "AI Overviews." Same lineage, new name, no waitlist. Google then added a second surface, **AI Mode**, for questions that need more than a quick summary. Together they replaced the single SGE panel with two distinct experiences. Google announced at I/O that AI Overviews would roll out to everyone in the United States starting May 14, 2024. Source: blog.google. ***Also Read:** [Answer Engine Optimization for WordPress](https://qa.nexterwp.com/blog/answer-engine-optimization-wordpress/) for the complete on-site playbook behind getting cited by AI answers.* ## AI Overviews vs AI Mode: The Difference The two are easy to confuse because both sit on top of regular Search and both use AI. The split comes down to how much thinking the query needs. | | AI Overviews | AI Mode | | ------ | ------------ | ------- | | **Built for** | Quickly grasping a topic, then jumping off to links | Exploration, reasoning, and complex comparisons | | **Query type** | Standard searches where a summary adds value | Nuanced questions that used to take several searches | | **How it works** | Summary plus a diverse set of supporting links | Query fan-out across subtopics, then a synthesized answer | | **Where it shows** | Top of the standard results page | A dedicated mode you switch into | How Google frames AI Overviews versus AI Mode. Both pull from the same index your standard SEO already feeds. Google describes both as showing "a wider and more diverse set of helpful links" than classic results, using query fan-out to break a question into subtopics. The takeaway for publishers: these features pull from the same index your normal pages already live in. There is no separate AI index to submit to. ## Why Your Old SGE Optimization Checklist Is Outdated Most 2023 SGE guides told you to do one of three things: join the Labs waitlist, write in a specific "conversational" format to please the panel, or add some special tag so the AI would notice you. All three are dead weight in 2026. - The waitlist is gone. AI Overviews are on by default for eligible queries.- There is no secret format. Google did not publish a magic structure that guarantees inclusion.- There is no special markup that opts you in. We will get to exactly what Google says about that next. If a guide you are reading still references "SGE," a waitlist, or a one-time AI tag, treat it as a historical artifact, not a plan. ## What Google Says You Actually Need This is the part that surprises people who expected a new ruleset. In its own documentation on AI features in Search, Google is blunt: *"There are no additional requirements to appear in AI Overviews or AI Mode, nor other special optimizations necessary."* It goes further: *"You don't need to create new machine readable files, AI text files, or markup to appear in these features."* 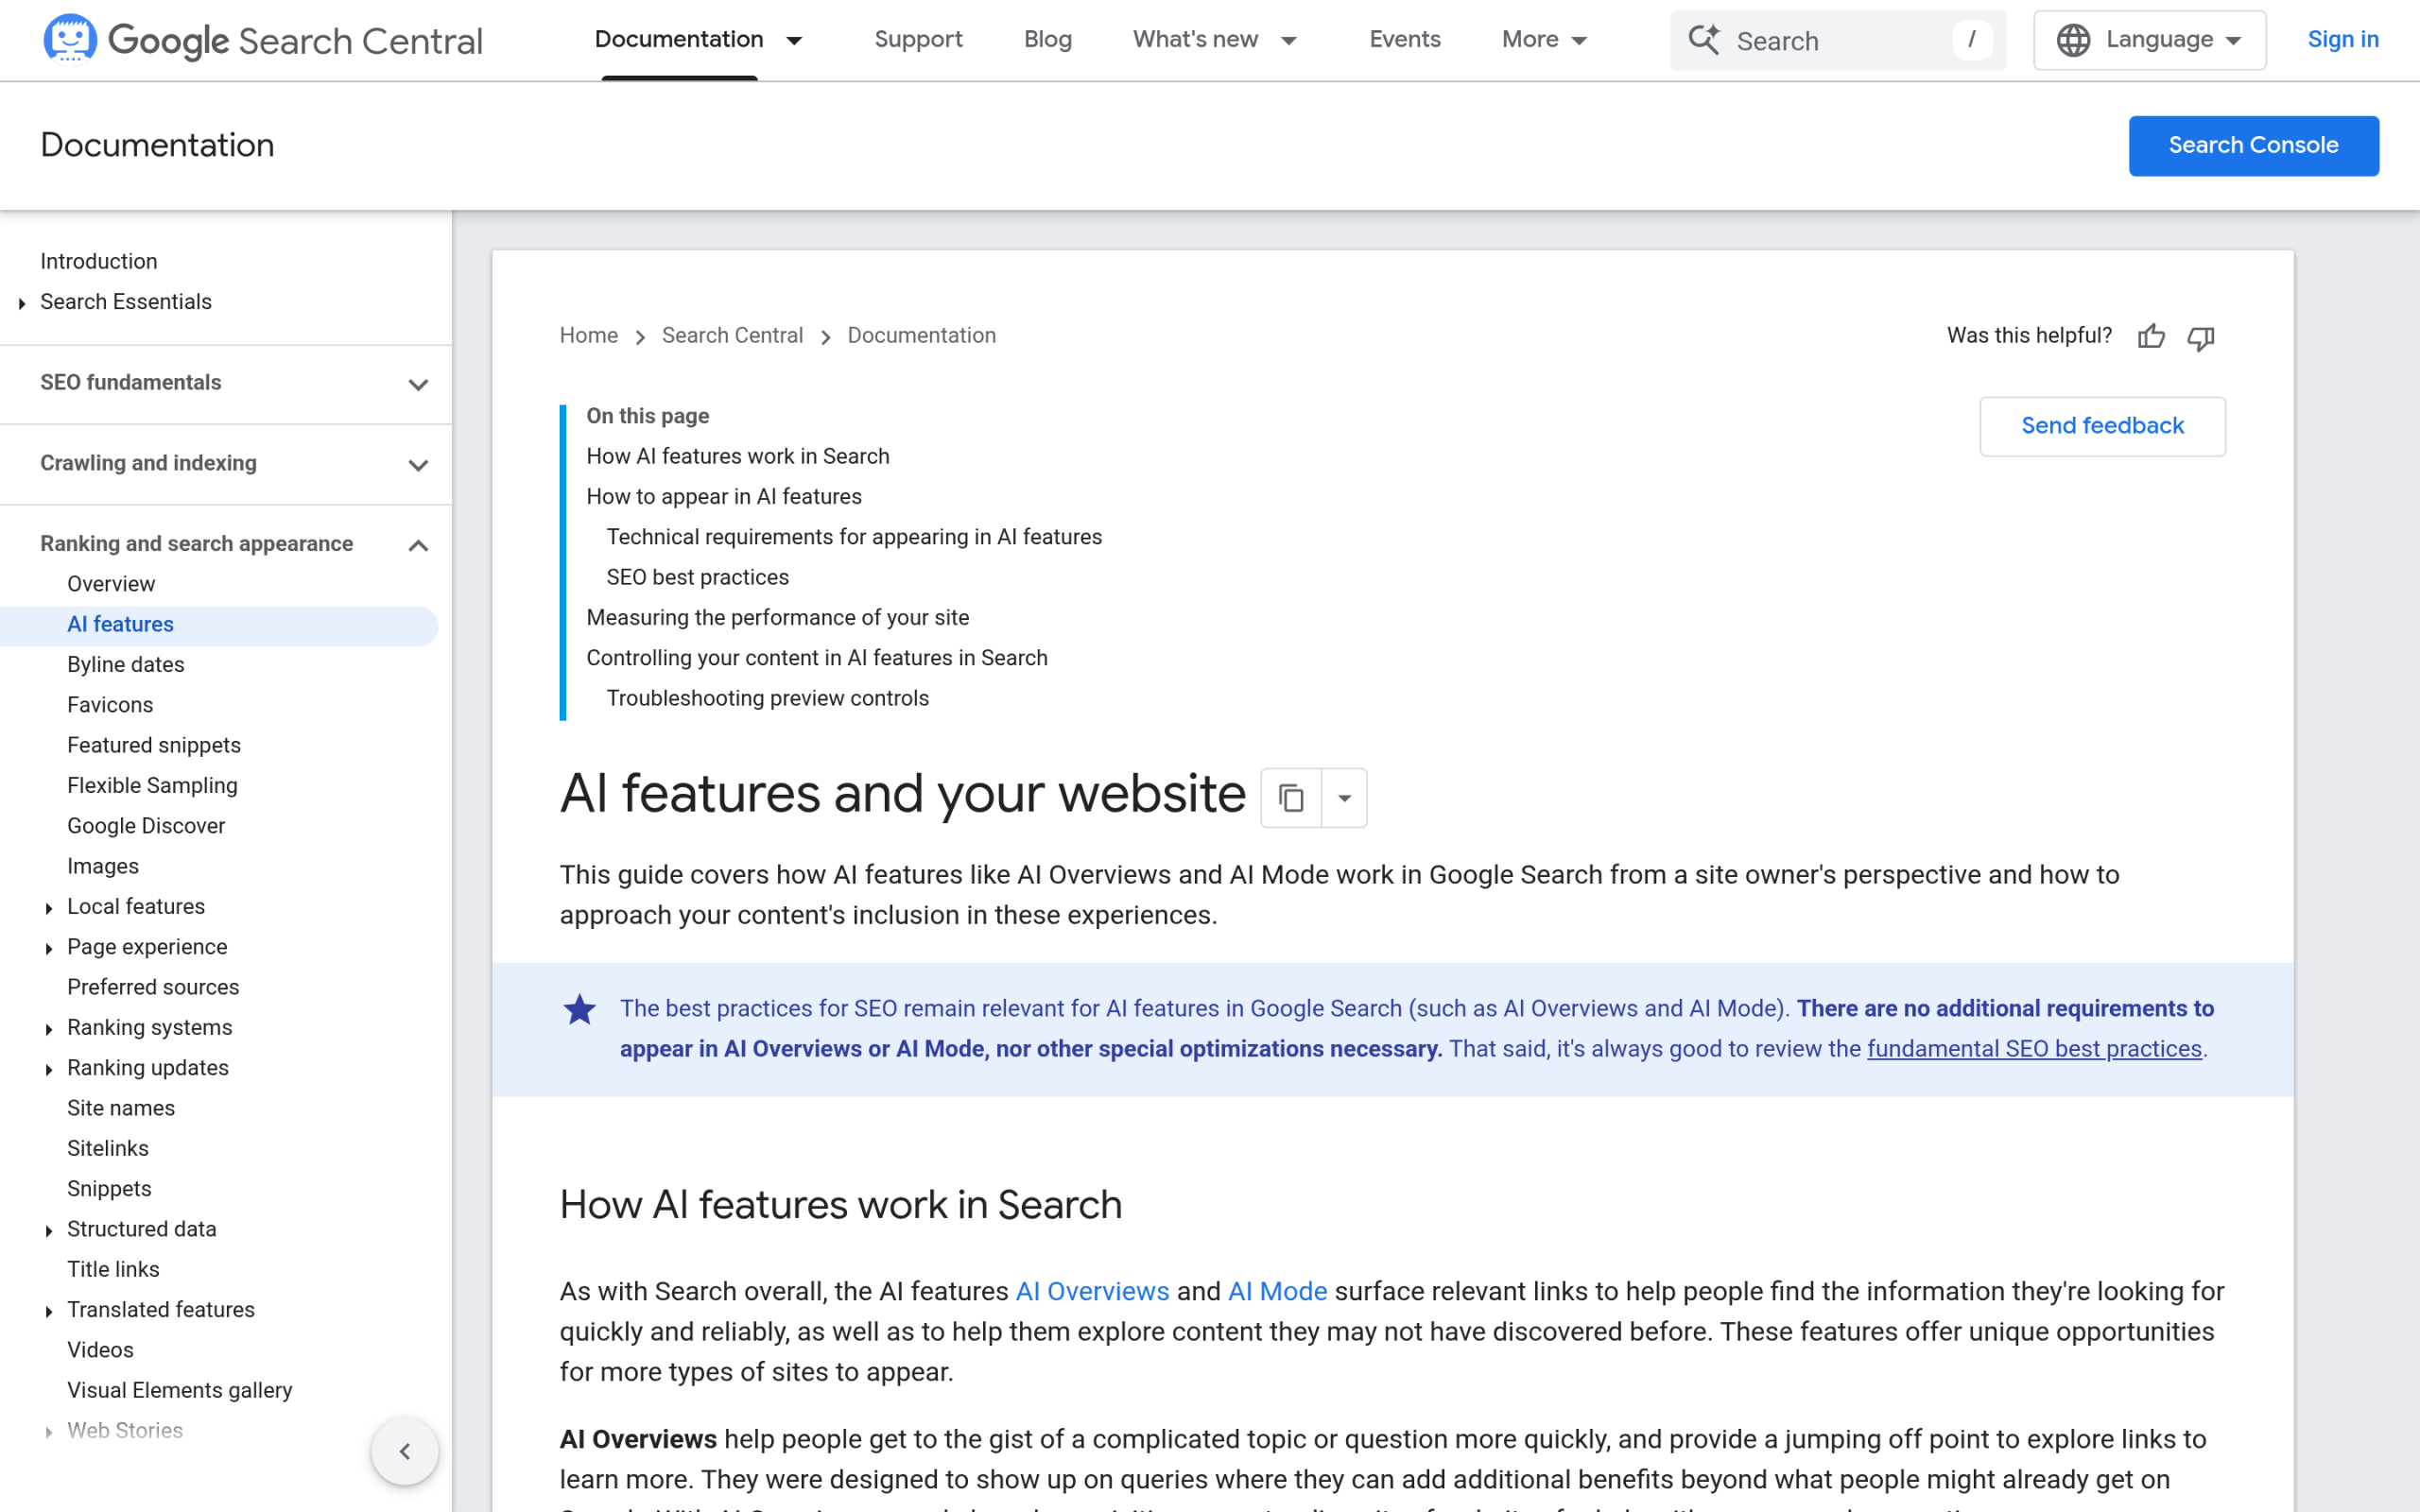Google's own documentation: no special files, AI text files, or markup are required to appear in AI Overviews or AI Mode. Source: developers.google.com. To be eligible, a page only has to meet standard Search criteria. It needs to be indexed and eligible to appear in a snippet. From there, Google points to the same fundamentals it always has: allow crawling, create helpful people-first content, deliver a good page experience, and use structured data accurately. Nothing AI-specific, nothing exotic. That does not make AI Overviews easy. It means the bar is good SEO done well, not a separate game. ## How to Optimize Your WordPress Site for AI Overviews and AI Mode Since the requirements are standard Search fundamentals, here is how that translates into concrete WordPress work, ordered by impact. - **Make sure AI crawlers can reach you.** Eligibility starts with crawlability. Check that your robots.txt is not blocking Googlebot, and decide deliberately which AI crawlers you allow.- **Write genuinely helpful, people-first content.** AI Overviews favor pages that answer the question directly and completely. Lead with the answer, then support it.- **Use structured data accurately.** Article, FAQ, and HowTo schema help Google understand your page. Accuracy matters more than volume here.- **Show experience and expertise.** First-hand experience, named authors, and real evidence are what separate a citeable page from a generic one.- **Build topical depth.** A single thin post rarely gets cited. Clusters of connected, complete coverage do. ***Also Read:** [E-E-A-T for AI Search on WordPress](https://qa.nexterwp.com/blog/e-e-a-t-ai-search-wordpress/) for how to prove experience and expertise on every post.* For the crawler side, our guide to [controlling AI crawlers with robots.txt](https://qa.nexterwp.com/blog/wordpress-robots-txt-ai-crawlers-gutenberg/) walks through which bots to allow. For the structured data side, a [schema markup generator for WordPress](https://qa.nexterwp.com/blog/schema-markup-generator-wordpress/) keeps your Article and FAQ markup accurate without hand-coding. And if you are building coverage on a subject, our [topical authority guide](https://qa.nexterwp.com/blog/topical-authority-wordpress/) shows how to structure a cluster. ## How to Tell If You Are Actually Getting Cited Here is the catch that classic SEO tools miss. When AI Overviews or AI Mode use your page, the visit often does not look like a normal Google click in your analytics. You can rank well and still have no clear signal that you were cited. That blind spot is why measurement is its own task. A free WordPress plugin like [RankReady](https://store.posimyth.com/plugins/rankready/) closes the loop here. It logs AI crawler hits in real time, tracks AI referral traffic from sources like gemini.google.com and chatgpt.com, surfaces a 30-day citation candidates leaderboard, and gives each post a readiness score out of 100. Instead of guessing whether your AI Overviews work paid off, you watch the crawler log and the referral data move. RankReady's live AI crawler log and citation tracking show whether AI engines actually pick up your pages. Source: store.posimyth.com. ## So, Is "Google SGE" Still a Thing? No. SGE was the 2023 experiment. It became AI Overviews in 2024 and was joined by AI Mode for deeper questions. The strategy is no longer "optimize for SGE." It is helpful content, accurate structured data, clean crawlability, and real expertise, then measuring whether AI answers actually pick you up. Drop the old label and the rest gets a lot clearer. ## Suggested Reading - [Answer Engine Optimization (AEO): The Complete WordPress Guide](https://qa.nexterwp.com/blog/answer-engine-optimization-wordpress/)- [AI Overview Tracking for WordPress](https://qa.nexterwp.com/blog/ai-overview-tracking-wordpress/)- [E-E-A-T for AI Search on WordPress](https://qa.nexterwp.com/blog/e-e-a-t-ai-search-wordpress/)- [Schema Markup Generator for WordPress](https://qa.nexterwp.com/blog/schema-markup-generator-wordpress/)- [Control AI Crawlers with robots.txt in WordPress](https://qa.nexterwp.com/blog/wordpress-robots-txt-ai-crawlers-gutenberg/) --- # How to Stop Spam Registrations on WordPress (5 Easy Ways) Source: https://qa.nexterwp.com/blog/how-to-stop-spam-registrations-on-wordpress/ #### Key Takeaways - Spam registrations are automated bot sign-ups that bloat your user table, open the door to bigger security attacks, and weaken the quality signals search engines read.- If your site does not need open sign-ups, the fastest fix is unchecking "Anyone can register" under Settings > General.- For sites that genuinely need registration, layer your defenses: a custom form, CAPTCHA, email activation, and manual approval.- Nexter Blocks adds reCAPTCHA, a white-label login screen, and two-factor authentication to your WordPress login and registration forms.- No single method stops everything. Combine two or three based on whether you run a blog, a membership site, or a store. A client messaged me on a Monday morning, half panicked: their WordPress user list had filled up overnight with accounts that had garbled usernames and throwaway email addresses, and not one of them had ever logged in. It looked alarming, but it was the most ordinary problem on the web. Bots had found their open registration form and started signing up on autopilot. Spam registrations are more than a cluttered user table. Fake accounts are often the first probe before a bigger attack, they pad your database until pages load slower, and they bury the handful of real users you actually want to talk to. The good news is that your registration form is one of the easiest entry points to lock down. This guide walks through the five methods I reach for, in the order I usually try them, so you can pick the ones that fit how your site works. ## What are WordPress spam user registrations? WordPress spam user registrations are fake or automated sign-ups on your site, usually created by bots scanning the web for forms with no protection. Once an account exists, it can post spam content, poke at restricted areas, or sit dormant until it is used in a later attack. Left alone, these accounts pile up fast. They clog your user database, make it harder to find legitimate members, and can slow your site as the database grows. They also tend to trigger a stream of unwanted notification emails. Spam sign-ups usually happen for a few predictable reasons: - Your registration settings have no restrictions in place. - There is no CAPTCHA, so bots clear your forms without any security check. - You are using the default WordPress form, which is an easy, well-known target for automated attacks. - The site's overall security is thin, so the form is just the first weak spot a bot finds. ### Why stop spam registrations on WordPress? Spam sign-ups are common on any WordPress site that leaves registration unguarded. Here is why it is worth shutting them down rather than deleting accounts one by one forever. #### 1. Protect your site's security A wave of fake registrations is often step one in a larger attack, such as brute-force attempts on your backend. Every junk account is a small foothold, and a flood of them is bots testing where your site gives way. Closing the registration door early cuts off that probe and lowers the risk of unauthorized access. #### 2. Preserve site performance Thousands of fake users bloat your database, and a bloated database eats server resources. The result shows up as slower queries and slower page loads for the real visitors you care about. Keeping the user table clean keeps the site quick. #### 3. Improve user experience Unchecked registration spam tends to spill into the front end as junk comments, low-quality posts, or fake reviews. That noise distracts genuine visitors and chips away at trust in your site. A clean member base keeps the experience focused on real people. #### 4. Reduce administrative burden Sorting real members out of a sea of fake accounts is slow, thankless work, and it pulls you away from running the site. Spam accounts also generate a steady drip of notification emails that clutter your inbox. Stopping the sign-ups at the source means you stop doing the cleanup at all. #### 5. Keep your search engine ranking Search engines weigh credibility and engagement when they rank a site. A site full of spam accounts churning out low-quality content can read as poor quality, and that can drag your rankings down, making it harder for real users to find you. Protecting registration is quietly an SEO move too. ***Also Read:** Lock down the other main entry point too, *[***how to secure your WordPress login page***](https://theplusaddons.com/blog/how-to-secure-wordpress-login-page/)*.* ## Stop spam registrations on WordPress [5 easy ways] ### 1. Disable user registrations in WordPress Start here, because it is the simplest fix and it solves the problem completely for a lot of sites. Not every site needs open public registration. If yours does not, turn it off and the spam stops at the source. You can still add members by manual approval or invitation when you need to. From your WordPress dashboard, go to **Settings > General**. Scroll to the **Membership** option. By default the "Anyone can register" box is checked, which means public sign-ups are open. Uncheck that box, then scroll down and click **Save Changes**. 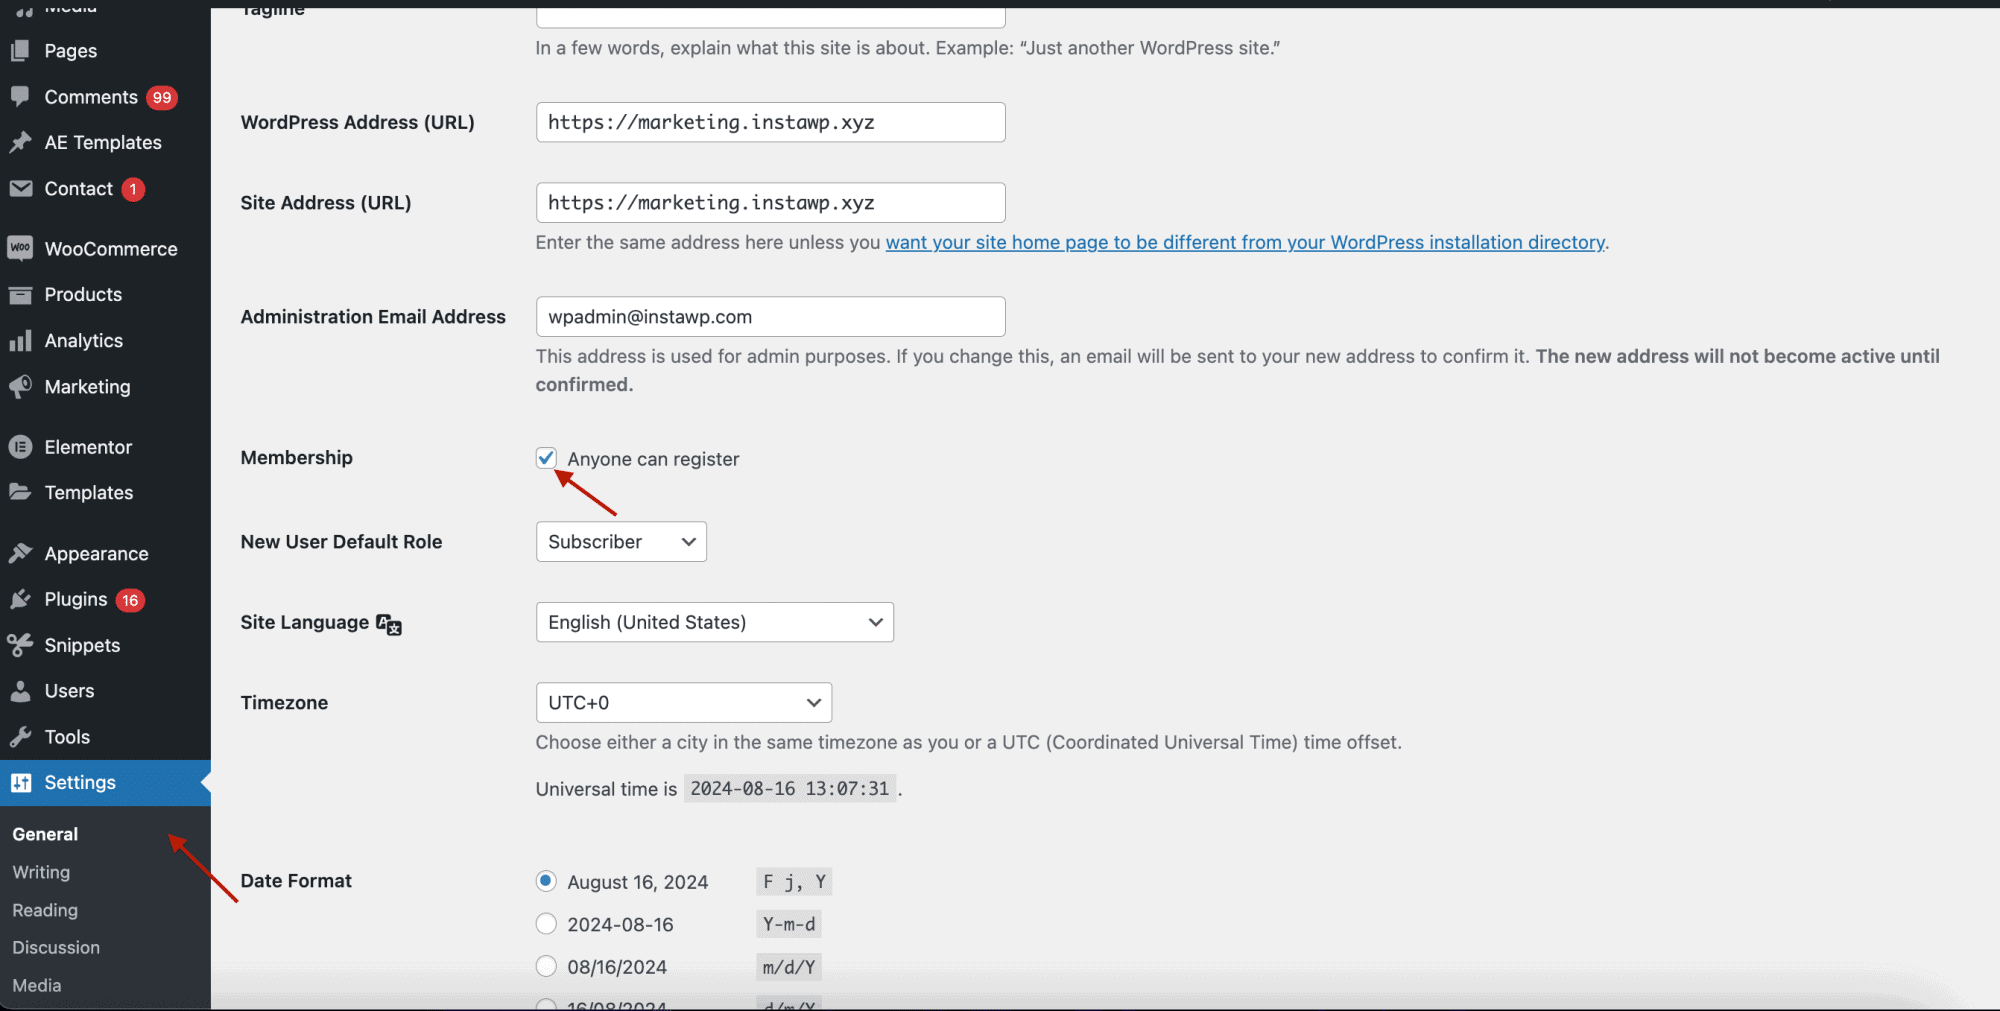Uncheck "Anyone can register" under Settings > General to close public sign-ups. Open your login page in an incognito window to confirm it worked. You should see the message "User registration is currently not allowed." 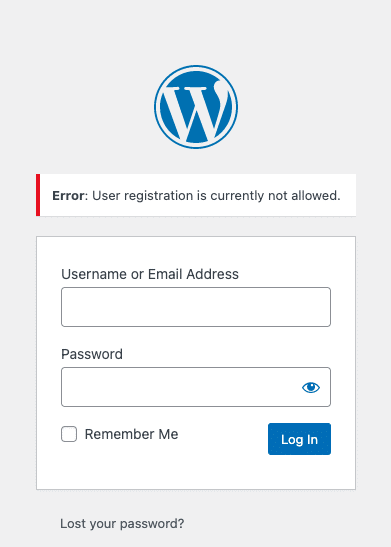The confirmation message you want to see once public registration is disabled. > **Note:** If you turn registration off entirely, think about who that affects. For a membership site or an online store, disabling sign-ups would block legitimate customers, so one of the later methods will fit better. If you keep registration open, it also helps to move the login and registration screens off their default URLs so bots cannot find them as easily. You can set up [custom login and registration URLs](https://qa.nexterwp.com/docs/change-wordpress-admin-login-url-path/) that are harder to guess. ### 2. Build a custom user registration form If your site needs sign-ups, the default WordPress form is the worst one to leave exposed. It is basic, predictable, and offers almost nothing in the way of security. A custom form lets you add the checks that actually slow bots down, and as a bonus you can style it to match your brand. Here I am using Nexter Blocks to customize the form and bolt on extra security. After installing Nexter Blocks, go to **Appearance > Nexter Settings > Extra Options**. Click **Enable** under **WP Login White Label** to take over the login and registration screens. From here you can add form fields that help filter out fake registrations. 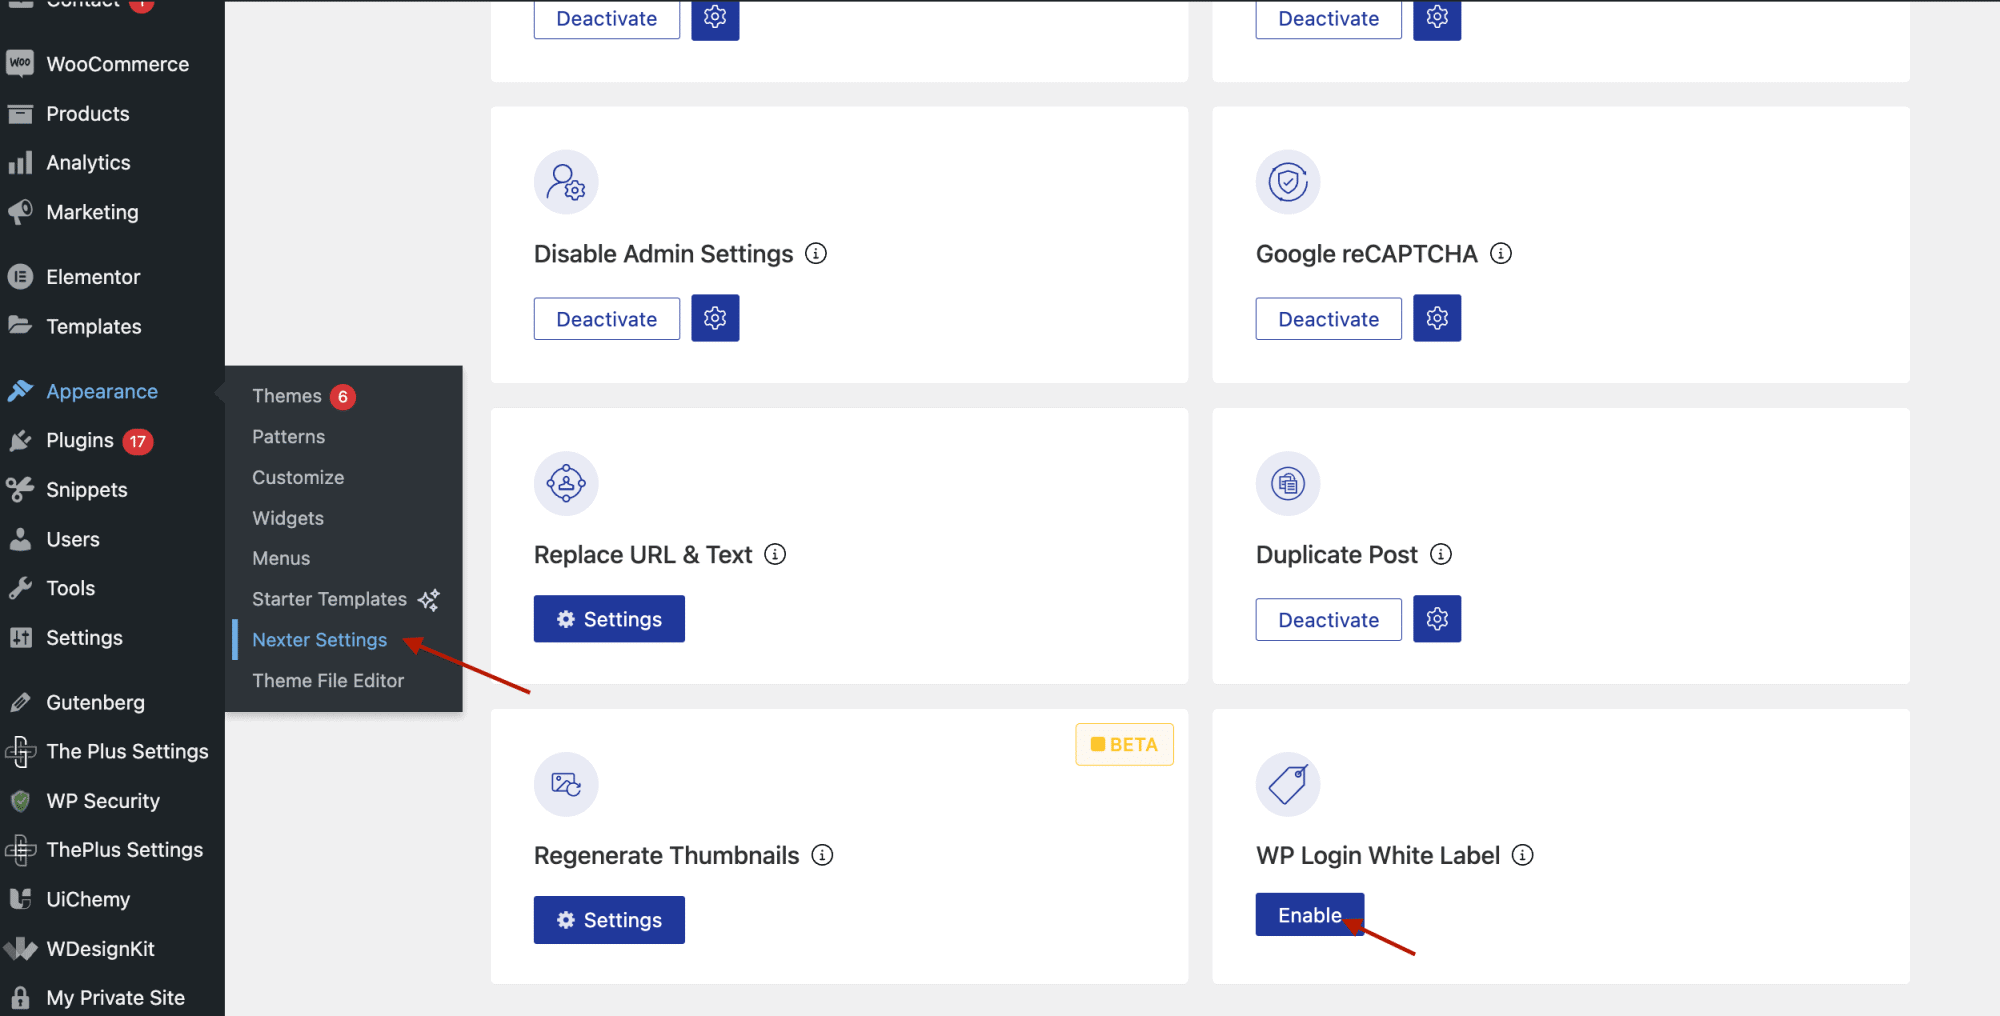Enable WP Login White Label in Nexter Blocks to customize the login and registration screens. To add a stronger layer, turn on CAPTCHA for the login and registration forms under the **Google reCAPTCHA** settings. We will set that up properly in method four. 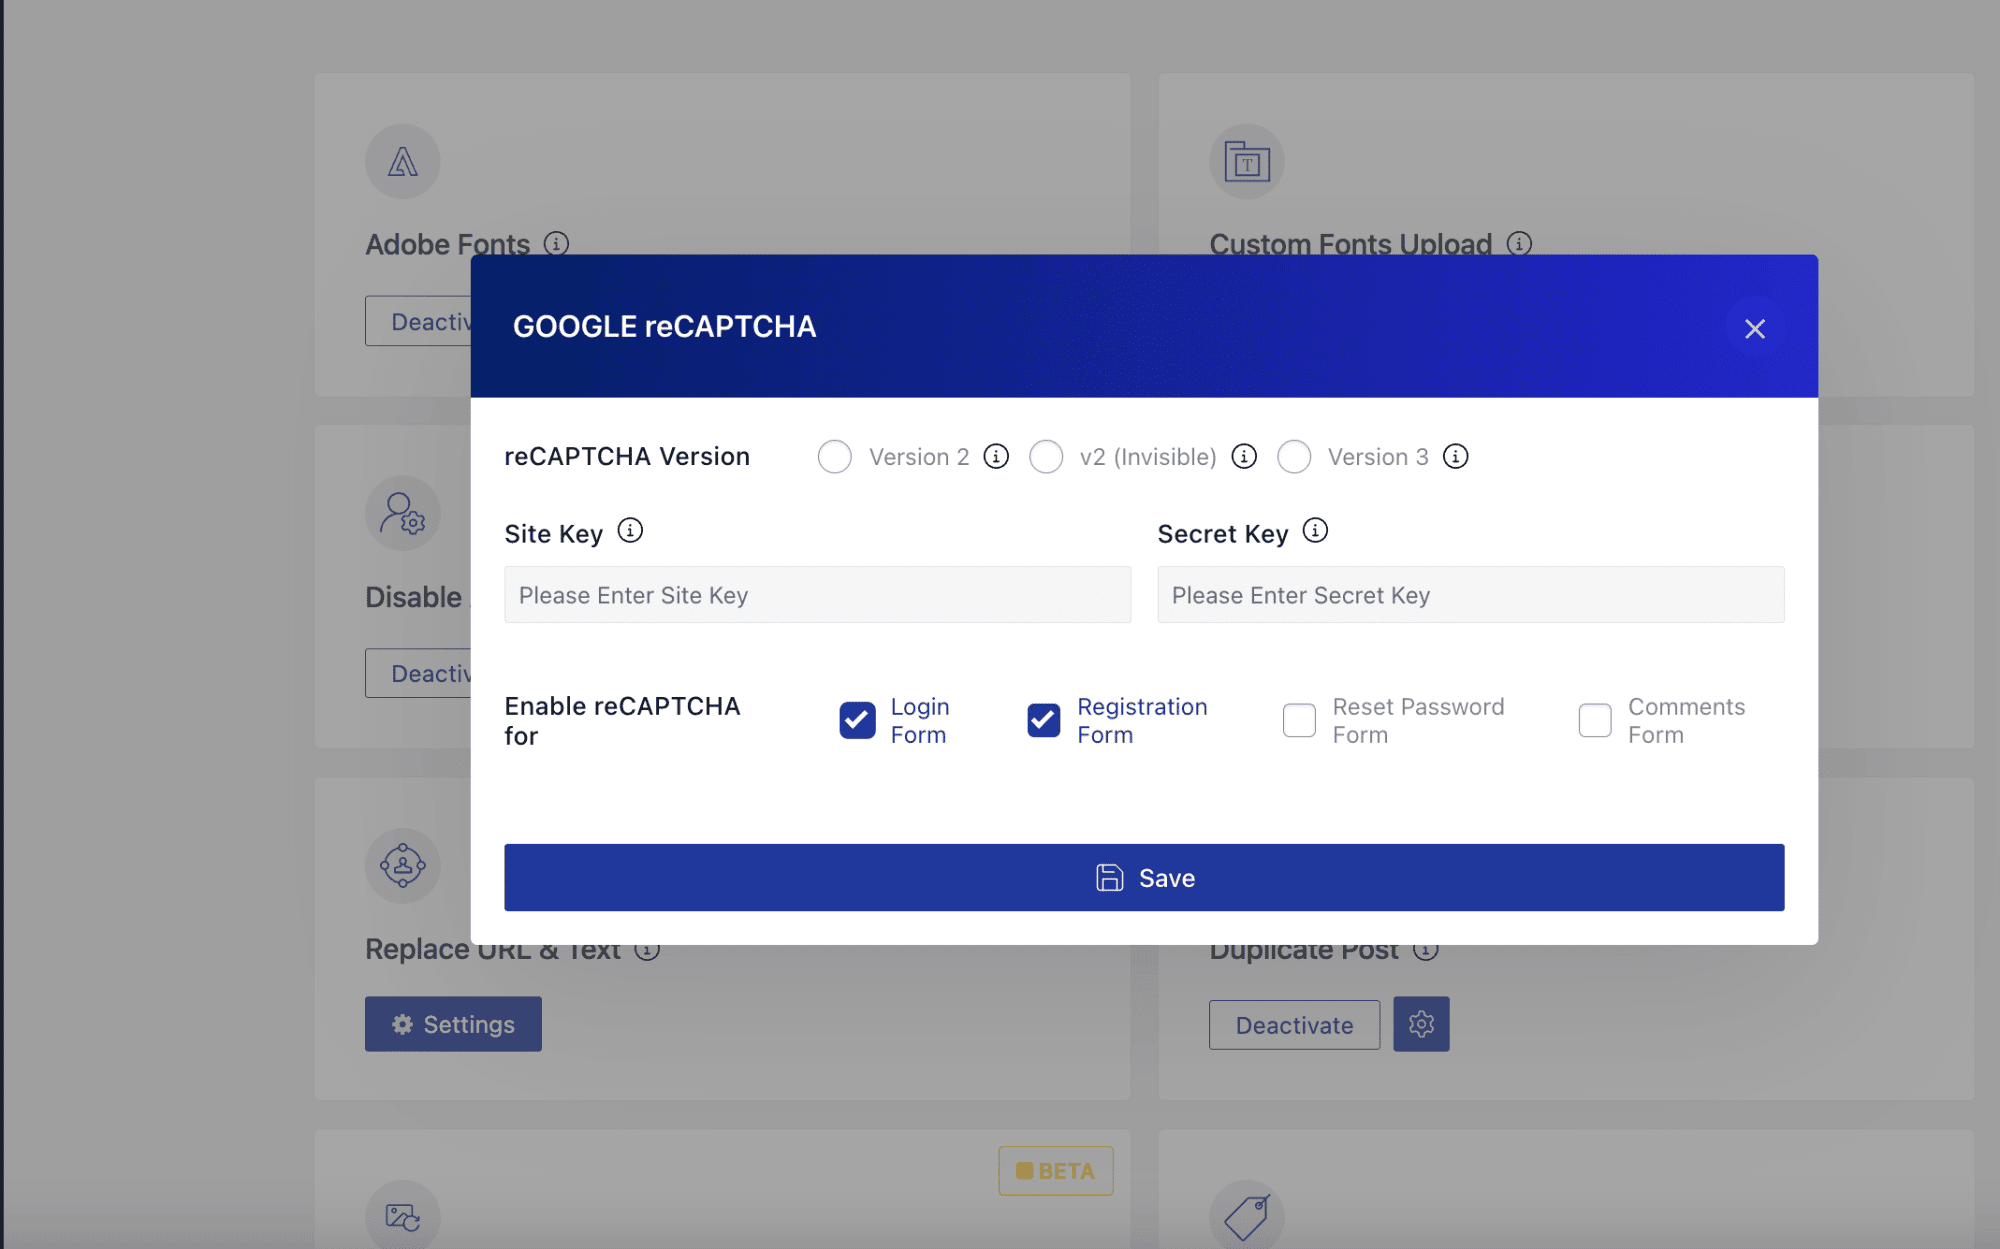Switch on CAPTCHA for both the login and registration forms. One more step worth taking is two-factor authentication. Go to **Nexter Settings > Security**, enable the two-factor authentication option, choose which user roles it applies to, and customize the 2FA message. 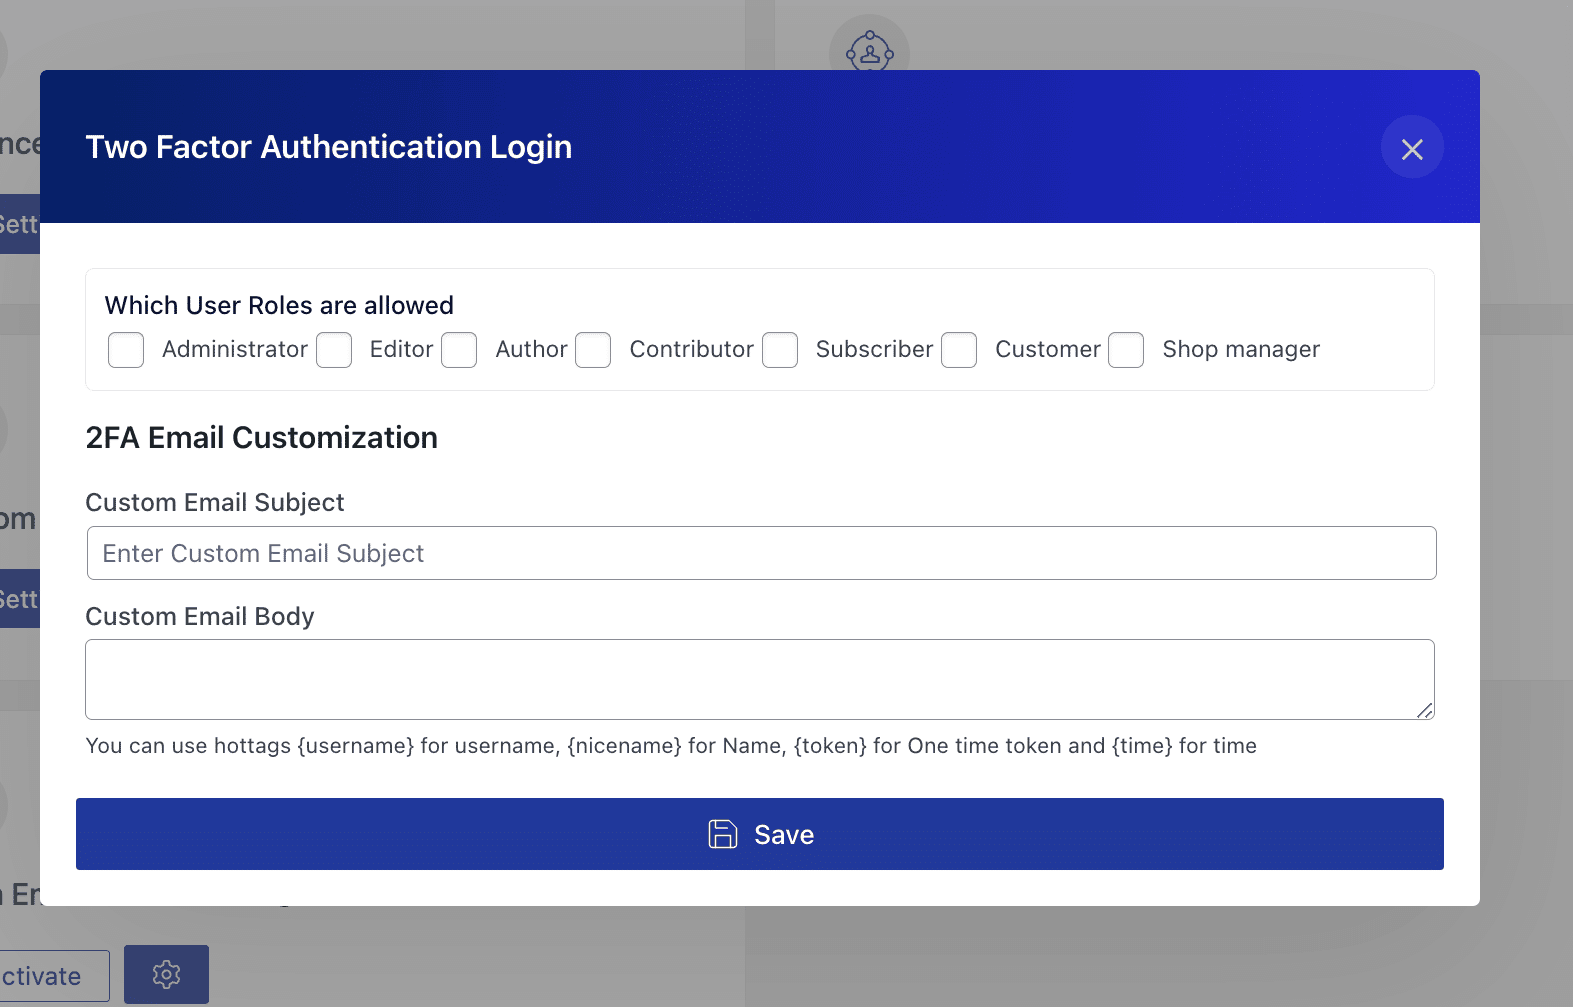Two-factor authentication adds a second check after the password. **Tip:** Add a honeypot field to your custom form. It is a hidden field that real users never see but bots tend to fill in, which gives you a clean way to catch and reject automated sign-ups. ***Also Read:** Building on Elementor instead? Here is *[***how to create custom login and registration forms in Elementor***](https://theplusaddons.com/docs/create-a-login-register-form-in-elementor/)*.* ### 3. Turn on email activation for user registration Email activation will not stop a bot from filling out your form, but it stops the account from going live. The bot never confirms the email, so it never gets a working login. It is a quiet, low-friction filter that weeds out most automated sign-ups. Most registration form plugins can send an activation email to every new sign-up automatically. Open your plugin's settings page and switch on the activation email option. 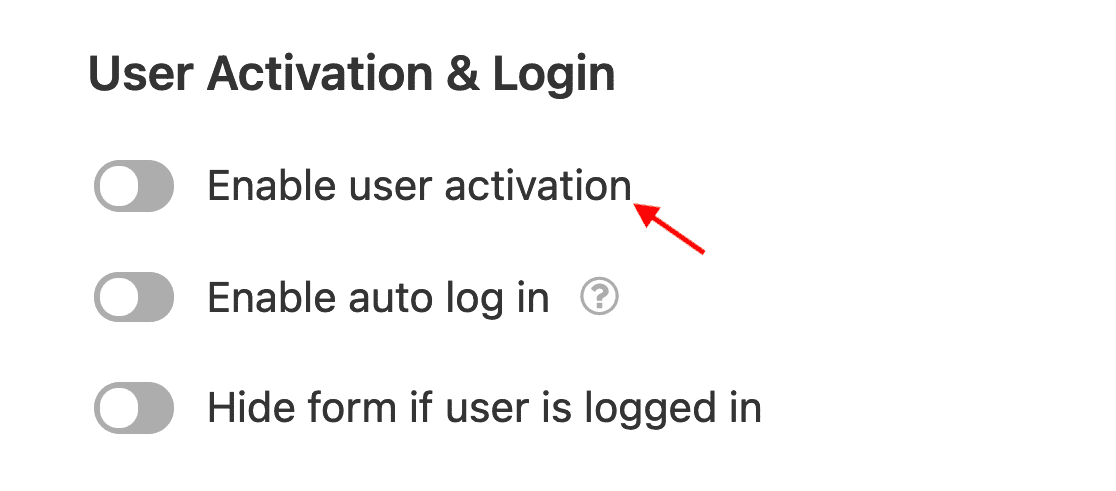Enable email activation so accounts only go live after the email is confirmed. The activation email usually contains a link the user clicks to verify the account and log in. One thing to plan for: legitimate emails sometimes land in spam, so add a note asking users to check that folder, and offer a way to resend the activation email through your custom form. ### 4. Use CAPTCHA to block registration form spam CAPTCHA is the workhorse here. It puts a test in front of the form that bots struggle to pass and humans clear without much thought. There are several options, including Google reCAPTCHA and Cloudflare Turnstile, and Google reCAPTCHA is the one most sites reach for first. To use Google reCAPTCHA you need a plugin that supports it. With Nexter Blocks, go to **Nexter Settings > Extra Options** and turn on the Google reCAPTCHA option. 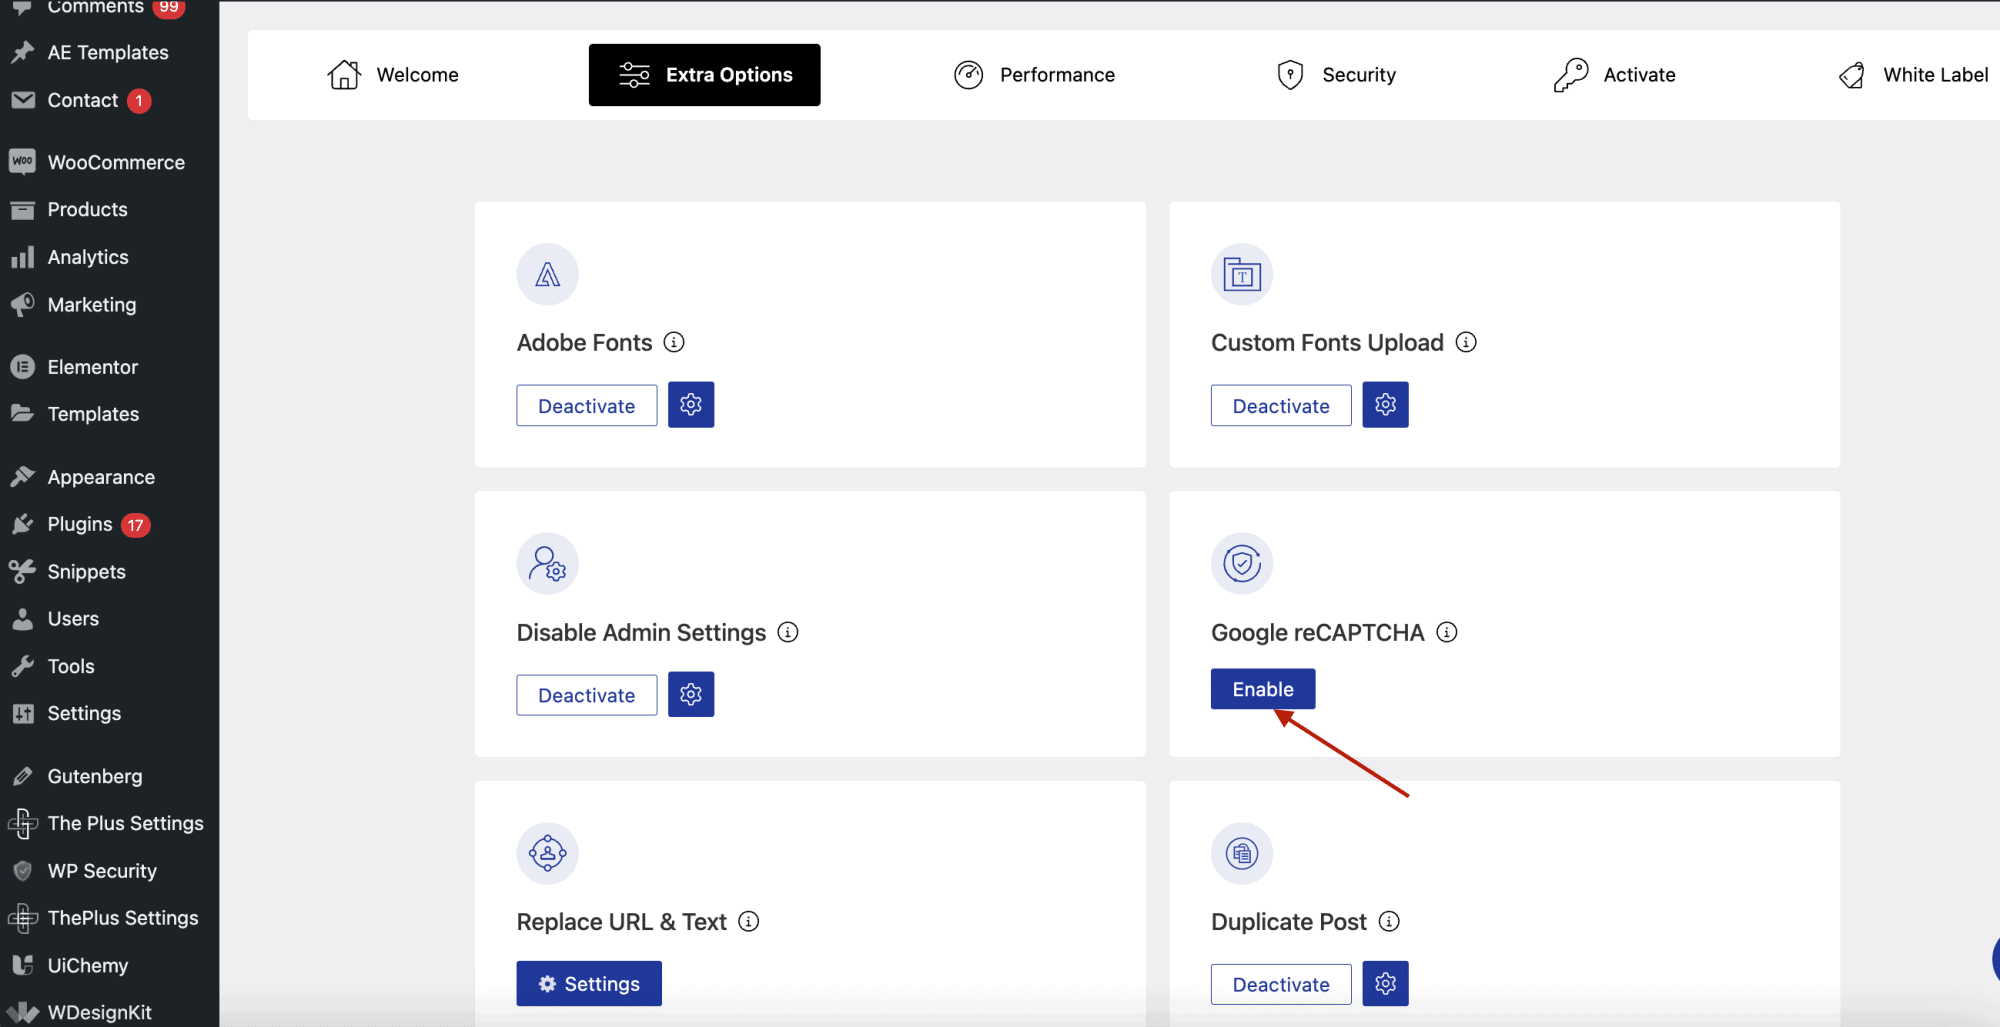Turn on the Google reCAPTCHA integration inside Nexter Blocks. You will need a site key and a secret key, which you generate from the [Google reCAPTCHA admin console](https://www.google.com/recaptcha/admin/create). 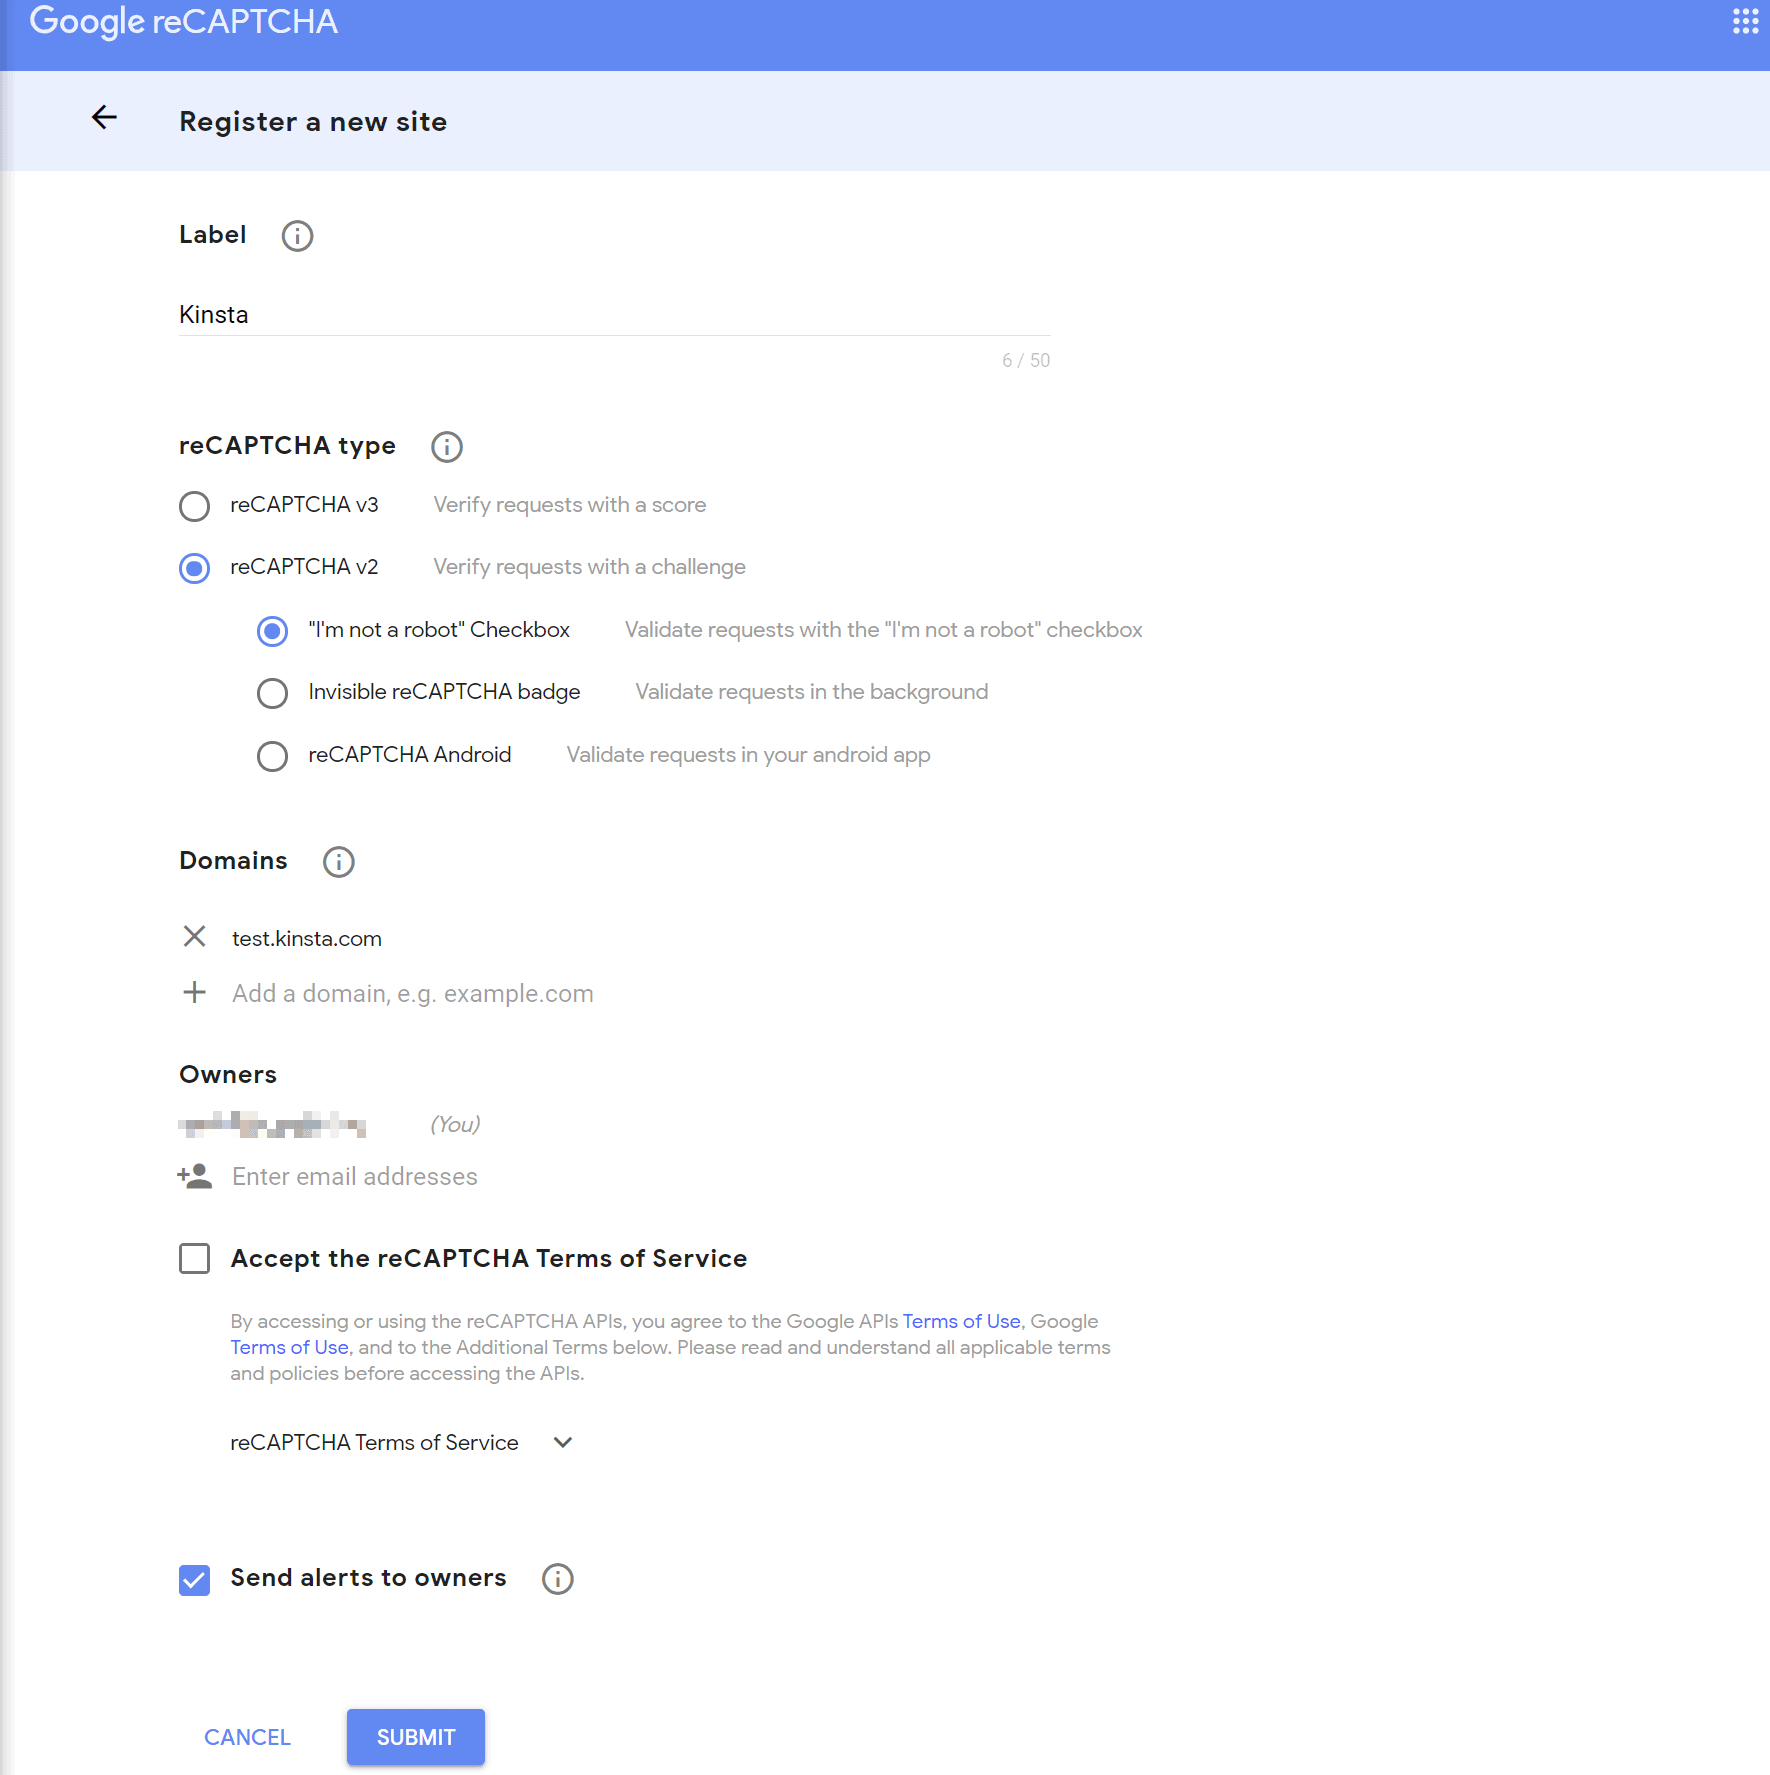Generate your site key and secret key from the Google reCAPTCHA admin console. reCAPTCHA v3 is the latest version and runs in the background without making users solve a puzzle. After you paste in your keys, tick the checkboxes for **Login Forms** and **Registration Forms** and click **Save**. > **Note:** Not every CAPTCHA is accessible to users with disabilities. Lean toward accessible options like reCAPTCHA's invisible mode, or pair it with an accessibility-friendly alternative so you do not lock out real people while blocking bots. ***Also Read:** Not sure which to use? Here are the *[***8 key differences between CAPTCHA and reCAPTCHA***](https://theplusaddons.com/blog/captcha-vs-recaptcha/#What-is-CAPTCHA)*.* ### 5. Require manual approval for user registration When you want full control over who gets in, require manual approval for every sign-up. Nothing goes live until you say so. It is the most hands-on method, so it suits smaller or higher-trust sites, and it pairs well with the automated filters above. To set it up you use a dedicated plugin such as WP Approve User. Once the plugin is installed, go to the **Users** menu in your dashboard. You will find a new **Unapproved** view holding every fresh sign-up that is waiting on you. From there you can view, approve, or delete each account based on whether you want to grant access. Your existing users are approved automatically when you activate the plugin, so you only review new accounts from that point on. 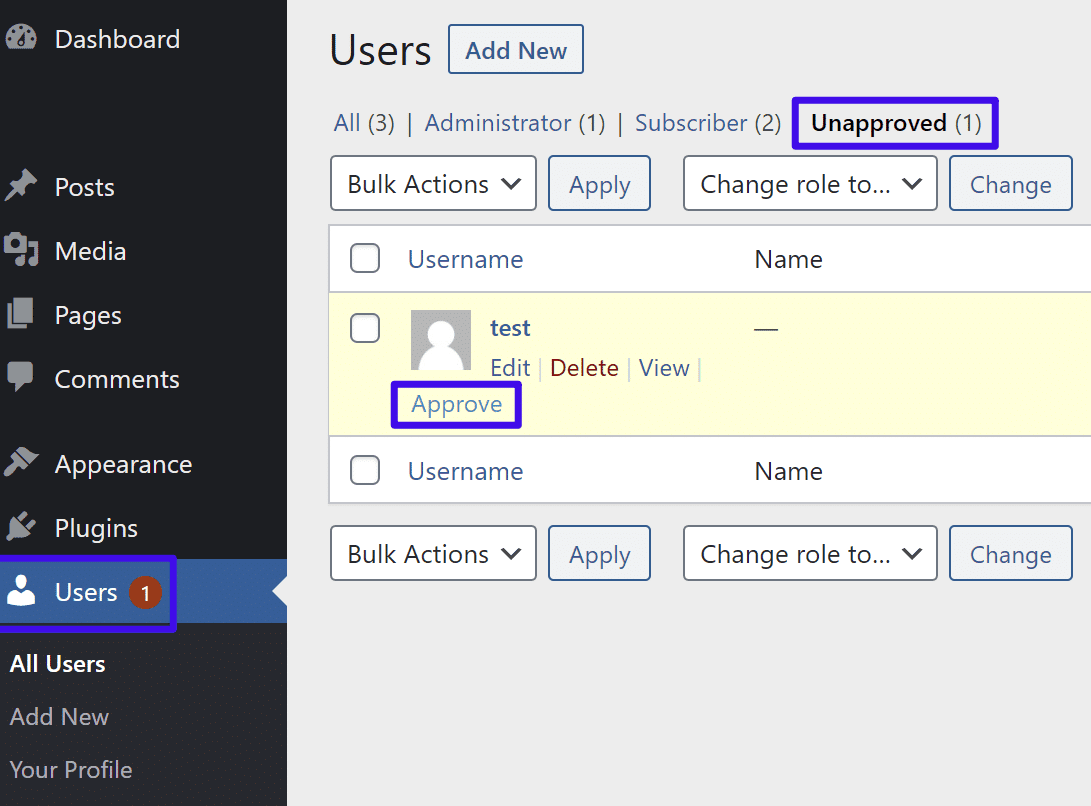The Unapproved view lets you approve or delete each new registration by hand. If more than one admin manages the site, agree on a simple rule for who gets approved and who gets rejected, so approvals stay consistent no matter who is on duty. ## Wrapping up Spam registrations show up in different shapes, so the fix is usually a combination rather than a single switch. Turning registration off ends it outright when you do not need sign-ups. When you do, stack a custom form, CAPTCHA, email activation, and manual approval until the bots give up and the real members get through. For the build itself, [Nexter Blocks](https://qa.nexterwp.com/nexter-blocks/) gives you 90+ Gutenberg blocks plus the login white-label, reCAPTCHA, and two-factor tools used above, all in one plugin. If you work in Elementor, [The Plus Addons for Elementor](https://theplusaddons.com/) brings 120+ widgets for your design needs, and [WDesignKit](https://wdesignkit.com/) offers a cross-builder template and widget library to start from. ## Suggested reading - [Best anti-spam plugins for WordPress](https://qa.nexterwp.com/blog/best-anti-spam-plugins-for-wordpress/): compare the dedicated plugins that catch spam your form filters miss. - [Best popup plugins for WordPress](https://qa.nexterwp.com/blog/best-popup-plugins-for-wordpress/): build sign-up and lead forms that convert without inviting spam. - [WordPress robots.txt for AI crawlers](https://qa.nexterwp.com/blog/wordpress-robots-txt-ai-crawlers-gutenberg/): control which bots are allowed to crawl your site in the first place. - [WordPress robots.txt generator](https://qa.nexterwp.com/blog/robots-txt-generator-wordpress/): a simple way to set crawl rules without editing files by hand. ## FAQs on Spam Registrations ### Why do spammers register on my site? Spammers register on your site to exploit it for various purposes, like posting spam content, inserting malicious links, or attempting to gain unauthorized access. These registrations are often automated by bots designed to search for vulnerable websites where they can carry out these activities. Such attacks disrupt website function. ### What should I do if I suspect I have fake registrations? If you suspect you have fake registrations, review your user list and look for suspicious patterns, such as accounts with nonsensical usernames or email addresses. You can delete these accounts manually or use security plugins designed to detect and remove spam registrations. Additionally, tighten your site's security by enabling CAPTCHA or email verification. ### What are some signs that I might have fake registrations? Signs of fake registrations include a sudden increase in new users, especially with generic or random usernames and email addresses. You might also notice accounts that never log in after registering or accounts that are linked to spam or malicious activities, such as posting irrelevant content or adding suspicious links. ### Why prevent spam bots from registering on membership sites? Preventing spam bots from registering on membership sites is crucial to maintaining a secure and trustworthy environment for your members. Spam bots can flood your site with fake accounts, leading to potential security breaches and unwanted content. By blocking these registrations, you protect your real users and your website. ### Is it normal for WordPress blogs to get a lot of spam comments? Yes, it's common for WordPress blogs to receive a significant amount of spam comments. These comments are often generated by bots looking to post malicious links or irrelevant content on your site. Implementing anti-spam measures, such as using CAPTCHA or installing a spam filter plugin, can help reduce spam comments. --- # Do You Actually Need an AI SEO Tool? What They Do and How to Choose Source: https://qa.nexterwp.com/blog/ai-seo-tool-wordpress/ #### Key Takeaways - "AI SEO tool" covers two very different jobs: tools that help you write and optimize content with AI, and tools that measure whether AI engines like ChatGPT and Perplexity actually fetch and cite you. Most people only know the first kind.- Traditional SEO tools track Google rankings. They cannot see whether an AI crawler pulled your page or whether your brand showed up in an AI answer. That blind spot is the real reason to add an AI SEO tool in 2026.- A good AI SEO tool should show you AI crawler activity, citation signals, schema and llms.txt support, and a per-page readiness score, with an honest free tier.- An AI SEO tool does not replace Rank Math or Yoast. It sits next to them and covers the answer-engine layer they were never built for.- On WordPress you can start free with RankReady, which is built specifically for AI search visibility. A few weeks back a friend who runs a small WordPress shop asked me which AI SEO tool he should buy. When I asked what he wanted it to do, he said "rank better on ChatGPT." Then he paused and admitted he had no idea if ChatGPT had ever even read his site. That gap, wanting the result without any way to see it, is exactly where most people are right now. They are shopping for AI SEO tools without knowing what those tools are actually supposed to measure. So before you spend a rupee or a dollar, here is a plain explanation of what an AI SEO tool really is, what a good one should do, and how to tell whether you need one on top of the SEO plugin you already run. ## What "AI SEO tool" actually means in 2026 The phrase gets stretched over two different products, and the confusion costs people money. The first kind is an AI content and optimization tool: it writes drafts, suggests keywords, builds outlines, and grades your on-page copy. Useful, and crowded. Almost every SEO suite now bolts an AI writer onto its dashboard. The second kind is newer and far less understood: an AI visibility tool. Instead of helping you produce content, it tells you how AI search engines treat the content you already have. Does ChatGPT fetch your pages? Is your site getting cited in AI answers? Are the AI crawlers even allowed in? When someone says they want to "rank on ChatGPT," this is the tool they actually need, not another AI writer. AI engines like Google AI Overviews answer questions and cite sources. Measuring that visibility is the job of the second kind of AI SEO tool. Source: Google. If you are weighing specific products, our roundup of the [best WordPress SEO plugins that use AI](https://qa.nexterwp.com/blog/best-wordpress-seo-plugins-using-ai/) compares the options side by side. This guide is about the decision underneath that: what to look for, and why. ## The job your traditional SEO tool cannot do Rank Math, Yoast, Semrush, Ahrefs: they are excellent at the Google game. Keywords, rankings, backlinks, technical audits. But they were all built around one assumption, that search means a list of blue links on Google. That assumption is cracking. People now ask ChatGPT, Perplexity, Google AI Overviews, and Copilot for answers, and those engines cite sources. Your traditional tool cannot tell you if you are one of those sources. It cannot show you that GPTBot crawled forty of your pages last week, or that a reader landed on your post from a ChatGPT link. That is the measurement gap an AI SEO tool fills, and it is the honest reason to consider one. If you have never thought about this layer, our primer on [answer engine optimization for WordPress](https://qa.nexterwp.com/blog/answer-engine-optimization-wordpress/) is the place to start. ***Also Read:** The crawlers behind all this matter too. Here is whether to [allow or block ChatGPT-User](https://qa.nexterwp.com/blog/chatgpt-user-wordpress/) on your WordPress site.* ## What to look for in an AI SEO tool Skip anything that just rebrands an AI writer. If you want the visibility layer, judge a tool against this short checklist: - **AI crawler visibility:** can it show you which AI bots hit your site, when, and on which pages?- **Citation and referral signals:** does it track which of your posts get fetched by citation-style bots, and traffic arriving from AI engines?- **Schema and llms.txt support:** can it output clean structured data and an llms.txt file so engines can read and trust your content?- **A readiness score:** does it grade each page on how ready it is to be cited, rather than leaving you guessing?- **An honest free tier:** can you start without a credit card and without a per-keyword meter? One thing not to over-index on: schema does not buy you a guaranteed seat in AI answers. Google says plainly that there is no special structured data you need to add to appear in AI Overviews. Structured data still helps engines understand and trust your pages, but treat any tool that promises "schema gets you into AI answers" with caution. 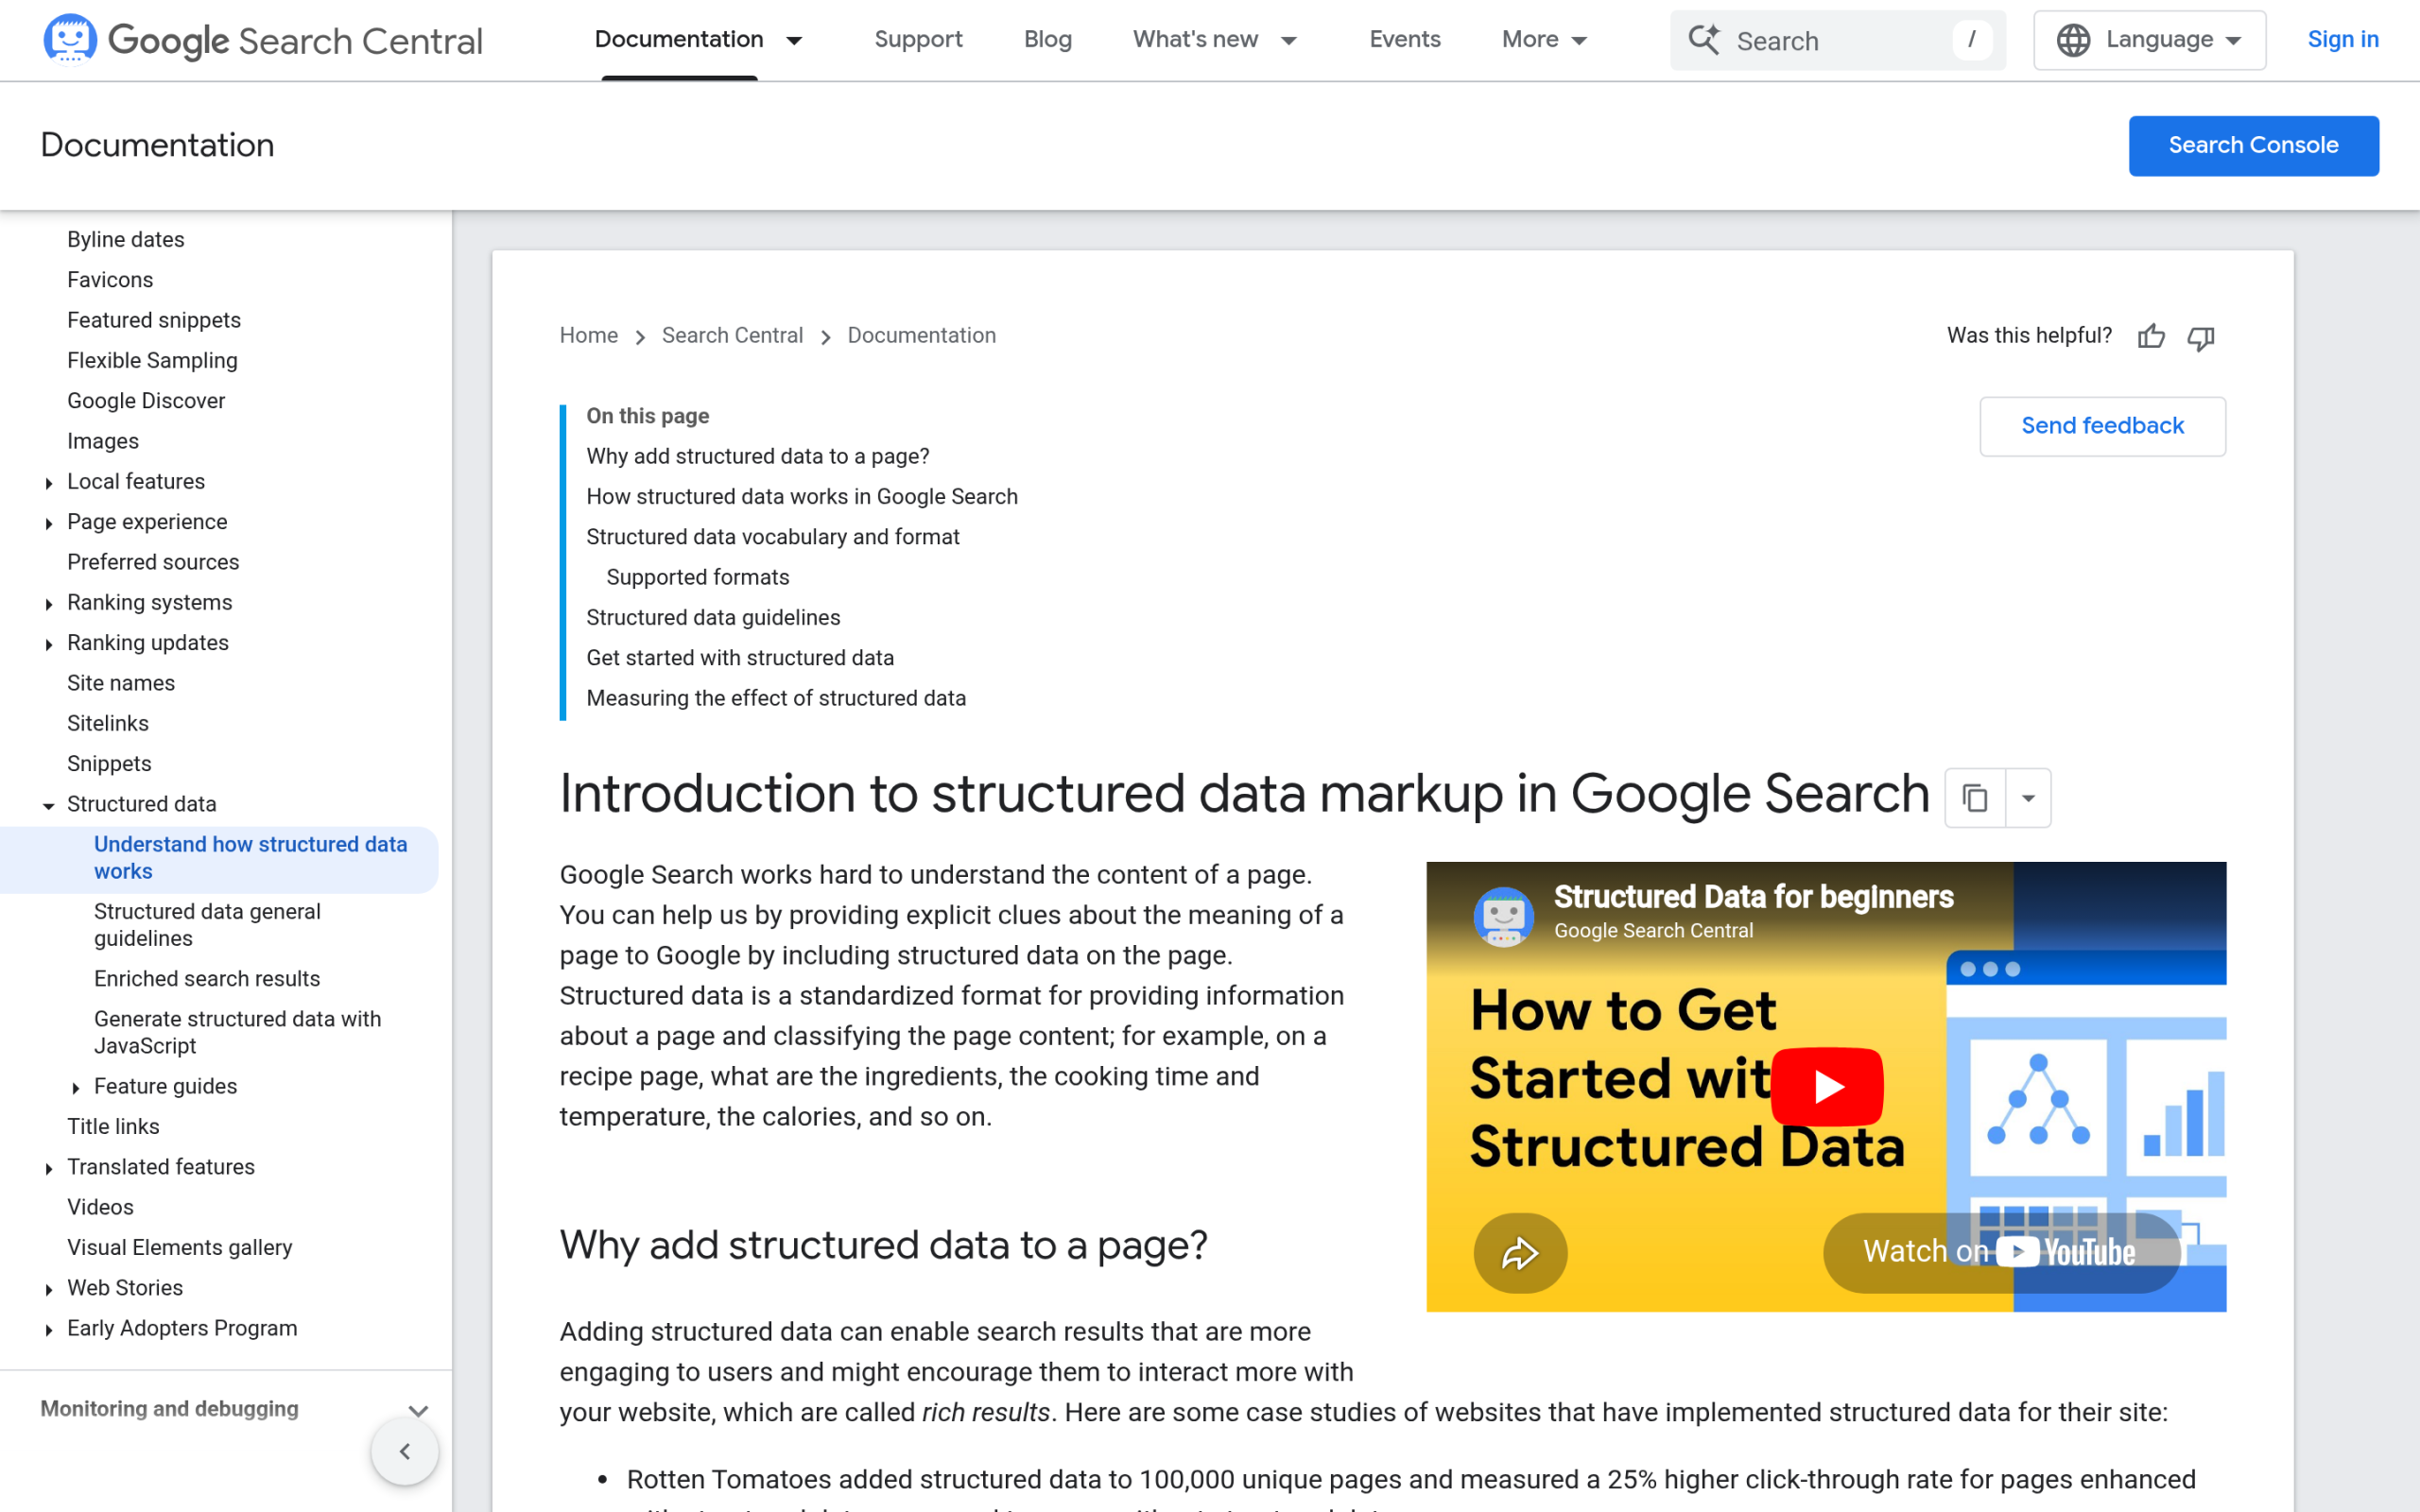Google recommends JSON-LD for structured data and notes it makes pages eligible, not guaranteed, for enhanced results. Source: Google Search Central. ## Where RankReady fits On WordPress, the tool built specifically for that visibility layer is [RankReady](https://store.posimyth.com/plugins/rankready/). It is the rare AI SEO tool that focuses on measurement rather than another content generator. Its AI Crawler Log shows, in its own words, that "every time an AI bot hits your site, you see it. Timestamp, page, bot name, what it was likely doing," covering GPTBot, ClaudeBot, PerplexityBot, Google-Extended and 27 more, which is 31 AI crawlers in one screen. Beyond the log, it tracks AI referral traffic from chatgpt.com, perplexity.ai, claude.ai, gemini.google.com and copilot.microsoft.com, keeps a citation-candidates leaderboard of the posts citation-style bots fetched in the last 30 days, and gives every post a readiness score from 0 to 100 based on schema, freshness, content depth, and author signals. It also generates llms.txt and the schema types that matter, including Article, Speakable, and FAQPage. RankReady focuses on the AI visibility layer: crawler log, citation candidates, and per-post readiness. Source: store.posimyth.com. It is free, forever, released under GPL-2.0-or-later, and runs on WordPress 6.0 and up with PHP 7.4 and up. For most site owners, that honest free tier answers the "do I need to pay for an AI SEO tool" question on its own. ***Also Read:** Want to see the citations as they happen? Here is how to [track Google AI Overviews and AI citations](https://qa.nexterwp.com/blog/ai-overview-tracking-wordpress/) for your site.* ## Do you still need Rank Math or Yoast? Yes. This is the part the hype gets wrong. An AI SEO tool is not a replacement for your classic SEO plugin, it is a second instrument for a second kind of search. Rank Math and Yoast still handle titles, sitemaps, redirects, Google Search Console, and on-page scoring. RankReady handles the AI crawler and citation layer they were never designed for. They run side by side without stepping on each other. If you want a closer look at how the two categories differ in practice, our [Rank Math versus RankReady comparison](https://qa.nexterwp.com/blog/rank-math-vs-rankready/) breaks down exactly which tool owns which job. ## How to start on WordPress today You do not need a budget to begin. Keep your current SEO plugin exactly as it is. Add a free AI visibility tool, open its crawler log, and watch for a week. You will quickly see which AI bots are reaching you and which of your pages they care about. From there, fix the pages with low readiness scores, make sure your best content is in your llms.txt, and confirm the AI crawlers you want are not being blocked at your server or CDN. That sequence, measure first, then improve, is the whole point of an AI SEO tool. Buying one before you can see your own AI visibility is backwards. Pairing it with solid [E-E-A-T for AI search](https://qa.nexterwp.com/blog/e-e-a-t-ai-search-wordpress/) is how you turn that visibility into citations. ## So, do you need one? If you care whether ChatGPT, Perplexity, and Google AI answers mention your site, then yes, you need the visibility kind of AI SEO tool, because nothing else on your stack can show you that. If you only wanted help writing posts, you probably already have that built into your existing setup. Get clear on which job you are solving, start with a free tool, and let the data tell you what to do next. ## Suggested Reading - [Best WordPress SEO plugins that use AI](https://qa.nexterwp.com/blog/best-wordpress-seo-plugins-using-ai/)- [Answer engine optimization for WordPress](https://qa.nexterwp.com/blog/answer-engine-optimization-wordpress/)- [Rank Math vs RankReady: which one for AI search](https://qa.nexterwp.com/blog/rank-math-vs-rankready/)- [How to track Google AI Overviews and AI citations](https://qa.nexterwp.com/blog/ai-overview-tracking-wordpress/)- [ChatGPT-User: allow or block it on WordPress](https://qa.nexterwp.com/blog/chatgpt-user-wordpress/) --- # ChatGPT-User: Should You Allow or Block It on Your WordPress Site? Source: https://qa.nexterwp.com/blog/chatgpt-user-wordpress/ #### Key Takeaways - ChatGPT-User is OpenAI's user-triggered fetcher. It pulls a live page when someone asks ChatGPT a question that needs your content, and it can attach a citation link back to you.- It is separate from GPTBot (model training) and OAI-SearchBot (ChatGPT search index). Each one is controlled independently.- Per OpenAI's own documentation, robots.txt rules may not apply to ChatGPT-User because the request is started by a person. You can reliably block GPTBot and OAI-SearchBot in robots.txt, but blocking ChatGPT-User needs a server or firewall rule.- For most WordPress sites the right move is to allow ChatGPT-User. Blocking it removes you from the live answers ChatGPT gives real people.- You can confirm it is reaching your site with verified IP ranges and a crawler log, then measure the payoff through chatgpt.com referral traffic. The first time I went looking for ChatGPT-User in our server logs, I almost missed it. It was sitting quietly between the Googlebot hits and the usual noise, fetching one specific blog post a few times across an afternoon. Someone had asked ChatGPT a question, ChatGPT decided our page might answer it, and this little user agent went and grabbed it in real time. That is a very different thing from a crawler that indexes you overnight, and it changes how you should treat it. If you run a WordPress site and you have started seeing `ChatGPT-User` in your access logs, this guide explains exactly what it is, whether you should allow or block it, and how to do either one correctly. The short version: most sites should welcome it. But the way you control it is not what most articles tell you. ## What ChatGPT-User actually is OpenAI runs three separate crawlers, and people mix them up constantly. ChatGPT-User is the one that fetches a page because a human asked for something. According to OpenAI's crawler documentation, it handles "user-initiated actions in ChatGPT and Custom GPTs." When you ask ChatGPT a question and it needs a live web page to answer, ChatGPT-User goes and gets that page, then can cite it as a source in the reply. Here is how the three OpenAI agents compare, pulled from OpenAI's official documentation: 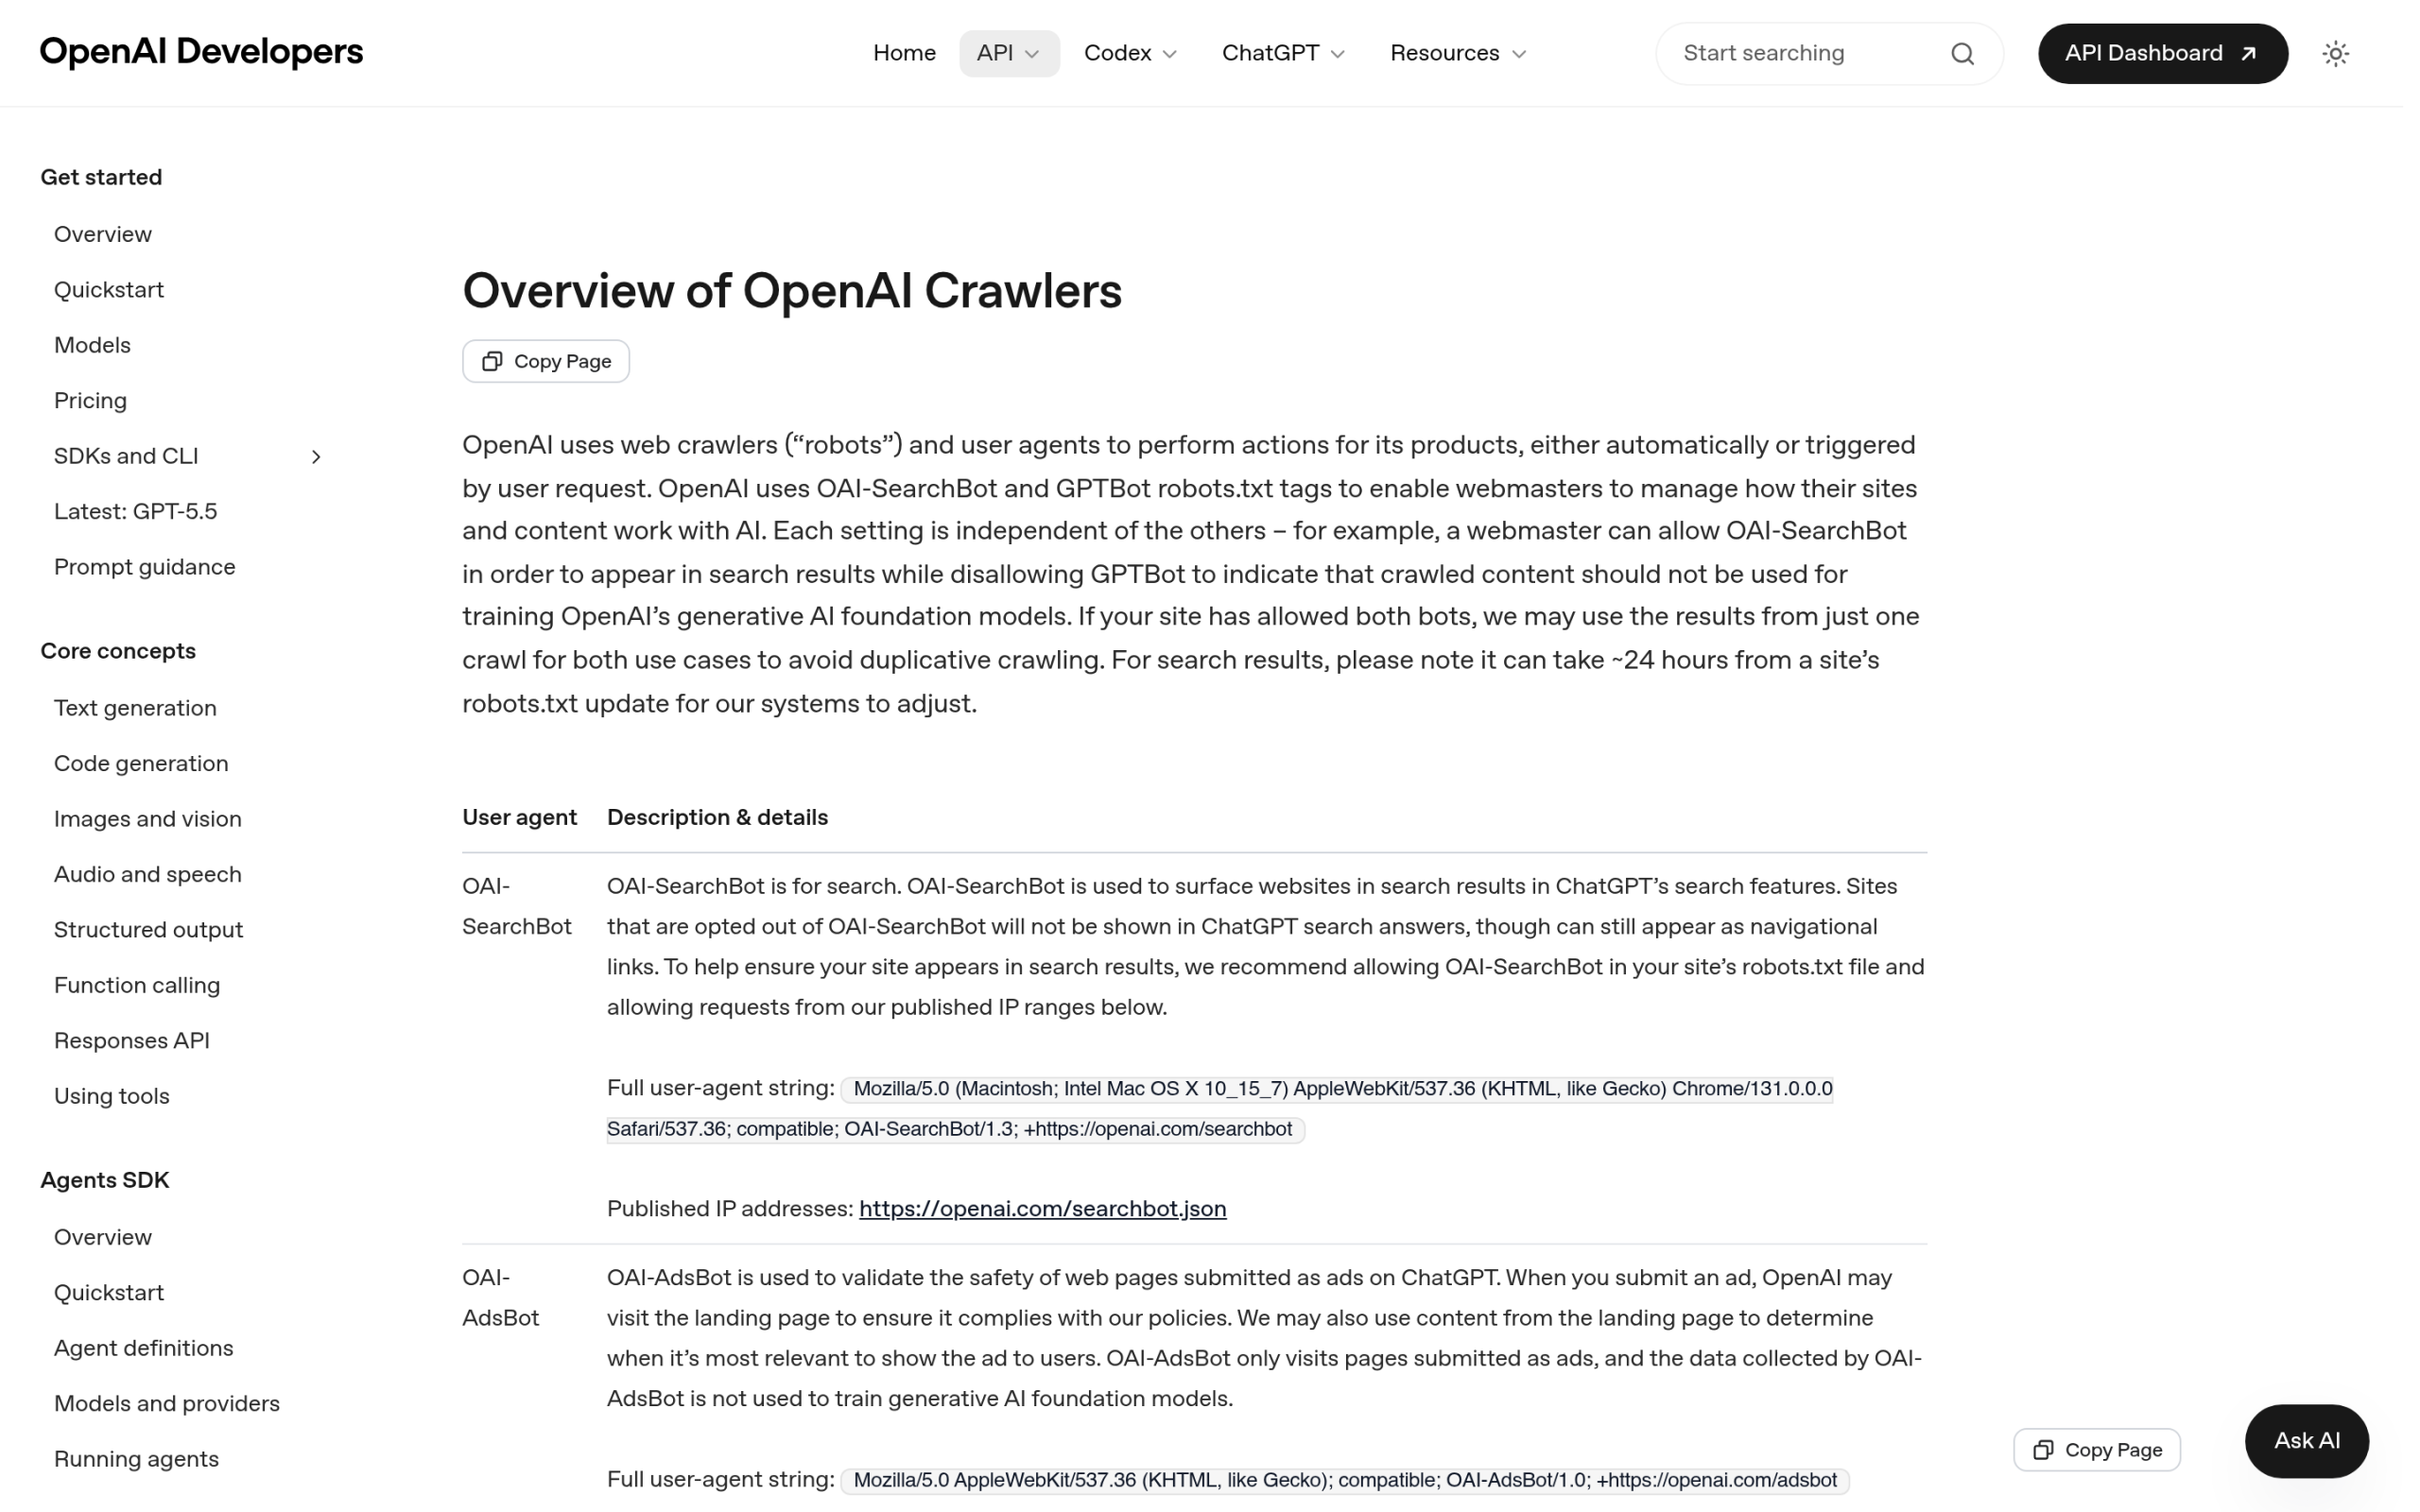OpenAI's crawler documentation lists ChatGPT-User/1.0 alongside GPTBot and OAI-SearchBot. Source: developers.openai.com. | Crawler | User-agent token | What it does | Used for training? | Obeys robots.txt? | | ------- | ---------------- | ------------ | ------------------ | ----------------- | | **GPTBot** | GPTBot/1.3 | Trains OpenAI's foundation models | Yes | Yes | | **OAI-SearchBot** | OAI-SearchBot/1.3 | Builds the ChatGPT search index | No | Yes | | **ChatGPT-User** | ChatGPT-User/1.0 | Fetches a live page for a user's question | No | May not apply | OpenAI's three crawlers serve different jobs and are controlled separately. Source: OpenAI crawler documentation. The full ChatGPT-User user agent string is `Mozilla/5.0 AppleWebKit/537.36 (KHTML, like Gecko); compatible; ChatGPT-User/1.0; +https://openai.com/bot`. Because every ChatGPT-User request starts with a real person typing a question, it behaves like a reader sending a friend to your page, not like a bulk scraper. That distinction matters for the next decision. ***Also Read:** [The full list of AI web crawlers](https://qa.nexterwp.com/blog/web-crawlers-list/) and what each one wants from your WordPress site.* ## Why ChatGPT-User matters for your site in 2026 Traditional crawlers decide whether you show up in a list of blue links. ChatGPT-User decides whether you show up inside the answer itself. When ChatGPT pulls your page through this agent and uses it, your brand can appear as a cited source in front of someone who is already asking about your topic. That is the closest thing to being recommended by name at the exact moment of intent. Block ChatGPT-User and you opt out of that. ChatGPT can still know your page exists through its search index, but it cannot pull your live, current content to quote in a user's answer. For a WordPress publisher who keeps posts updated, that live fetch is the whole point. Your freshest information is exactly what an answer engine wants to cite. This is why the answer-engine conversation has shifted from "how do I rank" to "how do I get fetched and cited." If you are new to that framing, our guide to [answer engine optimization for WordPress](https://qa.nexterwp.com/blog/answer-engine-optimization-wordpress/) sets up the full picture. ## Should you allow or block ChatGPT-User? An honest framework For most WordPress sites, the answer is allow it. If you publish content you want people to find, read, and trust, you want to be in ChatGPT's answers. There is no training risk here, because ChatGPT-User does not feed model training. OpenAI states plainly that this agent is not used to train its foundation models. There are a few real reasons to block it: - You run gated, paid, or private content that should never appear in a third-party answer.- You are seeing genuine load or abuse from automated traffic and need to throttle it.- You have a legal or licensing reason to keep your content out of AI products entirely. Notice that none of those apply to a normal marketing blog or business site. If your goal is visibility, blocking ChatGPT-User works against you. A useful way to decide: treat each OpenAI crawler as its own switch. Many publishers happily allow OAI-SearchBot and ChatGPT-User for visibility while blocking GPTBot to keep their work out of model training. Each setting is independent of the others. ***Also Read:** Once you are cited, you need to see it. Here is how to [track Google AI Overviews and AI citations](https://qa.nexterwp.com/blog/ai-overview-tracking-wordpress/) for your WordPress site.* ## How to allow or block ChatGPT-User in WordPress (the part most guides get wrong) Here is the catch almost nobody mentions. You can reliably control GPTBot and OAI-SearchBot through `robots.txt`, because both respect it. ChatGPT-User is different. OpenAI's documentation says that because these actions are initiated by a user, robots.txt rules may not apply to ChatGPT-User. So a robots.txt block is the right tool for two of the three OpenAI bots, and not a guarantee for the third. **To allow everything (recommended for most sites):** do nothing special. If you have no disallow rules for these agents, all three are free to fetch. You can make it explicit: `User-agent: GPTBot Allow: / User-agent: OAI-SearchBot Allow: / User-agent: ChatGPT-User Allow: /` **To stay visible in answers but stay out of training:** allow search and user fetches, block the training crawler. `User-agent: GPTBot Disallow: / User-agent: OAI-SearchBot Allow: / User-agent: ChatGPT-User Allow: /` 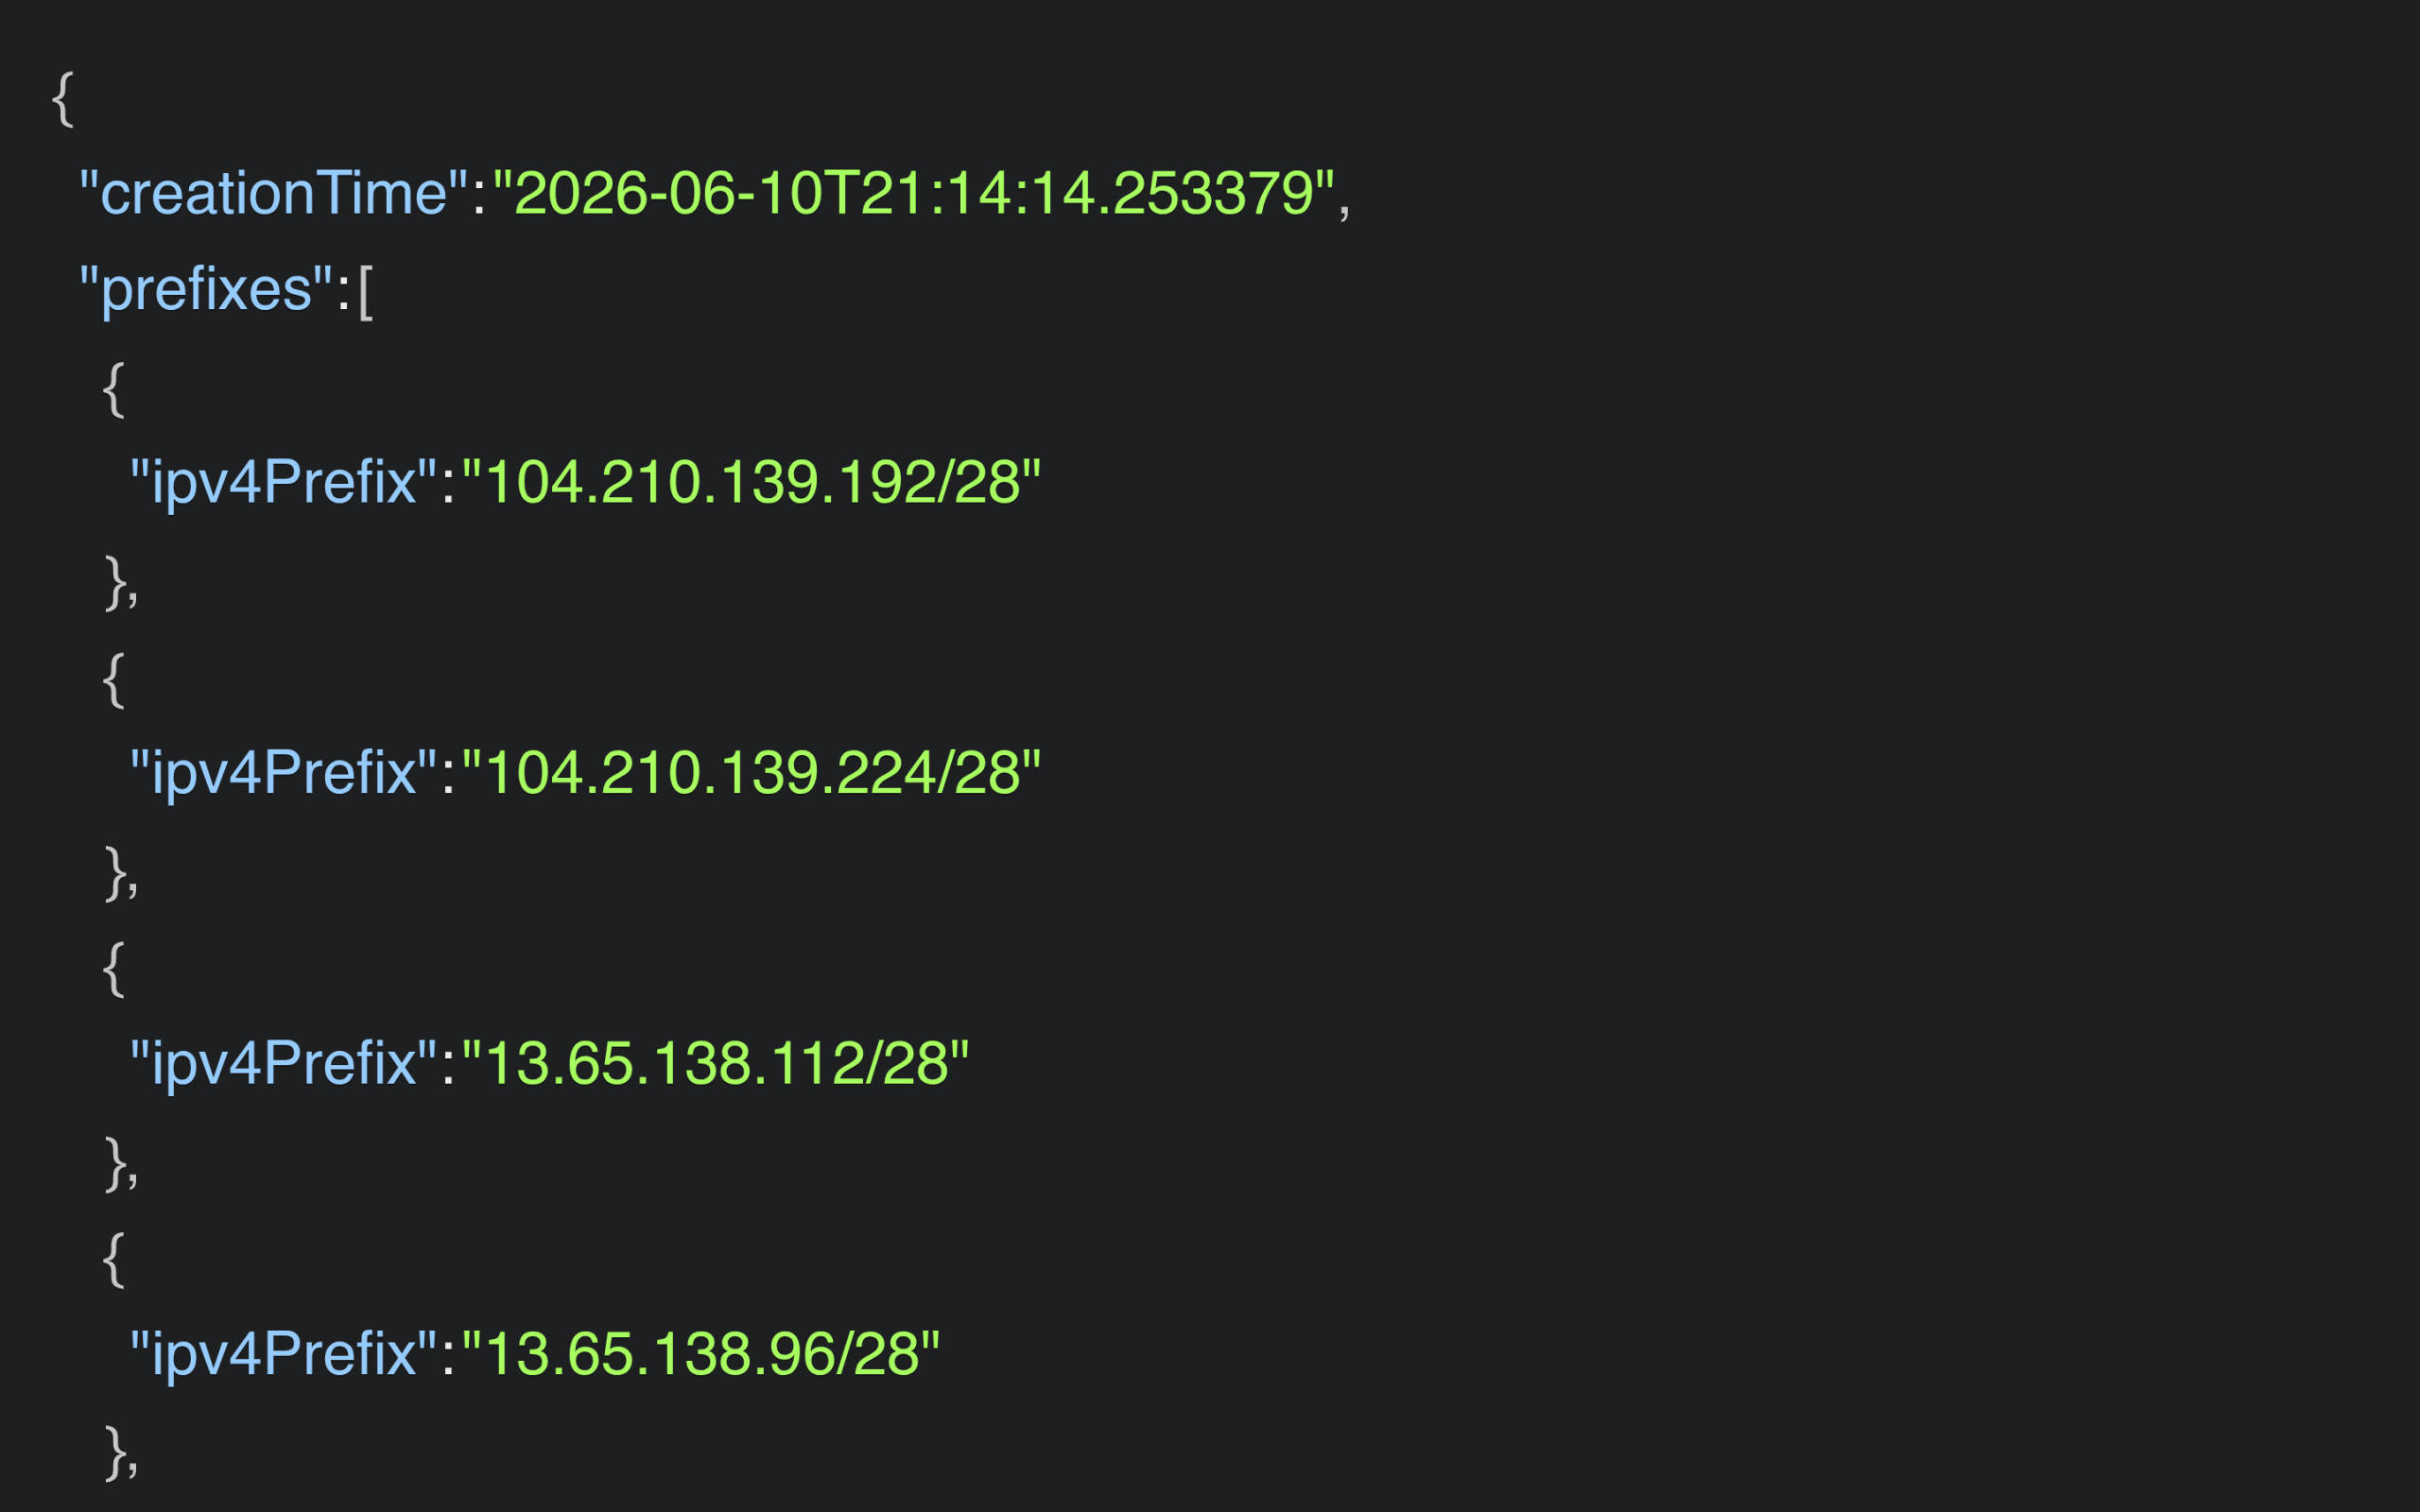OpenAI publishes verified ChatGPT-User IP ranges at openai.com/chatgpt-user.json, the reliable way to confirm or block it. **To genuinely block ChatGPT-User:** robots.txt alone is not enough, since OpenAI says it may not apply. You need a server-level rule. The reliable approach is to block by verified IP range using OpenAI's published list at `openai.com/chatgpt-user.json`, or to deny the user agent at the web server or firewall. On most managed WordPress hosts and on Cloudflare you can add a rule that matches the ChatGPT-User user agent and blocks it. One warning: Cloudflare's broad "Block AI Scrapers" toggle can quietly catch agents you actually wanted to keep, so use a targeted rule instead of a blanket switch. On WordPress you can edit `robots.txt` through Rank Math, through your SEO plugin, or by placing a physical file at your site root. For the IP and firewall layer, that lives with your host or your CDN, not inside WordPress. ## How to verify ChatGPT-User is really hitting your site Anyone can spoof a user agent, so before you act on what you see, confirm it is genuine. OpenAI publishes the IP ranges for each crawler as JSON. For this agent the file is `openai.com/chatgpt-user.json`. A request that claims to be ChatGPT-User but comes from an address outside that list is not the real thing, and you can ignore or block it. Reading raw access logs works, but it is tedious and most site owners never do it. This is where a WordPress-native crawler log earns its place. [RankReady](https://store.posimyth.com/plugins/rankready/) keeps a live AI Crawler Log right in your dashboard. As its own description puts it, "Every time an AI bot hits your site, you see it. Timestamp, page, bot name, what it was likely doing." It tracks GPTBot, ClaudeBot, PerplexityBot, Google-Extended and 27 more, which is 31 AI crawlers in one screen, so you do not have to grep server logs to know who is fetching what. RankReady's AI Crawler Log shows every AI bot hit with timestamp, page, and bot name. Source: store.posimyth.com. RankReady is free, forever, released under GPL-2.0-or-later, and it runs on WordPress 6.0 and up with PHP 7.4 and up. It sits alongside Rank Math or Yoast rather than replacing them, so adding it does not disturb your existing SEO setup. ## Measuring the payoff: ChatGPT referral traffic Allowing ChatGPT-User is a means to an end. The end is people arriving from ChatGPT, or at least seeing your brand cited there. When ChatGPT-User fetches your page and ChatGPT links to you, a curious reader can click through, and that visit lands as referral traffic from `chatgpt.com`. You can watch that in GA4, and RankReady tracks AI referral traffic specifically, monitoring visits from chatgpt.com, perplexity.ai, claude.ai, gemini.google.com and copilot.microsoft.com. One honest caveat worth keeping in mind: in answer engines, mentions happen far more often than clicks. Many readers get their answer, see your name as the source, and never click. So judge ChatGPT-User by citations and brand presence first, and treat click-throughs as a bonus on top. To turn that visibility into an actual content plan, pair this with [E-E-A-T for AI search](https://qa.nexterwp.com/blog/e-e-a-t-ai-search-wordpress/) and a clean [llms.txt file](https://qa.nexterwp.com/blog/llms-txt-gutenberg-wordpress/) so the engines can find and trust your best pages. ## So, allow it or block it? For the overwhelming majority of WordPress sites, allow ChatGPT-User. It carries no training risk, it can put your brand inside ChatGPT's answers, and the only people who should block it are those with gated content, abuse problems, or a firm policy against AI access. If you do choose to block it, remember that robots.txt is reliable for GPTBot and OAI-SearchBot but not for ChatGPT-User, so reach for a verified IP or firewall rule instead. Either way, log what is happening first, then decide with data in front of you. ## Suggested Reading - [The complete list of AI web crawlers and bots](https://qa.nexterwp.com/blog/web-crawlers-list/)- [Answer engine optimization for WordPress](https://qa.nexterwp.com/blog/answer-engine-optimization-wordpress/)- [How to track Google AI Overviews and AI citations](https://qa.nexterwp.com/blog/ai-overview-tracking-wordpress/)- [E-E-A-T for AI search: earning trust from ChatGPT and Perplexity](https://qa.nexterwp.com/blog/e-e-a-t-ai-search-wordpress/)- [What the Model Context Protocol means for WordPress](https://qa.nexterwp.com/blog/model-context-protocol-wordpress/) --- # 5 Best WordPress Audio Player Plugins in 2026 [Popular Picks] Source: https://qa.nexterwp.com/blog/wordpress-audio-player-plugins/ The first time a client asked me to "just add the podcast to the homepage," I reached for WordPress's built-in audio block, dropped in an MP3, and called it done. It looked fine until they asked for a playlist, brand colors, and a player that kept playing while visitors clicked around. The default block does none of that. That is the moment most people start looking for a real WordPress audio player plugin. So I tested the ones people actually recommend, on real sites, with real audio files. This guide covers the five WordPress audio player plugins worth your time in 2026, what each one is genuinely good at, and where each one falls short, so you can pick the right one on the first try instead of the third. If you want the short version: for most WordPress sites built in the block editor, the Audio Music Player by Nexter is the easiest to set up and the only one here with no separate subscription. The rest are covered below for the cases where they fit better. ## What Is a WordPress Audio Player Plugin? A WordPress audio player plugin adds a proper media player to your site, with the controls and design options the default audio block leaves out. Instead of a plain play bar, you get playlists, volume and skip controls, custom colors, and players that match your brand. A WordPress audio player plugin replaces the plain default play bar with playlists, brand colors, and full playback controls. Most plugins support the common formats (MP3, WAV, and OGG), so you can publish music, podcast episodes, recorded lessons, or an audio version of a blog post. The better ones let you style the player to match your brand without touching code. ## Where People Actually Use Audio Players - **Blogs and content sites:** add an audio version of an article so readers can listen instead of read. It improves accessibility and keeps people on the page longer. - **Podcast sites:** host every episode in one place with a clean player and simple navigation. - **E-learning platforms:** add audio lectures or downloadable notes students can take on the go. - **Fitness and yoga sites:** share workout playlists or guided sessions. - **Travel and tourism sites:** publish audio guides, regional music, or cultural stories tied to a destination. ## The 5 Best WordPress Audio Player Plugins in 2026 | **Plugin** | **Best For** | **Price** | | ---------- | ------------ | --------- | | [Audio Music Player by Nexter](https://qa.nexterwp.com/nexter-blocks/blocks/wordpress-audio-music-player/) | Gutenberg sites that want full design control and no subscription | Free version; paid from $39/yr | | [Sonaar Music](https://wordpress.org/plugins/mp3-music-player-by-sonaar/) | Musicians and podcasters who need a sticky player and WooCommerce | Free core; Pro from $49/yr | | [AudioIgniter](https://wordpress.org/plugins/audioigniter/) | Simple playlists without bloat | Free core; Pro available | | [Audio Album](https://wordpress.org/plugins/audio-album/) | Showcasing albums or a discography | Free | | [Trinity Audio](https://wordpress.org/plugins/trinity-audio/) | Publishers who want AI text-to-audio | Freemium | ### 1. Audio Music Player by Nexter (Top Pick) The Audio Music Player by Nexter is a native Gutenberg block, so you build and style the player right inside the editor. [*See the Audio Music Player live demo*](https://qa.nexterwp.com/nexter-blocks/blocks/wordpress-audio-music-player/#demo) If you build your site with the block editor, this is the one I reach for first. The Audio Music Player is a native Gutenberg block from Nexter Blocks, so there is no separate plugin to configure and no third-party subscription. You add the block, drop in your tracks, and style it from the same editor you already use. It supports the formats you will actually use, including MP3 and WAV, and gives you the full set of controls: play, pause, skip, and volume. If you publish music, podcast episodes, or multi-track playlists, you can add and reorder tracks without touching a line of code. What makes it the easiest to live with is the design control. You can match the player to your brand colors and sizing, and if you would rather not build from scratch, the demo page ships ready-made templates you can plug straight in. Ready-made player templates mean you can ship a styled audio player in minutes instead of building one from scratch. There is also a practical touch the others do not have: the [cross-domain copy-paste](https://qa.nexterwp.com/nexter-blocks/extras/wordpress-cross-domain-live-copy-paste-content/) feature lets you copy a finished player straight from the demo page onto your own site, styling and all. 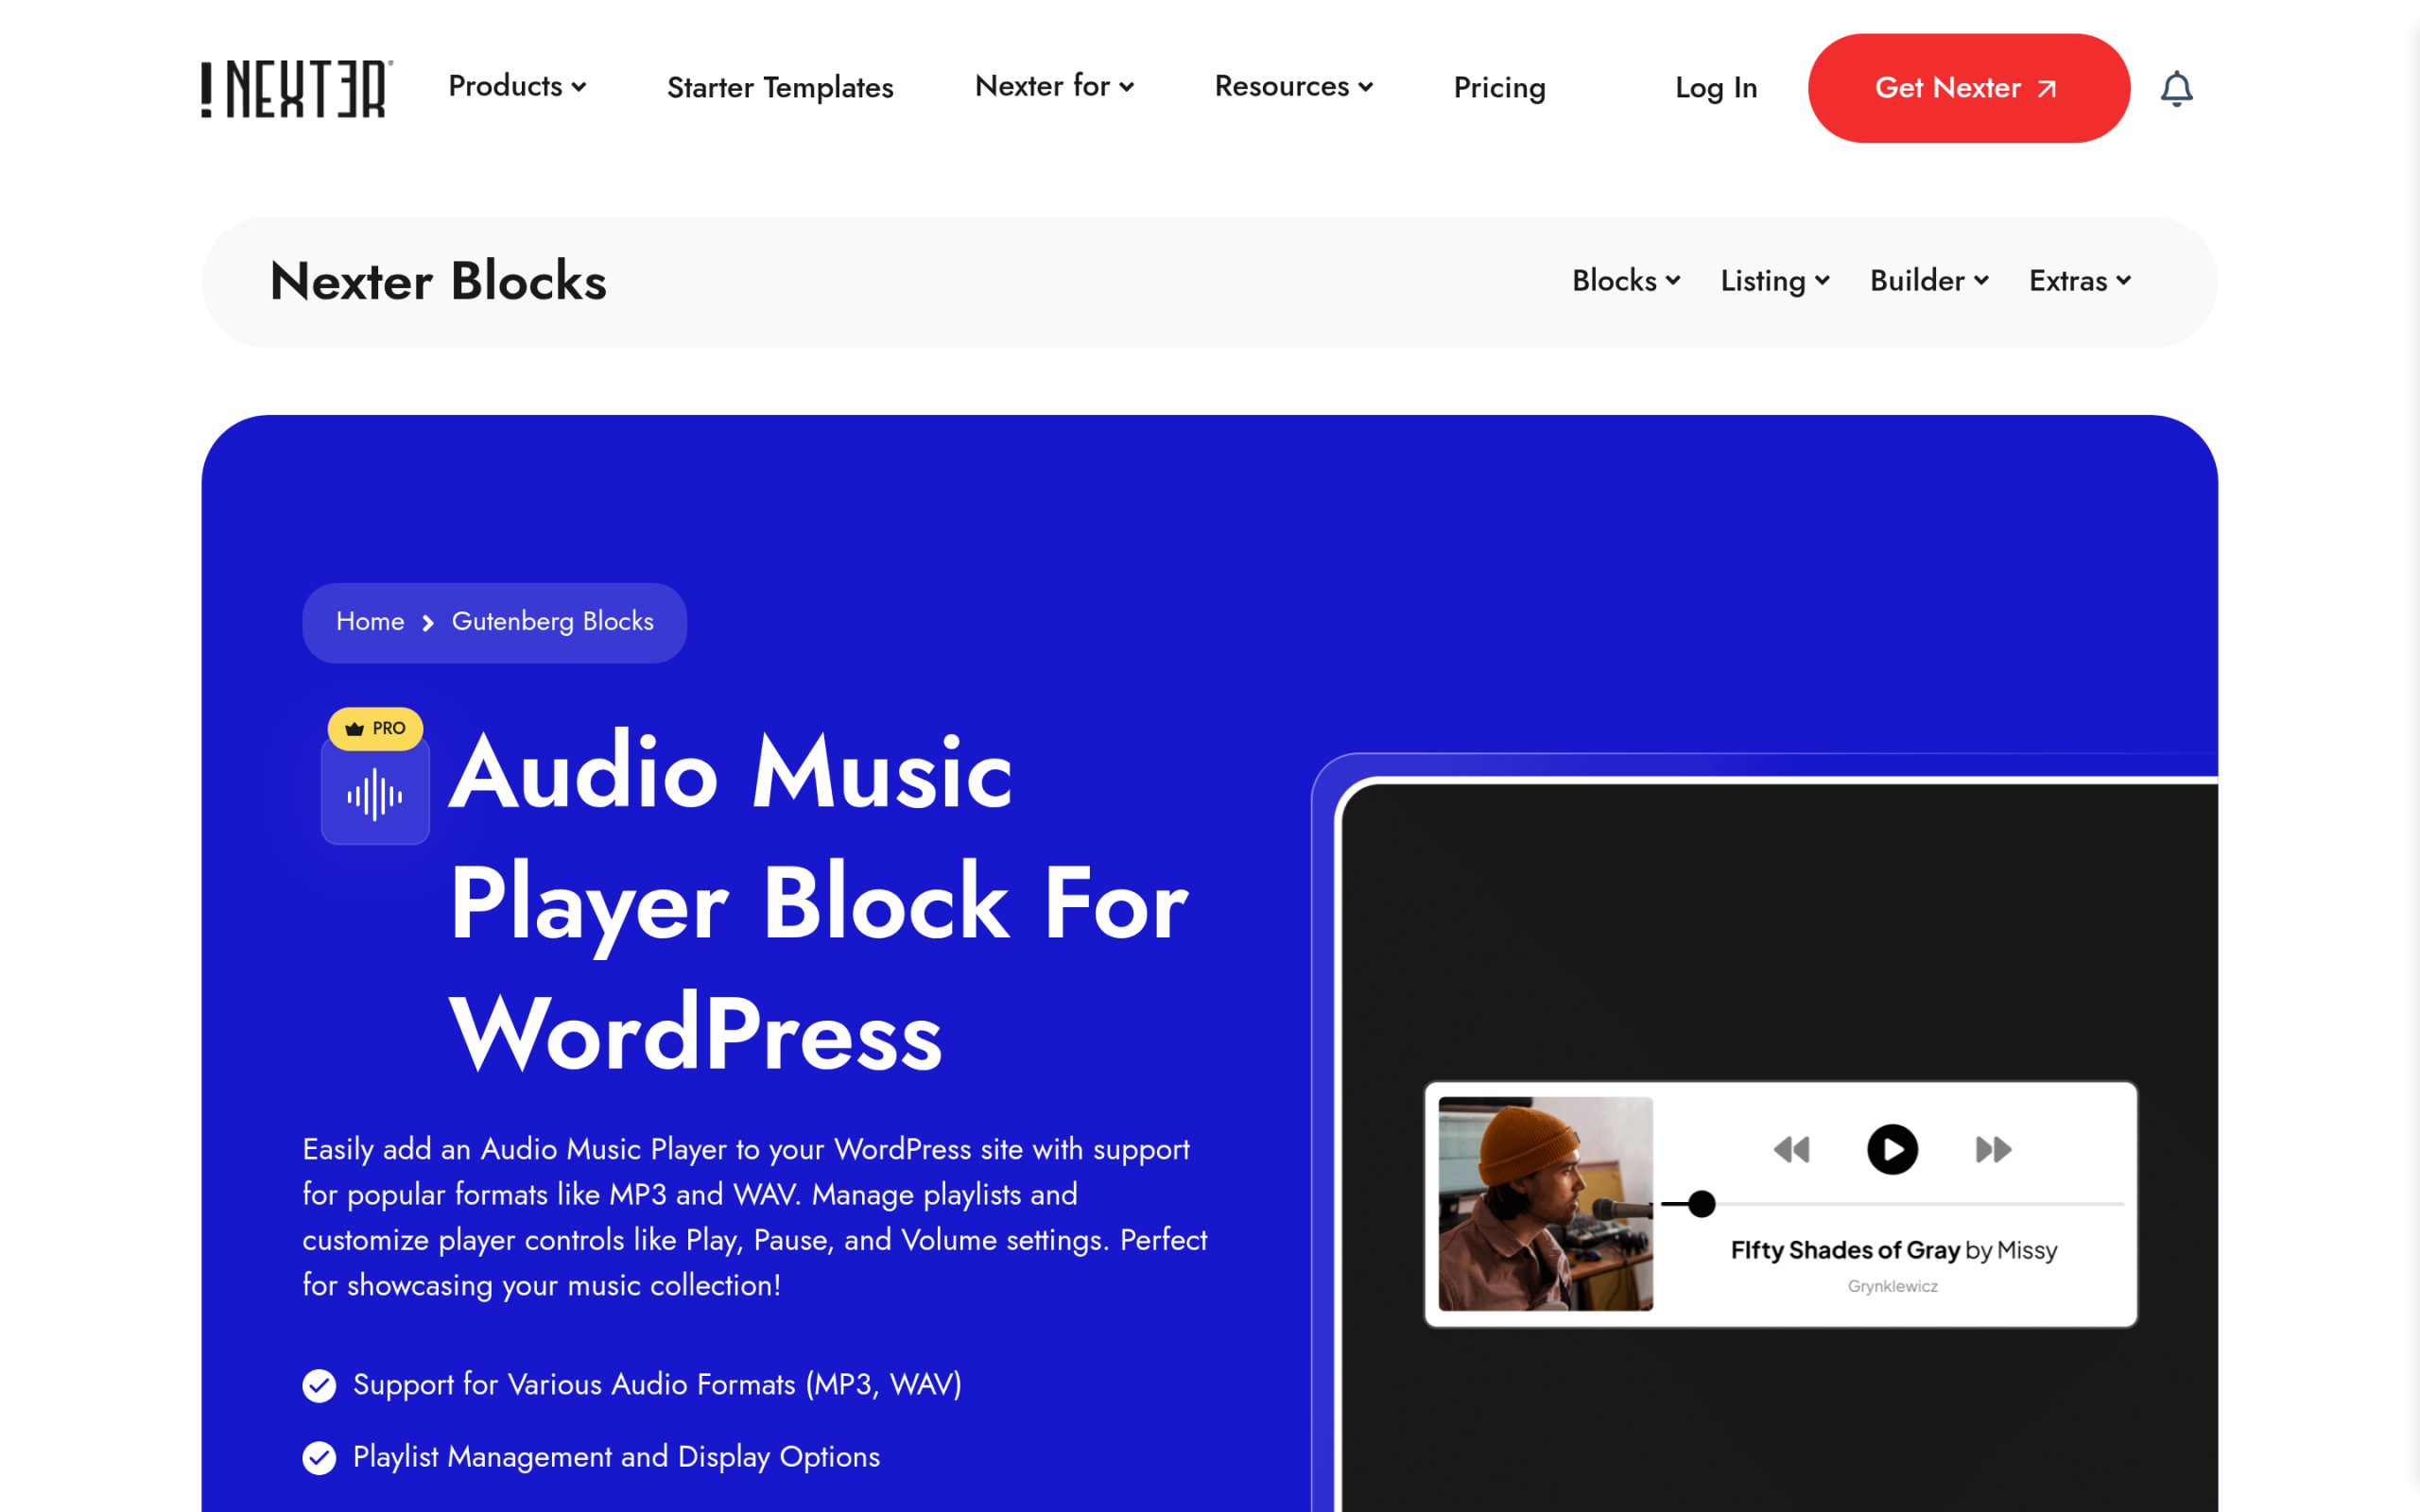The Audio Music Player demo page lets you preview every layout before adding it to your site. #### Key Features - **Native Gutenberg block:** build and edit the player inside the block editor, no extra setup. - **Full design control:** adjust colors, sizing, and layout to match your brand. - **Playlists and track controls:** add multiple tracks with play, pause, skip, and volume. - **Ready-made templates:** plug-and-play player designs from the demo page. - **Cross-domain copy-paste:** move a finished player between sites in one paste. #### Pricing The Audio Music Player is part of the Nexter bundle. There is a free version to start with, and paid plans begin at $39/year for one site, $89/year for five sites, and $129/year for unlimited sites. Every paid plan also unlocks 90+ Gutenberg blocks, 1000+ ready-to-use templates, the lightweight Nexter Theme, and the Nexter Extension, so the audio player is one piece of a much larger toolkit rather than a single-purpose purchase. [Get Nexter Blocks](https://qa.nexterwp.com/) ***Also Read***: [*5 Best Testimonial WordPress Plugins*](https://qa.nexterwp.com/blog/best-testimonial-wordpress-plugins/) to add social proof alongside your audio content. ### 2. Sonaar Music 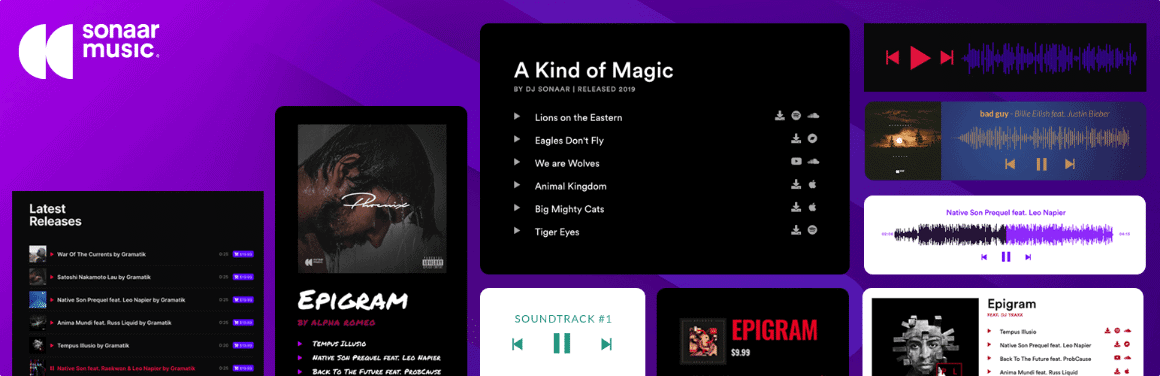Sonaar Music is built for musicians and podcasters, with a sticky player that keeps playing as visitors browse. Sonaar is the player to look at if audio is the main event on your site. Its standout is the sticky player that keeps playing while visitors move between pages, plus a soundwave visualization that gives the bar a more produced feel. The free core covers unlimited playlists and albums, podcast RSS import, and WooCommerce, so you can sell tracks or beats directly. It supports MP3, M4A, and FLAC plus a long list of streaming services, and works across Elementor, Gutenberg, Divi, and Bricks. With 20,000+ active installs and a 4.8-star rating from nearly 300 reviews, it is a well-supported option. #### Key Features - **Sticky player:** playback continues as visitors navigate the site. - **Podcast and WooCommerce ready:** import episodes by RSS and sell audio. - **Soundwave visualization:** waveform display while a track plays. - **Broad compatibility:** works with Elementor, Gutenberg, Divi, and Bricks. #### Pricing The core plugin is free. The Pro version, which adds advanced styling, ads, and analytics, starts at $49/year. **Watch out:** several of the features musicians want (continuous playback, watermarks, pre and post-roll ads) sit behind Pro, so budget for the upgrade if you need them. [Learn More](https://wordpress.org/plugins/mp3-music-player-by-sonaar/) ***Also Read***: [*5 Best WordPress eCommerce Plugins*](https://qa.nexterwp.com/blog/wordpress-ecommerce-plugins/) if you plan to sell your audio. ### 3. AudioIgniter AudioIgniter keeps things simple: build a playlist with the standard media uploader and embed it anywhere. AudioIgniter is the no-bloat choice. It uses the standard WordPress media uploader to build playlists you can embed in posts, pages, or custom post types, and it pulls track names and artist details from ID3 tags automatically. The free core gives you unlimited playlists and tracks, a full or simple player mode, and works with Elementor, Visual Composer, and Gutenberg. With 10,000+ active installs and a 4.6-star rating, it is a dependable pick when you want a clean playlist and nothing extra. #### Key Features - **Standard media uploader:** build playlists in minutes with the tools you know. - **Unlimited playlists and tracks:** no caps on the free core. - **Automatic ID3 tags:** track and artist names fill in on upload. - **Full or simple mode:** a fuller player for music, a stripped player for podcasts. #### Pricing The core plugin is free. A Pro version adds bulk uploading, track rearranging, shuffle, lyrics, custom colors, and analytics. **Watch out:** the free player is intentionally basic, so heavier customization means moving to Pro. [Learn More](https://wordpress.org/plugins/audioigniter/) ### 4. Audio Album Audio Album groups multiple tracks into a styled album block using the player already built into WordPress. Audio Album is the free, lightweight option for showing a collection of tracks as an album. It groups multiple files into a single styled block using two shortcodes ([audioalbum] and [audiotrack]), and it leans on the mediaelement.js player that already ships with WordPress, so there is almost nothing extra to load. It supports MP3, OGG, WMA, M4A, and WAV, lets you adjust colors through the WordPress Customizer, and includes a popup for lyrics or notes. It is a small, focused plugin (4,000+ installs, a 5-star rating, last updated mid-2025) that does one job well. #### Key Features - **Album-first layout:** group multiple tracks into one tidy block. - **Shortcode driven:** [audioalbum] and [audiotrack] drop a player anywhere. - **Customizer colors:** restyle the player without code. - **Lyrics popup:** show lyrics or notes in a popup window. #### Pricing Audio Album is completely free. **Watch out:** because it relies on the built-in WordPress player, the styling and feature ceiling is lower than the paid options here, so it suits simple album displays more than feature-rich music sites. [Learn More](https://wordpress.org/plugins/audio-album/) ### 5. Trinity Audio Trinity Audio is different from the rest: it converts your written posts into AI-narrated audio automatically. Trinity Audio is the odd one out, and that is the point. Instead of playing files you upload, it uses AI to convert your written articles into narrated audio automatically. For a blog or news site with a lot of text, it turns every post into something readers can listen to without you recording a thing. It supports multiple languages and AI voices, and it adds an analytics layer so you can see how your audio performs. It is aimed at publishers (its site lists names like Fortune, Harvard, Billboard, and Rolling Stone), and it leans on listen-based reach and monetization rather than a simple one-site license. #### Key Features - **AI text-to-audio:** turns written posts into narrated audio automatically. - **Multiple languages and voices:** narrate content for a wider audience. - **Analytics:** track listens and audio engagement. - **No recording needed:** good for high-volume text publishers. #### Pricing Trinity Audio is freemium, with a free tier to start and paid plans for larger publishers. **Watch out:** paid pricing is not listed publicly and is quote-based, so it is built more for media companies than for a single small site, and it solves a different problem (text-to-speech) than the file-based players above. [Learn More](https://wordpress.org/plugins/trinity-audio/) ## How to Choose the Right Audio Player Plugin Most of the choice comes down to how you build your site and what you are publishing. A few things to weigh before you commit: - **How you build:** if your site runs on the block editor, a native Gutenberg player like the Audio Music Player by Nexter is the least friction. Page-builder sites have more options. - **Subscriptions:** check what sits behind a paid tier. A bundle like Nexter gives you the player plus 90+ blocks for one price, while standalone players often gate the features you want behind Pro. - **What you publish:** file-based players (Nexter, Sonaar, AudioIgniter, Audio Album) suit music and podcasts. Trinity solves a different problem, turning text into audio. - **Design control:** if the player has to match your brand, prioritize the ones with real styling options rather than the built-in WordPress player. ## Wrapping Up Each plugin on this list fits a different use case, so the right pick depends on how you plan to use audio. **Choose [Audio Music Player by Nexter](https://qa.nexterwp.com/nexter-blocks/blocks/wordpress-audio-music-player/) if** you build in Gutenberg and want a lightweight player with full design control, ready-made templates, and no separate subscription. For most WordPress sites, this is the one to start with. **Choose Sonaar Music if** you are a musician or podcaster who needs a sticky player, WooCommerce, and podcast RSS baked in. **Choose AudioIgniter if** you want a clean, free playlist plugin without extra weight. **Choose Audio Album if** you are showcasing a discography and want a structured, album-first layout for free. **Choose Trinity Audio if** you are a publisher who wants AI to generate audio versions of your posts automatically. Whatever you pick, pair it with a fast, well-optimized theme. [Nexter Blocks](https://qa.nexterwp.com/) gives you 90+ Gutenberg blocks, including the Audio Music Player, so you can build audio-rich pages without writing a line of code. 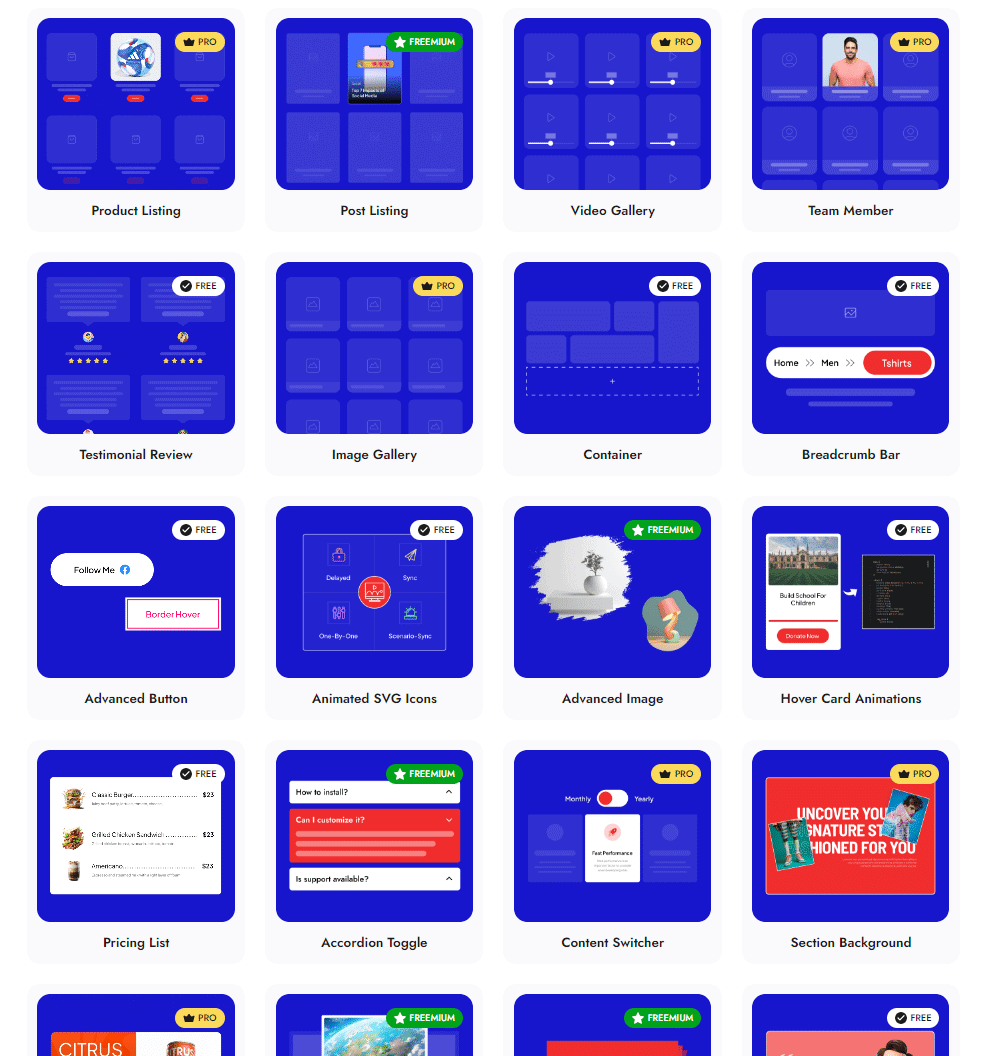Nexter Blocks bundles the Audio Music Player with 90+ Gutenberg blocks, so the player is one piece of a full design toolkit. For even more design flexibility, [The Plus Addons for Elementor](https://theplusaddons.com/) and [WDesignKit](https://wdesignkit.com/) offer ready-made templates and widget kits that drop a polished audio section into any page in minutes. ## Suggested Reading - [5 Best WordPress Booking Plugins](https://qa.nexterwp.com/blog/wordpress-booking-plugins/) - [5 Best WordPress Poll Plugins](https://qa.nexterwp.com/blog/wordpress-poll-plugins/) - [5 Best Testimonial WordPress Plugins](https://qa.nexterwp.com/blog/best-testimonial-wordpress-plugins/) - [5 Best WordPress eCommerce Plugins](https://qa.nexterwp.com/blog/wordpress-ecommerce-plugins/) ## Frequently Asked Questions ### Does WordPress support audio? Yes, WordPress supports audio! You can upload and embed audio files like MP3, WAV, and OGG directly into your posts or pages using the built-in audio block. For more advanced features, such as playlists or custom players, you can use dedicated audio player plugins to enhance your site's functionality. ### Can you provide examples of audio players for WordPress that support playlist creation and management? [Audio Music Player by NexterWp](https://qa.nexterwp.com/nexter-blocks/blocks/wordpress-audio-music-player/) and AudioIgniter both support playlist creation. These plugins allow you to manage multiple tracks efficiently and customize the appearance of your playlists. ### What audio file does WordPress support? WordPress supports popular audio file formats, including MP3, WAV, and OGG. These formats are compatible with WordPress's built-in media player, ensuring smooth playback across most browsers. To upload audio files, simply use the Media Library, and WordPress will handle the rest for seamless integration on your site. ### How to add an audio player in WordPress without a plugin? To add an audio player in WordPress without a plugin, use the built-in audio block. In the editor, click Add Block (+), select Audio, and upload your file or insert a link. WordPress will create a simple audio player for your site, no extra tools are required! --- # 6 Best AI Content Detectors for Bloggers in 2026 (All Tested) Source: https://qa.nexterwp.com/blog/best-ai-content-detectors/ #### Key Takeaways - AI content detectors are a useful signal, not proof. OpenAI itself says these tools cannot reliably identify AI-generated text, so treat every score as a starting point for review.- In the independent RAID benchmark, GPTZero and Grammarly score highest, both citing around 99% accuracy and both free to try.- For schools, Turnitin keeps its false-positive rate under 1% and openly tells instructors never to act on its score alone.- For publishers and content teams, Originality.ai and Winston AI pair AI detection with plagiarism checks on credit-based pricing.- Always run flagged text through a second detector and a human read before you draw any conclusion. A few months ago, a writer on our team sent over a blog post she had written by hand, start to finish. Out of habit, I dropped it into an AI detector before publishing. It came back flagged as 87% AI. She had not opened ChatGPT once. That moment is the whole problem with AI content detectors in a nutshell. They are genuinely helpful when you want a quick read on whether text might be machine-written, but they are wrong often enough that you cannot treat a score as a verdict. We tested the six detectors that bloggers, editors, and teachers reach for most, and below we break down where each one actually earns its place, what it costs, and when you should not trust it. ## Are AI content detectors actually accurate in 2026? Short answer: they are better than they were, but no detector is reliable enough to stand on its own. This is worth saying clearly before you pick a tool, because the marketing pages all shout about 99% accuracy and quietly skip the part where real text gets misjudged. OpenAI, the company that builds ChatGPT, put it bluntly in its own guidance for educators. Even if these tools "could accurately identify AI-generated content (which they cannot)," OpenAI warned, they can unfairly penalize people who learned English as a second language or who simply write in a plain, formulaic style. The vendors do not really disagree. Grammarly advertises 99% detection accuracy and a number-one ranking on the independent RAID benchmark, and then states on the same page that no AI detector is 100% accurate and that its tool "should never be used as a standalone verification method." Turnitin, used by thousands of schools, goes a step further: it stopped showing a score when its AI reading lands between 1% and 19%, specifically to avoid false accusations, and it tells instructors the percentage "should not be used as the sole basis for action or a definitive grading measure." 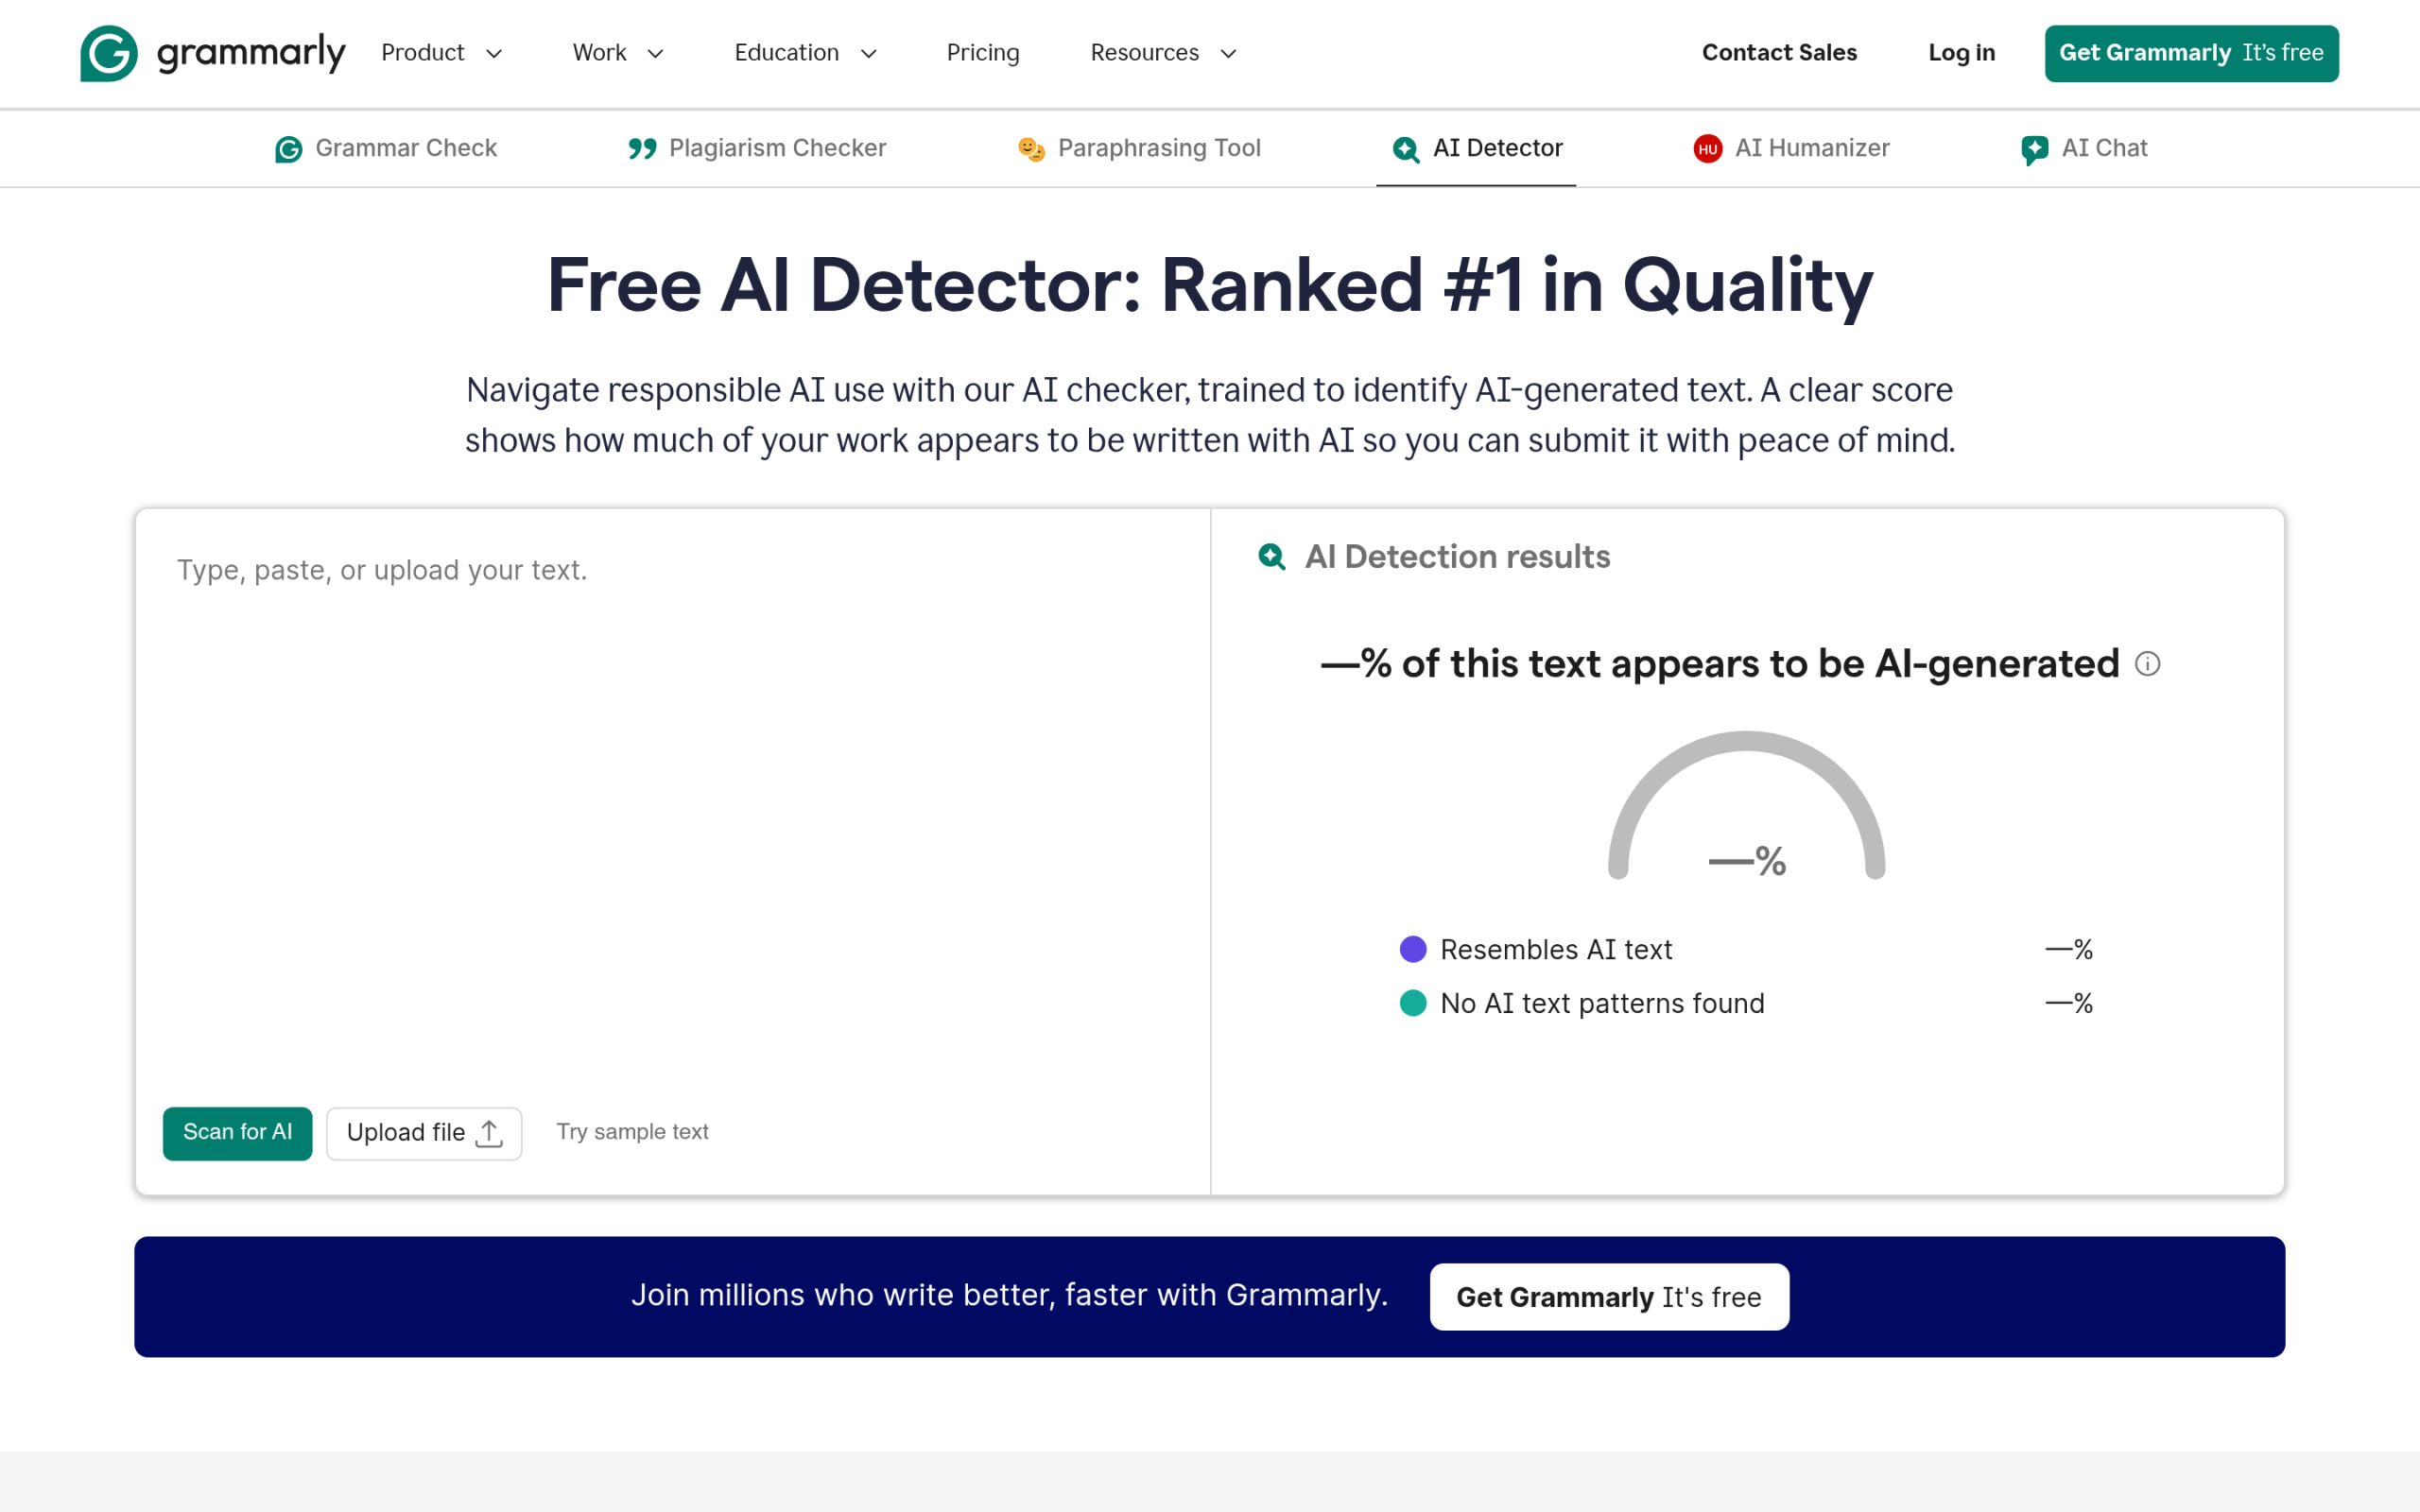Even Grammarly, which claims 99% accuracy and a number-one RAID benchmark ranking, states plainly that no AI detector is 100% accurate. Source: grammarly.com/ai-detector So the right way to use any tool below is as one input. A high AI score is a reason to look closer, ask questions, or check version history. It is not, on its own, evidence of anything. ## How we tested these AI content detectors We ran the same set of samples through each tool's free or trial tier: a batch of fully human-written drafts, a batch generated by ChatGPT, Claude, and Gemini, and a mixed batch where AI text had been edited by a person. For each detector we looked at four things that matter in day-to-day use. - How clearly it flags AI text without falsely flagging the human drafts - What it costs once you move past the free tier - Language support and whether it handles non-native English fairly - Extras like plagiarism checking, team features, and integrations Accuracy figures below are the numbers each company reports, with the source named, rather than a single score we invented. The most credible third-party reference point is the independent RAID benchmark, which both GPTZero and Grammarly cite. ## The 6 best AI content detectors compared Here is the quick comparison, then a closer look at each tool. | Tool | Best for | Free option | Starting price | Standout | | ---- | -------- | ----------- | -------------- | -------- | | GPTZero | Educators, quick checks | Up to 10,000 characters per scan | Paid plans for higher volume | Sentence-level highlights, 95.7% on RAID | | Winston AI | Multilingual teams | 2,000 credits, 14-day trial | About $10 to $18 per month | AI, plagiarism, and AI image detection | | Copyleaks | Multilingual and LMS use | Free AI checker | Subscription for higher volume | Over 30 languages | | Turnitin | Schools and universities | Institution access only | Institutional license | False-positive rate kept under 1% | | Originality.ai | Publishers, bulk scanning | No free tier | $30 pay-as-you-go or $12.95/mo | Bulk scans plus plagiarism and team seats | | Grammarly | Existing Grammarly users | Free AI detector | Free, Pro adds features | 99% accuracy, number one on RAID | ### 1. GPTZero 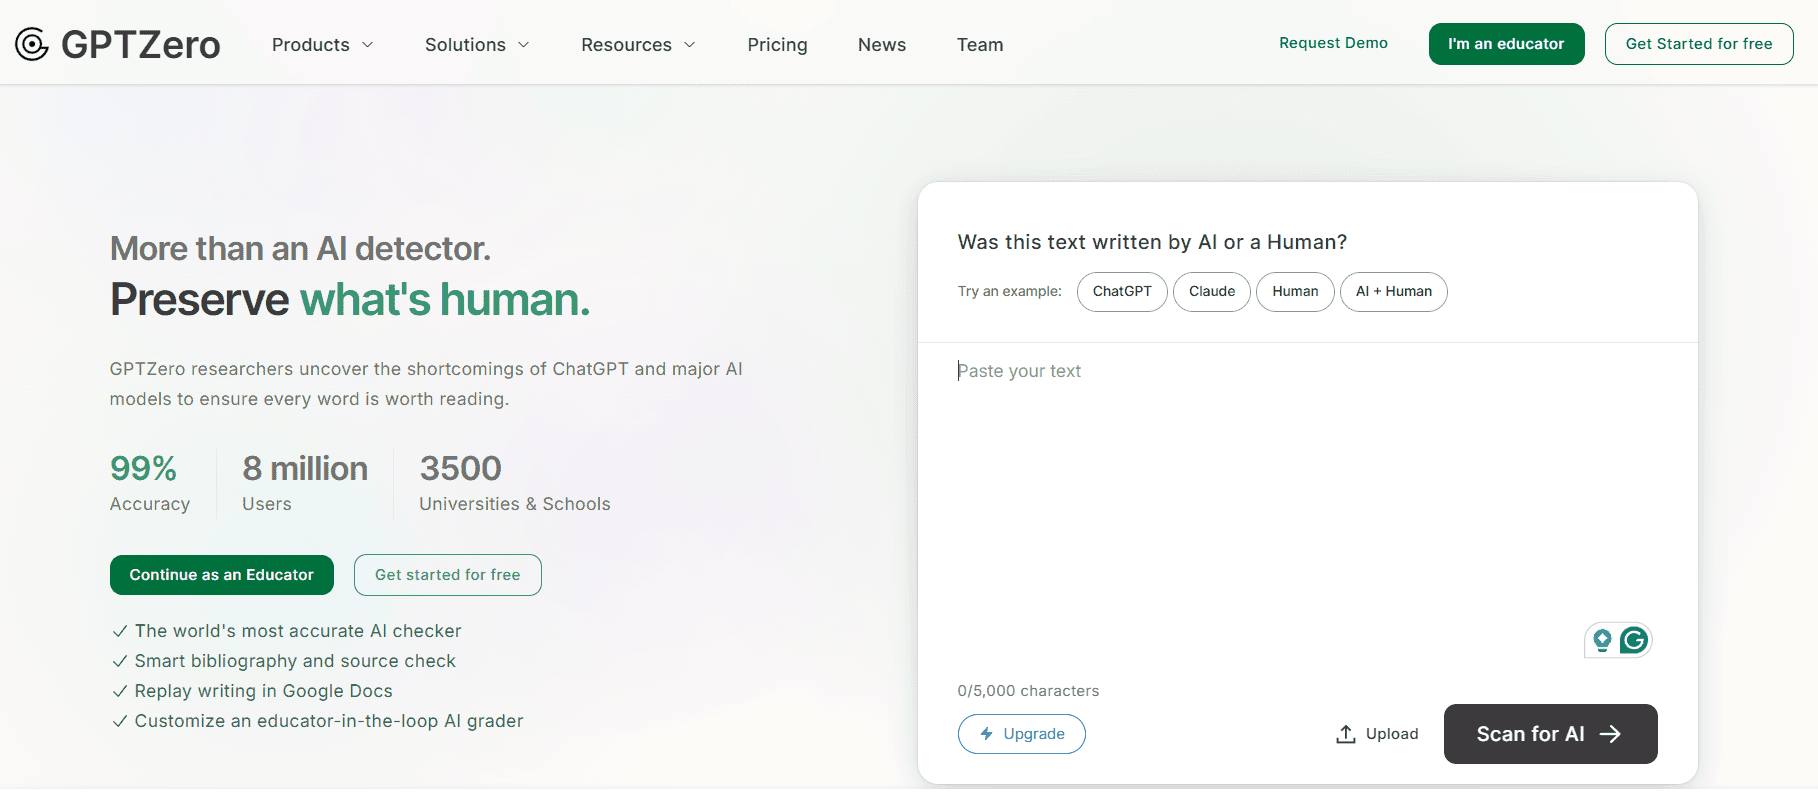GPTZero highlights suspected AI writing sentence by sentence. GPTZero is the tool most teachers and editors try first, and for good reason. It analyzes writing sentence by sentence and color-codes the parts it thinks were machine-written, so you can see exactly where a document raised a flag instead of getting one blunt percentage. It detects text from the current generation of models, including ChatGPT, GPT-5, GPT-4, Gemini, Claude, and Llama. GPTZero reports 99% accuracy overall and 95.7% on the independent RAID benchmark, and it adds genuinely useful extras like a hallucination detector that flags fake citations. You can scan up to 10,000 characters per scan for free, with paid plans for higher volume. #### Pros of GPTZero - Sentence-level highlighting shows where the flag comes from - Strong, independently benchmarked accuracy - Generous free scan limit and a built-in hallucination checker #### Cons of GPTZero - Can flag clean, formal human writing as AI - Heavily edited AI text is harder for it to catch ### 2. Winston AI 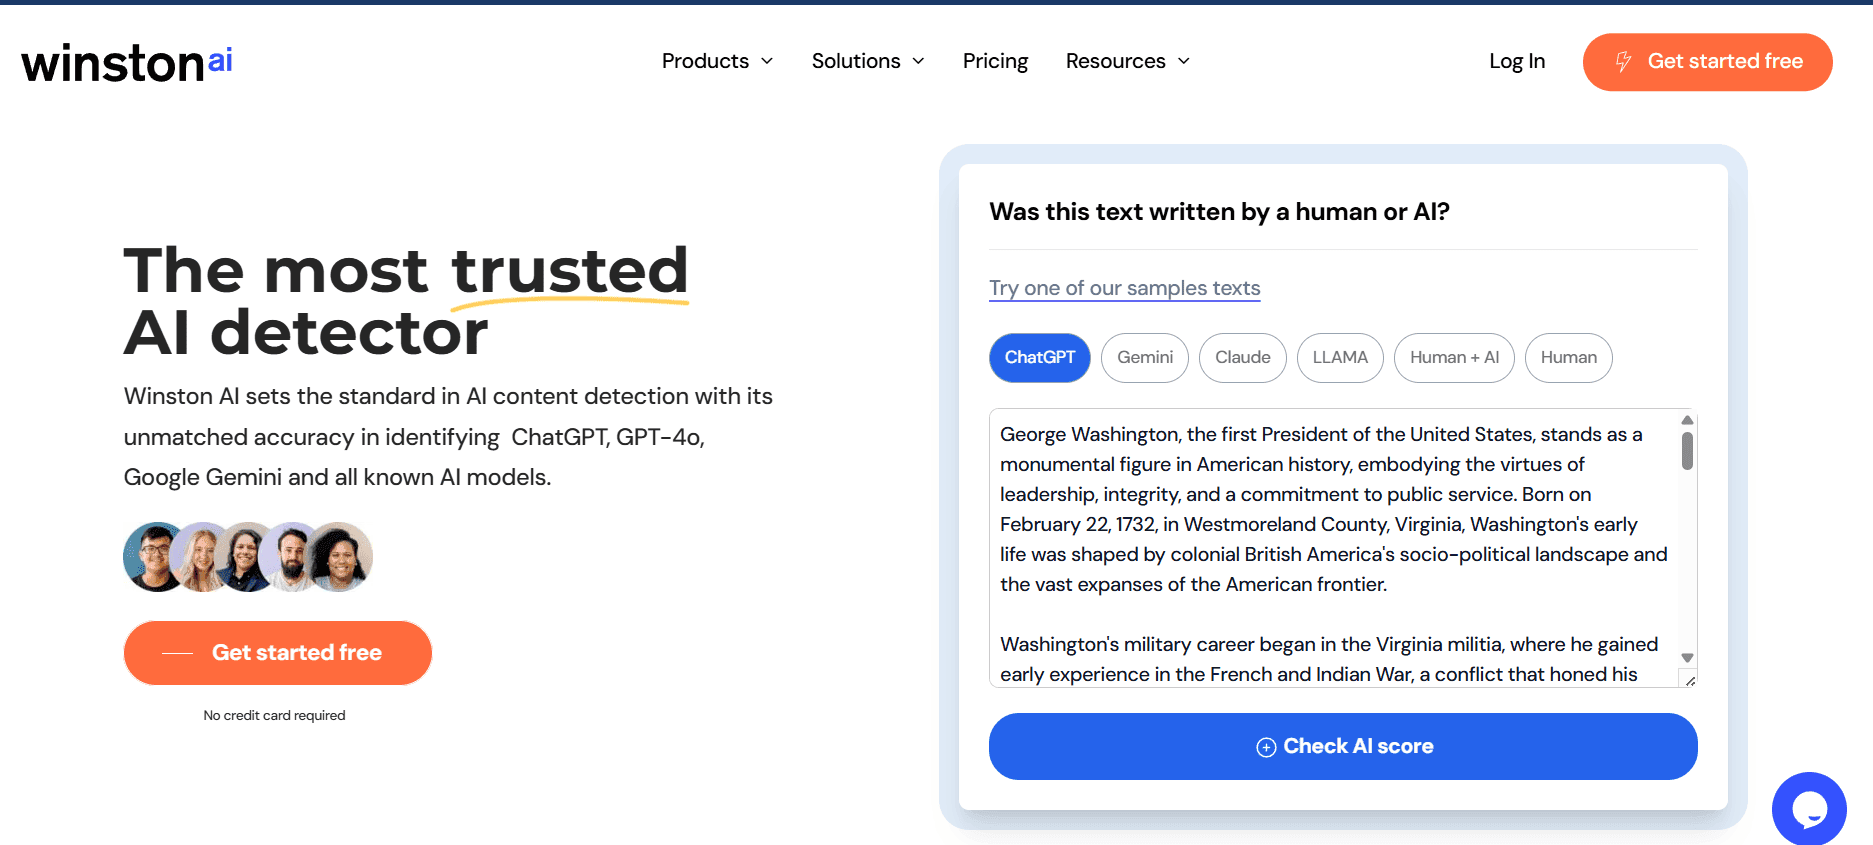Winston AI bundles AI detection, plagiarism, and AI image checks in one dashboard. Winston AI is a good fit for teams that work across languages and want more than text detection in one place. It flags content from ChatGPT, Claude, Gemini, Llama, and Jasper, and supports English, Spanish, German, Portuguese, Italian, Dutch, and more. It runs on a credit model, roughly one credit per word for AI detection, and the same account also handles plagiarism checks and AI image detection. There is a free tier with 2,000 credits and a 14-day trial, after which paid plans run from about $10 to $18 per month depending on whether you pay annually or month to month. #### Pros of Winston AI - Detects several major models and supports many languages - Combines AI detection, plagiarism, and image checks in one tool - Clear, beginner-friendly interface with a real free trial #### Cons of Winston AI - Heavy users can burn through credits quickly - Like every detector, it produces the occasional false positive ### 3. Copyleaks Copyleaks focuses on multilingual detection across more than 30 languages. Copyleaks stands out if your content is not all in English. It supports over 30 languages and specifically advertises low false-positive rates for non-native English writing, which is the exact group OpenAI warned other detectors tend to penalize. It detects text from models like ChatGPT, GPT-5, and Gemini, and it is built to plug into learning management systems, so schools and universities can run checks inside the tools they already use. A free AI checker is available, with subscriptions for higher volume. #### Pros of Copyleaks - Over 30 languages with a focus on multilingual accuracy - Fairer handling of non-native English writing - Integrates with learning management systems #### Cons of Copyleaks - The interface has a learning curve for first-time users - Full features sit behind a subscription ***Also Read:** if you want AI working for you rather than just policing your content, our guide to the *[***12 best AI WordPress plugins and free tools***](https://qa.nexterwp.com/blog/best-artificial-intelligence-wordpress-plugins/)* shows where AI genuinely helps a site.* ### 4. Turnitin AI Turnitin's AI indicator sits inside the Similarity Report educators already use. Turnitin is the detector built for academia. It is known for plagiarism checking, and its AI writing indicator now sits inside the same Similarity Report that instructors already use, giving a percentage estimate of how much of a submission may be AI-written. What sets Turnitin apart is how cautious it is. To keep its false-positive rate under 1%, it does not even show a score when AI detection lands between 1% and 19%. And it is explicit that the percentage "should not be used as the sole basis for action or a definitive grading measure." That honesty is a feature, not a weakness, when a wrong call can affect a student's record. #### Pros of Turnitin AI - Built into the plagiarism workflow schools already run - Deliberately conservative to protect against false positives - Trusted and widely adopted across institutions #### Cons of Turnitin AI - Only available through an institutional subscription - Does not pinpoint the exact AI-written portions ### 5. Originality.AI Originality.ai is built for publishers who scan content in bulk. Originality.ai is aimed squarely at content publishers and agencies that need to scan a lot of text and track who checked what. It combines AI detection with full plagiarism scanning, so a single pass tells you whether content is both original and human-written. Pricing runs on credits, where one credit covers 100 words. You can start with a $30 pay-as-you-go pack of 3,000 credits, or take the Pro plan at $12.95 per month billed annually for 2,000 monthly credits, with extra team seats available. There is no free tier, which tells you it is built for people scanning at volume rather than the occasional one-off check. #### Pros of Originality.AI - Combines AI detection and plagiarism in one scan - Team seats and scan history suit publishing workflows - Flexible pay-as-you-go option with no recurring fee #### Cons of Originality.AI - No free tier to test before you buy credits - Very short passages can produce shaky results ***Also Read:** creating visuals as well as text? Our guide on *[***how to generate AI images in WordPress***](https://qa.nexterwp.com/blog/how-to-generate-ai-images-in-wordpress/)* walks through making original artwork without stock photos.* ### 6. Grammarly Grammarly adds AI detection to the writing tool many teams already use daily. Grammarly added a free AI detector to the writing assistant millions of people already keep open all day, which makes it the easiest option to fold into an existing routine. It detects text from ChatGPT, Gemini, and Claude, segments the document, and analyzes each section rather than scoring the whole thing at once. Grammarly claims 99% detection accuracy and the number-one spot on the independent RAID benchmark, which ties it with GPTZero at the top for raw accuracy. To its credit, it pairs those claims with the clearest disclaimer of any tool here: no AI detector is 100% accurate, and it should never be the only thing you rely on. Pro subscribers get an AI detector agent that flags specific phrases and offers one-click rewrites. #### Pros of Grammarly - Free to use and built into a familiar workflow - Top-tier accuracy on the independent RAID benchmark - Honest, prominent guidance about its own limits #### Cons of Grammarly - Advanced detection features sit behind a Pro plan - Detects fewer model families than some rivals ***Also Read:** want AI helping your rankings instead? See the *[***5 best WordPress SEO plugins using AI***](https://qa.nexterwp.com/blog/best-wordpress-seo-plugins-using-ai/)* for tools that improve content rather than just grade it.* ## How AI content detectors actually work Knowing what is happening under the hood helps you read these scores sensibly. Most detectors look for two things that tend to separate machine text from human text: predictability and rhythm. The first is sometimes called perplexity. AI models pick the most probable next word, so machine text tends to be smoother and more predictable than the slightly surprising choices people make. The second is burstiness, the natural variation in sentence length and structure. Human writing tends to mix short and long sentences, while AI output is often more uniform. Detectors are trained on large sets of human and AI text and turn these patterns into a probability score. The catch is that the same signals that flag AI also describe a lot of careful human writing. Formal, concise, or formulaic prose looks predictable and even, which is exactly why clean drafts and non-native English get flagged. It is also why detectors struggle with very short text and with AI content that a person has edited by hand. ## What to do if your content gets wrongly flagged Because false positives are common, it helps to have a calm process ready before one happens to you or someone on your team. - Run the same text through a second detector. Agreement between two tools is far more meaningful than one score. - Keep your drafts. Version history in Google Docs or your editor is the strongest proof that a human wrote something over time. - Look at what got flagged. If it is a formal or list-heavy section, that is a classic false-positive pattern, not evidence of AI. - Add a human read. A person who knows the writer's voice will catch what an algorithm cannot. ## Pair authentic content with a fast WordPress toolkit Detecting AI is only half the job. Once you are confident your content is genuine, readers still judge your site on **speed, design, and how easy it is to use**. That is where a solid WordPress foundation matters. 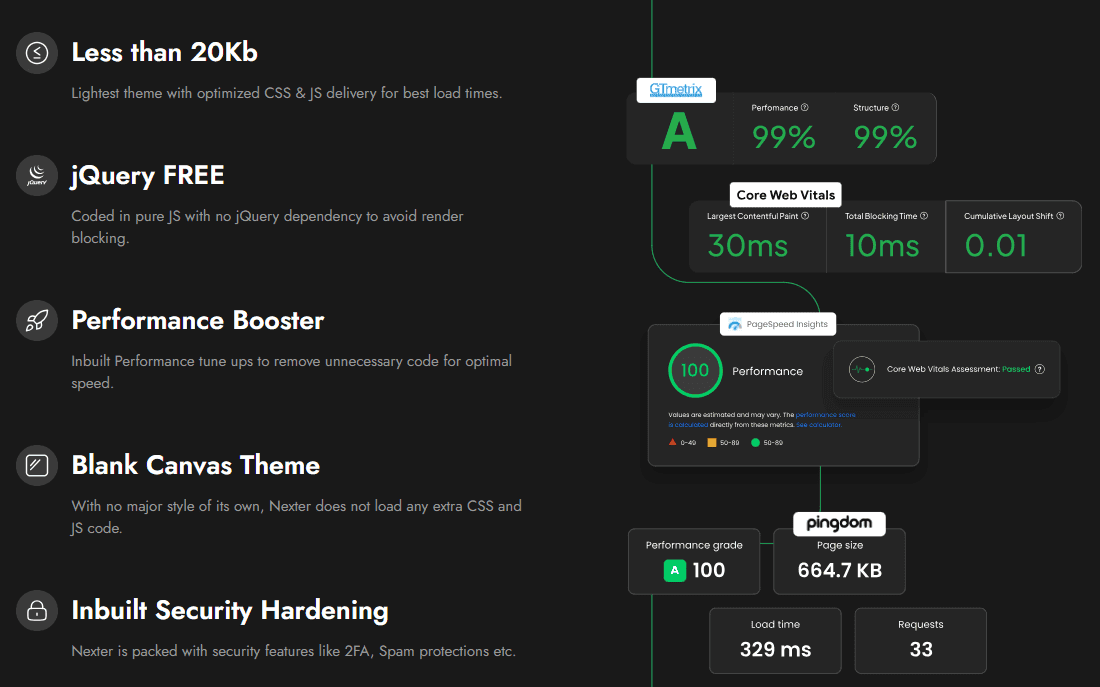Nexter pairs a fast theme with a large library of Gutenberg blocks. Nexter is a fast WordPress theme and block toolkit that helps bloggers, creators, and business owners build professional sites without bloated code. The theme is built with pure vanilla JavaScript and no jQuery, and the block library gives you the building blocks to publish quickly. - Built for Core Web Vitals and clean performance - Works well alongside AI-assisted content workflows - Flexible header and footer builders plus global styles - 90+ Gutenberg blocks, with a free version on WordPress.org *Want authentic content on a high-performing site? *[***Nexter***](https://qa.nexterwp.com/)* makes it simple, even with AI-assisted workflows.* ## Wrapping up: which AI content detector should you pick? Every detector here fits a different job. Here is the short version. **Choose GPTZero** for education and quick editorial checks. Sentence-level highlighting and strong RAID benchmark scores make it the best general-purpose pick. **Choose Winston AI** if you work across languages and want AI, plagiarism, and image detection in one credit-based account. **Choose Copyleaks** for multilingual content and learning-management-system integration, especially where non-native English writing needs fair treatment. **Choose Turnitin** if your institution already runs it. The conservative scoring and built-in plagiarism workflow are made for academic use. **Choose Originality.AI** if you run a publishing operation and need bulk scanning, team seats, and plagiarism checks together. **Choose Grammarly** if your team already lives in Grammarly and wants a free, accurate detector built into the workflow. Whichever you pick, remember the one rule that every honest vendor on this list agrees with: use the score as a signal, confirm it with a second tool and a human read, and never let a percentage be the final word. If you publish on WordPress, [Nexter Blocks](https://qa.nexterwp.com/nexter-blocks/) gives you 90+ Gutenberg blocks to build fast, high-quality pages. For Elementor users, [The Plus Addons for Elementor](https://theplusaddons.com/) adds 120+ widgets and extensions. Need ready-made layouts? [WDesignKit](https://wdesignkit.com/) has thousands of free WordPress templates to speed up your builds. ## Suggested reading - [12 Best AI WordPress Plugins and Free Tools](https://qa.nexterwp.com/blog/best-artificial-intelligence-wordpress-plugins/): where AI genuinely helps you build and run a site. - [5 Best WordPress SEO Plugins Using AI](https://qa.nexterwp.com/blog/best-wordpress-seo-plugins-using-ai/): AI tools that improve content and rankings. - [How to Generate AI Images in WordPress](https://qa.nexterwp.com/blog/how-to-generate-ai-images-in-wordpress/): make original visuals without stock photos. - [E-E-A-T for AI Search](https://qa.nexterwp.com/blog/e-e-a-t-ai-search-wordpress/): how WordPress sites earn trust from Google AI, ChatGPT, and Perplexity. ## FAQs on Best AI Content Detectors ### What is an AI content detector? An AI content detector is a tool designed to analyze text and determine whether it was generated by an artificial intelligence (AI) model, such as ChatGPT or GPT-4, or written by a human. These tools help ensure the authenticity of content by identifying AI-generated text. ### How do AI content detectors work? AI content detectors work by analyzing the structure, wording, and patterns in the text. They compare the writing to known characteristics of AI-generated text, such as repetitive phrasing, overly formal language, or unusual sentence structure. Some tools use machine learning algorithms trained on large datasets of both AI and human writing. ### Are AI content detectors 100% accurate? No, AI content detectors are not perfect. They may produce false positives (labeling human-written text as AI-generated) or false negatives (failing to detect AI-generated text). The accuracy of these tools can vary, so it's best to use them as a part of your overall content verification process. ### Can AI content detectors be used for any type of text? Yes, most AI content detectors can be used for a wide range of text types, including essays, articles, blog posts, and even social media content. However, some detectors may be better suited for specific types of content, such as academic writing or short-form content. ### Do AI content detectors identify specific AI-generated sections? Some AI content detectors provide an overall percentage of AI involvement in the text but do not highlight the specific sections that were generated by AI. This means you may need to manually review the content to identify the exact parts flagged as AI-generated. ### Are there free AI content detector tools? Yes, there are free AI content detector tools available. However, they may have limitations, such as fewer features, limited word count, or less accurate results compared to paid tools. Many paid tools offer more in-depth analysis and additional features like plagiarism detection. ### Can AI content detectors detect all types of AI-generated text? Most AI content detectors are designed to identify text generated by popular AI models like GPT-3, GPT-4, and others. However, as AI models continue to evolve, detectors may need regular updates to accurately detect newer writing styles and formats. ### Do AI content detectors work for non-English text? Some AI content detectors support multiple languages and can detect AI-generated content in languages other than English. However, the effectiveness of these detectors can vary based on the language and the tool's capabilities. ### What should I do if an AI content detector flags my content as AI-generated? If an AI content detector flags your content as AI-generated, it's essential to review the results carefully. You can try rewriting certain sections, using a more natural tone, or running your content through multiple detectors for confirmation. If you're using AI for content generation, consider editing the text to make it more human-like. ### What methods do the leading AI detectors use to identify synthetic text? These tools use machine learning models to spot patterns common in AI writing. They examine repetition, phrasing, and inconsistencies not usual in human writing. ### Can AI-generated content be reliably identified without human intervention? Detection tools can spot AI content with reasonable accuracy, but no method is perfect. Combining software results with human review gives better confidence. --- # SEOPress vs RankReady: Which WordPress SEO Plugin Wins for AI Search in 2026? Source: https://qa.nexterwp.com/blog/seopress-vs-rankready/ #### Key Takeaways - SEOPress is a mature all-in-one traditional SEO plugin with 300,000+ active installs. It handles titles, meta, schema, sitemaps, redirects, and analytics well, and its PRO plan starts at $49 per year.- RankReady is a free, GPL-licensed plugin built for answer engine optimization: getting your WordPress content read and cited by ChatGPT, Perplexity, Google AI Overviews, and Claude.- They solve different problems. SEOPress optimizes how Google ranks your blue link. RankReady optimizes whether AI engines can fetch, understand, and cite your page.- RankReady explicitly works alongside SEOPress, so you do not have to choose. The honest answer for most sites in 2026 is to run both.- Pick RankReady as your add-on if AI citations and crawler visibility are the priority. Keep SEOPress (or whichever traditional plugin you already use) for on-page SEO. A few weeks ago a client sent me a screenshot that has stuck with me. Their WordPress site ranked on page one for most of their money keywords, SEOPress was installed and configured properly, green scores across the board. Then they asked ChatGPT a question their blog answered better than anyone, and the answer cited three competitors and not them. Their reply was short: "We did all the SEO. Why are we invisible to the AI?" That gap is the whole reason this comparison exists. SEOPress and RankReady get lumped together as "SEO plugins," but they are built for two different search worlds. One helps Google rank your page. The other helps answer engines find, read, and cite it. Here is an honest look at what each does, where they overlap, and how to decide what your site actually needs in 2026. ## What SEOPress does well SEOPress is one of the longest-running all-in-one SEO plugins for WordPress, with 300,000+ active installs and support tested up to WordPress 7.0. If you have used Yoast or Rank Math, the surface area is familiar, and SEOPress covers it without the constant upsell nags. - **Titles and meta:** a universal SEO metabox for titles, descriptions, Open Graph, and X Cards that works across Gutenberg, Elementor, Divi, Bricks, Oxygen, Breakdance, WPBakery, Avada, and Kadence.- **Structured data:** a Schema.org JSON-LD editor covering Article, LocalBusiness, Service, How-to, FAQ, Course, Recipe, SoftwareApplication, Video, Event, Product, JobPosting, Review, and ProfilePage types.- **Sitemaps:** XML sitemaps for posts, pages, custom post types, taxonomies, images, and authors, plus an HTML sitemap. PRO adds Google News and video sitemaps.- **Redirects:** page-level redirects in the free version; PRO adds unlimited 301, 302, 307, 410, and 451 redirects with regex and a URL tester.- **Analytics:** Google Analytics 4, Matomo, and Microsoft Clarity integration, with Google Search Console clicks and impressions in PRO.- **Content checks:** unlimited target keywords with content quality and structure analysis. SEOPress has also started adding AI features: an "Agent Readiness" toggle aimed at AI search, and bulk generation of titles, meta descriptions, Open Graph text, and image alt text using OpenAI, Google Gemini, Anthropic Claude, MistralAI, or DeepSeek. That matters for this comparison, because it means SEOPress is not standing still on AI. The question is how far that goes, which is where RankReady comes in. SEOPress on WordPress.org: 300,000+ active installs, tested up to WordPress 7.0. Source: wordpress.org/plugins/wp-seopress. ***Also Read:** [Rank Math vs RankReady](https://qa.nexterwp.com/blog/rank-math-vs-rankready/) covers the same traditional-vs-AEO split if Rank Math is the plugin you are already running.* ## What RankReady is RankReady is a free, GPL-2.0 plugin from POSIMYTH Innovations built for one job traditional SEO plugins were never designed to do: making your WordPress content readable and citable by AI answer engines. It requires WordPress 6.0+ and PHP 7.4+, and it runs alongside whatever SEO plugin you already have. Instead of optimizing your snippet for a Google results page, RankReady works on three things AI engines care about: can the crawler fetch your content, can the model understand it, and can you tell whether it worked. Its core features: - **AI crawler control:** individual allow or block toggles for 31 AI crawlers, including GPTBot, ClaudeBot, PerplexityBot, Google-Extended, and Bytespider.- **llms.txt generation:** automatic `/llms.txt` and `/llms-full.txt` files, plus a Markdown version of every post at `/post.md` and Content Signals directives.- **AI-ready schema:** Article, Speakable, FAQPage, HowTo, ItemList, and Person schema that merges into your existing schema graph without duplicating it.- **Live AI crawler log:** a timestamped log showing which AI bots fetched which pages.- **Citation candidates and AI referral tracking:** a leaderboard of posts fetched in the last 30 days, plus referral traffic from chatgpt.com, perplexity.ai, claude.ai, gemini.google.com, and copilot.microsoft.com.- **Per-post readiness score:** a 0 to 100 score and a 22-signal agentic readiness scorecard for each post. RankReady: a free GPL-2.0 plugin built for answer engine optimization. Source: store.posimyth.com/plugins/rankready. ## SEOPress vs RankReady: the traditional SEO side On classic on-page SEO, this is not close, and it should not be. SEOPress is a dedicated SEO suite. RankReady does not try to replace it. | Traditional SEO task | SEOPress | RankReady | | -------------------- | -------- | --------- | | Title and meta editing | Yes, full metabox | No (relies on your SEO plugin) | | XML sitemaps | Yes | No | | Redirects (301/302/410) | Yes (PRO: unlimited + regex) | No | | Schema for rich results | 15+ Schema.org types | AI-focused schema only | | Search Console / analytics | Yes | AI referral tracking only | | Breadcrumbs | Yes (PRO) | No | For ranking blue links on Google, SEOPress is the tool. RankReady is not a competitor here. If you only care about Google rankings and have no interest in AI search, you do not need RankReady, and a traditional plugin like SEOPress is enough. That is the honest version. The reason the comparison keeps coming up is that "only care about Google" is getting harder to defend each quarter. ## The AEO gap: where SEOPress stops SEOPress added an Agent Readiness toggle and AI content generation, and those are useful. But there is a difference between generating text with AI and being optimized to be cited by AI. Answer engine optimization, or AEO, is about the second one, and it needs three things a title-and-meta plugin does not provide: crawler access control, machine-readable content delivery, and measurement. | AEO task | SEOPress | RankReady | | -------- | -------- | --------- | | Allow/block individual AI crawlers | No | Yes, 31 crawlers | | llms.txt / llms-full.txt | No | Yes, automatic | | Markdown copy of each post | No | Yes (/post.md) | | Speakable / AI-citation schema | Partial (standard schema) | Yes, AI-targeted | | Live AI crawler log | No | Yes | | Citation candidates + AI referral traffic | No | Yes | | Per-post AI readiness score | Agent Readiness toggle only | 0-100 score + 22 signals | The gap is measurement and crawler-level control, not whether AI is involved at all. That last row is the one most teams miss. A toggle tells you a feature is on. A readiness score and a crawler log tell you whether ChatGPT actually fetched your post last week and how citable it was when it did. You cannot improve what you cannot see, and seeing AI behavior is the part traditional plugins do not touch. ***Also Read:** [Answer Engine Optimization: The Complete WordPress Guide](https://qa.nexterwp.com/blog/answer-engine-optimization-wordpress/) explains the full AEO playbook if the concept is new.* ## Pricing compared SEOPress is free to start, with SEOPress PRO from $49 per year for one site and $149 per year for unlimited sites. SEOPress Insights is a separate premium add-on for rank tracking and backlinks. It is fair pricing for a full SEO suite, and the unlimited tier is genuinely cheap for agencies. RankReady is free, forever, under GPL-2.0, with no credit card required. There is a RankReady Pro, but the core AEO toolkit, including llms.txt, crawler control, the crawler log, and readiness scoring, is in the free version. So the cost comparison is not really plugin against plugin. It is "keep paying for your SEO suite and add a free AEO layer," which is the setup most sites land on. 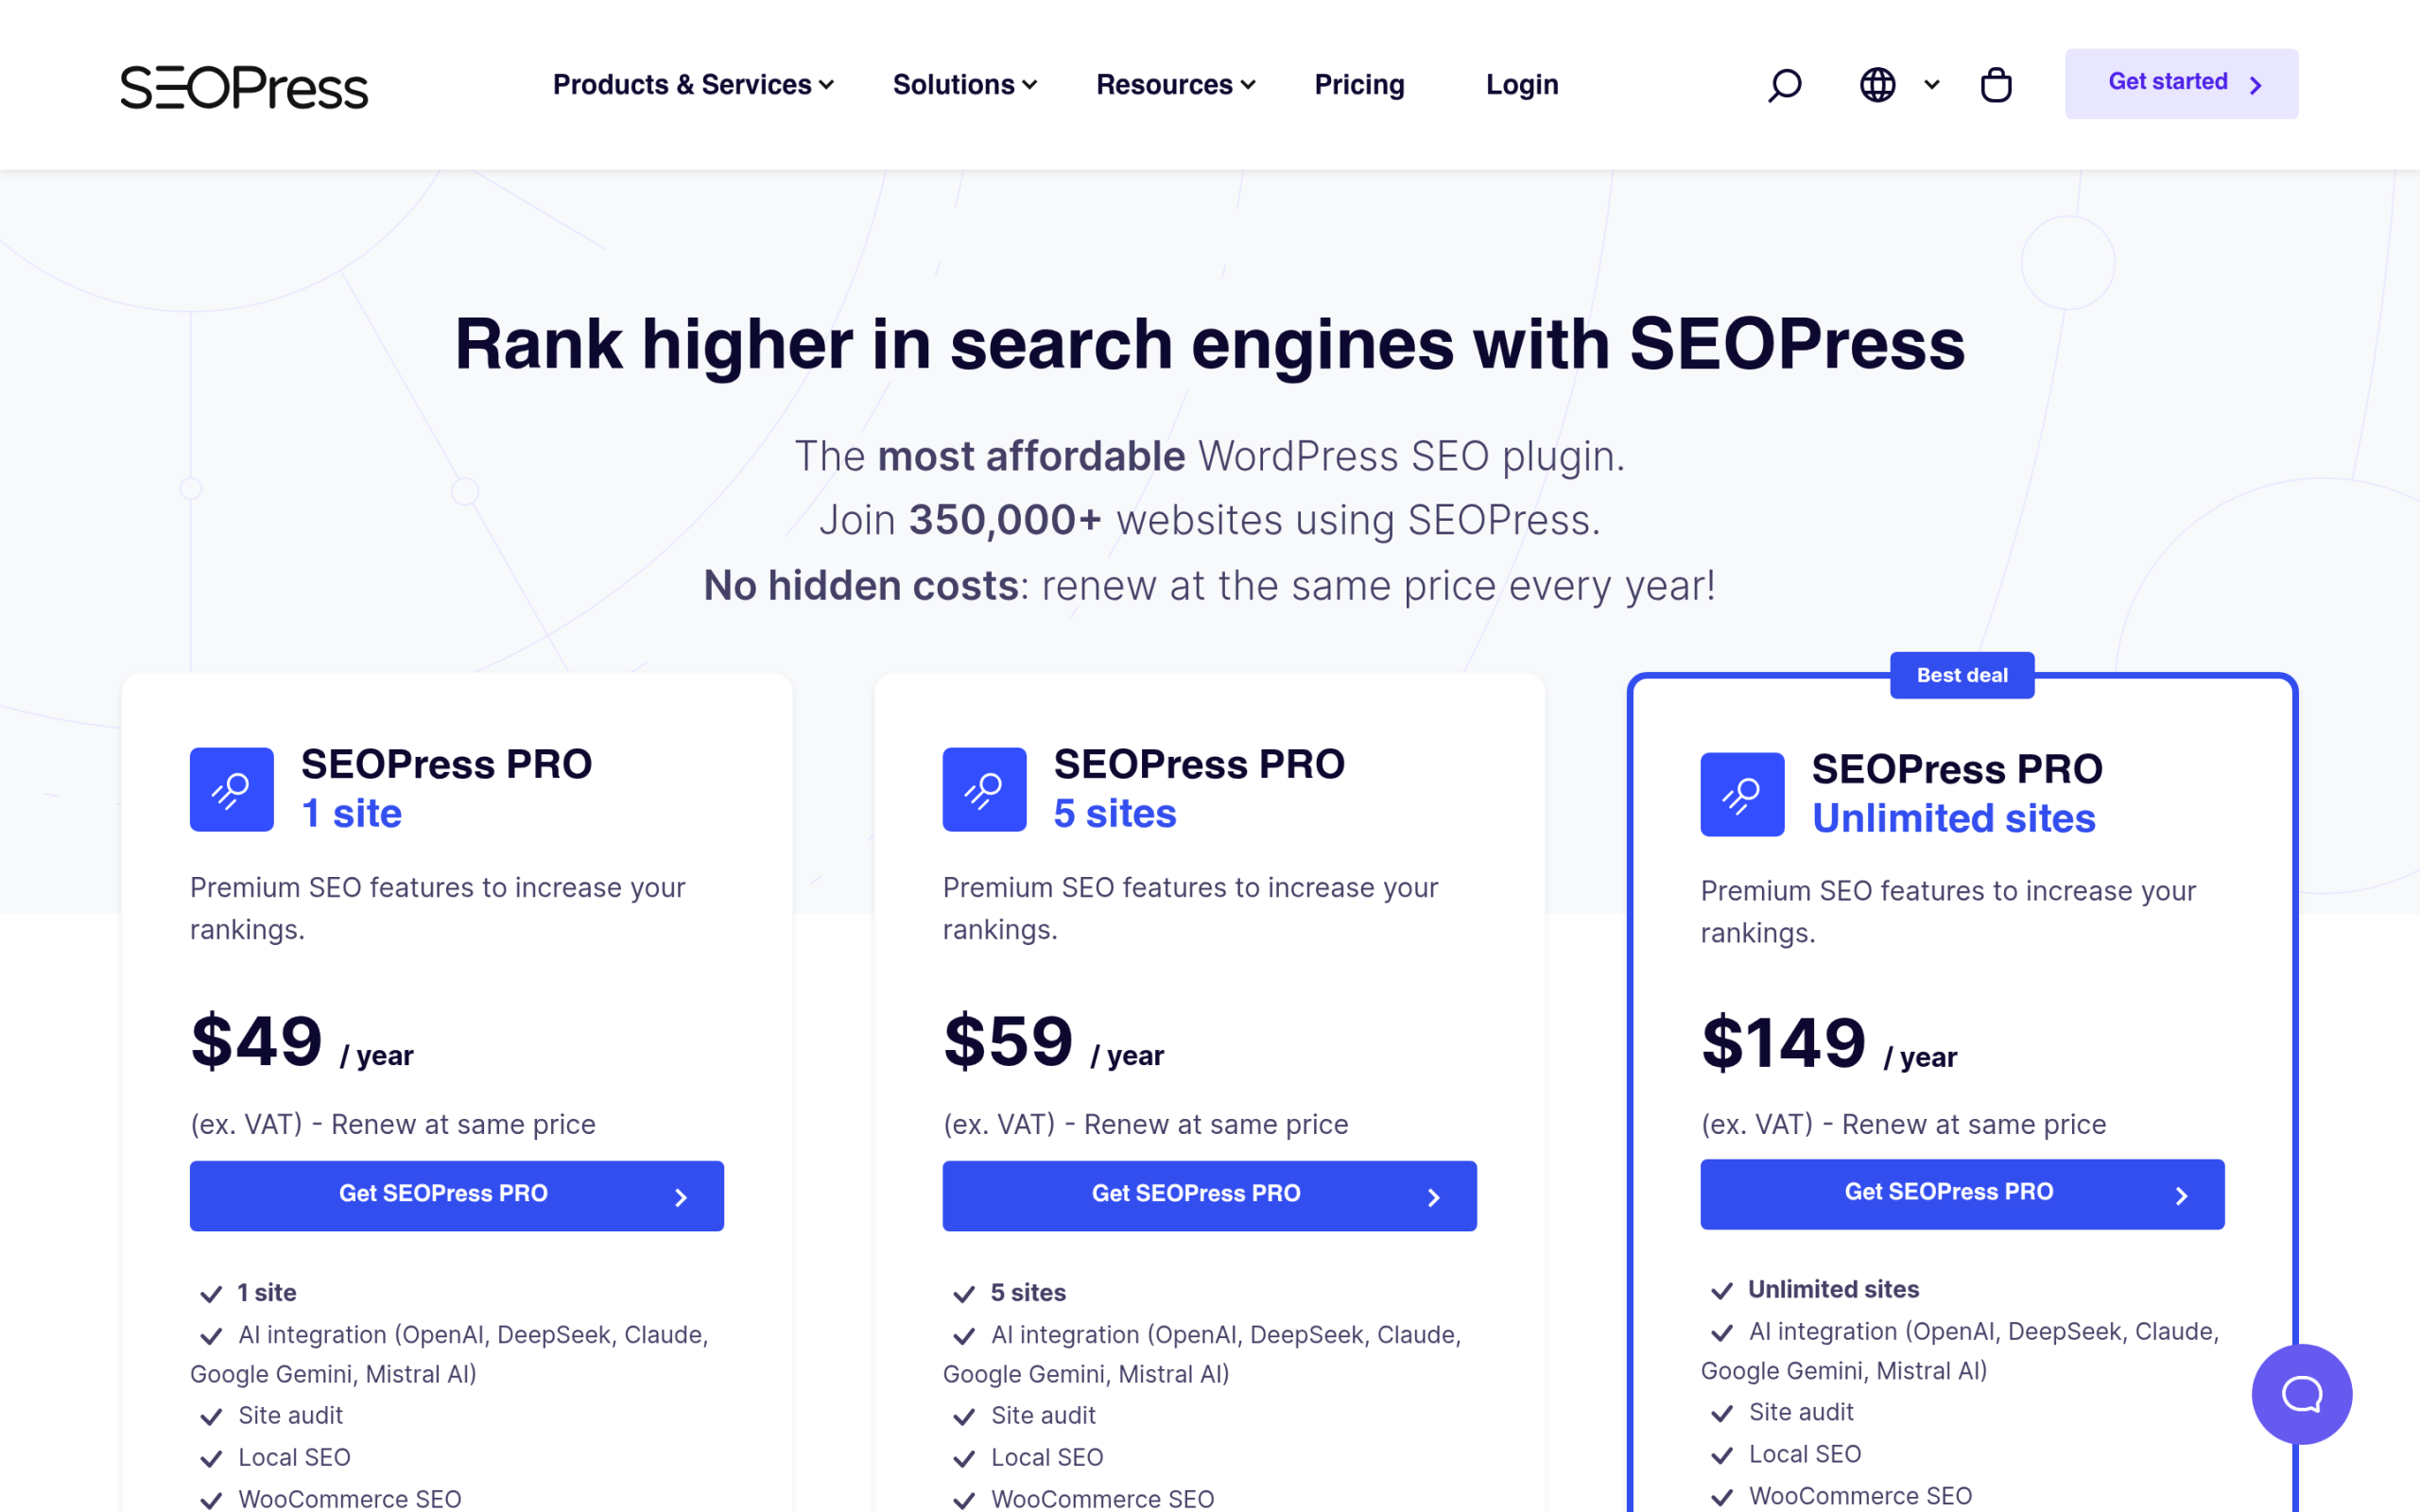SEOPress pricing: free to start, PRO from $49 per year. Source: seopress.org/pricing. ## Do they conflict if you run both? No, and this is the part that makes the decision easy. RankReady is documented to work alongside SEOPress, Rank Math, Yoast, AIOSEO, The SEO Framework, and Slim SEO. It merges into your existing schema graph rather than emitting a second, duplicate set of structured data, which is the usual failure mode when two SEO plugins run together. So the practical stack for most WordPress sites in 2026 is: keep SEOPress for titles, meta, sitemaps, and redirects, and add RankReady for crawler control, llms.txt, AI schema, and citation measurement. They cover different layers, and neither steps on the other. ## Which should you choose? - **You want one plugin for classic on-page SEO:** SEOPress. It is mature, fairly priced, and covers everything Google ranking needs.- **You already have an SEO plugin and want AI visibility:** add RankReady. It fills the AEO gap your current plugin leaves open, and it is free.- **You are starting fresh and care about both:** install SEOPress (or any traditional plugin) plus RankReady. That is the most complete setup, and it costs no more than the SEO plugin alone.- **You only care about being cited by AI, not Google rankings:** RankReady on its own gets you most of the way, though pairing it with a basic SEO plugin is still worth it. ## The verdict SEOPress versus RankReady is the wrong frame, and that is the honest takeaway. SEOPress wins traditional SEO because that is what it is for. RankReady wins answer engine optimization because that is what it is for. The client from the start of this post did not have an SEOPress problem. They had a missing layer: nothing on their site was built to be fetched, understood, and cited by an AI engine. Adding RankReady fixed that without touching their existing SEO. If your traffic still comes mostly from Google, keep doing traditional SEO well. But ChatGPT, Perplexity, and Google AI Overviews are now a real discovery channel, and they read your site differently than Googlebot does. The free move is to add the AEO layer and start measuring whether the machines can see you. [Get RankReady free →](https://store.posimyth.com/plugins/rankready/) ## Suggested Reading - [Rank Math vs RankReady](https://qa.nexterwp.com/blog/rank-math-vs-rankready/): the same comparison with Rank Math as the traditional plugin.- [5 Best WordPress SEO Plugins Using AI](https://qa.nexterwp.com/blog/best-wordpress-seo-plugins-using-ai/): where SEOPress and RankReady sit in the wider field.- [Answer Engine Optimization for WordPress](https://qa.nexterwp.com/blog/answer-engine-optimization-wordpress/): the full AEO method, step by step.- [llms.txt for Gutenberg WordPress](https://qa.nexterwp.com/blog/llms-txt-gutenberg-wordpress/): how the llms.txt file actually helps AI engines.- [What Is Topical Authority](https://qa.nexterwp.com/blog/topical-authority-wordpress/): the content-coverage side of getting cited. --- # How to Track Google AI Overviews and AI Citations for Your WordPress Site Source: https://qa.nexterwp.com/blog/ai-overview-tracking-wordpress/ #### Key Takeaways - "AI Overview tracking" is really two jobs: watching whether your keywords trigger an AI Overview in the **SERP**, and measuring AI-driven visibility to **your site**. Different tools solve each.- SERP-level AI Overview position tracking is a rank-tracker job. Tools like Semrush, Ahrefs, and SE Ranking added it; Search Console does not break AI Overviews into their own report.- The blind spot most people miss: AI **referral traffic**. Visits from ChatGPT, Perplexity, and Gemini get buried in analytics unless you look for them on purpose.- On WordPress you can track the site-side signals for free: which AI bots crawled you, which posts they fetched as citation candidates, and how much traffic each AI engine sent. Last quarter a site owner told me his traffic was flat and he was thinking about cutting content. His Search Console clicks had not moved in months. Then we opened his analytics referral report and filtered for AI domains, and there it was: a slow, steady climb in visits from chatgpt.com and perplexity.ai that nothing in his main dashboard had surfaced. He was being cited more, not less. He just had no way to see it. That is the problem with AI Overview tracking right now. The tools that track it well are expensive, the free dashboards bury the signal, and most people are measuring the wrong half of it. This guide separates the two jobs hiding inside that one phrase, names the right tool for each, and shows you how to track the site-side numbers for free on WordPress. ## What "AI Overview tracking" actually means (it is two jobs) People type "AI overview tracking" wanting one tool, but they are usually asking two different questions: - **SERP-level:** When someone searches my keyword, does Google show an AI Overview, and is my site cited inside it? This is about the search results page.- **Site-level:** Are AI engines actually crawling, citing, and sending traffic to my site? This is about your own logs and analytics. No single tool does both well. The first is a rank-tracking problem. The second is a server-and-analytics problem. Mixing them up is why people pay for a tool that answers one question and wonder why it never answers the other. ## Tracking AI Overview presence in the SERP If your question is "does my keyword trigger an AI Overview and am I in it," you need a rank tracker that monitors AI Overviews specifically. The major SEO platforms, Semrush, Ahrefs, and SE Ranking among them, have added AI Overview tracking that flags which of your tracked keywords show an AI Overview and whether your domain appears as a source. This is the right tool for that job, and it is a paid one. What about Google Search Console? It is your free baseline for clicks and impressions, and you should watch it. But it does not isolate AI Overviews into their own report. You cannot tell from Search Console alone whether an AI Overview is sending you clicks or quietly eating them, because those impressions sit inside your normal Search performance. Use Search Console to spot a query where impressions hold steady while clicks drop, then investigate that query by hand. 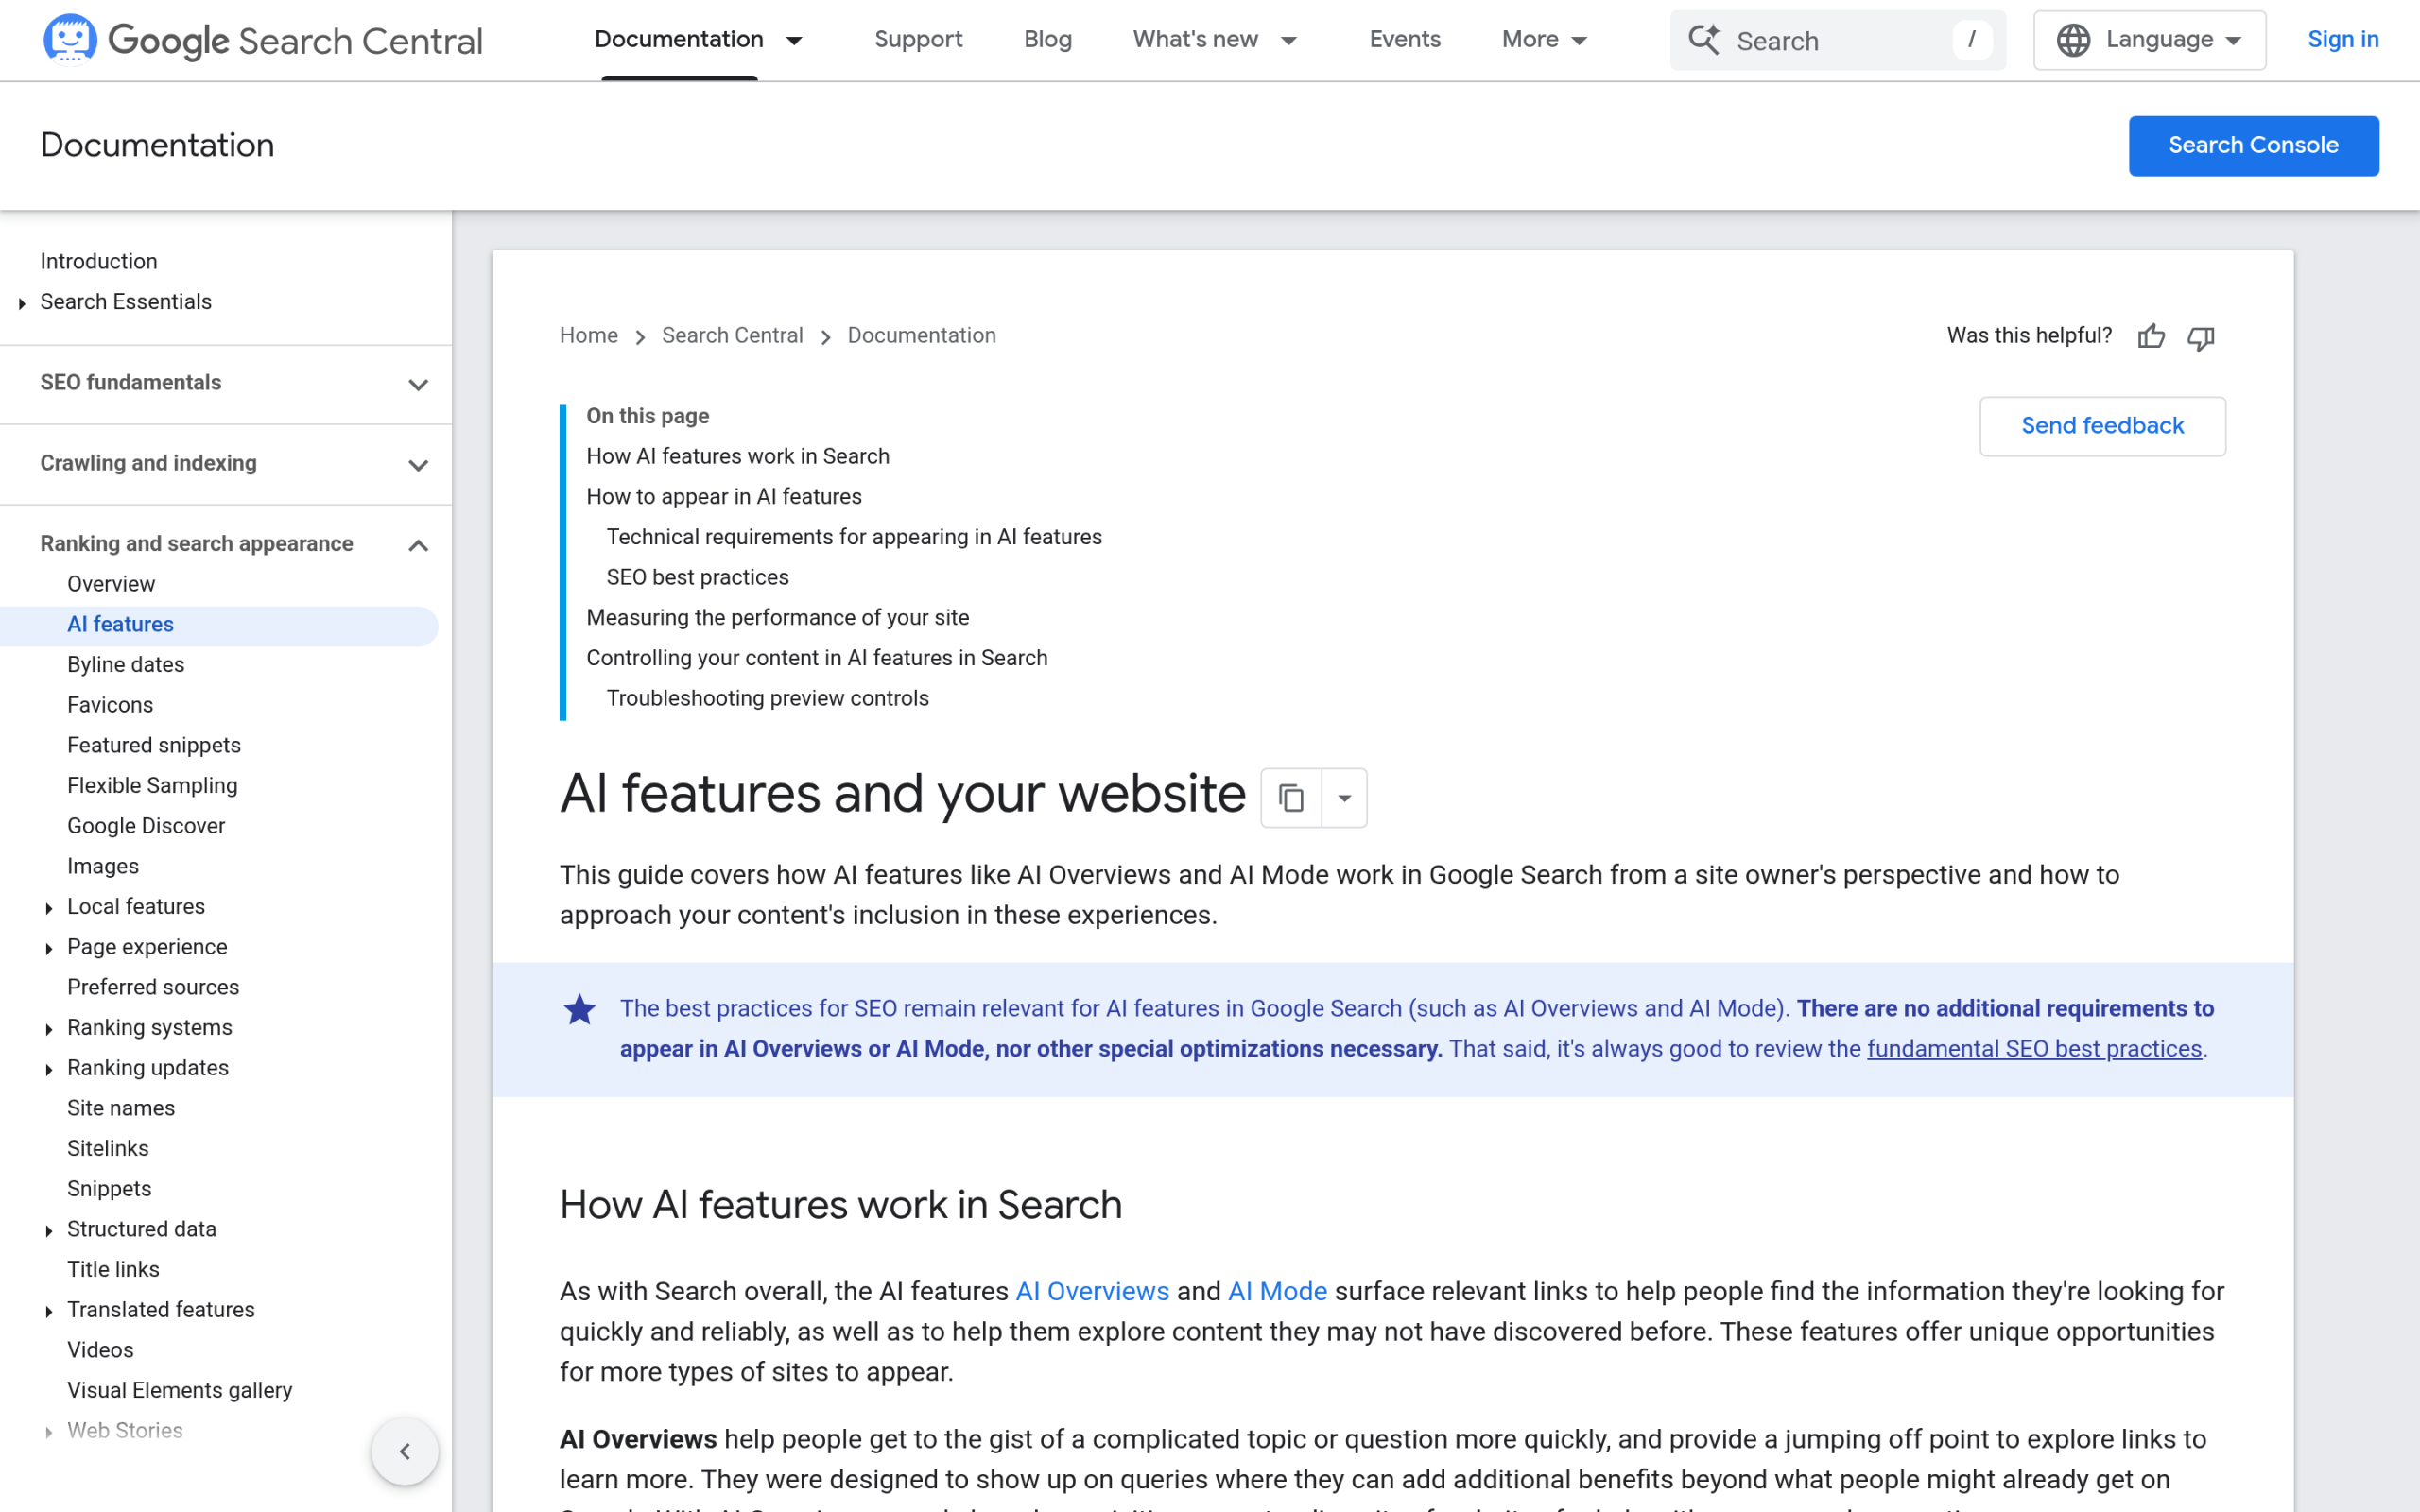Google's own documentation on how AI features in Search work, the starting point for understanding what an AI Overview pulls from. ***Also Read:** [Answer engine optimization for WordPress](https://qa.nexterwp.com/blog/answer-engine-optimization-wordpress/), the full method for getting your content into AI answers in the first place.* ## The blind spot: AI referral traffic Here is the half almost nobody tracks. When an AI engine cites you and a reader clicks through, that visit shows up in your analytics as a referral from a domain like chatgpt.com or perplexity.ai. The catch is that these referrals are small at first and scattered across several domains, so they drown in your overall referral report. By default GA4 will not tell you "you got 40 visits from AI engines this month." You have to go looking. The engines worth watching as referral sources right now are chatgpt.com, perplexity.ai, claude.ai, gemini.google.com, and copilot.microsoft.com. Together they are the clearest proof that AI search is sending you real humans, not just crawling you. The problem is that watching them by hand, across five domains, every month, is exactly the kind of task that gets dropped. ## Tracking it free inside WordPress with RankReady This is where a WordPress-native tool earns its place. [RankReady](https://store.posimyth.com/plugins/rankready/) is free, forever, under a GPL-2.0-or-later license (WordPress 6.0+, PHP 7.4+), and its tracking features are free and unlimited with no API key required. It does not track AI Overview position in the SERP, that is still a rank-tracker's job, but it tracks the site-side signals those tools cannot see: - **Live AI crawler log.** Every time an AI bot hits your site you see it: timestamp, page, and bot name. It identifies GPTBot, ClaudeBot, PerplexityBot, and 28 others, 31 crawlers in total. This is your leading indicator, because a bot crawling you is the step before it can cite you.- **Citation candidates.** A 30-day leaderboard of your own posts that citation-style bots fetched, which tells you which content AI assistants most likely used when composing answers.- **AI referral traffic.** It counts the visits coming in from chatgpt.com, perplexity.ai, claude.ai, gemini.google.com, and copilot.microsoft.com, so the blind spot above becomes a single number you actually see.- **Per-post readiness score.** Every post gets a 0 to 100 score based on schema, freshness, content depth, and author signals, with fixes attached.- **Agentic readiness scorecard.** One percentage for how AI-ready your whole site is, broken into 22 specific signals, each with a fix. It runs alongside Rank Math, Yoast, or AIOSEO without conflicts, so you keep your existing SEO setup and add the AI measurement layer on top. For controlling which of those 31 bots you allow in the first place, pair it with our guide on [AI crawlers in your robots.txt](https://qa.nexterwp.com/blog/wordpress-robots-txt-ai-crawlers-gutenberg/). RankReady tracks the site-side signals a rank tracker cannot see: which AI bots crawled you, which posts they fetched, and how much each AI engine referred. ## Build your AI visibility dashboard Put the pieces together and each metric answers a specific question: | Question | Where to look | | -------- | ------------- | | Does my keyword show an AI Overview, and am I cited? | Rank tracker (Semrush / Ahrefs / SE Ranking) | | Are AI bots even crawling my pages? | AI crawler log (RankReady) | | Which of my posts are AI engines fetching most? | Citation candidates (RankReady) | | Is AI search sending me real visitors? | AI referral traffic (RankReady) or a GA4 referral segment | | Is this specific post ready to be cited? | Per-post readiness score (RankReady) | AI Overview tracking is several questions, not one. Each row needs a different place to look. ***Also Read:** [Multilingual SEO for WordPress](https://qa.nexterwp.com/blog/multilingual-seo-wordpress/), because if you run more than one language, each one is its own AI citation opportunity to track.* ## What to do when the numbers move Tracking only matters if it changes what you do. A few common patterns and the response each one calls for: - **Bots crawl you but you see no citation candidates.** The content is reachable but not quote-worthy. Tighten your answers, add structured data, and raise the per-post readiness score.- **Citation candidates climb but referral traffic stays flat.** You are being used to compose answers without a click-through. That is normal for AI search; measure it as brand exposure, not just sessions.- **Referrals arrive but nobody converts.** AI traffic often lands deep in a topic. Make sure cited posts have a clear next step, not just an exit.- **Readiness score is high but bots never visit.** Check that your robots rules and any firewall actually allow the AI crawlers in. A perfect page no bot can reach is invisible. ## Common AI Overview tracking mistakes - **Expecting one tool to do both jobs.** SERP tracking and site-side measurement are separate. Use the right one for each question.- **Treating Search Console as an AI Overview report.** It is a baseline, not an AI Overview tracker.- **Ignoring referral traffic.** The clearest proof AI search is working for you is the one most people never check.- **Only measuring English.** If you run multiple languages, track AI visibility per language, not just on your main locale.- **Tracking without acting.** A dashboard you never respond to is a vanity exercise. AI search is still early, which is exactly why tracking it now is worth doing. The sites that can already see which engines crawl them, which posts get fetched, and how much traffic each AI source sends will be the ones that know what to double down on while everyone else is still guessing. ## Suggested Reading - [Answer engine optimization for WordPress: the complete guide](https://qa.nexterwp.com/blog/answer-engine-optimization-wordpress/)- [How to control AI crawlers in your WordPress robots.txt](https://qa.nexterwp.com/blog/wordpress-robots-txt-ai-crawlers-gutenberg/)- [How to add an LLMs.txt file in WordPress](https://qa.nexterwp.com/blog/llms-txt-gutenberg-wordpress/)- [How to add schema markup in WordPress](https://qa.nexterwp.com/blog/schema-markup-generator-wordpress/)- [Multilingual SEO for WordPress](https://qa.nexterwp.com/blog/multilingual-seo-wordpress/) --- # Multilingual SEO for WordPress: The Complete Guide (+ the AI Layer Everyone Skips) Source: https://qa.nexterwp.com/blog/multilingual-seo-wordpress/ #### Key Takeaways - Multilingual SEO targets users by **language**; multi-regional SEO targets them by **country**. Most WordPress sites confuse the two and ship the wrong URL structure.- hreflang is where most sites break. Google ignores the tags entirely unless every language version links back to every other version, including itself.- Machine-translated pages with no localized keyword research read as thin content. Translate the intent, not just the words.- The layer nobody covers: getting your translated content **cited by AI search engines** in each language. A per-language LLMs.txt, localized schema, and open AI-crawler access decide whether ChatGPT or Google AI Overviews quote your German page or a competitor's. A few months back I watched a WordPress site I was helping rank on page one for its main keyword in five languages. English, German, Spanish, French, Dutch. The owner was thrilled. Then we asked ChatGPT and Google's AI Overview the same question in German that the site already ranked for, and the answer cited a competitor who ranked below them. In every language except English, the AI engines acted as if the site did not exist. That is the gap in almost every multilingual SEO guide you will read. They teach you hreflang, URL structure, and translation, which still matter. But they stop at the blue link. In 2026 a growing share of multilingual searches end in an AI answer, and ranking in a language is not the same as being quoted in it. This guide covers the fundamentals properly, then the part everyone skips. ## Multilingual SEO vs multi-regional SEO (clear this up first) These two terms get used interchangeably, and that single confusion is behind most broken international setups. They are not the same thing. - **Multilingual SEO** serves the same content in more than one language. A recipe site offering its pages in English and Spanish is multilingual. The split is by *language*.- **Multi-regional SEO** targets users in different countries, who may speak the same language. A US store and a UK store both selling in English is multi-regional. The split is by *country*. Plenty of sites are both at once: a Swiss site might serve German, French, and Italian to one country. Decide which problem you are actually solving before you touch URL structure, because the answer changes what you build. ## URL structure: subdirectory vs subdomain vs ccTLD You have three honest ways to organize language versions on WordPress. There is no single right answer, only trade-offs. | Structure | Example | Best for | Trade-off | | --------- | ------- | -------- | --------- | | Subdirectory | example.com/de/ | Most WordPress sites | Inherits the root domain's authority; easiest to manage with one install | | Subdomain | de.example.com | Separate hosting or teams per language | Treated more like a separate site; authority is harder to consolidate | | ccTLD | example.de | Strong country-level commitment and budget | Strongest geo signal, highest cost and maintenance | The three URL structures for multilingual WordPress sites and when each makes sense. For the majority of WordPress sites, the subdirectory approach wins. It keeps every language under one domain, so the link equity your English pages earn supports your German and Spanish pages too. Translation plugins like WPML and Polylang default to this for good reason. If you are still choosing a stack, our roundup of the [best WordPress translation plugins for multilingual sites](https://qa.nexterwp.com/blog/best-wordpress-translation-plugins-for-multilingual-sites/) walks through how each one handles structure. ## hreflang done right (this is where most sites break) hreflang is the annotation that tells Google which language and region a page is for, so it serves the German page to German searchers instead of the English one. It is also the single most common point of failure on multilingual WordPress sites. Google supports three ways to declare it, and treats them as equivalent, so pick one rather than mixing all three: HTML link tags in the head, HTTP headers, or sitemap entries. The HTML method looks like this: ` ` Three rules from Google's own documentation decide whether this works at all: - **Return links are mandatory.** Google is explicit: "If two pages don't both point to each other, the tags will be ignored." Every version must reference all other versions, including itself. One missing back-link silently kills the whole set.- **Use the correct code format.** The language code follows ISO 639-1, with an optional region code in ISO 3166-1 Alpha 2 format, like `en-GB`, `de`, or `zh-Hans`. A made-up code is ignored.- **Always include x-default.** Google reserves `x-default` for users whose browser language matches none of your versions. It is the fallback that keeps a French speaker from landing on your German page. The good news for WordPress: WPML and Polylang generate hreflang for you, including return links and x-default. The catch is that custom code, page builders, or aggressive caching can strip or duplicate those tags, so verify them on the live page, not just in the plugin settings. 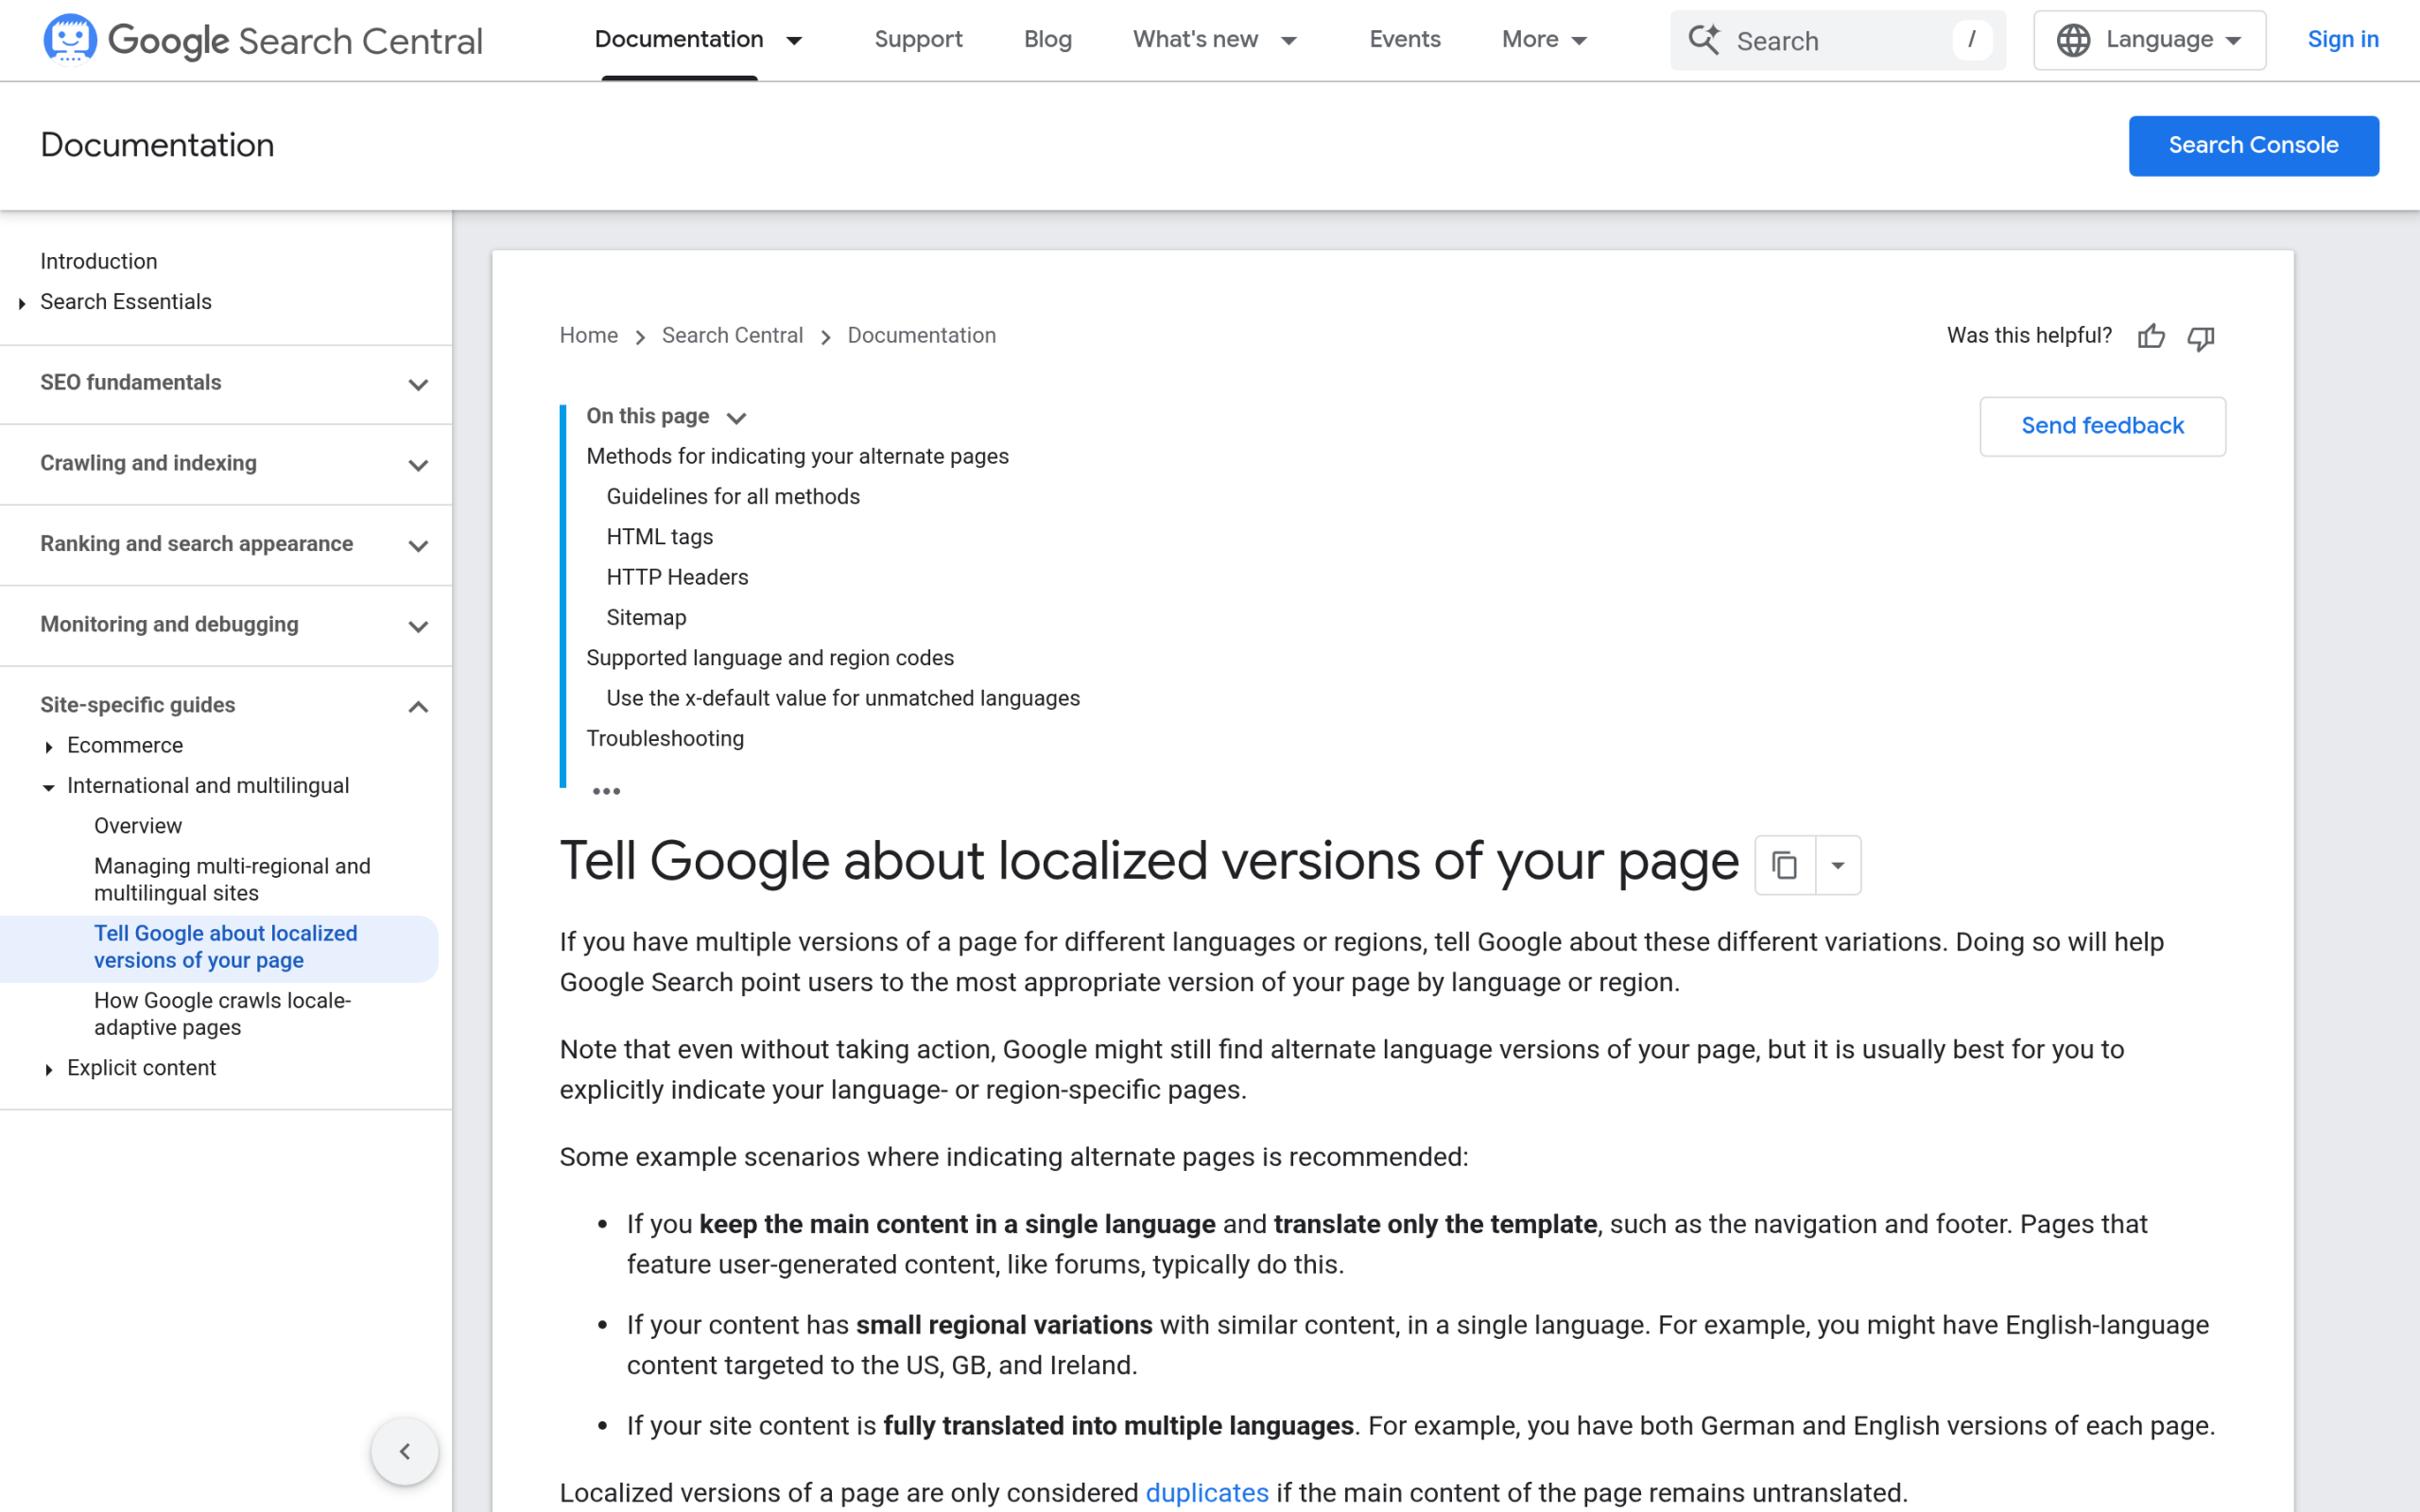Google's own documentation confirms hreflang return links are mandatory: if two pages don't both point to each other, the tags are ignored. ***Also Read:** [How to add schema markup in WordPress](https://qa.nexterwp.com/blog/schema-markup-generator-wordpress/), because translated structured data is what lets each language version qualify for rich results and AI answers.* ## Translated content is not duplicate content (if you do it right) A common fear is that publishing the same article in five languages triggers a duplicate content penalty. It does not. Google understands that a German translation of an English page is a different page for a different audience, and hreflang reinforces that. The real risk is different: thin, low-quality translation. Raw machine translation with no human review reads as exactly what it is, and search engines have gotten good at spotting it. Two habits keep translated pages strong: - **Translate intent, not words.** A phrase that converts in English can fall flat or sound robotic in Japanese. Have a native speaker review anything that matters.- **Do localized keyword research.** Your German audience may not search the literal translation of your English keyword. Run keyword research per language, because search demand and phrasing shift across markets. Machine translation is a fine first draft. Treat it as a starting point a human finishes, not a publish-ready output. ## Multilingual sitemaps and indexing on WordPress Once your languages are live, Google needs to find every version. A few WordPress-specific points: - Submit one sitemap that includes every language URL. WPML and Polylang add language paths to the sitemap your SEO plugin generates automatically.- You can declare hreflang directly inside the sitemap instead of in the page head, which is cleaner for large sites with many languages.- Do not auto-redirect users by IP address or browser language. Google's crawler usually presents as US-English, so an aggressive redirect can hide your other languages from it entirely. Offer a language switcher instead and let users choose. If you build on a block theme, this stays straightforward. Nexter works with the standard WordPress sitemap and the major SEO plugins, so your translated pages flow into the same indexing pipeline as everything else. ## The AI layer everyone skips: multilingual answer engine optimization Here is the part the Ahrefs and Semrush guides leave out. Ranking your German page in Google's blue links is only half the job now. The other half is whether ChatGPT, Perplexity, and Google's AI Overviews *cite* that page when someone asks a question in German. Those are different systems with different inputs, and a page can win one while losing the other. Three things decide whether your translated content gets quoted by AI engines in each language: - **AI crawlers can actually reach every language path.** If your robots rules or a firewall block AI bots, your translations are invisible to them no matter how well they rank. Our guide to [controlling AI crawlers in your robots.txt](https://qa.nexterwp.com/blog/wordpress-robots-txt-ai-crawlers-gutenberg/) covers which bots to allow.- **Structured data exists in each language.** Schema in German, with the language declared, helps an AI engine understand and attribute the German page rather than defaulting to your English one.- **A machine-readable copy of each translation exists.** An LLMs.txt file and a clean Markdown version of each page give AI models a low-friction way to read and quote your content per language. This is exactly the layer [RankReady](https://store.posimyth.com/plugins/rankready/) handles, and it is free, forever, under a GPL-2.0-or-later license (WordPress 6.0+, PHP 7.4+). It generates LLMs.txt and LLMs-full.txt, publishes a Markdown copy of every post, manages 31 AI crawlers in one screen, and outputs Article, Speakable, FAQPage, HowTo, and ItemList schema. Each translated post gets its own per-post readiness score, so you can see at a glance which of your German or Spanish pages are actually ready to be cited and which are not. It runs alongside Rank Math, Yoast, or AIOSEO without conflicts, so it adds the AI layer on top of the traditional SEO you already do. RankReady adds the AI layer per language: LLMs.txt, a Markdown copy of every post, 31 AI crawlers in one screen, and a per-post readiness score. The point is simple. In a multilingual setup, every language is a separate citation opportunity, and most sites only optimize the AI layer for English by accident. Treat each language as its own AEO target. For the full method, see our pillar on [answer engine optimization for WordPress](https://qa.nexterwp.com/blog/answer-engine-optimization-wordpress/). ***Also Read:** [How to add an LLMs.txt file in WordPress](https://qa.nexterwp.com/blog/llms-txt-gutenberg-wordpress/), the file that tells AI models how to read each of your language versions.* ## Common multilingual SEO mistakes on WordPress - **Auto-redirecting by IP or browser language.** It frustrates users and can hide languages from Google's crawler. Use a switcher.- **Missing x-default.** Without it, unmatched visitors get a guess instead of a sensible fallback.- **Mixed-language pages.** An English page with a German sidebar and Spanish footer confuses both users and crawlers. Keep each page in one language.- **Forgetting to translate metadata.** Titles, descriptions, alt text, and slugs all need translating, not just the body copy.- **Optimizing only English for AI.** The mistake that started this article. Schema, LLMs.txt, and crawler access need to exist for every language. ## A practical multilingual SEO checklist - Decide: multilingual, multi-regional, or both.- Pick a URL structure (subdirectory for most WordPress sites).- Install a translation plugin (WPML or Polylang) and set hreflang with return links and x-default.- Verify hreflang on the live page, not just in plugin settings.- Do localized keyword research per language; have a native speaker review translations.- Translate metadata, alt text, and slugs.- Submit one sitemap covering every language; remove IP-based auto-redirects.- Add the AI layer per language: localized schema, LLMs.txt, open AI-crawler access, and a per-language readiness check. Get the first seven right and you will rank across languages. Add the eighth and you get cited across them too, which is increasingly where the traffic that converts actually comes from. ## Suggested Reading - [Best WordPress translation plugins for multilingual sites](https://qa.nexterwp.com/blog/best-wordpress-translation-plugins-for-multilingual-sites/)- [Answer engine optimization for WordPress: the complete guide](https://qa.nexterwp.com/blog/answer-engine-optimization-wordpress/)- [How to add schema markup in WordPress](https://qa.nexterwp.com/blog/schema-markup-generator-wordpress/)- [How to control AI crawlers in your WordPress robots.txt](https://qa.nexterwp.com/blog/wordpress-robots-txt-ai-crawlers-gutenberg/)- [How to build topical authority in WordPress](https://qa.nexterwp.com/blog/topical-authority-wordpress/) --- # Avada Theme Review 2026: Is It Worth It? Source: https://qa.nexterwp.com/blog/avada-theme-review/ A client handed me a three-year-old Avada site last year and asked one question: why does it take almost four seconds to load? The site looked great. Someone had clearly spent real time in Fusion Builder. But every page was carrying a stack of CSS and JavaScript, and the previous developer had built everything with Avada's own shortcodes, so moving off the theme was not a quick job. That site is the reason I wanted to write an honest Avada theme review instead of another list of features copied from the sales page. Avada is not a bad theme. It is one of the most capable products you can buy, and the numbers back that up. The question is not whether Avada is good. It is whether Avada is the right fit for your project, your skill level, and the kind of site you want to maintain two years from now. This review walks through what Avada does well, where it costs you, what it actually charges, and who should pick something lighter instead. ## What is the Avada Theme? Avada leans on its track record: over 1 million users and the number one selling spot on ThemeForest for more than 13 years. Source: avada.com Avada is a multipurpose WordPress theme built by ThemeFusion and sold on Envato's ThemeForest marketplace. ThemeFusion describes it as the number one selling website builder on ThemeForest for more than 13 years, and the homepage reports over 1,063,740 users and more than 26,569 average five-star reviews. Whatever you think of the theme, that is a track record almost no other product can match. Instead of relying on Gutenberg or a third-party page builder, Avada runs on its own Fusion Builder, a front-end drag-and-drop editor that ThemeFusion calls the Live Visual Builder. Around it sits a full set of site-building tools: a layout builder, header and footer builders, a form builder, a mega menu builder, and an off-canvas builder, plus Setup and Performance wizards to guide configuration. The package also includes 120+ design elements, 113 prebuilt websites you can import as starting points, the Avada Studio library of 639+ prebuilt content sections, and six premium plugins bundled in at no extra cost. In short, Avada tries to be everything in one purchase: the theme, the builder, the templates, and the extras. That ambition is its biggest strength and the root of its trade-offs. If you are still deciding on a direction, our guide on [how to choose a WordPress theme](https://qa.nexterwp.com/blog/how-to-choose-a-wordpress-theme/) is a useful companion to this review. ## Avada Pricing: Is $69 the Whole Story? 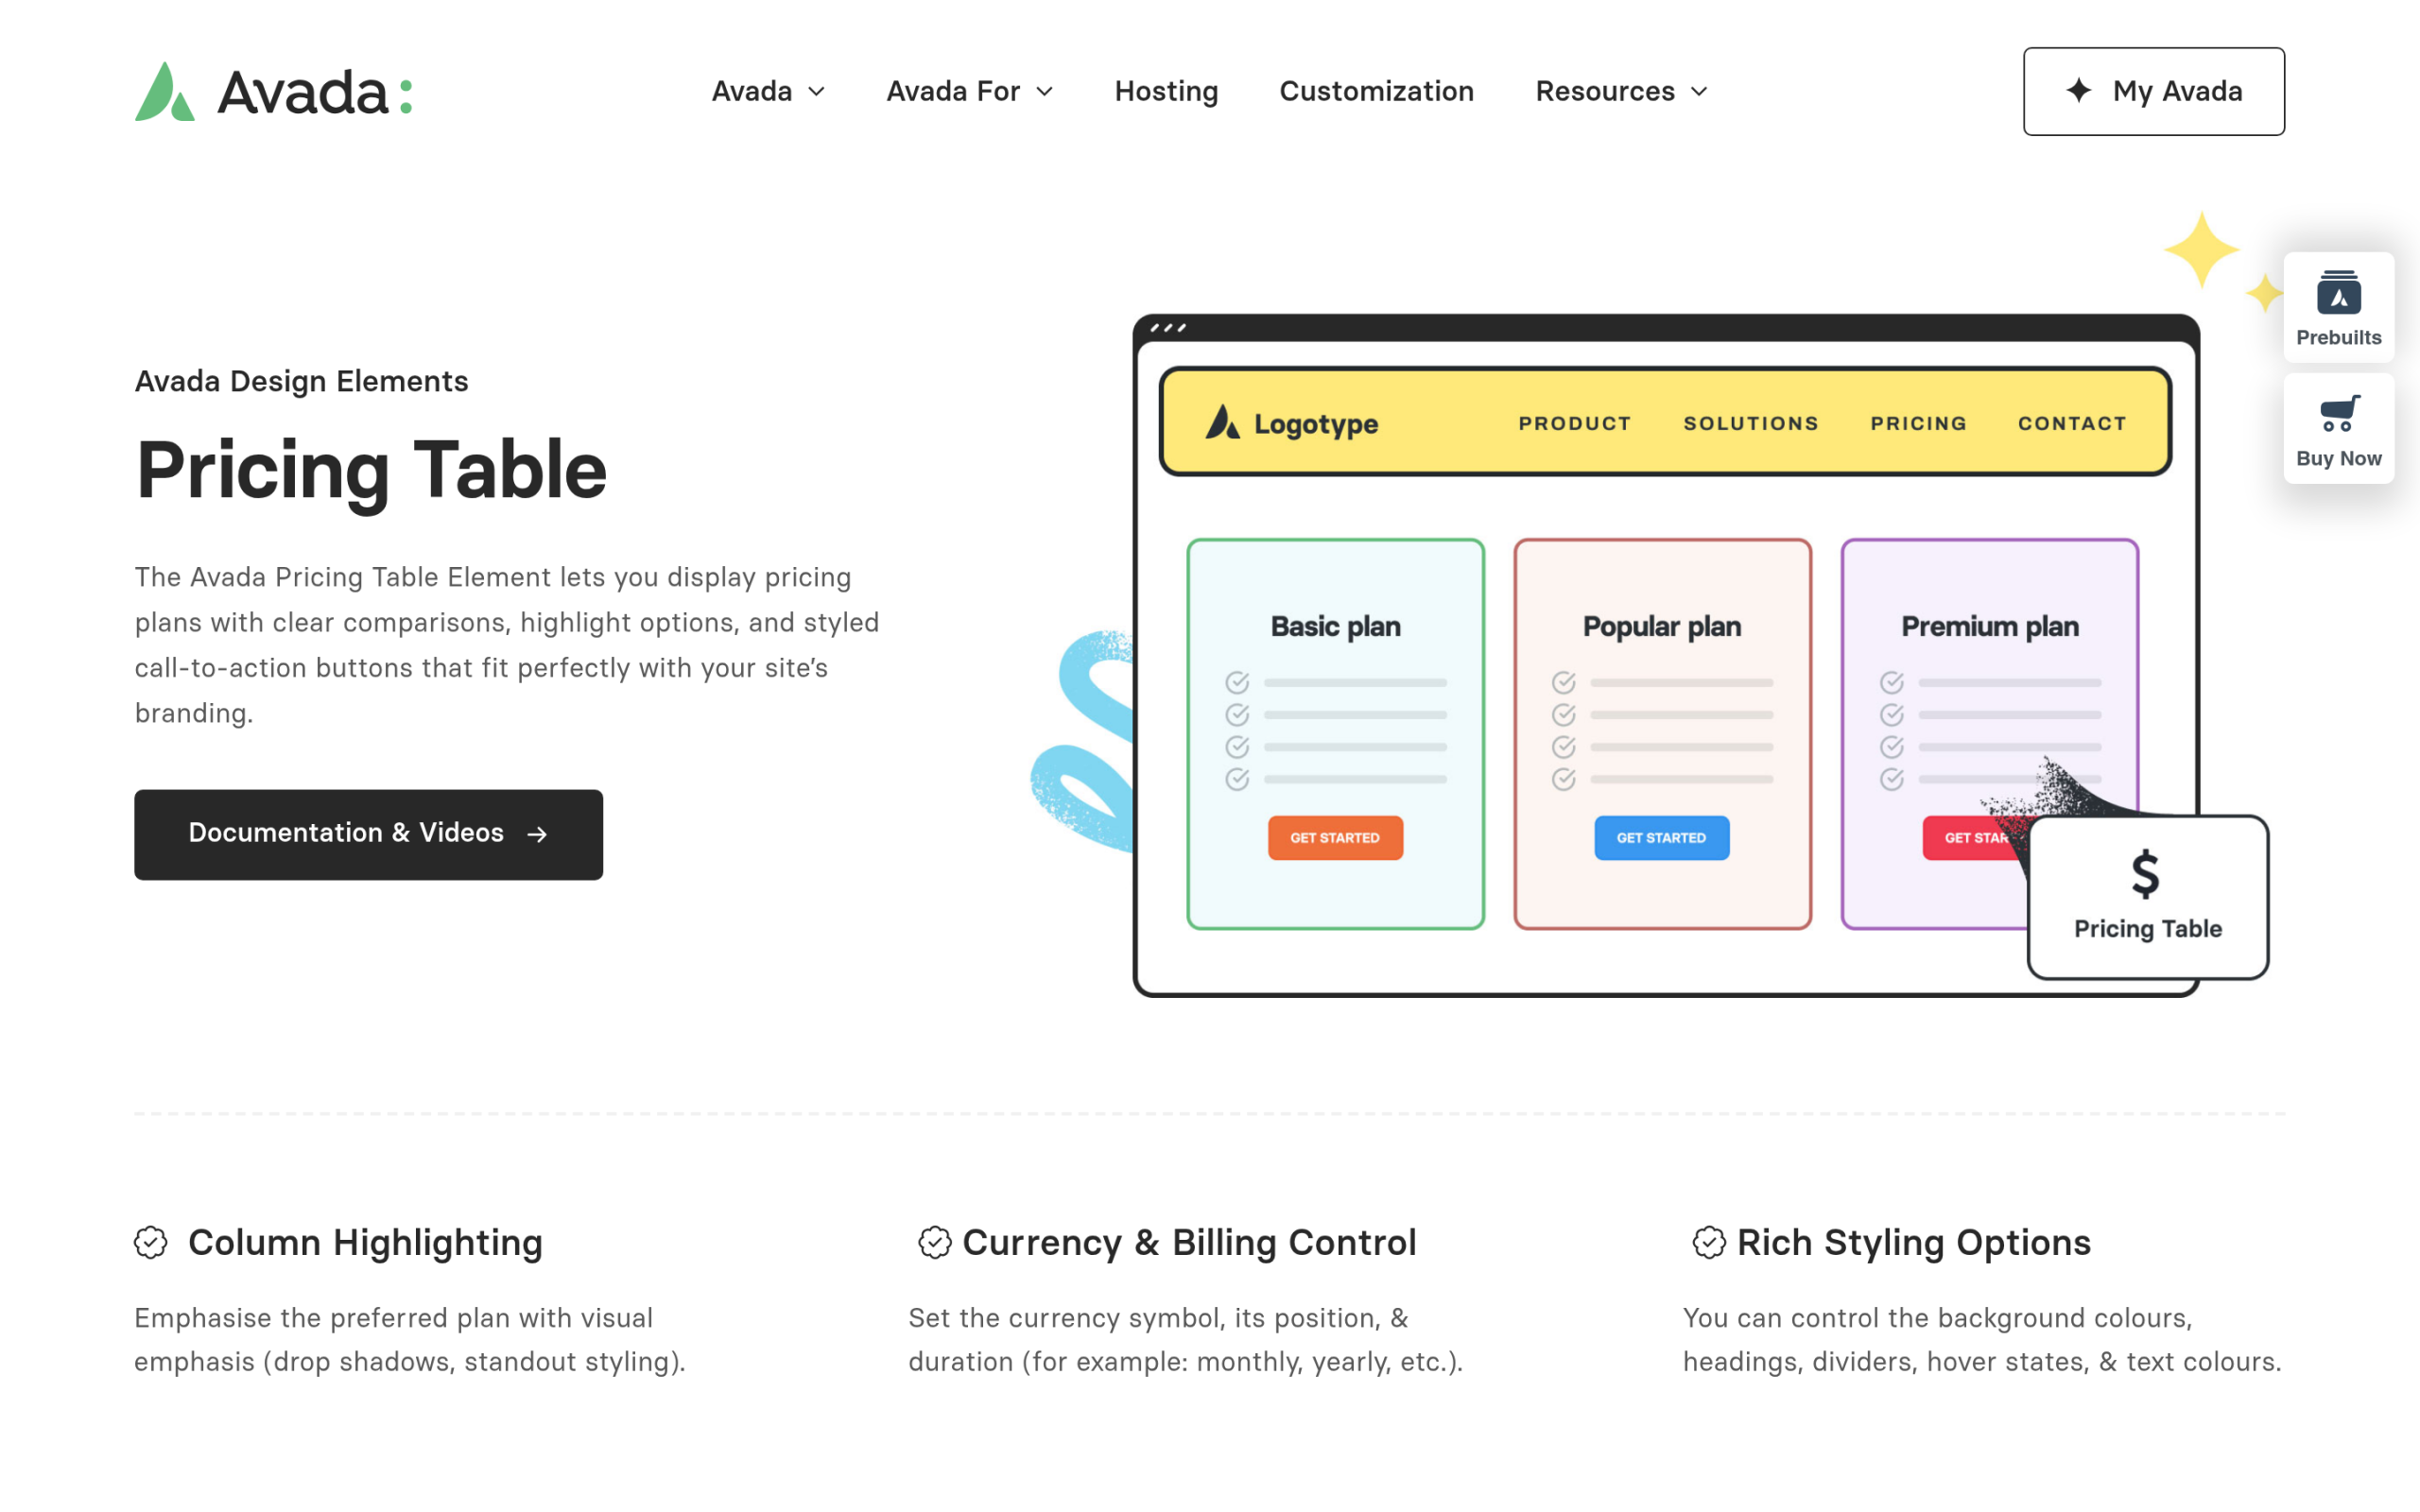Avada is a one-time $69 purchase through Envato Market, not a recurring subscription. Source: avada.com/pricing Avada costs a one-time $69 through Envato Market. For a theme that bundles a builder, 113 prebuilt websites, and six premium plugins, that is honestly hard to beat on paper, and the one-time model means no yearly renewal hanging over you. Most subscription themes ask for a similar amount every single year. The part that surprises some buyers comes after checkout. You register your purchase with a token to unlock automatic updates and the bundled premium plugins, and Envato's standard license covers a set support window rather than open-ended help. None of this is hidden, but it is worth knowing before you treat $69 as a buy-once-forget-forever cost. If you are weighing a one-time marketplace theme against an annually updated product, our breakdown of [free vs premium WordPress themes](https://qa.nexterwp.com/blog/reasons-why-you-should-invest-in-premium-wordpress-themes/) covers the longer-term math. ## What Avada Does Well - **A genuine all-in-one package.** The theme, Fusion Builder, prebuilt sites, and six bundled plugins mean you can build a complete site without assembling a stack of separate purchases. - **Front-end visual building.** Fusion Builder lets you edit layouts live on the page, with header, footer, mega menu, and off-canvas builders for full control over the site frame. - **Fast starts from 113 prebuilt websites.** Import a full demo close to your niche, then swap the content. The Avada Studio library of 639+ sections speeds up the rest. - **One-time price, no subscription.** The $69 fee is paid once, which is appealing if you dislike recurring theme renewals. - **A huge ecosystem.** With more than a million users, there is documentation, community help, and third-party tutorials for almost any question you will hit. - **WooCommerce and dynamic content.** Avada handles online stores and dynamic data, so it scales from a brochure site to a shop without changing tools. ## The Real Trade-Offs This is the part most review pages skip. Avada earns its reputation, but the same features that make it powerful also make it heavy and sticky. - **A steep learning curve.** Avada is not beginner-friendly. The sheer number of options in Fusion Builder and the Theme Options panel takes real time to learn before you feel productive. - **Page weight you have to manage.** A feature-rich theme ships more CSS and JavaScript by default. Avada includes a Performance wizard to trim it, but you will typically still pair it with a caching plugin to score well on Core Web Vitals. - **Shortcode lock-in.** Content built with Fusion Builder leaves shortcodes behind if you deactivate the theme. Migrating to a different theme later means cleaning that up, which is exactly the problem I hit on that client site. - **Higher hosting requirements.** Avada runs best on hosting with generous PHP memory. Budget shared hosting can struggle with a fully loaded Avada build. - **Multi-part updates.** Keeping things current can mean updating the theme alongside its Fusion components, which is more moving parts than a single lightweight theme. - **Token-based licensing.** The registration token step to unlock updates and bundled plugins is something some users find inconvenient. ***Also Read:** [Best Avada Theme Alternatives in 2026](https://qa.nexterwp.com/blog/avada-theme-alternatives/) if the trade-offs above have you weighing lighter options.* ## Avada Performance: The Weight Question Performance is where opinions on Avada split most sharply. The theme can be tuned to load quickly. ThemeFusion ships a Performance wizard precisely because the default, fully-featured setup carries more than a minimal theme does. With good hosting, a caching plugin, and the wizard dialed in, an Avada site can post solid scores. The honest framing is this: with Avada, speed is something you configure, not something you get for free. A lightweight, Gutenberg-first theme starts fast and stays fast with far less tuning. If Core Web Vitals are a priority for you, read our guide on [Gutenberg Core Web Vitals](https://qa.nexterwp.com/blog/gutenberg-core-web-vitals-block-theme/) to see how a block-theme approach changes the speed equation. ***Also Read:** [What Is a WordPress Block Theme?](https://qa.nexterwp.com/blog/what-is-a-wordpress-block-theme/) for the modern, lighter alternative to page-builder themes like Avada.* ## Who Should Use Avada, and Who Shouldn't **Avada is a strong choice if you** want one mature, feature-complete theme and builder in a single purchase, value the 113 prebuilt websites for fast starts, prefer a one-time price over a subscription, and are comfortable spending time to learn the system and tune performance. **Look elsewhere if you** are a beginner who wants something simple, care most about raw speed and clean Core Web Vitals, prefer building in native Gutenberg and full site editing, or want to keep the option of switching themes later without untangling proprietary shortcodes. In those cases a lightweight theme is a better long-term bet, and that is exactly where Nexter WP Theme fits. ## Nexter WP Theme vs Avada Theme: Feature Comparison The table below compares Nexter WP Theme against Avada and other popular themes across the features that matter for building and maintaining a real site. For a wider look, see how [Nexter WordPress Theme compares against other themes](https://qa.nexterwp.com/blog/nexter-wordpress-theme-vs-other-themes/). ## Why We Recommend the Nexter WP Theme ## Wrapping Up: Is Avada Worth It in 2026? Avada is a powerful, mature theme with a feature set few products can match, and at a one-time $69 it is fair value for what you get. But the strengths come with real trade-offs: a steep learning curve, page weight you have to actively manage, and proprietary shortcodes that make leaving harder than arriving. **Use Avada** if you want a feature-complete page-builder theme with a huge ecosystem and you do not mind the performance overhead and the time to learn it. **Consider Nexter WP Theme instead** if you want a lightweight, Gutenberg-first theme that loads fast out of the box, costs less to renew, and never locks your content behind proprietary shortcodes. Nexter has a free version on WordPress.org, and paid plans start at $39 per year. If you build with Elementor, [The Plus Addons for Elementor](https://theplusaddons.com/) adds 120+ widgets to any WordPress theme. And if you want ready-made page templates, [WDesignKit](https://wdesignkit.com/) offers thousands of templates compatible with Nexter, Avada, and most popular themes. ## Suggested Reading - [Best Avada Theme Alternatives in 2026](https://qa.nexterwp.com/blog/avada-theme-alternatives/) compares the lighter themes worth switching to. - [How to Choose a WordPress Theme](https://qa.nexterwp.com/blog/how-to-choose-a-wordpress-theme/) walks through the 10 factors that actually matter. - [Kadence Theme Review](https://qa.nexterwp.com/blog/kadence-theme-review/) and [GeneratePress Theme Review](https://qa.nexterwp.com/blog/generatepress-theme-review/) cover two popular lightweight rivals. - [Best WordPress SEO-Friendly Themes](https://qa.nexterwp.com/blog/best-wordpress-seo-friendly-themes/) if organic traffic is your priority. --- # Gutenberg vs Elementor in 2026: An Honest Block-Builder Comparison Source: https://qa.nexterwp.com/blog/gutenberg-vs-elementor/ #### Key Takeaways - Gutenberg is the free, built-in WordPress block editor. Elementor is a separate drag-and-drop page builder with a free tier and a Pro version that starts at $49 per year.- Gutenberg wins on speed and cost because it ships with WordPress and adds no extra page-builder overhead. Elementor wins on out-of-the-box visual control for people who want pixel-level drag-and-drop.- WordPress 7.0 closed much of the old feature gap, adding per-block CSS, device visibility controls, and new layout blocks to core.- A block library like Nexter Blocks gives Gutenberg the advanced widgets and builders that used to be the main reason people reached for Elementor.- There is no single winner. The right choice depends on your priorities: raw performance and zero cost, or maximum visual control with a gentler design learning curve. The first site I ever built ran on Elementor, and for years I did not question it. Then a client handed me a site that was painfully slow, and when I opened it up the culprit was the same builder I had always defaulted to, stacked three plugins deep. That was the moment I actually sat down and compared what Gutenberg could do in 2026 against what I was paying Elementor to do. The answer surprised me, and it is not the clean "one is better" verdict most comparison posts try to sell you. This is an honest look at Gutenberg versus Elementor as they actually stand in 2026, written by someone who builds with both. We will go through speed, ease of use, design flexibility, and cost, then land on a decision framework so you can pick the right tool for your specific site rather than the one with the loudest marketing. ## Gutenberg vs Elementor at a glance Gutenberg is the block editor built into WordPress itself. You already have it, it costs nothing extra, and it is what the WordPress project is actively building the future on. Elementor is a separate page-builder plugin you install on top of WordPress. It has a free version and a Pro version that starts at $49 per year, and it gives you a visual, drag-anywhere canvas. | Factor | Gutenberg | Elementor | | ------ | --------- | --------- | | What it is | Built-in WordPress block editor | Separate page-builder plugin | | Cost | Free, ships with WordPress | Free tier; Pro from $49/year | | Performance | Lighter, less code overhead | Heavier, adds its own assets | | Learning curve | Steeper at first, native UI | Gentler, true drag-and-drop | | Design control | Strong in core, more with a block library | Very high out of the box | | Future direction | The direction WordPress is heading | Mature, but a third-party layer | The short version: Gutenberg leads on cost and speed, Elementor leads on out-of-the-box visual control. ## Performance and page speed This is where Gutenberg has the clearest edge. Because it is part of WordPress core, it does not load a separate framework of CSS and JavaScript the way a page builder does. Elementor has improved its output a lot over the years, but it still adds its own assets to every page, and those add up, especially once you layer Pro and a few add-ons on top. 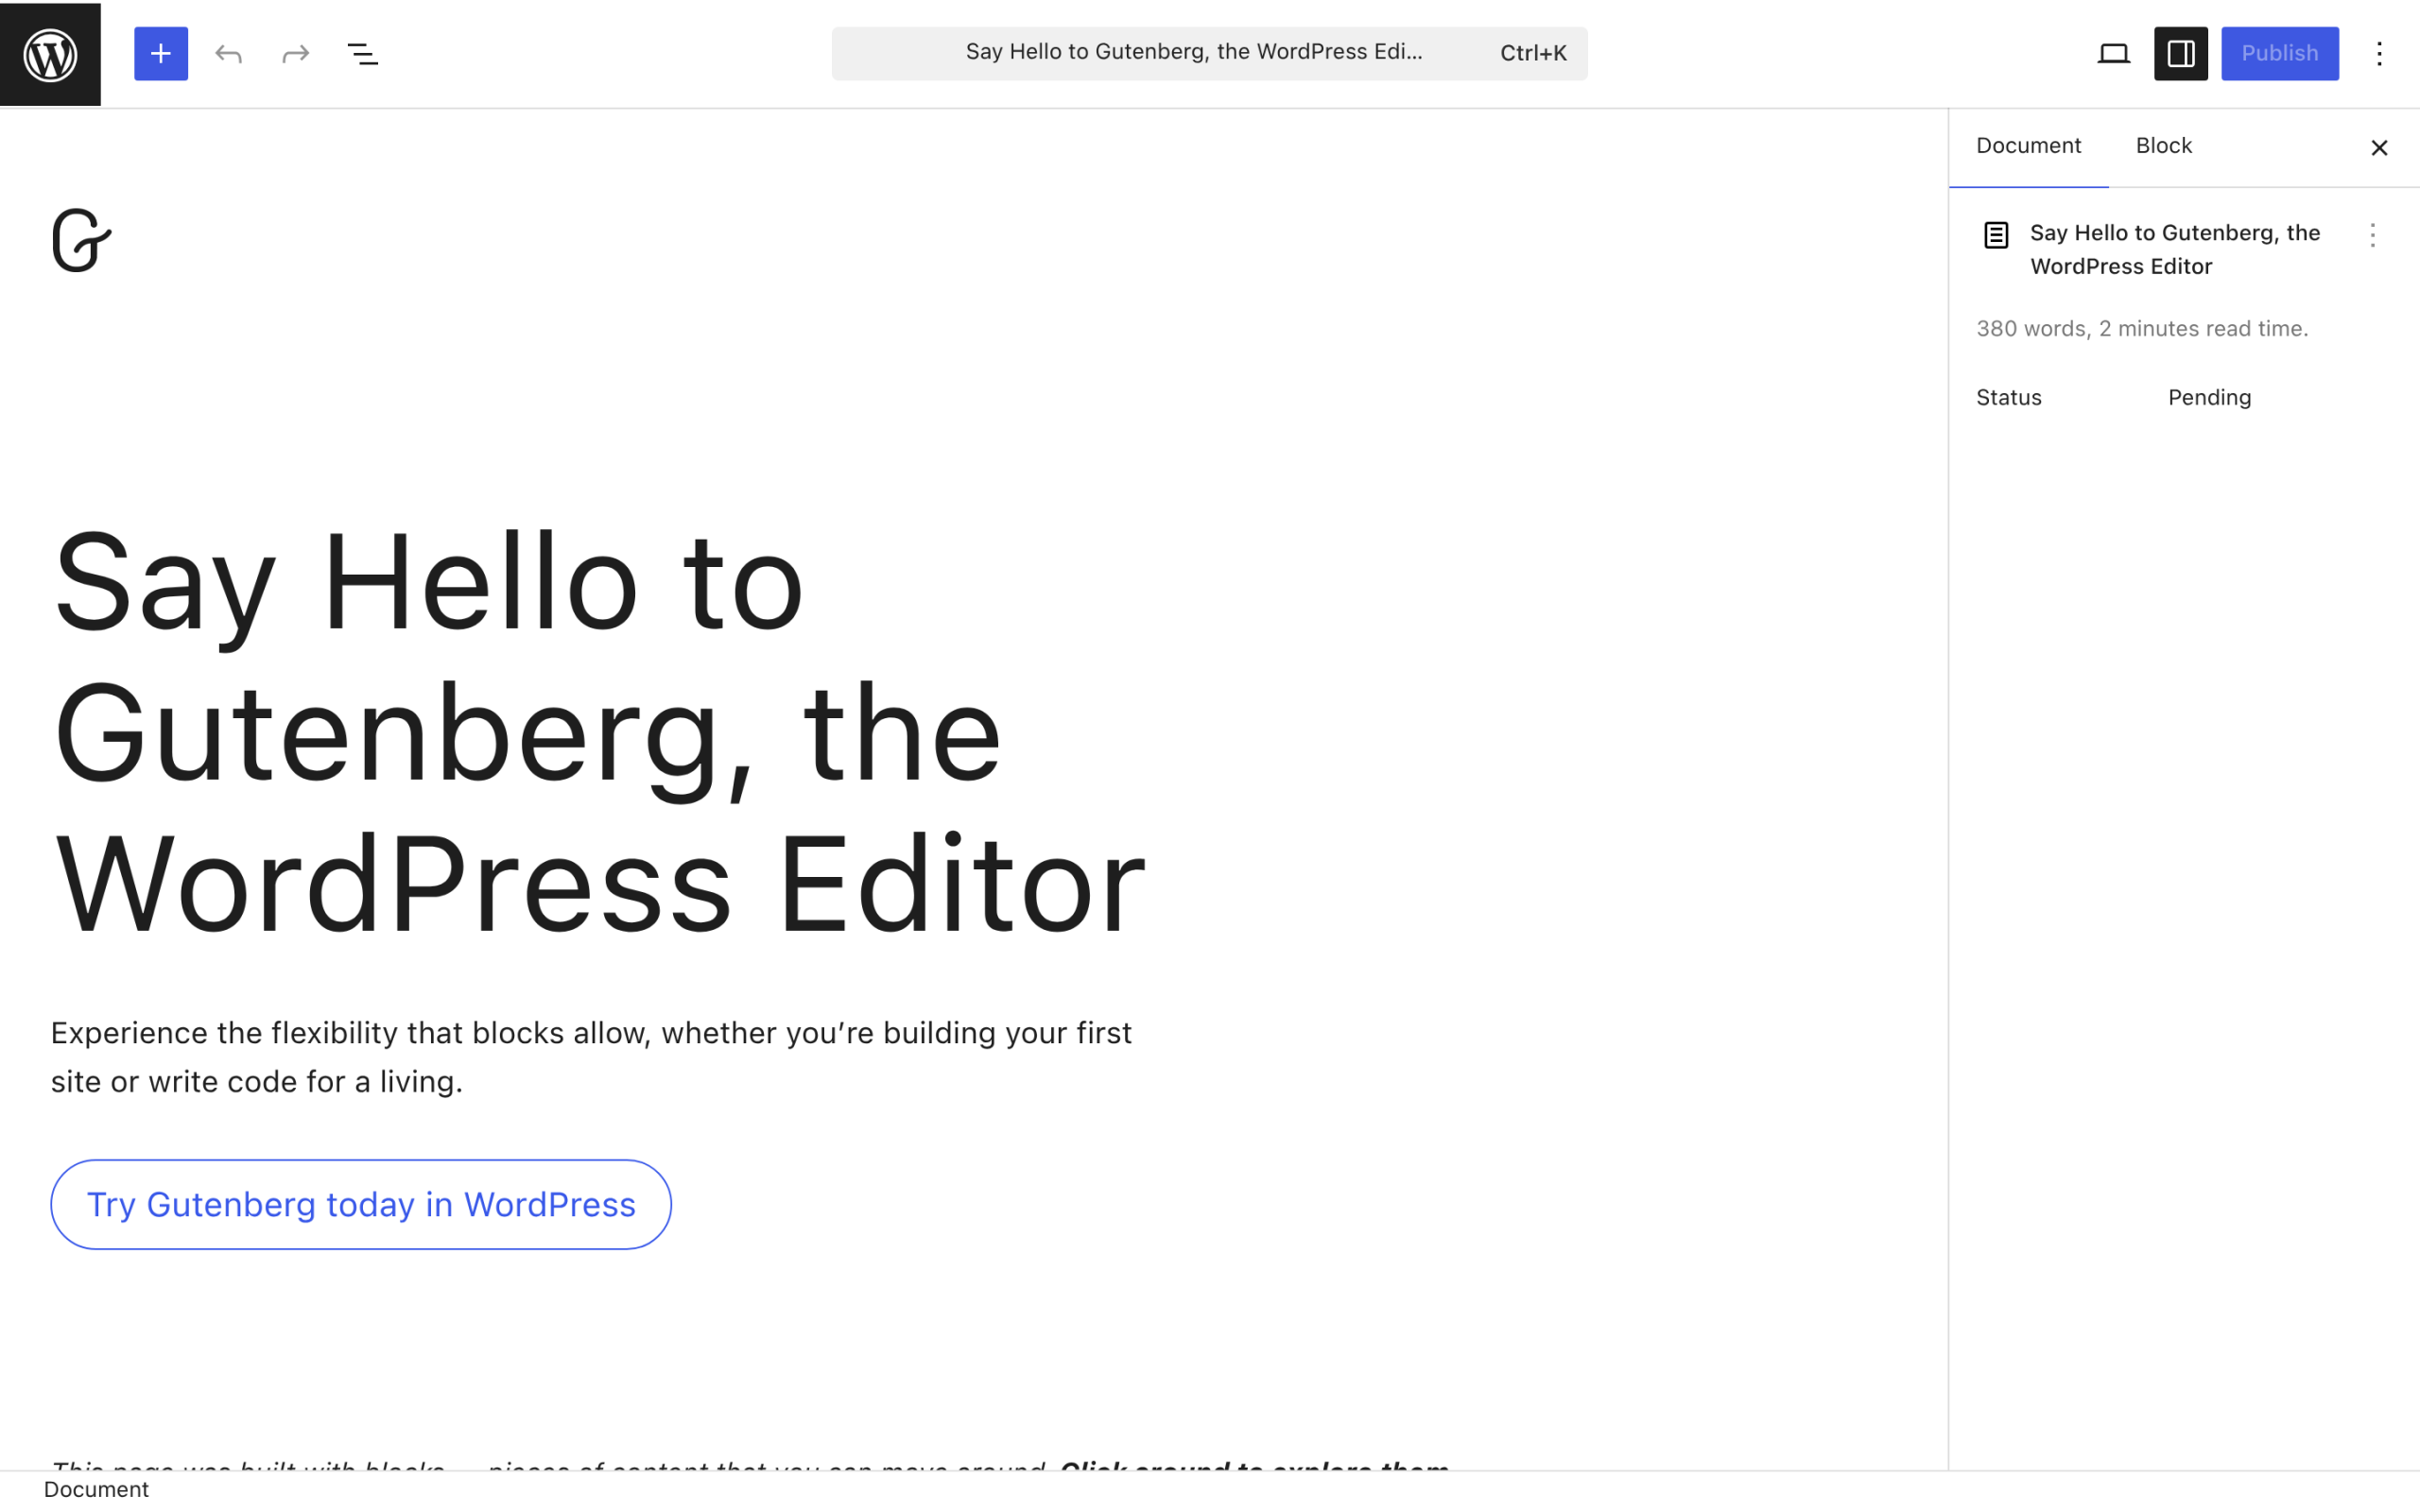Gutenberg ships inside WordPress core, so it adds no separate page-builder framework to every page load. For a content-heavy or performance-sensitive site, a block-based build on a lightweight theme will almost always render faster than the equivalent Elementor build. If Core Web Vitals and load time are near the top of your list, that points toward Gutenberg. ***Also Read:** [Gutenberg Core Web Vitals](https://qa.nexterwp.com/blog/gutenberg-core-web-vitals-block-theme/), how to speed up a block-theme WordPress site and where the real performance wins come from.* ## Ease of use and the learning curve Elementor wins here for most newcomers. Its canvas is genuinely drag-and-drop: you drop a widget where you want it, click anything to style it, and what you see is what you get. People who do not think in terms of structure find that immediate and reassuring. Elementor's drag-anywhere canvas is the gentlest starting point for people new to building pages. Gutenberg asks you to think in blocks and containers, which is a slightly steeper start. The trade-off is that you are learning the native WordPress interface, not a separate product layered on top, so the skills carry across themes and sites. In 2026 the block editor is far more polished than the clunky early version many people remember, and the gap in day-to-day comfort is much smaller than it used to be. ## Design flexibility and features Out of the box, Elementor offers more ready-made visual control: a large widget set, theme building, popups, and fine-grained styling without touching code. That breadth is the main reason it became so popular. Core Gutenberg covers the fundamentals well and keeps gaining ground, but if you want the advanced widgets, listings, and builders that Elementor users rely on, you extend it with a block library. [Nexter Blocks](https://qa.nexterwp.com/) adds 90 or more blocks to Gutenberg, including advanced listings, a header and blog builder, sliders, and interactive elements, with a free tier to start. That is what closes the design gap: native block speed plus the kind of widget depth people used to switch builders for. On the Elementor side, [The Plus Addons for Elementor](https://theplusaddons.com/) plays the same role, adding 120 or more widgets if you are committed to that ecosystem. A block library like Nexter Blocks gives Gutenberg the advanced widgets and builders people used to switch to Elementor for. So the honest framing is not "Gutenberg cannot do what Elementor does." It is "core Gutenberg plus a good block library does most of what Elementor plus its add-ons does, at a lower performance cost." ## Cost Gutenberg is free. It is part of WordPress, so there is no license to renew. A block library to extend it often has a generous free tier and affordable paid plans if you need the advanced pieces. Elementor has a free version, but most serious sites end up on Elementor Pro, which starts at $49 per year for a single site and rises from there for more sites. Add a premium add-on or two and the yearly cost grows. Neither path has to be expensive, but if your goal is the lowest possible recurring cost, the Gutenberg route wins. ## How WordPress 7.0 changed the comparison The 2026 release of WordPress 7.0, named Armstrong, narrowed the gap that used to make Elementor feel necessary. Core now includes block-level custom CSS, device visibility controls so you can hide or show a block per device, and new layout and navigation blocks. Several of those were exactly the features people installed a page builder to get. This matters for your decision because the trend line is clear. Each WordPress release pushes more page-builder-style control into core, where it is fast and free, while a third-party builder has to keep justifying its weight. Betting on blocks is betting on where the platform is going. ***Also Read:** [WordPress 7.0 for block builders](https://qa.nexterwp.com/blog/wordpress-7-block-builders/), a breakdown of what actually changed and which features now ship in core.* ## Which should you choose? There is no universal winner, so match the tool to the priority: - **Choose Gutenberg** if performance, page speed, and low recurring cost matter most, if you want to stay aligned with where WordPress is heading, or if you are comfortable extending it with a block library for advanced design.- **Choose Elementor** if you want the gentlest possible drag-and-drop learning curve, if your team already knows it well, or if a specific Elementor-only widget or workflow is central to how you build.- **A practical middle path:** new sites are easier to start on Gutenberg in 2026, while an existing Elementor site that works fine rarely needs a rushed migration. Move when there is a real reason, not just for the sake of it. ## Is Gutenberg good enough to replace Elementor in 2026? For most sites, yes. Core Gutenberg paired with a capable block library now covers the large majority of what people used Elementor for, and it does it with less overhead and no license fee. Elementor remains a strong, mature choice, especially for teams already invested in it, but it is no longer the obvious default it once was. The block editor has caught up enough that the honest answer is "it depends on your priorities," which was not true a couple of years ago. ## Suggested Reading - [WordPress 7.0: what is actually changing for block builders](https://qa.nexterwp.com/blog/wordpress-7-block-builders/)- [Gutenberg Core Web Vitals: speed up a block-theme site](https://qa.nexterwp.com/blog/gutenberg-core-web-vitals-block-theme/)- [NexterWP vs Kadence: speed benchmark on identical sites](https://qa.nexterwp.com/blog/nexterwp-vs-kadence-speed-benchmark/)- [Answer engine optimization: the complete WordPress guide](https://qa.nexterwp.com/blog/answer-engine-optimization-wordpress/)- [What is topical authority and how WordPress sites build it](https://qa.nexterwp.com/blog/topical-authority-wordpress/) --- # What Is Topical Authority? How WordPress Sites Build It for Google and AI Search Source: https://qa.nexterwp.com/blog/topical-authority-wordpress/ #### Key Takeaways - Topical authority is covering a subject so completely that Google and AI engines treat your site as the source to pull from, not one of many options.- It is not the same as domain authority (which is about backlinks) or E-E-A-T (which is about trust). Topical authority is about the depth and connectedness of your coverage.- You build it on WordPress with one pillar page, eight to fifteen connected cluster posts, and internal links that tie them together.- AI engines like ChatGPT and Perplexity lean on sites that cover a subject in depth, because depth is the signal they can read directly from your content.- RankReady's freshness signals, author authority box, and AI referral analytics help your cluster earn and track AI citations faster. A site owner showed me their blog last quarter: 40 posts, decent writing, traffic flat for a year. In the same niche, a competitor with 12 posts was getting cited by ChatGPT on nearly every question I tested. The difference was not effort or word count. The 40 posts wandered across 40 loosely related ideas. The 12 posts covered one subject from every angle, linked to each other, and left almost no obvious question unanswered. That second site had topical authority. The first one had a pile of articles. Topical authority is the thing that decides whether search engines and AI tools see your WordPress site as the source on a subject or as background noise around it. This guide explains what it actually is, why it matters more now that ChatGPT and Perplexity are answering questions directly, and how to build it on WordPress step by step without guessing. ## What is topical authority? Topical authority is the degree to which a site is recognized as a comprehensive, reliable source on a specific subject. A site with high topical authority does not just rank for one keyword. It covers the whole subject, the core questions and the edge cases, in a way that is connected and consistent. Search engines and AI models read that breadth as a signal that you know the territory. It helps to separate three terms that get blurred together: - **Domain authority** is a third-party score built mostly on backlinks. It is about how many other sites vouch for you.- **E-E-A-T** (experience, expertise, authoritativeness, trust) is about credibility: who wrote this, do they know the subject, can it be trusted.- **Topical authority** is about coverage: how completely and how cohesively you treat a subject across your whole site. Topical authority is about how completely and cohesively you cover a subject, not a single keyword ranking. They overlap and reinforce each other, but they are not interchangeable. You can have strong E-E-A-T on a single brilliant post and still have no topical authority, because one post does not cover a subject. You can also have decent domain authority from unrelated backlinks and rank for nothing in your actual niche. Topical authority is the one you build deliberately with content, and it is the one a WordPress site owner has the most direct control over. ## Why topical authority decides AI citations in 2026 Traditional search rewarded topical authority indirectly. AI search rewards it directly, and that changes how much it matters. When someone asks ChatGPT or Perplexity a question, the model is not returning ten blue links. It is composing an answer and choosing a small number of sources to cite. To pick those sources it leans on what it can read from the content itself: does this site cover the subject thoroughly, do the pages connect to each other, is the information current. A site that answers the main question and the five follow-up questions in connected, well-structured pages is an easy source to trust and quote. A single thin post is not. AI answer engines cite a small set of sources per query, and depth of coverage is what earns a spot. This is why depth beats volume. Twelve connected posts that own a subject will out-cite forty scattered posts that touch many subjects, because the AI model can see the difference in the structure of your content. Topical authority is, in effect, the part of your reputation an AI engine can verify by reading you, without needing a backlink graph to tell it who matters. ***Also Read:** topical authority is the coverage half of the equation. The credibility half is [E-E-A-T for AI Search: How WordPress Sites Earn Trust from Google AI, ChatGPT and Perplexity](https://qa.nexterwp.com/blog/e-e-a-t-ai-search-wordpress/). Build both and you cover what AI engines weigh most.* ## How to build topical authority on your WordPress site Topical authority is not a setting you toggle. It is the result of a structure you build on purpose. Here is the process I use, in order. ### Step 1: Pick your core topic (the pillar) Choose one subject your site will commit to owning. Not "marketing," which is too broad to ever cover, and not "the blue widget I sell on Tuesdays," which is too narrow to have demand. Something specific enough to finish and broad enough to matter. That subject becomes your pillar: a single comprehensive page that introduces the whole topic and links out to everything beneath it. ### Step 2: Map your cluster subtopics List every question and subtopic a reader of your pillar would reasonably ask next. Pull these from keyword research tools, the "People also ask" box on Google, related searches, and the questions real customers send you. Aim for eight to fifteen cluster subtopics per pillar. Each one becomes its own post. Together they are the map of what topical authority on this subject actually requires. The pillar and cluster model: one comprehensive pillar linked to eight to fifteen supporting posts. ### Step 3: Audit what you already cover Export your existing WordPress posts and lay them against your subtopic list. Mark each subtopic as covered, thin, or missing. The missing rows are your highest-value work, because every gap is a question your competitors might be answering and you are not. The thin rows are your second priority, posts worth expanding rather than rewriting from scratch. ### Step 4: Connect the cluster with internal links This is the step most sites skip, and it is the one that turns a pile of posts into a cluster. Every cluster post links up to the pillar, the pillar links down to every cluster post, and related cluster posts link sideways to each other. Use descriptive anchor text that names the target subject, never "click here." Those links are how a crawler, and an AI model, sees that your posts belong to one connected body of work rather than sitting alone. Internal links are what turn a pile of separate posts into a connected topical cluster. ### Step 5: Add credibility and freshness signals Coverage gets you considered. Credibility and currency get you cited. Put a real author with real credentials on every cluster post, keep the information current, and signal clearly when a post was last updated. This is where topical authority and E-E-A-T meet: the broad, connected coverage tells engines you own the subject, and the author and freshness signals tell them you can be trusted to quote. 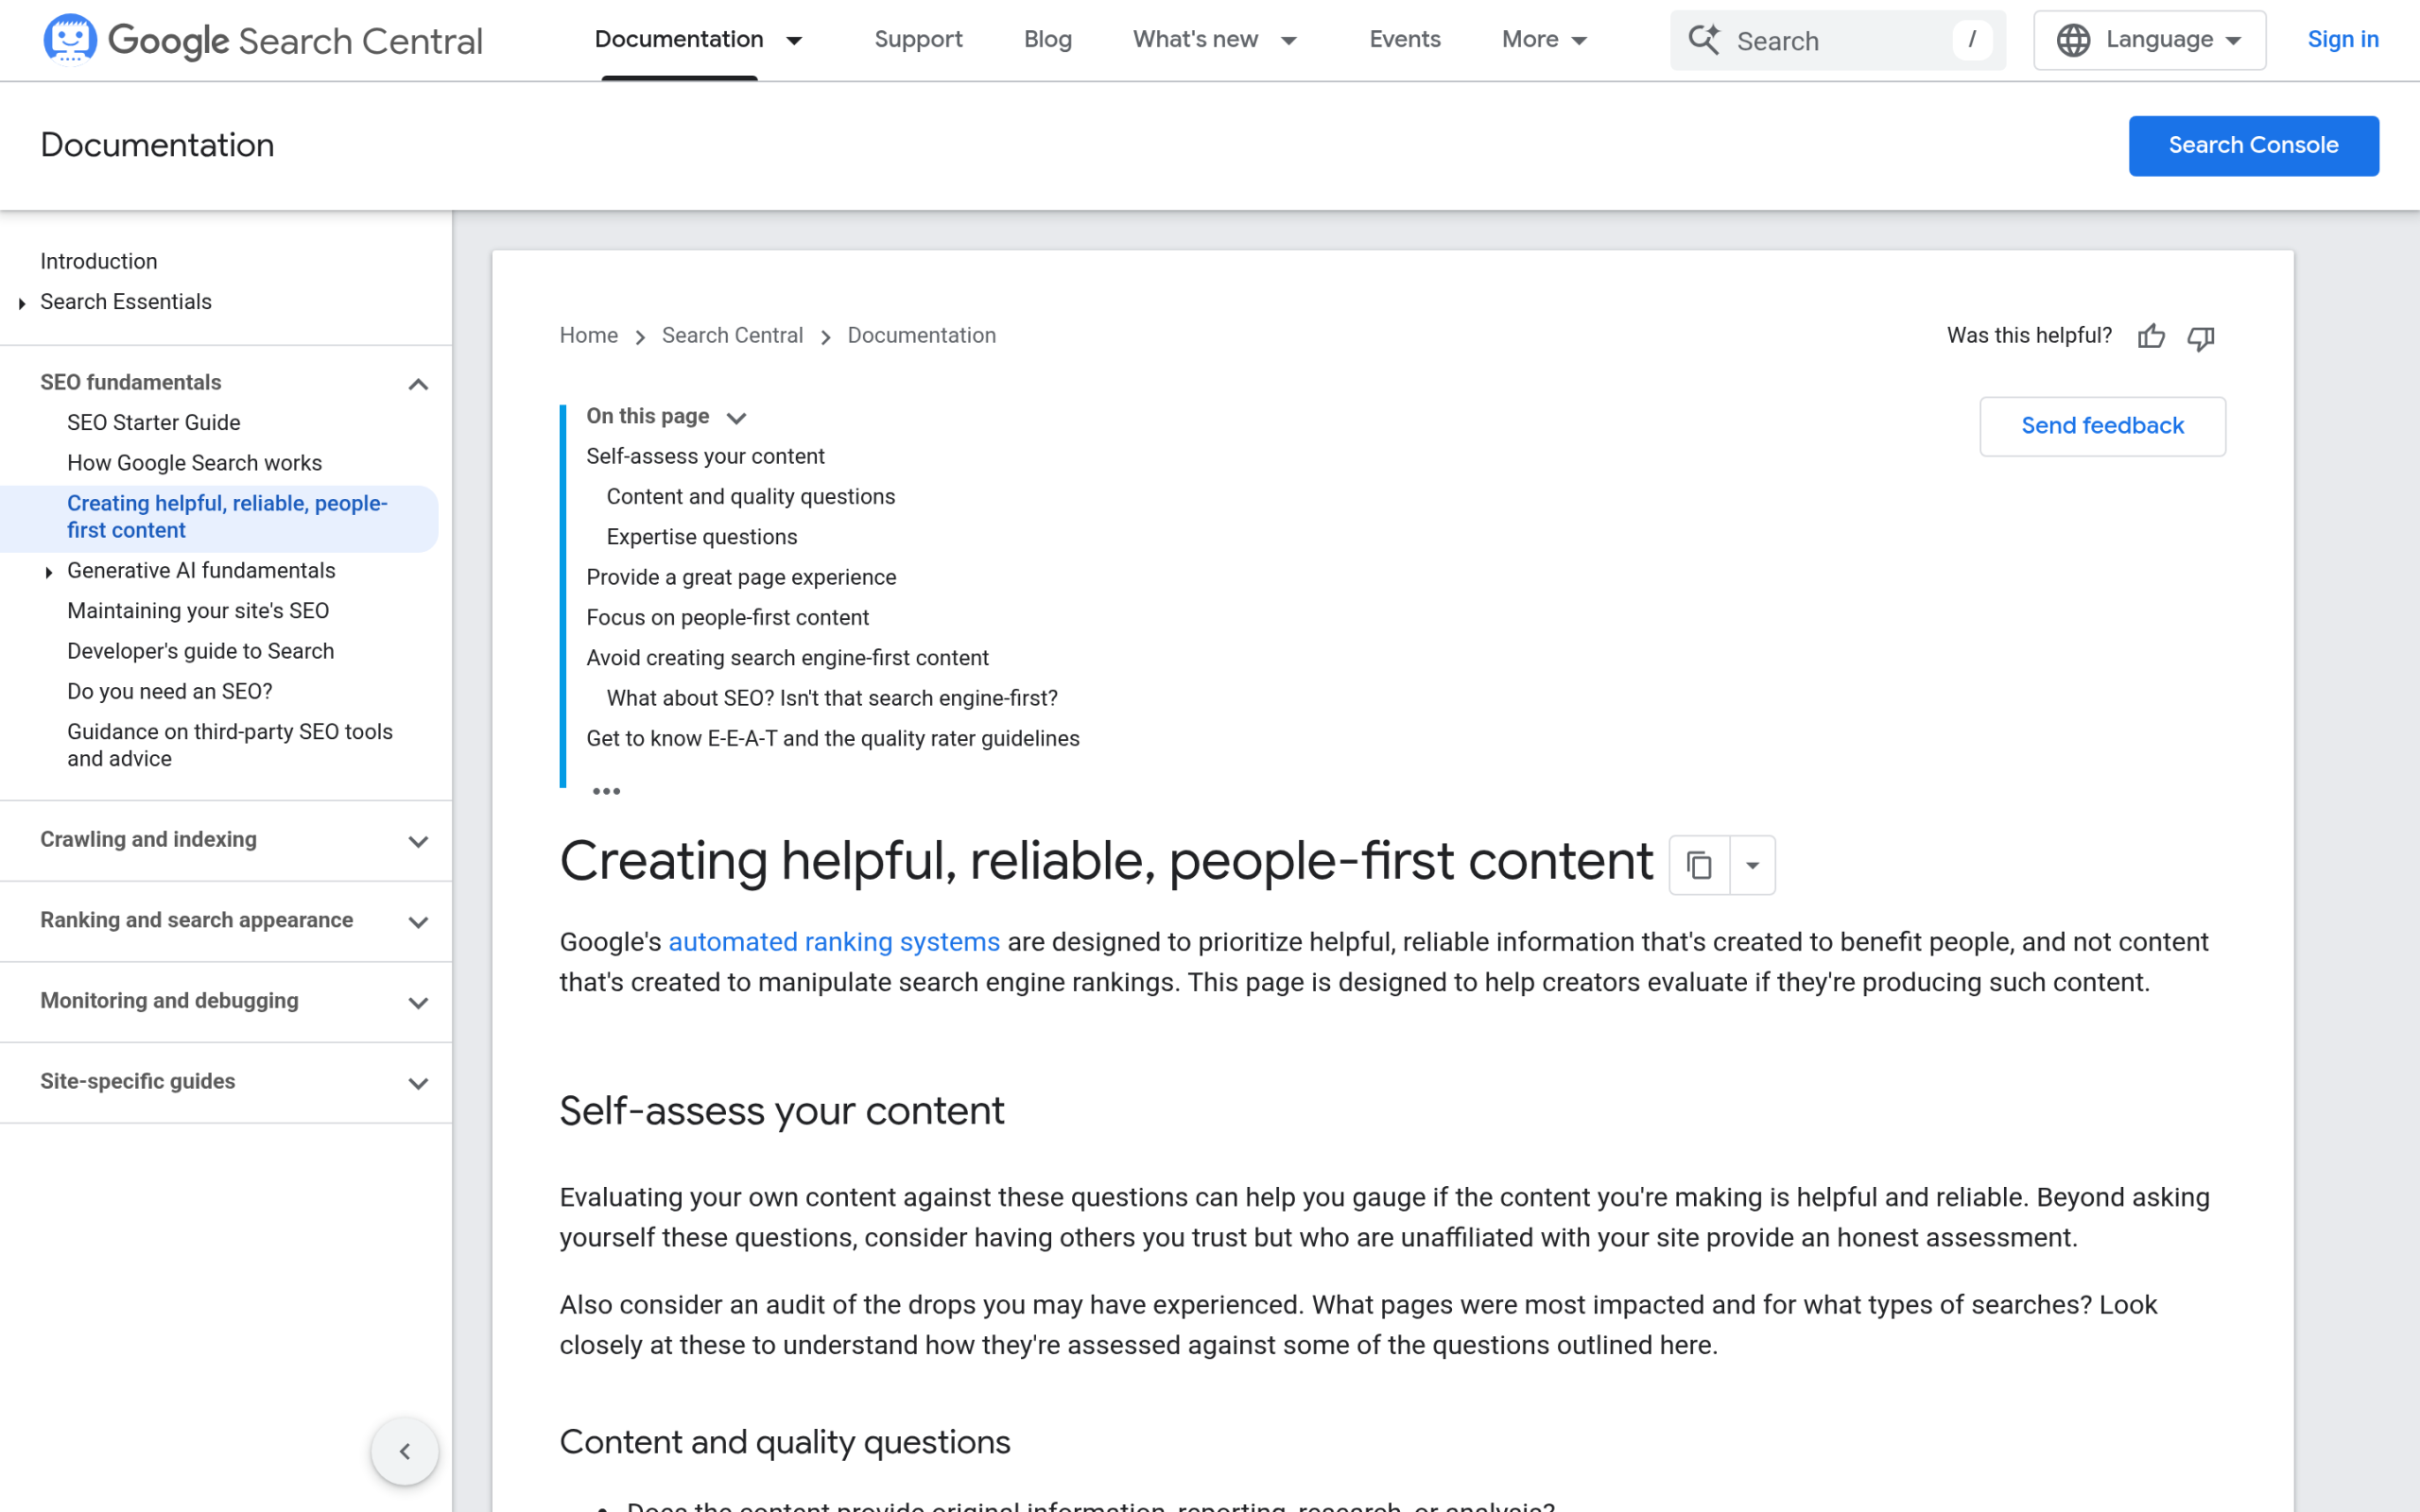Google's helpful-content guidance rewards depth, experience, and currency, the same signals that build topical authority. ## A free topical authority plan you can copy You do not need a tool to start. A single sheet does the job. Build a table with one row per subtopic and these columns, then work top to bottom in priority order. | Pillar | Cluster subtopic | Target keyword | Status | Priority | | ------ | ---------------- | -------------- | ------ | -------- | | Core topic | The follow-up question | Primary keyword | Covered / Thin / Missing | 1 to 5 | | Core topic | The how-to question | Primary keyword | Missing | 1 | | Core topic | The comparison question | Primary keyword | Thin | 2 | A topical authority plan is just a prioritized list of every subtopic your pillar needs to own. Prioritize the missing rows first, then the thin ones, then refresh what is already strong. Work the list until every reasonable question about your subject has a home on your site. That completed list is topical authority made concrete. Work the list until every reasonable question about your subject has a home on your site. ***Also Read:** one of the highest-value clusters to own in 2026 is AI discoverability. See [llms.txt for Gutenberg WordPress: Why Block Themes Win the AI Citation Race](https://qa.nexterwp.com/blog/llms-txt-gutenberg-wordpress/) for a subtopic that pairs directly with topical authority.* ## How RankReady speeds up topical authority on WordPress The plan above is manual, and manual is fine to start. What is hard to do by hand is the part that happens after you publish: signaling freshness, proving author credibility, and tracking which cluster posts are actually earning AI citations. That is the work [RankReady](https://store.posimyth.com/plugins/rankready/), the free AI SEO plugin we built at POSIMYTH Innovations, handles from inside the WordPress admin. - **Content Freshness Signals** tell AI models when each cluster post was updated, so your current content gets re-prioritized over stale pages.- **Author Authority Box** adds the experience and credentials signals AI engines use when deciding whether a source is trustworthy enough to cite.- **AI Readiness Diagnostics** audit every cluster post for the schema, canonical, and structure an AI crawler needs to read it cleanly.- **AI Referral Analytics** show which of your cluster posts are already being cited by which AI tools, so you can see your topical authority paying off and double down on what works. RankReady handles the post-publish signals that turn topical coverage into AI citations. None of this replaces the coverage work. It accelerates the signals that turn coverage into citations. Install it free from [store.posimyth.com/plugins/rankready/](https://store.posimyth.com/plugins/rankready/). ## Start with one subject and finish it Topical authority is not won by publishing more. It is won by picking one subject and covering it so completely that there is little left to ask. Map the subtopics, fill the gaps, link the cluster together, and keep it current. Do that on one subject before you move to the next, and your WordPress site stops being one of many options and becomes the source both Google and AI engines reach for. ## Suggested reading - [E-E-A-T for AI Search: How WordPress Sites Earn Trust from Google AI, ChatGPT and Perplexity](https://qa.nexterwp.com/blog/e-e-a-t-ai-search-wordpress/)- [llms.txt for Gutenberg WordPress: Why Block Themes Win the AI Citation Race](https://qa.nexterwp.com/blog/llms-txt-gutenberg-wordpress/)- [5 Best WordPress SEO Plugins Using AI](https://qa.nexterwp.com/blog/best-wordpress-seo-plugins-using-ai/)- [RankReady: the free WordPress AI SEO plugin](https://store.posimyth.com/plugins/rankready/) --- # What Is a WordPress robots.txt Generator? (And Which One to Use in 2026) Source: https://qa.nexterwp.com/blog/robots-txt-generator-wordpress/ #### Key Takeaways - A robots.txt generator builds crawler access rules for your site without you writing the syntax by hand or touching server files.- WordPress gives you three native ways to generate one: the Rank Math editor, the Yoast file editor, and the RankReady AI crawler rules builder. No FTP required for any of them.- Most online robots.txt generators still produce 2019-era files. They skip the AI crawler user-agents (GPTBot, OAI-SearchBot, PerplexityBot) that decide whether ChatGPT and Perplexity can cite you.- Always include a Sitemap directive in the output. Without it, crawlers have to guess where your index lives.- Verify every change with Google Search Console's robots.txt tester and a quick curl check before you trust it. The first thing I did on a new client site last month was open `yoursite.com/robots.txt` in a browser tab. Three lines. It blocked `/wp-admin/`, allowed everything else, and had not been touched since 2019. So I did what most people do: I searched "robots.txt generator," clicked the top result, and pasted in my domain. The tool spat out a clean little file that was just as useless as the one already live. No sitemap reference. No mention of a single AI crawler. It was a generator built for a web that stopped existing around the time ChatGPT launched. Here is the part nobody tells you: you almost certainly do not need an external robots.txt generator at all. WordPress already ships the tools to build one, and they understand your site structure in a way a generic online box never will. This guide walks through every way to generate a robots.txt file for a WordPress site, which method fits which situation, and the exact rules your 2026 file actually needs so search engines and AI engines both read you correctly. ## What a WordPress robots.txt file does (and what it does not) A robots.txt file is a plain text file at the root of your domain that tells crawlers which parts of your site they may request. It is the first file a well-behaved bot reads before it touches anything else. Google, Bing, and the major AI crawlers all check it on arrival. What it is not: a security tool. A robots.txt file is a polite request, not a lock. It cannot stop a bad actor from reading a page, and any URL you list in it is publicly visible to anyone who opens the file. If you want to keep something private, use authentication or a `noindex` directive, not a Disallow line. That single misunderstanding is behind half the broken robots.txt files I review. A live WordPress robots.txt file served at the site root, showing standard path rules and a Sitemap directive. Why this matters more now than it did three years ago: according to [Cloudflare's public bot analytics](https://developers.cloudflare.com/bots/additional-configurations/managed-robots-txt/), AI crawlers reach 39% of the top one million websites every month, yet only 3% of those sites make a deliberate decision about that traffic. Your robots.txt file is where that decision gets made, so the tool you use to generate it now has to speak the AI crawler dialect, not just the Googlebot one. ## What a robots.txt generator actually produces Every robots.txt generator, online or built into WordPress, does the same three things. It takes your inputs (which bots, which paths), turns them into the correct `User-agent` and `Allow` or `Disallow` syntax, and outputs a file you can save to your site root. The difference between a good generator and a bad one is entirely in what inputs it knows to ask about. A generic online generator asks about Googlebot, maybe Bingbot, and a crawl-delay setting almost nobody needs. It does not ask whether you want OpenAI's search crawler to cite you, or whether you are opting out of AI training. It does not know that a WordPress site has a `/wp-json/` REST endpoint or a `/feed/` path worth handling. So the file looks valid, passes a syntax check, and quietly leaves out everything that matters in 2026. ***Also Read:** for the strategy behind which AI bots to allow or block and why, read [WordPress robots.txt for AI Crawlers: A Gutenberg Builder Guide](https://qa.nexterwp.com/blog/wordpress-robots-txt-ai-crawlers-gutenberg/) before you generate anything. This guide covers the how, that one covers the which and the why.* ## 5 ways to generate a robots.txt for your WordPress site Ranked roughly from "already installed on your site" to "only if you have no other option." Pick the first one that applies to you. ### Method 1: The Rank Math robots.txt editor (free, most likely already installed) If you run Rank Math, you have a robots.txt generator and editor built in. Go to **WordPress admin, Rank Math, General Settings, Edit robots.txt**. You get a text editor that writes a virtual robots.txt file served at your site root. Paste your rules, save, and Rank Math handles the file for you. No FTP, no file permissions, no server access. This is the method I reach for first on nine out of ten sites because the plugin is already there. Rank Math's built-in robots.txt editor writes a virtual file with no FTP access required. One catch: if a physical `robots.txt` file exists in your site root, the in-plugin editor turns read-only, because a real file always wins over a virtual one. Delete the physical file over FTP first, then the editor unlocks. ### Method 2: The Yoast SEO file editor Yoast offers the same capability under **Yoast SEO, Tools, File editor**. If no robots.txt exists yet, Yoast shows a "Create robots.txt file" button. Click it, and you get an editable file with WordPress defaults already filled in. Edit, save, done. The same physical-file caveat applies: a real file in the root overrides the editor. 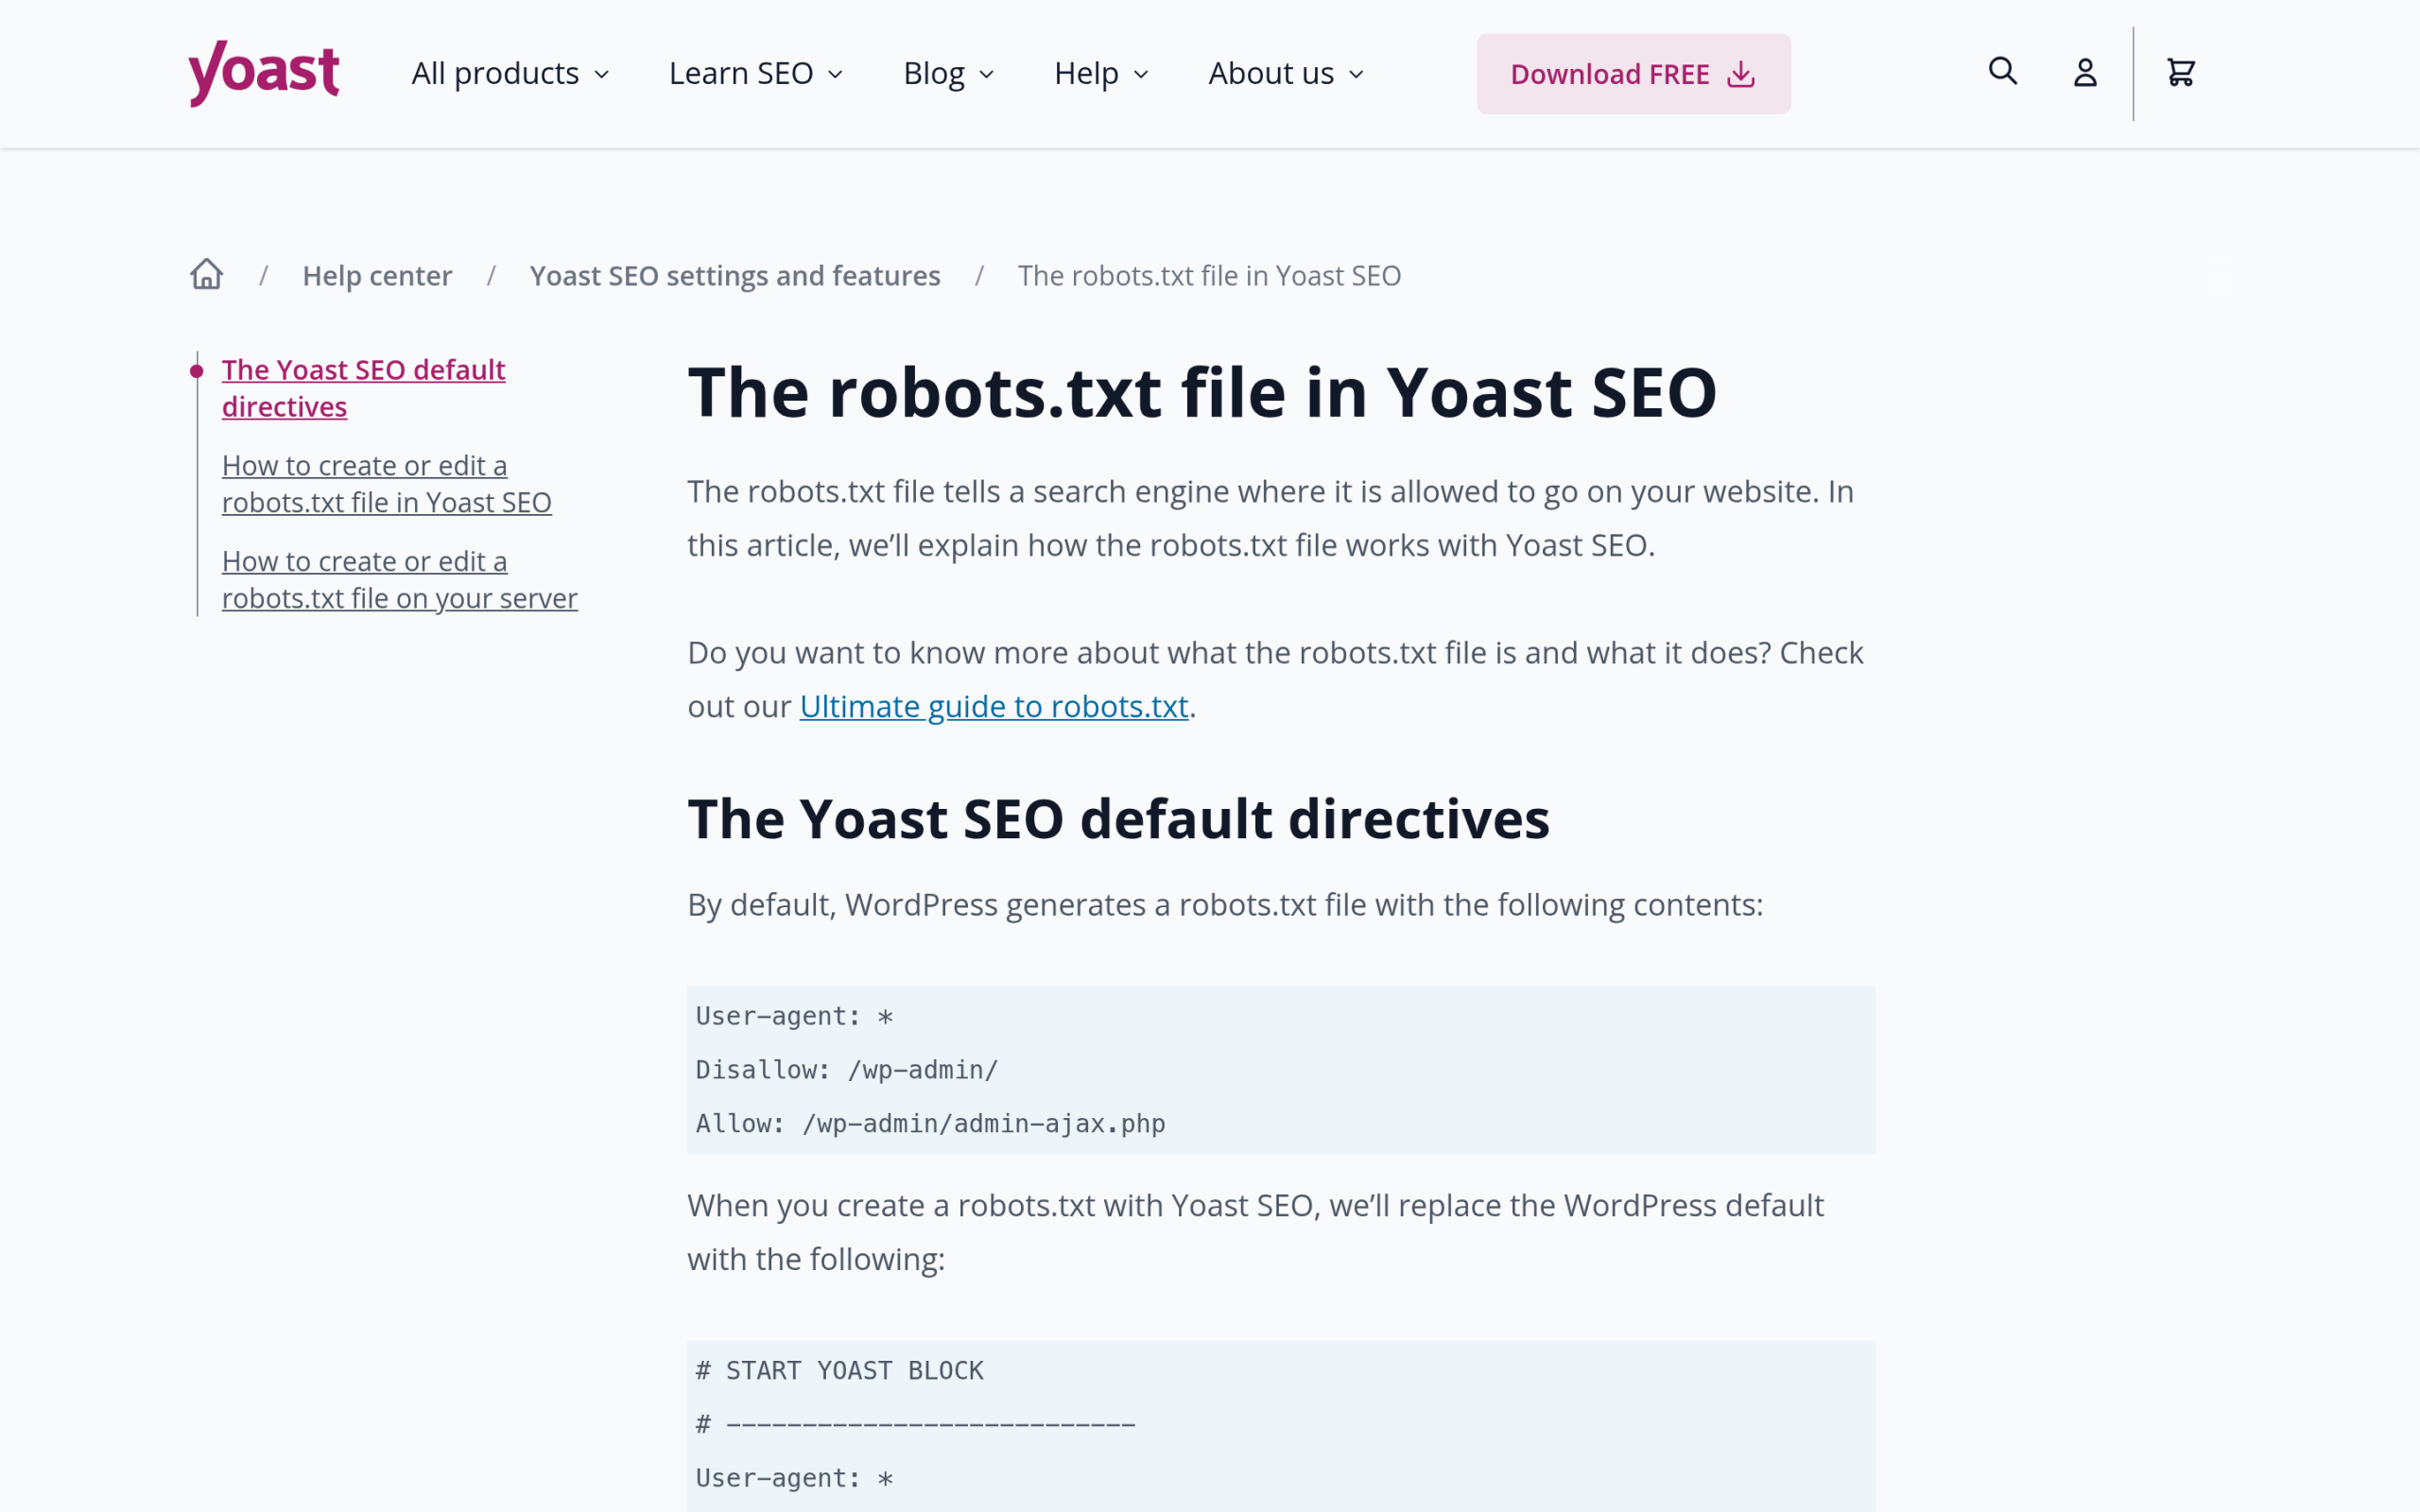Yoast SEO's file editor creates a robots.txt with WordPress defaults pre-filled. Functionally Rank Math and Yoast are interchangeable here. Use whichever SEO plugin you already run. There is no reason to install one purely for its robots.txt editor. ### Method 3: Online robots.txt generator tools Tools like SEOptimer and the TechnicalSEO.com robots.txt generator are fine for one job: producing a starting template you then paste into your Rank Math or Yoast editor. They are quick and they get the basic syntax right. An online robots.txt generator is best used to produce a starting template you refine inside WordPress. Their limit is what I described earlier. They do not know about WordPress-specific paths, and most of them have no AI crawler options at all. Treat their output as a skeleton, never as a finished file. You will be hand-adding the AI crawler block and the WordPress paths regardless, so the time saved is smaller than it looks. ### Method 4: Create the file manually over FTP or cPanel If you have no SEO plugin and cannot install one, create a plain text file named exactly `robots.txt`, paste your rules, and upload it to your site root (the same folder as `wp-config.php`). Use the File Manager in cPanel or any FTP client. This is the most manual route and the easiest to get wrong, since a single typo in a filename or path means crawlers ignore the file entirely. Reserve it for when a plugin genuinely is not an option. ### Method 5: The RankReady AI crawler rules builder This is the only WordPress-native generator I know of that treats AI crawlers as first-class inputs rather than an afterthought. [RankReady](https://store.posimyth.com/plugins/rankready/) is a free AI SEO plugin we built at POSIMYTH Innovations, and its crawler rules module generates the AI bot section of your robots.txt for you: it splits training crawlers from search crawlers, defaults the search bots to allowed so you stay citable, and writes the Sitemap directive automatically. It also flags when a host or CDN is blocking AI bots before your robots.txt is ever read, which a text editor cannot tell you. RankReady is the only WordPress-native generator that treats AI crawler categories as first-class inputs. If your goal is specifically to control how ChatGPT, Claude, and Perplexity see your site, this is the method that was designed for the job. Install it free from [store.posimyth.com/plugins/rankready/](https://store.posimyth.com/plugins/rankready/) and the rules builder lives in the WordPress admin sidebar. ## What your WordPress robots.txt should include in 2026 Whichever method you pick, the output should contain these sections. This is the template we run across our own WordPress properties. Generate the structure, then adjust the training-crawler lines to your preference. `# Standard WordPress paths User-agent: * Disallow: /wp-admin/ Disallow: /wp-login.php Disallow: /wp-json/ Disallow: */feed/ Allow: /wp-admin/admin-ajax.php # AI search crawlers, always allow these User-agent: OAI-SearchBot Allow: / User-agent: ChatGPT-User Allow: / User-agent: PerplexityBot Allow: / User-agent: Claude-SearchBot Allow: / # AI training crawlers, your call to allow or block User-agent: GPTBot Allow: / User-agent: ClaudeBot Allow: / User-agent: Google-Extended Allow: / # Blocked: legacy scrapers User-agent: CCBot Disallow: / User-agent: Bytespider Disallow: / Sitemap: https://yoursite.com/sitemap.xml` 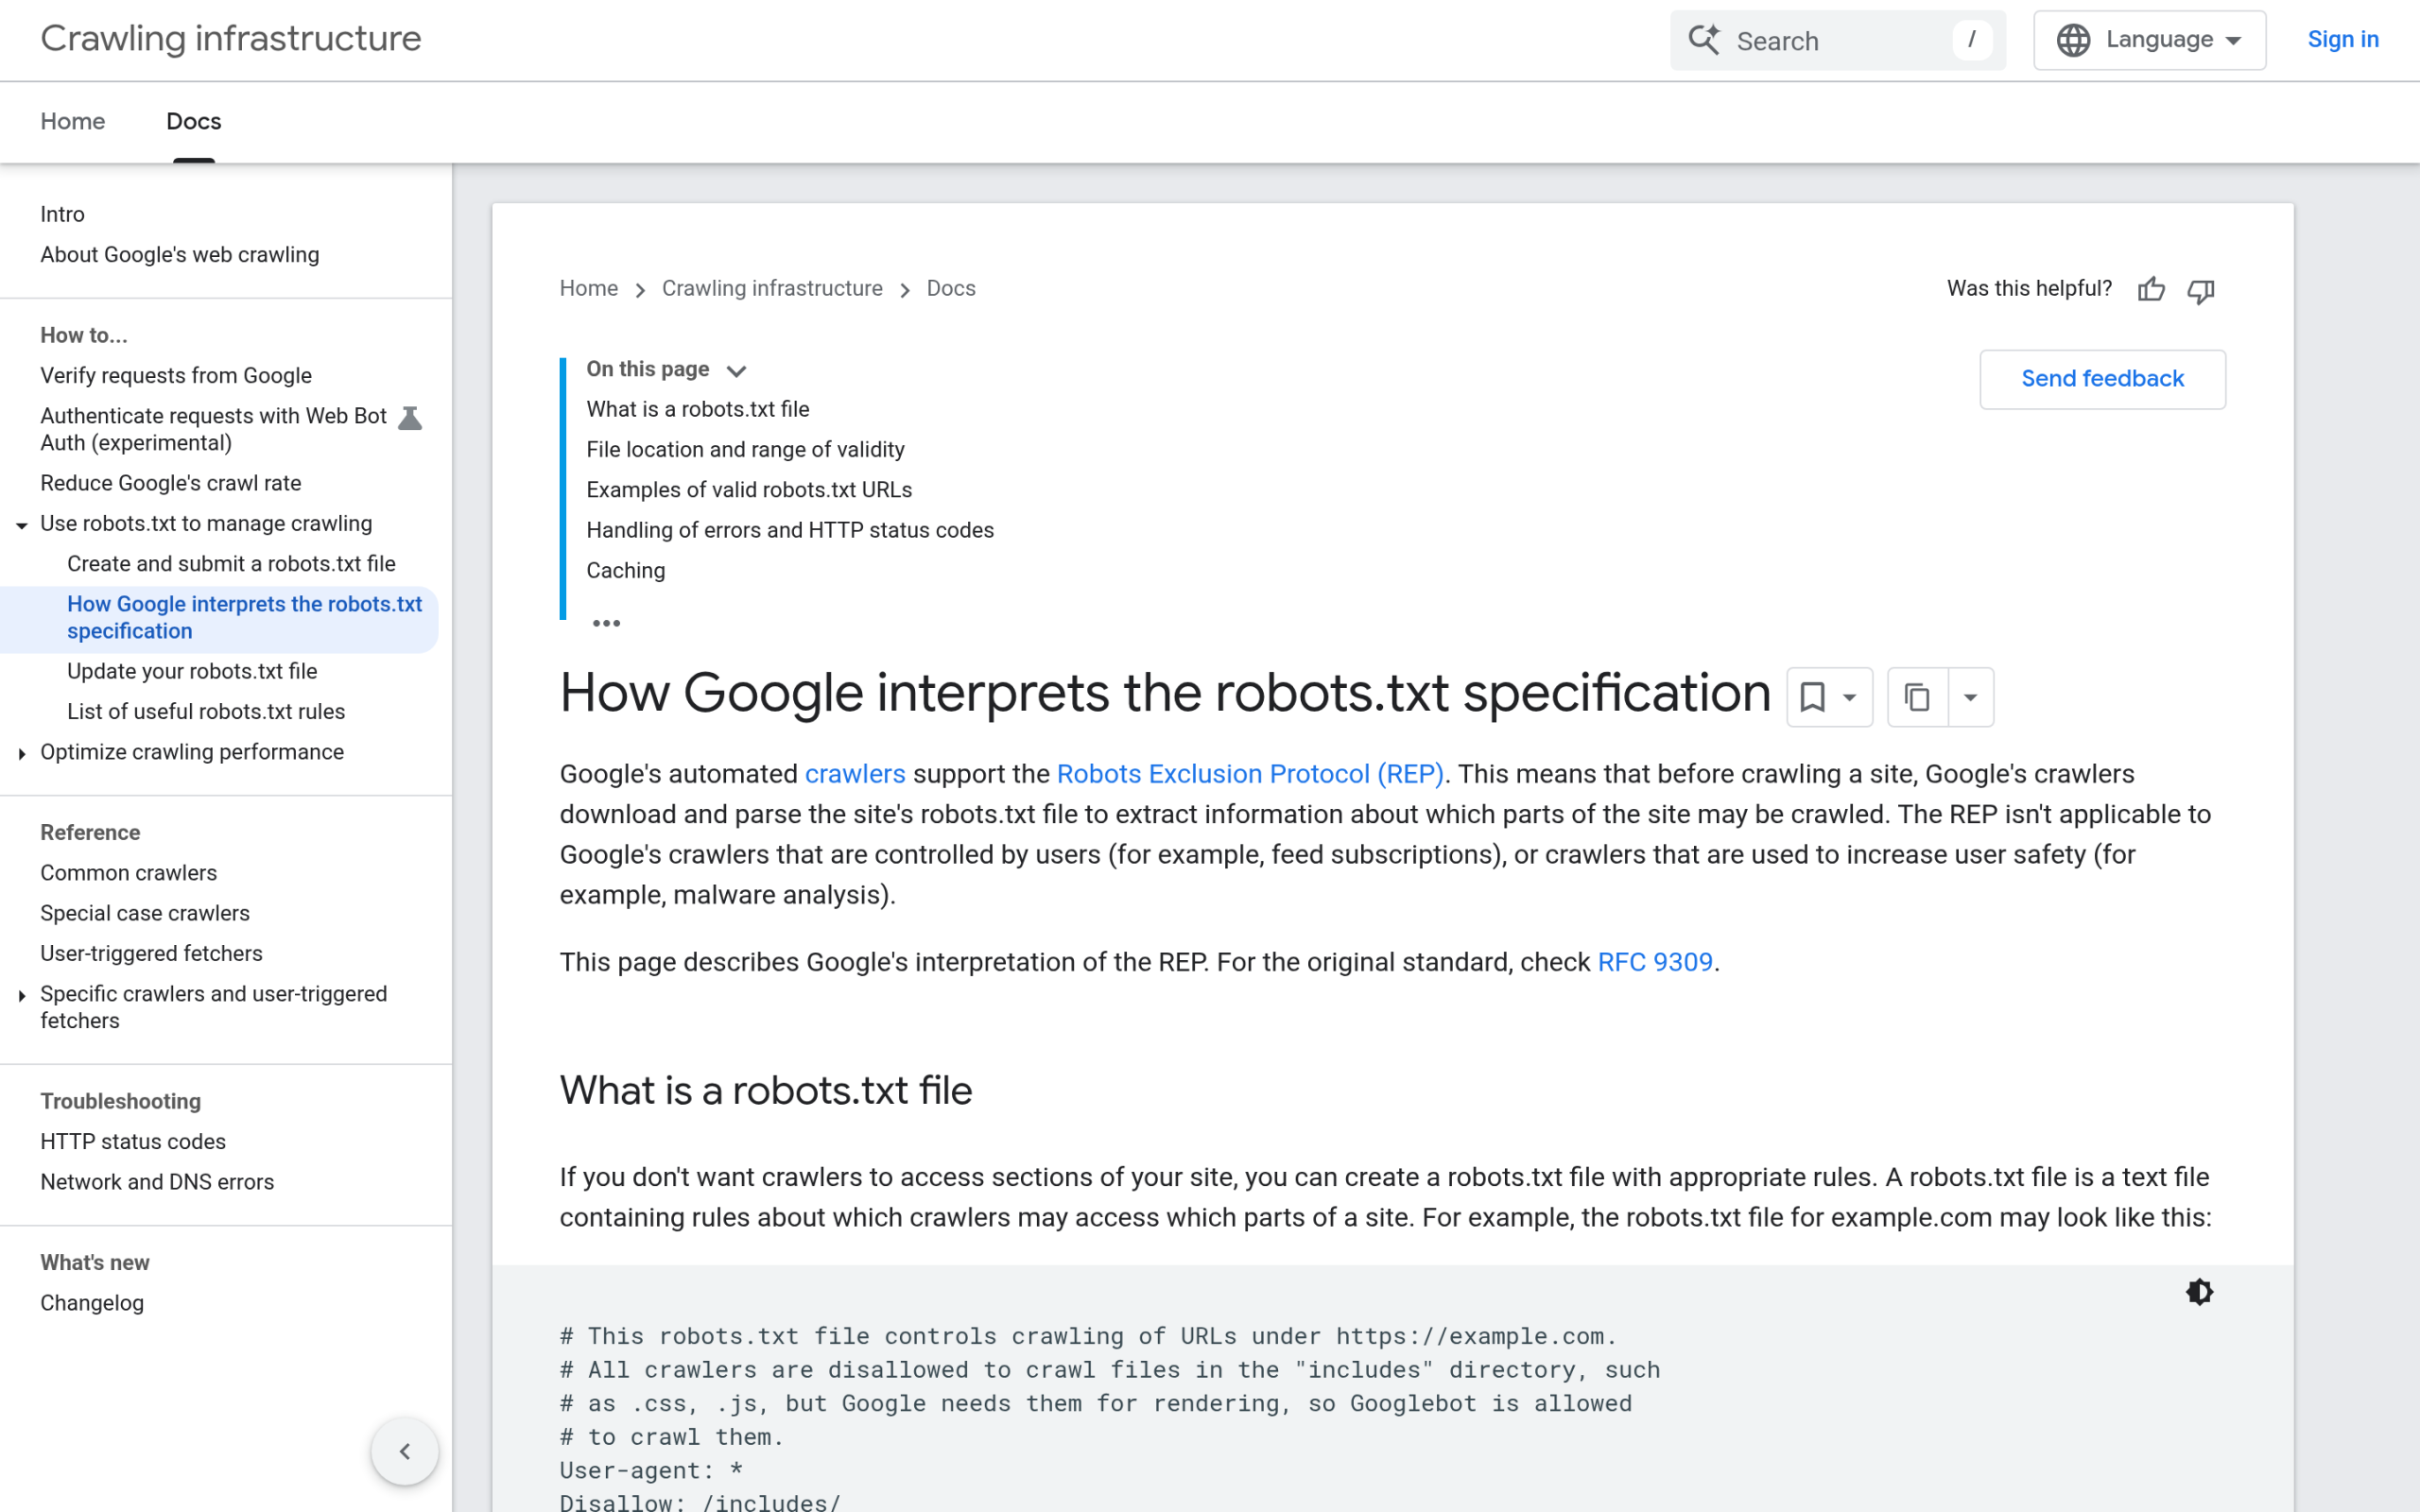Google Search Central's robots.txt documentation is the reference for valid directive syntax. Three things every generated file needs and most online tools skip. First, the standard WordPress paths so crawlers do not waste budget on admin and JSON endpoints. Second, the AI crawler split: search bots like OAI-SearchBot and PerplexityBot should almost always stay allowed, because blocking them makes you invisible inside ChatGPT Search and Perplexity, while training bots like GPTBot and ClaudeBot are your judgment call. Third, the Sitemap line, which points every crawler at your index. ***Also Read:** not sure which user-agent belongs to which company? Our [Web Crawlers List: 15 Most Common Bots and Spiders](https://qa.nexterwp.com/blog/web-crawlers-list/) maps every search, AI, and SEO-tool bot so you know exactly what each line in your file controls.* ## How to test that your generated robots.txt actually works Generating the file is half the job. A file that looks right but blocks the wrong bot is worse than no file at all. Run these three checks after every change. **Google Search Console.** Open the robots.txt report in Search Console, which shows you the live file Google fetched and flags any syntax errors. This is the authoritative view of what Googlebot sees, not what you think you saved. **The curl test.** From a terminal, pretend to be an AI crawler and check the response code: `curl -A "OAI-SearchBot/1.0" -I https://yoursite.com/` An `HTTP 200` means that bot can reach you. A `403` or `429` means something upstream, usually your host or CDN, is blocking the crawler before your robots.txt is ever read. No generator can fix that, because the request never reaches WordPress. Swap the user-agent string to test GPTBot, PerplexityBot, or any bot you care about. 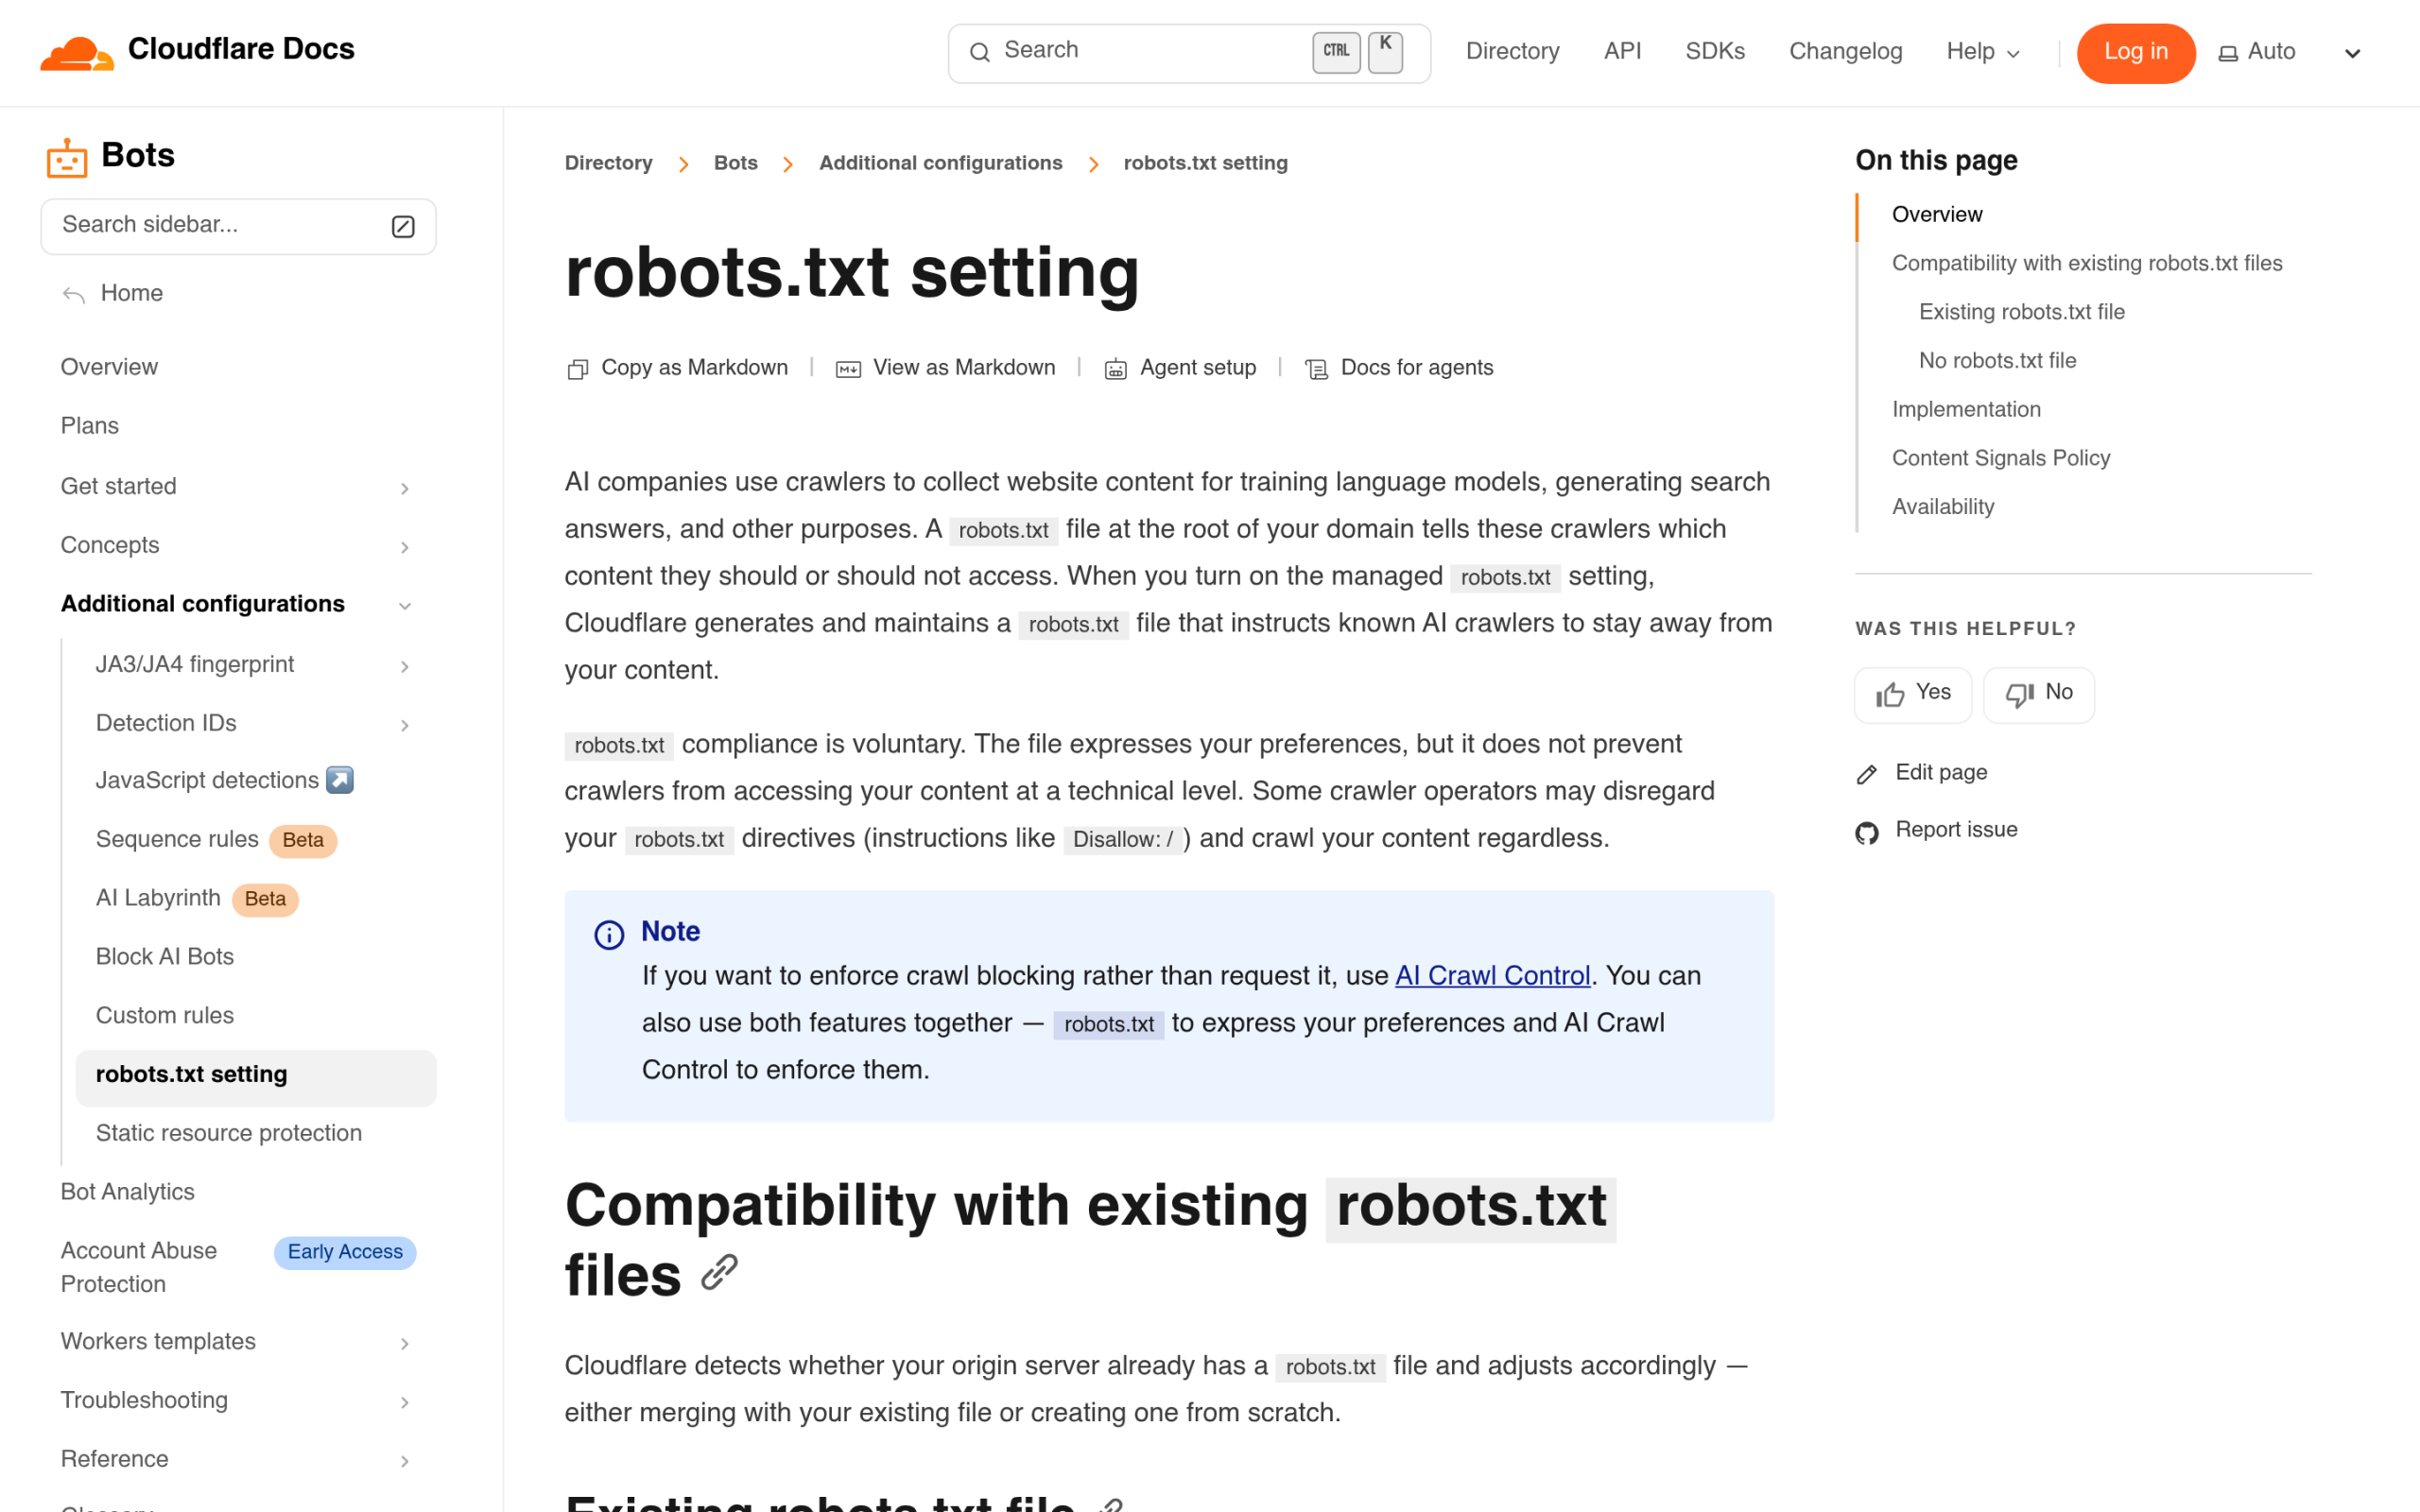Cloudflare and other CDNs can block AI crawlers at the edge before your robots.txt is ever read. **Automated, inside WordPress.** The [RankReady](https://store.posimyth.com/plugins/rankready/) AI Readiness Diagnostics module runs that same curl test on a schedule from inside your admin and flags any 403 or 429 with a link to the host dashboard where you fix it. It is the difference between checking once and knowing the moment a host update silently starts blocking ChatGPT. ## Which method should you actually use? If you already run Rank Math or Yoast, use their built-in editor and paste in the 2026 template above. That covers the vast majority of WordPress sites and costs nothing. If your priority is controlling AI crawler access specifically, or you want the file kept current automatically as the bot landscape shifts, the RankReady rules builder was made for exactly that. Reach for an online generator only as a quick template source, and for manual FTP only when no plugin is possible. The honest takeaway: the best robots.txt generator for WordPress is usually the one already sitting in your plugin list. The skill that matters is not finding a tool, it is knowing the rules to feed it, and now you have them. ## Suggested reading - [WordPress robots.txt for AI Crawlers: A Gutenberg Builder Guide](https://qa.nexterwp.com/blog/wordpress-robots-txt-ai-crawlers-gutenberg/)- [Web Crawlers List: 15 Most Common Bots and Spiders](https://qa.nexterwp.com/blog/web-crawlers-list/)- [Cloudflare Turnstile vs Google reCAPTCHA](https://qa.nexterwp.com/blog/cloudflare-turnstile-vs-google-recaptcha/)- [RankReady: the free WordPress AI SEO plugin](https://store.posimyth.com/plugins/rankready/) --- # 5 Best Anti-Spam Plugins for WordPress in 2026 [Tested] Source: https://qa.nexterwp.com/blog/best-anti-spam-plugins-for-wordpress/ A Nexter user asked our community last month: "I woke up to 300 fake registrations overnight. Which anti-spam plugin actually stops this?" The replies ranged from Akismet to CleanTalk to rolling a custom honeypot. Nobody agreed, and for a good reason. Anti-spam plugins for WordPress are not one-size-fits-all. Comment spam, form spam, fake registrations, and login brute-force are four different problems that need four different approaches. The right plugin removes nearly all of it without making real visitors solve puzzles. The wrong one slows your site, breaks form submissions, or stops working after a WordPress update. This guide compares the 5 best anti-spam plugins for WordPress in 2026, tested on the same five criteria: detection accuracy, user friction, pricing, builder compatibility, and active maintenance. By the end you will know exactly which one fits your site, your budget, and the spam you actually deal with. ## What to look for in an anti-spam plugin Before the list, here is the short version of what separates a great anti-spam plugin from a frustrating one. - **Detection accuracy.** A good plugin blocks 95% or more of spam without flagging real comments or form submissions as false positives. Anything below that means lost leads. - **Zero-friction protection.** CAPTCHAs work but they reduce conversions. The best plugins block spam invisibly using honeypots, behavior analysis, or cloud filters. Real visitors never see a challenge. - **Active maintenance.** A plugin last updated 18 months ago is a liability. Check the WordPress.org "last updated" date before installing anything on a live site. - **Builder and form compatibility.** Your plugin must work with whatever you use. Gutenberg, Elementor, Bricks, WPForms, Contact Form 7, Gravity Forms, and Fluent Forms all handle anti-spam integration differently. - **Transparent pricing.** Some free plugins are genuinely free. Others hit hard limits the moment your traffic grows. We flag both clearly below. Now the picks. ## 1. Akismet Anti-Spam 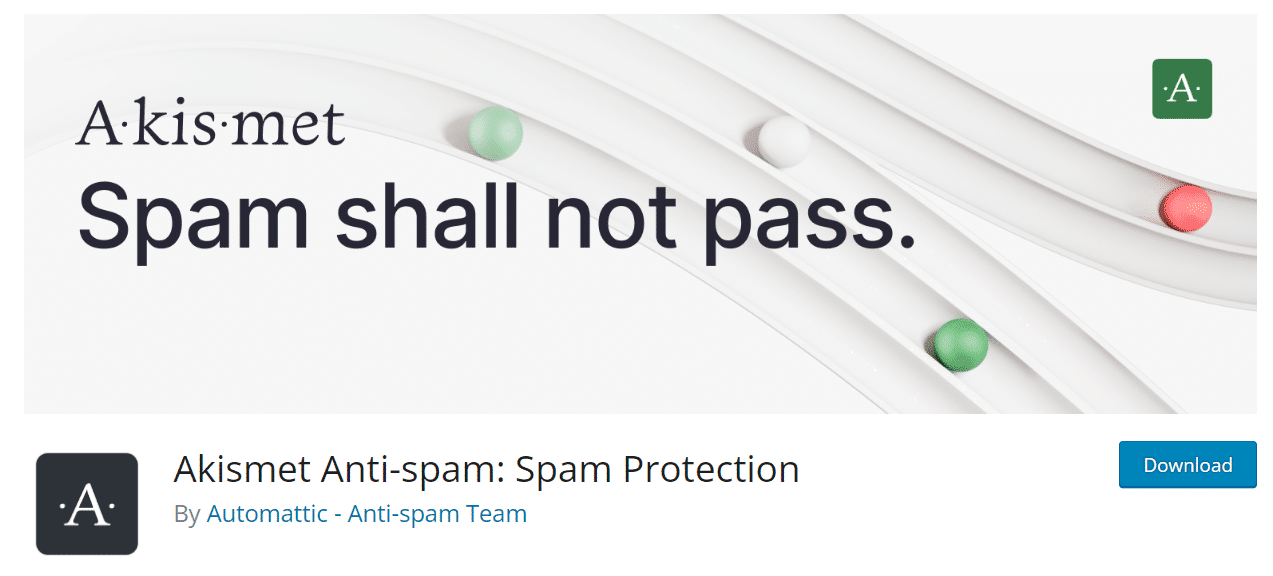 Akismet ships with every WordPress install and has been the default anti-spam standard for nearly two decades, built by Automattic. Over 5 million active installations make it the most-used anti-spam plugin on WordPress.org. Every comment, contact form submission, or trackback gets sent to Akismet's cloud service, checked against a database of known spam signatures, and either approved or filtered. No CAPTCHA. No visible honeypot. The visitor sees nothing. **Why it works:** Akismet's spam database is updated by every site running it. New spam patterns get caught within hours. For comment-heavy blogs, accuracy consistently runs above 99%. **Free vs paid:** - **Free plan:** Personal blogs only, non-commercial use, no ads on the site - **Plus plan ($4.40/month):** One site, commercial use included - **Enterprise plan (custom pricing):** Multiple sites, priority support, agency-level features **Where it falls short:** The free tier is restricted to non-commercial sites only. Run ads, sell products, or accept sponsorships and you technically need a paid plan. It primarily handles comment spam and contact form spam from well-integrated plugins. Login attacks and registration spam need a separate solution. Because it sends comment data to a third-party cloud service, it also raises questions for GDPR-strict regions. **Best for:** Content sites, blogs, and small businesses with high comment volume who want set-and-forget protection with minimal configuration. ## 2. CleanTalk Spam Protection  CleanTalk takes a broader approach than Akismet. Instead of focusing on comments alone, it protects every entry point on your site. Comments, contact forms, registrations, WooCommerce checkout, and login attempts. Detection runs on CleanTalk's cloud, checking every submission against behavioral patterns, IP reputation, browser fingerprints, and known spam databases. Like Akismet, it runs invisibly. No puzzles, no math problems, no clicking traffic lights. **Why it works:** CleanTalk publishes a real-time stats dashboard across its full network. Over 5 billion spam attempts are blocked monthly, with network-wide detection accuracy reported at 99.998%. **Free vs paid:** - **Free plan:** 7-day trial only, then paid - **Anti-Spam plan ($8/year per site):** Comment, registration, login, and form spam protection - **Security plan ($35/year per site):** Adds firewall, malware scanning, brute force protection - **Anti-Spam + Security bundle ($45/year per site):** Both products combined **Where it falls short:** No permanent free tier. Just a 7-day trial, then paid. The dashboard lives on CleanTalk's site rather than in your WordPress admin. For sites with niche spam patterns like industry-jargon spam or language-specific attacks, the cloud filter occasionally misses or over-blocks edge cases. **Best for:** WooCommerce stores, membership sites, and any WordPress site with multiple entry points where comment-only tools like Akismet fall short. ## 3. Antispam Bee Antispam Bee is the most popular free alternative to Akismet, built by a small German developer team and trusted by over 600,000 active installations on WordPress.org. It holds a 4.8-star average from 225+ reviews. It works entirely without sending data to third-party services, making it a strong fit for GDPR-strict sites. Detection is local: honeypots, comment metadata analysis, regex pattern matching against known spam phrases, and optional country-based blocking. **Why it works:** No cloud dependency means no monthly fees, no third-party data transfers, and no breakage when an external service changes its API. Antispam Bee has been actively maintained since 2009 and continues shipping regular updates. **Free vs paid:** 100% free. No paid tier, no upgrade prompt, no premium feature gates. **Where it falls short:** Handles comment and trackback spam only. Form spam and registration spam need a separate plugin or form-builder-level protection. The interface is minimal. No stats dashboard, no detailed reports, no usage graphs. Detection accuracy is lower than Akismet on sophisticated AI-generated spam since there is no shared signal network. **Best for:** Self-hosted blogs, GDPR-sensitive sites, developers who want zero third-party dependencies, and anyone who needs reliable comment spam protection at zero cost. ***Also Read:** [Cloudflare Turnstile vs Google reCAPTCHA](https://qa.nexterwp.com/blog/cloudflare-turnstile-vs-google-recaptcha/) — how the two most popular challenge-free verification tools compare in 2026.* ## 4. WP Armour Honeypot Anti-Spam 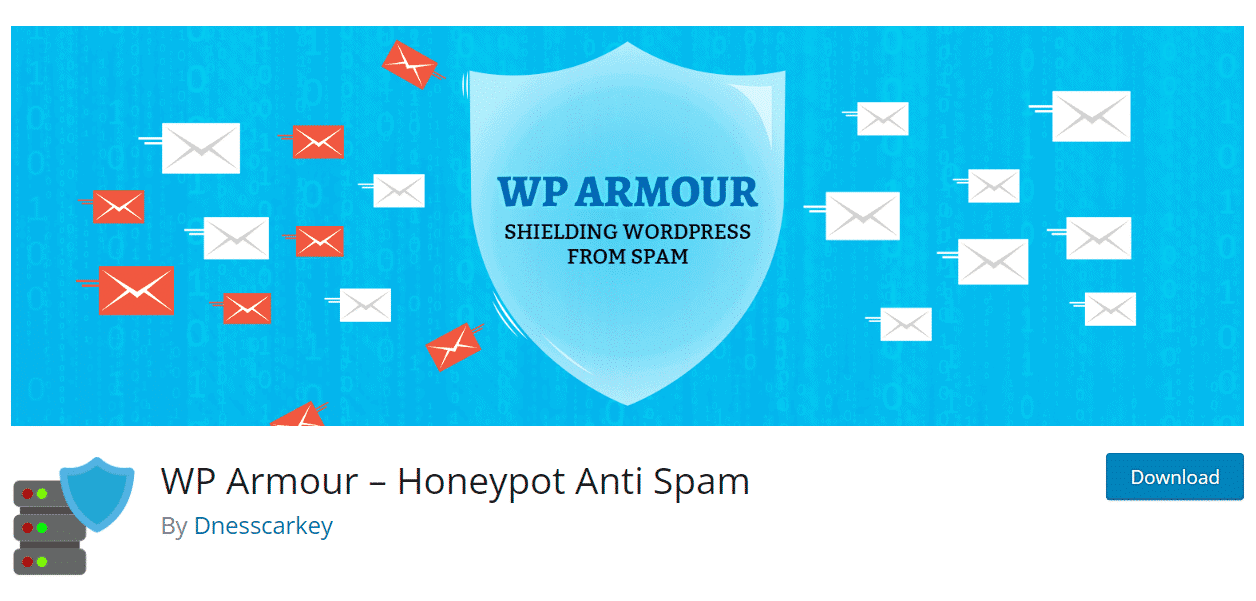 WP Armour takes a different approach. Instead of scanning submitted content for spam signatures, it places an invisible honeypot field in your forms that real visitors never see but bots fill in automatically. When that field arrives filled, the submission is rejected silently. The plugin works with every major form builder. Contact Form 7, Gravity Forms, WPForms, WS Form, Ninja Forms, Fluent Forms, and Elementor Forms. It also covers WordPress comments, registrations, and BuddyPress activity. **Why it works:** Honeypots are decades-old anti-spam technology, but WP Armour modernizes the approach with rotating field names, randomized form attributes, and per-request tokens. Enough to catch bots that handle modern single-page form rendering. **Free vs paid:** - **Free plan:** Honeypot protection across all supported forms and comments - **Extended ($9 one-time per site):** Adds CAPTCHA fallback, country blocking, statistics dashboard, IP rules - **Extended Multisite ($29 one-time):** Same features across a WordPress multisite network **Where it falls short:** Honeypot-only detection means sophisticated bots that render pages in a headless browser can occasionally slip through. The free version has no statistics, so you cannot see exactly how much spam it blocks. Updates ship less frequently than Akismet or CleanTalk, though the plugin remains stable and compatible with current WordPress versions. **Best for:** Form-heavy sites, lead generation pages, and anyone who wants invisible spam blocking with no recurring subscription. The $9 one-time Extended license makes it strong long-term value. ## 5. Titan Anti-Spam & Security  Titan combines anti-spam protection with a security suite. You get comment and form spam filtering plus a firewall, malware scanner, file integrity monitor, and login protection in a single plugin install. Spam detection uses behavior analysis, IP reputation checking, and content pattern matching. The cloud filter learns from the entire Titan user network, similar to Akismet, but adds firewall and brute-force protection on top. **Why it works:** Bundling spam protection with security means one plugin replaces two or three. For sites not already running Wordfence or Sucuri, Titan covers both spam and basic site hardening without plugin conflicts. **Free vs paid:** - **Free plan:** Comment spam filter, contact form spam filter, security scanner, login protection - **Pro plan ($65/year per site):** Adds real-time scanning, automatic malware removal, advanced firewall rules, priority support **Where it falls short:** The free tier shows upsell prompts in the dashboard, which some users find pushy. The combined feature set makes it a heavier plugin than dedicated anti-spam-only options. Sites already running a security plugin will find overlap. Some firewall rules are more aggressive than competitors, occasionally blocking legitimate traffic from non-US visitors. **Best for:** Small business sites and bloggers who want spam protection plus basic security coverage in one install, without managing multiple security products. ## How the 5 plugins compare side-by-side This table shows the high-signal differences at a glance. Use it to shortlist two plugins, then read those full sections before deciding. | Plugin | Free tier | Comment spam | Form spam | Registration spam | GDPR-friendly | Best for | | ------ | --------- | ------------ | --------- | ----------------- | ------------- | -------- | | **Akismet** | Personal blogs only | Excellent | Limited | Limited | Sends data to cloud | High-traffic blogs | | **CleanTalk** | 7-day trial | Excellent | Excellent | Excellent | Sends data to cloud | WooCommerce + multi-entry sites | | **Antispam Bee** | Fully free | Strong | None | None | Fully local | GDPR-strict comment sites | | **WP Armour** | Fully free | Strong | Excellent | Strong | Fully local | Form-heavy sites | | **Titan Anti-Spam** | Free + Pro | Strong | Strong | Strong | Sends data to cloud | All-in-one security + spam | One-line picks: **Akismet** for comment-heavy blogs, **CleanTalk** for stores and membership sites, **Antispam Bee** for privacy-first sites, **WP Armour** for form-heavy lead gen, and **Titan** if you do not already have a security plugin. ## Which anti-spam plugin is right for your site? The right choice depends entirely on where your spam is hitting you. Here is a quick decision framework. **Most of your spam is blog comments:** Akismet or Antispam Bee. Akismet wins on accuracy. Antispam Bee wins on privacy and price. **You run a WooCommerce store, membership site, or allow registrations:** CleanTalk. It covers more entry points than any other plugin on this list. The $8/year cost is negligible against the time spam costs you. **You run a lead-generation site with lots of contact forms:** WP Armour. Honeypots are the right tool for form spam, and the one-time $9 license beats any recurring subscription. **You do not have a security plugin yet:** Titan Anti-Spam & Security. You get spam protection plus a firewall in one install, replacing two plugins at once. **You are GDPR-strict and will not send any data outside your server:** Antispam Bee or WP Armour. Both run entirely locally with zero cloud dependency. *Need to lock down your registration page too? Here is how to [**stop spam registrations on WordPress**](https://qa.nexterwp.com/blog/how-to-stop-spam-registrations-on-wordpress/).* ## Wrapping Up Spam is an ongoing tax on every WordPress site, and the right anti-spam plugin reduces it to near zero without creating friction for real users. The five plugins above cover every common scenario. Comment-heavy blogs, WooCommerce stores, lead-gen forms, membership sites, and GDPR-strict builds. Pick the one that matches the spam you actually receive, install it tonight, and your moderation queue empties by next week. If you also need spam-free login and registration pages on a Gutenberg site, [Nexter Blocks](https://qa.nexterwp.com/nexter-blocks/) includes Login Form, Registration Form, and Password Reset Form blocks that integrate with reCAPTCHA out of the box. Pair those with one of the anti-spam plugins above and your front-end is covered end to end. [See full Nexter pricing](https://qa.nexterwp.com/pricing/) or [download Nexter free](https://qa.nexterwp.com/download-nexter-free/#download-nexter) to try the blocks first. ## FAQs on Anti-Spam Plugins for WordPress ### Is Akismet free for WordPress? Akismet has a free tier, but it is restricted to non-commercial personal blogs. If your site runs ads, sells products, or accepts any form of sponsorship, you need the Plus plan at $4.40/month per site. Commercial use on the free tier technically violates Akismet's terms of service, even for small sites. ### What is the best free anti-spam plugin for WordPress? Antispam Bee is the best fully free option. No paid tier, no usage limits, and no third-party data transfers. It handles comment spam reliably on any size blog. If you also need form spam protection for free, WP Armour is the right choice. Its free tier covers honeypot protection across all major form builders. ### Can I use more than one anti-spam plugin at the same time? You can, but most sites do not need to. Running two cloud-based spam filters like Akismet and CleanTalk together can create redundancy that slows form submissions since both check each request. A better approach: use one cloud filter for comments and one local honeypot like WP Armour for forms. That combination covers all entry points without overlap. ### Does Antispam Bee work with contact forms? No. Antispam Bee only protects WordPress comment sections and trackbacks. It does not integrate with Contact Form 7, WPForms, Gravity Forms, or any other form builder. For form spam protection on a GDPR-strict site, pair Antispam Bee with WP Armour, which covers all major builders and runs locally with no external requests. ### Which anti-spam plugin is best for WooCommerce? CleanTalk is the best anti-spam plugin for WooCommerce. It protects the checkout form, registration, login, and product reviews in one install for $8/year. Akismet covers WooCommerce reviews if integrated, but does not protect the checkout or registration flow. WP Armour's honeypot approach also works well on WooCommerce forms if you prefer a one-time-cost option. ### Are WordPress anti-spam plugins GDPR compliant? It depends on the plugin. Akismet, CleanTalk, and Titan send submission data to external cloud servers, which can raise GDPR concerns depending on your privacy policy and where those servers are located. Antispam Bee and WP Armour run entirely locally. No data leaves your server, making them fully GDPR-friendly without requiring additional disclosures to users. --- # FAQ Schema Generator for WordPress: Auto-Add FAQPage JSON-LD Without Writing Code (2026) Source: https://qa.nexterwp.com/blog/faq-schema-generator-wordpress/ #### Key Takeaways - Google stopped showing FAQ rich results for most websites on May 7, 2026; FAQPage schema is now primarily useful for AI engines like ChatGPT, Perplexity, and Google AI Mode.- Free online generators like TechnicalSEO.com and Hall Analysis produce one-time JSON-LD you paste manually and re-generate on every edit.- WordPress plugins like Rank Math and Yoast auto-generate FAQPage schema from FAQ blocks with no code needed, but you write every question yourself.- RankReady goes further: its AI researches real questions, writes answers from your content, and attaches FAQPage plus Speakable schema automatically using your own LLM key.- The right method depends on scale: a single page needs a generator, a site with hundreds of posts needs auto-generation. In May 2026, I was reviewing a client site in Google Search Console and noticed something odd. Their blog had FAQ schema on every post, properly structured and validated. But the rich results had stopped showing. I ran the Rich Results Test and everything came back clean. Then I read the notice Google had quietly added to their FAQPage documentation. As of May 7, 2026, FAQ rich results no longer appear in Google Search for most sites. The feature now applies only to government and health-focused properties. That changes the conversation around FAQ schema generators, not the tools themselves, but why you are using them. The case for FAQPage JSON-LD in 2026 is not Google rich results. It is AI engines: ChatGPT, Perplexity, Claude, and Google AI Mode all parse FAQPage markup to identify question-answer pairs worth citing. If those are the systems you want to be mentioned in, your FAQ content still needs schema. The generator just has a different job now. ## What Happened to Google FAQ Rich Results in May 2026 (And Why Schema Still Matters) Google officially deprecated FAQPage rich results for most websites on May 7, 2026. The feature now applies only to government-focused and health-focused websites, per Google's structured data documentation. For every WordPress blog, ecommerce site, or SaaS content hub, FAQPage schema no longer produces the expandable question-answer display under your search result. 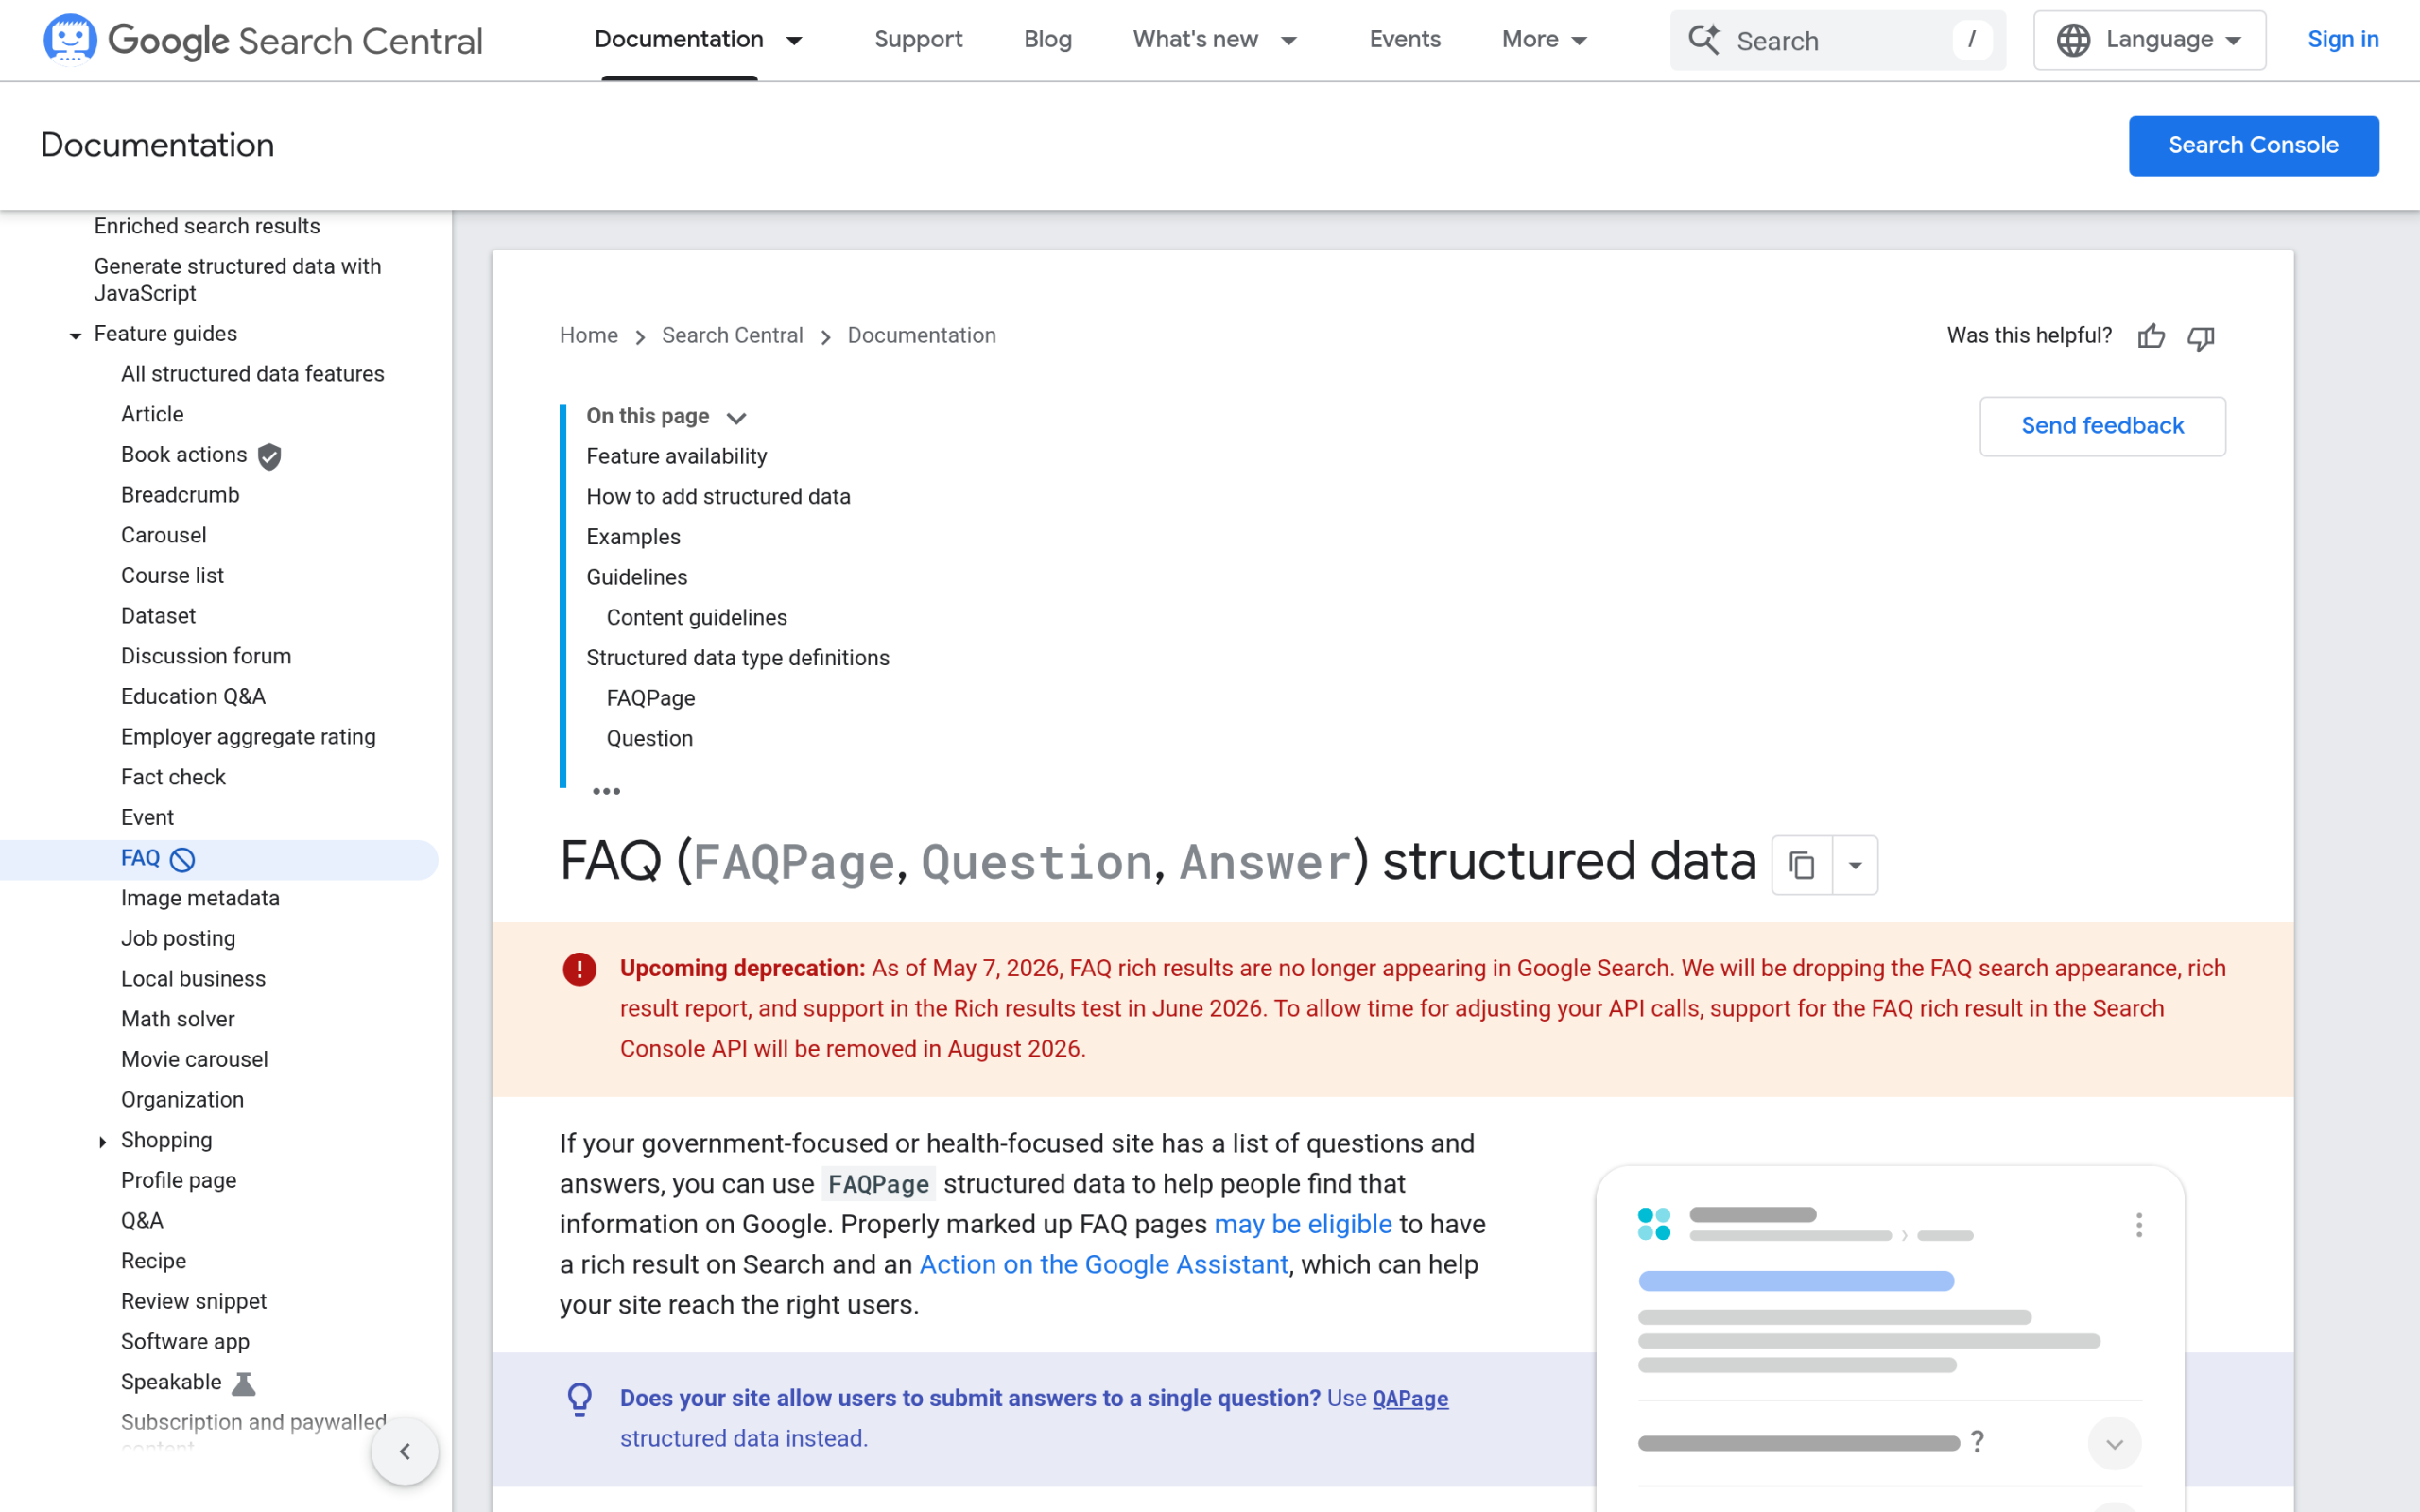Google deprecated FAQPage rich results for most sites on May 7, 2026. The feature now only applies to government and health-focused properties. What FAQPage schema does produce in 2026 is context for AI-powered systems. ChatGPT, Perplexity, Claude, and Google AI Mode all read structured data to understand which parts of a page are intended as questions and answers. FAQPage markup makes that explicit. Combined with Speakable schema, which flags content as suitable for AI assistants to quote directly, it is one of the cleaner signals you can send to systems that read your site. Google has also stated that no additional structured data is required to appear in AI Overviews, so schema is not a guaranteed ticket to any specific AI feature, but it removes friction for every AI system parsing your pages. ## What Is FAQPage Schema? FAQPage is a structured data format from Schema.org. It describes a page containing frequently asked questions where each question has a single, definitive answer. The format uses JSON-LD, a small block of code that sits in the page head, telling any system parsing the page which questions the content answers and what those answers are. `{ "@context": "https://schema.org", "@type": "FAQPage", "mainEntity": [{ "@type": "Question", "name": "How do I add FAQ schema to WordPress?", "acceptedAnswer": { "@type": "Answer", "text": "You can add FAQ schema through a free online generator and paste the JSON-LD into a header plugin, or use a WordPress plugin like Rank Math or RankReady that auto-generates it from FAQ blocks." } }] }` A FAQ schema generator builds this structure for you. You provide the questions and answers, the tool formats the JSON-LD, and you get code ready to use. The approaches differ in how much of that process they automate, from fully manual to fully AI-generated. ## Option 1: Free Online FAQ Schema Generators Free generators are the entry point. The TechnicalSEO.com schema markup generator and the Hall Analysis JSON-LD generator both support FAQPage schema. You open the tool, select the FAQPage type, enter your questions and answers, and copy the resulting JSON-LD block. 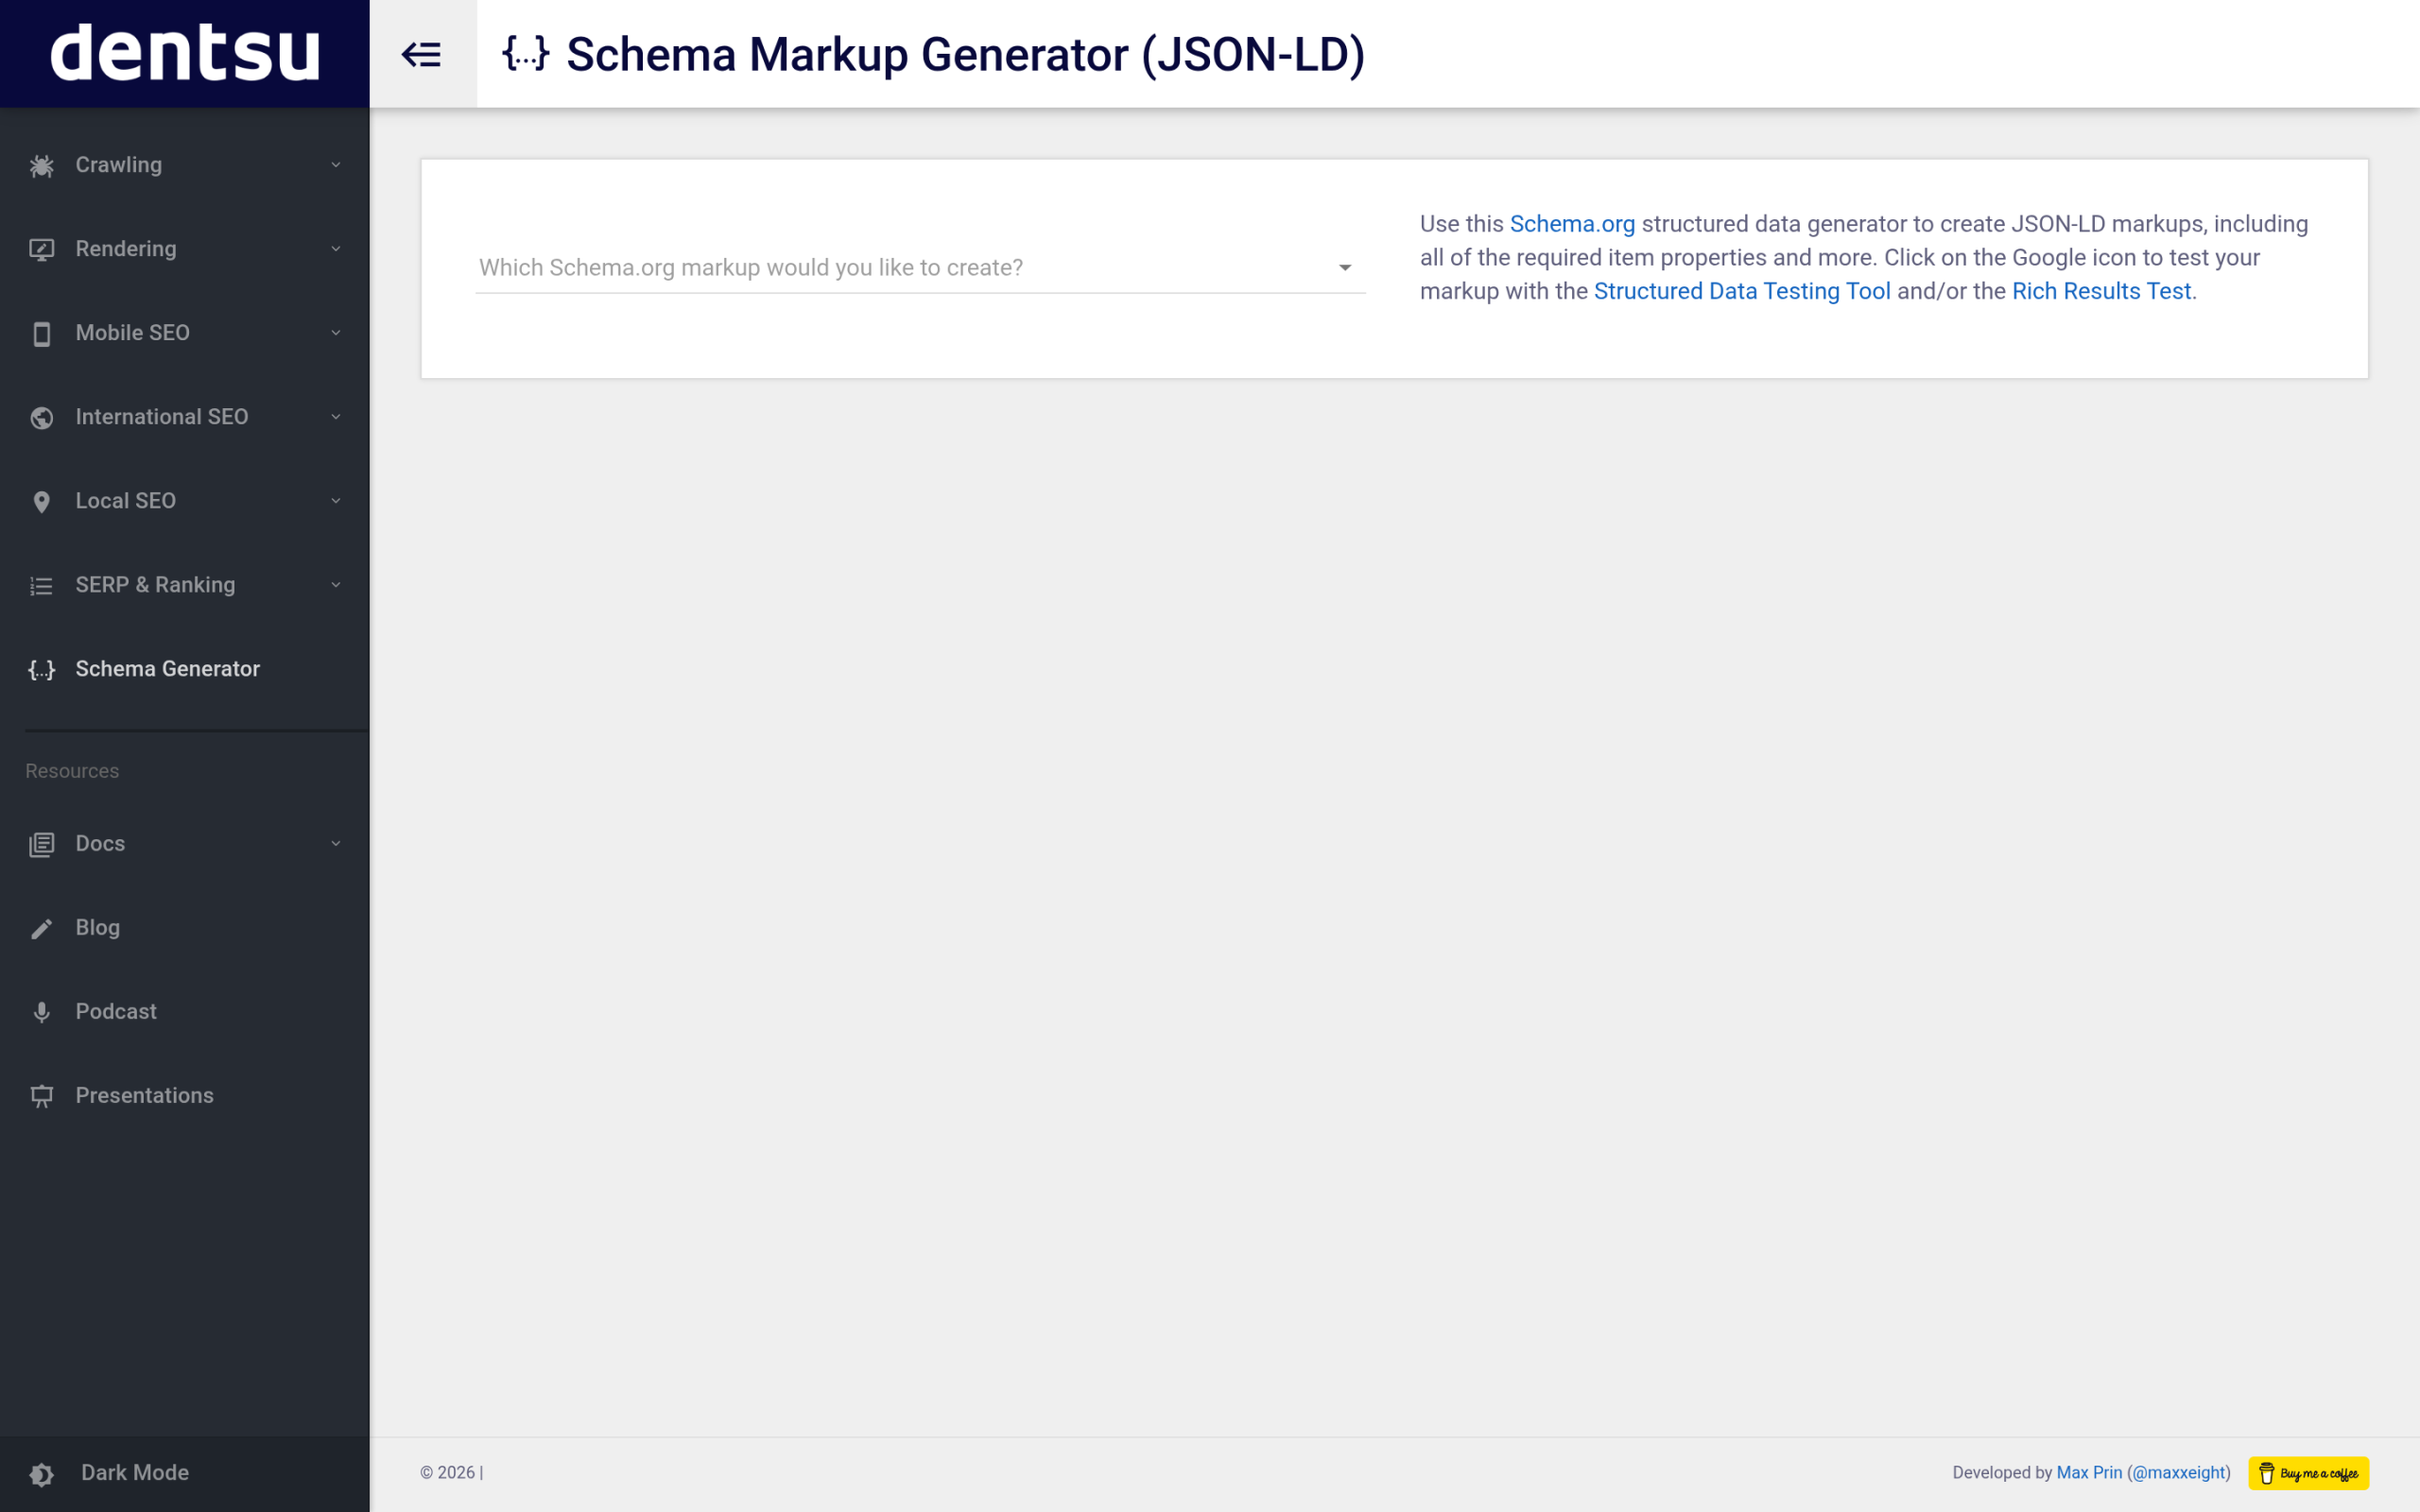TechnicalSEO.com's schema markup generator supports FAQPage and outputs ready-to-paste JSON-LD. To add the generated code to WordPress without a plugin: install a header injection plugin such as Insert Headers and Footers, paste the JSON-LD into the header section scoped to the specific page containing your FAQ content. For a developer-built page or custom theme, it goes in the `` of that template. The limitations are real at scale. Every time you add a question, change an answer, or restructure a FAQ section, you re-run the generator and re-paste the output manually. On a page you update rarely, that is manageable. Across dozens of blog posts, it becomes a maintenance problem. There is also no Speakable layer, so AI assistants get no signal about which parts of the FAQ are quotable. ***Also Read:** [Schema Markup Generator for WordPress](https://qa.nexterwp.com/blog/schema-markup-generator-wordpress/) covers the full range of schema types and auto-generation options beyond FAQPage alone.* ## Option 2: WordPress FAQ Blocks for Semi-Automatic Schema Rank Math and Yoast both include FAQ blocks for the Gutenberg editor. Add the block to a post, fill in your questions and answers directly in the editor, and the plugin generates FAQPage JSON-LD automatically for that post on save. No JSON-LD editing, no manual injection. This solves the maintenance problem. The schema stays in sync with your content because it is generated from the block, not stored separately. Every time you edit a question, the schema updates. What it does not solve is the authoring problem: you still write every question and answer yourself, there is no AI research into what real people are searching for, and the output is FAQPage schema only with no Speakable layer attached. ## Option 3: AI-Powered FAQ Schema Generation with RankReady RankReady generates FAQPage schema from FAQ blocks, the same way Rank Math does. The difference is how the FAQ content gets there and what comes out the other side. Instead of writing questions manually, RankReady's AI researches what people actually search for around your topic using real keyword data, generates answers from your post content, and inserts the FAQ block with FAQPage and Speakable schema attached automatically. The questions come from real search demand, the answers come from your own content, and the schema output covers both FAQPage and Speakable in a single pass. RankReady auto-generates FAQPage and Speakable schema from AI-researched questions. Free plugin, bring your own LLM key (OpenAI, Claude, Gemini, or DeepSeek). You bring your own LLM key: OpenAI, Anthropic Claude, Google Gemini, or DeepSeek. The cost runs roughly 2 to 4 cents per FAQ set, charged by your LLM provider. The plugin itself is free, released under GPL-2.0, and runs on WordPress 6.0 and newer with PHP 7.4 and newer. It works alongside Rank Math and Yoast. If you already have base schema through one of those plugins, RankReady adds the AI-facing layer without conflicts. [Get RankReady free from the POSIMYTH Innovations store](https://store.posimyth.com/plugins/rankready/) and connect your own LLM key to start generating FAQPage and Speakable schema automatically. ***Also Read:** [Rank Math vs RankReady](https://qa.nexterwp.com/blog/rank-math-vs-rankready/) breaks down exactly where each plugin's schema output differs and which one wins for AI search citations.* ## Which FAQ Schema Method Is Right for Your WordPress Site? The right approach depends on your scale and goals. | | Free Generator | Rank Math / Yoast Block | RankReady | | --- | -------------- | ----------------------- | --------- | | **Schema output** | FAQPage only | FAQPage only | FAQPage + Speakable | | **Content authoring** | Manual | Manual | AI-generated from your content | | **Stays in sync** | Manual re-generation | Auto (tied to block) | Auto (tied to block) | | **Cost** | Free | Free | Free; approx. 2 to 4 cents per FAQ set via your LLM key | | **Best for** | One static page | Active blog with Rank Math or Yoast already installed | Sites targeting AI search citations at scale | For a single landing page with a static FAQ section, a free generator is entirely sufficient. For a blog where you want FAQ schema on posts without manual maintenance, the Rank Math or Yoast FAQ block is the practical choice. If your goal is AI-engine citations, getting ChatGPT or Perplexity to pull from your FAQ content specifically, the Speakable layer that RankReady adds is worth the marginal LLM cost per post. ## How to Validate FAQ Schema in WordPress Whatever method generates your markup, validate the output before trusting it. Two free tools handle this. Google's Rich Results Test at search.google.com/test/rich-results checks whether your page's structured data is syntactically valid and error-free. Even though FAQPage rich results no longer appear in Google Search for most sites, the test still confirms your JSON-LD is well-formed, which matters for AI parsing. The Schema.org Validator at validator.schema.org checks that your JSON-LD conforms to the Schema.org vocabulary against the spec itself. 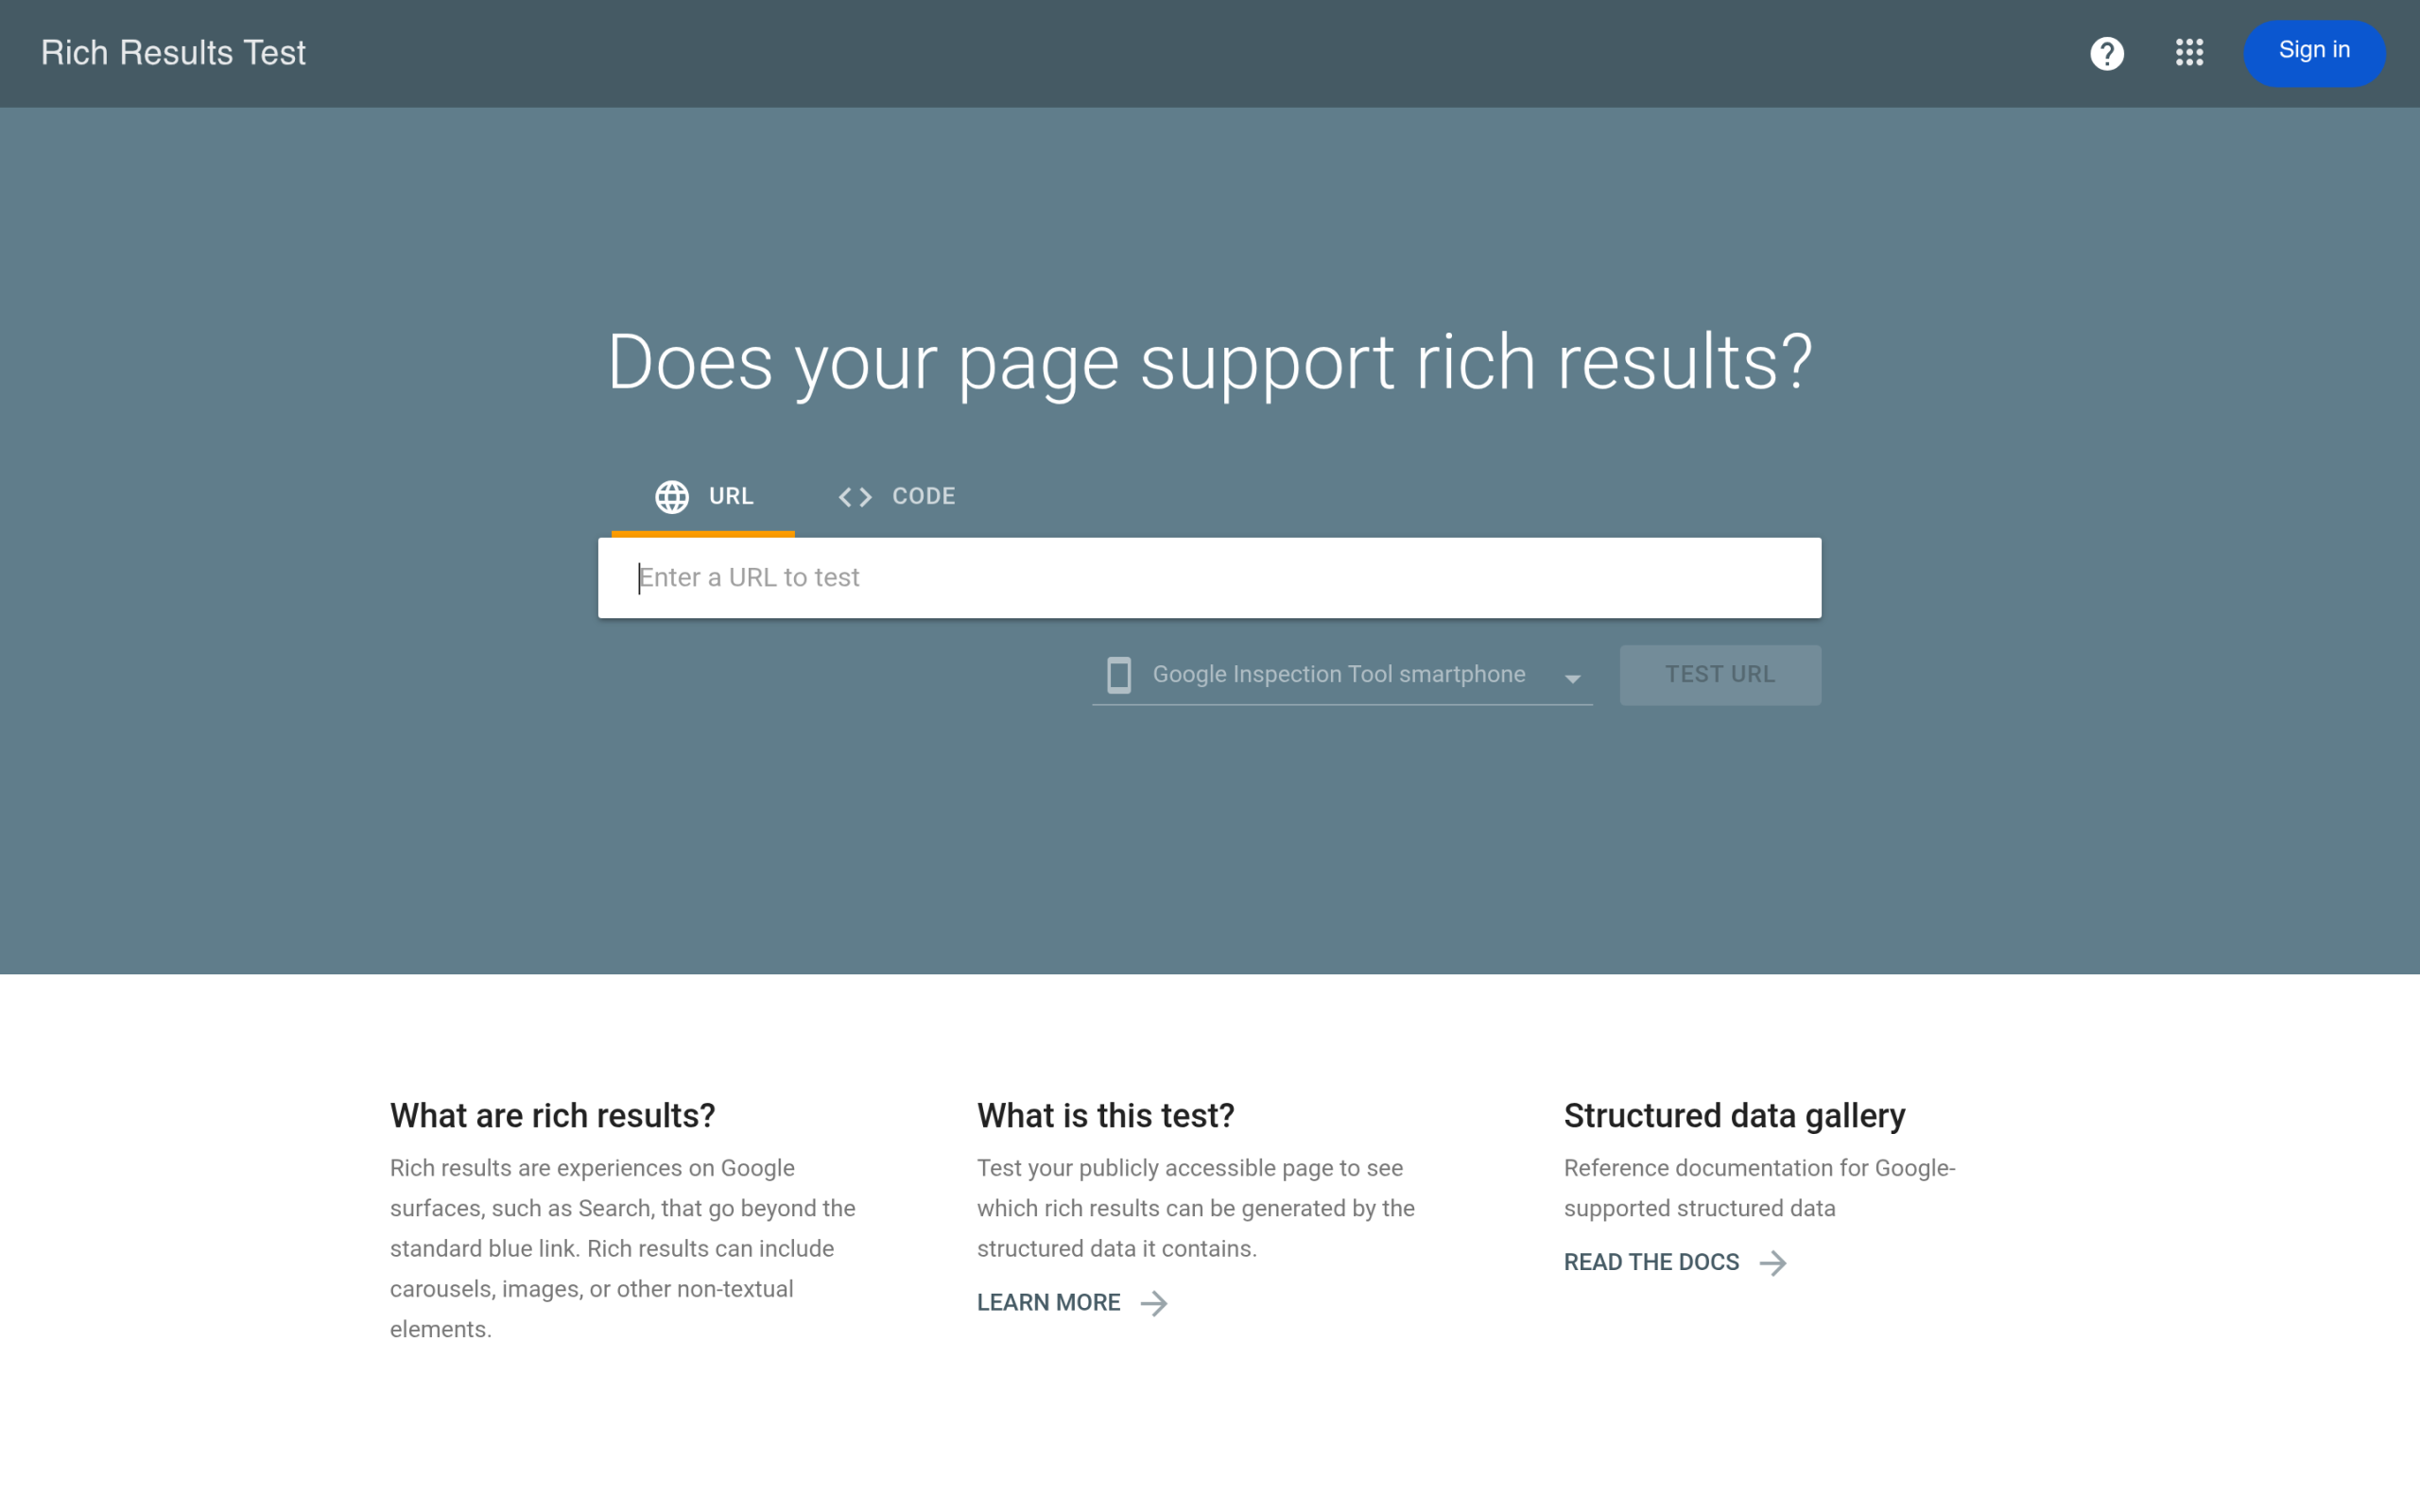Google's Rich Results Test validates your FAQ schema JSON-LD for syntax errors. Run it after any template change or plugin update that touches schema output. Run either tool after any template change or plugin update that touches your schema output. One malformed property can silently invalidate the entire block, and you will not know until something breaks downstream. ## Suggested Reading - [Schema Markup Generator for WordPress: Auto-Generate JSON-LD for AI Search (2026)](https://qa.nexterwp.com/blog/schema-markup-generator-wordpress/)- [Rank Math vs RankReady: Which WordPress SEO Plugin Wins for AI Search in 2026?](https://qa.nexterwp.com/blog/rank-math-vs-rankready/)- [E-E-A-T for AI Search: How WordPress Sites Earn Trust from Google AI, ChatGPT and Perplexity (2026)](https://qa.nexterwp.com/blog/e-e-a-t-ai-search-wordpress/)- [SEO Audit Tools in 2026: What to Check (and the AI-Readiness Layer Most Tools Miss)](https://qa.nexterwp.com/blog/seo-audit-tool-wordpress/)- [llms.txt for Gutenberg WordPress: Why Block Themes Win the AI Citation Race (2026)](https://qa.nexterwp.com/blog/llms-txt-gutenberg-wordpress/) --- # May 2026 Update: 84 New WP Abilities, WordPress 7.0, and WCEU Kraków with Sagar Source: https://qa.nexterwp.com/blog/may-2026-nexter-update/ May 2026 was a big month for **Nexter**. WordPress 7.0 shipped and we landed compatibility two days later on both Nexter Extension and Nexter Blocks. The bigger story: **84 new WP Abilities** went live across the Suite — 26 on Extension, 58 on Blocks. If you build with Claude, ChatGPT, or Cursor, your AI agent can now drive a Nexter-powered WordPress site end to end. Here's everything that shipped this month, what's coming in June, and what I took home from WordCamp Europe in Kraków. ## 🎉 What shipped in May - **84 New WP Abilities Across the Suite:** 26 on [**Nexter Extension**](https://qa.nexterwp.com/nexter-extension/) (templates, snippets, SMTP, security, performance, image optimization, custom fonts) and 58 on [**Nexter Blocks**](https://qa.nexterwp.com/nexter-blocks/) (laying the groundwork for AI inside Gutenberg). Enable from Extension Dashboard → Connection → "Enable MCP Abilities". Point Claude, ChatGPT, or Cursor at your site and they can now read and modify Nexter-powered WordPress directly. - **WordPress 7.0 Compatibility:** Tested on both Nexter Extension v4.6.10 (May 20) and Nexter Blocks v4.7.10 (May 21). Update WordPress first, then the Suite. Native Accordion, Breadcrumbs, Icon, Math, and Term Query blocks now in Core sit alongside your Nexter blocks with zero conflicts. - **SMTP Email Connection Improved (Extension v4.6.11):** Cleaner setup flow, more reliable transactional email delivery. Built into the Suite, no separate plugin needed. - **Code Snippets In-Memory Evaluation (Extension v4.6.3):** Conditional snippet display now uses in-memory data instead of repeated meta queries. Faster pages, fewer database hits on snippet-heavy sites. - **Theme Builder + Dashboard Localization Pass (Extension v4.6.7):** Translation support across Theme Builder scripts plus untranslated dashboard strings fixed. Better experience for non-English WordPress installs. *For all the changes, **[check out the complete Nexter changelog here](https://roadmap.nexterwp.com/updates).*** ### What's coming in June This month is about simplification work across the Suite. Here is what the team is shipping: - **WooCommerce Blocks Suite:** A full set of Woo-native blocks (WP Filter, Wishlist Product Add, Compare Product, Quick View Product). Built for store owners who want WooCommerce powered by Gutenberg without dropping back to shortcodes or third-party builders. - **RTL Compatibility (In Progress):** Right-to-left layout support across all 90+ Nexter Blocks. Arabic, Hebrew, Persian, Urdu sites build with Nexter natively, no manual CSS overrides. - **GSAP Animation (Basic, Global, Advanced):** The remaining advanced control surface ships this month. Scroll-triggered animations, timeline sequencing, repeater support, all configurable from the block sidebar. - **Global Button Preset Selection (Sprout UI):** Pick from a curated Sprout UI button preset library directly inside the editor. Set the site-wide button language once, reuse it across every CTA. - **Performance Optimization Pass:** PHP rendering via block.json (faster server-side hydration), plus Basic and Advanced settings split into separate panels for cleaner editor performance. - **Accessibility Improvements Across All Blocks:** Semantic tag controls, ARIA labels, keyboard navigation reviewed block by block. WCAG 2.2 alignment so client sites pass audits without manual patches. - **Nexter FSE Theme Revamp (AI-Assisted Setup):** A full revamp of the Nexter FSE Theme with the entire onboarding flow built with AI. Faster setup for new sites, smarter defaults. ## 📍 WordCamp Europe 2026 Recap Just got back from Kraków. Three days at [**WordCamp Europe 2026**](https://europe.wordcamp.org/2026/) walking through Gutenberg Phase 3, the Core AI team's roadmap, and the new Abilities API. A few moments from the trip: Meeting Imran (ImranCreates) at WCEU Kraków. With Dave Foy and Lex Three things I took home as a Suite builder: **1. The Abilities API is the WordPress-wide AI standard.** Core AI shipped 0.9.0 the same month we shipped 84 abilities across Nexter. Sites that adopt the Abilities API now get the cleanest AI-agent surface in the ecosystem, and Nexter is one of the first plugin Suites with a real catalogue live. **2. Gutenberg V4 is the platform's compounding bet.** Atomic blocks, native AI surfaces, block themes past 35% adoption. If you build client sites on Nexter Blocks, you're already on the lane the platform is doubling down on. **3. Performance and accessibility are no longer differentiators, they are table stakes.** Core Web Vitals + WCAG 2.2 + mobile-only indexing all converge in 2026 H2. Our June roadmap (performance pass + accessibility pass) is built around that reality. ## 📺 Video Tutorials [](https://www.youtube.com/watch?v=oj7ztz7CL7A) [](https://www.youtube.com/watch?v=3P4bzwa9AeU) [](https://www.youtube.com/watch?v=M2NOSMaC66o) [](https://www.youtube.com/watch?v=GyvnQ9iRy2k) *[**Watch the full Nexter playlist →**](https://www.youtube.com/playlist?list=PLFRO-irWzXaIPqjpdHd14LizPUnRTIHJm)* ## 📚 More from Nexter [**How to Use the Gemini API in WordPress (and Get Cited by Gemini) in 2026**](https://qa.nexterwp.com/blog/gemini-api-wordpress/) [**Gutenberg Core Web Vitals: How to Speed Up a Block-Theme WordPress Site in 2026**](https://qa.nexterwp.com/blog/gutenberg-core-web-vitals-block-theme/) [**E-E-A-T for AI Search: How WordPress Sites Earn Trust from Google AI, ChatGPT & Perplexity**](https://qa.nexterwp.com/blog/e-e-a-t-ai-search-wordpress/) [**Rank Math vs RankReady: Which WordPress SEO Plugin Wins for AI Search in 2026?**](https://qa.nexterwp.com/blog/rank-math-vs-rankready/) [**How to Use the DeepSeek API in WordPress for AI-Powered Content**](https://qa.nexterwp.com/blog/deepseek-api-wordpress/) [**Big Update: Image Optimisation, AI in Every Gutenberg Block, Built-in Form Submissions**](https://qa.nexterwp.com/blog/big-update-image-optimisation-ai-in-every-gutenberg-block-built-in-form-submissions/) ## 🗞️ WordPress & Tech Bytes - **[WordPress 7.0 has officially shipped](https://wordpress.org/news/)** on May 20. Native Accordion, Breadcrumbs, Icon, Math, and Term Query blocks now in Core, with Pattern Overrides and Block Bindings improvements. Real-Time Collaboration was pulled at the last minute over stability concerns. The foundation is solid. If you have not pushed the WordPress update to client sites yet, this is the month. - WordPress Core's AI plugin **[reached 0.9.0](https://make.wordpress.org/ai/)**. The Abilities API approval system shipped, plus tighter API-key security. This is the layer the entire ecosystem will sit on top of. Nexter Extension and Nexter Blocks ship to that standard already. - Automattic **[shipped Telex](https://wptavern.com/)**, an AI block authoring tool. Describe the Gutenberg block you want in plain English, Telex builds it. Early signal of where block creation is heading, especially for designers who do not write JavaScript. - **Block Theme adoption passed 35%** on active WordPress installs per the WP.org dashboard. Block themes are now mainstream, not the experimental track. If you build agency sites, Block themes plus Nexter Blocks is the lowest-friction path to Gutenberg-first design systems. - Pressable, WordPress VIP, and several WP Cloud partners **[earned Secure Hosting Alliance certification](https://automattic.com/2026/05/28/pressable-wordpressvip-wpcloud-secure-hosting-alliance-certification/)** on May 28. For agencies recommending hosting to clients, this is an independent third-party audit, not a self-graded claim. - Google's **[mobile-only indexing deadline is July 1, 2026](https://developers.google.com/search/blog)**. From that date, sites without a working mobile version drop out of the Google index. June is the month to audit any legacy client portfolio and fix what fails. - WordPress.org **[plugin directory hit 60,000 plugins](https://wordpress.org/plugins/)**. Discovery and quality signals continue to matter more than ever. The 100K-installs threshold is now the cleanest signal of trust for clients picking plugins for production sites. ## 🔥 Tool of the Month [**RankReady**](https://wordpress.org/plugins/rankready-ai-llm-seo/) gets your content cited by ChatGPT, Perplexity, and Google AI Overviews, not just ranked by Google. The structured signals AI crawlers need to find, trust, and surface your content, handled once at setup. If you build client sites on Nexter, RankReady is the lowest-friction add-on this quarter. Setup in under five minutes, no developer needed. Free on WordPress.org. [](https://wordpress.org/plugins/rankready-ai-llm-seo/) ## 🗣️ Word of the Month ### Nexter Extension Simply a Dream *"The Nexter Extension is a well-designed all-in-one solution for WordPress. If you want to run your website with as few plugins as possible and still use many functions, you'll find a powerful tool here!"* *[~@wpkonzept](https://wordpress.org/support/topic/nexter-extension-simply-a-dream/)* ## 🤔 Founder's note The strongest signal I took from Kraków: **WordPress is making the AI layer native, not bolted on**. The Abilities API in Core, the Block Bindings expansion, Telex for AI block authoring, the Core AI plugin at 0.9.0. Every announcement points to the same direction. The plugins that win the next 24 months are the ones already living on that lane. That is why we shipped 84 abilities across Nexter Extension and Nexter Blocks in May, before the Core API was even fully stable. We wanted to be the first Suite an AI agent could drive end to end on a WordPress site. The June roadmap doubles down with WooCommerce Blocks, GSAP animations, performance pass, accessibility pass, and an AI-built FSE Theme revamp. Drop a comment and tell me what your team is shipping in June. I read every one. **Already building on Nexter?** Update to the latest Extension v4.6.11 and Blocks v4.7.11 to pick up WordPress 7.0 compatibility, the 84 new WP Abilities, and the SMTP / code snippets / theme builder improvements. Or [grab Nexter Pro](https://qa.nexterwp.com/pricing/) if you're not on it yet. --- # Blocksy vs GeneratePress: 21+ Feature Comparisons Source: https://qa.nexterwp.com/blog/blocksy-vs-generatepress/ Looking for the perfect WordPress theme can be a daunting task, especially with so many options out there. In this blog post, we will be comparing two popular themes, Blocksy vs GeneratePress. We will be highlighting 21+ features of each theme to help you make an informed decision on which one is right for you. Whether you are a blogger, business owner, or developer, this comparison will provide you with valuable insights on these two powerful WordPress themes. ## What is Blocksy?  Blocksy is a versatile and highly customizable WordPress theme designed for building modern and professional websites. With its intuitive interface and powerful features, Blocksy offers users a seamless experience in creating stunning websites without requiring any coding skills. The theme is based on the WordPress block editor, allowing users to easily arrange and customize content blocks. ***Recommended Read:** [Blocksy Detailed Review](https://qa.nexterwp.com/blog/blocksy-review/)* ## What is GeneratePress?  GeneratePress is a highly versatile and lightweight WordPress theme that offers a solid foundation for building professional and customizable websites. With its clean and minimalistic design, GeneratePress focuses on speed, performance, and usability. It provides a wide range of options and settings that enable users to personalize their website's appearance and functionality without the need for complex coding. ***Recommended Read:** [GeneratePress Detailed Review](https://qa.nexterwp.com/blog/generatepress-theme-review/)* ## Blocksy vs GeneratePress WordPress Themes Compared ## Why We Recommend Using Nexter Theme? ## Related Theme Comparisons - [Nexter vs Blocksy](https://qa.nexterwp.com/blog/nexter-vs-blocksy/)- [Nexter vs GeneratePress](https://qa.nexterwp.com/blog/nexter-vs-generatepress/)- [Blocksy vs Avada](https://qa.nexterwp.com/blog/blocksy-vs-avada/)- [Kadence vs Blocksy](https://qa.nexterwp.com/blog/kadence-vs-blocksy/) ### Extra Resources --- # Blocksy vs Avada: 21+ Feature Comparisons Source: https://qa.nexterwp.com/blog/blocksy-vs-avada/ Choosing the right WordPress theme can be a daunting task, especially when there are so many options available. In this blog post, we will compare two popular themes, Blocksy vs Avada, and highlight their features to help you make an informed decision. We will cover 21+ features and provide a comprehensive comparison between the two themes. So, let's dive in and see which one is the best fit for your website. ## What is Blocksy?  Blocksy is a versatile and highly customizable WordPress theme designed for building modern and professional websites. With its intuitive interface and powerful features, Blocksy offers users a seamless experience in creating stunning websites without requiring any coding skills. The theme is based on the WordPress block editor, allowing users to easily arrange and customize content blocks. ***Recommended Read:** [Blocksy Detailed Review](https://qa.nexterwp.com/blog/blocksy-review/)* ## What is Avada? 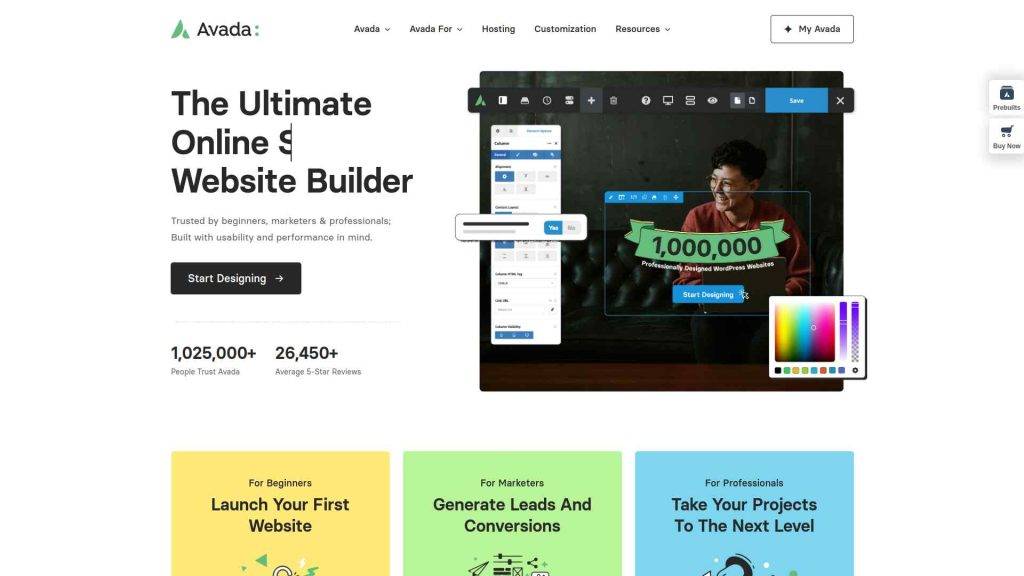 Avada is a highly popular and versatile WordPress theme that offers a wide range of features and customization options. Developed by ThemeFusion, Avada is known for its user-friendly interface and flexible design capabilities. It provides a powerful framework for creating professional websites, making it suitable for various purposes such as business, portfolio, blog, or e-commerce sites. ***Recommended Read:** [Avada Detailed Review](https://qa.nexterwp.com/blog/avada-theme-review/)* ## Blocksy vs Avada Comparison Table .tpgb-table tbody tr td:nth-child(3), .tpgb-table tbody tr td:nth-child(4), .tpgb-table tbody tr td:nth-child(6), .tpgb-table tbody tr td:nth-child(7), .tpgb-table thead th:nth-child(3), .tpgb-table thead th:nth-child(4), .tpgb-table thead th:nth-child(6), .tpgb-table thead th:nth-child(7) { display: none; } ## Why We Recommend Using Nexter Theme? ## Related Theme Comparisons - [Nexter vs Avada](https://qa.nexterwp.com/blog/nexter-vs-avada/)- [Nexter vs Blocksy](https://qa.nexterwp.com/blog/nexter-vs-blocksy/)- [Astra vs Avada](https://qa.nexterwp.com/blog/astra-vs-avada/)- [Blocksy vs GeneratePress](https://qa.nexterwp.com/blog/blocksy-vs-generatepress/) ### Extra Resources --- # Astra vs OceanWP: 21+ Feature Comparisons Source: https://qa.nexterwp.com/blog/astra-vs-oceanwp/ Are you struggling to choose between Astra vs OceanWP for your WordPress website? Look no further! In this blog post, we compare over 21 features of both themes to help you make an informed decision. Read on to find out which theme is the best fit for you. ## What is Astra? 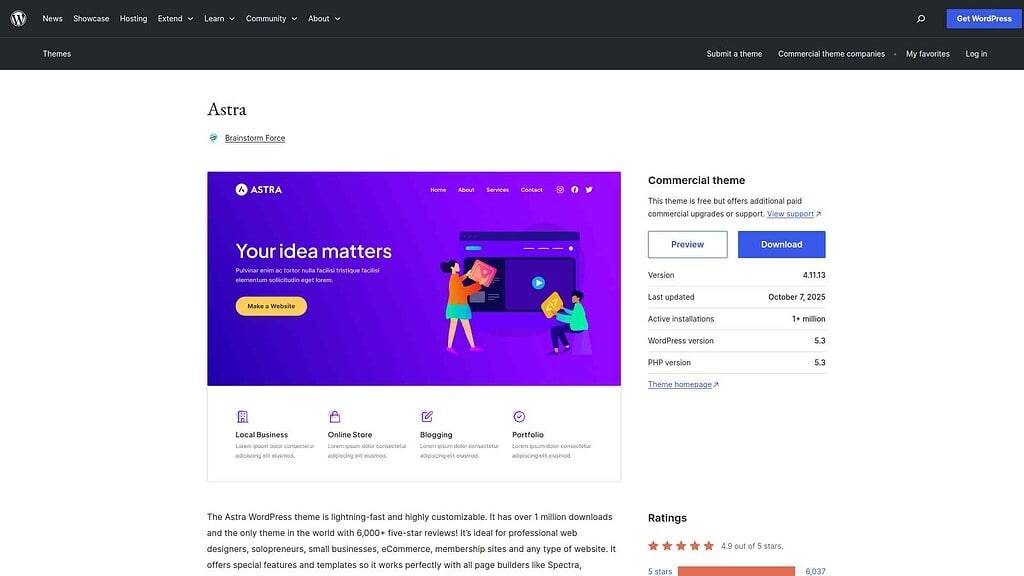 Astra is a popular WordPress theme known for its simplicity, speed, and flexibility. It is a lightweight and highly customizable theme that allows users to create stunning websites without requiring coding knowledge. Astra offers a wide range of pre-designed templates and layout options, making it easy to customize the appearance of your website. It is also optimized for speed and performance, ensuring fast loading times and a smooth user experience. ***Recommended Read:** [Astra Detailed Review](https://qa.nexterwp.com/blog/astra-theme-review/)* ## What is OceanWP? 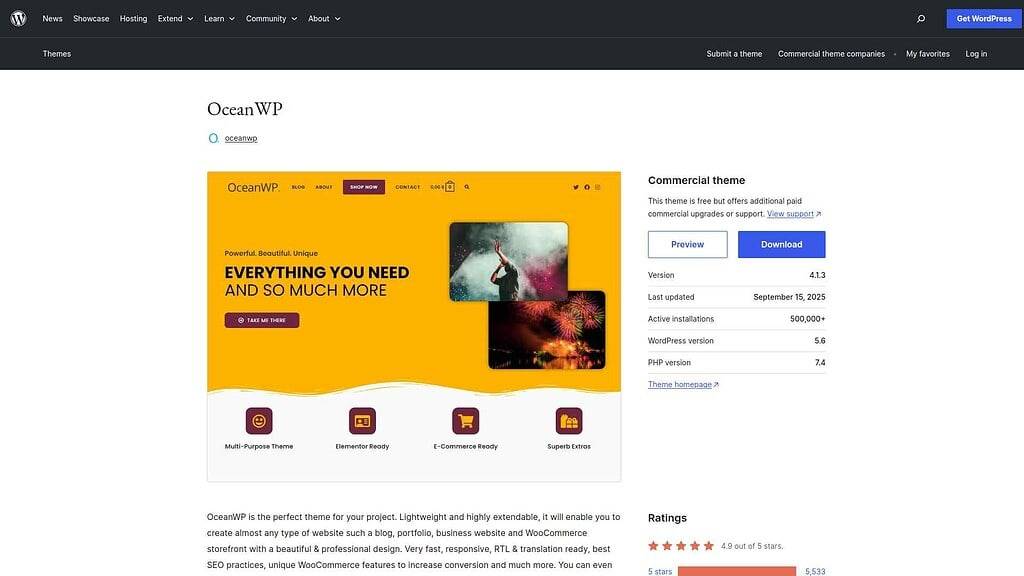 OceanWP is a highly popular and versatile WordPress theme that offers a wide range of features and customization options. It is lightweight, fast, and optimized for SEO, making it an excellent choice for creating responsive and visually appealing websites. OceanWP provides a user-friendly interface and seamless integration with popular page builders like Elementor, making it easy to design and customize your website. ***Recommended Read:** [OceanWP Detailed Review](https://qa.nexterwp.com/blog/oceanwp-review/)* ## Astra vs OceanWP WordPress Themes Compared ## Why We Recommend Using Nexter Theme? ## Related Theme Comparisons - [Nexter vs Astra](https://qa.nexterwp.com/blog/nexter-vs-astra/)- [Nexter vs OceanWP](https://qa.nexterwp.com/blog/nexter-vs-oceanwp/)- [Astra vs Avada](https://qa.nexterwp.com/blog/astra-vs-avada/)- [Kadence vs Astra](https://qa.nexterwp.com/blog/kadence-vs-astra/)- [Kadence vs OceanWP](https://qa.nexterwp.com/blog/kadence-vs-oceanwp/) ### Extra Resources --- # Astra vs Avada: Which WordPress Theme Should You Choose? [2026] Source: https://qa.nexterwp.com/blog/astra-vs-avada/ Choosing between Astra and Avada means choosing between two very different philosophies. **[Astra](https://qa.nexterwp.com/blog/astra-theme-review/)**, a lightweight free WordPress theme by Brainstorm Force with over 2 million active installs, is a minimal base that you extend with your chosen page builder. **[Avada](https://qa.nexterwp.com/blog/avada-theme-review/)**, a premium theme by ThemeFusion and the best-selling theme on ThemeForest, is a self-contained package with its own visual page builder built in. Neither is universally better, and picking the wrong one means a painful migration later. The difference matters more than it seems. Avada's layouts are tied to Fusion Builder. Switch themes and those pages break. Astra relies on third-party builders, so your content travels with you. This guide is for WordPress users, developers, and agencies comparing both themes before committing. Below we compare pricing, performance, page builder compatibility, starter templates, and lock-in risk so you can make a confident decision. ## What is Astra?  Astra is a free WordPress theme available from WordPress.org with over 2 million active installs. It is deliberately minimal: a fast, clean base designed to work alongside page builders rather than replace them. Elementor, Gutenberg, Beaver Builder, and Brizy all pair cleanly with Astra because the theme imposes no layout opinions of its own. The free version handles basic blogs and simple sites. Astra Pro (starting at [$47/year for one site](https://wpastra.com/pricing/), prices as of April 2026) adds a header and footer builder, WooCommerce layout control, custom page layouts, and expanded typography. Most professional builds eventually need it. ### Pros and Cons of Astra **Pros:** - **Genuinely useful free version:** Blogs and small sites work without paying for Pro. - **Fast by default:** Under 50KB base theme, renders in approximately 0.5 seconds on a clean install. - **Builder-agnostic:** Works equally well with Elementor, Gutenberg, Beaver Builder, and Brizy. - **300+ starter templates:** Wide coverage across niches and multiple builders. **Cons:** - **Pro required for professional sites:** Header builder, WooCommerce integration, and custom layouts all sit behind the paywall. - **Annual subscription model:** Recurring fees add up for agencies managing multiple client sites. *Want a deeper look at Astra's features and real-world performance? Read our [**Astra Theme Detailed Review**](https://qa.nexterwp.com/blog/astra-theme-review/).* ## What is Avada?  Avada is a premium WordPress theme by ThemeFusion, sold exclusively on [ThemeForest](https://themeforest.net/item/avada-responsive-multipurpose-theme/2833226) as the platform's best-selling theme. A single-site license is a one-time purchase. Avada's central feature is Fusion Builder: a proprietary visual page builder bundled with the theme that handles all layout customization through 70+ design elements and a full theme options panel. There is no free version or trial. The trade-off for the one-time price is builder lock-in. Layouts built in Fusion Builder only render correctly with Avada active. If you switch themes, those pages need to be rebuilt from scratch. ### Pros and Cons of Avada **Pros:** - **One-time purchase, no recurring fees:** Pay once and use indefinitely. By year two, cheaper than most annual Astra Pro plans. - **Fusion Builder included:** A full visual page builder with 70+ design elements. No separate purchase needed. - **60+ polished starter demos:** Niche-specific demos covering photography, food, crypto, e-sports, and more. - **Granular theme options:** Huge settings panel for fine-tuning nearly every visual element without code. **Cons:** - **No free version:** You commit $69 before ever testing on your live environment. - **Fusion Builder lock-in:** Content built in Fusion Builder breaks if you switch themes. Migrating away means rebuilding every page layout. - **Heavier default load:** More performance optimization work required compared to lightweight themes. *Curious about Avada's full feature set? Read our [**Avada Theme Detailed Review**](https://qa.nexterwp.com/blog/avada-theme-review/).* ## Astra vs Avada Comparison Table ## How Astra and Avada Differ: 5 Key Areas ### 1. Pricing Astra starts free. [Astra Pro](https://wpastra.com/pricing/) starts at $47/year for one site, $169/year for unlimited sites. One-time lifetime options start at $249. The free tier is functional for simple sites but most professional projects need Pro. Avada is a one-time purchase at $69 per site on ThemeForest. No subscription, no renewal. Extended support beyond six months costs an additional $23. At year two and beyond, Avada is cheaper than any annual Astra Pro plan. ### 2. Performance and Page Speed Astra is built for performance from the start. The base theme weighs under 50KB and renders in approximately 0.5 seconds on a clean install, with no render-blocking scripts and minimal CSS. Performance is the default state, not something you configure. Avada is heavier out of the box because of Fusion Builder assets. Good performance is achievable but requires deliberate work: disabling unused features, configuring caching, and cleaning up scripts. Astra starts lean; Avada starts loaded and needs trimming. *Comparing other lightweight themes? See how they stack up in our [**Blocksy vs OceanWP comparison**](https://qa.nexterwp.com/blog/blocksy-vs-oceanwp/).* For context: [**Nexter Theme**](https://qa.nexterwp.com/nexter-theme/) also sits under 50KB with zero jQuery dependency. Its smart asset system loads exactly one CSS file and one JS file per page regardless of how many blocks are active, tested on WordPress 6.9 with Nexter Blocks v4.7.2. ### 3. Page Builder Compatibility Astra is builder-agnostic. Elementor, Gutenberg, Beaver Builder, and Brizy all work cleanly alongside it. Your layouts belong to the builder, not the theme. Switch from Astra to another theme and your Elementor or Gutenberg content stays intact. Avada works best with Fusion Builder. It technically supports other builders, but running Elementor or Beaver Builder on top of Avada creates redundancy: two visual systems competing for the same job. If you bought Avada specifically to use Elementor with it, a neutral lightweight theme paired with a proper Elementor addon gives you a cleaner setup. Speaking of Elementor: [**The Plus Addons for Elementor**](https://theplusaddons.com/) extends it with 120+ widgets, plus a full header, footer, popup, and WooCommerce builder, without requiring any theme change. ### 4. Templates and Starter Designs Astra ships with 300+ starter templates built across Elementor, Gutenberg, and Beaver Builder. Some premium templates are gated behind higher-tier plans. The catalog covers most standard niches: business, portfolio, blog, and WooCommerce. Avada includes 60+ polished starter demos, all built in Fusion Builder. The catalog is smaller but goes deeper into specialized niches: craft beer, e-sports, podcast, influencer, and crypto. All demos are available with the base $69 license. For teams needing cross-builder template access, [**WDesignKit**](https://wdesignkit.com/) provides 1,000+ templates for Elementor, Gutenberg, and Bricks from a single cloud workspace, with a one-click converter to switch between builders. ### 5. Builder Lock-in Risk This is the most overlooked factor in the Astra vs Avada decision. Astra is a passive theme: it styles your site while your chosen builder handles layout. If you outgrow Astra, you install a new theme and your content follows. Avada is active: Fusion Builder encodes layouts directly into page content using its own shortcodes. Switch away from Avada and those pages break. For individual sites with no migration plans, this is manageable. For agencies building client sites that may change direction or ownership over time, this lock-in is a real liability worth pricing into the decision. One reason Nexter Blocks works well in agency setups is that it uses standard WordPress block markup. A site built with Nexter Blocks can switch from Nexter Theme to any other WordPress theme and the block content keeps rendering correctly. ## Why We Recommend Using Nexter Theme? If you are evaluating Astra vs Avada and performance or flexibility matters, [**Nexter Theme**](https://qa.nexterwp.com/nexter-theme/) is worth adding to the comparison. It matches Astra's speed with under 50KB core files and zero jQuery, while the Pro plan bundles 90+ Gutenberg blocks and 50+ site extensions covering security, performance, and fonts in one subscription starting at $49/year. A free version is available directly from WordPress.org. ## Related Theme Comparisons - [Nexter vs Astra](https://qa.nexterwp.com/blog/nexter-vs-astra/)- [Nexter vs Avada](https://qa.nexterwp.com/blog/nexter-vs-avada/)- [Astra vs OceanWP](https://qa.nexterwp.com/blog/astra-vs-oceanwp/)- [Blocksy vs Avada](https://qa.nexterwp.com/blog/blocksy-vs-avada/)- [OceanWP vs Avada](https://qa.nexterwp.com/blog/oceanwp-vs-avada/) ## Which Should You Choose: Astra or Avada? Choose Astra if you want a free, fast starting point that works with Elementor, Gutenberg, or Beaver Builder. It is the better pick for beginners, bloggers, and developers who prioritize page speed and want builder flexibility. The free version is genuinely functional, and Astra Pro is affordable at $47/year for single sites. Choose Avada if you want a self-contained premium theme with no recurring subscription and your own visual builder included. It suits agencies and developers who commit to Fusion Builder from the start and are not planning to migrate to another theme. If you want performance, builder independence, and a complete WordPress toolkit without plugin overload, [Nexter is built for beginners](https://qa.nexterwp.com/nexter-for-beginners/) and scales well for [agency workflows](https://qa.nexterwp.com/nexter-for-agencies/) too. See [Nexter pricing](https://qa.nexterwp.com/pricing/) or download the free theme from WordPress.org to get started. ## FAQs on Astra vs Avada ### Is Astra better than Avada for beginners? Astra is the better choice for beginners. The free version is functional, setup is straightforward, and it works with the page builders most tutorials use. Avada has a steeper learning curve because Fusion Builder adds complexity beyond standard WordPress. Beginners following Elementor or Gutenberg tutorials will find Astra fits their workflow without friction. ### Which theme is faster: Astra or Avada? Astra loads faster out of the box. Its base theme weighs under 50KB with minimal JavaScript and renders in approximately 0.5 seconds on a clean install. Avada loads heavier because of Fusion Builder assets and requires deliberate optimization to reach comparable performance. For speed-critical sites, Astra is the stronger default. ### Does Avada work with Elementor? Avada technically supports Elementor, but the combination is not recommended. Avada is designed around Fusion Builder, so running Elementor on top creates redundancy and unnecessary overhead. If you use Elementor, pairing it with a lightweight neutral theme like Astra or Nexter Theme gives you a cleaner, faster setup. ### Can I switch from Astra to Avada without losing my content? Switching will not delete your posts or pages, but layouts will need reconfiguring. Content created in Elementor or Gutenberg under Astra still renders after the switch because those builders are theme-independent. Headers, footers, colors, and typography all need to be rebuilt under Avada. Always back up your site before switching any theme. ### What is the best free alternative to both Astra and Avada? Nexter Theme is a strong free alternative. It loads in under 0.5 seconds, uses zero jQuery, and works with Gutenberg, Elementor, and Bricks Builder. Unlike Astra's free version, which limits many features behind Astra Pro, Nexter's free tier gives you the full theme without artificial caps. Download the [free Nexter theme from WordPress.org](https://wordpress.org/themes/nexter/). ### Extra Resources --- # Kadence vs OceanWP: 21+ Feature Comparisons Source: https://qa.nexterwp.com/blog/kadence-vs-oceanwp/ Choosing the right WordPress theme can be a daunting task. In this blog post, we will be comparing two popular themes, Kadence vs OceanWP. With over 21 features compared, we will help you make an informed decision on which theme is best for your website. ## What is Kadence? 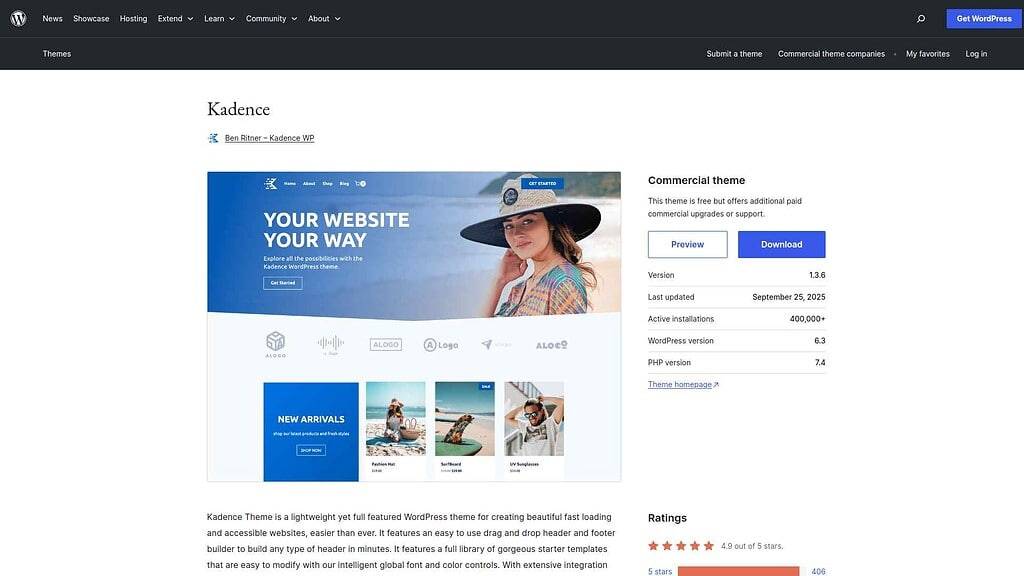 Kadence WordPress Theme is a highly customizable and performance-focused theme for WordPress websites. It offers a drag-and-drop header and footer builder, extensive customization options, and seamless integration with the block editor. The theme prioritizes speed and efficiency while providing a user-friendly interface. Additional premium addons are available for enhanced functionality. ***Recommended Read:** [Kadence Detailed Review](https://qa.nexterwp.com/blog/kadence-theme-review/)* ## What is OceanWP?  OceanWP is a highly popular and versatile WordPress theme that offers a wide range of features and customization options. It is lightweight, fast, and optimized for SEO, making it an excellent choice for creating responsive and visually appealing websites. OceanWP provides a user-friendly interface and seamless integration with popular page builders like Elementor, making it easy to design and customize your website. ***Recommended Read:** [OceanWP Detailed Review](https://qa.nexterwp.com/blog/oceanwp-review/)* ## Kadence vs OceanWP WordPress Themes Compared ## Why We Recommend Using Nexter Theme? ## Related Theme Comparisons - [Nexter vs OceanWP](https://qa.nexterwp.com/blog/nexter-vs-oceanwp/)- [Astra vs OceanWP](https://qa.nexterwp.com/blog/astra-vs-oceanwp/)- [Kadence vs Astra](https://qa.nexterwp.com/blog/kadence-vs-astra/)- [Kadence vs Avada](https://qa.nexterwp.com/blog/kadence-vs-avada/) ### Extra Resources --- # Kadence vs Avada: 21+ Feature Comparisons Source: https://qa.nexterwp.com/blog/kadence-vs-avada/ Looking for a WordPress theme that offers a range of features and customization options? Kadence vs Avada are two popular options worth considering. In this blog post, we'll compare the two themes across 21+ features to help you make an informed decision. Whether you're a blogger, business owner, or developer, read on to discover which theme is right for you. ## What is Kadence?  Kadence WordPress Theme is a highly customizable and performance-focused theme for WordPress websites. It offers a drag-and-drop header and footer builder, extensive customization options, and seamless integration with the block editor. The theme prioritizes speed and efficiency while providing a user-friendly interface. Additional premium addons are available for enhanced functionality. ***Recommended Read:** [Kadence Detailed Review](https://qa.nexterwp.com/blog/kadence-theme-review/)* ## What is Avada?  Avada is a highly popular and versatile WordPress theme that offers a wide range of features and customization options. Developed by ThemeFusion, Avada is known for its user-friendly interface and flexible design capabilities. It provides a powerful framework for creating professional websites, making it suitable for various purposes such as business, portfolio, blog, or e-commerce sites. ***Recommended Read:** [Avada Detailed Review](https://qa.nexterwp.com/blog/avada-theme-review/)* ## Kadence vs Avada WordPress Themes Compared ## Why We Recommend Using Nexter Theme? ## Related Theme Comparisons - [Nexter vs Avada](https://qa.nexterwp.com/blog/nexter-vs-avada/)- [Astra vs Avada](https://qa.nexterwp.com/blog/astra-vs-avada/)- [Blocksy vs Avada](https://qa.nexterwp.com/blog/blocksy-vs-avada/)- [Kadence vs Astra](https://qa.nexterwp.com/blog/kadence-vs-astra/) ### Extra Resources --- # Kadence vs Astra: 21+ Feature Comparisons Source: https://qa.nexterwp.com/blog/kadence-vs-astra/ Are you confused between Kadence and Astra for your WordPress website? Look no further! In this blog post, we'll compare over 21 features of both themes to help you make an informed decision. ## What is Kadence?  Kadence WordPress Theme is a highly customizable and performance-focused theme for WordPress websites. It offers a drag-and-drop header and footer builder, extensive customization options, and seamless integration with the block editor. The theme prioritizes speed and efficiency while providing a user-friendly interface. Additional premium addons are available for enhanced functionality. ***Recommended Read:** [Kadence Detailed Review](https://qa.nexterwp.com/blog/kadence-theme-review/)* ## What is Astra?  Astra is a popular WordPress theme known for its simplicity, speed, and flexibility. It is a lightweight and highly customizable theme that allows users to create stunning websites without requiring coding knowledge. Astra offers a wide range of pre-designed templates and layout options, making it easy to customize the appearance of your website. It is also optimized for speed and performance, ensuring fast loading times and a smooth user experience. ***Suggested Read:** [Best Astra Theme Alternatives](https://qa.nexterwp.com/blog/astra-theme-alternatives/)* ## Kadence vs Astra WordPress Themes Compared ## Why We Recommend Using Nexter Theme? ## Related Theme Comparisons - [Nexter vs Astra](https://qa.nexterwp.com/blog/nexter-vs-astra/)- [Astra vs Avada](https://qa.nexterwp.com/blog/astra-vs-avada/)- [Astra vs OceanWP](https://qa.nexterwp.com/blog/astra-vs-oceanwp/)- [Kadence vs Avada](https://qa.nexterwp.com/blog/kadence-vs-avada/) ### Extra Resources --- # Nexter vs OceanWP: 21+ Feature Comparisons Source: https://qa.nexterwp.com/blog/nexter-vs-oceanwp/ Choosing the right WordPress theme can be a daunting task, especially when there are so many options available. In this blog post, we will be comparing two popular themes, Nexter vs OceanWP, based on more than 21 features. By the end of this blog post, you'll have a better understanding of which theme is best for your website. ## What is Nexter? 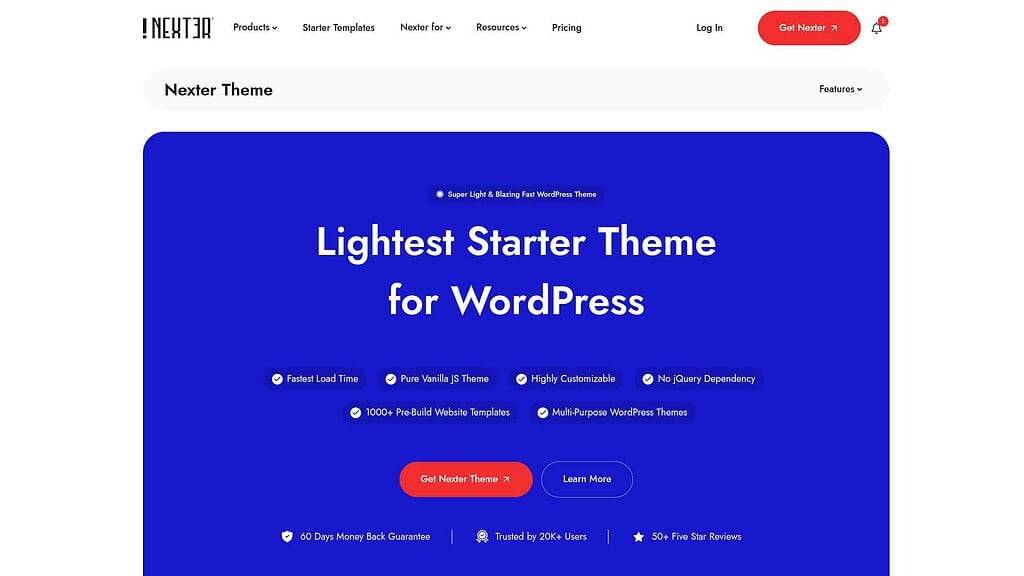 Nexter is a lightweight and high-performance WordPress theme. It offers everything that you'd want from a top-of-the-line WordPress theme, including a header and footer builder, custom post types, an archive builder, multi-language support, and a lot more. There are 1000+ pre-designed templates that you can choose from to easily build and launch your site. Nexter is also compatible with all major page builders, including Gutenberg, Elementor, Beaver Builder, and Brizy. ## What is OceanWP?  OceanWP is a highly popular and versatile WordPress theme that offers a wide range of features and customization options. It is lightweight, fast, and optimized for SEO, making it an excellent choice for creating responsive and visually appealing websites. OceanWP provides a user-friendly interface and smooth integration with popular page builders like Elementor, making it easy to design and customize your website. ***Recommended Read:** [OceanWP Detailed Review](https://qa.nexterwp.com/blog/oceanwp-review/)* ## Nexter vs OceanWP WordPress Themes Compared ## Why We Recommend Using Nexter Theme? ## Related Theme Comparisons - [Nexter vs Astra](https://qa.nexterwp.com/blog/nexter-vs-astra/)- [Nexter vs Avada](https://qa.nexterwp.com/blog/nexter-vs-avada/)- [Nexter vs Blocksy](https://qa.nexterwp.com/blog/nexter-vs-blocksy/)- [Nexter vs GeneratePress](https://qa.nexterwp.com/blog/nexter-vs-generatepress/)- [Kadence vs OceanWP](https://qa.nexterwp.com/blog/kadence-vs-oceanwp/) ### Extra Resources --- # Nexter vs GeneratePress: 21+ Feature Comparisons Source: https://qa.nexterwp.com/blog/nexter-vs-generatepress/ Looking for the perfect WordPress theme for your website? Nexter and GeneratePress are two popular options, but which one is right for you? In this blog post, we'll compare the features of both themes to help you make an informed decision. So, let's dive in and find out which theme comes out on top! ## What is Nexter?  Nexter is a lightweight and high-performance WordPress theme. It offers everything that you'd want from a top-of-the-line WordPress theme, including a header and footer builder, custom post types, an archive builder, multi-language support, and a lot more. There are 1000+ pre-designed templates that you can choose from to easily build and launch your site. Nexter is also compatible with all major page builders, including Gutenberg, Elementor, Beaver Builder, and Brizy. ## What is GeneratePress?  GeneratePress is a highly versatile and lightweight WordPress theme that offers a solid foundation for building professional and customizable websites. With its clean and minimalistic design, GeneratePress focuses on speed, performance, and usability. It provides a wide range of options and settings that enable users to personalize their website's appearance and functionality without the need for complex coding. ***Recommended Read:** [GeneratePress Detailed Review](https://qa.nexterwp.com/blog/generatepress-theme-review/)* ## Nexter vs GeneratePress WordPress Themes Compared ## Why We Recommend Using Nexter Theme? ## Related Theme Comparisons - [Nexter vs Astra](https://qa.nexterwp.com/blog/nexter-vs-astra/)- [Nexter vs Avada](https://qa.nexterwp.com/blog/nexter-vs-avada/)- [Nexter vs Blocksy](https://qa.nexterwp.com/blog/nexter-vs-blocksy/)- [Nexter vs OceanWP](https://qa.nexterwp.com/blog/nexter-vs-oceanwp/) ### Extra Resources --- # Nexter vs Blocksy: 21+ Feature Comparisons Source: https://qa.nexterwp.com/blog/nexter-vs-blocksy/ Are you struggling to choose between Nexter vs Blocksy WordPress themes? Look no further! In this blog post, we've compared over 21 features of both themes to help you make an informed decision. Whether you're a blogger, business owner, or developer, we've got you covered. Read on to find out which theme is the best fit for your website. ## What is Nexter?  Nexter is a lightweight and high-performance WordPress theme. It offers everything that you'd want from a top-of-the-line WordPress theme, including a header and footer builder, custom post types, an archive builder, multi-language support, and a lot more. There are 1000+ pre-designed templates that you can choose from to easily build and launch your site. Nexter is also compatible with all major page builders, including Gutenberg, Elementor, Beaver Builder, and Brizy. ## What is Blocksy?  Blocksy is a versatile and highly customizable WordPress theme designed for building modern and professional websites. With its intuitive interface and powerful features, Blocksy offers users a smooth experience in creating stunning websites without requiring any coding skills. The theme is based on the WordPress block editor, allowing users to easily arrange and customize content blocks. ***Recommended Read:** [Blocksy Detailed Review](https://qa.nexterwp.com/blog/blocksy-review/)* ## Nexter vs Blocksy WordPress Themes Compared ## Why We Recommend Using Nexter Theme? ## Related Theme Comparisons - [Nexter vs Astra](https://qa.nexterwp.com/blog/nexter-vs-astra/)- [Nexter vs Avada](https://qa.nexterwp.com/blog/nexter-vs-avada/)- [Nexter vs GeneratePress](https://qa.nexterwp.com/blog/nexter-vs-generatepress/)- [Nexter vs OceanWP](https://qa.nexterwp.com/blog/nexter-vs-oceanwp/)- [Kadence vs Blocksy](https://qa.nexterwp.com/blog/kadence-vs-blocksy/) ### Extra Resources --- # Nexter vs Avada: 21+ Feature Comparisons Source: https://qa.nexterwp.com/blog/nexter-vs-avada/ Are you confused between Nexter vs Avada WordPress themes? Both have their own unique features and capabilities. In this blog post, we'll compare 21+ features of Nexter and Avada to help you make an informed decision on which one to choose for your website. ## What is Nexter?  Nexter is a lightweight and high-performance WordPress theme. It offers everything that you'd want from a top-of-the-line WordPress theme, including a header and footer builder, custom post types, an archive builder, multi-language support, and a lot more. There are 1000+ pre-designed templates that you can choose from to easily build and launch your site. Nexter is also compatible with all major page builders, including Gutenberg, Elementor, Beaver Builder, and Brizy. ## What is Avada?  Avada is a highly popular and versatile WordPress theme that offers a wide range of features and customization options. Developed by ThemeFusion, Avada is known for its user-friendly interface and flexible design capabilities. It provides a powerful framework for creating professional websites, making it suitable for various purposes such as business, portfolio, blog, or e-commerce sites. ***Recommended Read:** [Avada Detailed Review](https://qa.nexterwp.com/blog/avada-theme-review/)* ## Nexter vs Avada WordPress Themes Compared ## Why We Recommend Using Nexter Theme? ## Related Theme Comparisons - [Nexter vs Astra](https://qa.nexterwp.com/blog/nexter-vs-astra/)- [Nexter vs Blocksy](https://qa.nexterwp.com/blog/nexter-vs-blocksy/)- [Nexter vs GeneratePress](https://qa.nexterwp.com/blog/nexter-vs-generatepress/)- [Nexter vs OceanWP](https://qa.nexterwp.com/blog/nexter-vs-oceanwp/)- [OceanWP vs Avada](https://qa.nexterwp.com/blog/oceanwp-vs-avada/) ### Extra Resources --- # How to Use the DeepSeek API in WordPress (the Cheapest LLM Route) in 2026 Source: https://qa.nexterwp.com/blog/deepseek-api-wordpress/ #### Key Takeaways - The DeepSeek API is the cheapest serious LLM option: deepseek-v4-flash costs $0.14 per million input tokens and $0.28 per million output, with a 1M token context window.- There is no free tier, but cached input drops to $0.0028 per million tokens, so repeat work is almost free.- DeepSeek is OpenAI-compatible. Any WordPress plugin that supports OpenAI can use DeepSeek by swapping the base URL to api.deepseek.com.- Three ways to connect it: a no-code plugin like RankReady, an automation platform, or a custom plugin using the OpenAI SDK.- Store the key server-side, never in client code, and use the AEO basics so AI answer engines actually cite your WordPress content. I moved a client's AI summary feature from OpenAI to DeepSeek by changing exactly one line: the base URL. Same plugin, same prompts, same output quality for short summaries. The next month's bill came in at roughly a tenth of what it was. That is the whole reason DeepSeek is worth a look for a WordPress site, and it is also why so many people get it wrong. "DeepSeek API" and WordPress meet in two directions. The first is feeding DeepSeek into your site to write summaries, draft FAQs, or power a tool, which is the cheap-LLM story. The second is making sure your content gets cited when people ask AI answer engines a question, which is a different job entirely. This guide covers the practical setup first, then the part most tutorials skip, with real pricing and the security mistakes to avoid. ## What the DeepSeek API Is (and Why It Is the Cheap LLM Option) The DeepSeek API gives your code programmatic access to DeepSeek's models. You send a request, you get back generated text, structured JSON, or tool calls. The two current models are deepseek-v4-flash, the fast and economical one, and deepseek-v4-pro, the stronger one for harder tasks. Both carry a 1M token context window and a maximum output of 384K tokens. The older deepseek-chat and deepseek-reasoner names are being deprecated on 2026/07/24, so build on the v4 names. The reason to care on a WordPress site is cost. For routine content jobs like summaries and FAQs, the model quality difference between providers is small, but the price difference is not. DeepSeek is the budget pick, which matters when a plugin is generating text on dozens or hundreds of posts. ## How to Get a DeepSeek API Key and What It Costs You create a key on the DeepSeek platform. Sign in, open the API Keys page at platform.deepseek.com, and generate a key. That string is the credential your WordPress site sends with every request, so treat it like a password. You generate and manage DeepSeek API keys on the DeepSeek platform. Here is the honest part: DeepSeek has no free tier the way Google's Gemini does. You pay from the first token. The good news is how little that is. On deepseek-v4-flash, input runs $0.14 per million tokens and output $0.28 per million. On deepseek-v4-pro, it is $0.435 input and $0.87 output. For comparison, a typical post summary is a few thousand tokens, so you are spending fractions of a cent per post. And cached input, the repeated context DeepSeek has seen before, drops to $0.0028 per million tokens, which makes repeat work almost free. 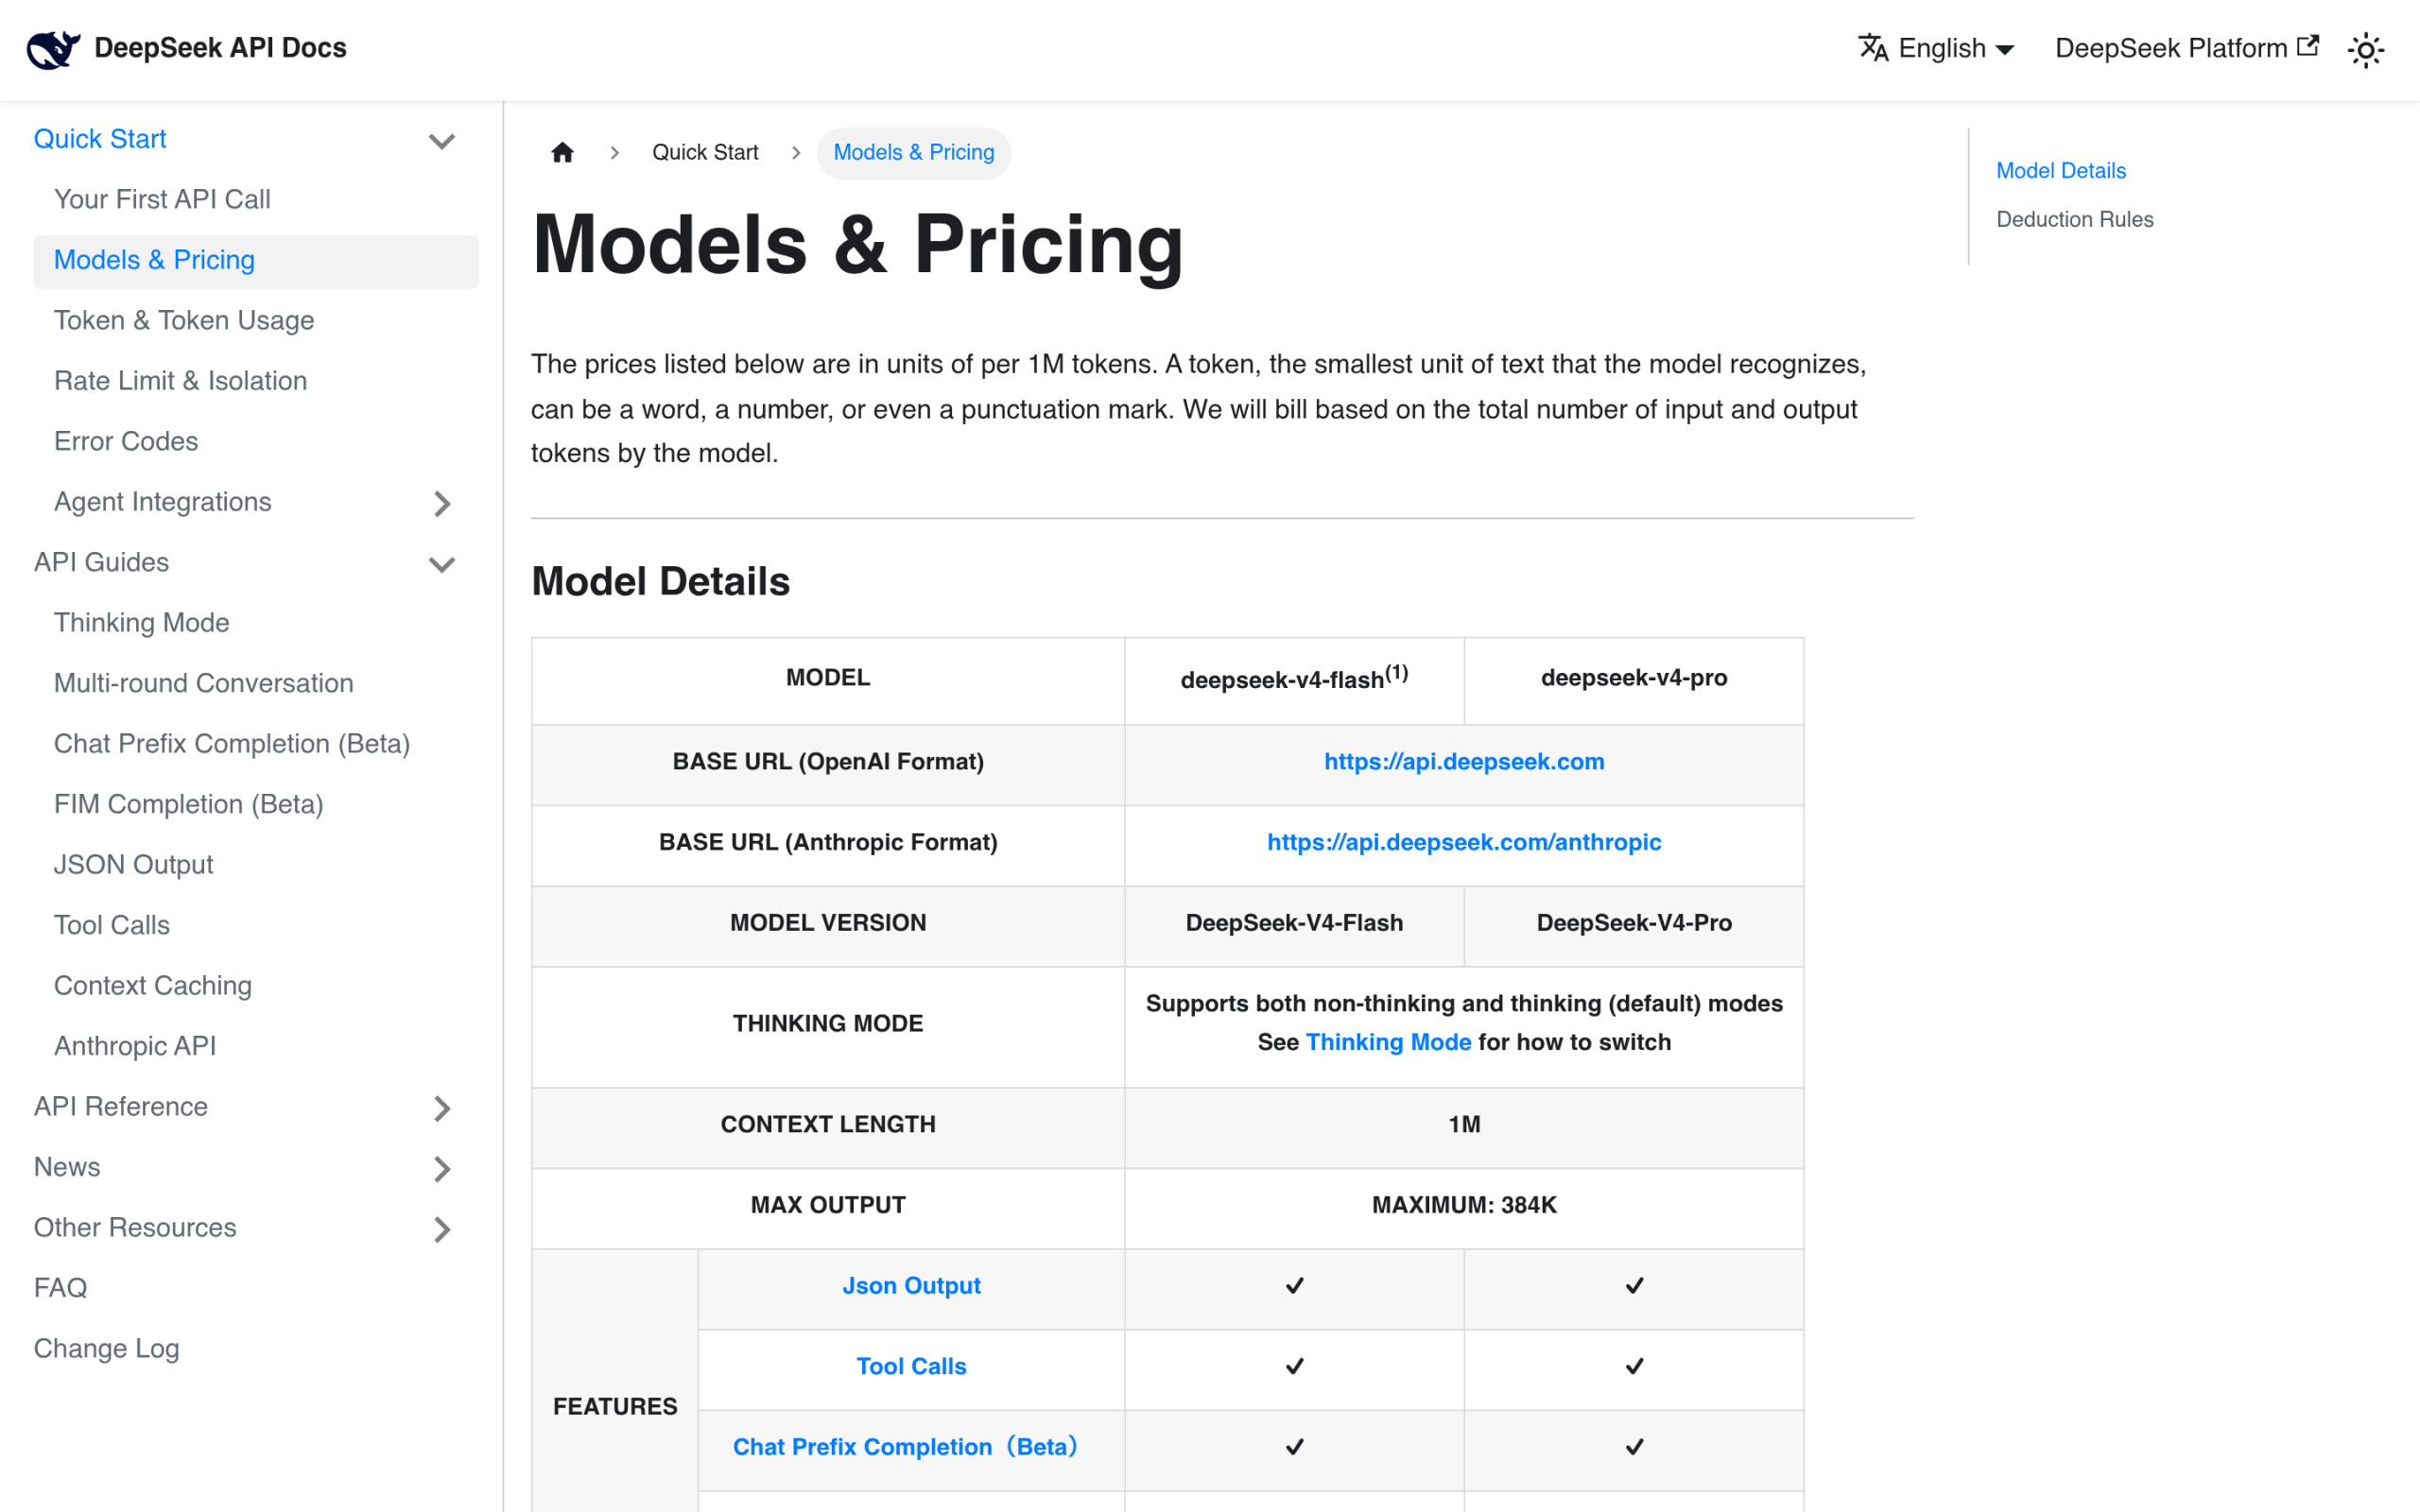DeepSeek API pricing: v4-flash is the budget choice, with cached input at a fraction of a cent. ## The OpenAI-Compatible Trick: Use DeepSeek in Any Plugin That Supports OpenAI This is the detail that makes DeepSeek easy on WordPress. DeepSeek's documentation says it plainly: "The DeepSeek API uses an API format compatible with OpenAI/Anthropic. By modifying the configuration, you can use the OpenAI/Anthropic SDK or softwares compatible with the OpenAI/Anthropic API to access the DeepSeek API." In practice that means you point an OpenAI-compatible tool at the base URL api.deepseek.com, paste your DeepSeek key, pick a v4 model, and it works. DeepSeek speaks the OpenAI format, so most OpenAI-ready plugins work after a base URL swap. So if a plugin only advertises OpenAI support, you are often not stuck. Check whether it lets you set a custom base URL or endpoint. If it does, DeepSeek is a drop-in, and you keep your existing prompts and workflow while cutting the bill. ## How to Connect the DeepSeek API to WordPress (3 Routes) There are three honest ways to bring DeepSeek into WordPress, depending on how much code you want to write. ### Route 1: A no-code plugin (fastest for content) If you want content rather than a custom feature, use a plugin that already speaks DeepSeek. RankReady is one example: it lets you bring your own API key and supports DeepSeek alongside OpenAI, Anthropic, and Google Gemini. You paste your DeepSeek key once, then generate AI summaries and FAQ blocks from inside the Gutenberg editor, with live spend tracking per provider so you can watch exactly what DeepSeek is costing you. Because you use your own key, there are no artificial caps, and you pay DeepSeek directly at the rates above. [Get RankReady Free](https://store.posimyth.com/plugins/rankready/) ### Route 2: An automation platform (point OpenAI actions at DeepSeek) If you want DeepSeek to fire on an event, an automation tool like Uncanny Automator, Bit Flows, or n8n sits between WordPress and the API. Many of these expose an OpenAI action where you can set a custom base URL, so you route it to api.deepseek.com and use your DeepSeek key. You map a trigger to the request and send the response back into a post, a field, or an email, without touching PHP. ***Also Read:** [How to Use the Gemini API in WordPress](https://qa.nexterwp.com/blog/gemini-api-wordpress/) if you want to compare DeepSeek against Google's models for the same jobs.* ### Route 3: A custom plugin (full control) For a bespoke feature, build a small plugin. Because DeepSeek is OpenAI-compatible, you can use the OpenAI PHP client, set the base URL to api.deepseek.com, and call a v4 model. Your plugin reads the key from secure storage, sends the request server-side, and renders the response. You get full control over prompts, caching, and where the output lands. ## Why You Should Never Hardcode Your DeepSeek API Key A key is a password. If you paste it into a theme file, a block, or any JavaScript that runs in the browser, anyone who views the page source can read it. A leaked key lets a stranger spend against your account and run up real charges, and with DeepSeek you are billed from the first token, so there is no free buffer. The safe pattern in WordPress is to store the key in the database through the Options API and call DeepSeek from the server, never the browser. A proper plugin does this for you and gives you an admin field to paste the key into rather than asking you to edit a file. While you are at it, watch your spend, because a runaway loop is the fastest way to turn a cheap API into an expensive surprise. ## Getting Cited by AI Answer Engines (Including DeepSeek Search) Calling the DeepSeek API generates content. It does nothing to get your site cited when someone asks an AI a question. That is answer engine optimization, a separate job, and it pays off across every engine that cites sources, including DeepSeek's own search, ChatGPT, Perplexity, and Google AI Overviews. The mechanics are the same everywhere: hand the engine a clean, extractable answer it can trust. For a WordPress site that means a few concrete moves. Publish an llms.txt file and a Markdown copy of each post so AI systems get your text without theme clutter. Add Article, FAQPage, and HowTo schema so engines can label and lift your answers. Make sure your robots.txt allows the AI crawlers instead of blocking them by accident. And keep a visible, credible author plus fresh dates, because trust and recency both move the needle. 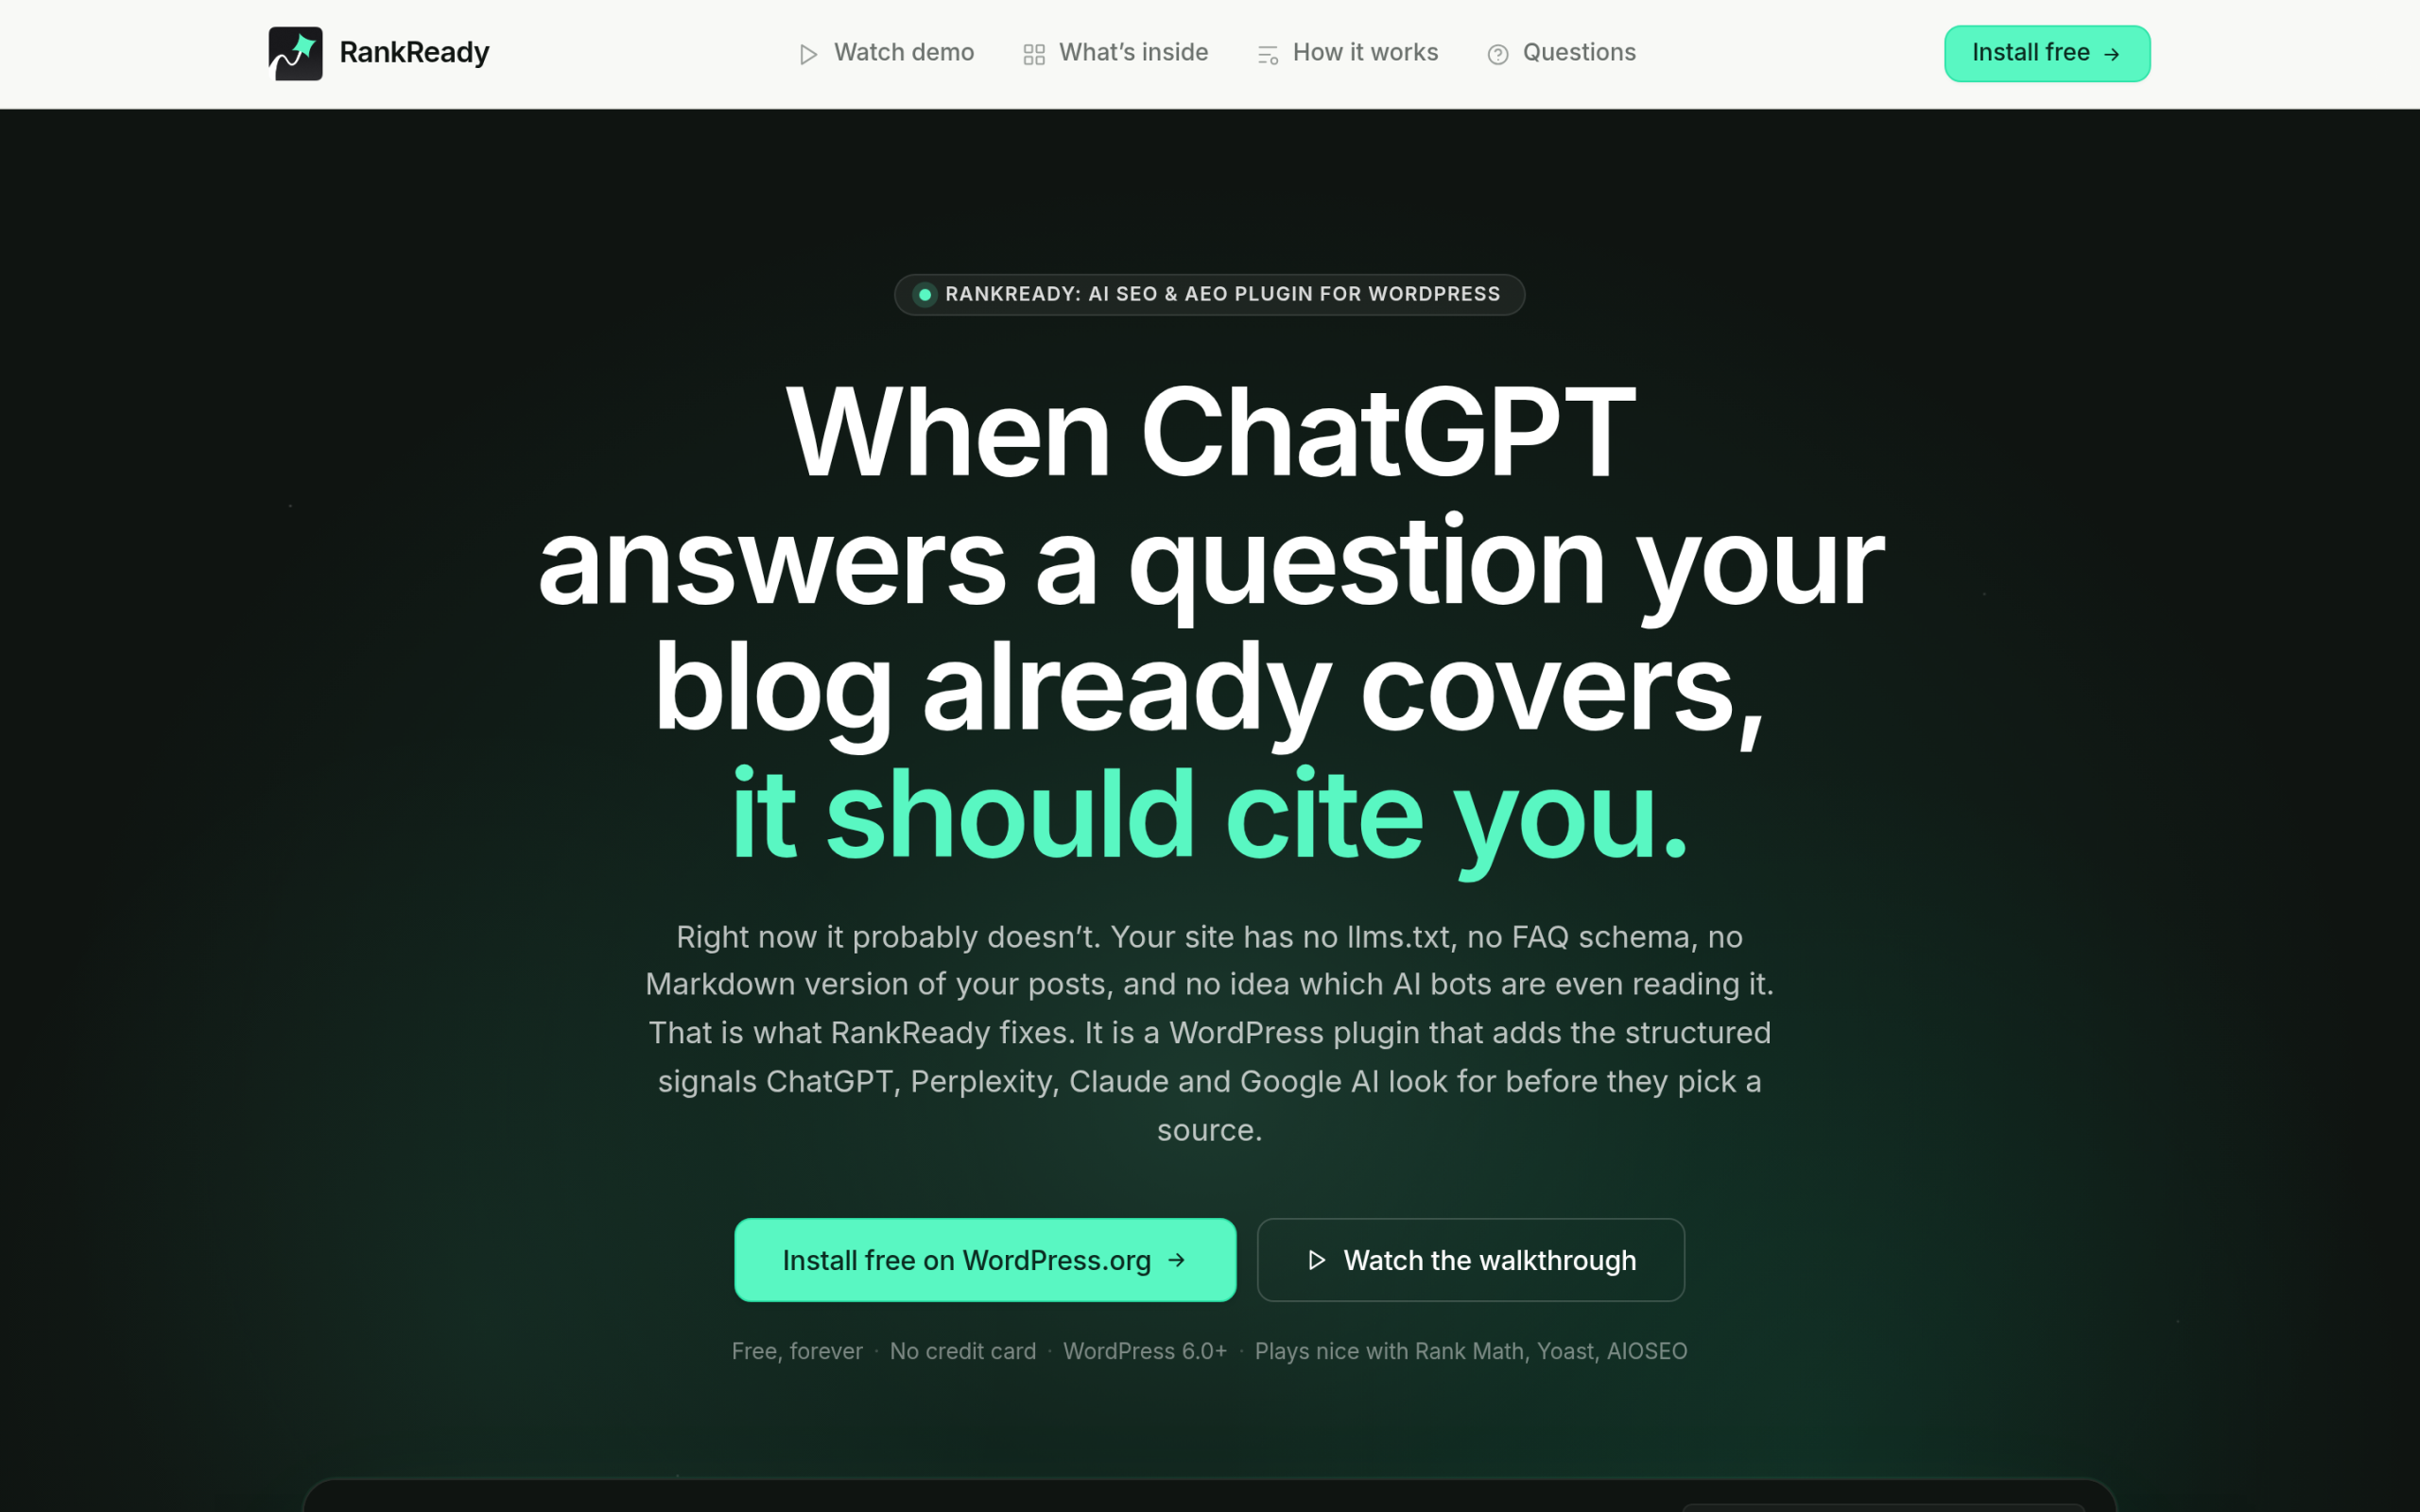RankReady handles the AEO basics: llms.txt, schema, AI crawler control, and citation tracking. ***Also Read:** [llms.txt for Gutenberg WordPress](https://qa.nexterwp.com/blog/llms-txt-gutenberg-wordpress/) explains the file that maps your content for AI systems.* ## Can You Track AI Citations and Spend? Yes, and both are worth tracking. On the spend side, a plugin that shows live per-provider cost tells you what DeepSeek is actually charging as you generate, so there are no bill surprises. On the citation side, you want to know which of your pages AI crawlers visit, which get surfaced as answers, and whether any referral traffic arrives from AI tools. RankReady covers both, with live spend tracking per provider plus a live AI crawler log, a citation candidates leaderboard, and a per-post readiness score, so you can see which posts are close to being cited and which need work. ***Also Read:** [E-E-A-T for AI Search](https://qa.nexterwp.com/blog/e-e-a-t-ai-search-wordpress/) covers the trust signals AI engines weigh before citing a page.* ## Should You Use DeepSeek, or Stick With OpenAI or Gemini? If cost is your main concern and the job is routine content like summaries, FAQs, and tagging, DeepSeek is the strongest value, and the OpenAI-compatible format means switching is low risk. If you need a specific capability another provider does better, or you want Google's free tier to prototype, keep that provider for those tasks. The smart setup is not loyalty to one model. Use a plugin that supports several, point each job at the cheapest model that does it well, and measure both the spend and the citations. Start with deepseek-v4-flash, store your key safely, and watch the numbers. ### Is the DeepSeek API free? No. DeepSeek does not offer a free tier, so you pay from the first token. But it is the cheapest serious option: deepseek-v4-flash is $0.14 per million input tokens and $0.28 per million output, and cached input is just $0.0028 per million. For typical WordPress content jobs that is fractions of a cent per post. ### How much cheaper is DeepSeek than OpenAI or Gemini? For routine tasks, a lot. As a reference point, Google's Gemini 2.5 Flash is $0.30 per million input and $2.50 per million output, while deepseek-v4-flash is $0.14 and $0.28. The exact gap depends on the models you compare, but DeepSeek consistently lands at the budget end. ### Can I use DeepSeek with a plugin that only supports OpenAI? Often yes. DeepSeek is OpenAI-compatible, so if the plugin lets you set a custom base URL, point it at api.deepseek.com, paste your DeepSeek key, and choose a v4 model. If the plugin hardcodes OpenAI's endpoint with no override, you cannot, so check its settings first. ### Do I need coding skills to use DeepSeek in WordPress? No. A no-code plugin or an automation platform lets you paste your API key and start generating without touching PHP. You only need code if you are building a custom feature with the OpenAI SDK pointed at DeepSeek. ### deepseek-v4-flash or deepseek-v4-pro? For summaries, FAQs, and most content work, deepseek-v4-flash is the right pick because it is cheap and fast and the jobs are small. Reserve deepseek-v4-pro for harder reasoning tasks where the stronger model earns the higher price. ### Is it safe to store my DeepSeek API key in WordPress? It is safe when the key lives in the database and is used server-side, which is how a proper plugin handles it. It is not safe to paste the key into a theme file or any client-side script, because anyone can read keys in client-side code. ## Suggested Reading - [How to Use the Gemini API in WordPress (and Get Cited by Gemini)](https://qa.nexterwp.com/blog/gemini-api-wordpress/)- [llms.txt for Gutenberg WordPress: Why Block Themes Win the AI Citation Race](https://qa.nexterwp.com/blog/llms-txt-gutenberg-wordpress/)- [E-E-A-T for AI Search: How WordPress Sites Earn Trust from Google AI, ChatGPT and Perplexity](https://qa.nexterwp.com/blog/e-e-a-t-ai-search-wordpress/)- [WordPress robots.txt for AI Crawlers: A Gutenberg Builder Guide](https://qa.nexterwp.com/blog/wordpress-robots-txt-ai-crawlers-gutenberg/)- [Rank Math vs RankReady: Which WordPress SEO Plugin Wins for AI Search](https://qa.nexterwp.com/blog/rank-math-vs-rankready/) --- # Gutenberg Core Web Vitals: How to Speed Up a Block-Theme WordPress Site in 2026 Source: https://qa.nexterwp.com/blog/gutenberg-core-web-vitals-block-theme/ #### Key Takeaways - The three Core Web Vitals in 2026 are LCP (good is 2.5 seconds or less), INP (200 milliseconds or less, it replaced FID in 2024), and CLS (0.1 or less), all measured at the 75th percentile of real visits.- Block themes start lighter than page-builder sites because they ship less CSS and often zero builder JavaScript, but they can still fail on big hero images, web fonts, and third-party scripts.- Read your real field data in Search Console or PageSpeed Insights before you change any code. A green lab score and a failing field score are not the same thing.- LCP is usually the hero image, fonts, or render-blocking CSS. INP is usually heavy JavaScript and plugin bloat. CLS is usually images with no dimensions or a late font swap.- A lightweight foundation like Nexter Theme plus a caching plugin and a CDN gets most block-theme sites into the green. The theme alone is not a magic fix. A few weeks ago a client messaged me close to midnight. Their Google Search Console had just flipped the whole site to “Core Web Vitals: Failed” on mobile, in red, across hundreds of URLs. The part that confused them: they were not running Elementor or Divi. They had moved to a clean block theme and a caching plugin specifically because everyone told them block-based sites are fast by default. So how were they failing? Here is the honest answer I gave them, and the same one this guide walks through. A block theme gives you a lighter starting line, not a finish line. The Gutenberg and full site editing stack removes a lot of the bloat that page builders pile on, but Core Web Vitals are still decided by your images, your fonts, your third-party scripts, and how your blocks load. This is the block-theme version of WordPress speed optimization, with the fixes that actually move the three numbers Google cares about. 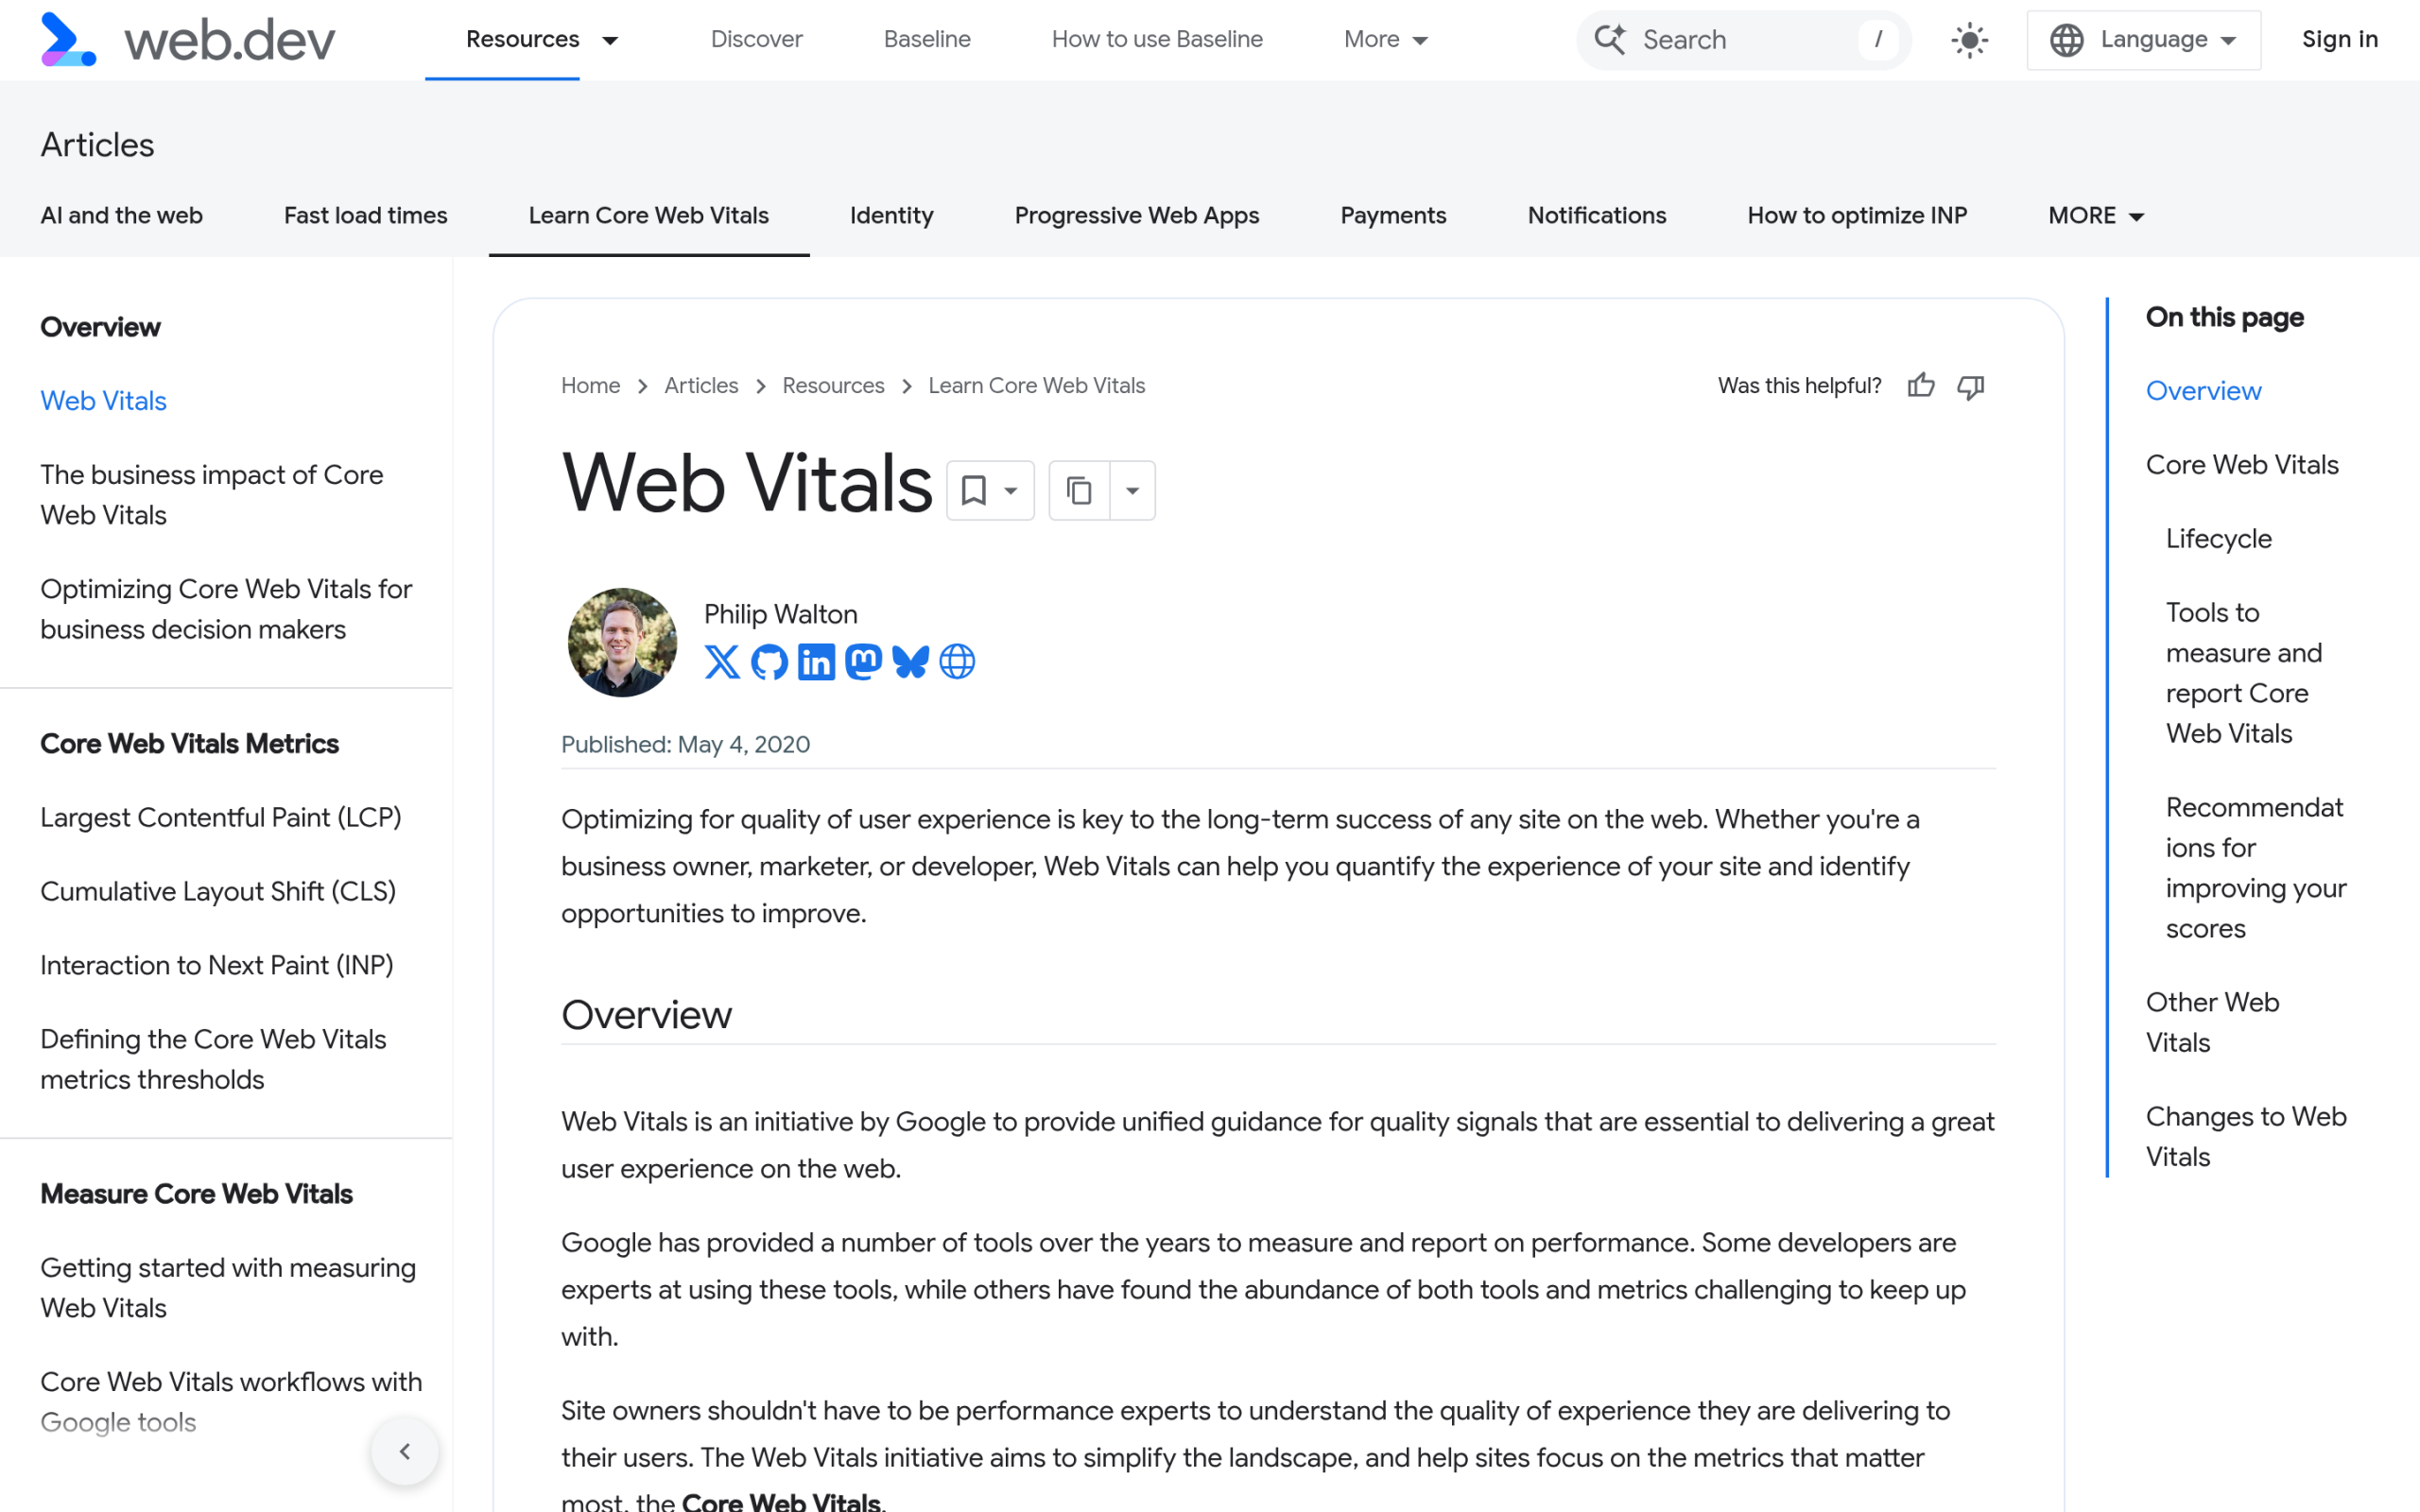Google’s web.dev defines the three Core Web Vitals and their good thresholds. Source: web.dev. ***Also Read:** [What Is a WordPress Block Theme](https://qa.nexterwp.com/blog/what-is-a-wordpress-block-theme/) if you are still deciding whether to move off a classic or page-builder setup.* ## Core Web Vitals in 2026, in plain terms Core Web Vitals are three real-user measurements Google uses as part of how it ranks pages. According to [Google’s own web.dev documentation](https://web.dev/articles/vitals), the good thresholds are: - **Largest Contentful Paint (LCP):** 2.5 seconds or less. This is how long it takes for the biggest thing in view, usually your hero image or headline, to render.- **Interaction to Next Paint (INP):** 200 milliseconds or less. This is how quickly the page responds when someone taps or clicks. INP replaced First Input Delay (FID) as a Core Web Vital in 2024, and it is stricter.- **Cumulative Layout Shift (CLS):** 0.1 or less. This measures how much the layout jumps around while the page loads. One detail people miss: Google measures all three at the 75th percentile of real page loads, split across mobile and desktop. So you do not need a perfect score for every visitor. You need three quarters of your real visits to land in the green. That is why your phone test and Google’s report can disagree, which we will get to. ## Why block themes start ahead, and where they still trip The reason people associate block themes with speed is real. A Gutenberg-native theme renders from server-side HTML and theme.json, so it ships far less CSS and frequently no front-end JavaScript framework at all. There is no page-builder runtime, no jQuery dependency chain, and no nested wrapper divs for every column. We measured this directly. In our [NexterWP vs Kadence speed benchmark](https://qa.nexterwp.com/blog/nexterwp-vs-kadence-speed-benchmark/) on identical pages, Nexter Theme shipped 113.2 KB of total page weight against Kadence’s 213.1 KB, which is 46.9% lighter. Nexter loaded zero external JavaScript files where Kadence loaded one, and the page rendered with 182 HTML nodes versus 317, about 43% fewer. As a rule of thumb from that test, every 100 KB of uncompressed asset weight costs you roughly 250ms of LCP on a 4G connection. Lighter markup is not a vanity metric. It is a head start on LCP. 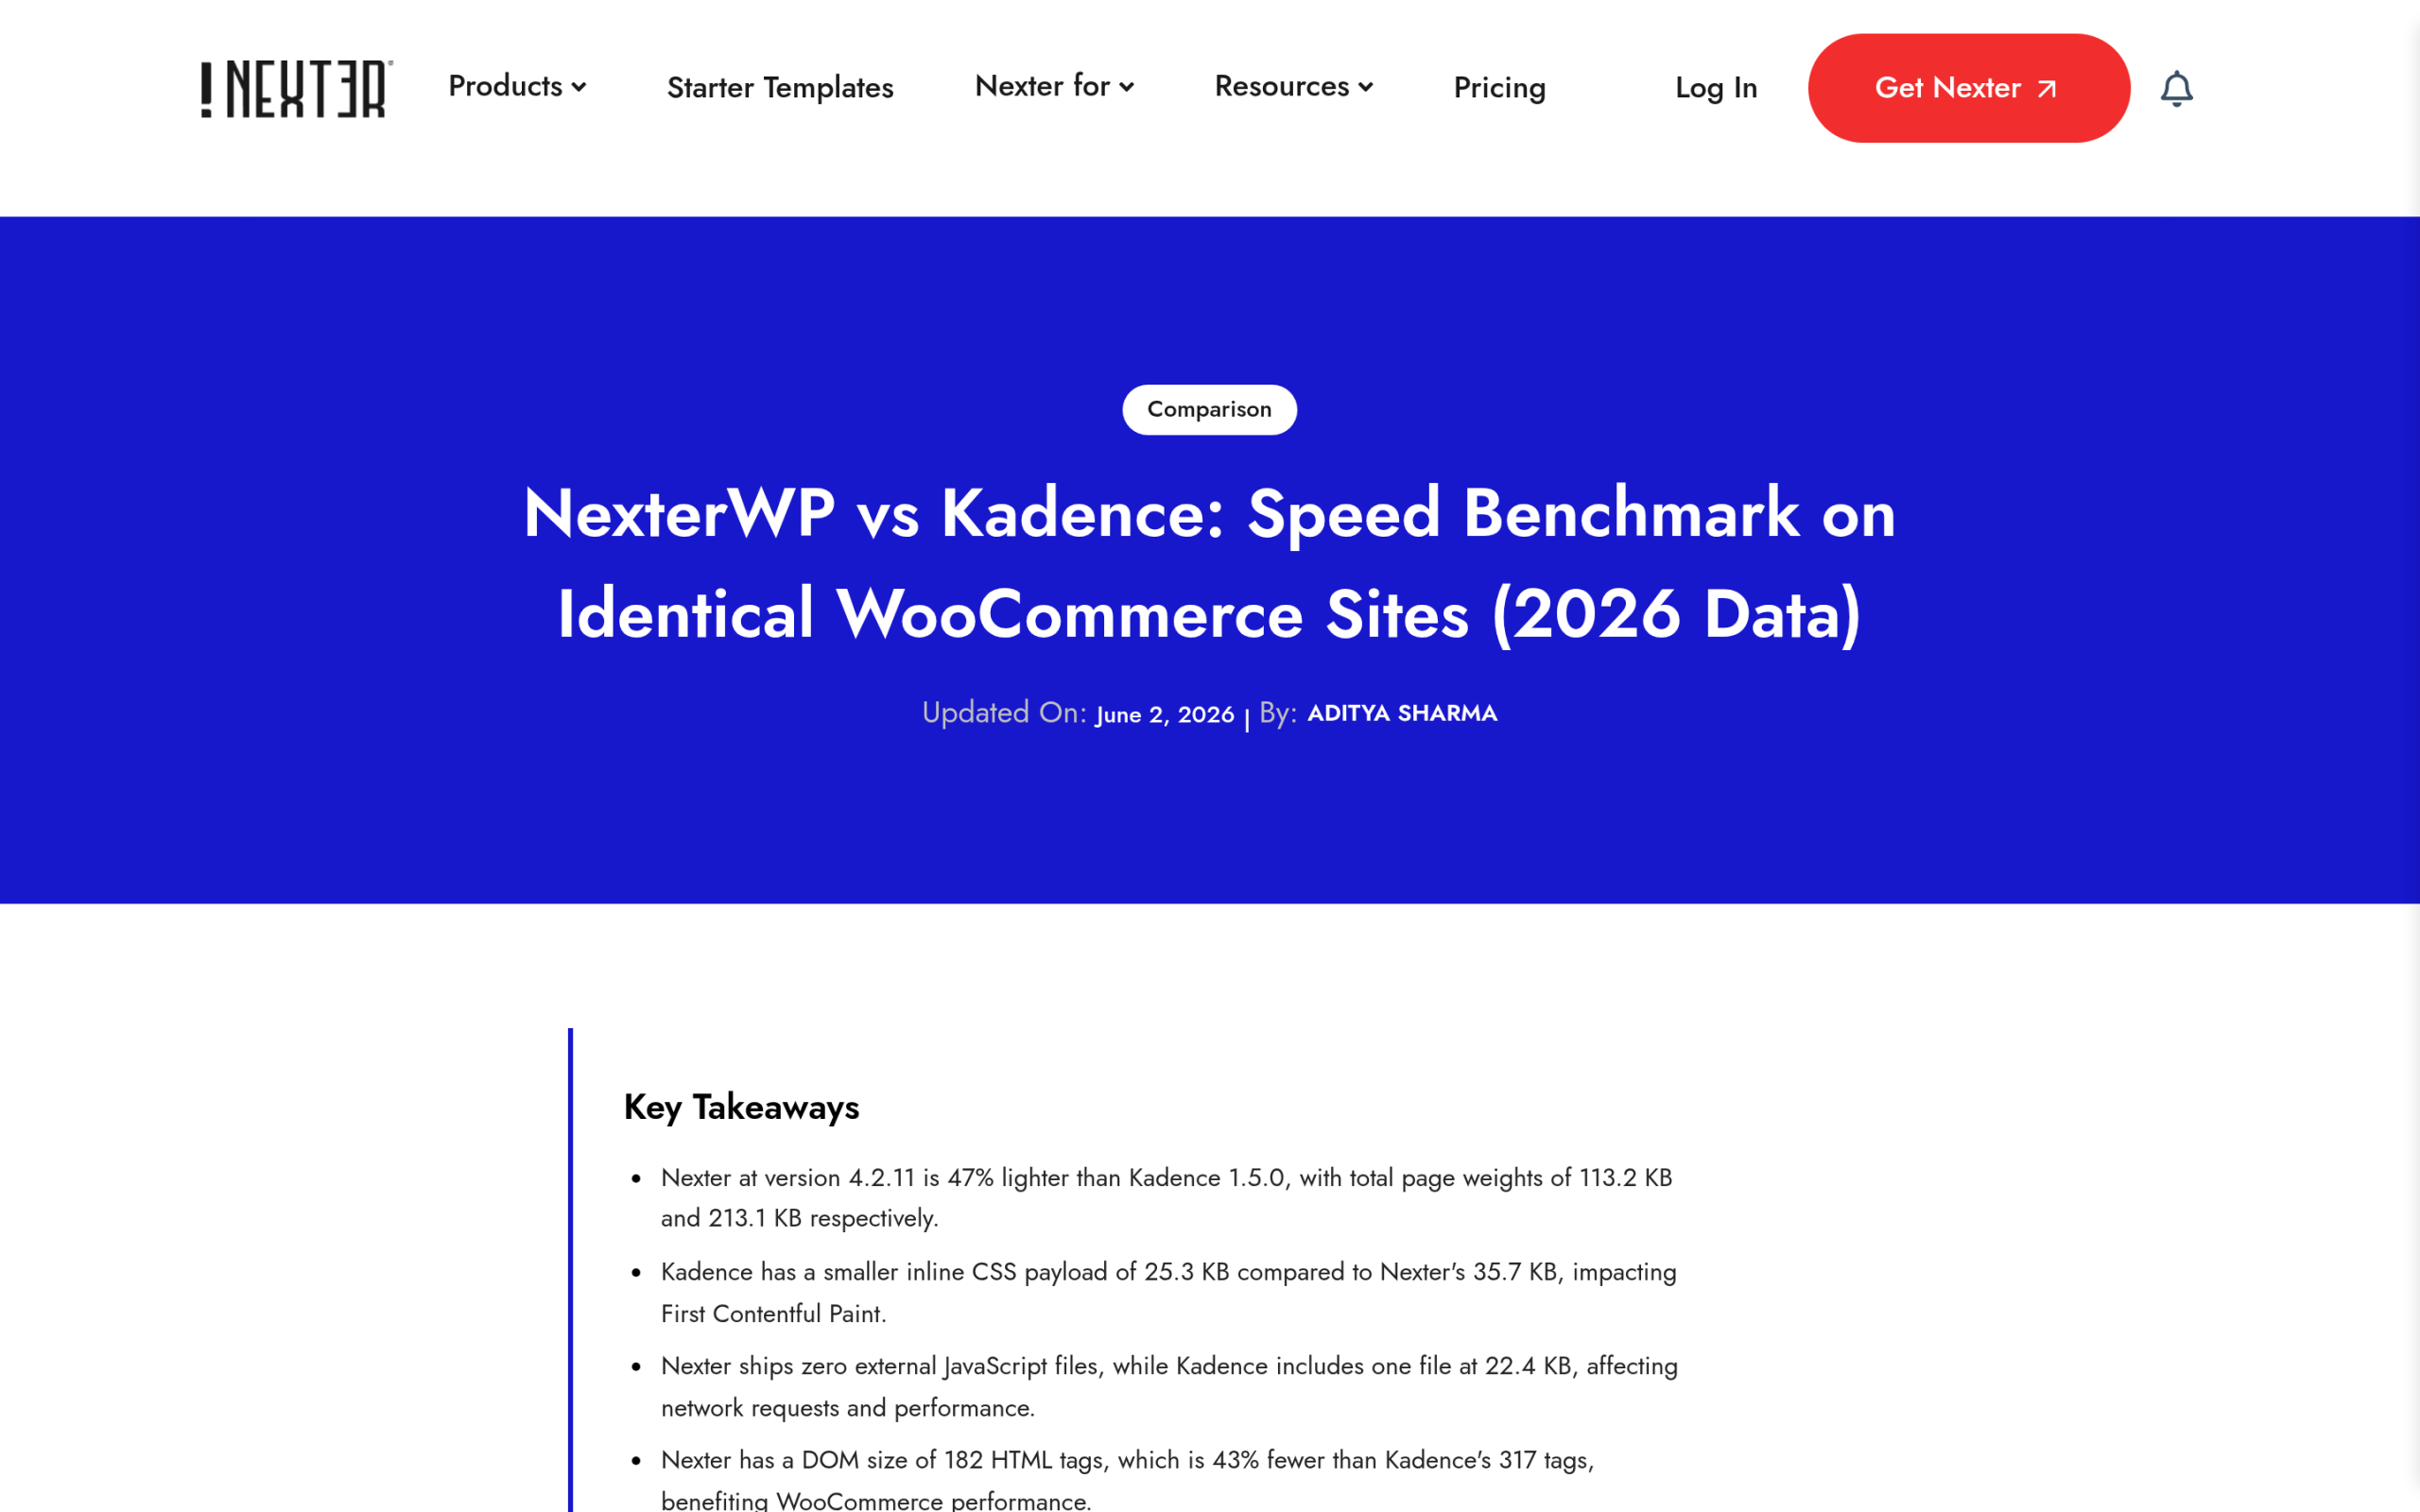A like-for-like benchmark: Nexter shipped 113.2 KB against Kadence’s 213.1 KB on identical pages. Source: nexterwp.com. Here is where the head start gets thrown away. A block theme does nothing to stop you from uploading a 1.8 MB hero image, loading four weights of a Google Font from Google’s servers, embedding a YouTube video that pulls in 500 KB of script before anyone presses play, or stacking eight plugins that each inject their own CSS and JS on every page. Those are the real reasons a clean block site fails Core Web Vitals, and none of them are the theme’s fault. They are fixable, one metric at a time. ## Diagnose before you touch code The single biggest mistake in WordPress speed optimization is installing a caching plugin, flipping every toggle on, and hoping. Measure first. There are two kinds of data and you need to know which you are looking at: - **Field data** is what real visitors experienced over the last 28 days. This is what Google actually ranks on. You find it in the Core Web Vitals report inside Search Console, and in the top section of [PageSpeed Insights](https://pagespeed.web.dev/) when your URL has enough traffic.- **Lab data** is a single simulated test run in a controlled environment. It is useful for debugging because it is repeatable, but a perfect lab score does not guarantee a passing field score. PageSpeed Insights shows both lab and real-world field data for a URL. Source: pagespeed.web.dev. Run your slowest, most-trafficked template first, usually a blog post or a product page, on mobile. Note which of the three metrics is actually failing. You almost never need to fix all three. Fixing the one in the red is how you pass. ## Fix LCP on a block theme On most block-theme sites, the Largest Contentful Paint element is the hero image or the first heading. [Google’s LCP guidance](https://web.dev/articles/optimize-lcp) points at the same handful of causes every time, and here is how they map to WordPress: - **The hero image.** Serve it in a modern format like WebP or AVIF, size it to the space it fills instead of dumping a 2500px file into a 800px slot, and let it load eagerly rather than lazy-loading the one thing above the fold. In the block editor, the first big image should not have lazy loading forced on it.- **Fonts.** Self-host your fonts instead of calling Google’s servers, add `font-display: swap` so text paints immediately, and preconnect to any font host you cannot remove. Every external font request is a round trip before your headline can render.- **Render-blocking CSS.** This is where block themes already help, because they output less CSS. A good caching or optimization plugin can inline the critical CSS and defer the rest so the browser paints sooner.- **theme.json discipline.** Block themes load styles based on what is on the page. Keep your global styles lean and you avoid shipping CSS for blocks you never use. 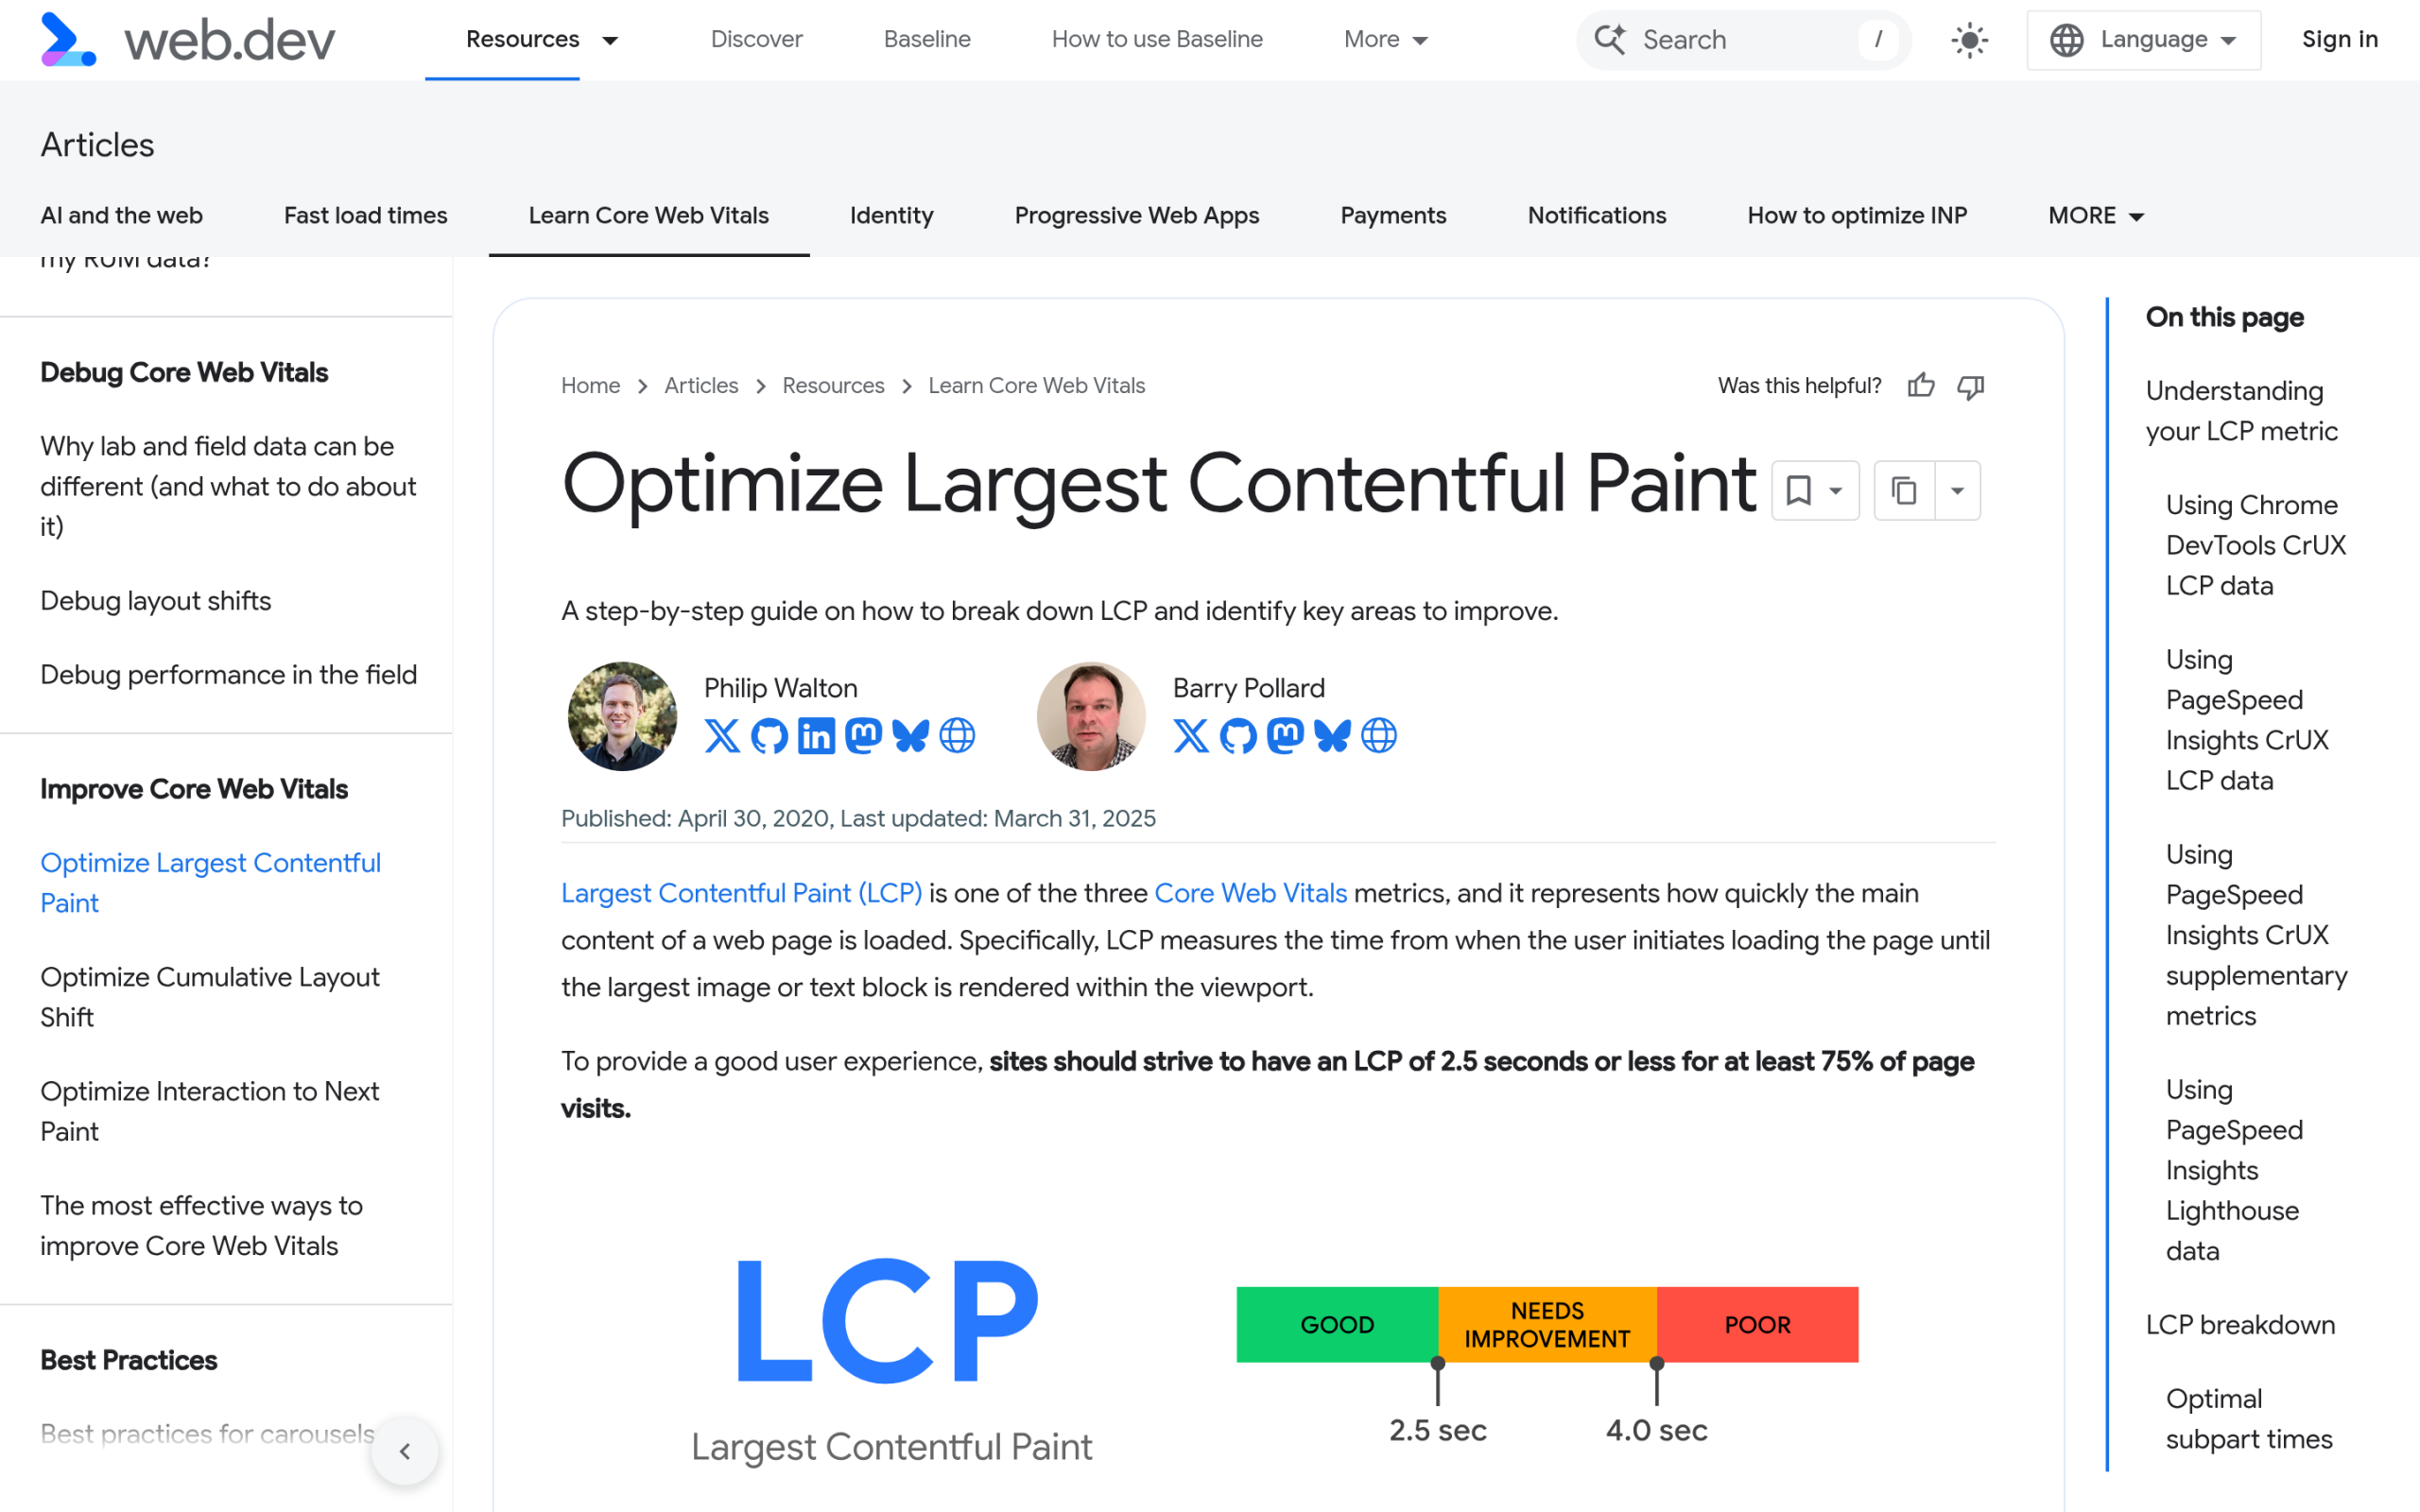Most LCP problems trace back to the hero image, fonts, or render-blocking CSS. Source: web.dev. ## Fix INP, where plugin bloat bites Interaction to Next Paint is the metric block themes do not automatically save you from, because INP is about JavaScript, and JavaScript usually comes from your plugins and embeds, not your theme. [The web.dev INP guide](https://web.dev/articles/optimize-inp) is blunt about it: long tasks on the main thread are what make a tap feel slow. This is exactly the pain WordPress users keep describing. In a recent r/WordPress thread about rebuilding a speed plugin from scratch, the developer wrote that after “years optimizing WordPress sites” they kept “seeing the same PageSpeed issues repeatedly.” In another thread on the most annoying things in WordPress, a user vented about plugins that “leave themselves all over your database after deleting them,” naming the usual heavy hitters. The lesson is the same: uncontrolled scripts are the tax. Here is how to cut it: - **Audit your plugins.** Every active plugin that enqueues JavaScript on the front end is a candidate. Deactivate what you do not use and prefer tools that only load assets on the pages that need them.- **Defer and delay third-party scripts.** Analytics, chat widgets, and ad scripts can almost always be delayed until the user interacts. Most caching plugins have a “delay JavaScript execution” option for exactly this.- **Facade your embeds.** Replace an autoloading YouTube or map embed with a click-to-load preview image so the heavy script only runs if someone wants it.- **Keep block JavaScript scoped.** Use a block toolkit that loads a block’s script only when that block is on the page, not site-wide. 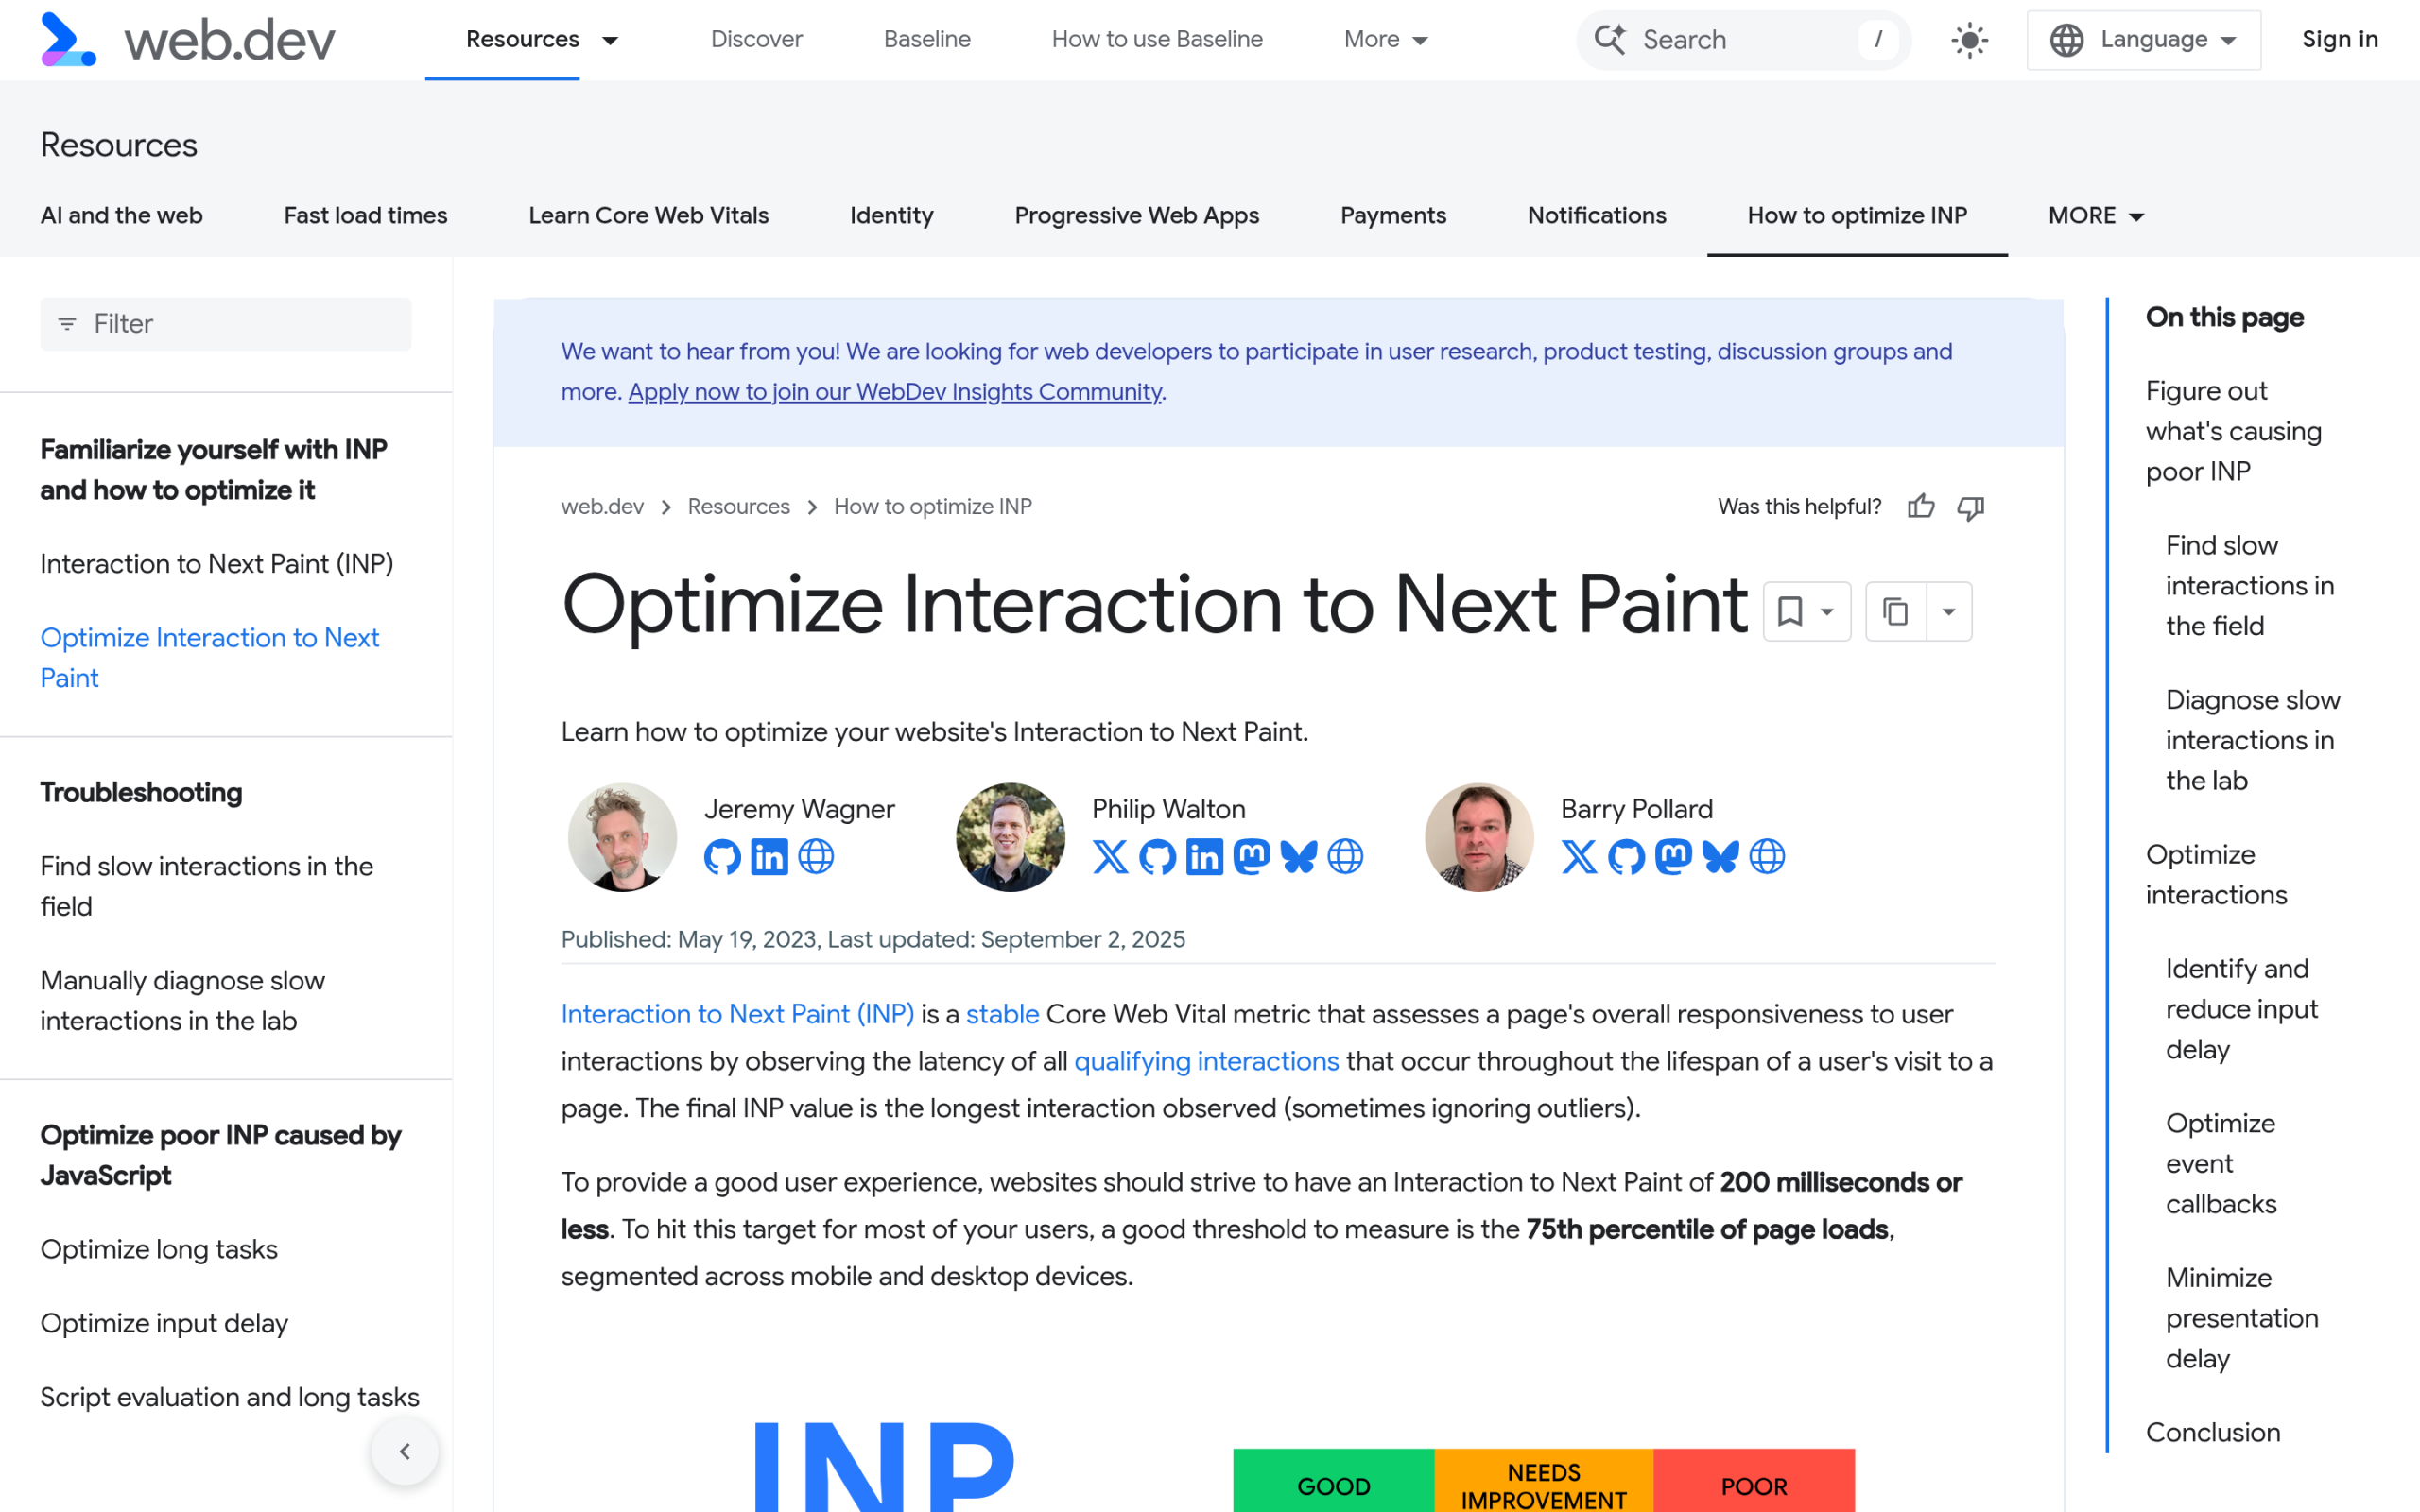INP replaced FID in 2024 and measures how fast your page responds to interactions. Source: web.dev. ***Also Read:** [WordPress 7.0: What’s Actually Changing for Block Builders](https://qa.nexterwp.com/blog/wordpress-7-block-builders/), which added block-level custom CSS so you can tune one block without a global stylesheet.* ## Fix CLS Cumulative Layout Shift is usually the quickest of the three to fix, because the causes are short. [Google’s CLS guidance](https://web.dev/articles/optimize-cls) comes down to reserving space: - **Always set image dimensions.** The core Image block writes width and height for you, so the browser reserves the slot before the image arrives. Watching for missing dimensions on images injected by a plugin is where most CLS hides.- **Reserve space for ads and embeds.** Give any ad slot or iframe a fixed min-height so the content below does not get shoved down when it loads.- **Tame the font swap.** A font that loads late and reflows the text counts as layout shift. Matching fallback font metrics and using `font-display: swap` keeps the jump small.- **Avoid late-injected blocks.** Cookie bars, notification ribbons, and anything that appears a second after load should push nothing below it. 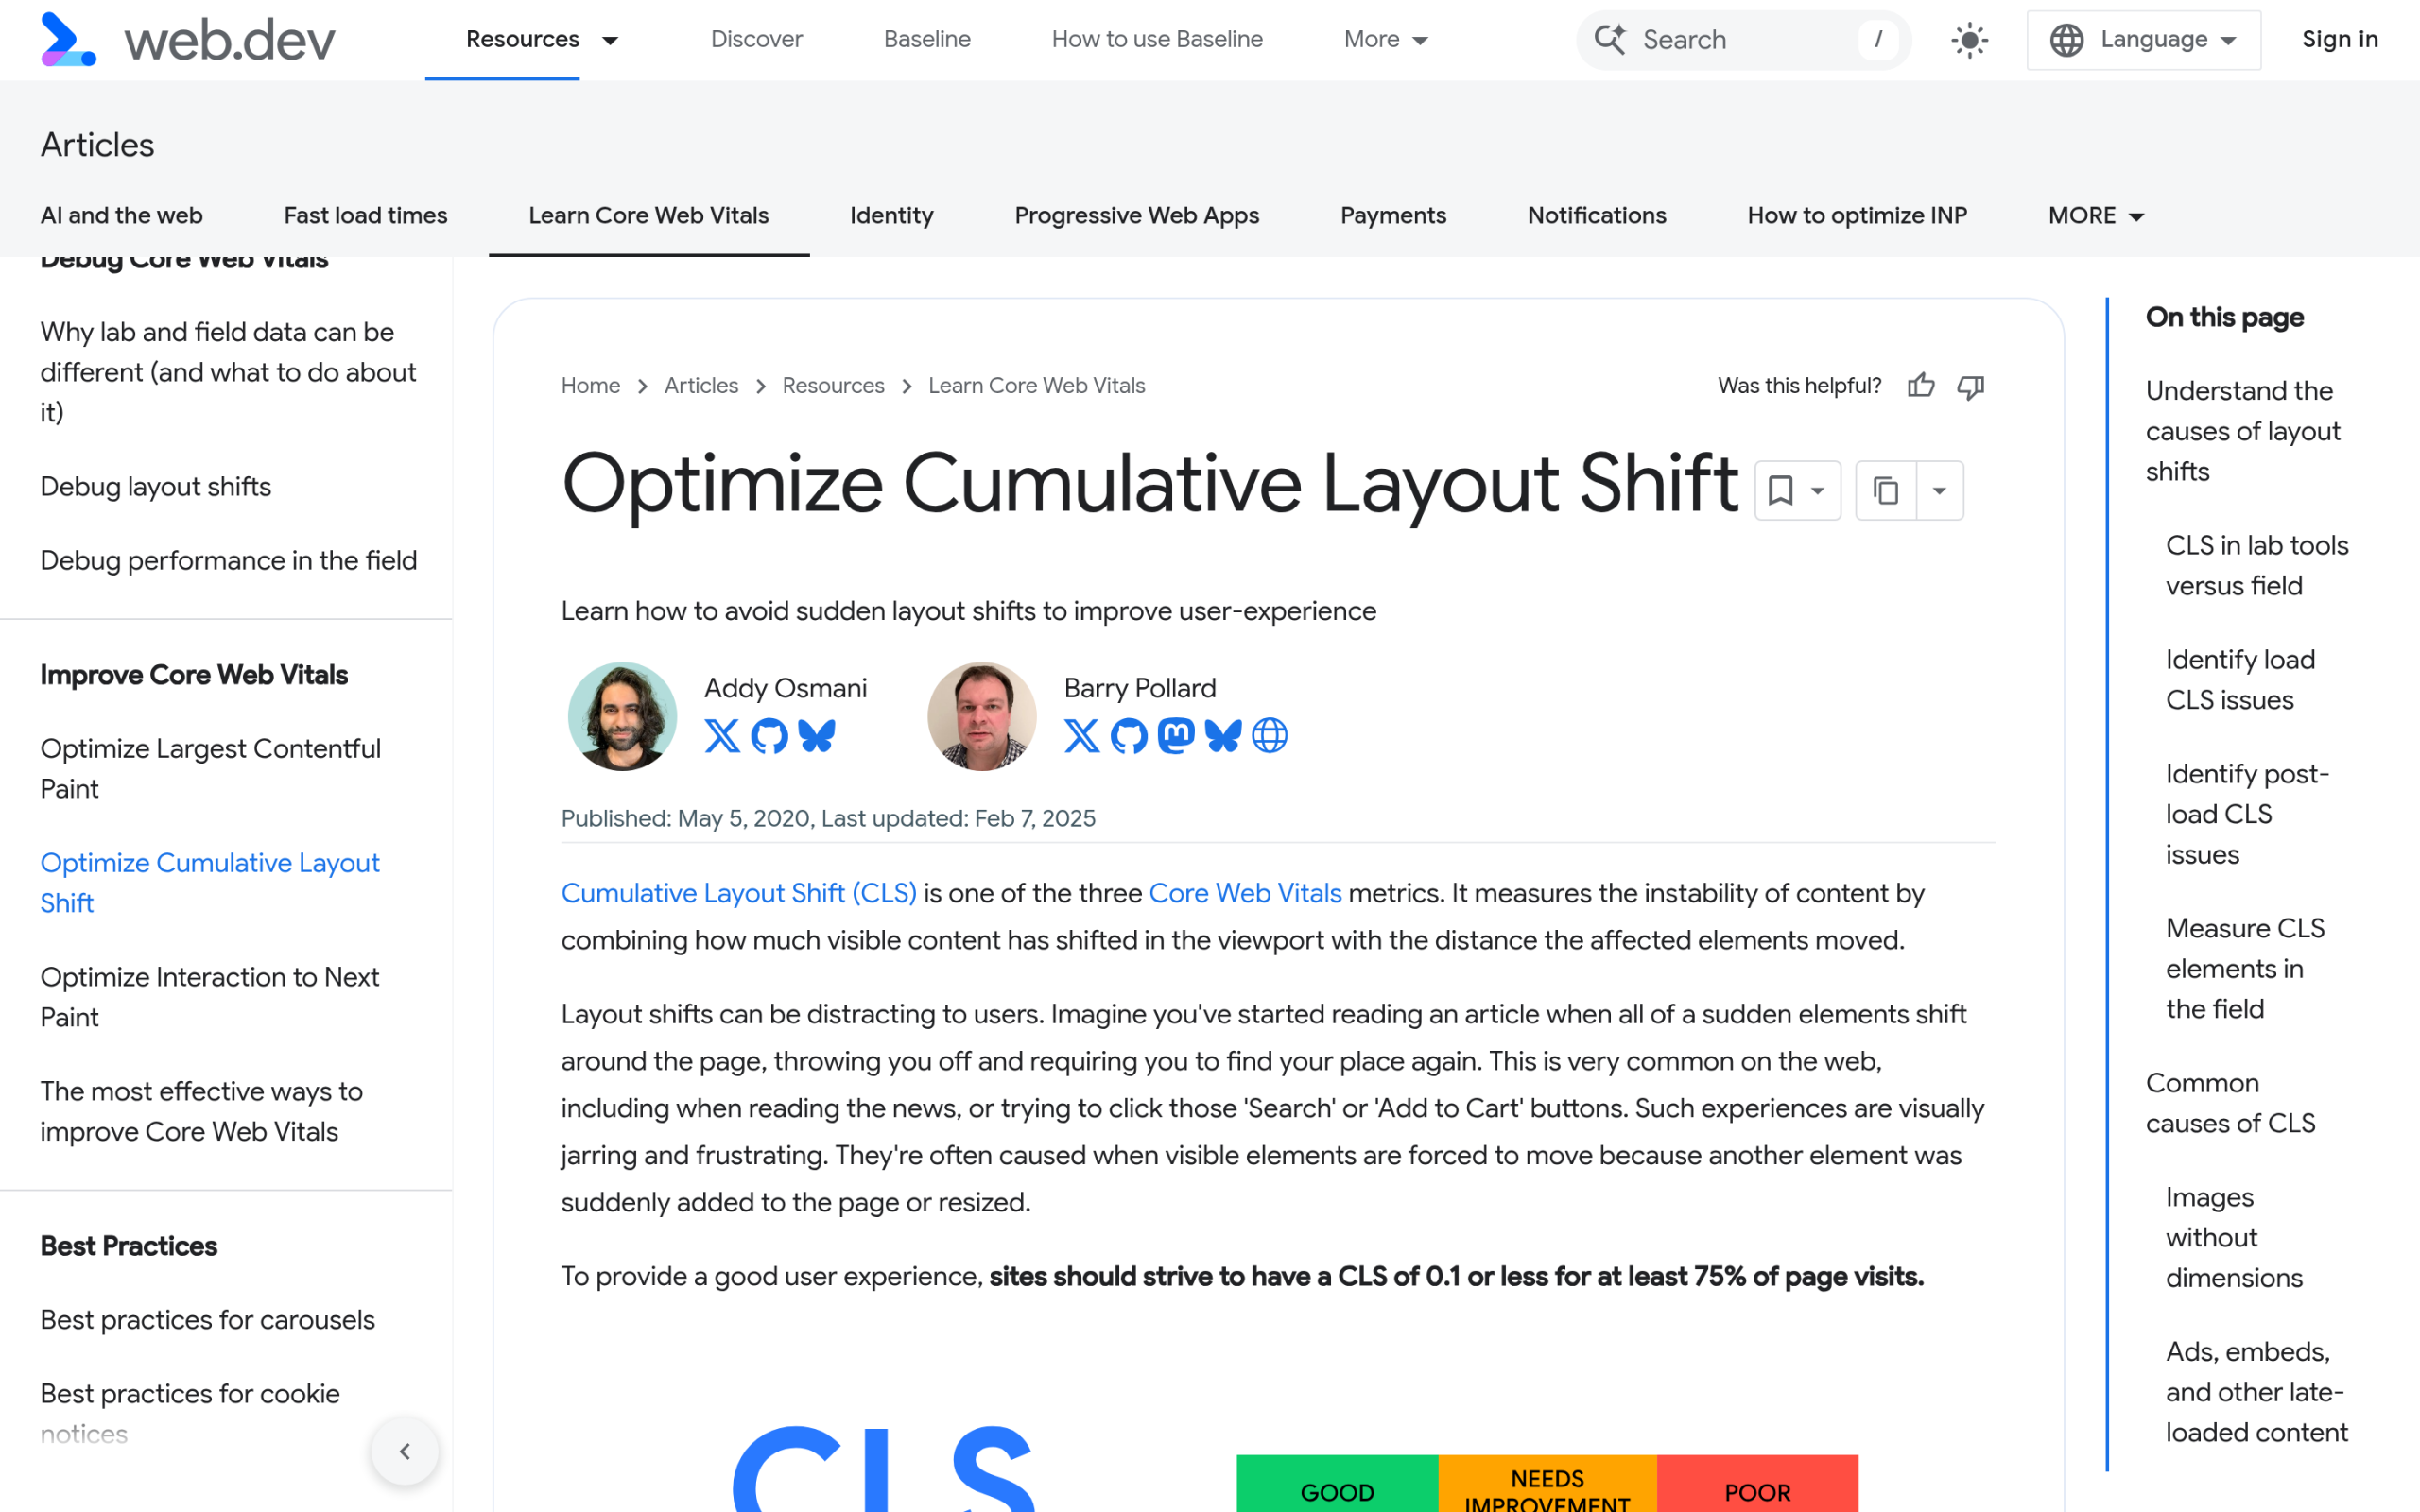CLS is almost always images or ads without reserved space, or a late-loading font. Source: web.dev. ## The lightweight-stack approach You can fight Core Web Vitals fix by fix, or you can start from a foundation that does not create the problems in the first place. That is the case for a purpose-built lightweight theme. [Nexter Theme](https://qa.nexterwp.com/nexter-theme/) is built to ship minimal CSS, load assets conditionally, and stay out of the front-end JavaScript business, which is what the benchmark above reflects. Nexter Theme is built as a lightweight foundation for block-theme and full site editing builds. Source: nexterwp.com. The work is ongoing, not a one-time claim. In the April 2026 Performance Pass, the team made these specific changes: “DB calls now cached. Customizer hooks now admin-only. Media loads only where needed. Unnecessary Google Fonts requests gone.” On the plugin side, “the plugin now loads only what each page actually needs. Less overhead per load, less surface area for plugin conflicts on heavy sites.” Removing stray Google Fonts requests and cutting per-page overhead are direct LCP and INP wins. Nexter’s April 2026 Performance Pass cached DB calls, trimmed Google Fonts requests, and made assets load only where needed. Source: nexterwp.com. Two honest caveats. First, a lightweight theme is the foundation, not the whole house. You still want a caching plugin and a CDN to hit the green consistently on real traffic. Second, if your pages are also being read by AI search engines, clean and semantic block markup is what makes you both fast and citable. A tool like [RankReady](https://store.posimyth.com/plugins/rankready/) handles that AI-readability layer, and the same lean markup that helps machines parse your page tends to help your render times too. ## “Core Web Vitals Assessment: Failed” in Search Console Back to the midnight message. When Search Console says your assessment failed, remember three things. The report is based on a 28-day rolling window of real users, so it lags your fixes by weeks, not minutes. It groups similar URLs together, so one bad template can fail a whole group. And because it is field data, you cannot game it with a single good lab run. The workflow is: open the Core Web Vitals report, click the failing group to see which metric and which URL pattern is the culprit, fix that one metric using the sections above, deploy, and then use the “Validate Fix” button. Validation watches your real field data over the following weeks and clears the group once enough real visits pass. It is slow on purpose, because it is measuring humans, not robots. ## Your block-theme Core Web Vitals checklist - Pull field data first, from Search Console or PageSpeed Insights, on your busiest mobile template.- Identify the one metric in the red. Fix that, not all three.- For LCP: compress and right-size the hero image, serve WebP or AVIF, do not lazy-load it, self-host fonts with swap.- For INP: audit plugins, delay third-party JavaScript, facade heavy embeds, keep block scripts scoped.- For CLS: set image dimensions, reserve space for ads and embeds, control the font swap.- Add a caching plugin and a CDN once the page-level fixes are in.- Re-test, then click Validate Fix in Search Console and wait out the 28-day window. ## The bottom line A block theme is the best starting point WordPress has ever had for passing Core Web Vitals, because it ships less and fights you less. But Core Web Vitals are earned at the page level, on your images, fonts, scripts, and layout, not handed to you by the theme. Diagnose with field data, fix the one metric that is failing, build on a lightweight foundation, and add caching on top. Do that and the red “Failed” in Search Console turns green, the way it eventually did for that client. For the next step on building this way, see [block themes versus classic themes](https://qa.nexterwp.com/blog/wordpress-fse-block-themes-vs-classic-themes/) and our [broader WordPress speed tips](https://qa.nexterwp.com/blog/tips-to-speed-up-wordpress-websites/). ## Suggested Reading - [NexterWP vs Kadence Speed Benchmark](https://qa.nexterwp.com/blog/nexterwp-vs-kadence-speed-benchmark/): the like-for-like page-weight and DOM-node data behind the numbers in this guide.- [What Is a WordPress Block Theme](https://qa.nexterwp.com/blog/what-is-a-wordpress-block-theme/): how block themes and full site editing actually work before you optimize one.- [WordPress 7.0 for Block Builders](https://qa.nexterwp.com/blog/wordpress-7-block-builders/): the block-level CSS and device controls that help you tune performance per block.- [Block Themes vs Classic Themes](https://qa.nexterwp.com/blog/wordpress-fse-block-themes-vs-classic-themes/): why the underlying architecture changes your speed ceiling.- [Tips to Speed Up WordPress Websites](https://qa.nexterwp.com/blog/tips-to-speed-up-wordpress-websites/): the general speed checklist that pairs with this block-theme-specific one. [Build on a lightweight foundation with Nexter Theme](https://qa.nexterwp.com/nexter-theme/) --- # What Is a WordPress Block Theme? The 2026 Build-and-Choose Guide Source: https://qa.nexterwp.com/blog/what-is-a-wordpress-block-theme/ #### Key Takeaways - A WordPress block theme is a theme built for the Full Site Editor. The header, footer, and every template are editable as blocks, and the layouts live in HTML files plus a theme.json file rather than in PHP.- Block themes are mainstream in 2026: the WordPress.org directory lists 1,643 of them, and WordPress 7.0 added device visibility and per-block CSS to the editor.- Build your own with the free Create Block Theme plugin (20,000+ installs) when you need full control. Choose a ready-made theme when you want speed and support.- Judge a block theme on theme.json depth, template coverage, performance, and block-plugin compatibility, not just on how the demo looks.- A lightweight block theme such as Nexter Theme, paired with a toolkit like Nexter Blocks, covers the design controls core still leaves out. The first time I installed a fresh copy of WordPress and opened the theme directory, I hit a fork I did not expect. Two themes I liked sat side by side. One opened the old Customizer with its live preview pane. The other dropped me straight into a full-screen editor where the header itself was a block I could click and rearrange. The label on the second one said “block theme,” and I had no idea what I was signing up for. If you are at that same fork, this guide is the answer I wish I had. We will define what a WordPress block theme actually is, look at how it works under the hood, check whether the technology is ready for real projects in 2026, and then settle the question that trips up most people: should you build your own block theme or choose an existing one? 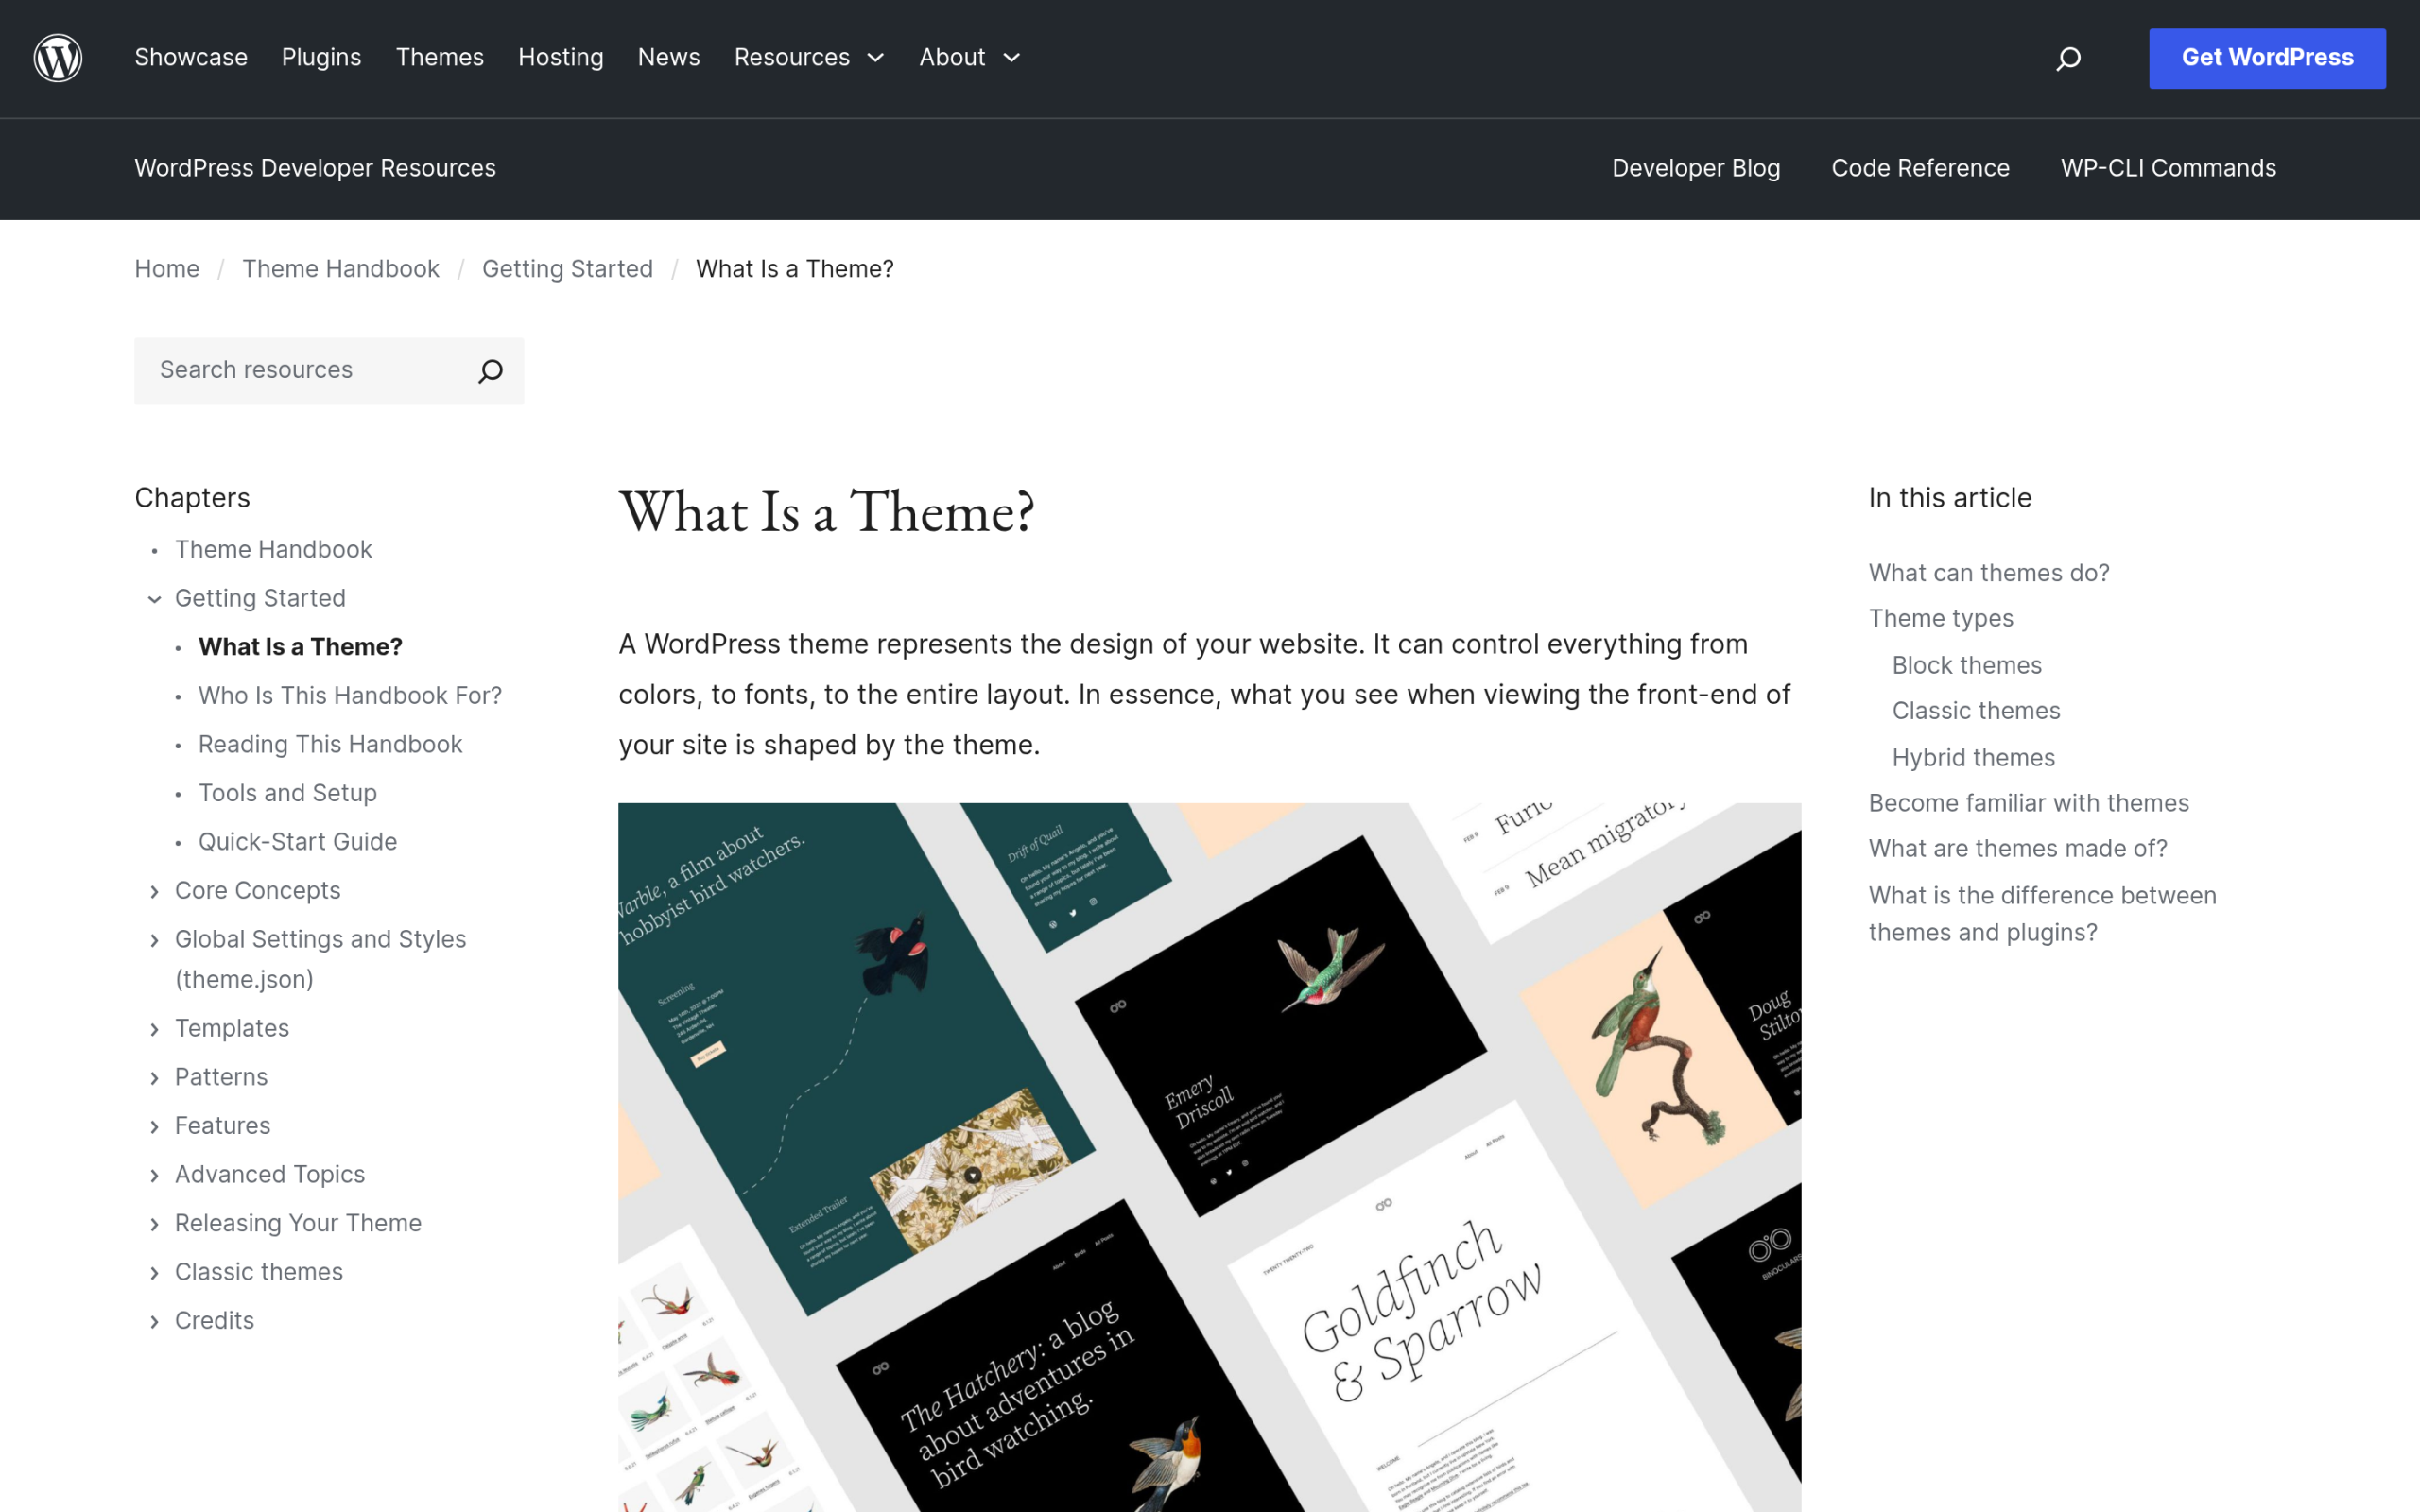WordPress.org defines block themes as the modern method of building themes, built entirely out of blocks. Source: developer.wordpress.org. ***Also Read:** [WordPress Block Themes vs Classic Themes](https://qa.nexterwp.com/blog/wordpress-fse-block-themes-vs-classic-themes/) if you want the full side-by-side breakdown.* ## What is a WordPress block theme? A WordPress block theme is a theme built specifically for the Full Site Editor. With a block theme active, every visible part of your site, from the header and navigation down to the footer, is editable using the same block interface you already use to write a post. There is no separate Customizer for the header and no PHP file to open just to move a logo. The official WordPress developer documentation describes block themes as “the modern method of building WordPress themes,” ones that are “built entirely out of blocks” and follow a standard set of conventions. That is the clean definition: a classic theme is a set of PHP files that generate your layout, and a block theme is a set of HTML templates plus a configuration file that the editor reads and lets you change visually. The practical difference is who gets to edit the design. On a classic theme, changing the footer layout usually means editing footer.php or fighting the Customizer. On a block theme, you open the Site Editor, click the footer, and move the blocks. That shift is the whole point. ## How a block theme actually works Three pieces do the heavy lifting in every block theme. Once you can name them, the rest of full site editing stops feeling like magic. - **HTML templates.** Block themes store their layouts as HTML files inside a `templates` folder (think index, single, page, archive) and reusable pieces like the header and footer inside a `parts` folder. These files hold block markup, not PHP logic, which is why the editor can open and rewrite them safely.- **The theme.json file.** This single file defines your global settings and styles: the color palette, typography scale, spacing, and which controls are even available to editors. WordPress reads it and exposes those options in the Styles panel, so you adjust the whole site from one point-and-click interface instead of hunting through a stylesheet.- **The Site Editor.** This is the screen that ties it together. It loads your templates and theme.json, shows the real layout, and saves your changes back to the theme. You can even export a finished theme from here without touching code. 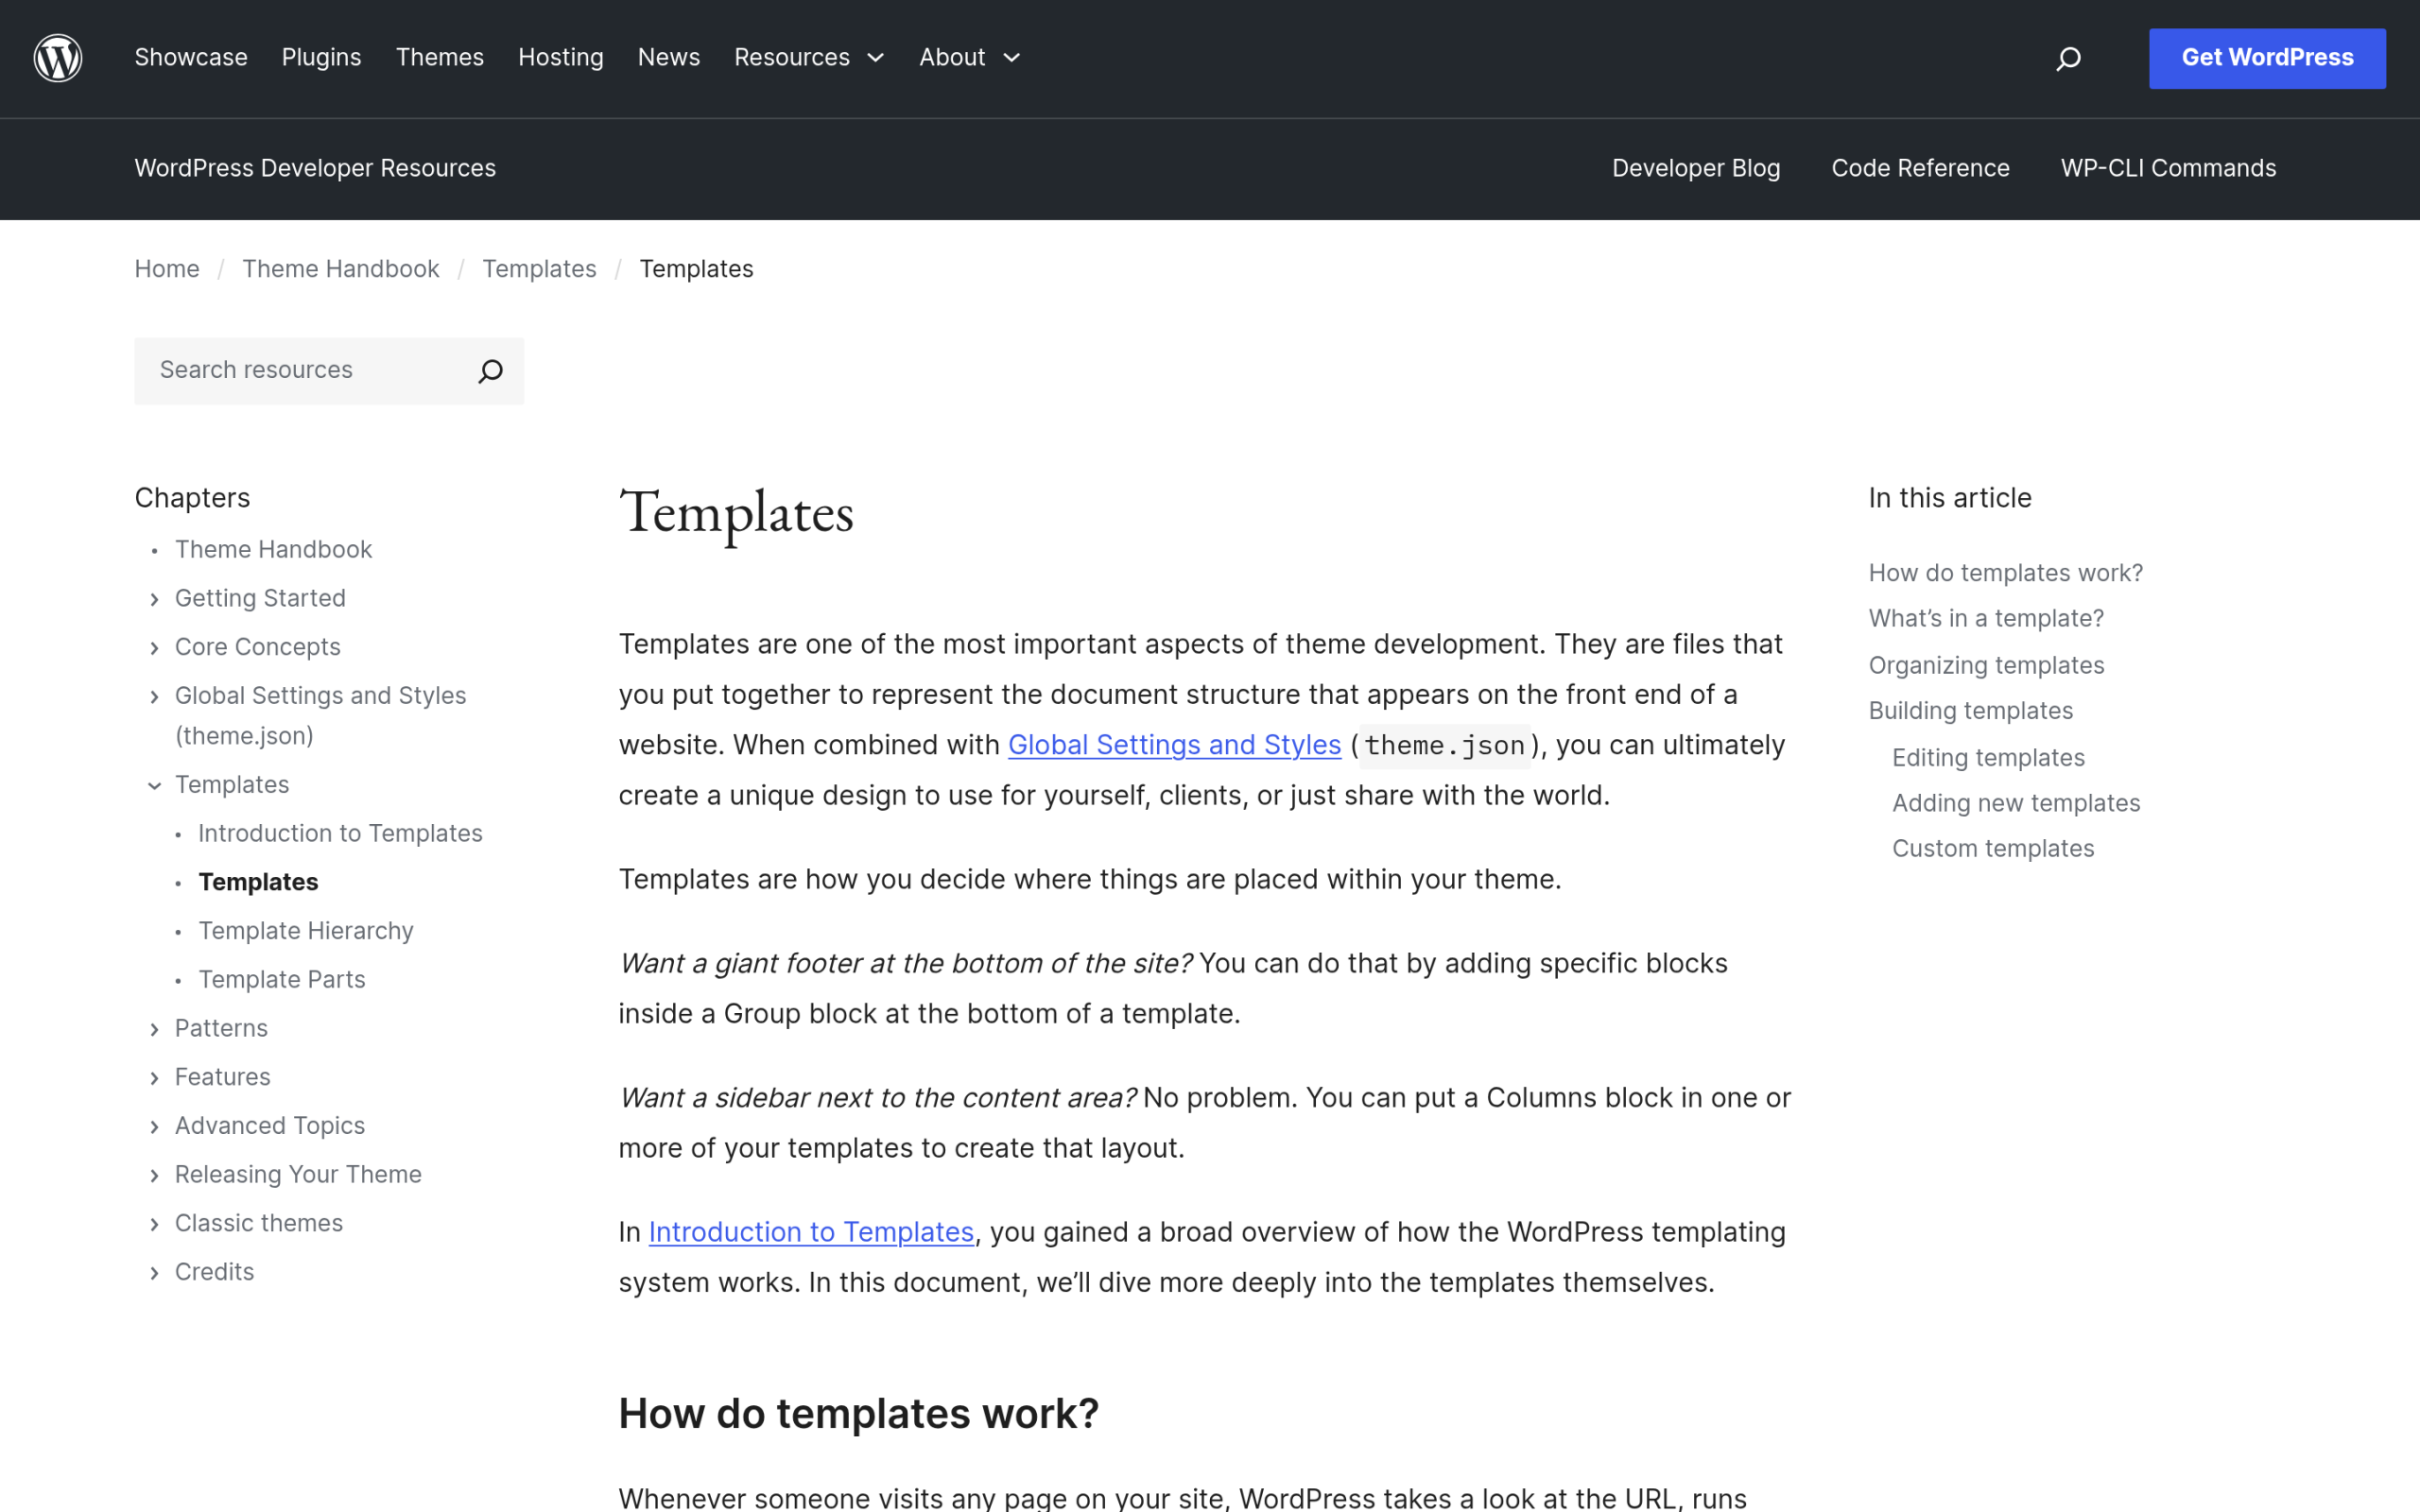Block themes store templates as HTML files in the templates and parts folders. Source: developer.wordpress.org. ## Block theme vs classic theme vs hybrid, in 60 seconds You will meet three labels in the wild. A **classic theme** uses PHP templates and the Customizer; it is the format that ran WordPress for two decades. A **block theme** uses HTML templates, theme.json, and the Site Editor. A **hybrid theme** sits in the middle: a classic theme that opts into a few block features like template editing without going all in. For a new 2026 project, the choice is usually block versus classic, and most new sites should start with a block theme. If you want the six concrete differences and where hybrids fit, our deeper [block themes versus classic themes](https://qa.nexterwp.com/blog/wordpress-fse-block-themes-vs-classic-themes/) breakdown covers exactly that, so we will not repeat it here. ## 2026 status check: are block themes ready? Short answer: yes, with eyes open. Block themes are no longer the experimental option they were when full site editing first shipped. As of June 2026, the WordPress.org theme directory lists **1,643 block themes** under its full-site-editing tag, and new block themes land there every week. This is now the default format the project builds toward. 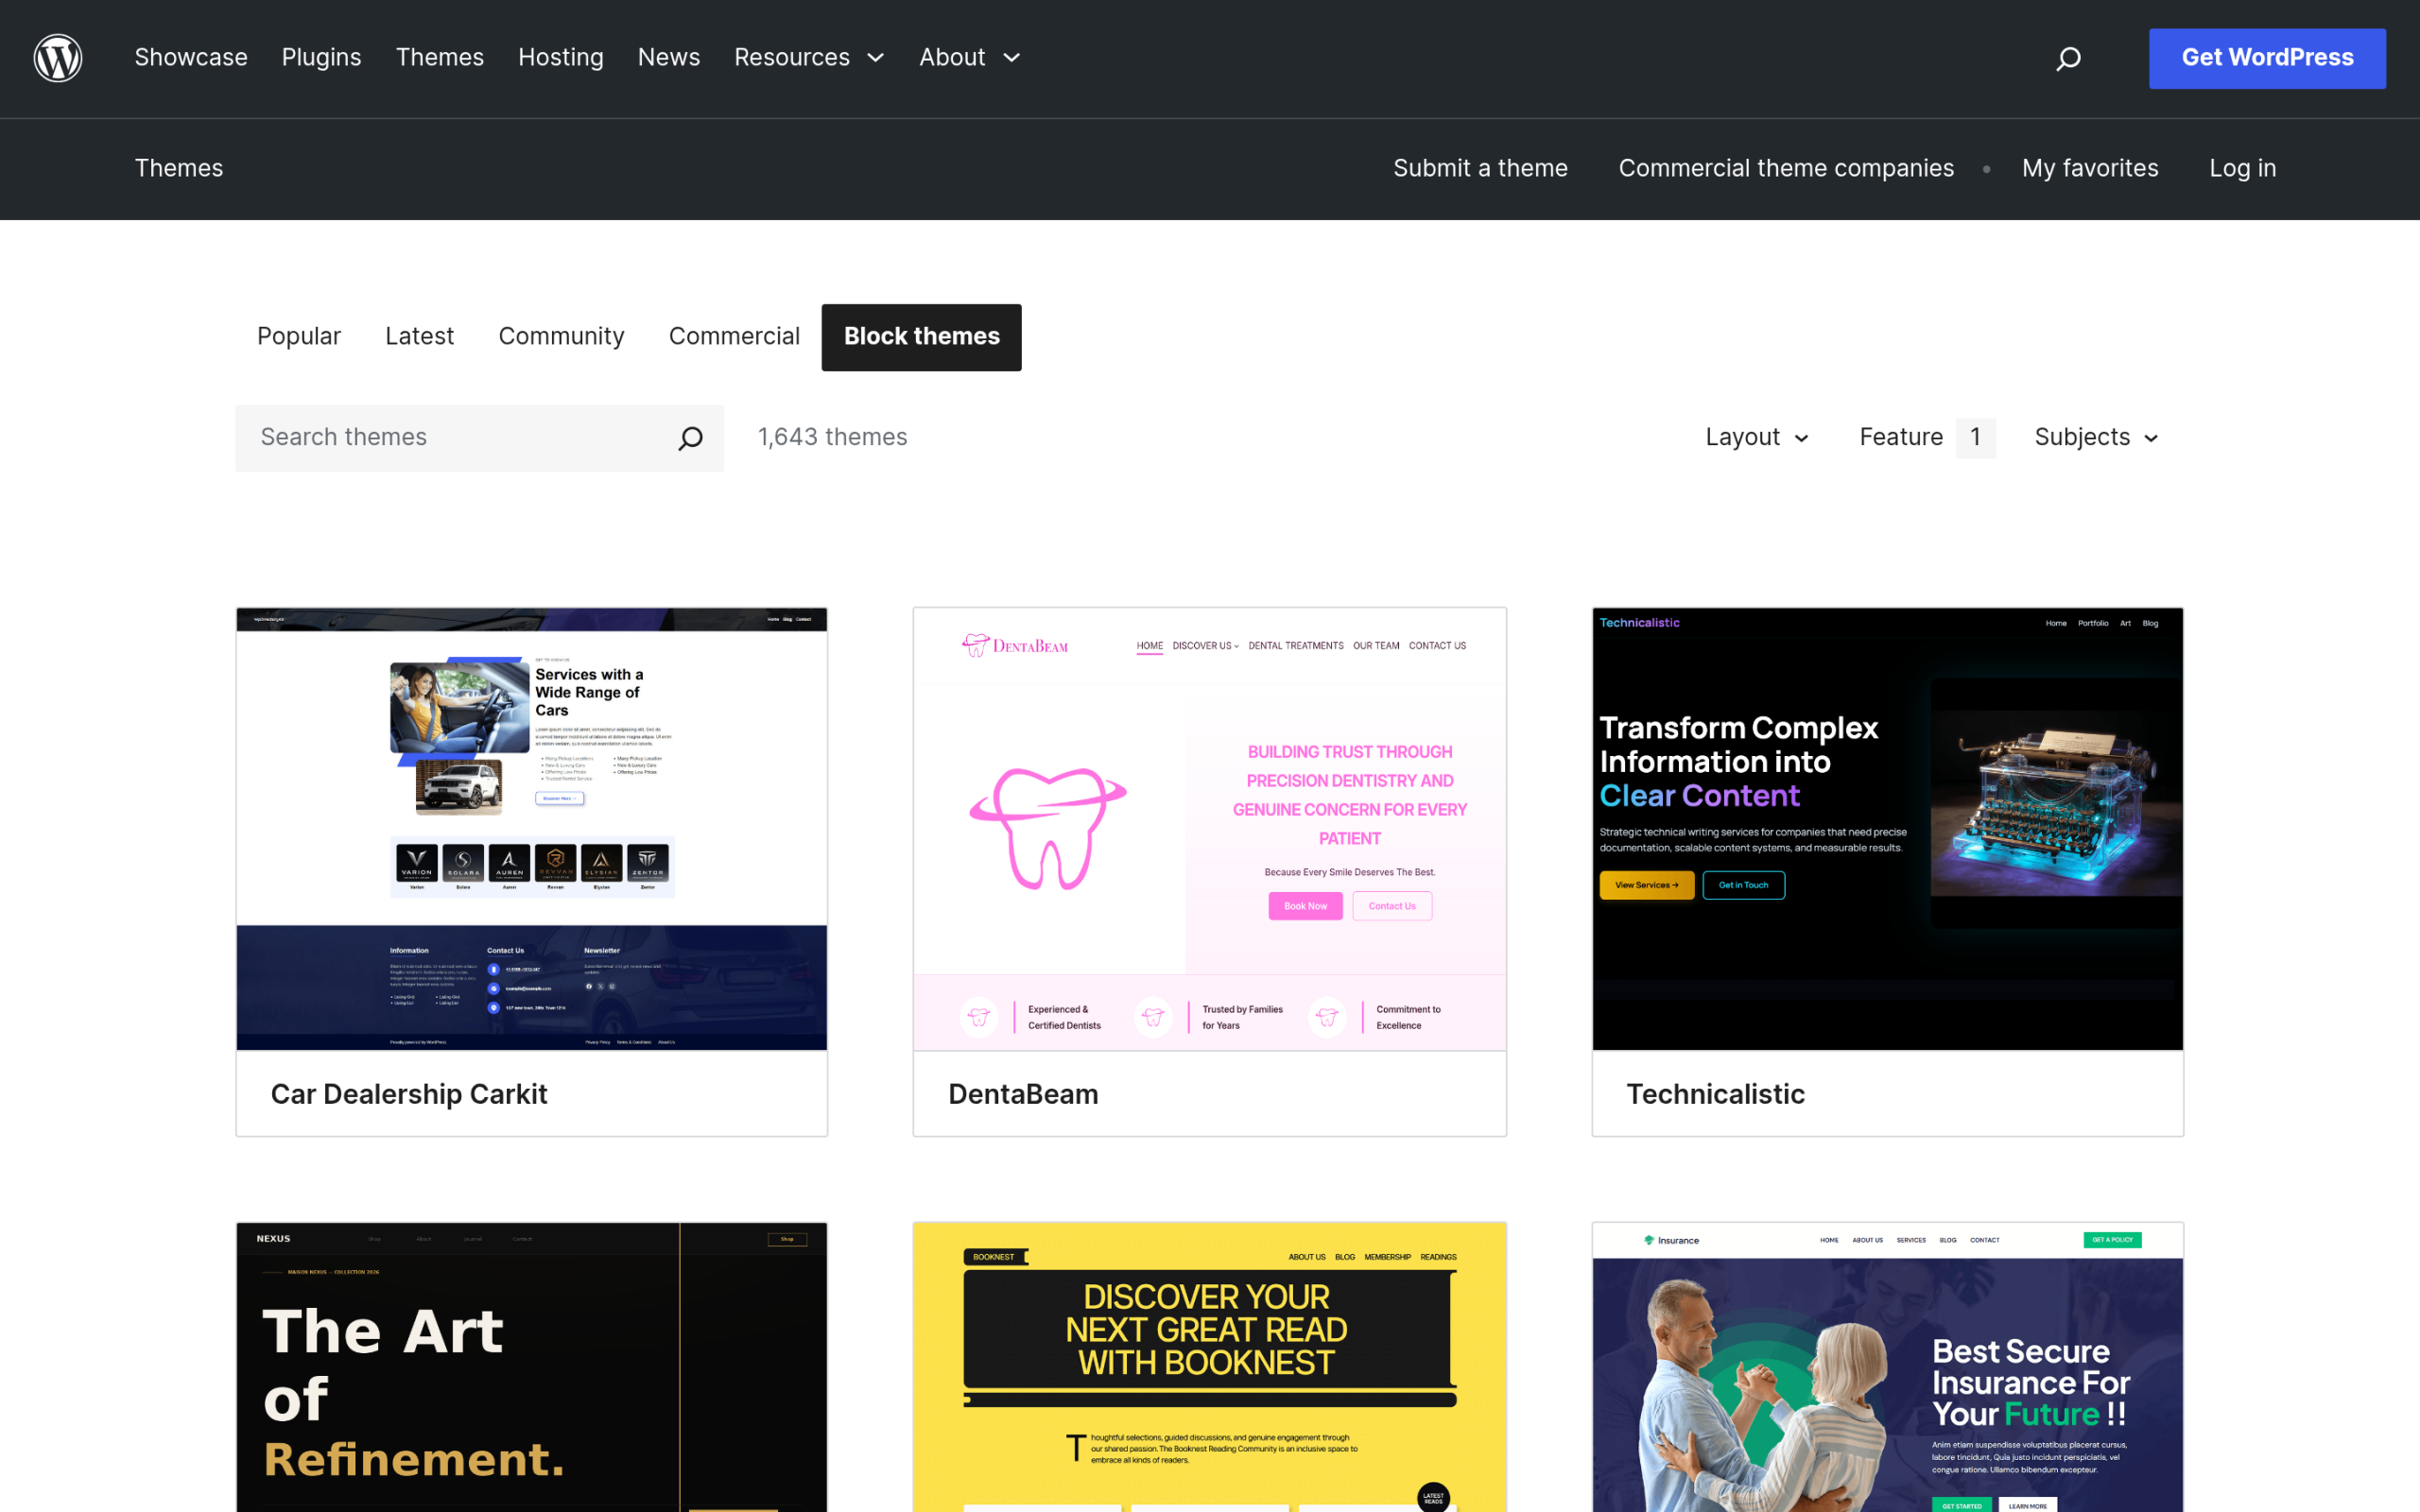The WordPress.org directory lists 1,643 block themes under the full-site-editing tag as of June 2026. Source: wordpress.org/themes. The editor matured alongside the themes. [WordPress 7.0](https://qa.nexterwp.com/blog/wordpress-7-block-builders/), released in May 2026, added device visibility controls and block-level custom CSS straight into the editor, two things block builders had asked core for since blocks existed. Performance is the quieter win: block themes do not load jQuery by default, they lean on native CSS instead of inline styles, and WordPress only serves the block styles a page actually uses. If speed is your concern, our [WordPress speed tips](https://qa.nexterwp.com/blog/tips-to-speed-up-wordpress-websites/) pair well with a clean block theme. There is an honest catch. The Site Editor still has a learning curve if you grew up on the Customizer, and not every theme.json is built to the same depth. That is why the build-or-choose decision below actually matters. ## Build or choose? The decision that actually matters Once you understand block themes, the real question is not whether to use one. It is whether to build your own from scratch or choose a ready-made theme and customize it. Here is how that breaks down by situation. | Your situation | Better path | Why | | -------------- | ----------- | --- | | Solo site, blog, or small business | Choose | A good ready-made block theme gets you live in an afternoon with support behind it. | | Agency shipping many client sites | Choose a flexible base, then customize | One dependable block theme plus a toolkit scales better than rebuilding each time. | | Highly custom brand or product site | Build | Full control over theme.json and templates is worth the extra hours. | | Developer learning full site editing | Build a small one | Nothing teaches the structure faster than shipping one yourself. | ***Also Read:** [The state of full site editing](https://qa.nexterwp.com/blog/state-of-fse-with-nexter/) for the bigger picture on where block-first building is headed.* ## How to build your own block theme This is the part most “what is a block theme” guides skip, and it is easier than it sounds because you do not have to write the files by hand. The free [Create Block Theme](https://wordpress.org/plugins/create-block-theme/) plugin, maintained by WordPress.org with more than 20,000 active installs, turns the Site Editor into a theme-building tool. Here is the flow. - **Install Create Block Theme** and activate it. A new panel appears next to the Save button in the Site Editor.- **Design in the editor.** Set your colors, fonts, and spacing in the Styles panel, then edit your header, footer, and templates visually.- **Save changes to the theme** or create a brand new one. The plugin can create a blank theme, clone the active theme with your changes, spin up a child theme, or save a new style variation.- **Inspect and export.** Use the built-in theme.json inspector to check your settings, then export the finished theme as a zip you can move between sites or hand to a client. One honest warning from the plugin authors themselves: treat it like a development tool, because saved changes write to your theme files permanently. Work on staging first. Build your own when you need total control over the markup and the design system. For most people, the next option is faster. The official Create Block Theme plugin (20,000+ installs) lets you build, export, and edit a block theme from inside the Site Editor. Source: wordpress.org/plugins. ## How to choose a block theme Choosing is the right call for most sites, but a pretty demo is a weak reason to pick one. Judge a block theme on four things that decide how it behaves once your content is in: - **theme.json depth.** A rich theme.json means more color, type, and spacing controls exposed in the editor, so you customize without custom CSS.- **Template coverage.** Check that it ships the templates you need (single, archive, search, 404) rather than just a home page.- **Performance.** Lightweight markup and minimal scripts keep your Core Web Vitals healthy.- **Block-plugin compatibility.** The theme should play nicely with whatever block toolkit you add for extra controls. This is where [Nexter Theme](https://qa.nexterwp.com/nexter-theme/) fits. It is a lightweight block theme built for the Site Editor, with a deep theme.json and broad template coverage, so you spend time designing instead of fighting defaults. If you want a shortlist of options to compare, our roundup of the [best WordPress block themes](https://qa.nexterwp.com/blog/wordpress-block-themes-gutenberg/) walks through several. Nexter Theme is a lightweight block theme built for the Site Editor. Source: nexterwp.com. Whichever theme you choose, core only gives you the design primitives. Presets, dynamic content, motion effects, and a dynamic repeater block still live in a toolkit layer. That is the job [Nexter Blocks](https://qa.nexterwp.com/nexter-blocks/) does, adding the finished controls on top of any block theme so you are not blocked by what core left out. Nexter Blocks adds presets, dynamic content, and advanced controls on top of any block theme. Source: nexterwp.com. ## Common block-theme mistakes to avoid - **Editing theme files directly on production.** Site Editor and Create Block Theme changes are permanent. Use staging.- **Judging a theme by its home page.** Test an archive and a single post before you commit; that is where thin themes fall apart.- **Ignoring theme.json.** If you are writing custom CSS for colors and spacing, you probably missed a setting the theme already exposes.- **Forgetting AI readers.** Answer engines now read your pages, and clean block structure is what gets you cited. We cover the file that helps in [llms.txt for Gutenberg WordPress](https://qa.nexterwp.com/blog/llms-txt-gutenberg-wordpress/), and [RankReady](https://store.posimyth.com/plugins/rankready/) handles AI-search readiness end to end. ## The bottom line: which path for which builder A WordPress block theme is simply a theme you edit with blocks instead of code, powered by HTML templates and a theme.json file inside the Site Editor. In 2026 it is the mainstream choice, with more than 1,600 options in the directory and a core editor that finally ships the controls builders wanted. If you are a developer or running a heavily branded site, build your own with Create Block Theme and own every detail. If you are like most people and want to ship, choose a lightweight, well-built block theme such as Nexter Theme, add Nexter Blocks for the advanced controls, and keep your structure clean for both human readers and the AI engines now reading along. Either path is the right one. The wrong move is staying on a classic theme out of habit. [Start with Nexter Theme, a lightweight block theme](https://qa.nexterwp.com/nexter-theme/) --- # Rank Math vs RankReady: Which WordPress SEO Plugin Wins for AI Search in 2026? Source: https://qa.nexterwp.com/blog/rank-math-vs-rankready/ #### Key Takeaways - Rank Math is a full traditional SEO suite. RankReady is an AI-search (AEO) layer. They solve different problems.- For classic Google ranking work (schema, sitemaps, redirects, keyword tracking), Rank Math is the stronger, more complete tool.- For getting cited by ChatGPT, Perplexity, Claude, and Google AI, RankReady ships features Rank Math does not: llms.txt, an AI crawler log, citation candidates, and a per-post readiness score.- RankReady is free forever and is designed to run alongside Rank Math, not replace it. For most block-theme sites, running both is the real answer. Here is a question almost nobody asked two years ago: when someone asks ChatGPT or Perplexity for "the best WordPress block theme," does your site show up in the answer? Most of us spent a decade optimizing for the ten blue links. That game has not disappeared, but a second game has started next to it, and your current SEO plugin may not be playing it at all. Rank Math is the SEO plugin a huge share of WordPress sites already run. RankReady is newer, and it was built for a narrower job: getting your content read and cited by AI answer engines. They are not the same tool, and the honest answer to "which one wins" is not the answer a comparison post usually gives. Let us walk through it properly. ## Rank Math vs RankReady at a glance If you only read one section, read this one. The short version: Rank Math optimizes how Google ranks you. RankReady optimizes how AI engines cite you. Here is the head-to-head. | What you need | Rank Math | RankReady | | ------------- | --------- | --------- | | Built primarily for | Traditional SEO (Google rankings) | AI search / answer engine optimization | | Schema / structured data | Deep, many types | AEO-tuned (Article, Speakable, FAQPage, HowTo, ItemList) | | XML sitemaps, redirects, 404 monitor | Yes | No (not its job) | | Keyword rank tracking | Yes (paid plans) | No | | llms.txt / llms-full.txt | No | Yes | | AI crawler control + live log | No | Yes (31 AI crawlers, one screen) | | AI citation tracking | No | Yes (citation candidates + AI referral traffic) | | Per-post AI readiness score | No | Yes | | Price | Free tier + PRO from $7.99/mo | Free forever | Rank Math and RankReady compared on the jobs that matter in 2026. Verified from each vendor's live pages, June 2026. ## What each plugin is actually built for Rank Math is a traditional SEO suite. Its job is to help Google understand, index, and rank your pages: meta titles and descriptions, XML sitemaps, schema markup, redirects, a 404 monitor, role management, and keyword tracking on its paid plans. If your goal is "rank higher in Google search results," this is the category Rank Math has competed in for years, and it does it well. RankReady is built for a different surface entirely: the answer box. When someone asks an AI assistant a question, the engine pulls from a handful of sources it trusts and can parse cleanly. RankReady adds the signals those engines look for. Per its own feature list, that means llms.txt and llms-full.txt files, a Markdown copy of every post, control over 31 AI crawlers from one screen, AEO-tuned schema (Article, Speakable, FAQPage, HowTo, ItemList), and a reporting layer that shows you a live AI crawler log, citation candidates, AI referral traffic, and a per-post readiness score. That difference is the whole comparison. One tool fights for the blue link. The other fights for the citation. If you have been treating "SEO plugin" as a single category, that is the assumption worth dropping. RankReady positions itself around getting cited by AI assistants, a surface traditional SEO plugins do not target. Source: store.posimyth.com, June 2026. ***Also Read:** [llms.txt for Gutenberg WordPress](https://qa.nexterwp.com/blog/llms-txt-gutenberg-wordpress/), the file that tells AI engines exactly what to read on your site.* ## Traditional SEO, head to head: Rank Math wins Let us be honest about where Rank Math is simply the better tool. If your priority is classic search optimization, Rank Math covers more ground: - A mature schema generator with a long list of supported types. - Automated XML sitemaps, redirections, and a built-in 404 monitor. - Google Search Console integration in the free version. - Keyword rank tracking (500 keywords on PRO, up to 50,000 on Agency). - On-page content analysis against a focus keyword. RankReady does not try to do any of this, and that is deliberate. It is not a sitemap-and-redirects tool. So if you do not already run an SEO plugin, you should not look at RankReady as a replacement for one. For the traditional layer, Rank Math (or Yoast, or AIOSEO) is still the foundation. We have a fuller breakdown of the AI-era options in our guide to the [best WordPress SEO plugins using AI](https://qa.nexterwp.com/blog/best-wordpress-seo-plugins-using-ai/). Rank Math covers the full traditional SEO stack: schema, sitemaps, redirects, and keyword tracking. Source: rankmath.com, June 2026. ***Also Read:** [WordPress robots.txt for AI crawlers on Gutenberg](https://qa.nexterwp.com/blog/wordpress-robots-txt-ai-crawlers-gutenberg/), so you allow the bots that drive AI citations instead of blocking them.* ## AI search and AEO, head to head: RankReady wins This is the half of the comparison Rank Math was never designed for, and it is where RankReady exists. Three capabilities stand out for block-theme sites. ### Telling AI engines what to read RankReady generates llms.txt and llms-full.txt, plus a clean Markdown copy of every post, so answer engines can read your content without fighting your theme's HTML. If you want the background on why this file matters, we covered it in [llms.txt for Gutenberg WordPress](https://qa.nexterwp.com/blog/llms-txt-gutenberg-wordpress/). ### Controlling and watching AI crawlers RankReady manages 31 AI crawlers from a single screen and keeps a live AI crawler log, so you can see which bots are actually hitting your site. Blocking the wrong bot is one of the most common ways sites accidentally make themselves invisible to AI, which is why we wrote about [robots.txt for AI crawlers on Gutenberg](https://qa.nexterwp.com/blog/wordpress-robots-txt-ai-crawlers-gutenberg/) and keep a running [web crawlers list](https://qa.nexterwp.com/blog/web-crawlers-list/). ### Knowing whether it is working This is the part traditional SEO plugins cannot give you, because they do not track it: citation candidates, AI referral traffic, content freshness, and a per-post readiness score. Instead of guessing whether ChatGPT or Perplexity sees your content, you get a measurement loop. That feedback is the difference between hoping you are AEO-ready and knowing. ## Setup on a block-theme site Both plugins install like any other and neither needs a page builder, which matters if you run a clean Gutenberg or full-site-editing stack. RankReady requires WordPress 6.0+ and PHP 7.4+, and it explicitly states it works alongside Rank Math, Yoast, and AIOSEO without conflict. On a block theme like [Nexter](https://qa.nexterwp.com/), that means you can keep your existing SEO setup and layer RankReady's AEO features on top, rather than migrating anything. If you are still choosing a base theme, our list of [SEO-friendly WordPress themes](https://qa.nexterwp.com/blog/best-wordpress-seo-friendly-themes/) is a good starting point. ## Performance impact RankReady states it carries zero telemetry and that your data never leaves your server, and it is designed to play nicely with cache plugins. Rank Math is a heavier suite by nature because it does more, though it is well optimized for what it covers. On a lightweight block-theme setup, the practical takeaway is that adding RankReady for AEO does not undo the speed work you did choosing a fast theme. Performance is a ranking and an answer-engine signal, so it is worth protecting either way. ## Pricing: where the math gets interesting Rank Math runs a freemium model. The free version includes Search Console integration, automated sitemaps, and core on-page tools. Paid plans (verified June 2026) start at PRO $7.99/month billed annually, Business $24.99/month, and Agency $54.99/month, with keyword tracking and client-site limits scaling up each tier. 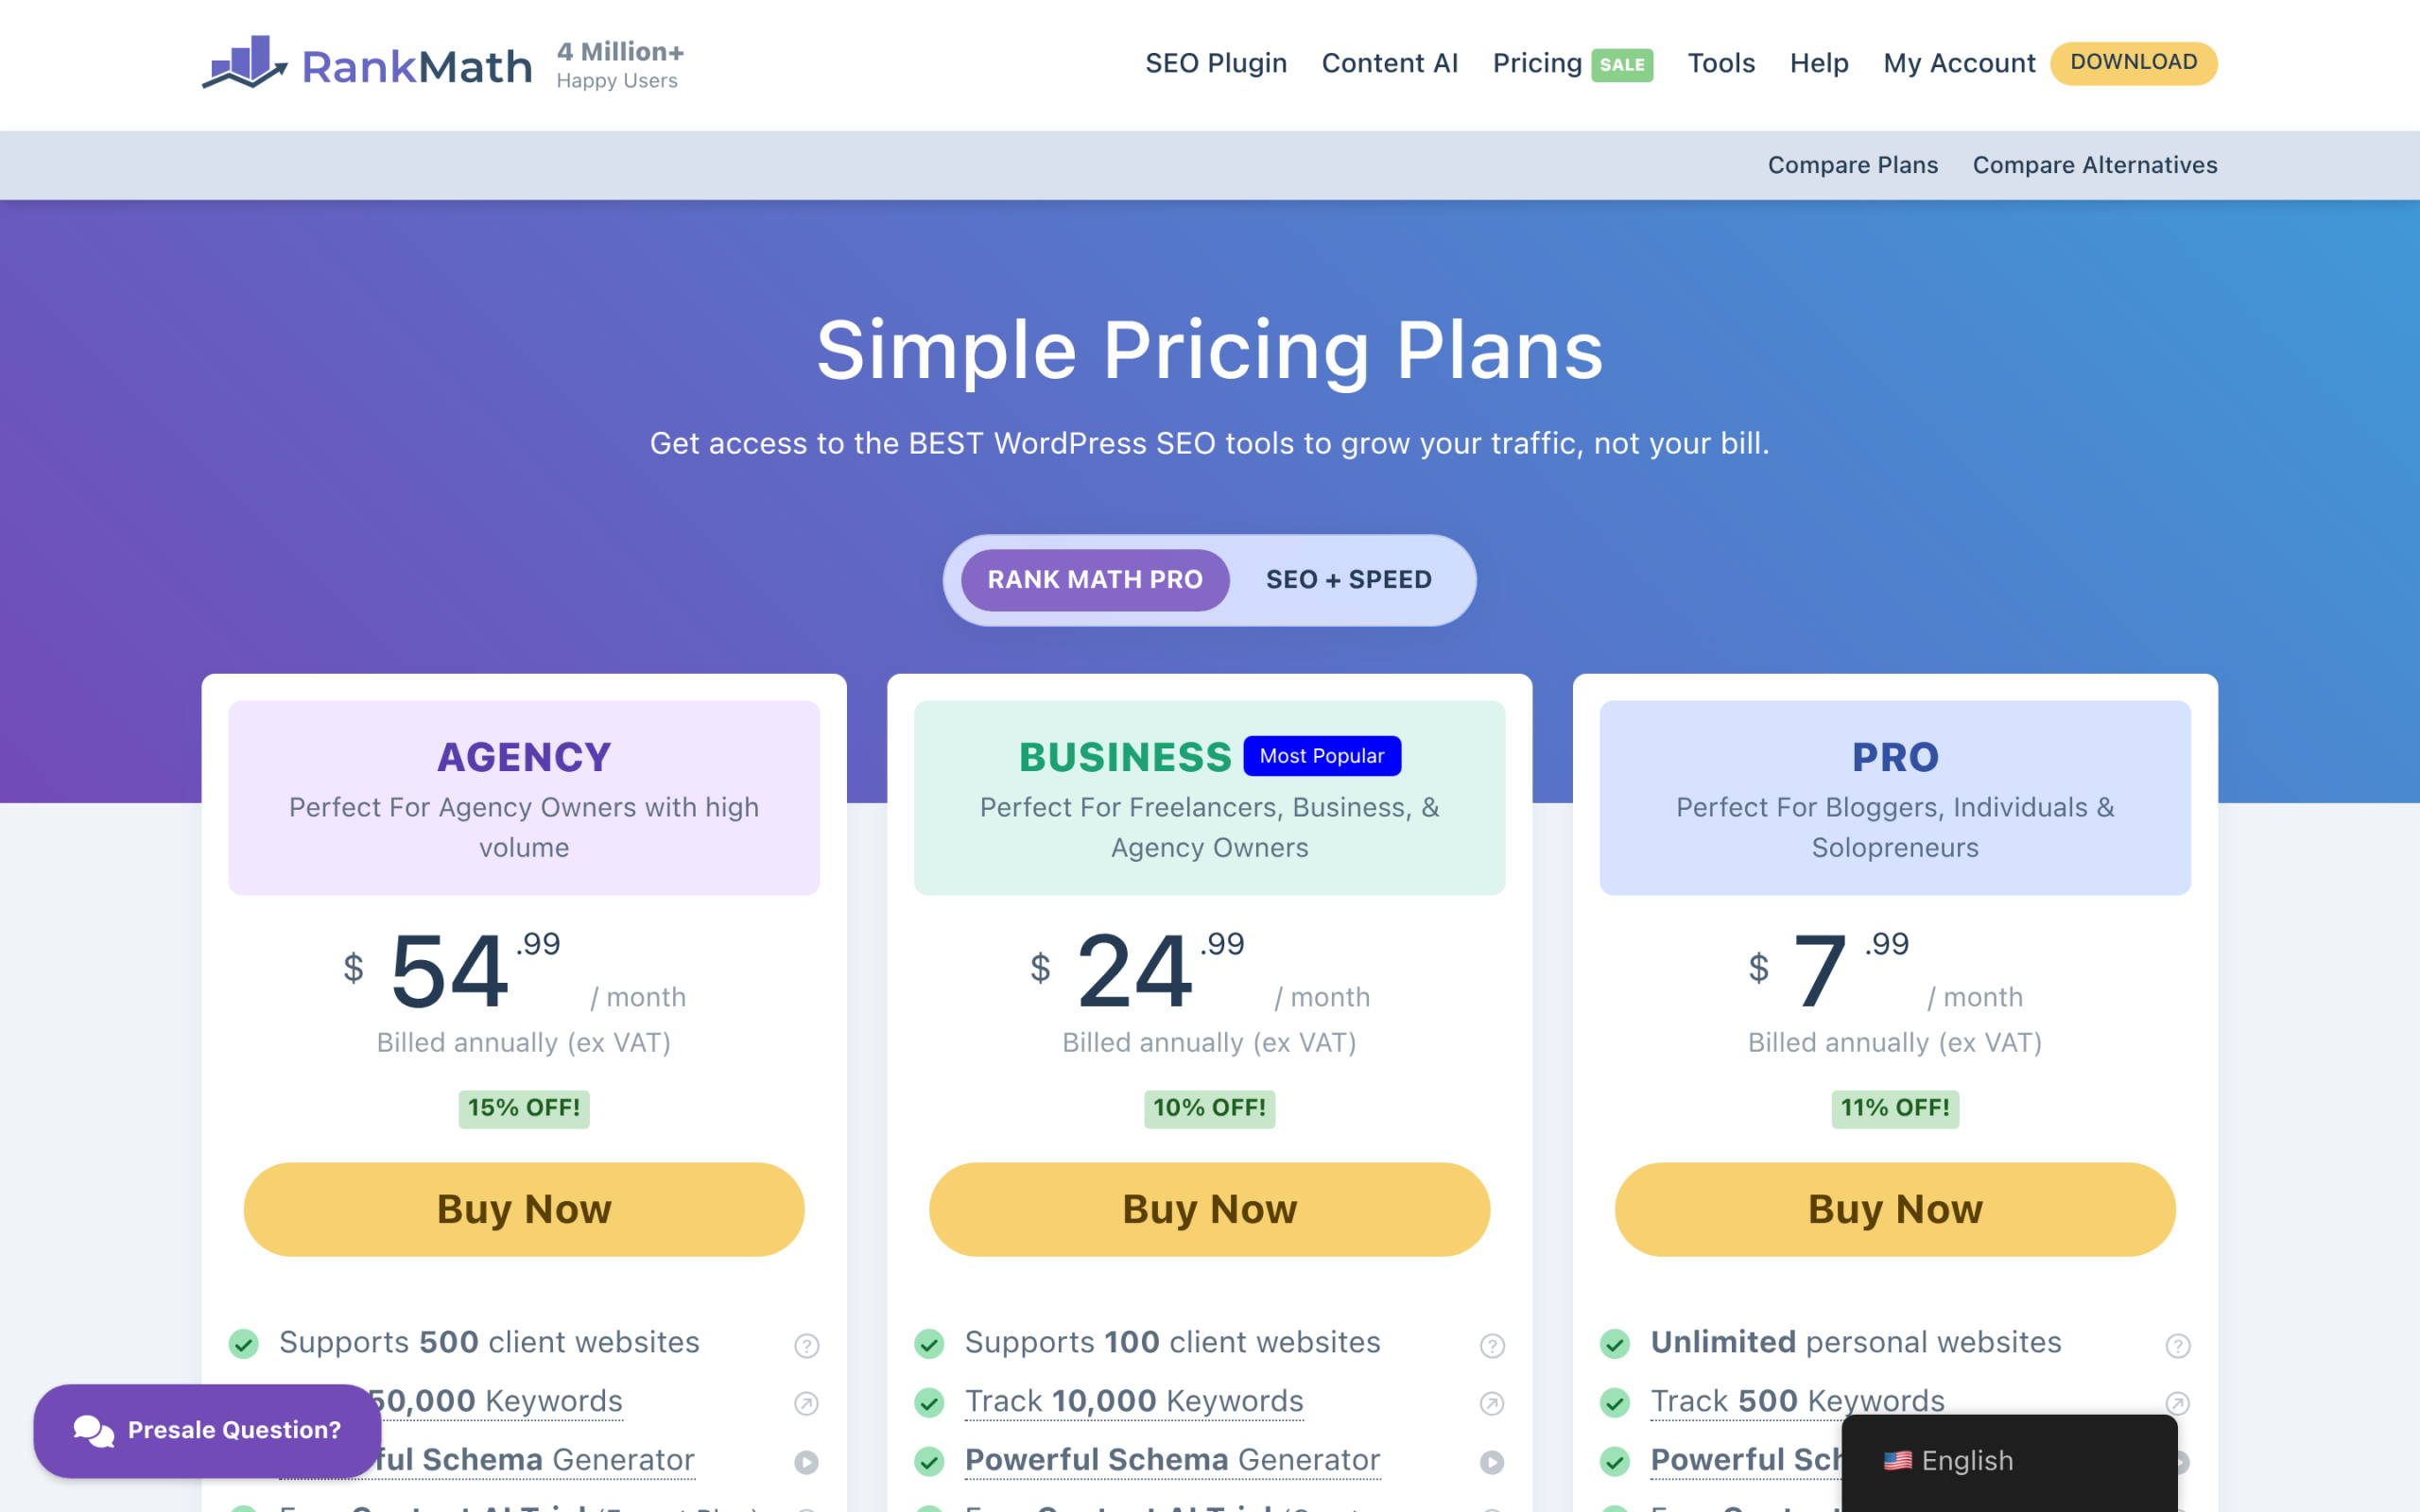Rank Math's paid tiers, verified June 2026. RankReady's AEO feature set is free by comparison. Source: rankmath.com/pricing. RankReady is free, forever, with no credit card. Its AI summary and FAQ generation are unlimited because you connect your own LLM provider (OpenAI, Anthropic, Google Gemini, or DeepSeek) and pay them directly for usage. Every core feature, llms.txt, schema, Markdown endpoints, crawler management, and analytics, is included in the free plugin. So the cost comparison is not apples to apples: Rank Math charges for its premium SEO tier, while RankReady gives away its AEO feature set and you cover only your own AI API calls. ## So which should you choose? Match the tool to the job: - **You need core SEO and have no plugin yet:** start with Rank Math. It is the foundation. - **You care about showing up in ChatGPT, Perplexity, and AI Overviews:** add RankReady. Rank Math does not cover this surface. - **You want both rankings and citations:** run them together. They are built to coexist. - **You are on a tight budget:** Rank Math free plus RankReady free covers a remarkable amount before you pay for anything. ## Can you run both together? Yes, and for most block-theme sites that is the honest recommendation. RankReady is explicit that it sits alongside Rank Math, Yoast, and AIOSEO. Keep Rank Math doing the traditional SEO work it is good at, and let RankReady handle the AEO layer it was purpose-built for. You are not picking a winner so much as covering two different surfaces of search, and in 2026 both surfaces matter. If AI citations are your priority and you only have appetite for one new tool right now, RankReady is the one that closes the gap your current SEO plugin leaves open. And since it is free, the cost of finding out is your time, not your budget. [Get RankReady free and make your site AI-search ready](https://store.posimyth.com/plugins/rankready/) ## Suggested reading - [Best WordPress SEO plugins using AI](https://qa.nexterwp.com/blog/best-wordpress-seo-plugins-using-ai/) - [llms.txt for Gutenberg WordPress](https://qa.nexterwp.com/blog/llms-txt-gutenberg-wordpress/) - [WordPress robots.txt for AI crawlers (Gutenberg)](https://qa.nexterwp.com/blog/wordpress-robots-txt-ai-crawlers-gutenberg/) - [The web crawlers list](https://qa.nexterwp.com/blog/web-crawlers-list/) - [Best SEO-friendly WordPress themes](https://qa.nexterwp.com/blog/best-wordpress-seo-friendly-themes/) --- # E-E-A-T for AI Search: How WordPress Sites Earn Trust from Google AI, ChatGPT & Perplexity (2026) Source: https://qa.nexterwp.com/blog/e-e-a-t-ai-search-wordpress/ #### Key Takeaways - E-E-A-T is not a ranking factor and there is no E-E-A-T score. Google calls it a framework, and says plainly that of the four parts, trust is the most important.- Google states there are no additional requirements and no special schema needed to appear in AI Overviews. Eligibility means being indexed, snippet-eligible, and genuinely helpful.- Where structured data does pull weight is third-party engines and rich results. Person, Article, Speakable and FAQPage schema tell bots who wrote a post and what it knows.- Experience is the signal that is hardest to fake and easiest to verify. Original data, real screenshots and a named author with a byline beat polished but anonymous copy.- On a block theme you ship E-E-A-T through author boxes with Person schema, transparent About and editorial pages, HTTPS, freshness, and a per-post readiness score you can actually measure. Last month I opened an AI Overview for a query my client should have owned. Their block-theme site had the best answer on the page, written by someone who had actually done the work. Google cited a thinner competitor instead. When I checked the client's post, there was no byline, no author box, no About page worth reading, and a publish date from 2023 that had never been touched. The content was right. Nothing on the page told a machine it could be trusted. That gap is what E-E-A-T is supposed to close. The trouble is that most guides treat it like a checklist of schema you bolt on, and most of those guides are wrong about how it works in AI search. So let us be precise about what E-E-A-T is, what Google actually says about it, and how you build it into a WordPress site in a way that holds up when a language model is deciding whether to quote you. ## What E-E-A-T actually is in 2026 (and what it is not) E-E-A-T stands for Experience, Expertise, Authoritativeness, and Trust. Google describes it as a way to identify a mix of factors that help determine which content demonstrates those qualities. Read that carefully, because it rules out the two things people assume. E-E-A-T is not a ranking factor, and there is no E-E-A-T score sitting inside the algorithm. Human quality raters assess pages against these criteria, and their judgments are used to train and check the systems that do the ranking. This matters for how you spend your time. You cannot optimize a number that does not exist. What you can do is make the qualities Google rewards obvious on the page, so that both its automated systems and the people who rate them reach the same conclusion: this was written by someone who knows the subject, for readers, and you can tell who and why. 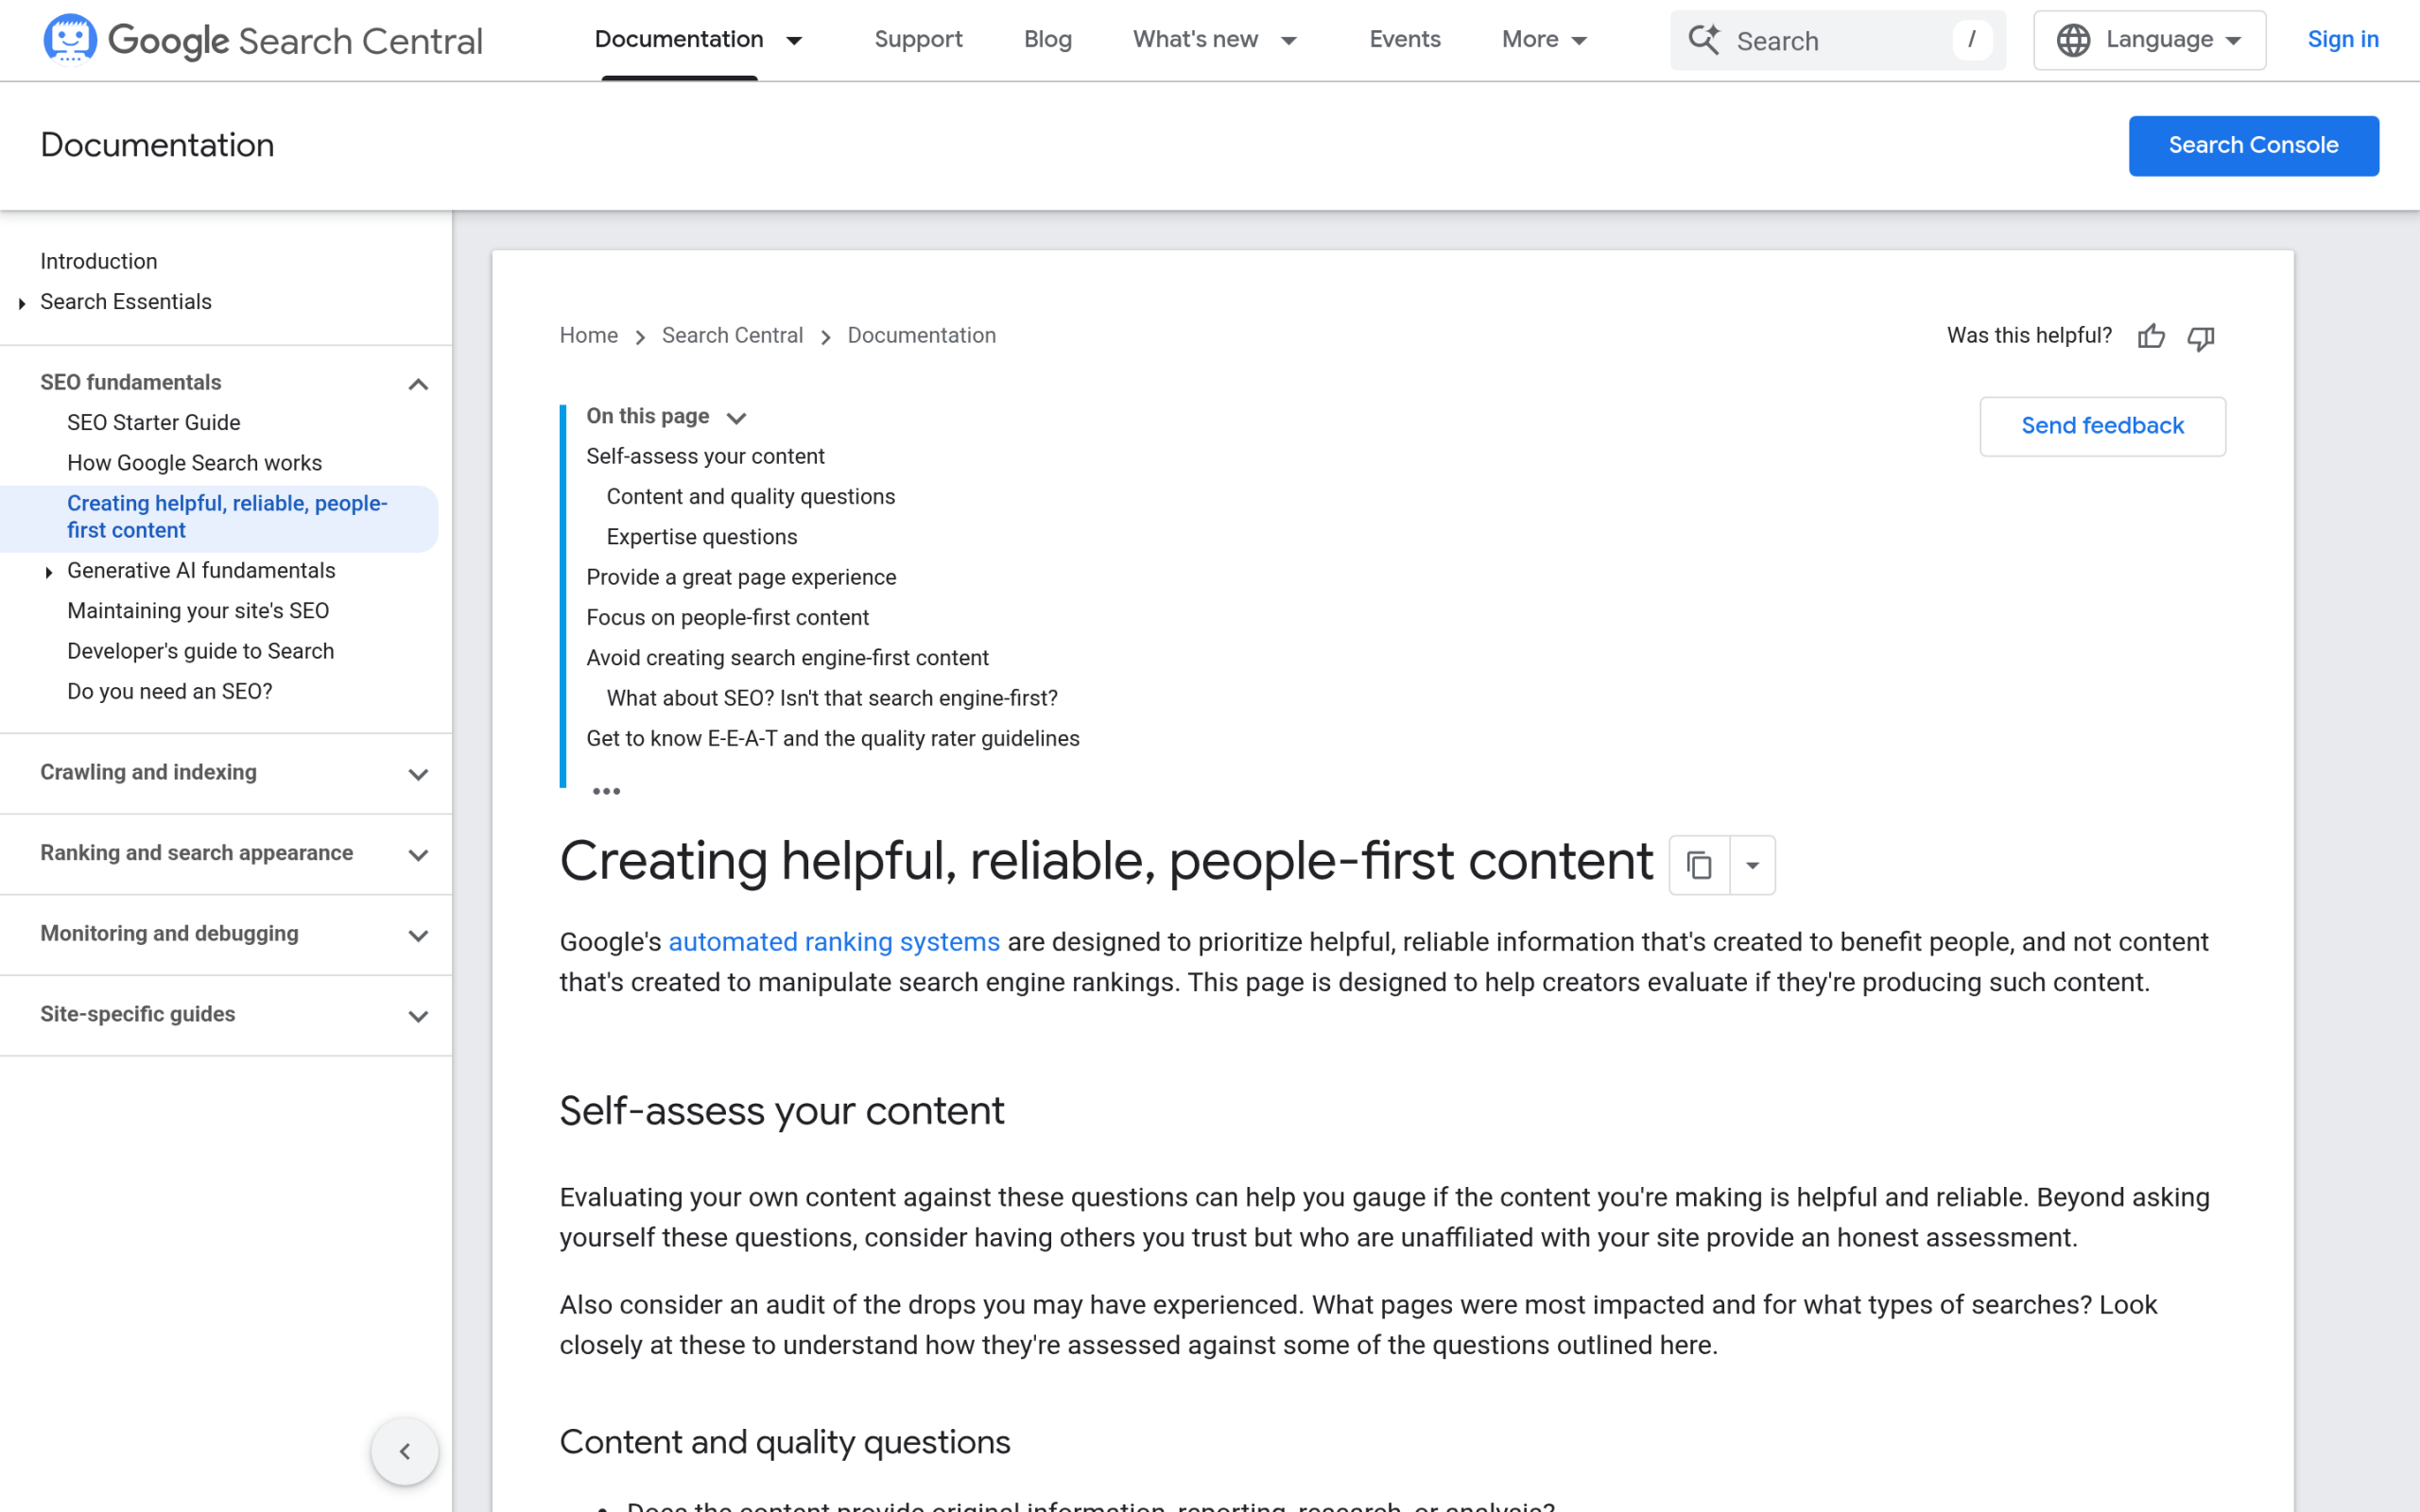Google Search Central: of the four E-E-A-T aspects, trust is the most important. Source: developers.google.com. ## Why E-E-A-T matters more in AI search than in blue links A blue link is a low-stakes bet. A reader clicks, judges your page for themselves, and leaves if it is weak. An AI answer is a high-stakes bet. When ChatGPT, Perplexity or Google's AI Overview pulls your sentence into an answer, it is vouching for you. The engine carries the reputational risk of being wrong, so it leans toward sources it can justify trusting. The reliability problem is real and measured. A study reported in Nature Communications found that between 50% and 90% of LLM-generated citations do not fully support the claims they are attached to. Engines know this is their weak spot, which is why verifiable, attributable, human-authored content is the safer pick for them. The traffic is worth chasing too. Wix Studio's AI Search Lab reported AI search visits grew 42.8% year over year, from 15.6 billion in Q1 2025 to 27.4 billion in Q1 2026, and Semrush found AI search visitors are 4.4 times as valuable as the average traditional organic visitor. ***Also Read:** [WordPress robots.txt for AI Crawlers](https://qa.nexterwp.com/blog/wordpress-robots-txt-ai-crawlers-gutenberg/) covers which bots reach your content in the first place, before trust ever enters the picture.* ## Trust is the keystone: the signal engines check first Google is unusually direct on this point. In its own guidance it says that of the four aspects, trust is most important, and the others contribute to trust, but content does not necessarily have to demonstrate all of them. Treat trust as the keystone and the rest of the framework falls into place. Trust on a web page is mostly about transparency and accountability. Is the site on HTTPS. Is there a real About page, a contact route, and a privacy policy. Does the content say when it was published and when it was last reviewed. Is it clear who stands behind the claims. None of this is glamorous, and all of it is the foundation an engine checks before it decides your expertise is worth repeating. ## Experience and Expertise: proving first-hand authority The extra E, Experience, was added because anyone can now generate fluent text about a topic they have never touched. Experience is the part that is hardest to fake and easiest for a machine to verify against the rest of the web. So show the work. Use original screenshots, your own data, before-and-after numbers from real projects, and the specific details that only first-hand involvement produces. Expertise is the credential layer on top of that: an author with a verifiable track record, a bio that links to more of their work, and primary sources cited inline rather than vague hand-waving. Google strongly encourages adding accurate authorship information, such as bylines, to content where readers would expect it, and asks whether it is self-evident who authored your content. On most WordPress sites the honest answer is no, and that is a quick win. ## Authoritativeness: entities, topical authority and off-site citations Authoritativeness is the signal you cannot fully control from inside your own site, because it is about what the rest of the web says. It grows when other credible sources cite you, link to you, or name you as the place to go for a topic. Two things you can control feed it: consistency and entities. Publish repeatedly inside a defined topic cluster so a clear subject identity forms around your site, and make your brand and authors recognizable entities that an engine can connect to other mentions of them. This is where being a genuine resource pays off. The Digital Bloom 2025 AI Citation report found that adding statistics increased AI visibility by 22% and adding quotations by 37%, and that sites present on four or more platforms are 2.8 times more likely to appear in ChatGPT responses. Authority is partly earned off your site, so the work does not stop at publish. ## The WordPress implementation layer: what actually helps, and what is hype Here is the part the generic guides get wrong. They tell you that piling on schema gets you into AI Overviews. Google says the opposite, in plain language: there are no additional requirements to appear in AI Overviews or AI Mode, and there is no special schema.org structured data that you need to add. To be eligible, a page must be indexed and eligible to be shown with a snippet, and the advice is to focus on helpful, reliable, people-first content. So no, schema is not a magic switch for Google's AI features. Google is explicit: there is no special structured data you need to add to appear in AI Overviews or AI Mode. Source: developers.google.com. Where structured data genuinely earns its place is everywhere else. It powers rich results in classic search, and it gives third-party engines and bots a clean, machine-readable statement of who wrote a piece and what it covers. On a Gutenberg site the practical stack looks like this: - **Author boxes with Person schema** on every post, carrying a bio, photo, title and links, so bots can attach the content to a real person.- **Article schema** on each post, with the most quotable sentences flagged as **Speakable**, which is the part voice assistants and AI tend to read out.- **FAQPage schema** on suitable posts, since a clean question-and-answer block is the shape AI Overviews and Perplexity reach for when assembling an answer.- **Transparency pages** that exist and are linked: a real About page, an editorial or review policy, contact details, and visible publish plus updated dates.- **HTTPS and freshness**, because stale, insecure pages quietly fail the trust check no matter how good the prose is. Digital Bloom found 65% of AI bot hits target content published within the past year. The Nexter Blocks author box ships Person schema with the byline, and a block theme keeps your markup clean instead of burying it under page-builder wrappers, which makes the signals easier for a crawler to read. ***Also Read:** [llms.txt for Gutenberg WordPress](https://qa.nexterwp.com/blog/llms-txt-gutenberg-wordpress/) shows how block themes expose clean, quotable content to AI crawlers.* ## How to measure your AI-trust readiness You cannot improve what you do not measure, and trust signals are easy to assume you have shipped when you have not. This is the job RankReady was built for. It scores every post from 0 to 100 based on schema, freshness, content depth and author signals, and rolls that up into an agentic readiness scorecard broken into 22 specific signals. It writes the Article JSON-LD with Speakable sentences flagged, drops a Person-schema author box in Gutenberg, generates FAQPage schema from questions real people search, and keeps a live AI crawler log plus a 30-day leaderboard of the posts citation-style bots actually fetched. It is free, GPL licensed, and runs on WordPress 6.0 and PHP 7.4 or newer. You can grab it from the [RankReady plugin page](https://store.posimyth.com/plugins/rankready/). RankReady turns E-E-A-T into a measurable per-post readiness score, with Person, Article, Speakable and FAQPage schema built in. Source: store.posimyth.com. The point is not the plugin for its own sake. It is that E-E-A-T turns into a number you can act on: which posts have an author and schema, which are stale, which bots came by, and which pages are getting pulled into answers. ## Your 2026 E-E-A-T-for-AI checklist - Put a real byline and Person-schema author box on every post. Make it self-evident who wrote it.- Build or fix the trust pages: About, editorial policy, contact, privacy. Show publish and updated dates.- Add Article schema with Speakable sentences, and FAQPage schema where a question block fits.- Lead with first-hand experience: original screenshots, your own data, specific results.- Cite primary sources inline and quote named studies rather than vague claims.- Keep content fresh. Review and re-date posts on a schedule, not once.- Confirm HTTPS and clean, crawlable markup so the signals are actually readable.- Measure it. Score each post, watch the crawler log, and fix the lowest scores first. E-E-A-T is not a trick you apply at the end. It is the same trust the best sites have always built, written down so a machine can read it. Get the fundamentals right, prove the experience, name the author, and measure the gap. That is how a WordPress site earns its way into an AI answer instead of watching a thinner competitor get quoted. ## Suggested Reading - [llms.txt for Gutenberg WordPress](https://qa.nexterwp.com/blog/llms-txt-gutenberg-wordpress/): expose clean, quotable content to AI crawlers.- [WordPress robots.txt for AI Crawlers](https://qa.nexterwp.com/blog/wordpress-robots-txt-ai-crawlers-gutenberg/): control which bots reach your content.- [The WordPress Web Crawlers List](https://qa.nexterwp.com/blog/web-crawlers-list/): know the bots hitting your site.- [Best WordPress SEO Plugins Using AI](https://qa.nexterwp.com/blog/best-wordpress-seo-plugins-using-ai/): the tools that ship these signals.- [Rank Math vs RankReady](https://qa.nexterwp.com/blog/rank-math-vs-rankready/): traditional SEO versus the AEO layer. --- # WordPress 7.0: What’s Actually Changing for Block Builders (2026) Source: https://qa.nexterwp.com/blog/wordpress-7-block-builders/ #### Key Takeaways - WordPress 7.0 “Armstrong” shipped on May 20, 2026 with a modern dashboard, an AI Client in core, and new design controls aimed at block builders.- The five changes that matter most: device visibility controls, block-level custom CSS, new Headings, Breadcrumbs and Icons blocks, Pattern Overrides with content-only editing, and finer styling supports.- Real-time collaboration did not ship in 7.0 and moves to the 7.1 cycle, so wait if live multi-author editing is your only reason to upgrade.- Core now covers device visibility and per-block CSS, but presets, dynamic content, and advanced blocks still live in a toolkit like Nexter Blocks.- Test on staging first, confirm PHP 7.4 or higher, and check plugin and theme compatibility before updating production sites. WordPress 7.0 landed on May 20, 2026, and the launch posts all said the same three words: AI, era, foundation. If you build websites with blocks, that framing is not wrong, but it buries the part you actually care about. Which of these changes touch the way you build? Does core now do what your block plugin does? And what about the features that got promised, then quietly slipped? We read the release notes, the Field Guide, and the developer notes so you do not have to. Here is the honest, block-builder version of what changed in WordPress 7.0, what stayed on the cutting-room floor, and what to do next. The official WordPress 7.0 “Armstrong” release post, published May 20, 2026. Source: wordpress.org/news. ***Also Read:** [WordPress Block Themes and Gutenberg](https://qa.nexterwp.com/blog/wordpress-block-themes-gutenberg/) for the bigger picture on building block-first.* ## WordPress 7.0 in one paragraph: the facts WordPress 7.0 is named “Armstrong” after jazz musician Louis Armstrong, and it shipped on May 20, 2026, after the team pushed the date back from an earlier April target. Matias Ventura led the release. It arrived with more than 875 contributors, over 200 of them first-timers, and delivered more than 420 enhancements and fixes. One housekeeping note before anything else: the minimum PHP version is now 7.4. That is the baseline. Now the parts that matter if you build with blocks. 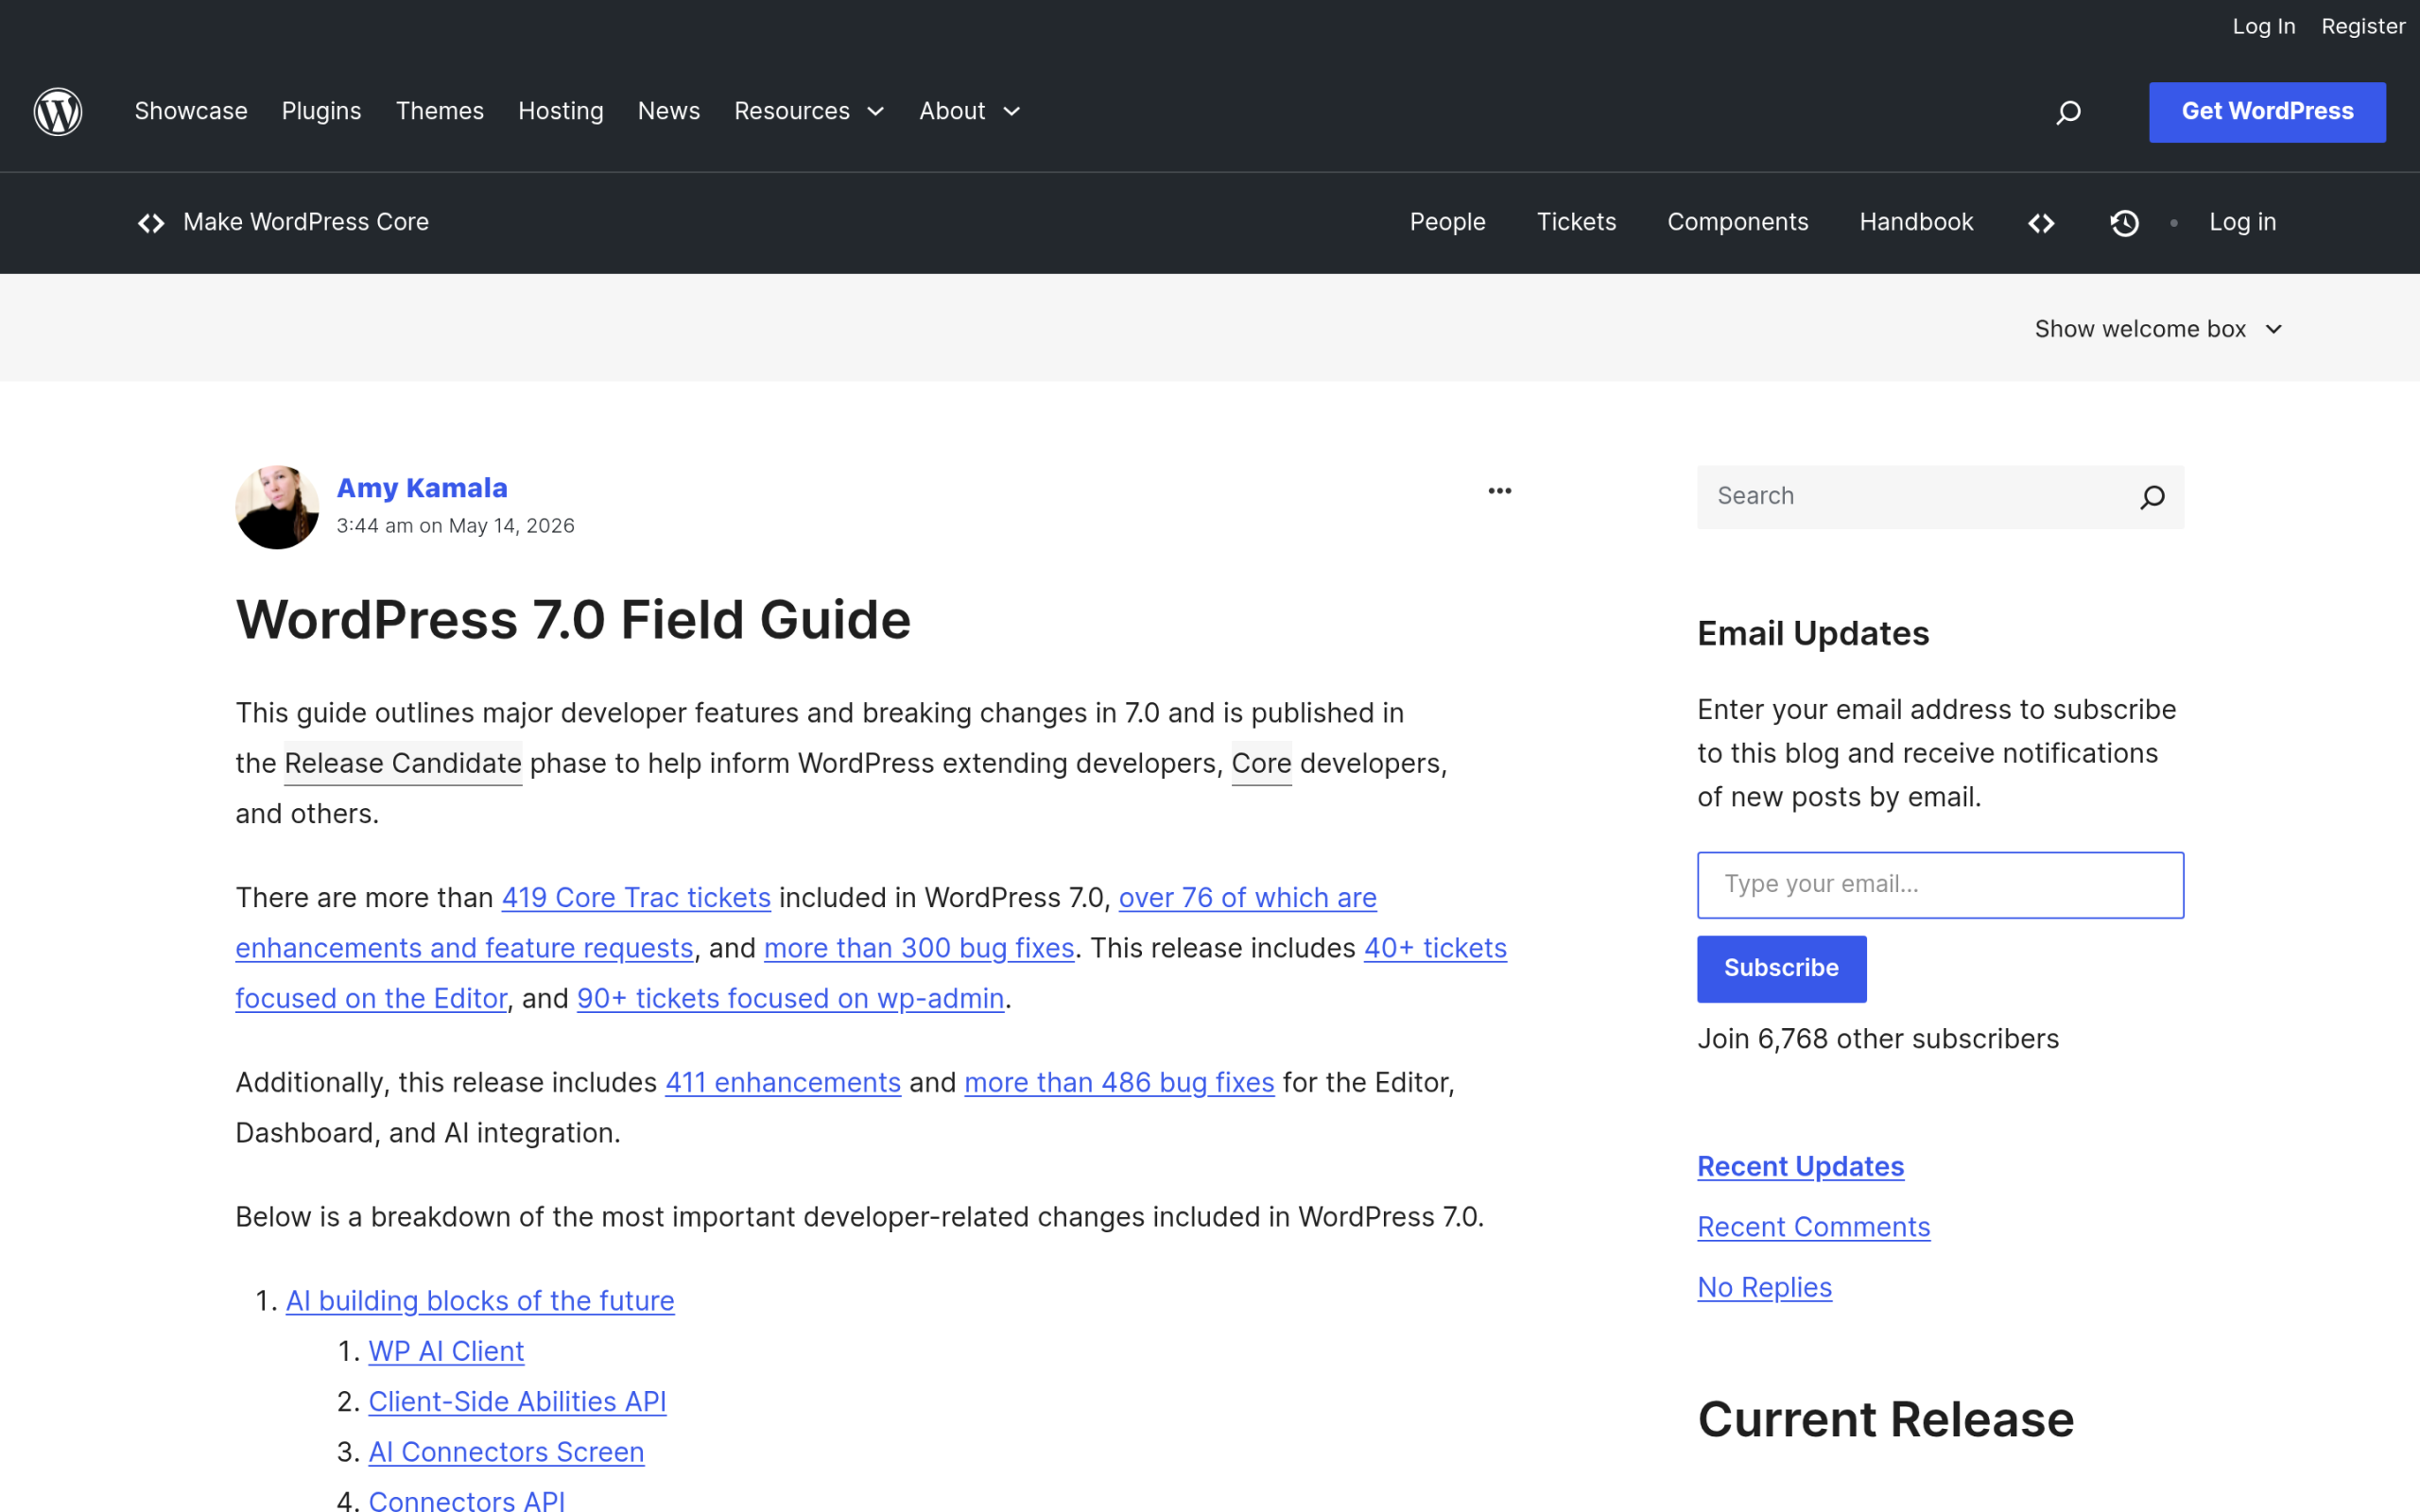The WordPress 7.0 Field Guide is the canonical developer feature list. Source: make.wordpress.org/core. ## What actually shipped for block builders: the five that change your workflow Strip away the marketing and five changes genuinely affect how you assemble a page in the block editor. - **Device visibility controls.** You can now hide or reveal any block based on device type (phone, tablet, desktop) from a visibility modal in the block inspector, without affecting the other viewports. This is the responsive control block builders have asked core for since blocks existed.- **Block-level custom CSS.** A Custom CSS area now sits inside the Advanced panel of the block inspector. Anything you write there stays scoped to that one block, so you stop polluting a global stylesheet for a single tweak.- **New core blocks.** A new Headings block lets you toggle heading levels from the sidebar inspector, a Breadcrumbs block automatically reflects your site’s navigational hierarchy, and a new Icons block joins the set. The Gallery block also gains lightbox support with a slideshow option.- **Pattern Overrides and content-only by default.** Patterns now behave as a single detachable unit, and content-only editing is the default. Editors swap text and images without nudging the layout, which is the safeguard agencies have wanted for client handoffs.- **Finer styling supports.** Core/button now supports pseudo-element states (`:hover`, `:focus`, `:focus-visible`, `:active`), paragraphs gain a `textIndent` support and text columns, blocks gain height and width supports, and `theme.json` accepts preset dimension values. Device visibility and block-level custom CSS are the two controls block builders will use most. Source: WPBeginner. ***Also Read:** [How to Fix WordPress Block Patterns](https://qa.nexterwp.com/blog/how-to-fix-wordpress-block-patterns/), which pairs well with the new content-only default.* ## The AI part, decoded (not the hype version) The release calls 7.0 the start of an AI era, so here is what that actually means in the box. Core now ships an AI Client that lets WordPress communicate with generative AI models, paired with the Abilities API. You manage your connections from a single Connector hub in the dashboard, which arrives with three presets, and there is a new Client-Side Abilities package that adds a JavaScript counterpart with a command palette. Here is the honest distinction: core ships the plumbing, not the faucets. The actual content features people expect, generating or editing images, writing titles or excerpts, suggesting alt text, come from a separate AI plugin you install, not from core itself. So 7.0 makes WordPress AI-ready; it does not turn your dashboard into a content generator on day one. 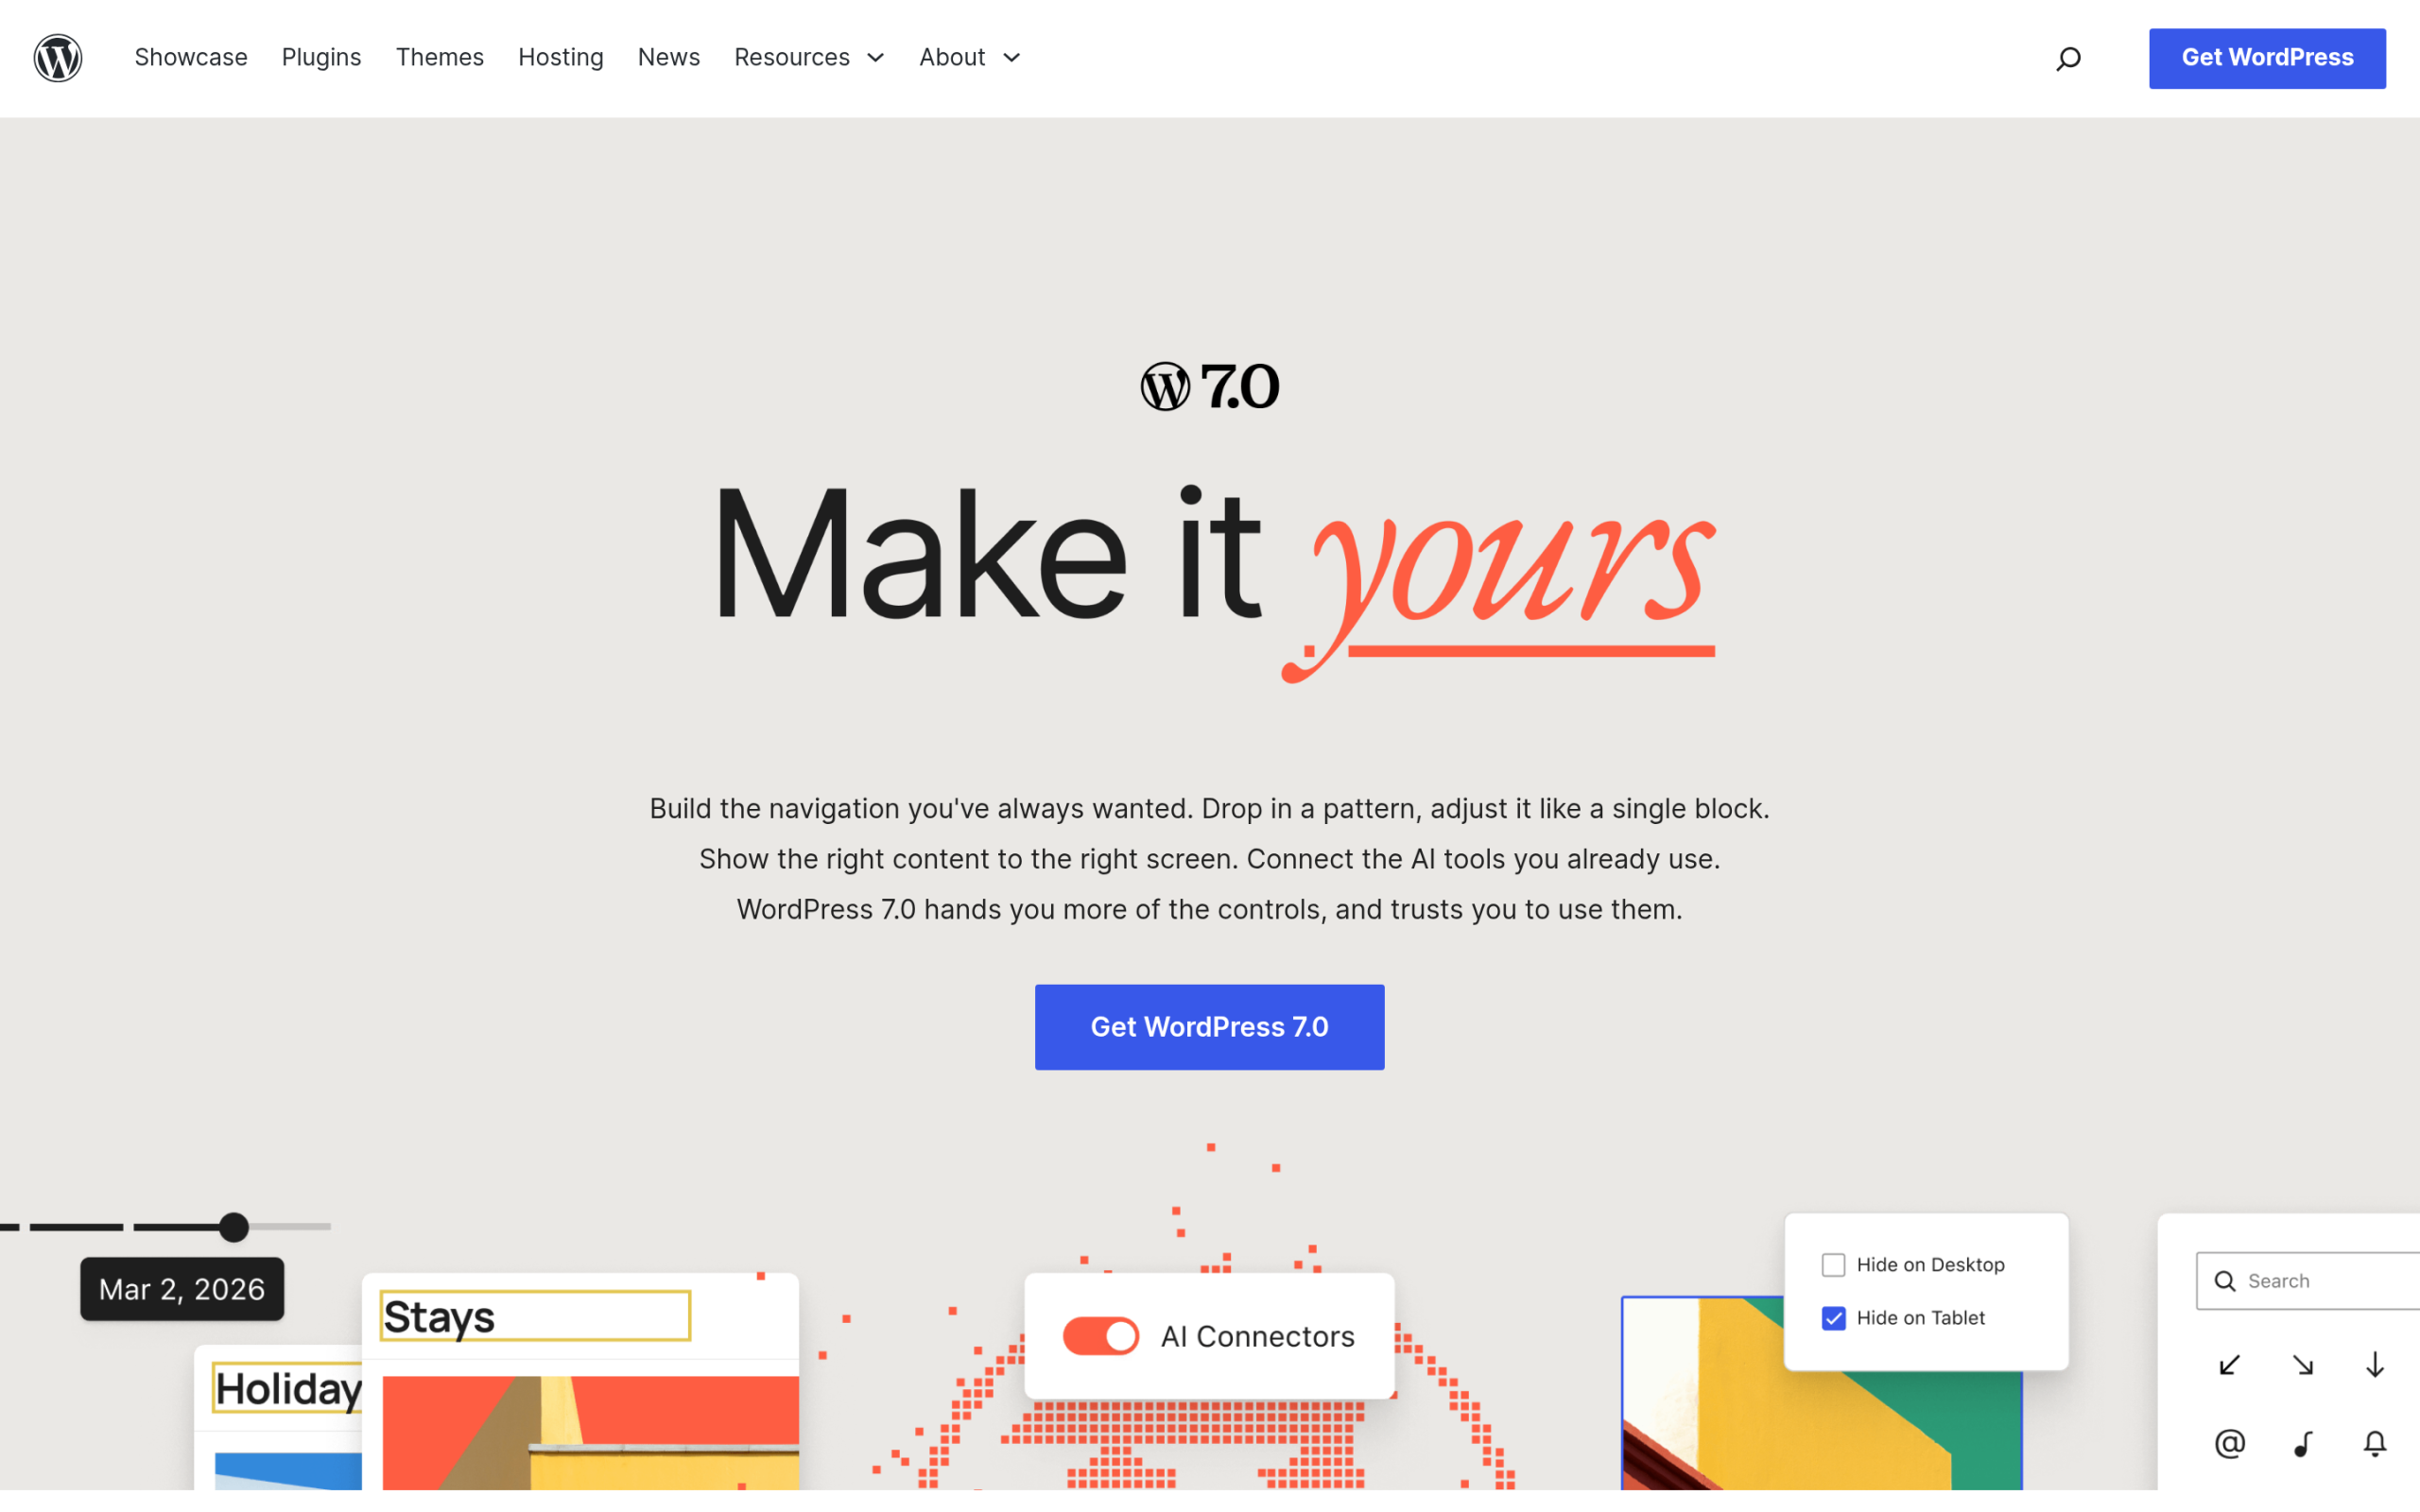The 7.0 showcase highlights the new AI Client and Connector hub. Source: wordpress.org/download/releases/7-0. Why a block builder should care: as AI assistants and answer engines increasingly pull from your pages, clean block structure and accurate metadata decide whether you get cited at all. That starts with semantic markup and a machine-readable content file, which is exactly what we cover in [llms.txt for Gutenberg WordPress](https://qa.nexterwp.com/blog/llms-txt-gutenberg-wordpress/). If you want a plugin that handles AI-search readiness end to end, [RankReady](https://store.posimyth.com/plugins/rankready/) is built for it. ## What got cut: real-time collaboration slipped to 7.1 The headline feature that did not make it is real-time collaboration. WordPress core stated plainly that RTC will not ship in 7.0 and will be re-evaluated during the 7.1 release cycle. This is the Phase 3 collaboration capability a lot of teams were waiting on, and it is the reason a popular r/WordPress thread this month was titled, bluntly, “Real-time collaboration will not ship in WordPress 7.0.” The practical takeaway is simple: if live multi-author editing was your single reason to upgrade, hold for 7.1. Nothing else in this release delivers that workflow yet. Core confirms real-time collaboration will not ship in 7.0 and moves to the 7.1 cycle. Source: developer.wordpress.org/news. ## Does WordPress 7.0 replace your block plugin or page builder? The honest answer: core caught up on two controls that block plugins shipped years ago. Device visibility and per-block CSS are both native now, and for a simple site that may be all you need. But the gap is still real. Design presets, advanced layout and listing blocks, motion and glassmorphism effects, repeater blocks, dynamic content, and a single unified styling system still live in the block-toolkit layer. Core gives you the primitives. A toolkit gives you the finished controls and the speed. This is where [Nexter Blocks](https://qa.nexterwp.com/nexter-blocks/) fits. It already gives block builders device-level visibility, per-block custom CSS, more than 40 ready-to-import presets, a glassmorphism effect, and a dynamic repeater block, and it runs on top of the 7.0 editor rather than fighting it. If you build on Gutenberg, the answer is not core versus a plugin. It is 7.0 plus a block toolkit that matches how you actually work. For the bigger picture on building this way, see our take on the [state of full site editing](https://qa.nexterwp.com/blog/state-of-fse-with-nexter/) and [block themes versus classic themes](https://qa.nexterwp.com/blog/wordpress-fse-block-themes-vs-classic-themes/). ## Should you upgrade now or wait? Core’s own guidance is to test on staging first, and the community said it more bluntly in the r/WordPress thread “Stop testing WordPress 7 on your production sites.” Here is how that breaks down by site type. - **New or hobby site:** upgrade now. You get the modern dashboard, the command palette, and the new blocks with very little risk.- **Agency or client site:** upgrade on staging first. Test your patterns and any block-level custom CSS, confirm your block plugin and theme ship a 7.0-compatible release, then schedule the live update.- **High-traffic site or store:** wait for the first point release unless you have a solid staging and rollback process. Confirm PHP 7.4 or higher before anything else.- **Waiting on live collaboration:** wait for 7.1. ## Your WordPress 7.0 upgrade checklist (block builder edition) - Confirm your host runs PHP 7.4 or higher.- Back up your files and database.- Clone the site to staging and update there first.- Check your block plugin and theme for a 7.0-tested release before you touch production.- Test your saved patterns, reusable blocks, and any block-level custom CSS.- Review device visibility on your key templates so nothing disappears on mobile.- Go live, then clear every cache layer. If speed dips, our [WordPress speed tips](https://qa.nexterwp.com/blog/tips-to-speed-up-wordpress-websites/) are a good next stop. ## The bottom line for block builders WordPress 7.0 is a real step forward, less for the AI headline and more for the quieter design and editing wins you will touch every day. Device visibility, block-level CSS, content-only patterns, and the new blocks are the features that change your workflow. Real-time collaboration is the one that slipped, so know that before you upgrade for it. Build on 7.0, pair it with a block toolkit that fits how you work, and keep your structure clean for the AI engines that now read your pages. If you are weighing how this compares to the page-builder world, our breakdown of [WordPress block themes and Gutenberg](https://qa.nexterwp.com/blog/wordpress-block-themes-gutenberg/) and the companion piece on [whether Elementor V4 is production-ready](https://theplusaddons.com/blog/elementor-v4-production-ready/) are both worth a read. [Build on WordPress 7.0 with Nexter Blocks](https://qa.nexterwp.com/nexter-blocks/) --- # Best Avada Theme Alternatives in 2026 [Compared] Source: https://qa.nexterwp.com/blog/avada-theme-alternatives/ Avada ships with a 3-5MB theme file, a proprietary Fusion Builder that ties your content to the theme, and an annual renewal fee that climbs as you add license seats. For teams that want faster pages, an open editing environment, or a lower total cost of ownership, those three issues make switching a practical decision. This guide compares the top Avada theme alternatives across performance, built-in features, page builder support, and pricing on WordPress 6.9.4 so you can find the right replacement for your site. ***Also Read:** [Avada Theme Review](https://qa.nexterwp.com/blog/avada-theme-review/) for a full breakdown of the theme before exploring alternatives.* ## What to Look for in an Avada Alternative - **Theme file size**: Avada's core is heavy. Look for themes under 100KB base size that load fast without optimization plugins. - **Built-in builders**: Avada bundles Fusion Builder, which locks you in. A good alternative works with your preferred editor: Gutenberg, Elementor, or both. - **Header and footer control**: Visual header and footer builders matter if you want design flexibility without coding. - **Pricing and renewal costs**: Avada charges for annual renewals. Check if the alternative offers a lifetime plan or a free tier that covers your needs. - **Migration and import support**: Switching themes always involves some rework. Look for alternatives that offer importable demo content, one-click template packs, and clear documentation on rebuilding headers, footers, and custom layouts after migration. ## 1. Nexter WP Theme  Nexter WP is a lightweight, performance-first WordPress theme that weighs under 20KB. It includes a header and footer builder, archive builder, WooCommerce builder, and multi-language support out of the box, reducing the number of separate plugins your site needs. Over 1000+ pre-designed templates are available for Gutenberg, Elementor, Beaver Builder, and Brizy, so you can launch fast regardless of your preferred editor. ### Key Features of Nexter WP Theme - Built-in header, footer, archive, and WooCommerce builders eliminate the need for separate builder plugins on most projects. - Theme file under 20KB means pages load significantly faster than Avada on any hosting tier without extra optimization. - 1000+ templates compatible with Gutenberg, Elementor, Beaver Builder, and Brizy give you a ready start for any site type. - Self-hosted font management and custom font uploads let you control typography without external font service requests. - White-label support lets agencies rebrand the theme for client projects without extra licensing. - One-click page and post duplication speeds up building sites with repetitive layouts or template-based pages. ## Avada Theme Alternatives Compared .tpgb-table tbody tr td:nth-child(4), .tpgb-table tbody tr td:nth-child(5), .tpgb-table tbody tr td:nth-child(7), .tpgb-table thead th:nth-child(4), .tpgb-table thead th:nth-child(5), .tpgb-table thead th:nth-child(7) { display: none; } ## 2. Kadence Theme  Kadence is a performance-focused WordPress theme built around the block editor. It includes a drag-and-drop header and footer builder, deep Gutenberg integration, and a starter templates library, all in a lightweight package. Premium Kadence addons extend the theme with advanced block styles, custom fonts, and WooCommerce shop customization, making it a flexible option for sites that grow over time. ### Key Features of Kadence Theme - Drag-and-drop header and footer builder lets you design custom site frames directly in the customizer without touching code. - Compatible with both Gutenberg blocks and Elementor, so you can switch editors without changing themes. - Starter templates library covers common site types including business, portfolio, and e-commerce, ready to import in one click. - WooCommerce integration includes product page and cart layout controls available in the free version. ***Recommended Read:** [Kadence Detailed Review](https://qa.nexterwp.com/blog/kadence-theme-review/)* ## 3. OceanWP  OceanWP is a flexible free theme with a strong Elementor integration and a wide library of prebuilt demos. Its lightweight core keeps performance scores high while the extensions library lets you add specific features like sticky headers and off-canvas menus without bloating the base theme. It works well for Elementor-heavy sites where you want a reliable, well-tested base theme rather than building from scratch. ### Key Features of OceanWP - Lightweight core delivers fast load times and strong performance scores compared to most multipurpose themes. - Deep, well-tested Elementor integration makes it a reliable base theme for Elementor-built sites. - Prebuilt website demos covering e-commerce, portfolio, agency, and more are importable in one click. - Extensions library adds features like sticky headers, off-canvas menus, and login forms individually, so you only load what the site needs. ***Recommended Read:** [OceanWP Detailed Review](https://qa.nexterwp.com/blog/oceanwp-review/)* ## Why We Recommend Using Nexter WP Theme? ## How to Choose the Right Avada Alternative for WordPress All three Avada alternatives serve different use cases. Here's how to choose: **Choose Nexter WP Theme** if you want a lightweight, performance-first theme (under 20KB) with a built-in theme builder, 1000+ templates, and full Gutenberg support. It's the best overall Avada replacement. **Choose Kadence Theme** if you want deep block editor integration, a clean interface, and a strong WooCommerce foundation with premium addon flexibility. **Choose OceanWP** if you use Elementor and want a feature-rich free theme with strong compatibility and a wide library of prebuilt demos. Nexter WP Theme pairs with [Nexter Blocks](https://qa.nexterwp.com/nexter-blocks/) 4.7.2, which adds 90+ Gutenberg blocks for designing headers, footers, product pages, and custom layouts without a separate page builder. [Download Nexter Blocks free on WordPress.org](https://wordpress.org/plugins/nexter-extension/) or [see plans starting at $39/year](https://qa.nexterwp.com/pricing/) for the premium suite. If you use Elementor alongside your theme, [The Plus Addons for Elementor](https://theplusaddons.com/) adds 120+ widgets to any of these themes. Need ready-made page templates? [WDesignKit](https://wdesignkit.com/) has thousands of free WordPress templates compatible with all three themes above. ### Extra Resources #### Get Exclusive WordPress Tips, Tricks and Resources Delivered Straight to Your Inbox! Subscribe to stay updated with everything happening on WordPress. ## FAQs on Best Avada Theme Alternatives for WordPress --- # 5 Best Carousel Slider Plugins for WordPress in 2026 [Tested] Source: https://qa.nexterwp.com/blog/best-carousel-slider-plugins-for-wordpress/ A carousel slider solves a specific layout problem: you have more content than screen space. A portfolio site can showcase twelve projects without stacking them vertically, a WooCommerce store can rotate featured products above the fold, and a blog can surface recent posts without a full archive listing. The interaction is intuitive on every device, and the compact footprint keeps the page from growing unwieldy. The right plugin needs to fit your page builder, stay fast, and handle the content types you actually use. A plugin built for images only will fall short when you need to rotate WooCommerce products or embed YouTube videos. This guide covers the 5 best carousel slider plugins for WordPress, tested and compared on features, content types, builder compatibility, and ease of setup on WordPress 6.9.4. ## What is a Carousel Slider in WordPress? A carousel slider in WordPress displays multiple items, such as images, posts, or products, in a horizontal strip that rotates automatically or responds to user clicks and swipes. Unlike a static grid, a carousel keeps your page compact while letting visitors browse through more content without scrolling down. ## What to look for in a carousel slider plugin Before choosing a plugin, check these five criteria: - **Content types**: Does it support only images, or also posts, WooCommerce products, and videos? Match the plugin to the content you need to display. - **Builder compatibility**: Is it a native Gutenberg block, an Elementor widget, or shortcode-only? Native integrations are cleaner and faster to edit. - **Performance**: Does the plugin load scripts and styles only on pages where the carousel appears, or on every page? - **Navigation controls**: Does it support arrows, dots, thumbnails, touch/swipe, and mousewheel navigation so visitors on any device can browse easily? - **Autoplay accessibility**: If the carousel autoplays, does it pause on hover and respect the browser's prefers-reduced-motion setting? WCAG 2.1 requires moving content to be pausable, so this matters both for accessibility compliance and for users who find motion distracting. ## Best Carousel Slider Plugins for WordPress Compared | Plugin | Content Types | Builder | Best For | | ------ | ------------- | ------- | -------- | | Carousel Slider by Nexter | Images, custom content | Gutenberg | Gutenberg native block with selective script loading | | WP Carousel | Images, posts, products, YouTube | Any (shortcode/widget) | Multi-content carousels on any theme | | Ultimate Slider | Images only | Any (shortcode) | Lightweight image sliders with unlimited slides | | Carousel Slider | Images, videos, posts, products | Gutenberg, Elementor | Multi-content carousels across two builders | | Slick Slider | Images (gallery-based) | Any (gallery block) | Converting existing WordPress galleries into sliders | ### 1. Carousel Slider by Nexter 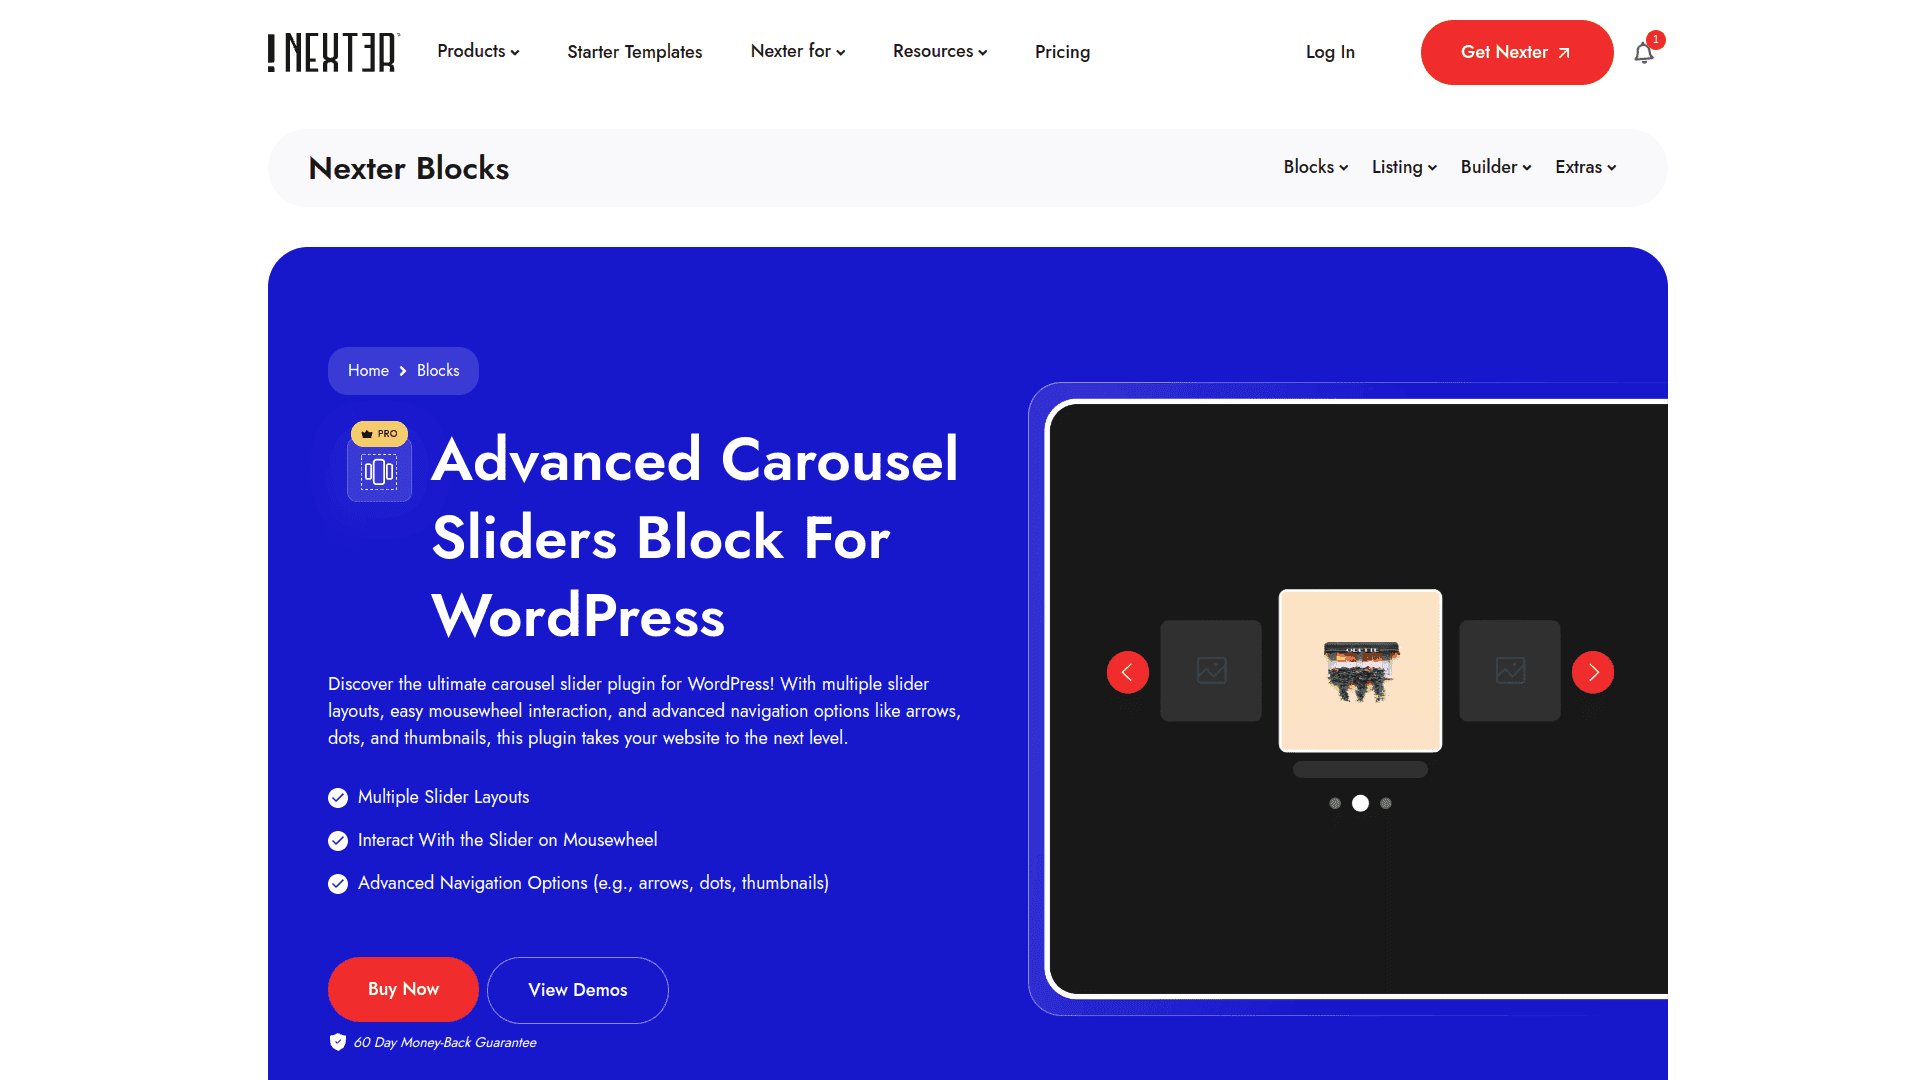 The [Advanced Carousel Sliders block](https://qa.nexterwp.com/nexter-blocks/blocks/wordpress-advanced-carousel-sliders/) in Nexter Blocks 4.7.2 is a native Gutenberg block with multiple layout options, smooth mousewheel interaction, and navigation controls including arrows, dots, and thumbnails. It works inside the block editor without any shortcodes or separate plugin installs. Scripts load only on pages where the block is placed, keeping the rest of your site lean. #### Key Features of Carousel Slider by Nexter - Multiple layout options and smooth mousewheel interaction give you flexible control over how the carousel looks and behaves. - Selective script loading means only pages with the Carousel block carry its CSS and JS, keeping every other page fast. - License covers local, staging, and live environments with automatic renewal reminders and lifetime plan options. - Live chat and AI-assisted support plus detailed documentation resolve issues quickly without waiting for email tickets. [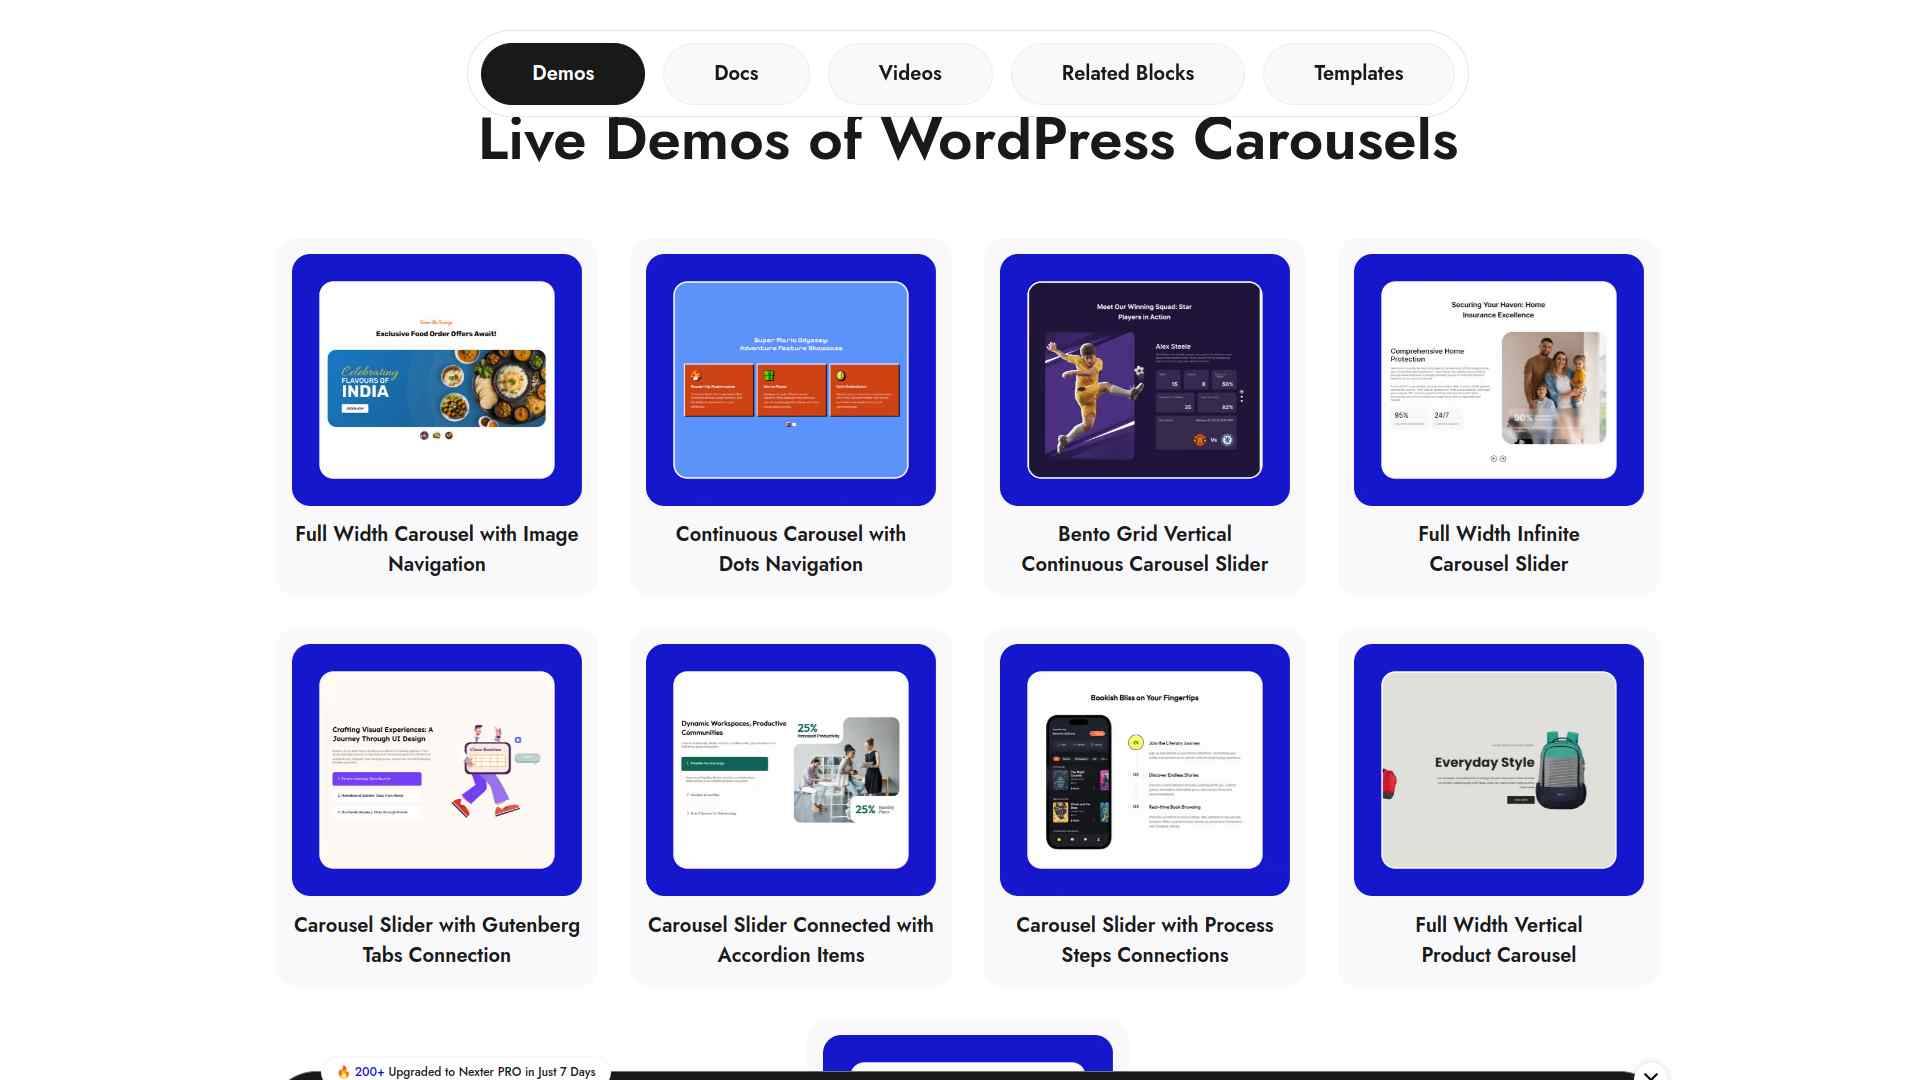](https://qa.nexterwp.com/nexter-blocks/blocks/wordpress-advanced-carousel-sliders/#demo) [Learn More](https://qa.nexterwp.com/nexter-blocks/blocks/wordpress-advanced-carousel-sliders/) ### 2. WP Carousel 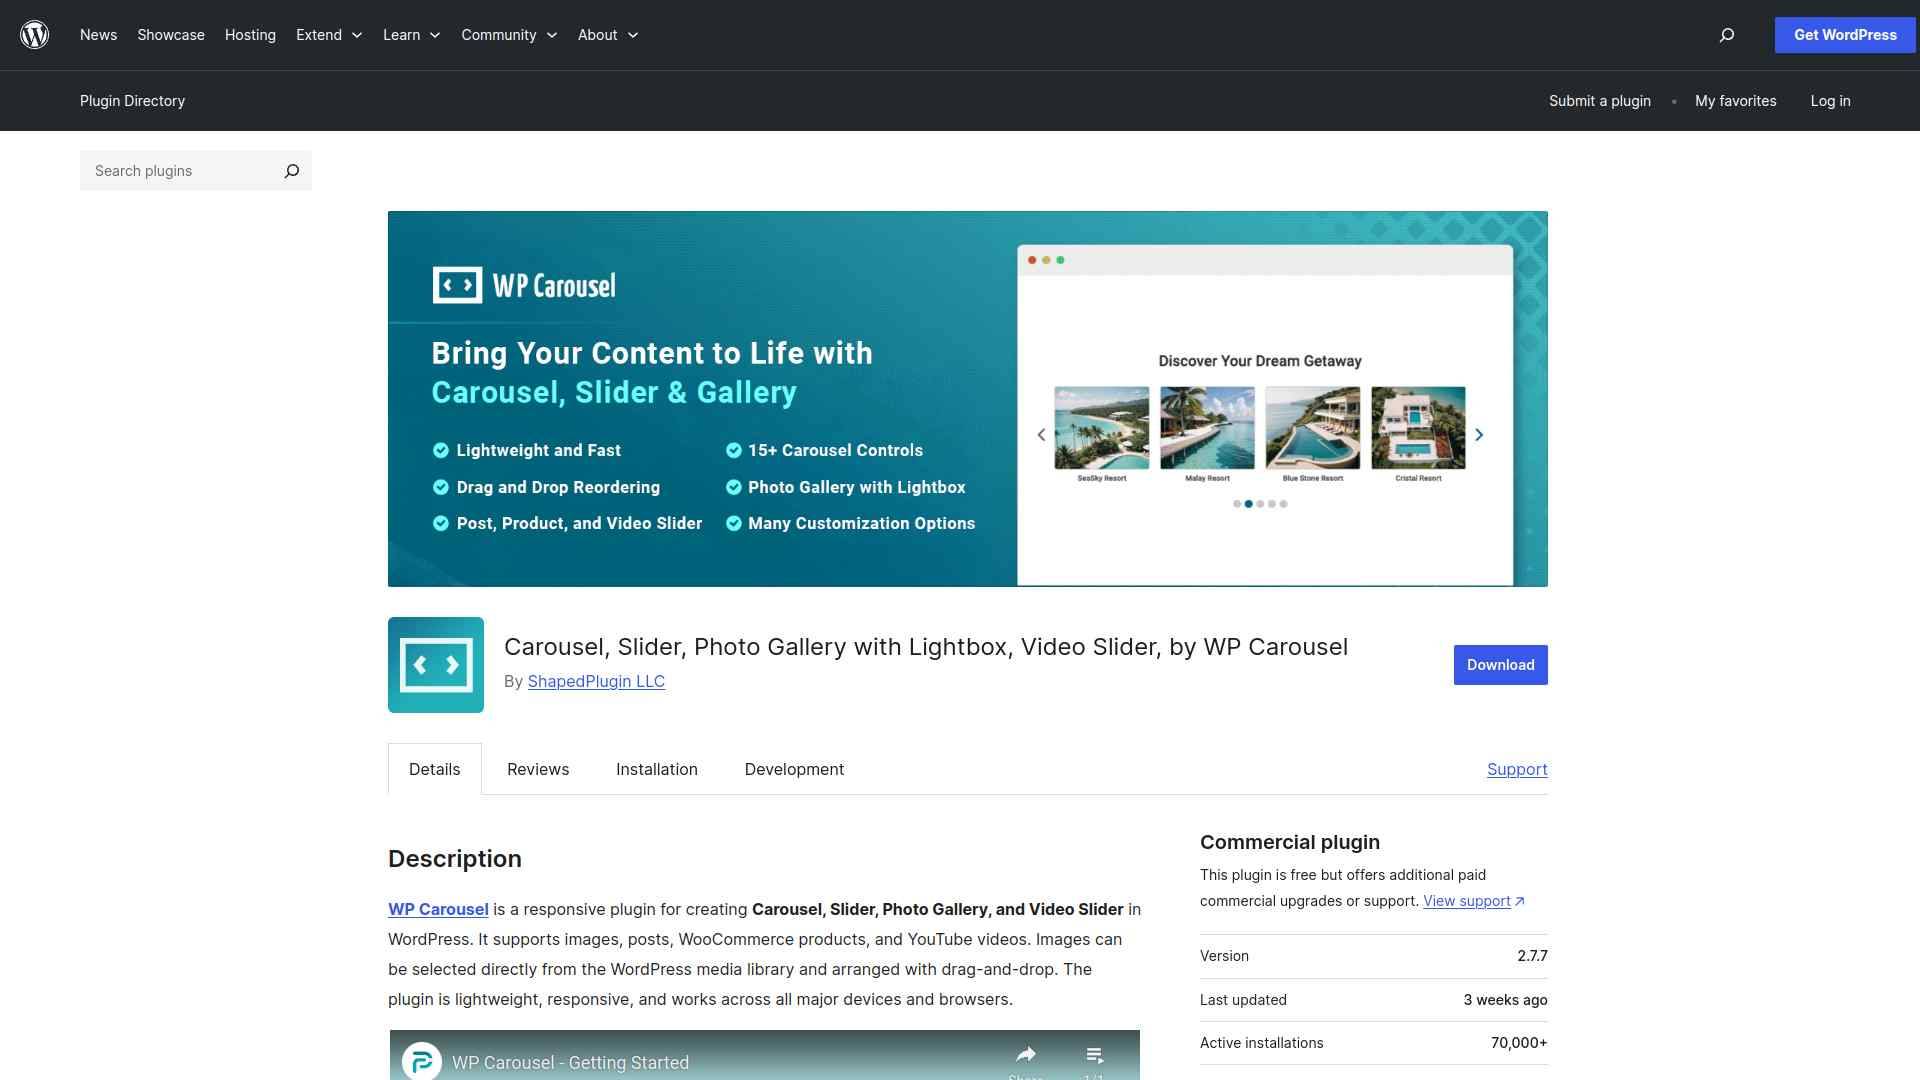 WP Carousel is a versatile free plugin that supports images, blog posts, WooCommerce products, and YouTube videos in one tool. You get a drag-and-drop item arranger and styling controls without any coding. It supports unlimited carousels via shortcodes and works with any WordPress theme. #### Key Features of WP Carousel - Handles images, blog posts, WooCommerce products, and YouTube videos in a single plugin so you don't need separate tools for each content type. - Drag-and-drop item arrangement and styling controls let you build and customize carousels without writing code. - Responsive design ensures carousels look and function correctly on phones, tablets, and desktops. - Unlimited carousels via shortcodes or widgets let you embed them anywhere on your site without restrictions. [Learn More](https://wordpress.org/plugins/wp-carousel-free/) ### 3. Ultimate Slider 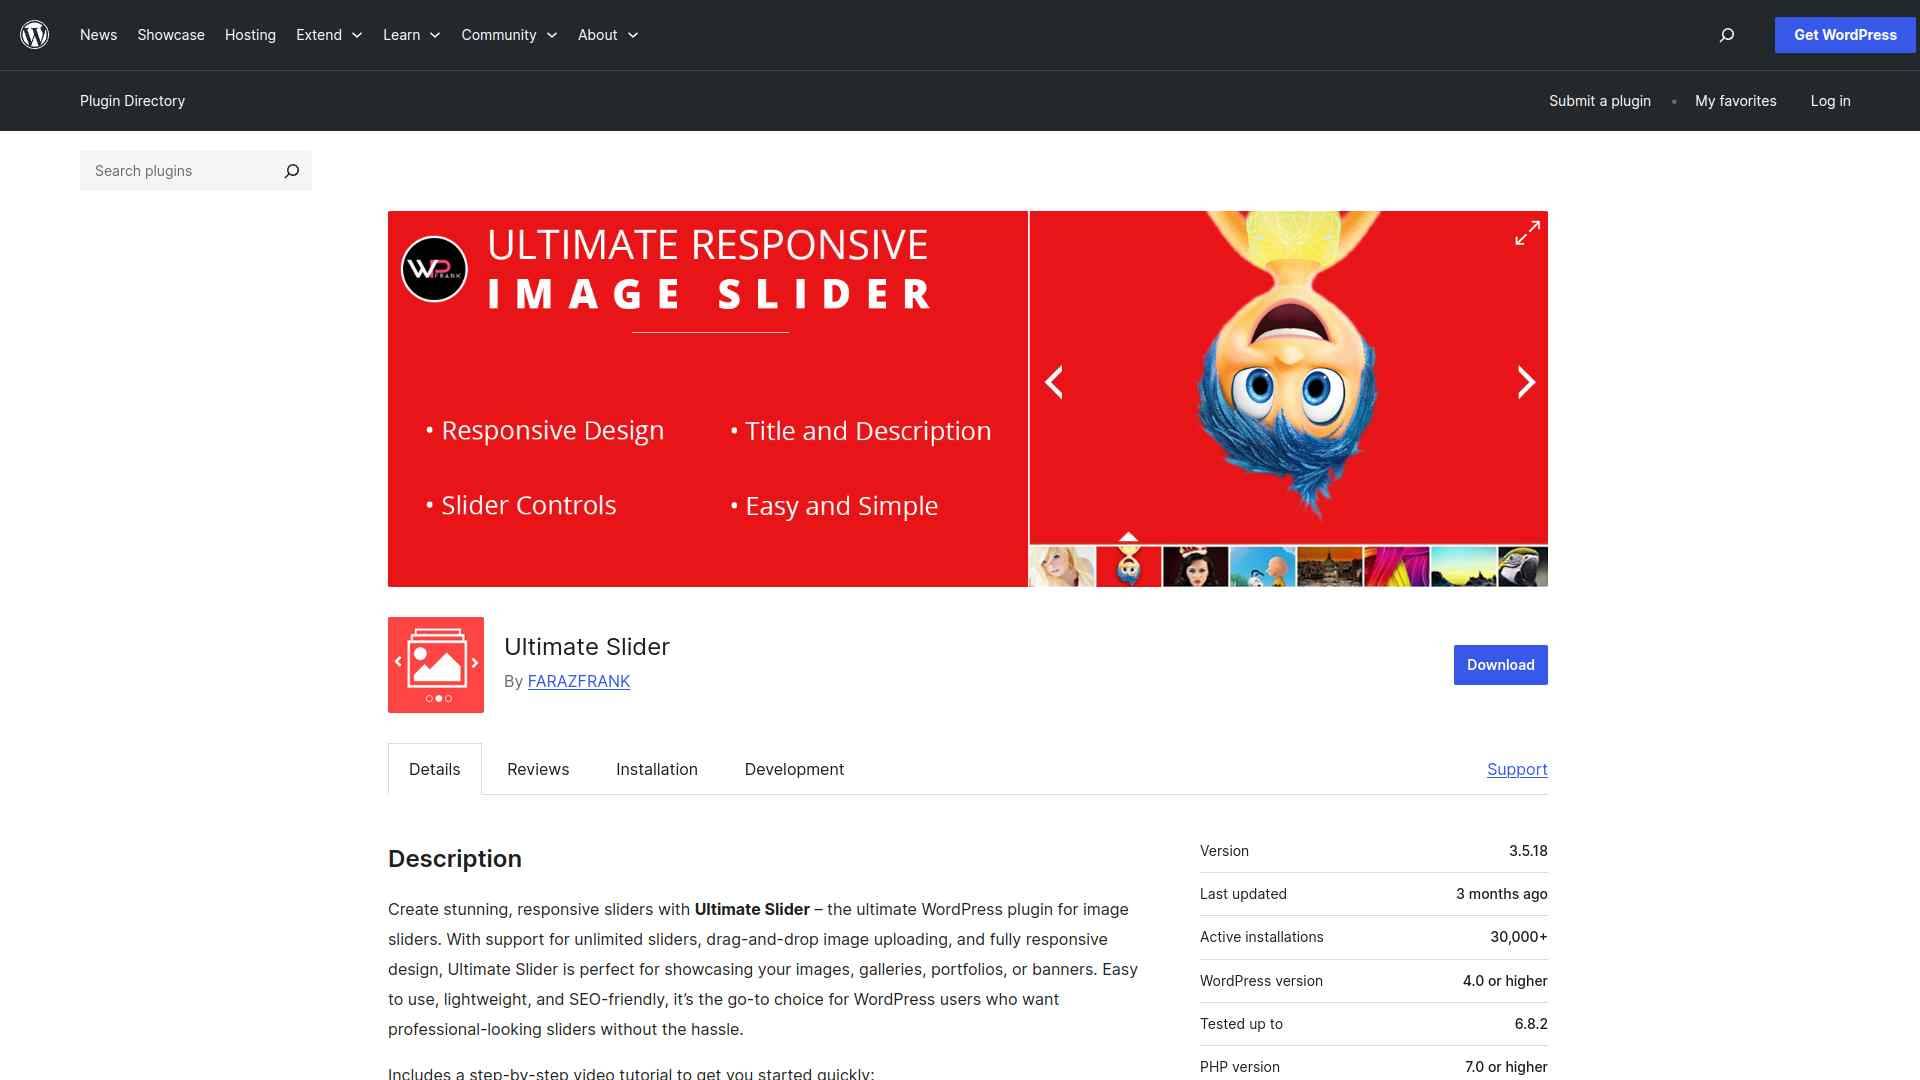 Ultimate Slider (Ultimate Responsive Image Slider) focuses on image-based sliders with an unlimited slide count and drag-and-drop image uploading. It is lightweight and SEO-friendly, compatible with all WordPress themes and page builders. If your primary need is a fast, simple image slider that doesn't add code bloat, this is a solid pick. #### Key Features of Ultimate Slider - Unlimited image sliders with no restrictions so you can create as many as your site needs. - Fully responsive design ensures sliders display correctly on all screen sizes without extra configuration. - Drag-and-drop slide management makes adding, reordering, and removing images fast and straightforward. - Lightweight and optimized for speed, so adding sliders doesn't noticeably affect your page load time. [Learn More](https://wordpress.org/plugins/ultimate-responsive-image-slider/) ### 4. Carousel Slider 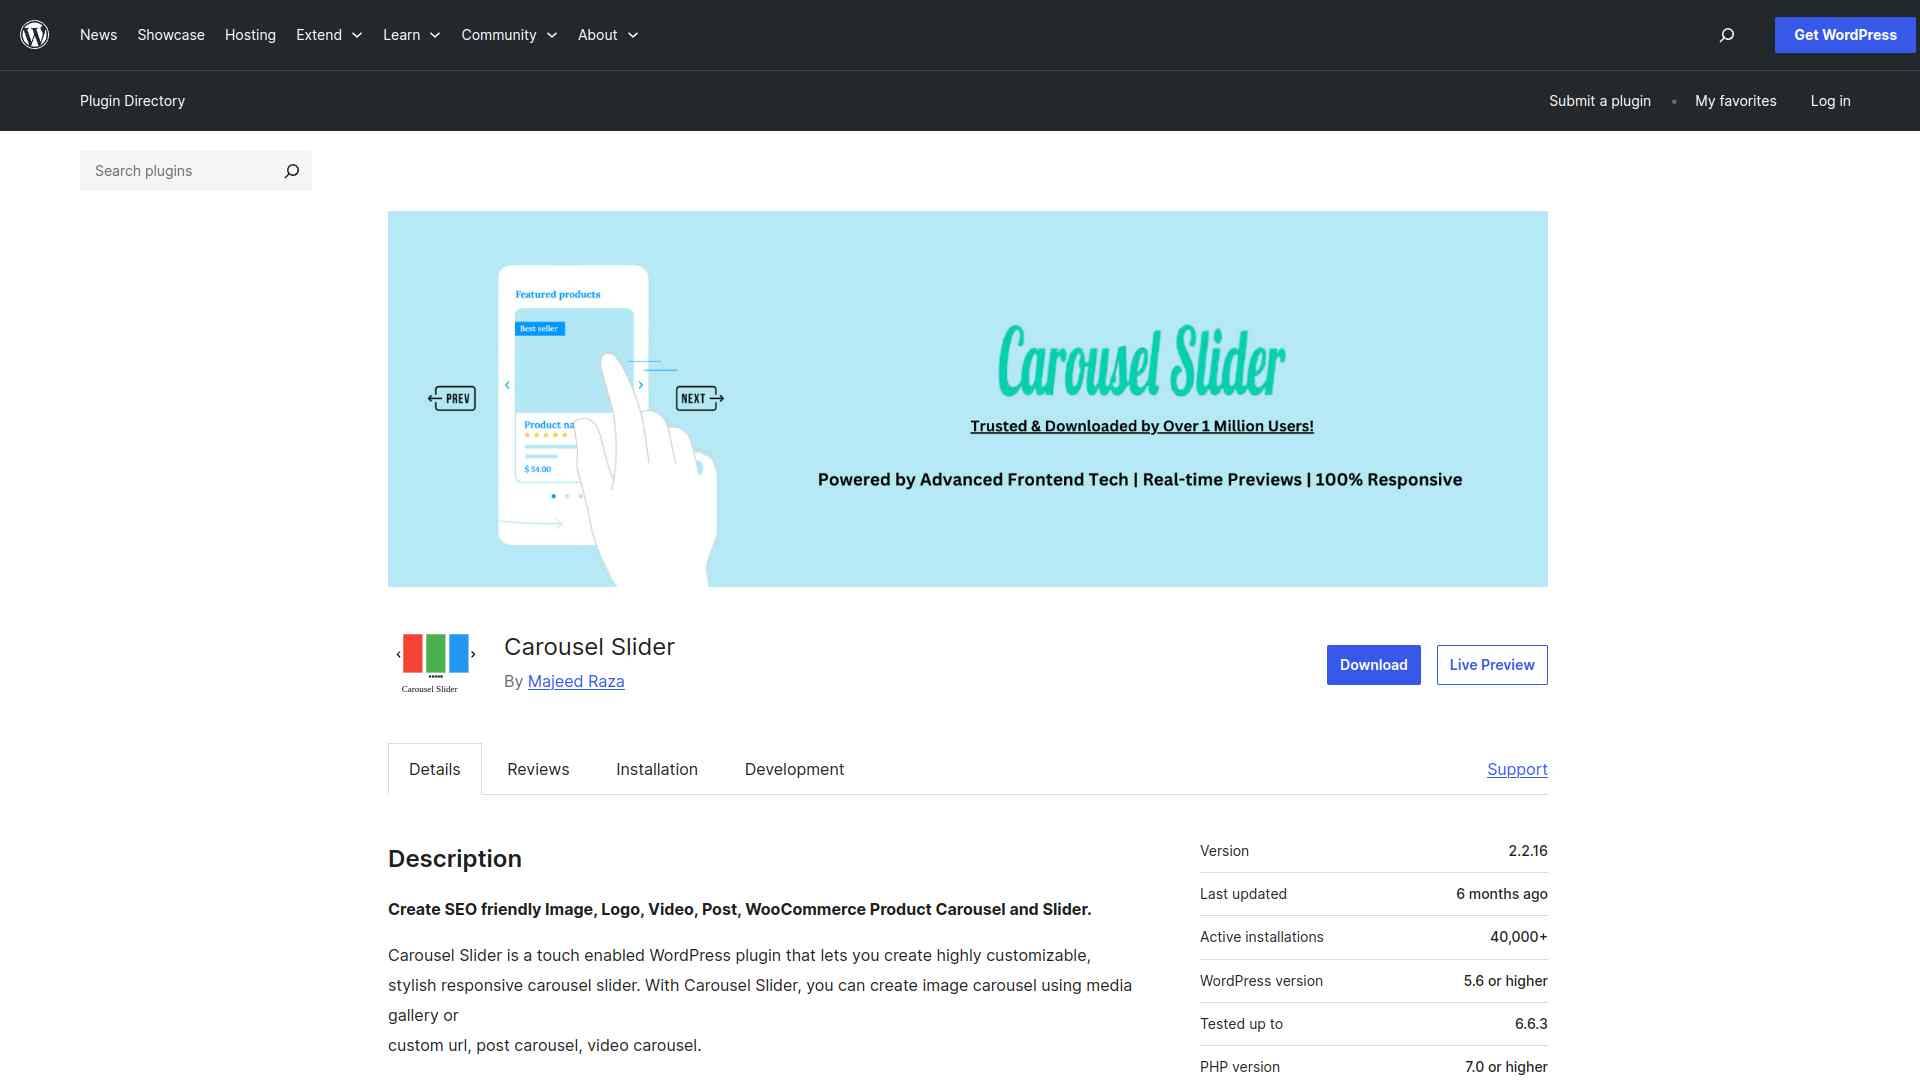 The Carousel Slider plugin supports images, videos, posts, and WooCommerce products with touch-enabled navigation and multiple carousel types. It integrates with Gutenberg and Elementor through block and widget support. A strong choice when you need a multi-content carousel that works across more than one page builder. #### Key Features of Carousel Slider - Supports images, videos, posts, and WooCommerce products in one plugin, covering most carousel use cases without add-ons. - Gutenberg block and Elementor widget integration means you work inside your usual editor without switching to shortcode view. - Touch-enabled navigation works across all mobile devices, giving visitors smooth swipe controls on phones and tablets. - Customizable navigation controls, autoplay settings, and loop behavior let you match the carousel experience to your content. [Learn More](https://wordpress.org/plugins/carousel-slider/) ### 5. Slick Slider 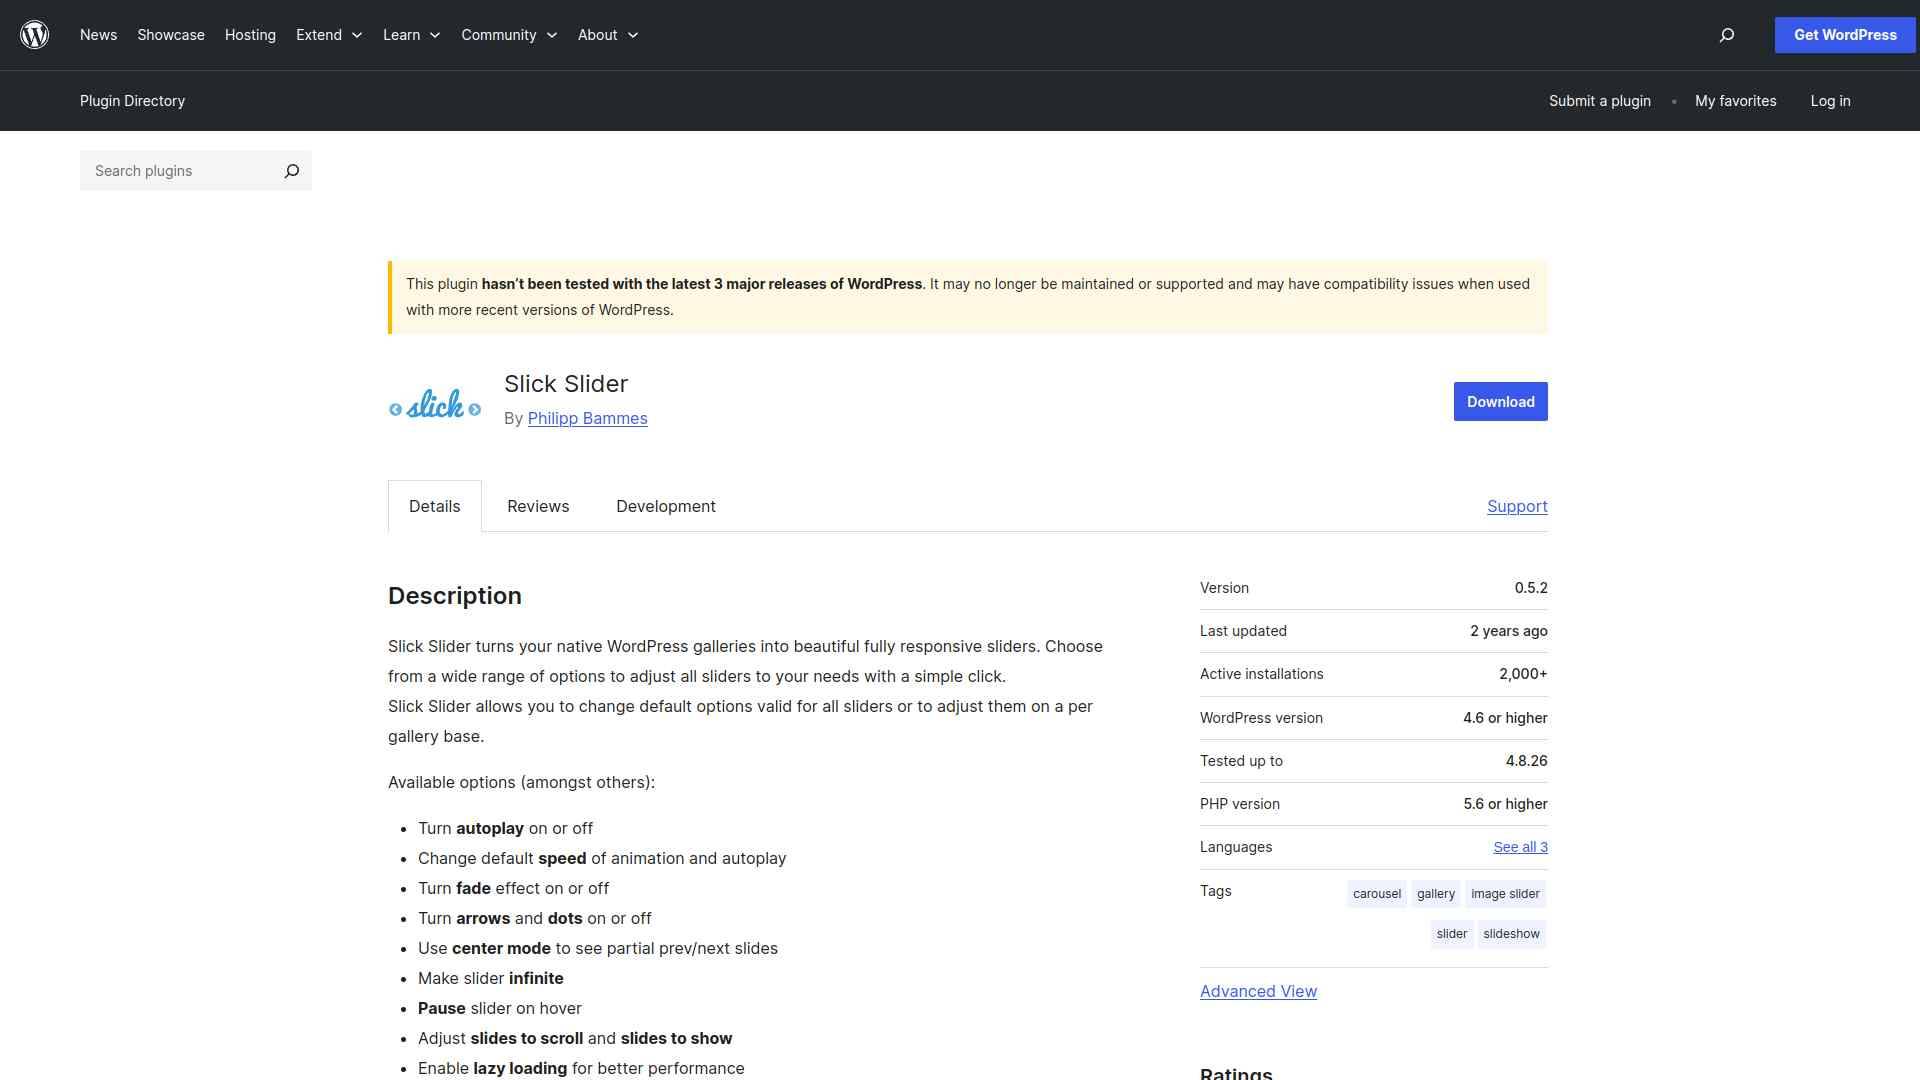 Slick Slider converts your existing native WordPress galleries into responsive sliders. If you already manage images with the standard gallery block, this plugin adds carousel behavior without rebuilding your content. Settings for autoplay, speed, fade, lazy loading, arrows, and dots are all configurable directly from the gallery options panel. #### Key Features of Slick Slider - Converts native WordPress galleries into responsive sliders, so you keep using the standard media workflow you already know. - Autoplay, speed, fade, arrows, and dots are all adjustable from the gallery settings panel without touching code. - Lazy loading defers off-screen images until visitors scroll to them, helping your page load faster on slower connections. - Caption and link support lets you add context and calls to action to individual slides directly from the media library. [Learn More](https://wordpress.org/plugins/slick-slider/) ## Which WordPress Carousel Slider Plugin Should You Use? **Choose Carousel Slider by Nexter** if you build with Gutenberg and want a native block-based slider with selective script loading, multiple layouts, and dedicated support. **Choose WP Carousel** if you need a free plugin that handles images, posts, WooCommerce products, and YouTube videos in a single tool. **Choose Ultimate Slider** if you want a lightweight, image-focused slider with unlimited slides and drag-and-drop management. **Choose Carousel Slider** if you need multi-content carousels with Gutenberg and Elementor compatibility and strong touch support. **Choose Slick Slider** if you want to convert existing native WordPress galleries into responsive sliders with minimal setup. The Carousel Slider block is one of 90+ Gutenberg blocks inside [Nexter Blocks](https://qa.nexterwp.com/nexter-blocks/) 4.7.2. If you build complete pages around your carousels, Nexter gives you the blocks for hero sections, testimonials, pricing tables, and more alongside the slider, all without jQuery dependencies. [Download Nexter Blocks free on WordPress.org](https://wordpress.org/plugins/nexter-extension/) or [see plans starting at $39/year](https://qa.nexterwp.com/pricing/). Elementor users can extend their toolkit with [The Plus Addons for Elementor](https://theplusaddons.com/), which offers carousel and slider widgets among 120+ elements. For ready-made page designs, [WDesignKit](https://wdesignkit.com/) has thousands of free WordPress templates to speed up your builds. ## How to Choose the Right Carousel Slider Plugin for WordPress Carousel sliders keep pages compact while letting visitors browse through more content. For Gutenberg users, the Carousel Slider block in Nexter Blocks 4.7.2 is the most performant option since it loads scripts only on pages where the block is used and requires no separate plugin install. For multi-content needs across different builders, WP Carousel and Carousel Slider both handle images, products, and videos with shortcode or native editor integration. [Get Nexter Blocks free](https://qa.nexterwp.com/download-nexter-free/#download-nexter) and add the Carousel Slider block to your next WordPress page, or [see plans starting at $39/year](https://qa.nexterwp.com/pricing/) if you need the complete 90+ block suite with premium support. #### Get Exclusive WordPress Tips, Tricks and Resources Delivered Straight to Your Inbox! Subscribe to stay updated with everything happening on WordPress. ## FAQs on Best Carousel Slider Plugins for WordPress --- # 5 Best Before After Plugins for WordPress in 2026 [Tested] Source: https://qa.nexterwp.com/blog/best-before-after-plugins-for-wordpress/ Before-and-after sliders communicate change faster than any amount of text. A photographer can show retouching impact, a fitness site can illustrate client progress, and a home renovation page can replace three paragraphs of description with a single draggable divider. The format is interactive, works on any device, and immediately answers the reader's most important question: what changed? The challenge is finding a plugin that loads quickly, works with your page builder, and gives you enough customization without bloating every page with unused scripts. This guide covers the 5 best before after plugins for WordPress, tested and compared on features, builder compatibility, and ease of setup on WordPress 6.9.4 so you can pick the right one for your site. ## What is a Before After Slider in WordPress? A before after slider in WordPress places two images side by side with a draggable divider. Visitors move the handle left or right to compare the "before" and "after" states of any subject, from design revisions to physical transformations. The interactive format works on any device and requires no extra explanation from the site owner. ## What to look for in a before after plugin Before picking a plugin, check these five criteria: - **Performance**: Does the plugin load its scripts only on pages where the slider appears, or does it add weight to every page on your site? - **Builder compatibility**: Does it integrate natively with Gutenberg, Elementor, or Divi, or does it rely on shortcodes across all builders? - **Mobile responsiveness**: Can visitors swipe the divider on touchscreens as smoothly as they drag it on desktop? - **Customization**: Can you control divider style, labels, orientation, and starting position to match your design? - **Core Web Vitals impact**: Before after sliders load two full-size images simultaneously. Check whether the plugin supports lazy loading for off-screen images so your Largest Contentful Paint score stays within Google's recommended range. ## Best Before After Plugins for WordPress Compared | Plugin | Builder | Free / Paid | Best For | | ------ | ------- | ----------- | -------- | | Before After by Nexter | Gutenberg | Free + Paid | Gutenberg native block with selective script loading | | Before After Image Comparison | Gutenberg | Free | Free no-code Gutenberg slider for any theme | | Before After Images for Divi | Divi | Free | Divi Visual Builder native module | | Ultimate Before After Slider & Gallery | Elementor, WPBakery, Gutenberg | Free + Paid | Gallery grids across multiple builders | | Twenty20 Image Before After | Any (shortcode) | Free | Minimal free plugin with offset controls and widget support | ### 1. Before After by Nexter 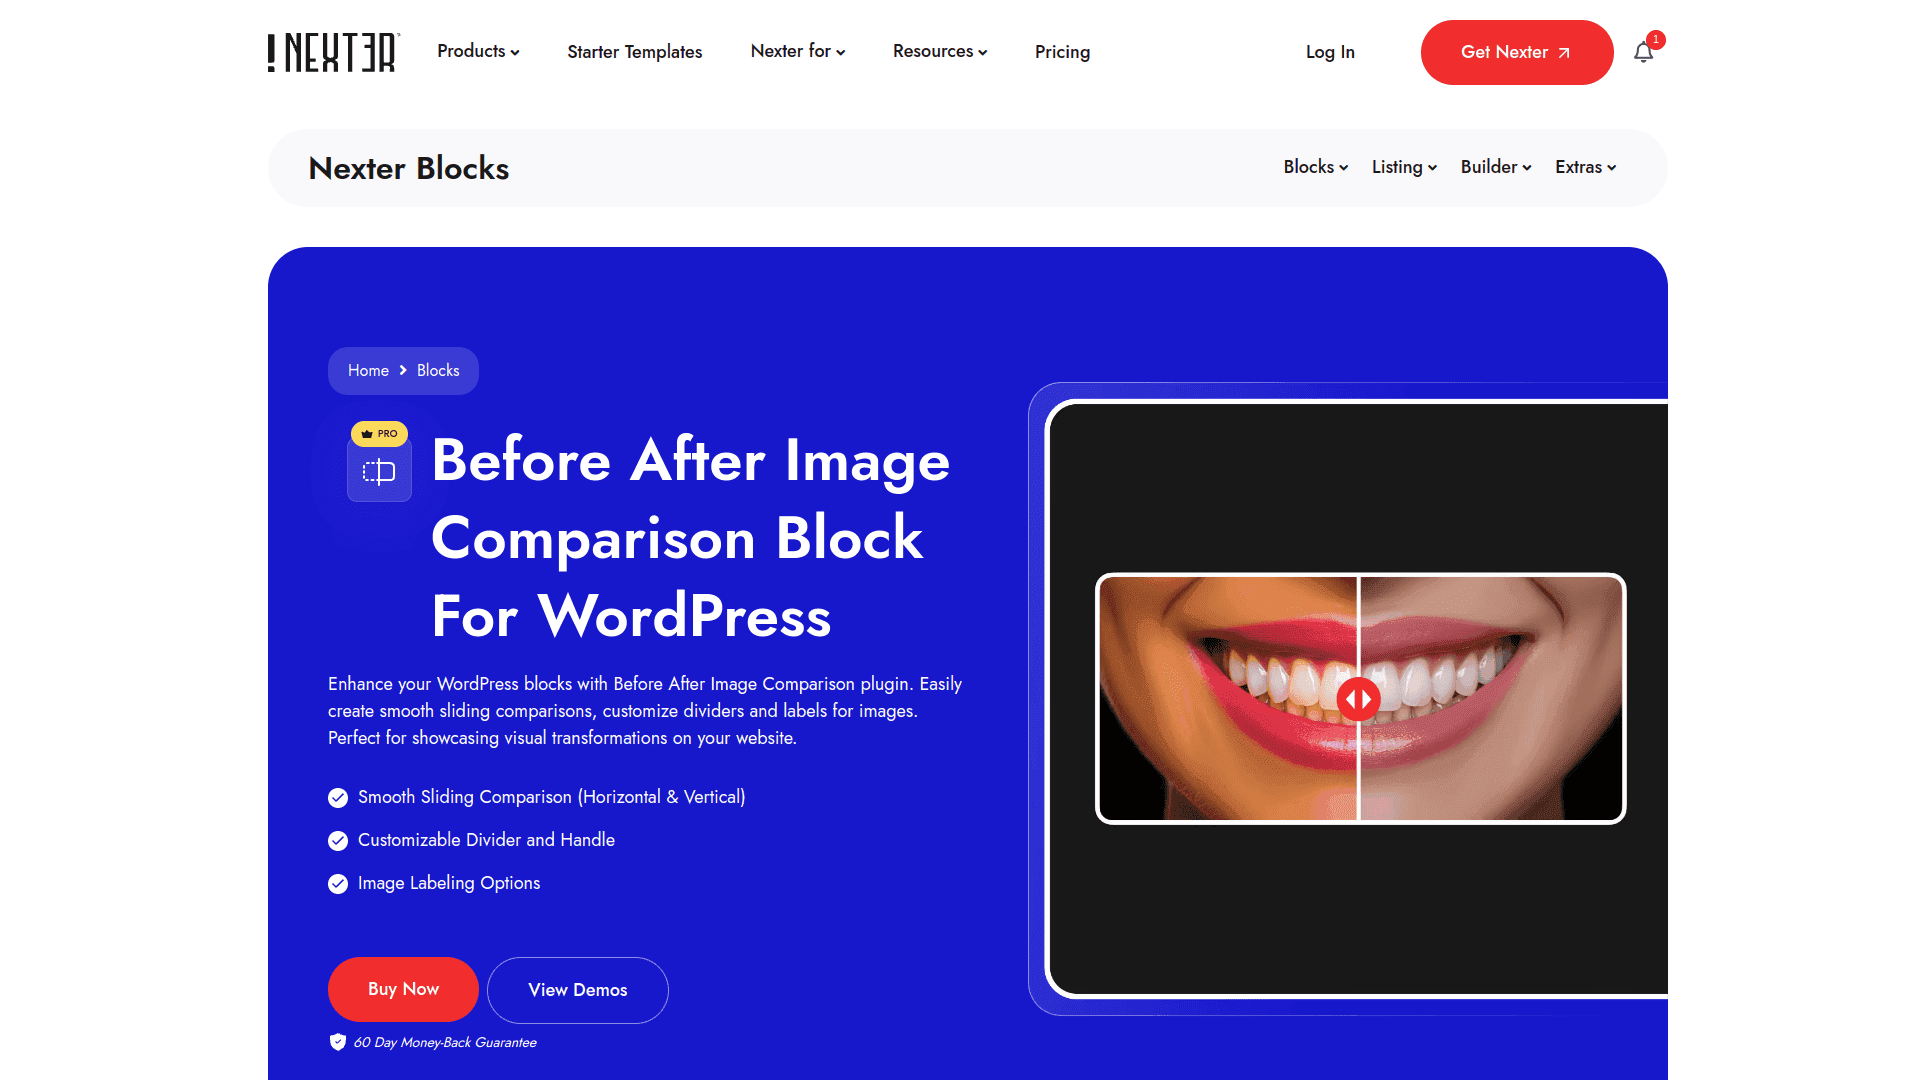 The Before After block in [Nexter Blocks](https://qa.nexterwp.com/nexter-blocks/) 4.7.2 is a native Gutenberg block that adds an interactive comparison slider without requiring a separate plugin. You get full control over divider style, labels, and image sizes directly inside the block editor. Scripts load only on pages where the block is placed, so the rest of your site stays fast. [See the Before After block demo](https://qa.nexterwp.com/nexter-blocks/blocks/wordpress-before-after-image-comparison-slider/) to check the live output before adding it to your site. #### Key Features of Before After by Nexter - Selective script loading means only pages with the Before After block carry the extra CSS and JS, keeping every other page lean. - One license covers local, staging, and live environments so you build and test without managing separate license keys. - Lifetime plan options with automatic renewal reminders give you ongoing updates and support without annual surprises. - Live chat and AI-assisted support plus detailed documentation mean issues get resolved quickly without waiting for email tickets. [](https://qa.nexterwp.com/nexter-blocks/blocks/wordpress-before-after-image-comparison-slider/#demo) [Learn More](https://qa.nexterwp.com/nexter-blocks/blocks/wordpress-before-after-image-comparison-slider/) ### 2. Before After Image Comparison 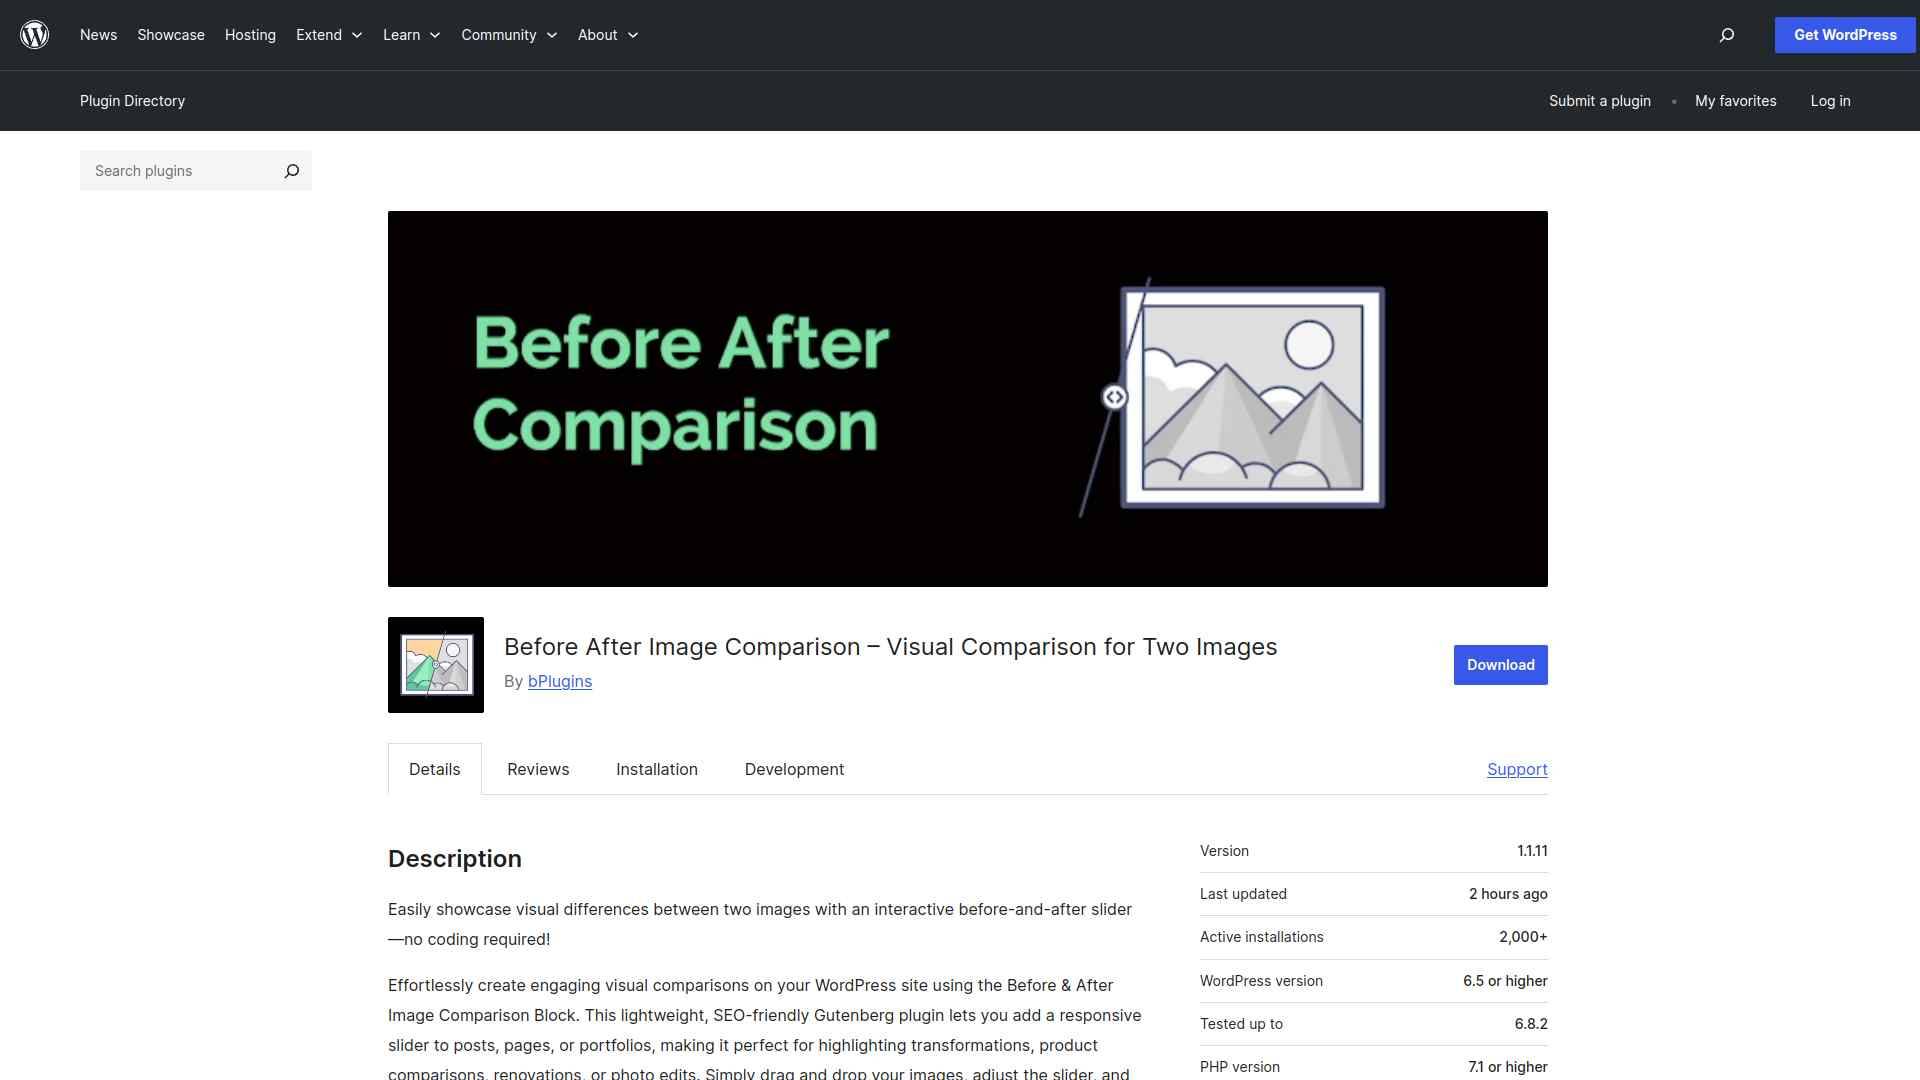 Before & After Image Comparison is a free standalone plugin that works with the Gutenberg block editor. Upload two images, configure your slider options, and embed comparisons anywhere on your site without writing code. It supports labels, colors, and slider behavior controls and works with any WordPress theme out of the box. #### Key Features of Before After Image Comparison - Drag-and-drop setup in the Gutenberg block editor means no shortcodes or coding needed to add a comparison slider. - Label, color, and slider behavior controls let you match the comparison display to your site's visual style. - Responsive on all screen sizes so touchscreen visitors can swipe through comparisons as smoothly as desktop users. - Compatible with any WordPress theme and the block editor so it drops in cleanly without layout conflicts. [Learn More](https://wordpress.org/plugins/before-after-image-compare/) ### 3. Before After Images for Divi 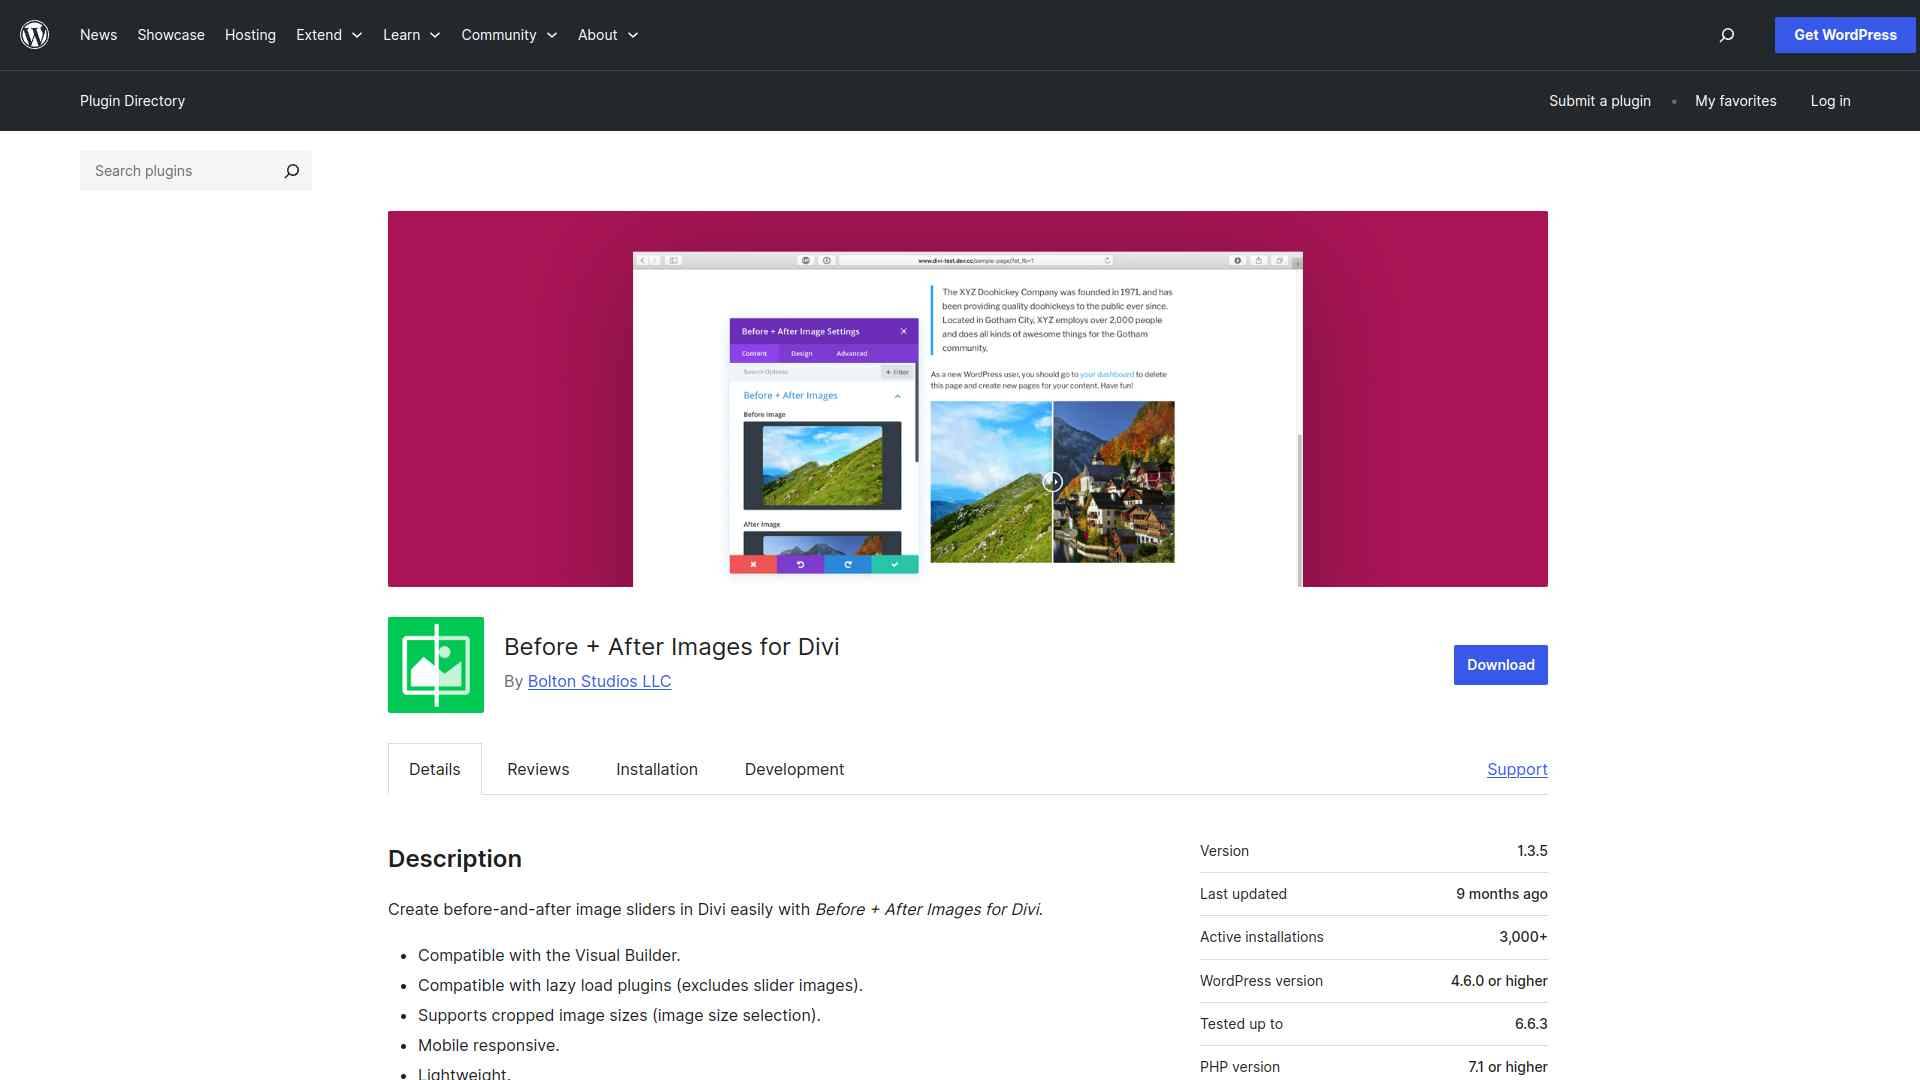 Before + After Images for Divi is built specifically for the Divi page builder and integrates as a native Divi module. If your site runs on Divi, this is the cleanest integration since you add sliders directly in the Visual Builder like any other section. It's lightweight, mobile responsive, and includes image size controls under the Advanced tab for precise display. #### Key Features of Before After Images for Divi - Native Divi module means you add comparison sliders directly in the Visual Builder without switching to shortcode or code view. - Lightweight with no extra overhead outside Divi pages, so only Divi-rendered pages carry the module's assets. - Mobile-friendly divider works smoothly on touch devices without extra configuration. - Image size selection under the Advanced tab gives you control over display dimensions for both before and after images. [Learn More](https://wordpress.org/plugins/before-after-images-for-divi/) ### 4. Ultimate Before After Image Slider & Gallery 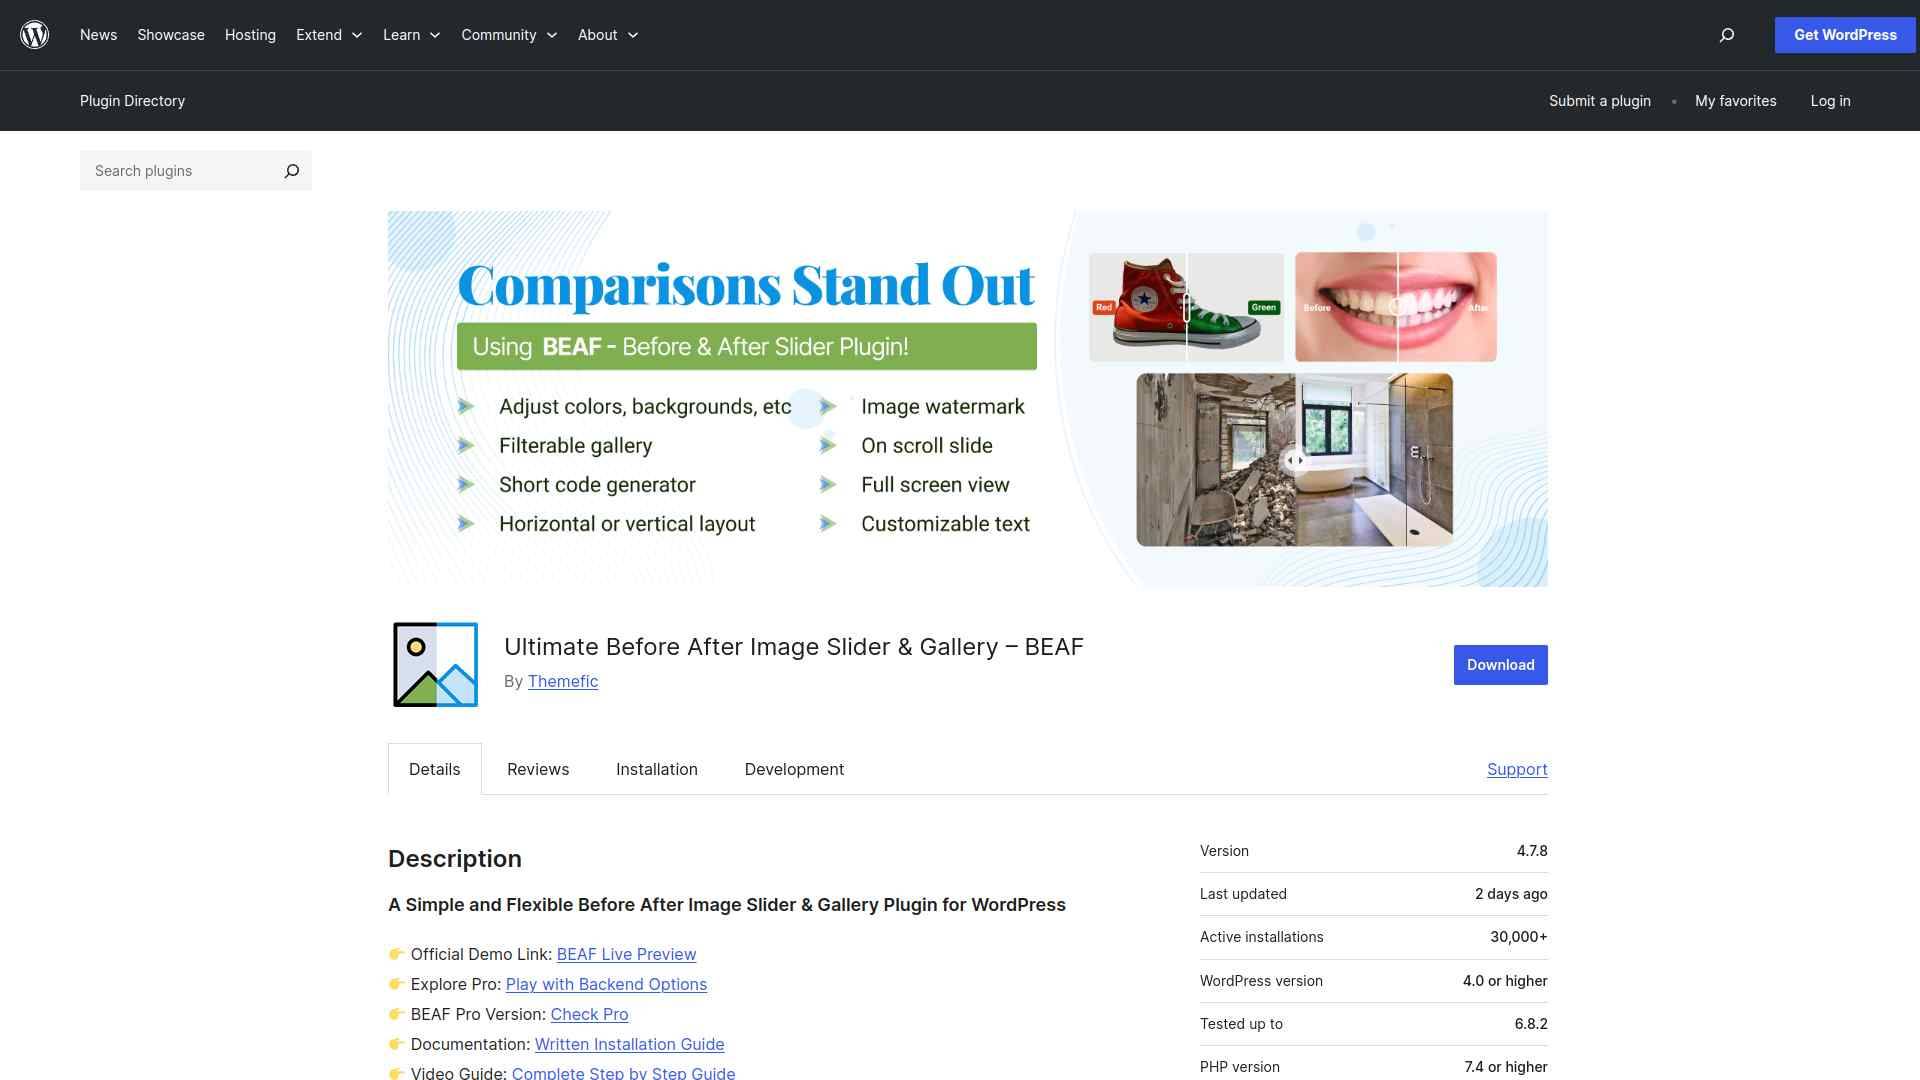 The Beaf Before and After Gallery plugin supports multiple slider layouts and gallery-style comparison grids. It works with Elementor, WPBakery, and Gutenberg through shortcode integration, making it one of the more versatile options for multi-builder environments. You can display batches of comparisons in a grid rather than a single slider pair, which suits photography and design portfolio use cases well. #### Key Features of Ultimate Before After Image Slider & Gallery - Gallery-style layout lets you display multiple before-and-after pairs in a grid view, not just single sliders. - Shortcode integration works across Elementor, Gutenberg, and WPBakery so you aren't locked to one builder. - Multiple slider and gallery style options let you choose the layout that fits your content and brand. - Straightforward admin controls mean you can add and manage sliders without technical expertise. [Learn More](https://wordpress.org/plugins/beaf-before-and-after-gallery/) ### 5. Twenty20 Image Before After 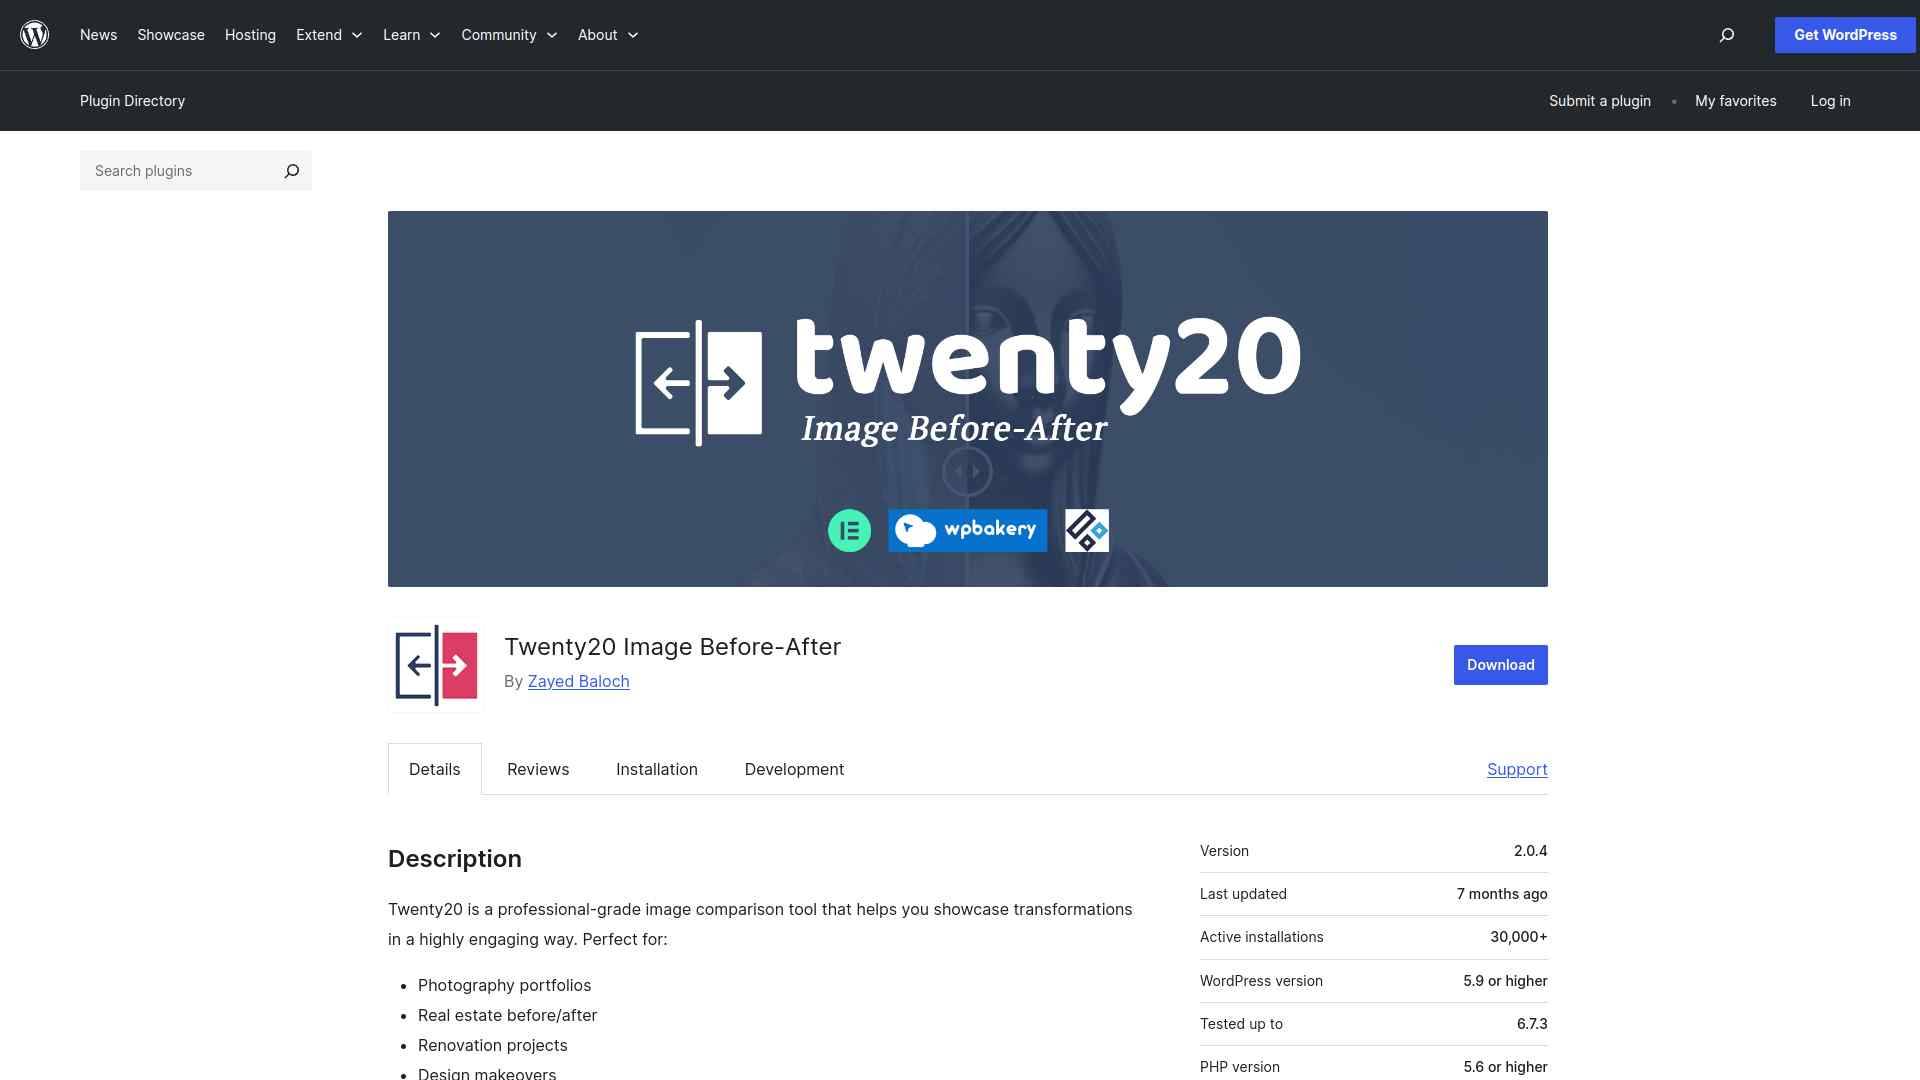 Twenty20 is one of the oldest and most battle-tested free before after plugins on WordPress.org. It uses the `[twenty20]` shortcode and supports touch and drag, multiple sliders per page, and sidebar widgets. An offset control lets you set where the divider starts, so it doesn't default to the center split on every slider. #### Key Features of Twenty20 Image Before After - Touch-and-drag slider works on phones, tablets, and desktops without separate configuration for each device type. - Supports multiple independent sliders on a single page, each with its own settings and offset position. - Sidebar widget support lets you place comparison sliders in widget areas outside the main content column. - Offset control sets the starting divider position so you can show more of the "before" or "after" image on first load. [Learn More](https://wordpress.org/plugins/twenty20/) ## Which WordPress Before After Plugin Should You Use? **Choose Before After by Nexter** if you use the Gutenberg editor and want a native block-based slider with selective script loading, lifetime plan options, and dedicated support. **Choose Before After Image Comparison** if you want a free, no-code option that works with any WordPress theme and the block editor. **Choose Before After Images for Divi** if your site runs on the Divi theme and you want a native Visual Builder integration. **Choose Ultimate Before After Image Slider & Gallery** if you need gallery-style grids with Elementor, WPBakery, or Gutenberg compatibility. **Choose Twenty20** if you want a minimal, long-established free plugin with offset controls and sidebar widget support. The Before After block is one of 90+ Gutenberg blocks inside [Nexter Blocks](https://qa.nexterwp.com/nexter-blocks/) 4.7.2. If you build complete pages around your comparisons, Nexter gives you the blocks for hero sections, testimonials, pricing tables, and more alongside the slider, all without jQuery dependencies. [Download Nexter Blocks free on WordPress.org](https://wordpress.org/plugins/nexter-extension/) or [see plans starting at $39/year](https://qa.nexterwp.com/pricing/). Elementor users can extend their toolkit with [The Plus Addons for Elementor](https://theplusaddons.com/), which includes before-after comparison widgets among 120+ elements. For ready-made page designs, [WDesignKit](https://wdesignkit.com/) has thousands of free WordPress templates to get you started. ## How to Choose the Right Before After Plugin for WordPress Before and after sliders add instant visual clarity to any page showcasing change or transformation. For most WordPress users building with Gutenberg, the Before After block in Nexter Blocks 4.7.2 is the most performant option since it requires no separate plugin and loads only on pages where it is used. Divi users get the cleanest integration from the dedicated Divi module, and Elementor or multi-builder sites can use the Ultimate Before After gallery plugin for shortcode-based embedding across builders. [Get Nexter Blocks free](https://qa.nexterwp.com/download-nexter-free/#download-nexter) and add the Before After block to your next WordPress page, or [see plans starting at $39/year](https://qa.nexterwp.com/pricing/) if you need the complete 90+ block suite with premium support. #### Get Exclusive WordPress Tips, Tricks and Resources Delivered Straight to Your Inbox! Subscribe to stay updated with everything happening on WordPress. ## FAQs on Best Before After Plugins for WordPress --- # llms.txt for Gutenberg WordPress: Why Block Themes Win the AI Citation Race (2026) Source: https://qa.nexterwp.com/blog/llms-txt-gutenberg-wordpress/ Last Tuesday I opened the Site Editor on a Nexter-built client site and ran a one-line check. I visited `theirsite.com/llms.txt` in a fresh tab. **404**. I checked four more Gutenberg-native client sites that week, all running block themes. **Four out of four returned 404**. Meanwhile their server access logs showed PerplexityBot and GPTBot hammering each domain over 2,400 times a month looking for that exact file. The `llms.txt` file is the 2026 standard for telling AI search engines what your WordPress site is about. **OpenAI's crawler re-fetches it every 15 minutes** on sites that have one. Anthropic, Perplexity, and the broader AI ecosystem are converging on it. If you publish content with Gutenberg blocks and want it cited inside ChatGPT Search, Claude, and Perplexity, an `llms.txt` file is the cheapest, fastest move you can make this quarter, and Gutenberg block themes have a structural head start over page-builder sites in producing one. **What you will learn:** what an `llms.txt` file actually is, what real production examples look like at Anthropic, Perplexity, and Stripe, why Gutenberg block themes win the AI citation race over page-builder sites, three ways to ship `llms.txt` on a Nexter or block-theme WordPress install, and how the free [RankReady plugin](https://store.posimyth.com/plugins/rankready/) auto-generates a 2026-compliant file directly from your block-theme post structure. ## What is an llms.txt file and why does ChatGPT care about it in 2026 An `llms.txt` file sits at the root of your WordPress domain (`yoursite.com/llms.txt`). It is a plain-text Markdown file that tells AI models which pages on your site are most important and how to summarise them. Think of it as a sitemap for AI, written in a format an LLM can read at a glance without burning expensive context tokens crawling your full site. The standard was proposed in September 2024 by Jeremy Howard at Answer.AI. By mid-2026 it has been adopted by [Anthropic](https://docs.anthropic.com/llms.txt), [Perplexity](https://docs.perplexity.ai/llms.txt), [Stripe](https://docs.stripe.com/llms.txt), Vercel, and hundreds of developer-facing brands. OpenAI's crawler fetches `llms.txt` every 15 minutes on sites that have it. Google's Gary Illyes has publicly said `llms.txt` does not influence Google ranking, but every other major AI engine actively reads it. Full spec lives at [llmstxt.org](https://llmstxt.org). ## Why Gutenberg block themes win the llms.txt race over page-builder sites This is the angle nobody else is writing about. The job of `llms.txt` is to hand an AI model a clean Markdown summary of your site. Gutenberg block themes already output content as structured, semantic blocks (paragraph, heading, list, image, table). Page-builder sites wrap everything in nested divs and inline styles. When an AI engine ingests a Gutenberg-built page, it is reading the same content tree your `llms.txt` will reference. When it ingests a page-builder page, it has to strip layers of presentational markup first. | Factor | Gutenberg block theme (Nexter, FSE) | Page-builder site (Elementor, Divi) | | ------ | ----------------------------------- | ----------------------------------- | | Underlying HTML | Semantic block markup, native h1/h2/p/ul | Nested divs, inline styles, builder shortcodes | | Token cost for AI to parse | Low, clean content tree | High, must strip presentation layer | | Programmatic post-type access | Direct via WP REST API | Builder-specific REST endpoints or shortcode rendering | | llms.txt URL generation | Map post types and taxonomies 1-to-1 | Must filter out builder template posts and layouts | | Markdown round-trip fidelity | High, blocks map cleanly to Markdown | Lossy, builder containers do not map to Markdown | This is why every major AI documentation site that ships `llms.txt` is built on a static Markdown stack or a block-based CMS. Anthropic uses Mintlify. Stripe uses their own Markdown pipeline. Perplexity uses Mintlify. The closest WordPress equivalent is a Gutenberg block theme like [Nexter Theme paired with a full site editing setup](https://qa.nexterwp.com/blog/wordpress-fse-block-themes-vs-classic-themes/). If you are already on a block theme, your content is structurally one step closer to AI-citable than a builder site is. ## llms.txt versus robots.txt: how the two files complement each other Both files sit at your WordPress site root. They do completely different jobs. | File | Purpose | Format | Who reads it | | ---- | ------- | ------ | ------------ | | `robots.txt` | Tells crawlers what they may NOT access | Plain text, allow/disallow rules | All web crawlers since 1994, Googlebot, GPTBot, etc. | | `llms.txt` | Tells AI models what your site is about and which pages matter | Markdown with structured sections | ChatGPT, Claude, Perplexity, AI clients | The two files work together. Your `robots.txt` controls who can read your WordPress site. Your `llms.txt` tells the ones who can read it what is worth reading. Without `llms.txt`, AI engines waste tokens crawling your archive pages, your search results, and your image attachment URLs. With `llms.txt`, they go straight to the pages you want cited. If you want a full primer on which bots you should actually allow or block, the [web crawlers list](https://qa.nexterwp.com/blog/web-crawlers-list/) covers the 15 most common ones hitting WordPress sites in 2026. ## What a real production llms.txt file looks like on a major site docs.anthropic.com/llms.txt — the production reference every Gutenberg llms.txt should mirror. The fastest way to understand `llms.txt` is to look at three real production files from companies that depend on AI search visibility. The pattern across all three: **H1 site name, blockquote tagline, H2 sections grouping links, bulleted Markdown links with optional one-sentence descriptions**. That is the entire 2026 format. No XML, no schema validation, no edge cases. Just clean Markdown that maps 1-to-1 to Gutenberg block structure. - **Anthropic** at [docs.anthropic.com/llms.txt](https://docs.anthropic.com/llms.txt), organised by Claude documentation sections. - **Perplexity** at [docs.perplexity.ai/llms.txt](https://docs.perplexity.ai/llms.txt), organised around their API endpoints. - **Stripe** at [docs.stripe.com/llms.txt](https://docs.stripe.com/llms.txt), ships both the index and an extended `llms-full.txt` for AI full-text ingestion. Look at the Gutenberg blocks you used to build your own About page. H1 site name. Paragraph blockquote tagline. H2 headings grouping link lists. List blocks with linked items. That is exactly the structure `llms.txt` wants. A page-builder site has to translate from container widgets to that structure. A block theme is already there. ## Three ways to add an llms.txt file to your block-theme WordPress site You have three practical paths to ship an `llms.txt` file on a Gutenberg block-theme WordPress install in 2026. They differ in setup time, maintenance burden, and how well the file stays in sync as you publish new posts and pages from the Site Editor. ### Method 1: Hand-write the file and SFTP it to your site root Write the `llms.txt` file in any Markdown editor. SFTP it to the root of your WordPress install, same level as `wp-config.php`. Confirm it serves at `yoursite.com/llms.txt`. **Pros:** zero plugins, full control over wording. **Cons:** you forget to update it the moment you publish a new post in the Site Editor, which means within a month the file is already stale and AI engines start citing missing or outdated URLs. ### Method 2: Add llms.txt via a code snippet in your block-theme functions.php Hook into `init` with `add_rewrite_rule` and serve a dynamic `llms.txt` generated from your post types. **Pros:** stays in sync with Gutenberg-published content. **Cons:** survives until your next theme switch, breaks on WordPress core updates, and child-theme override workflows are still rough on FSE block themes. Most Site Editor users are not comfortable shipping code to `functions.php` any more. ### Method 3: Install a plugin that auto-generates llms.txt from your block-theme post structure The plugin route is what we use across every POSIMYTH WordPress property, including Nexter-themed sites. The plugin watches your posts, pages, custom post types, and FSE template parts, regenerates `llms.txt` on every content change in the Site Editor, and serves it at `yoursite.com/llms.txt` with no manual upkeep. **Our pick is [RankReady](https://store.posimyth.com/plugins/rankready/)**, the free AI SEO plugin we built at POSIMYTH for WordPress AI search visibility. The **llms.txt Generator** module is one of nine modules inside it. It reads your block-theme post structure directly through the WP REST API, so the generated file matches exactly what AI engines see when they crawl your Gutenberg content. ## What to actually put inside your Gutenberg WordPress llms.txt file The format is intentionally simple. Open a Markdown file. Add four sections in this order: `# Your Site Name > A one-sentence description of what your WordPress site is about and who it serves. ## Documentation - [Getting Started](https://yoursite.com/docs/getting-started): How new users get up and running. - [API Reference](https://yoursite.com/docs/api): Complete API endpoint reference. ## Blog Posts - [How to Build X](https://yoursite.com/blog/how-to-build-x): Practical guide on Topic X. - [Why Y Matters](https://yoursite.com/blog/why-y-matters): Strategic overview of Y. ## Optional - [Pricing](https://yoursite.com/pricing): Plans and pricing for our WordPress product. - [About](https://yoursite.com/about): Team and company background.` Four rules that produce a useful `llms.txt`: lead with an H1 site name, follow with a one-sentence blockquote that tells the AI what your site is about, group your most important URLs under H2 sections, and add a one-sentence description after each link explaining what the AI will find there. Notice how the structure maps cleanly to native Gutenberg blocks. H1 heading block. Quote block. H2 heading blocks. List blocks. That is the round-trip Gutenberg block themes already give you for free. ## How block-theme post types and taxonomies map into llms.txt sections This is the part page-builder sites usually get wrong. Gutenberg block themes typically ship with native post types (post, page) and custom taxonomies (category, tag) that are already exposed through the WP REST API at `/wp-json/wp/v2/`. Your `llms.txt` H2 sections should map 1-to-1 to your most important post types and taxonomies, in this order: - **Top of file: site identity**, H1 site name + blockquote tagline pulled from your block-theme site title and tagline settings. - **First H2: your primary post type**, usually Blog or Docs. List the 20 to 50 most important URLs, each with a one-sentence description pulled from the post excerpt. - **Second H2: supporting reference content**, glossary, API reference, or a curated reading list. Pages built with Gutenberg block patterns work great here. - **Third H2: product or service pages**, for sites that monetise. Keep this tight, three to seven links max. - **Optional section at the bottom**, About, Contact, Author archives, Pricing context. AI engines treat this section as supporting context, not primary citation source. If your site uses [curated content aggregation patterns](https://qa.nexterwp.com/blog/best-news-aggregator-websites/) or a magazine-style block layout, you have an even cleaner path: each curated section becomes its own H2 with a focused link list. AI engines reward topical clustering, and block themes make that clustering visible at the post-type level. ### RankReady llms.txt Generator: built for block-theme WordPress sites Hand-writing `llms.txt` is fine for a 10-page WordPress site. The moment you cross 50 posts published through the Site Editor, manual maintenance becomes the single point of failure. Your `llms.txt` goes stale, AI engines start citing old URLs, and the value of the file drops to zero. RankReady's **llms.txt Generator** module solves the maintenance problem at the source by reading your block-theme post structure directly. Here is what happens after install: - **Auto-builds your llms.txt** from your post structure on first activation. H1 = your block-theme site title, blockquote = your tagline, H2 sections = your registered post types and custom taxonomies pulled straight from the WP REST API. - **Refreshes on every content change in the Site Editor.** Publish a new post via Gutenberg, the file regenerates within the same request. Update an old page, same thing. No cron job to debug, no cache to bust. - **Serves at yoursite.com/llms.txt** with the correct text/markdown MIME type so AI crawlers process it as Markdown, not as HTML. - **Includes llms-full.txt**, the extended version Stripe uses, when you toggle it on. The extended file embeds your full post content rendered from Gutenberg blocks to clean Markdown for AI engines that prefer full-text ingestion over link traversal. - **Section priority control.** Tell RankReady which post types are primary citation sources (Blog, Docs) vs Optional (Author archives, tag pages). - **Per-post override** so you can flag specific posts as always include or exclude from llms.txt without editing the file. Toggles live in the Gutenberg post sidebar, so you set it when you publish. Setup takes under two minutes. Install RankReady, go to RankReady > llms.txt, click Generate, done. Your `llms.txt` file is live at the root of your WordPress site and stays current automatically as you publish posts through the Site Editor. [Install RankReady free →](https://store.posimyth.com/plugins/rankready/) ## The full RankReady WordPress AI SEO module stack (llms.txt is one of nine) RankReady is the free WordPress AI SEO plugin we built at POSIMYTH to handle the entire AI search visibility stack inside WordPress admin. It works on any block-theme or classic-theme WordPress install. `llms.txt` generation is one module. The other eight cover every layer below and above it. - **llms.txt Generator**, auto-built and refreshed on every content change in the Site Editor. - **AI Crawler Log**, real-time per-bot hit tracking for GPTBot, ClaudeBot, OAI-SearchBot, PerplexityBot, and 15 more AI user-agents. - **AI Referral Analytics**, which AI tools send real traffic to your WordPress site and which pages they cite. - **FAQ Schema**, one-click FAQPage schema for native Gutenberg pages and posts. - **AI Crawler Cache + Rate Limits**, fast and polite responses to AI crawlers that respect `robots.txt`. - **WebMCP Server**, turn your WordPress site into a Model Context Protocol endpoint Claude and ChatGPT can query directly. - **Content Freshness Signals**, tell AI models when content was last updated through the Site Editor. - **Author Authority Box**, E-E-A-T signals AI engines use for citation trust scoring, rendered as a Gutenberg block. - **AI Readiness Diagnostics**, audit every WordPress page for AI discoverability gaps on a schedule. ## Your 5-minute Gutenberg WordPress llms.txt action plan - Visit `yoursite.com/llms.txt` in your browser. If it 404s, you do not have one. That is normal in 2026, but it is the gap you are about to close. - Look at [Anthropic's production llms.txt](https://docs.anthropic.com/llms.txt) as a reference for structure. Notice how cleanly it maps to Gutenberg block patterns. - Install [RankReady](https://store.posimyth.com/plugins/rankready/) from WordPress.org or the POSIMYTH store. - Go to RankReady > llms.txt > Generate. The file is now live at `yoursite.com/llms.txt`, built from your block-theme post structure. - Open the Site Editor, go to any post, and use the per-post Gutenberg sidebar toggle to exclude any pages you do not want AI engines citing. - Optionally enable `llms-full.txt` for AI engines that prefer full-text ingestion of your Gutenberg-rendered content. - Confirm OpenAI is fetching your llms.txt by checking RankReady's AI Crawler Log after 24 hours. OpenAI re-fetches every 15 minutes, so you will see hits quickly. ## Suggested Reading - [Web Crawlers List: 15 Most Common Bots and Spiders](https://qa.nexterwp.com/blog/web-crawlers-list/), decide which AI bots you actually want to allow before you tell them anything via llms.txt. - [WordPress Block Themes vs Classic Themes](https://qa.nexterwp.com/blog/wordpress-fse-block-themes-vs-classic-themes/), the structural reason block themes give you a head start on AI citations. - [Best News Aggregator Websites](https://qa.nexterwp.com/blog/best-news-aggregator-websites/), how aggregation-style block layouts cluster content the way llms.txt H2 sections want. - [llms.txt for WordPress (TPAE)](https://theplusaddons.com/blog/llms-txt-wordpress/), the page-builder companion guide if you also manage an Elementor site. - [What Is an MCP Server in WordPress](https://theplusaddons.com/blog/what-is-mcp-server-wordpress/), the next step after llms.txt: making your WordPress content queryable by AI agents directly. ## The 2026 Gutenberg AI search window is open right now An `llms.txt` file is not a magic ranking signal. It will not appear in Google search results. What it does is dramatically lower the cost for AI engines to understand your block-theme WordPress site, which directly raises the probability of being cited inside ChatGPT Search, Claude, and Perplexity answers in your niche. Right now, almost no WordPress sites have one. The handful that do, and especially the ones built on Gutenberg block themes that already ship clean semantic content, are getting cited disproportionately often because they are the cleanest AI-readable option in their category. Install [RankReady](https://store.posimyth.com/plugins/rankready/) and ship your `llms.txt` file this week. If you build with Gutenberg, pair it with [Nexter Theme and Nexter Blocks](https://qa.nexterwp.com/pricing/) for a 100-block Gutenberg library that already outputs the kind of structured content AI engines prefer to cite. --- # NexterWP vs Kadence: Speed Benchmark on Identical WooCommerce Sites (2026 Data) Source: https://qa.nexterwp.com/blog/nexterwp-vs-kadence-speed-benchmark/ Last Wednesday I had to make a real call: client wanted a WooCommerce store live in two weeks, and the agency stack was either Kadence (which they had used on three previous builds) or NexterWP (which I had been quietly testing in parallel for six months). I told them I would not pick on vibe, so I ran the same default install on identical infrastructure and measured every byte. This post is what came back, including the parts where Kadence won. The Kadence-to-Liquid-Web consolidation that landed on May 12, 2026 makes this test more urgent than it would have been six months ago. If you are choosing a WooCommerce theme right now, you are not choosing between two community-owned products. You are choosing between a 500,000-install theme that just got folded into a hosting company's portfolio and a 2,000-install theme built on Vanilla JavaScript by a small WordPress team that still ships its own code. This is a benchmark study, not a pitch. The methodology is fully reproducible, the numbers are pulled from the official WordPress.org theme preview servers (wp-themes.com), and where Kadence wins, I say so. ## What we tested and why it is honest WordPress.org hosts a live preview of every theme in the directory at `https://wp-themes.com/{theme-slug}/`. Same WordPress version (7.1-alpha-62426 at the time of testing). Same default content. Same Cloudflare edge. No plugins, no caching layer, no DIY tuning. This is as close to a controlled experiment as you can get without paying for two staging environments and a Lighthouse CI runner. Both themes were tested on May 29, 2026. Kadence at version 1.5.0 (the version that triggered the Liquid Web rebrand notice). Nexter at version 4.2.11. Both default homepages. Identical request from a Mozilla/5.0 user agent. Everything below is reproducible from your terminal in under sixty seconds. What you will learn: - The actual page weight delta between Kadence and Nexter, byte by byte - Where Kadence still has an edge (it does, and I will not hide it) - Why DOM node count matters more for WooCommerce than for blogs - What the Liquid Web consolidation means for your update path - How to run the same benchmark against your own theme stack in fifteen minutes ## The methodology, in full so you can repeat it You can copy this into a terminal and re-run every measurement in this post. No PageSpeed API key required (their free tier was rate-limited at the time of this benchmark, which is a story for another post). `# 1. Fetch raw HTML from the official WordPress.org theme preview servers curl -sL -A "Mozilla/5.0" "https://wp-themes.com/kadence/" -o /tmp/kadence.html curl -sL -A "Mozilla/5.0" "https://wp-themes.com/nexter/" -o /tmp/nexter.html # 2. Measure HTML weight wc -c /tmp/kadence.html /tmp/nexter.html # 3. Count external assets grep -oE '